By Design Bundles
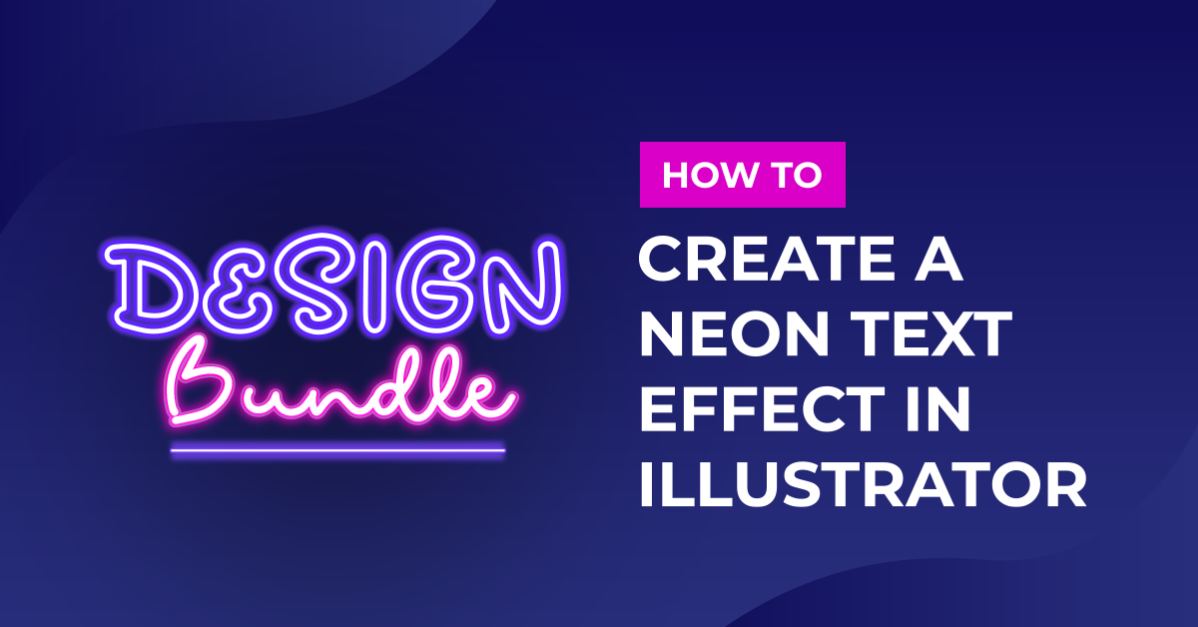
Neon Text Effect in Illustrator
1 - In Illustrator, create a New Document or Open an existing one. Select the “Rectangle Tool” then click and drag to draw a rectangle that covers your entire artboard. Set the Fill color to black and the Stroke color to none.

2 - Select the “Type Tool” (T) type your text and apply to it the font of your liking. In this case we used Zipper from Fontbundles.net (150 pt.).

3 - Fill the text with a color you like. We chose “CMYK Cyan” from the “Colors Palette”. Go to Type > Create Outlines or click Shift + Command/Control + O start convert your text into a vector shape.


4 - Select your text and go to Object > Offset Path and give it an Offset of 1 mm, Joins: Round, and a Miter Limit of 4.


5 – Select the outside path (you may have to ungroup your text to do it) give it a darker color. We chose one of the shades in the “Color Palette”.

6 – Now go to Effect > Blur > Gaussian Blur and give it a 3 pixels Radius.


7 – Next, select the inner (lighter) text and go to Effect > Apply Gaussian Blur or click Shift + Command/Control + E to apply the same effect. This will make the color transition a bit smoother

8 – Your text should look like this.

2 - Select the “Type Tool” (T) type your text and apply to it the font of your liking. In this case we used Zipper from Fontbundles.net (150 pt.).
3 - Fill the text with a color you like. We chose “CMYK Cyan” from the “Colors Palette”. Go to Type > Create Outlines or click Shift + Command/Control + O start convert your text into a vector shape.
4 - Select your text and go to Object > Offset Path and give it an Offset of 1 mm, Joins: Round, and a Miter Limit of 4.
5 – Select the outside path (you may have to ungroup your text to do it) give it a darker color. We chose one of the shades in the “Color Palette”.
6 – Now go to Effect > Blur > Gaussian Blur and give it a 3 pixels Radius.
7 – Next, select the inner (lighter) text and go to Effect > Apply Gaussian Blur or click Shift + Command/Control + E to apply the same effect. This will make the color transition a bit smoother
8 – Your text should look like this.
by @lornacane
Related Tutorials
Inkscape Tutorials
How to Create a Neon Text Effect in Inkscape
Create a Neon Text Effect in Inkscape with this step-by-step tutorial!
Illustrator Tutorials
Repeating Outline Text Effect in Illustrator
Discover how to make a repeating outline text effect in Illustrator.
Procreate Tutorials
How to Create a Neon Text Effect in Procreate
In this step-by-step tutorial, you will learn how to create a Neon Effect in Procreate.
Illustrator Tutorials
How to Create a Marquee Sign Text Effect in Illustrator
Illustrator Tutorials
Plastic Text Effect in Illustrator
Affinity Tutorials