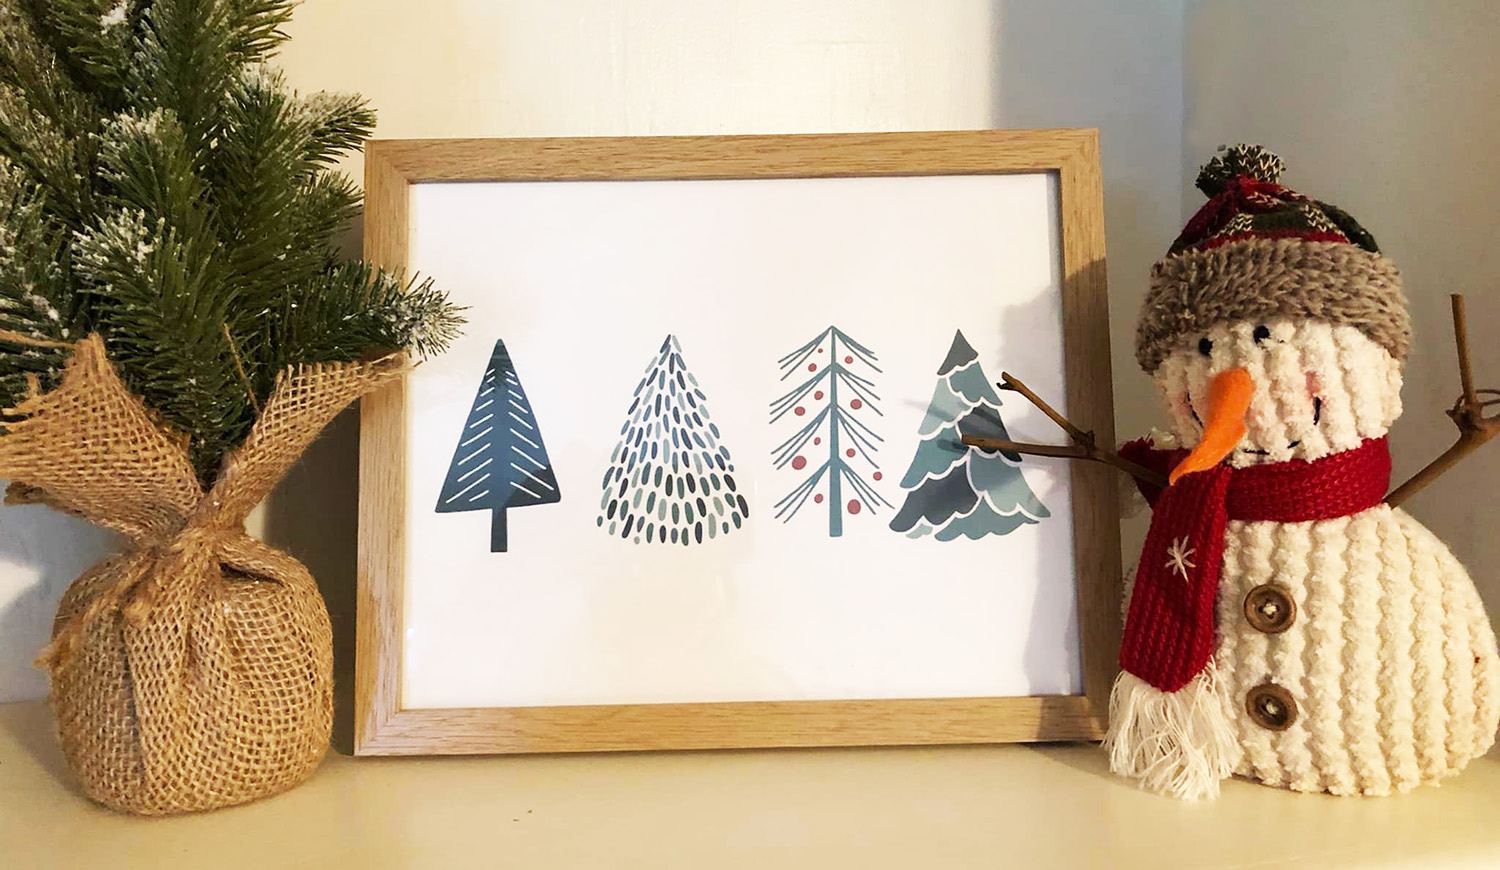
I’m going to show you how to make quick and easy printables for Christmas that you can use for decor or even gifts before the big day arrives. Christmas is fast approaching, which means time is running out! There are so many gorgeous designs and images available that you can use for not just crafts but fun printable projects too.
You can find some incredible Christmas SVG designs for all types of projects and printing. Take a look at the designs you already own for options, or pick a new one just for this project. They'd make gorgeous artwork that would look terrific printed, framed, and hung on your wall or placed on a mantle. If you’ve been searching for free holiday printables but want to try something different, then you’re going to love this tutorial using cut files! I use some simple-to-find products for this project and even show you how to convert your SVG to a JPG for printing. Let’s get started!
When I said this is an easy tutorial, I meant it! Most crafters or other creatives already have the few items needed to do this project. If you don’t have a printer at home, you can always visit your local library, upload your images online for printing, or use a local print shop or office supply store.
Disclaimer: Designbundles.net is a participant in the Amazon Services LLC Associates Program, an affiliate advertising program designed to provide a means for sites to earn advertising fees by advertising and linking to Amazon.com.
One of the best things about using SVG designs or cut files for printables for Christmas or any holiday for that matter is that it’s super easy. Plus you can find a whole range of options to help you achieve the design result you want. You can pick a free design, make one yourself, or purchase a new cut file. From there, it won’t take long to get to printing and enjoying your new artwork!
The SVG design I selected had both colored and black versions in one SVG file. I was so glad I had this one in my collection, which makes it easier for creating free artwork! Since I don’t want my free holiday printables to include multiple styles, I removed the black one. You can do this with almost any graphic design software like Cricut Design Studio, Silhouette Studio, or Adobe Illustrator. Since Cricut doesn’t allow for exporting designs, I chose to use the Design Scape tool available to Design Bundles Plus Members.
If you’re comfortable editing and tweaking designs with your usual graphic design program, then DesignScape should be easy to use. If you need a little help, then pop on over to Design School for all sorts of fun tutorials. This software is very flexible and easy to use, and Gold Plus Members don't forget that DesignScape comes as part of your membership.
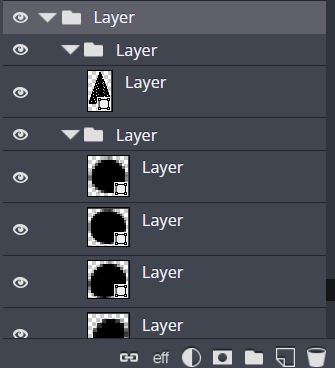
To remove the black trees, I simply selected the appropriate layer in the layers panel on the right side, then right-clicked with my mouse and chose delete.
This photo shows how DesignScape breaks the SVG down into multiple layers.
Once you have your SVG the way you want it, you can download the updated file. At the top of the screen, you’ll see the download options. Simply click on the SVG button, and your file will download instantly.
Depending on the file formats provided by the designer, you may not need to convert your image and can go straight to the printing step. If your chosen SVG does not have a JPG or PNG file included, then you will need to go ahead and do file conversion.
Changing the file format of your design or image is easy with the file converter tool, which you can find under the Plus Membership tab on Design Bundles.
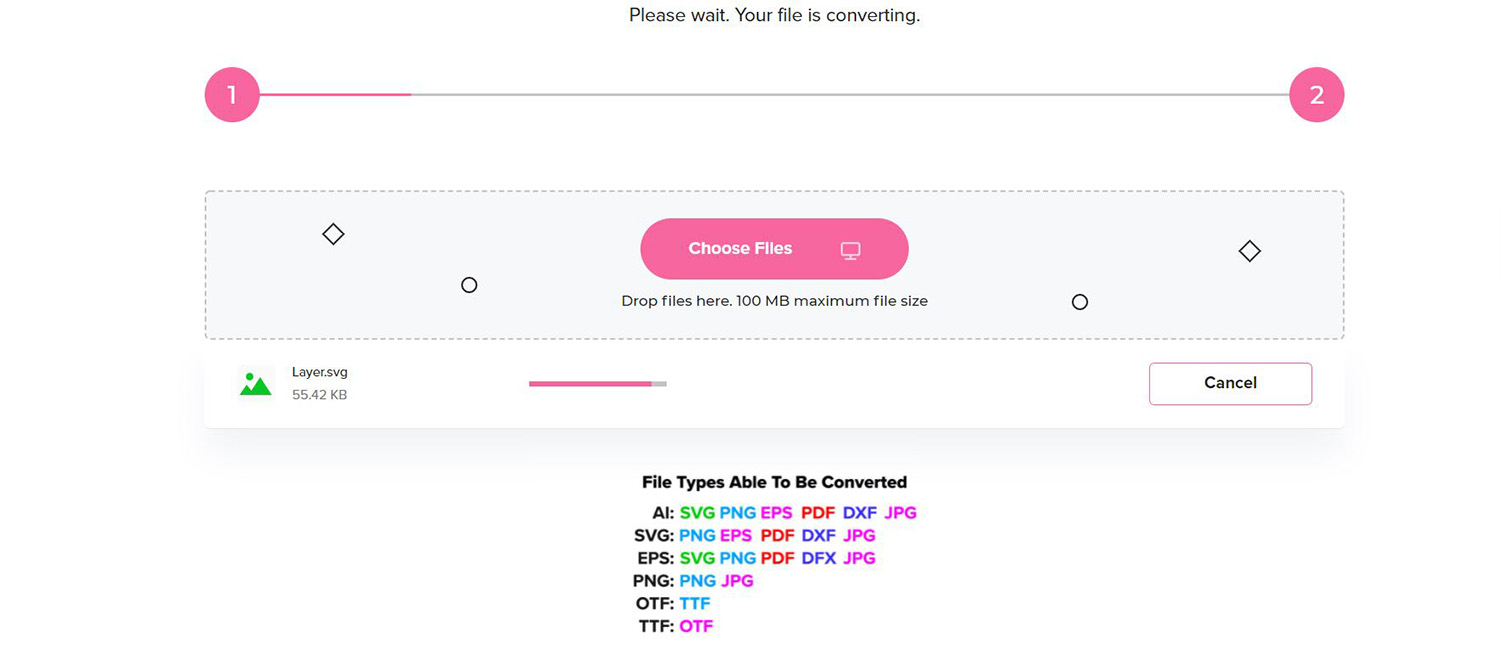
Simply drag and drop your SVG or you can upload it to the file converter, whichever you prefer.
Your file will immediately begin the conversion, which you can see processing on that top bar.
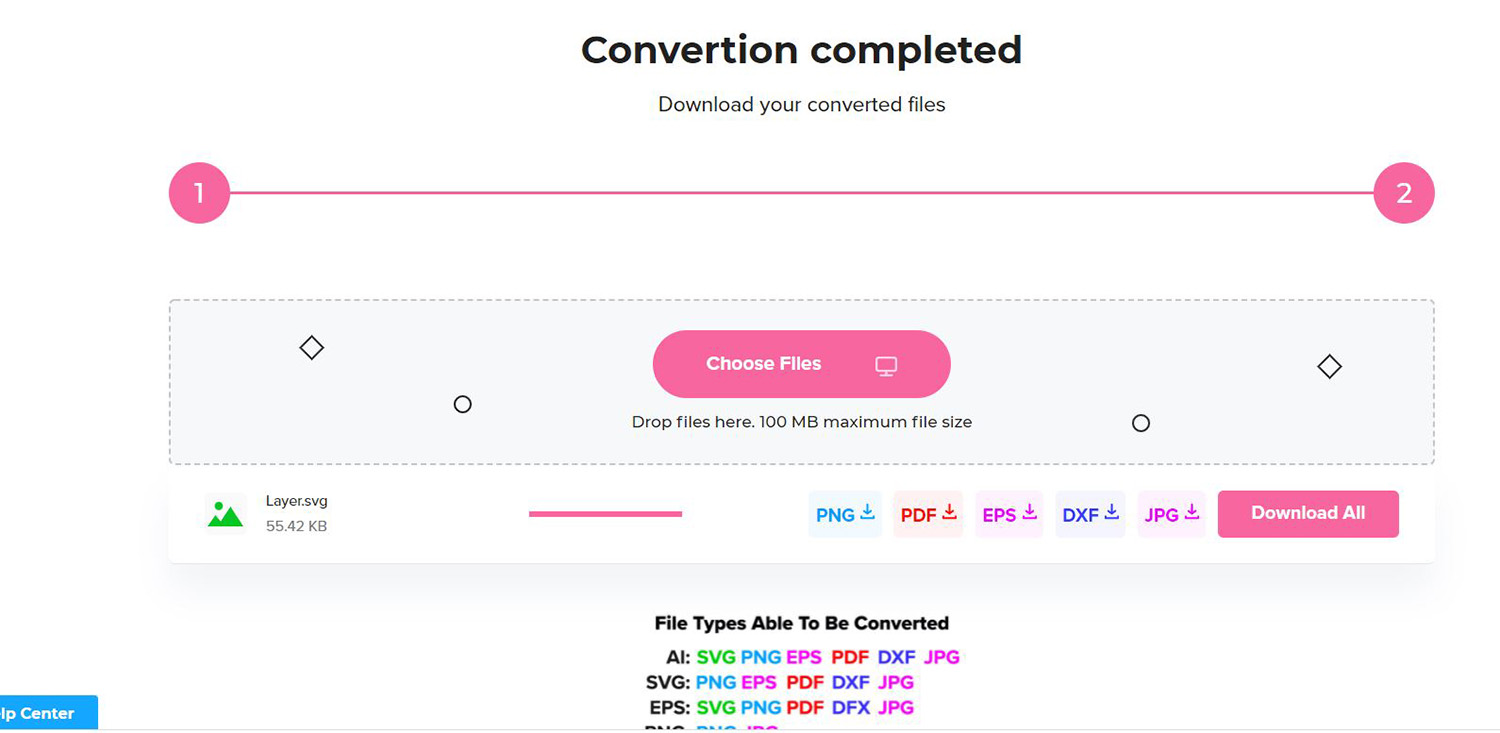
Once your file has finished converting, you can pick which format to download or pick all of them. The choice is up to you!
Once you’ve downloaded your JPG file, you can open that and set it up for printing. The frame size you want to use will dictate what settings you select at this stage. Since I’ve elected to use a 8x10 inch frame (or 203.2 mm x 254 mm), I need to edit my printer settings to match. You can choose to use regular copy or printer paper, card stock, photo paper, or any other materials that can be run through your printer. For this example, I’ve selected regular copy paper.
Top Tip: Your printer settings should automatically enter the paper setting. If not, make sure you edit that to fit the size of your paper.
Send your image to the printer by clicking the print button and get ready for your gorgeous free printable Christmas images!
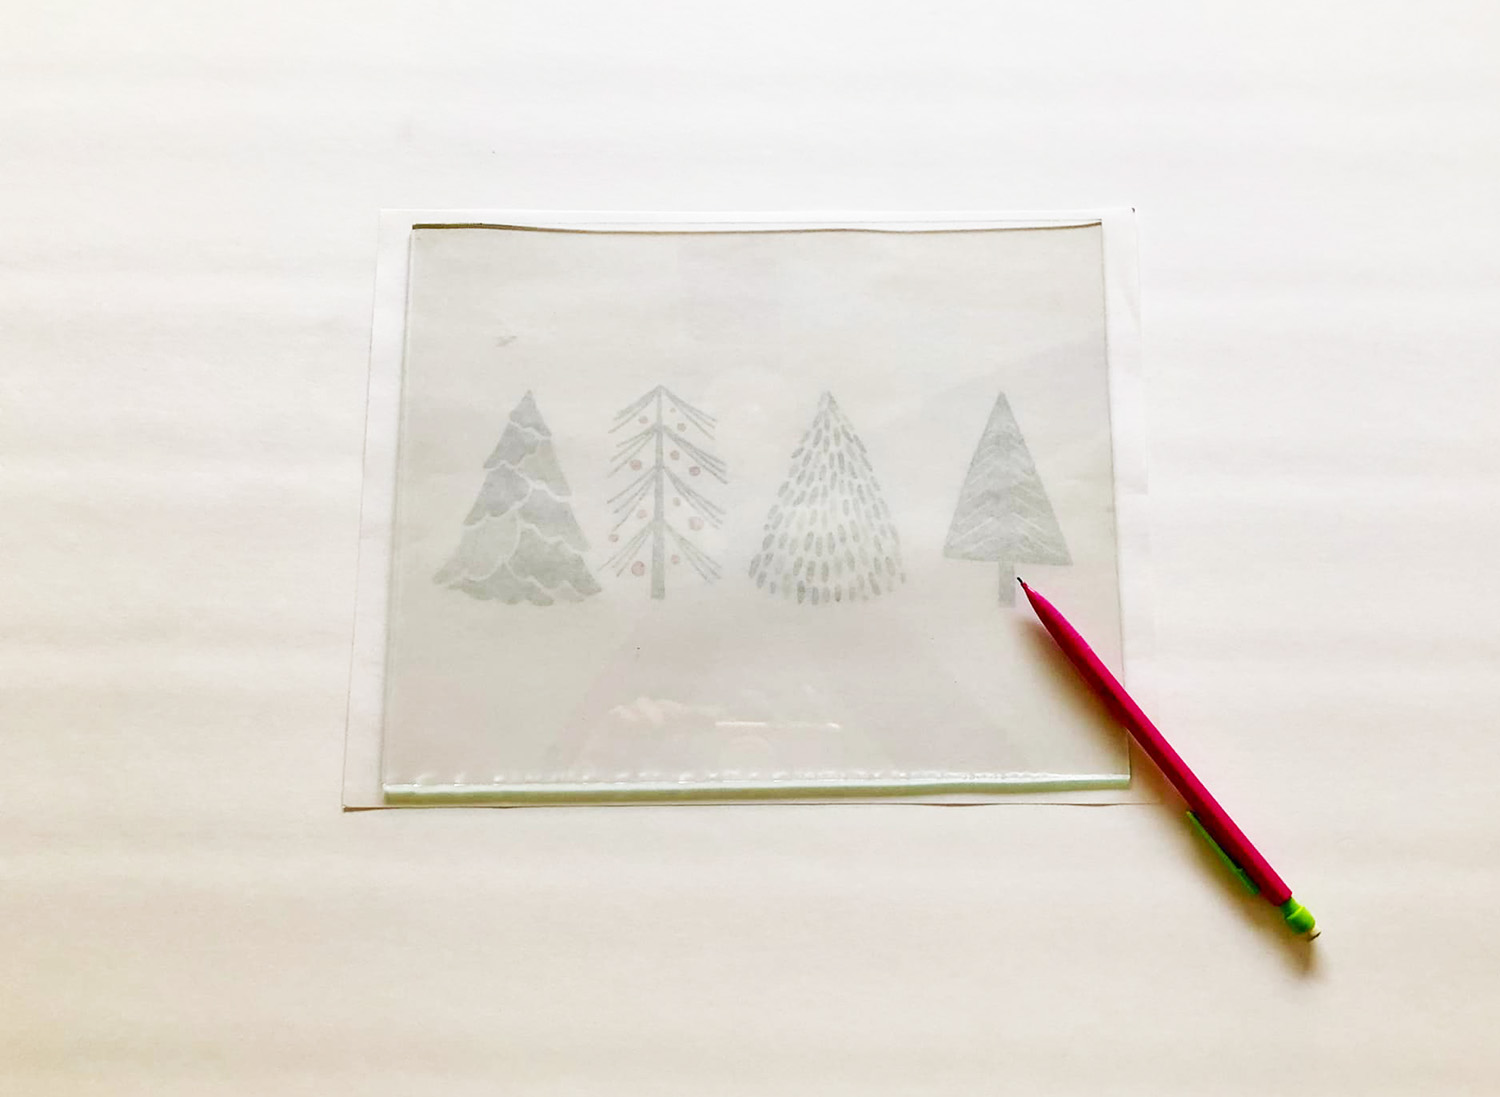
Since the image I’m printing is larger than my frame, I’ll need to cut it down to fit. Place the glass on the back of your printed design and trace around it. Be sure to center the glass on the image so it will fit your frame.
You can use scissors or a paper cutting tool to cut the excess paper. I’ve used my scissors for this.
After you’ve cut out your image, place it in your frame and replace the backing. That’s it, project complete! This type of easy printable project is perfect for creating decor, art, and other fun items for almost any holiday, season, or special occasion.
If you find some affordable frames, you can change the image for each season. Let the kids get involved and use frames they can decorate, paint or otherwise embellish-the options are endless! I hope you’ve had fun creating quick and easy printables for Christmas with me.
Happy crafting friends!
We'd love to know what you think of this tutorial and if you make your own version, be sure to share images to social media and tag us or post them in our Facebook Group,The Design Bundles Customer Community.
In 2 Steps Make A Family Quote Canvas Frame
Make A Cute Winter Snowman Pillowcase
How To Make a Snowflake Card With Your Cricut Joy
By using our website you consent to all cookies in accordance with our cookie policy.