Welcome to this quick tutorial where you'll learn how to save your artwork as a PNG file using AI illustration Edit tool. Let's dive right in!
Step 1: Select Your Design
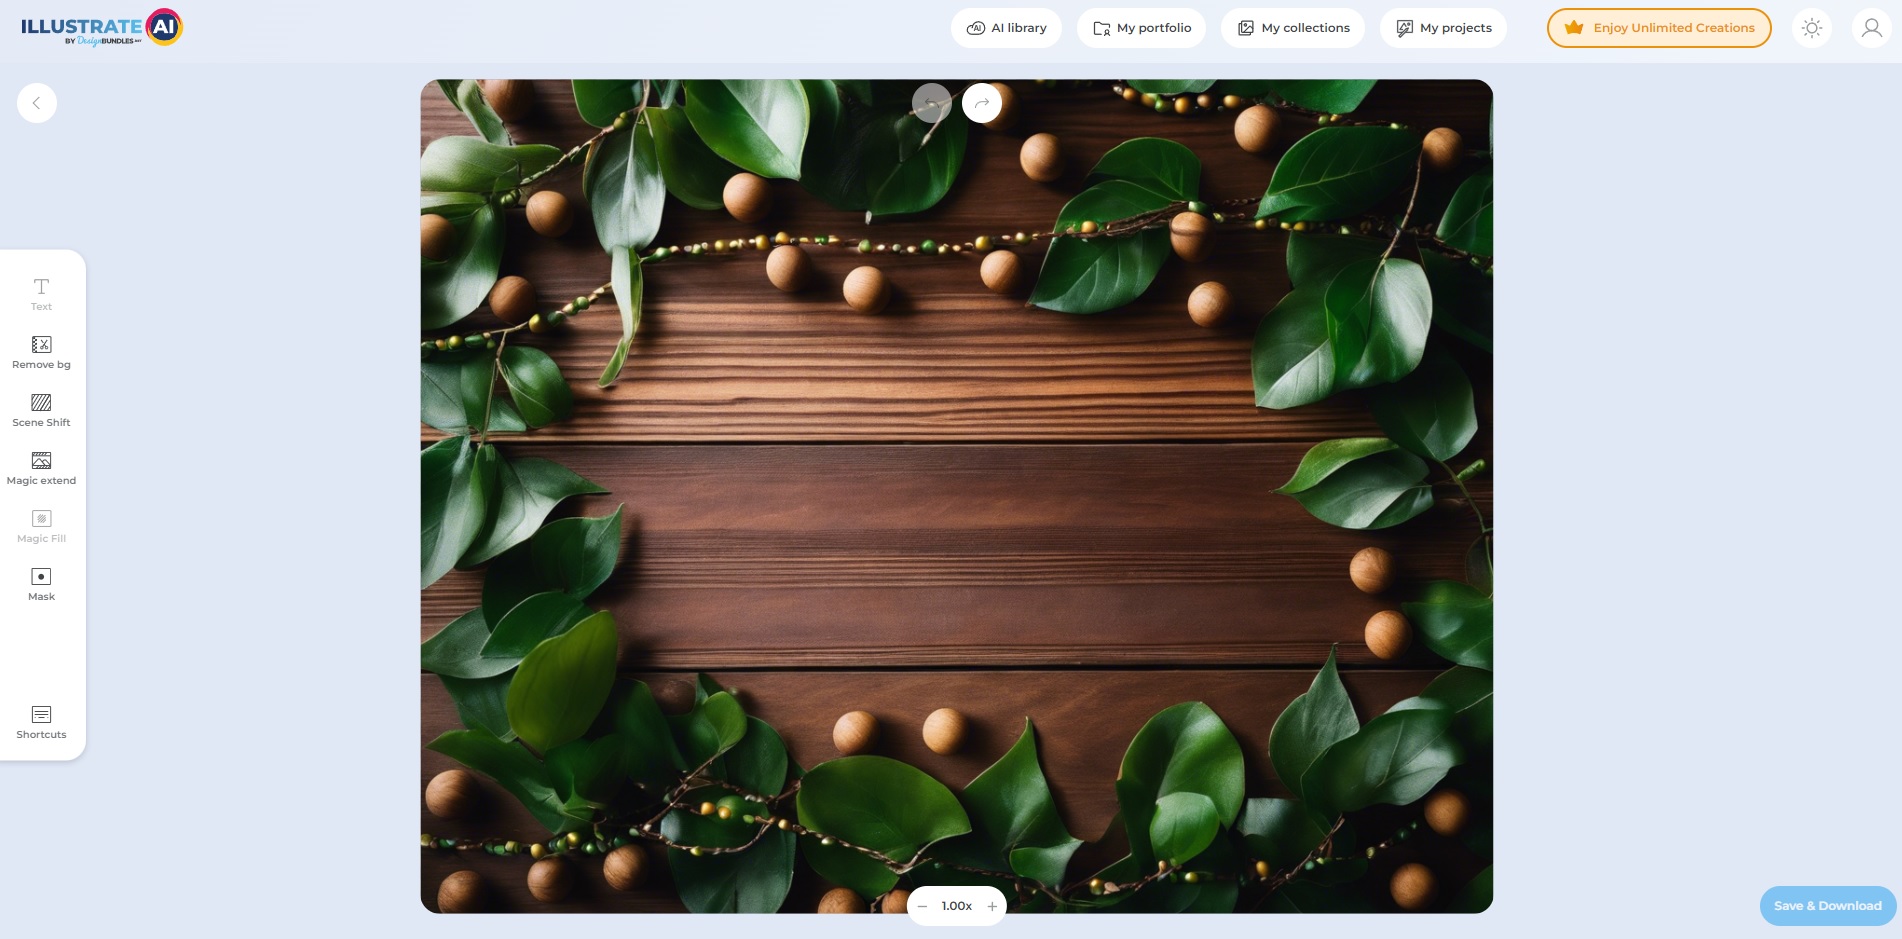
First, choose the generated design that you've created and wish to edit and save. Make sure you've selected the right one!
Step 2: Edit and Save
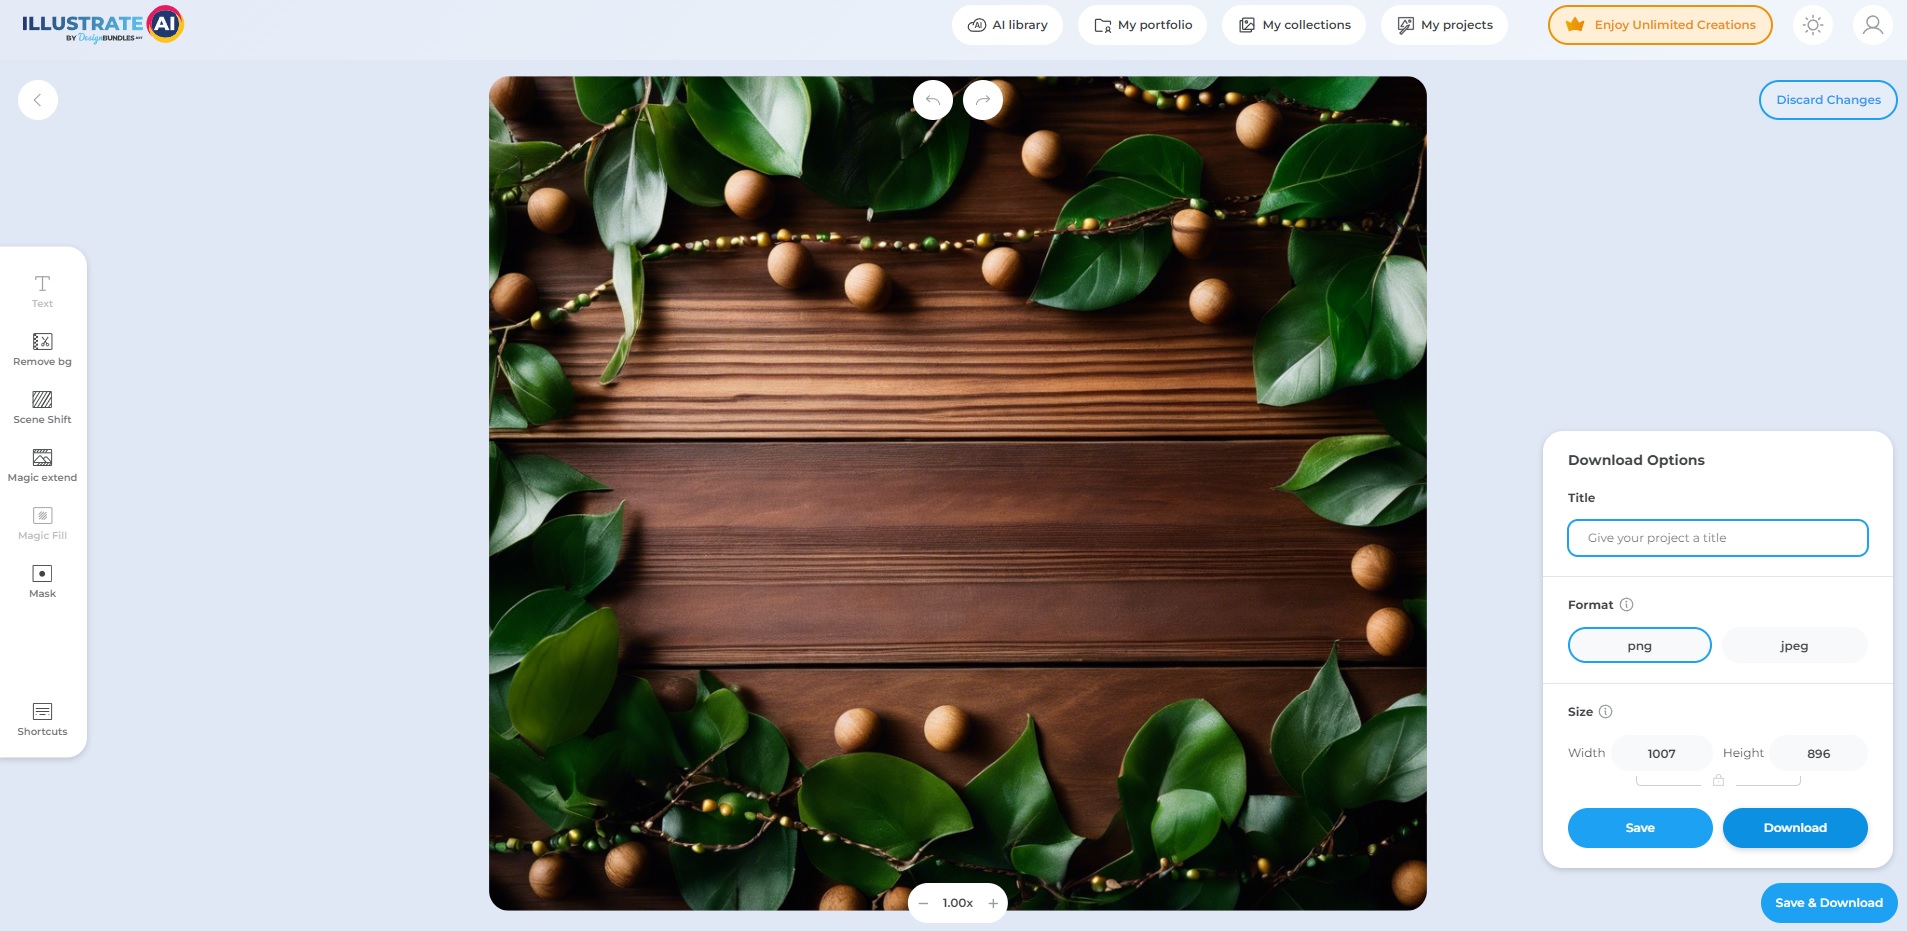
After making the desired edits to your design, it's time to save your work. Look for the "Save and Download" option located at the bottom right of your interface. Click on it, then select the PNG format from the options provided, and hit "Save or Download."
Things to Keep in Mind Before Saving:
Adjust the Width: You have the option to adjust the width of your design. This is crucial for achieving the highest quality output. A wider design often results in sharper images, which are ideal for printing.
Format Options: You can toggle between saving your file as a PNG or a JPEG. Choose the format that best suits your needs.
Enhance for Sharpness: Increasing the width not only enhances the quality but also sharpens the details in your design, making it better suited for print purposes.
Now that you know how to save your artwork as a PNG, go ahead and start generating and saving your designs without any issues. Enjoy creating!
Exploring Craft Designer: A Brief Introduction
How to Use DALLE 3 for Generating Highly Detailed Vector Style Artwork
How to Make Coaster Design in illustrate AI using Masking Technique
By using our website you consent to all cookies in accordance with our cookie policy.