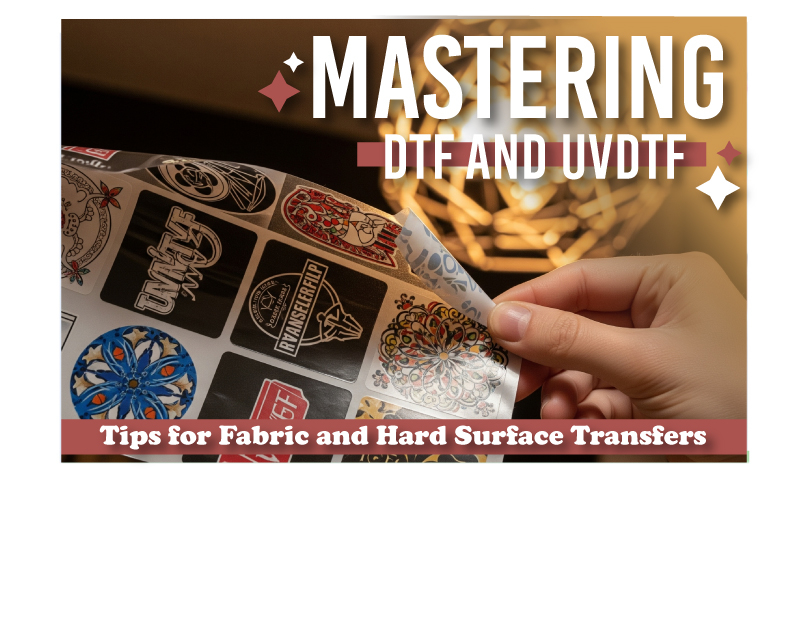
Mastering DTF and UV DTF: Tips for Fabric and Hard Surface Transfers

Mastering DTF and UV DTF: Tips for Fabric and Hard Surface Transfers

If you’ve ever ruined a perfect blank because a transfer bubbled, peeled, or cracked, you know the frustration. The secret to professional-looking products isn't just about the transfer itself, it’s about a handful of small, but critical, steps you take before, during, and after application.

This guide shares the lessons learned from countless projects, breaking down the essential dos and don'ts for both UVDTF and DTF transfers. Consider this your go-to cheat sheet for flawless results every time.

Order your first DTF / UVDTF Gangsheet from Here:

https://dtfprinter.com/

UVDTF Transfers (For Hard Surfaces)

UVDTF, or UV Direct to Film, is a game-changer for decorating tumblers, keychains, and other rigid items. Think of it less like a sticker and more like a permanent, detailed wrap. The key to a clean application is all in the preparation.

Prepping Your Surface & Workspace

Before you even touch your transfer, make sure your surface is spotless. Dust, fingerprints, and oils are invisible enemies that will ruin your transfer's adhesion.

  • Give your item a thorough wipe-down with 70-91% isopropyl alcohol and a lint-free cloth. Don’t use Windex or other household cleaners, they often leave behind a spots that prevents the decal from sticking.
  • Handle with care. Once your surface is clean, use gloves to avoid transferring any oils from your skin back onto the item.
  • Check the temperature. Make sure both your item and your UVDTF transfer are at room temperature. A cold surface can affect the adhesive’s performance.
  • Store them right. Keep your UVDTF sheets flat in a cool, dry place. Rolling or folding them can cause them to curl, making them harder to apply.
  • Test it first. If you’re using a new type of blank or a new brand of UVDTF, use a small scrap to test the adhesion and look. This is especially important for big projects.

How to Apply!

This is where a little patience goes a long way. The goal is to apply the transfer slowly and evenly to prevent any air bubbles or wrinkles.

  • Measure before you commit. Use a ruler or a small piece of painter's tape to mark where you want your transfer to go. With UVDTF, there’s no second chance, once it's down, it's down.
  • Work from the center out. Press the middle of the transfer down first, then use a squeegee, a credit card, or a scraper to firmly press it from the center outward. This pushes out any trapped air and ensures the entire design is making contact.
  • Be slow and steady. Peel the backing away from the transfer at a shallow, 45-degree angle. If you see any part of the design lifting, stop immediately and rub that spot down more firmly before continuing to peel.
  • Tiny bubbles happen. If you spot a tiny bubble after the fact, gently use a pin or a craft knife to pop it and then press the air out with your finger.

Post-Application & Aftercare

Your transfer isn't fully cured the moment it's on the surface. Giving it time to set will ensure it lasts for years to come.

  • Give it time to cure. Don’t wash or use the item for at least 24-48 hours. This allows the adhesive to fully bond with the surface.
  • Hand wash only. UVDTF transfers are tough, but they're not a fan of the dishwasher's high heat and harsh detergents. When you do wash it, use a soft sponge and avoid scrubbing the design itself.
  • Steer clear of abrasives. Never use a scouring pad or abrasive cleaner on a UVDTF design.

🎥 Watch the Full Tutorial Video on Applying UV DTF...


Mastering DTF Transfers (For Fabrics)

DTF, or Direct to Film, is the perfect method for creating vibrant, stretchy designs on everything from t-shirts to hoodies. When working with fabric, the three most important things to get right are heat, time, and pressure.

Garment & Heat Press Prep

The way you prepare your fabric can make or break the final product. A simple pre-press step can solve a host of problems.

  • Pre-press is non-negotiable. Before you place your transfer, press your garment in the heat press for 5-10 seconds. This removes any moisture and wrinkles that can cause a poor transfer.
  • Know your fabric. DTF works best on natural fibers like cotton, cotton/poly blends, and polyester. Check the fabric content of your garment before you start.
  • Lint roll everything. Even a tiny piece of lint can leave a permanent mark under your transfer. Run a lint roller over the pressing area.
  • Set your press. Follow the instructions from your DTF supplier, but a good starting point is 280-320°F (137-160°C) with medium-firm pressure. Make sure your press is fully heated and stable before you start.

The Pressing Process

This is where the magic happens. Getting the trio of heat, time, and pressure just right is crucial.

  • Don’t eyeball the time. Use a timer and press for the exact time recommended by your supplier, typically 15-20 seconds. Too little time and the design won't fully adhere; too much, and the colors can fade.
  • Know your peel. This is a critical step. Your supplier will tell you if the transfer is a hot peel (peel immediately) or a cool peel (let it cool completely first). Getting this wrong is the number one cause of a failed transfer.
  • The second press. After you peel the film, repress the design for about 5 seconds with a Teflon or parchment sheet on top. This helps cure the ink and gives it a soft, smooth finish.

Aftercare & Durability

A well-applied DTF transfer will outlast the garment it’s on, but you need to take care of it properly.

  • Wait to wash. Let the garment sit for at least 24 hours before its first wash.
  • Wash inside out, in cold water. This protects the design from friction and heat, preserving its color and integrity.
  • Skip the iron. Never iron directly on the transfer. If you need to iron the garment, turn it inside out.
  • Avoid harsh chemicals. Bleach and strong detergents can break down the ink and adhesive over time.

🎥 Watch the Full Tutorial Video on Applying DTF...


Final Thoughts

Perfecting your UVDTF and DTF application process takes time, trial, and a bit of patience, but once you nail it, your products look clean, professional, and last longer. Whether you’re creating a custom tumbler with UV DTF or making a fresh hoodie drop with DTF, each transfer is a chance to build your brand with quality.

You may also be interested in ...

UV DTF vs. Sublimation Which one is Better for Tumblers!
How-to

UV DTF vs. Sublimation Which one is Better for Tumblers!

Many crafters often ask: What’s the difference between UV DTF and...
How to Apply DTF Transfers Complete Beginners Guide
How-to

How to Apply DTF Transfers Complete Beginners Guide

Hello Crafters! Today, we’re diving into something you’ve all been...
How to Create Adorable Kids T Shirts with Easy Edits and Use as DTF Printing!
How-to

How to Create Adorable Kids T Shirts with Easy Edits and Use as DTF Printing!

Ready to design something adorable without the stress? 😍 With Easy...
Help Center