Unlimited Downloads 15% off Marketplace Purchases Exclusive Software Access Unlimited Downloads
15% off Marketplace Purchases
Exclusive Software Access
Start your Free Trial Start your Free Trial Maybe Later
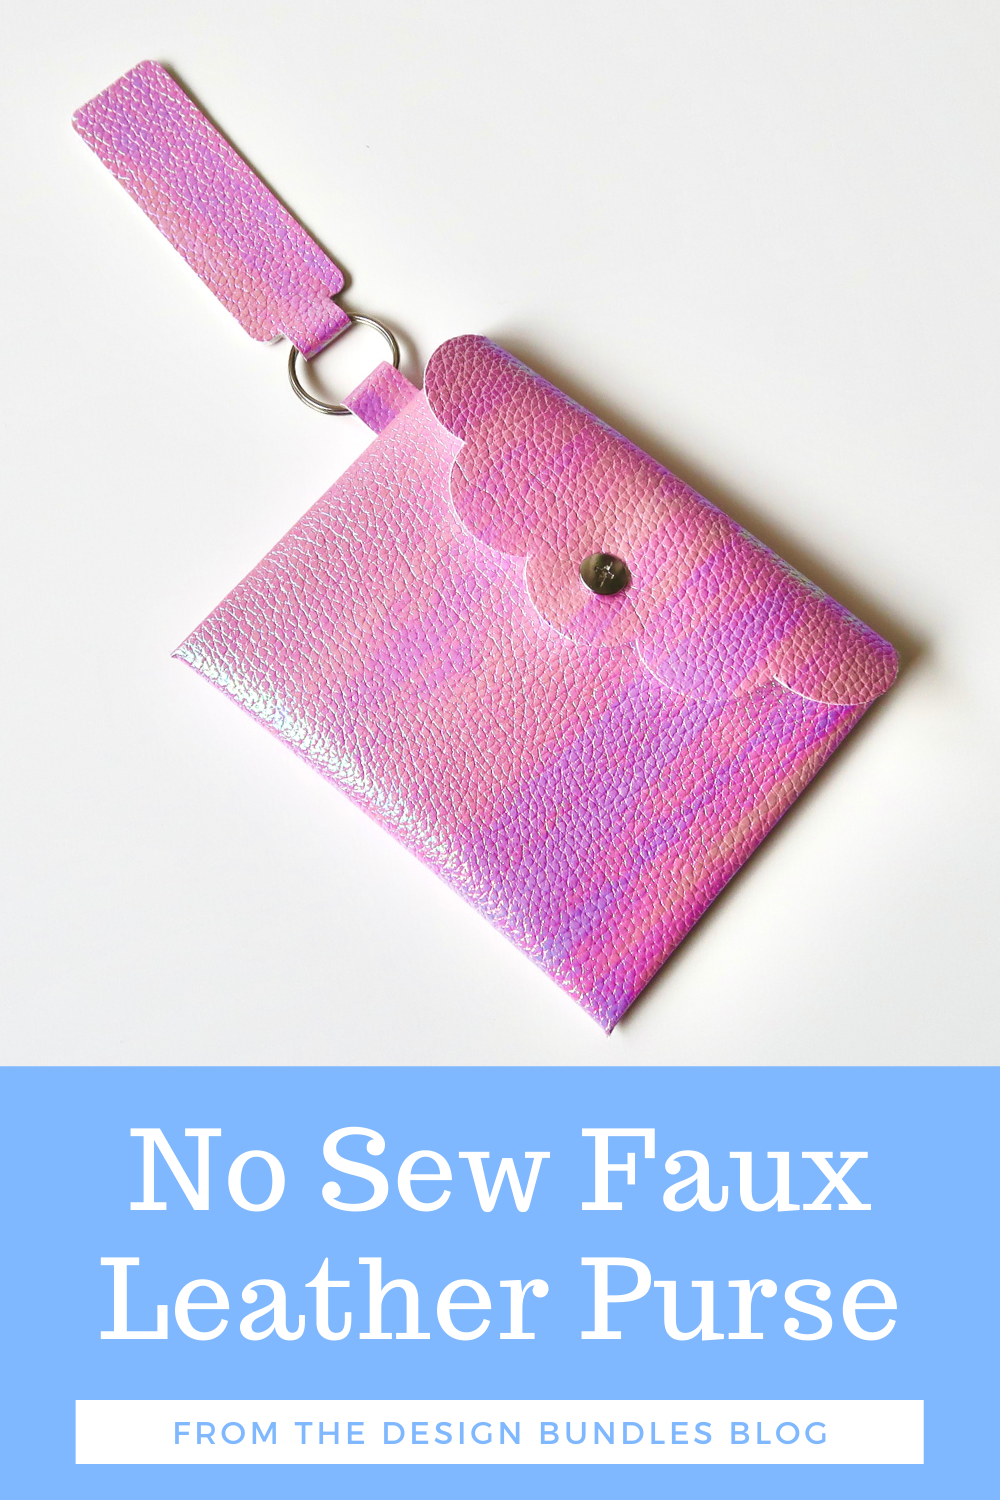
How To Make A No Sew Faux Leather Coin Purse

How To Make A No Sew Faux Leather Coin Purse

Do you ever find those crafts where you just want to keep making them over and over in lots of different colours? Well, this is one of those projects for me. It's so easy to do but the end product looks fabulous AND it has so many practical uses.

This little purse could be a mask pouch, tissue and antibac holder, receipt collector (don't tell me I'm the only one who shoves receipts into my bag as quickly as possible so I don't hold other people up at the till and then can never find receipts to return items) the possibilities are endless and do you know what's even better? This project is made using a Free SVG from DesignBundles!

How To Make A No Sew Faux Leather Coin Purse

no sew purse materials

Here's what you'll need :

Materials

  • Faux Leather
  • Stud Screws
  • Keyring Findings

Tools

  • Cricut Machine
  • Pegs/Fabric clips/Mini binder clips
  • Gel Super Glue

Finding An SVG Cut File

This was an easy step in this project because this No Sew Faux Leather Coin Purse SVG was on the Free Design Resources section of the DesignBundles site.

Hang on, Free? Design Resources? WHAT! Yes you heard me right, Design Bundles has a whole section of their site where they offer completely free files for you to download and use, let me tell you a bit more about it.

Design Bundles Free Design Resources

I know what you're thinking...Free? Nothing is ever really free, there's always a catch. Not this time my friend, this is a 100% no strings attached freebie library!

You'll be able to find things like free graphic packs, free illustrations, free icons, free templates, free backgrounds, free textures, free seasonal cut files and so much more PLUS all of the free resources include a dual licence meaning you can use them for business or just your own crafting.

Upload To Design Space

If you are using a free design resource then there is a green download button right on that screen, if you click that it will save the file directly to your computer.Check to see if the downloaded file needs to be unzipped and then you can upload them straight to Cricut Design Space.

Sizing Your Project

This file actually tells us the ideal dimensions it should be sized towhich makes this so much easier, all we do is click on the file and drag the little arrow in the bottom right corner to resize it to those proportions.

I'm using an A4 sized sheet of faux leather for this but if you were planning on using a smaller cut of fabric all you would need to do is hold it up to your cutting mat and see what sort of size cut you'll be able to fit on it. Keep the cut file grouped together and use the arrow to adjust to that size.

Making Adjustments

I'm going to change the design up a little as the closure fixings I have are a bit different to what they show on their finished item. They have two small fixtures on either side of the purse whereas I have slight larger fixings and I just want one closure in the middle of my purse.

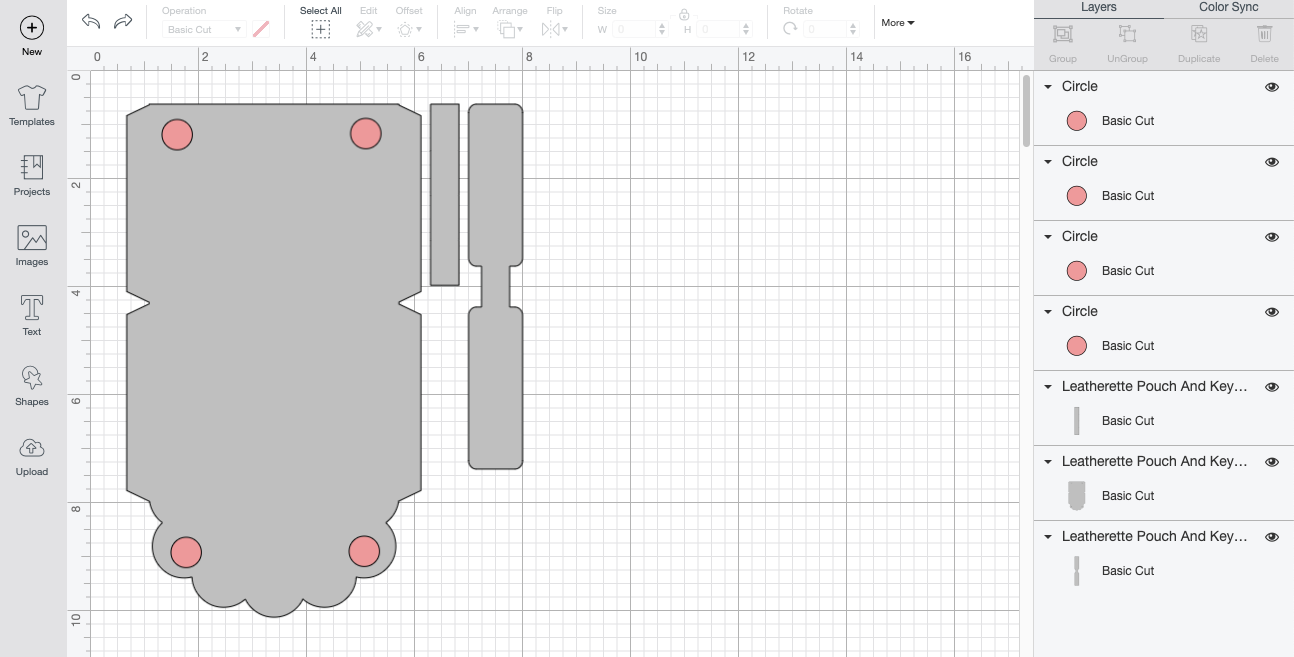
To cover up the existing holes in this pattern I just add four circles to my canvas, positioned them over the holes and used the weld option to 'fuse' them to the main purse piece.

Then I added two more circles where I wanted the new position of the fixings to be, highlighted them with the main purse piece and pressed 'slice' to make them part of thesections that will be cut by the machine.

Ready To 'Make It'

Once we're happy we've got our file set to the right size we can go ahead and click the Make It button on the top right-hand side of our Design Space Screen.

Cut Settings for Faux Leather

I use the standard or fabric grip mat whencutting material likeFaux leather on the Cricut as the blade will make more than one pass at the cut so you want to make sure it's nice and secure. To make double sure I also secure it to the mat on all edges with tape (you could use washi tape or normal sellotape - it doesn't matter too much, it's just to stop it lifting and getting caught when the blade does its first pass)

In terms of cut settings, I click on 'Browse All Materials' from the cut screen and search for Metallic Leather as I've found that to be the best to use - it uses lower pressure but more cuts so that there is less risk of it catching on the material and jamming the machine.

Preparing To Assemble

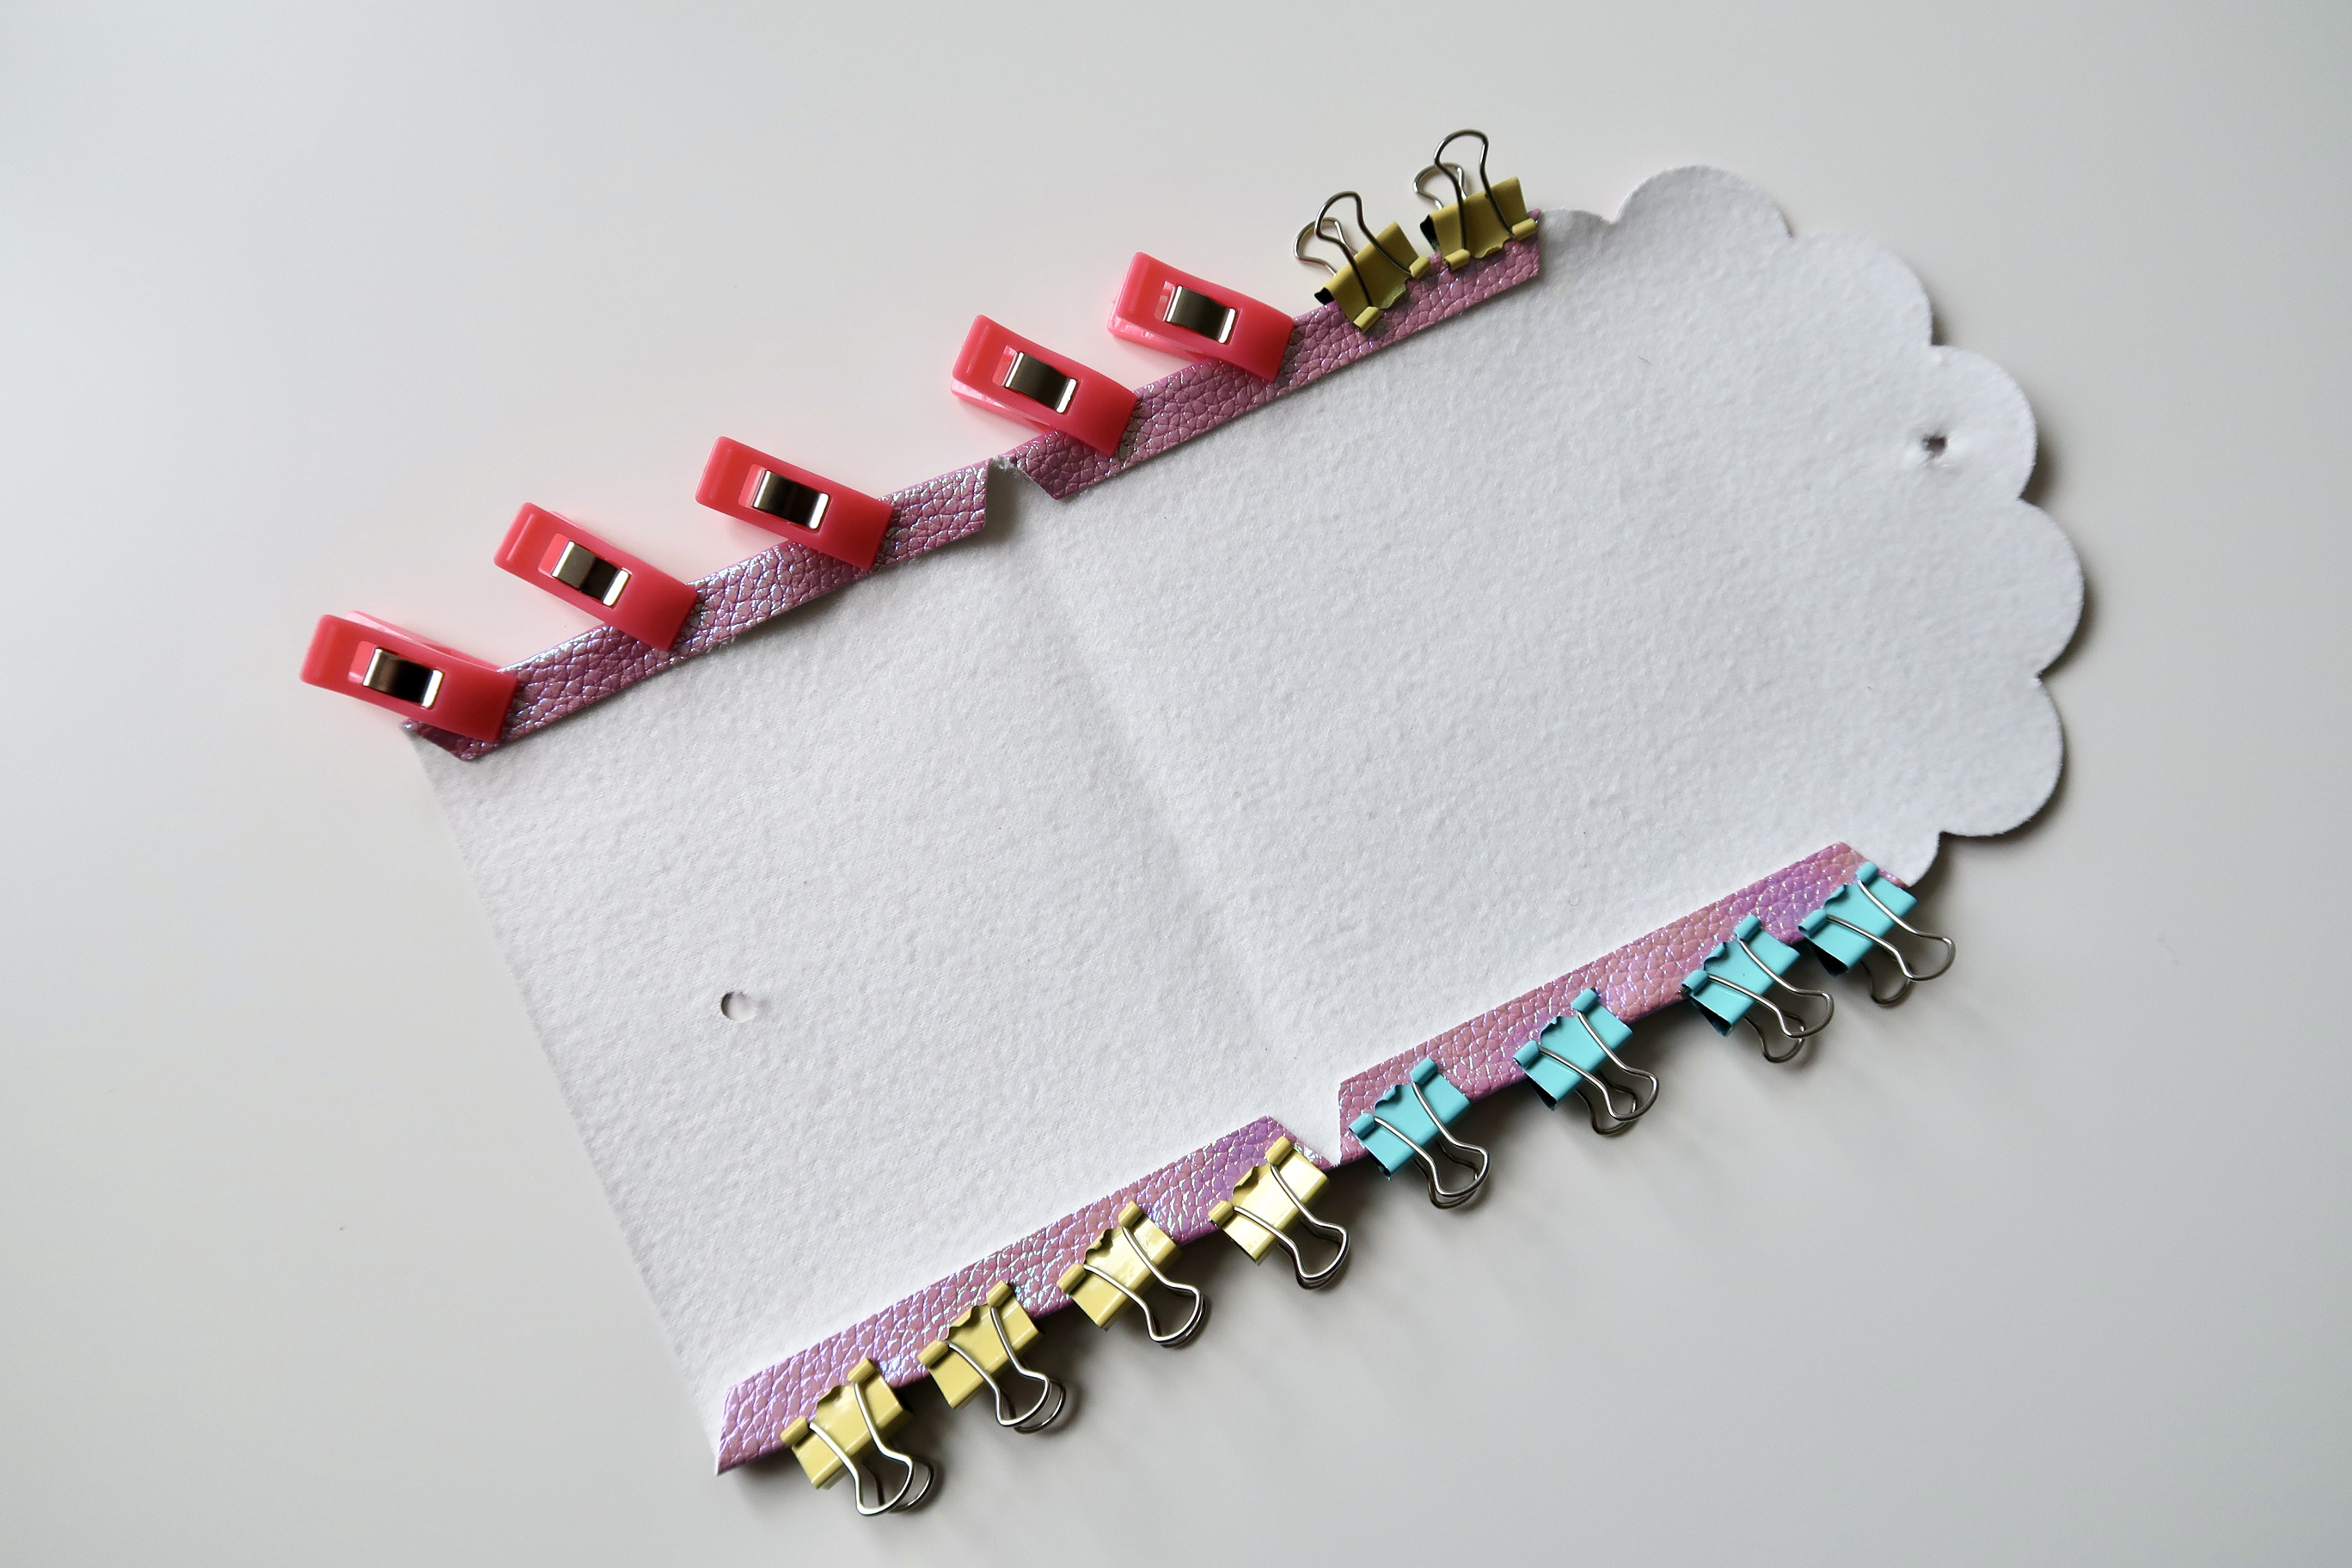
Once you've got the leather cut it helps to pre-fold the joining edges as the material can be a bit springy if you don't.

I leave the flaps folded and held in place with clips for half an hour so that the fabric ends up with a nice crease.

While you are waiting for that crease to form it's the perfect time to stick together your other components. You need to wrap the fob piece through a keyring and attach it together (just a fewlines of glue around the edges should do it), fold the hanging loop through the keyring too and put a dab of glue at the ends to hold it together - this bit gets tucked inside the side of the purse which holds it together properly so we don't have to go mad with the glue on this part.

Once you are happy that the fabric is holding the edge crease nicely you are ready to glue! All you need to do is run a thin line of the gel super glue down one of the creases and press the other side to meet it, once they are lined up secure it with clips and leave it to dry for a few minutes. Don't forget to add your keyring and hanging loop to one of the side too, just sandwich it in between the side flaps before you clip it together for the glue to dry.

Ready For Hardware

To add a closure to this purse we are using stud screws (you can easily get these from Amazon or eBay)

Stud screws come in two parts, one is the base that you push through the backside of your fabric and it has a thread inside that the top section screws into. Mine comes with a little groove on top that you can use a screwdriver to tighten but they are easy enough to tighten by hand.

Push the base section of the stud screw through the hole in your purse making sure to push it until the base touches the fabric, you can always put a dab of glue in between them so that they stay in place. Screw the top fixing on and then you are all done!

You may also be interested in ...

How to make custom waterproof garden cushions
Arts and Crafts

How To Make Custom Waterproof Garden Cushions

Summer is fast approaching and it's the perfect time to start...
Mothers Day Gifts Round Up main image 1
Arts and Crafts

DIY Mother's Day Gifts Round Up

We share DIY Mother's Day gifts that are sure to make Mom happy! Find creative inspiration inside.
How To Make A Social Media Plaque For Your Small Business
Arts and Crafts

How To Make A Social Media Plaque For Your Small Business

The past year has been really tough on small businesses and for most,...
Help Center
ol image