Unlimited Downloads 15% off Marketplace Purchases Exclusive Software Access Unlimited Downloads
15% off Marketplace Purchases
Exclusive Software Access
Go Unlimited Maybe Later
Editing Images in Cricut Design Space
  • By Design Bundles
  • 02 Mar 2018
  • 4 Mins
  • Cricut Tutorials

Editing Images in Cricut Design Space

Crop, Erase or completely change a design with multiple tools for editing made easy.

In this tutorial we are going to show you how to edit a flat PNG image and separate it so you can combine other elements and create a new design.

Step 1: Upload Your Image

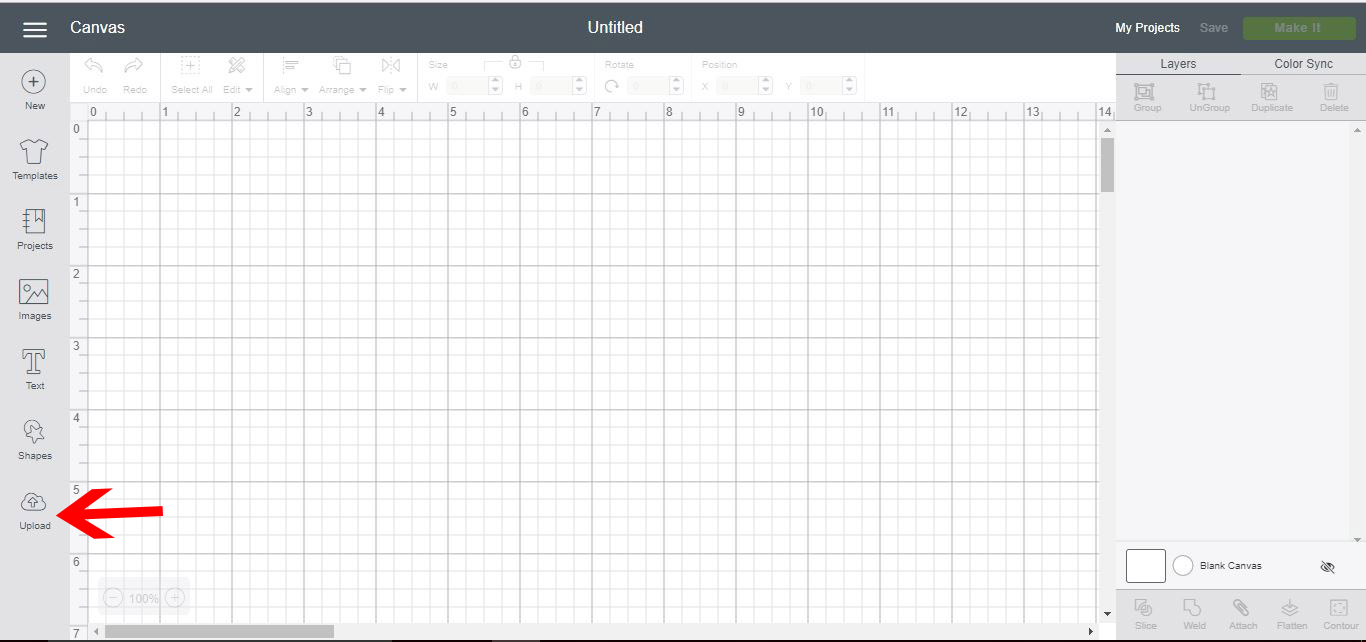
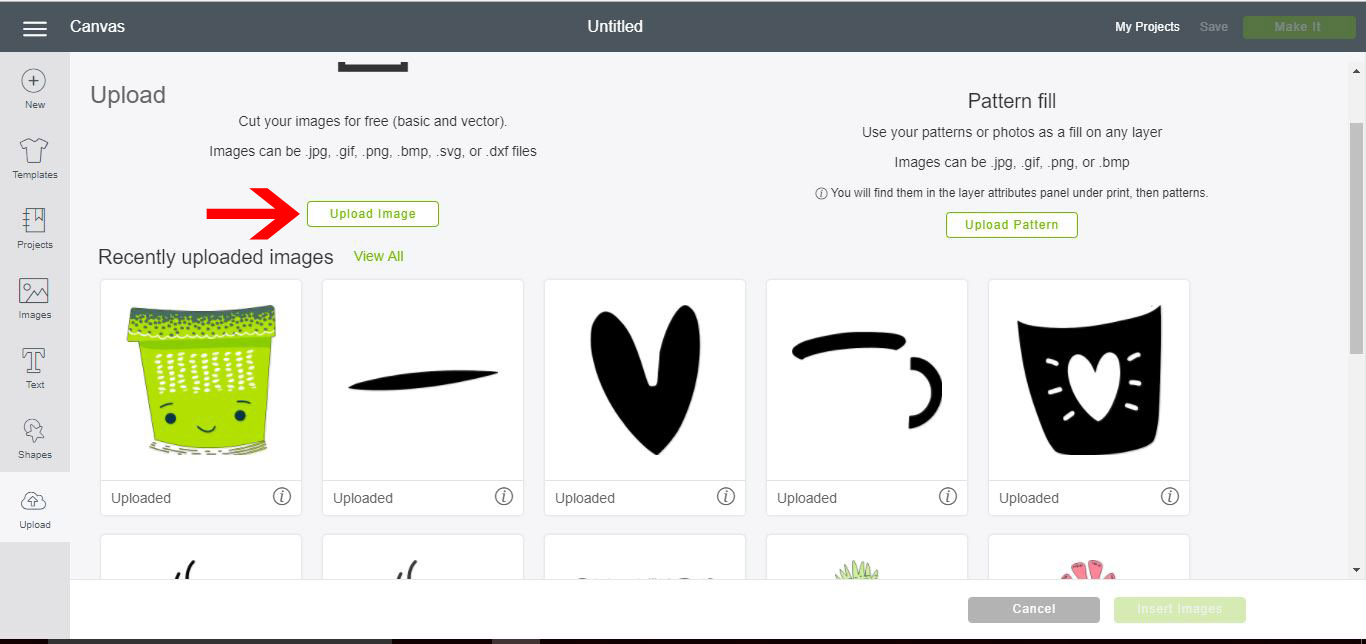
Click New Project. This will open up a blank canvas for you. From here you can click on Upload.

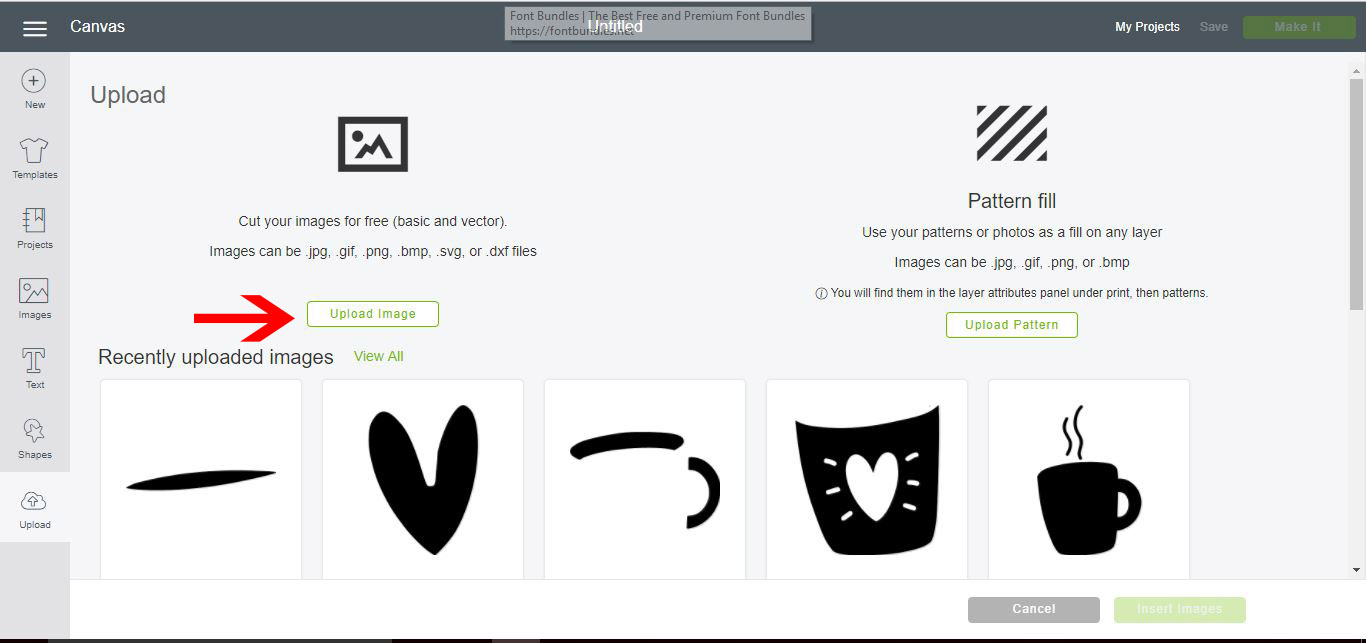
Click on Upload image again
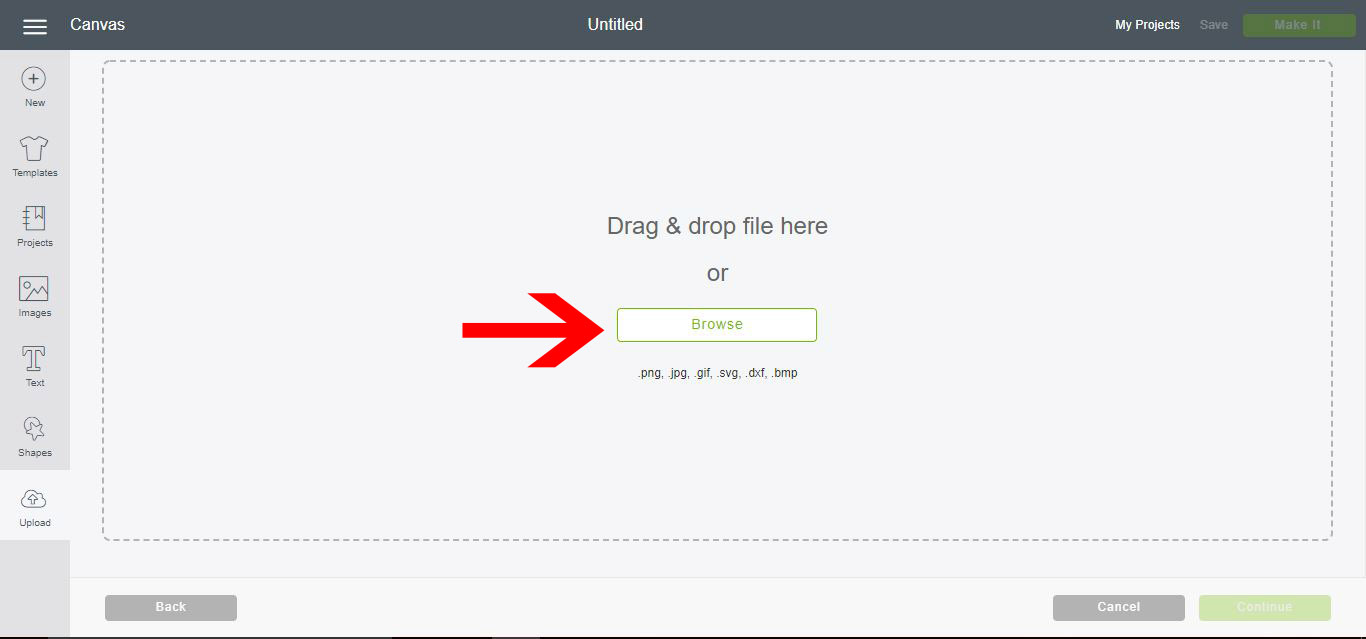
Click on browse

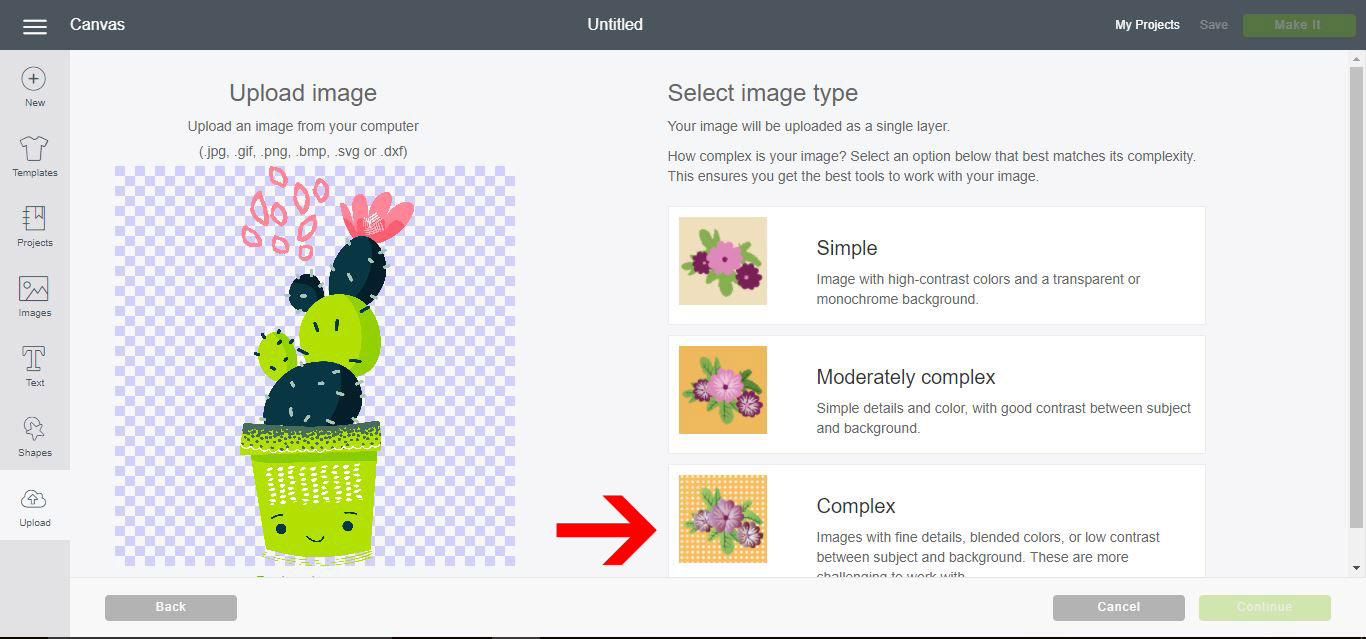
Step 2: Select image type

Select the design you want to edit. I am using the Cactus PNG bundle from Design Bundles. Click on the Complex option, then click continue.

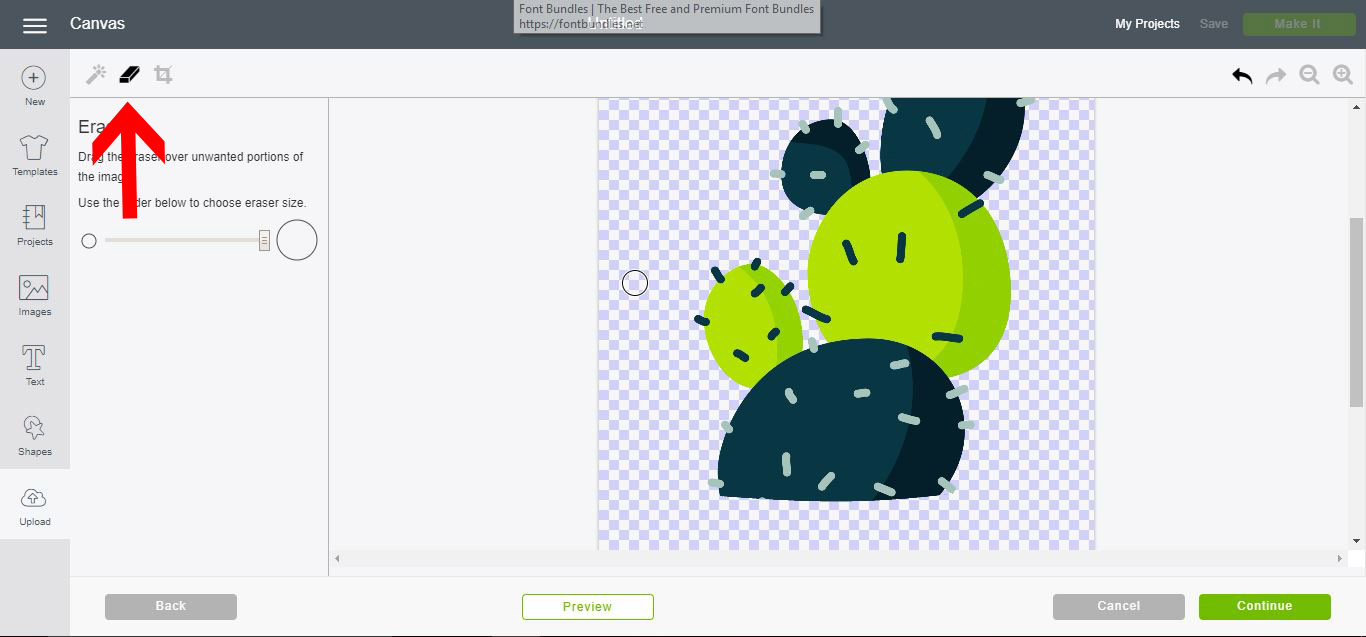
Step 3: Use the Eraser Tool.

Click on the Zoom button (off to the right) and Zoom into the section of your design you want to keep. Then click on the Crop icon and crop the image.

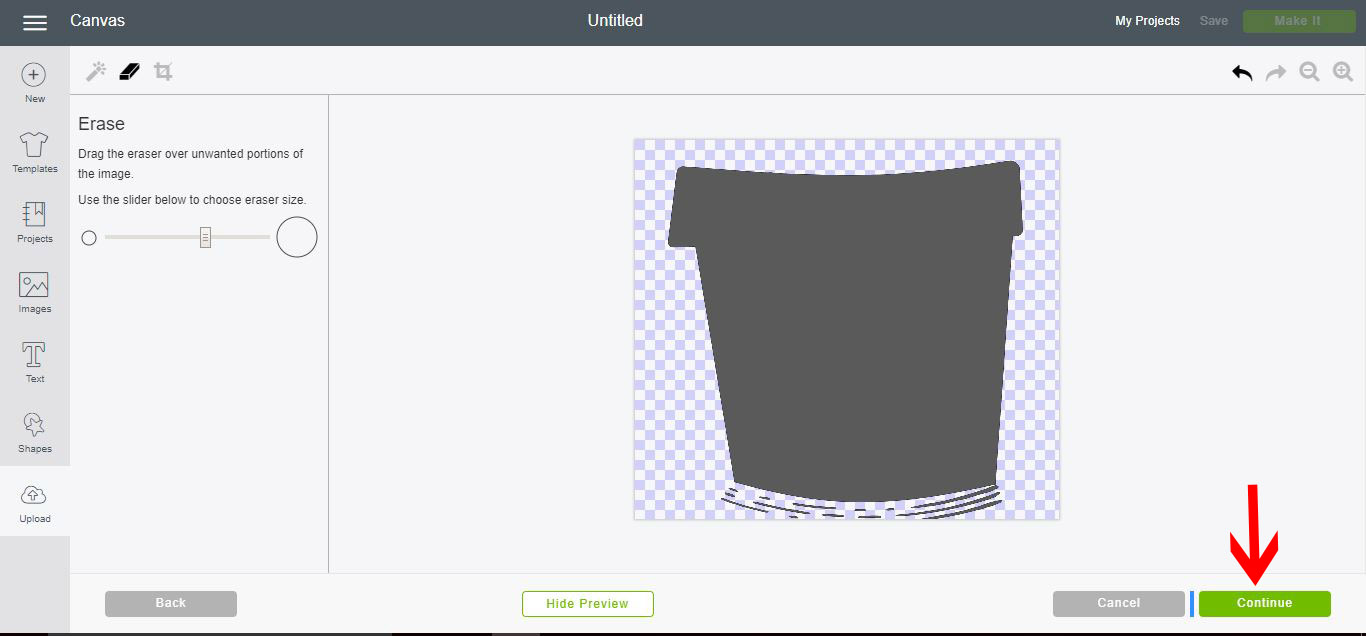
Using the Eraser tool you can remove any extra parts of the design you do not want to keep.

Click preview so you can see if you have removed all the parts you do not need. When you are happy click continue.

Step 4: Save as a Print then Cut

Save the file as a Print then Cut design, then click Save.

Step 5: Upload Your Image Again

Go back to upload the image and select the image again to upload.

Select your design again and click on complex image, then click on the continue button.

You’ll do the same steps as before, but this time you will remove the pot that the cactus is in.

This is what your design should look like after removing the flower pot with the Eraser Tool. Click continue and save it as a Print then Cut image again.

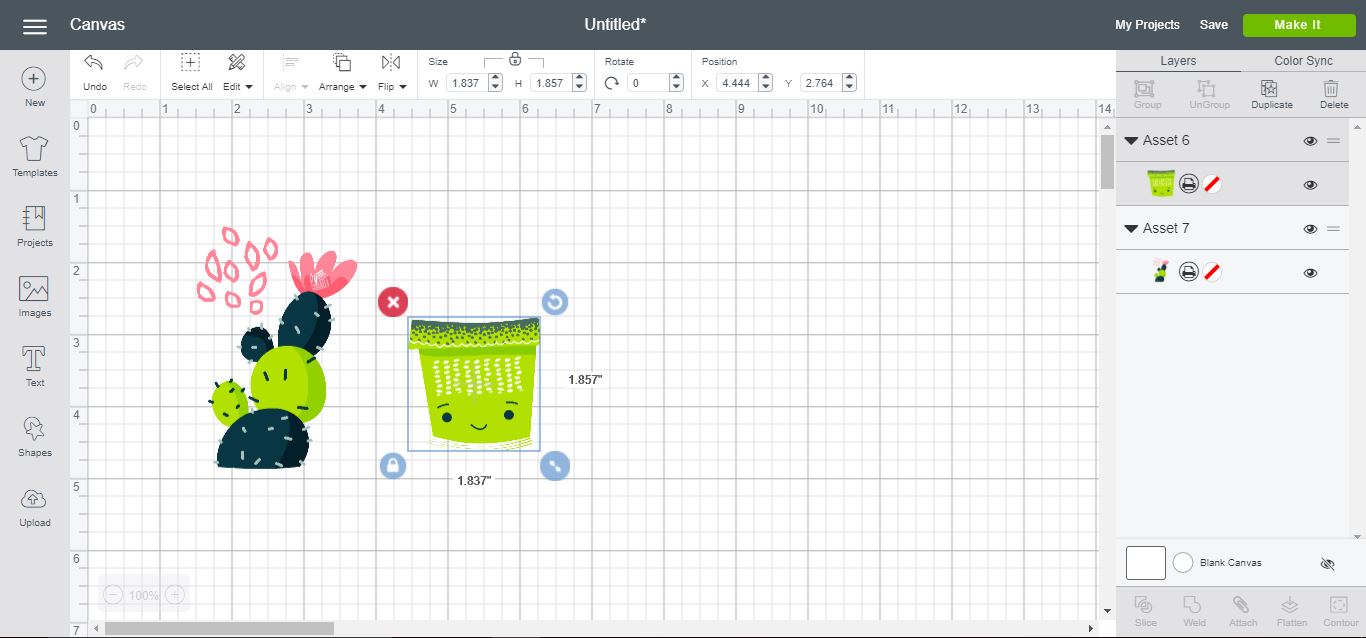
Step 6: Insert Your Images to Project

Select both pieces of the design you edited and click Insert Images.

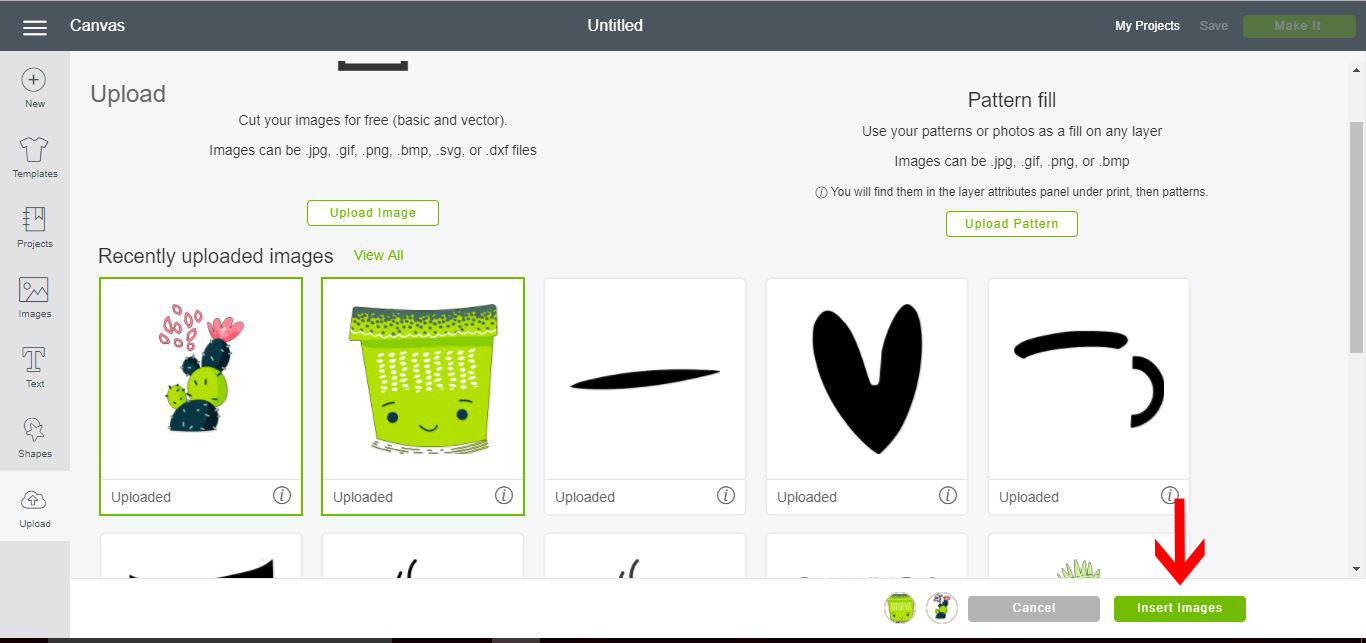
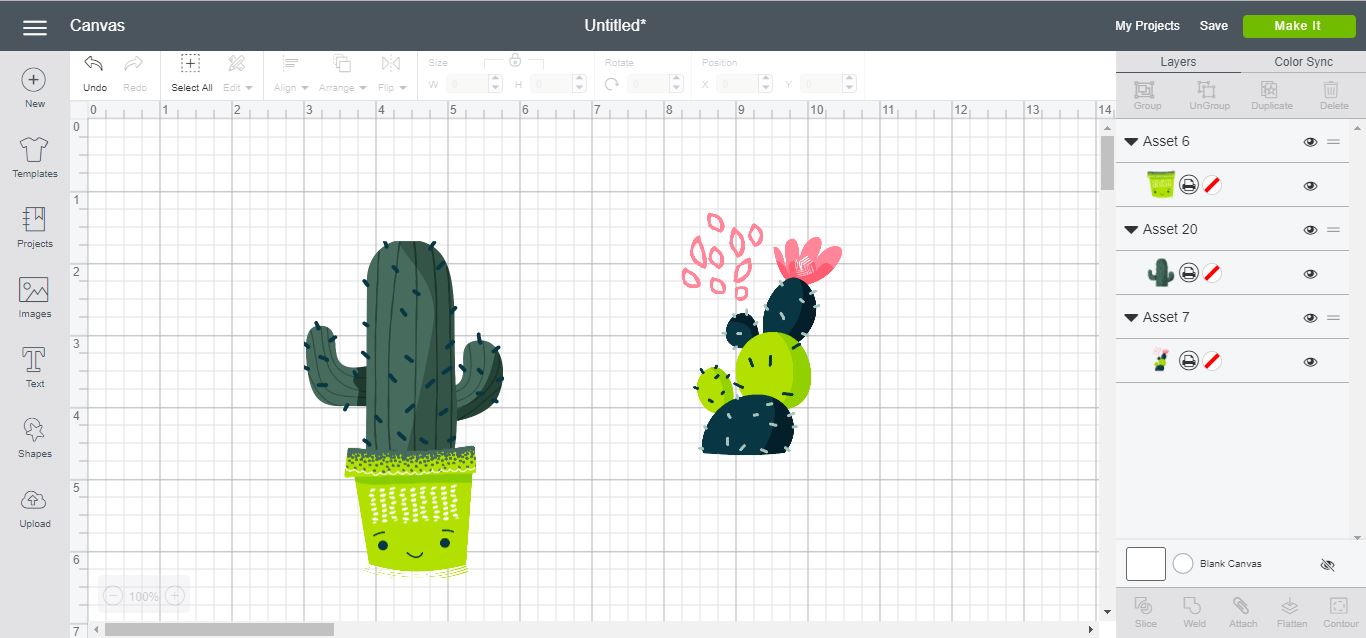
Your images will now appear in your Design Space project canvas.

You can take parts from other images and mix and match to create your own designs.

I hope you enjoyed this tutorial and learned something new! Using a similar process, you could turn flat PNG files into Multi Layer Images.


6 Related Cricut Tutorials

1- Open Cricut Design Space. Click on the upload image icon on the left toolbar.2- In the next screen click on upload image.3- Your uploaded image will appear onscreen. As you can see there are multiple images on this design but we only need a couple of the ...

1-Open the Cricut Design Space App.2- Tap on a new project.3- Tap on image.4- Select your image. The contour tool will only work if the image has several layers. Flattened image will not work. Once you have selected your image insert the image.5- Select your image. ...

1- Open the Cricut Design Space Mobile App.2- Tap on new project.3-  On your design space, tap on the image icon.4- A new screen will appear. This will give you access to the whole design space library. You also have on this screen a categories. tap on ...

If you want to split an image to create a monogram, cut a shape out from a photo, or are curious about what the Slice Tool in Cricut Design Space can do then keep reading.First, you will need to make sure that you have downloaded and unzipped the file. ...

1- Open Cricut design space and click on new project.2- Click the upload icon.3- Click on upload image.4- Click on browse.5- Select the design you would like to add foiled accents too. I am using Elves and gifts graphics from designbundles.net6- Select the complex ...

Today, we’ll show you two methods for deleting uploaded images in Cricut Design Space so that you can keep your list of images organized and work more efficiently.Method 1: Access Uploaded Images From the Images ScreenStep 1 - Open the Images ScreenWith a project open, click on the Images icon ...

cricut tutorial design space tutorial

You may also like

Help Center
ol image