
How to Copy Multiple Layers to a New Canvas in Procreate
We'll show you exactly how to copy and paste layers to a new canvas in this Procreate tutorial.
You’re planning on starting a new project and you need to use layer elements from another artwork. Don’t waste time duplicating and resize your canvas to get those layers or recreating elements from scratch. In this tutorial, we are going to use an Astrology svg and add a previously designed galaxy background. We also have a bunch of Alchemy Illustrations that would work perfectly for any of your projects.
Please note: we are using the latest version of Procreate 5X. If you do not see a feature mentioned below, make sure your Procreate is up-to-date.
Step 1 - Set up your canvas
The first step you will take is to get your canvas ready. You can create a custom canvas size or open an exciting canvas where the layer elements will be moved to. We went ahead and set up a new canvas and imported our Leo astrology svg that we will use as our base design.
You can choose to get your base design ready as we did, or you can do this once you have moved over the layers.

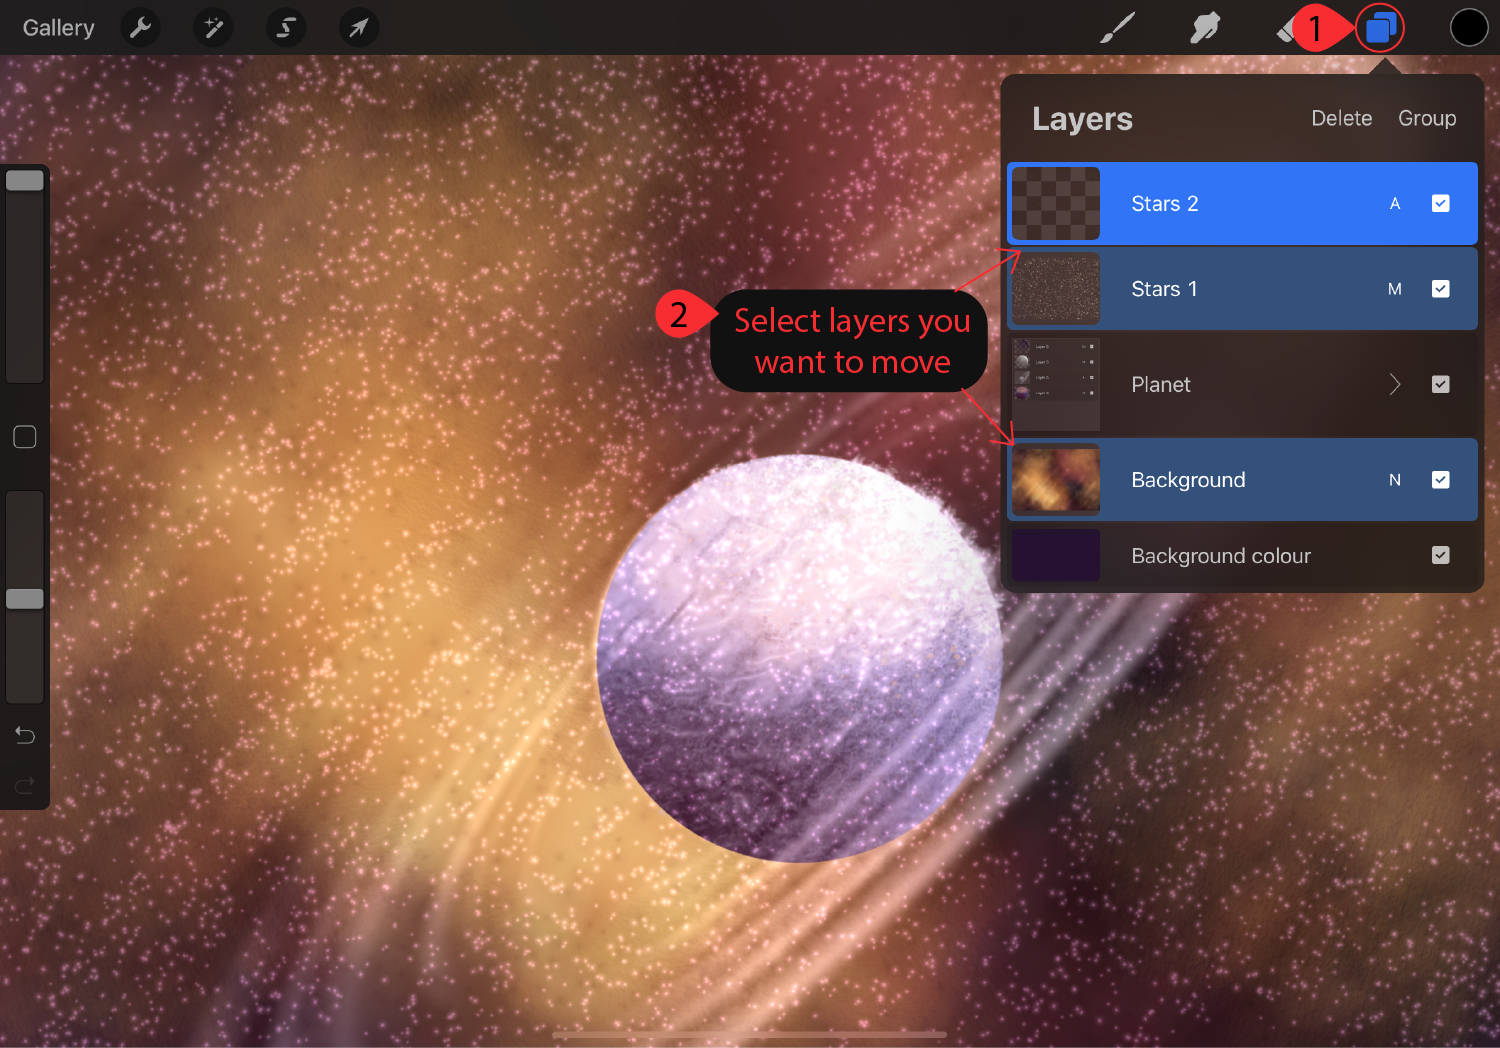
Step 2 - Select layers to move
Next, go to the canvas that you want to copy and move layers from. Open the “Layers” panel and select one or multiple layers that you want to copy and move. If you are new to Procreate we have a handy tutorial on how to use Procreate layers if you need help.
We are selecting layers from the background design we made using galaxy brushes. It will fit perfectly with our Leo svg potion bottle to add a final touch of the galaxy.
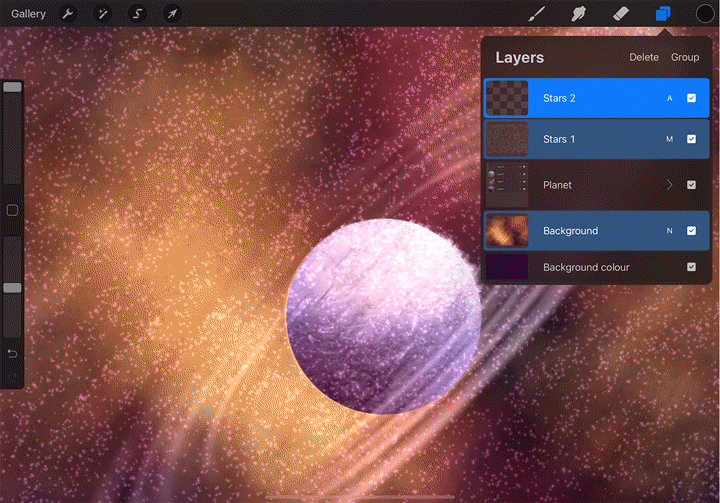
Step 3 - Move layers to the new canvas
With the layers selected we are going to move them out of the layers panel and current canvas and place them in the new canvas’s layers. To see what we mean by that we are adding a gif below each section to see how it would look.
Move layers:
To move your layers you are going to press and hold on to a selected layer. You will see the layer drawing out from the “Layers” panel. If you have multiple layers selected you will also see a number counter. Once you have moved the layers from the “Layers” panel tap on the “Gallery” text (Top left corner).
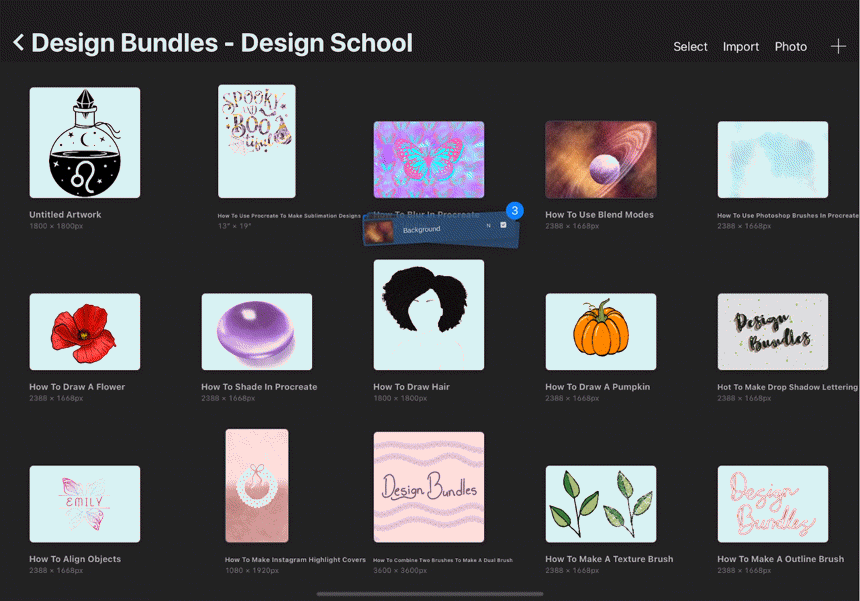
Place layers in new canvas:
Still pressing down with the selected layers following your finger. Tap on the canvas you want to move the layers too. Once the canvas is open, tap on the “Layers” panel and simply drop the layers in the panel.
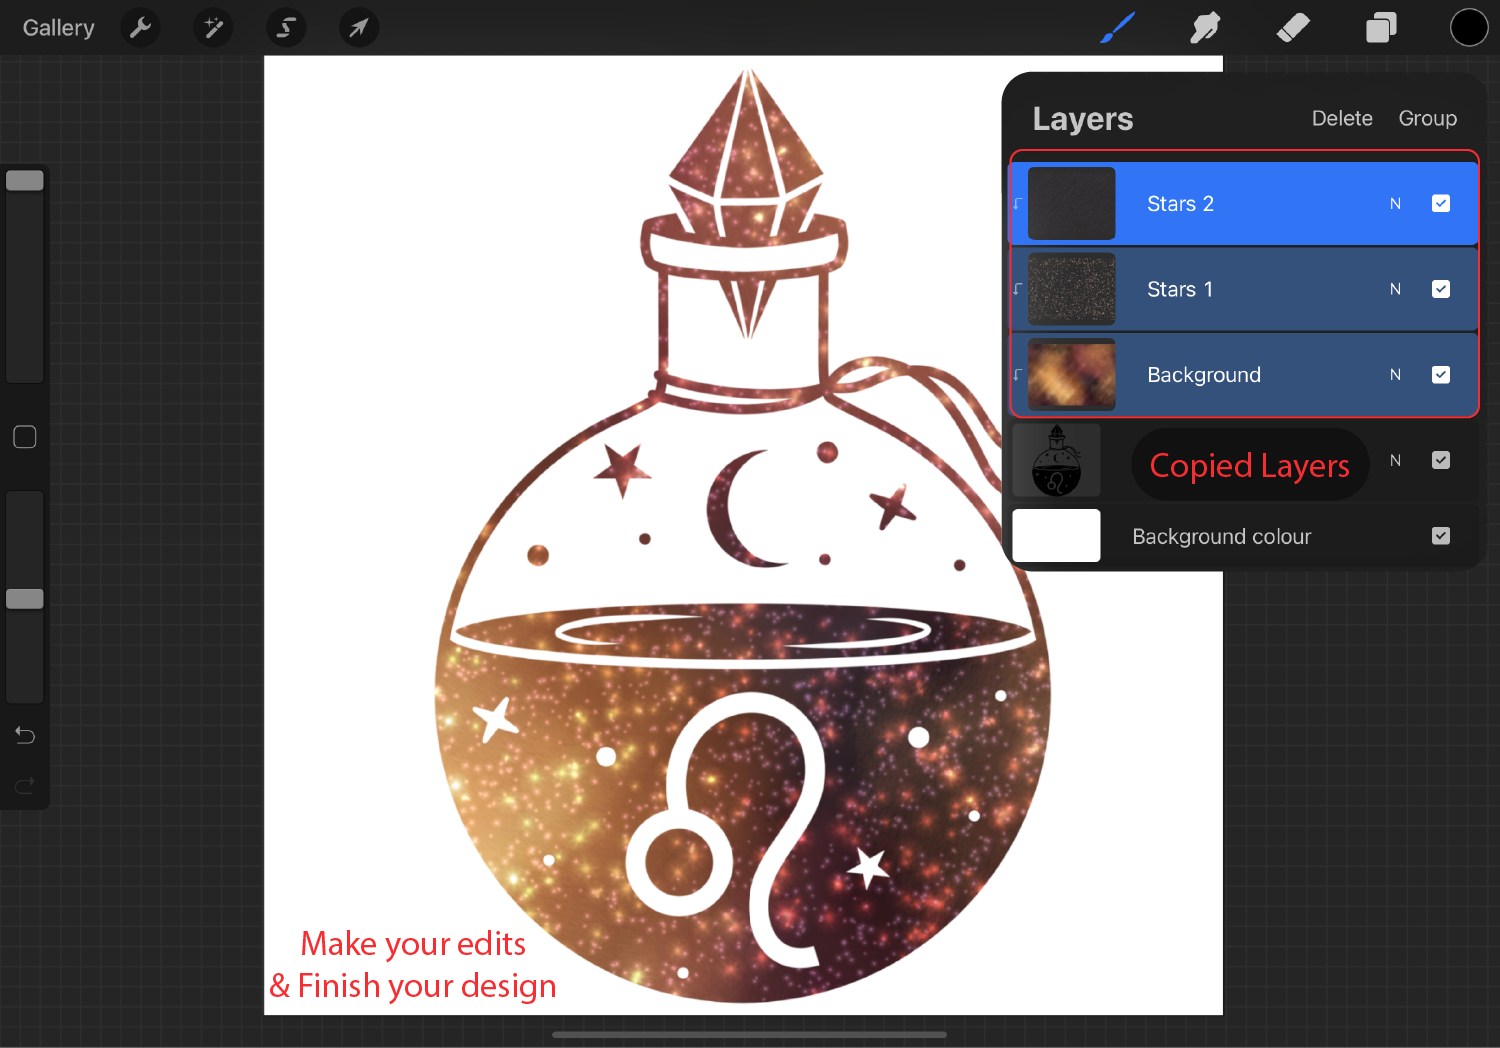
Step 4 - Make your edits
You have copied your layers over and you can go ahead and make additional edits and add more to your artwork to finish it off. For our project, we are going to enable a clipping mask to our newly imported layers to fill the black space of the astrology svg.
We are also using the Transformation tool (mouse pointer icon) to resize the layers to fill the svg design.
With this easy way of copying and moving layers around you can truly have the freedom of combining your creativity in no time. Next up check out our tutorials on making planner stickers in Procreate, using the smudge tool, and creating a dual brush in Procreate.


