- By Design Bundles
- 3 Mins
- Photoshop Tutorials
Use Stipple Brushes in Photoshop
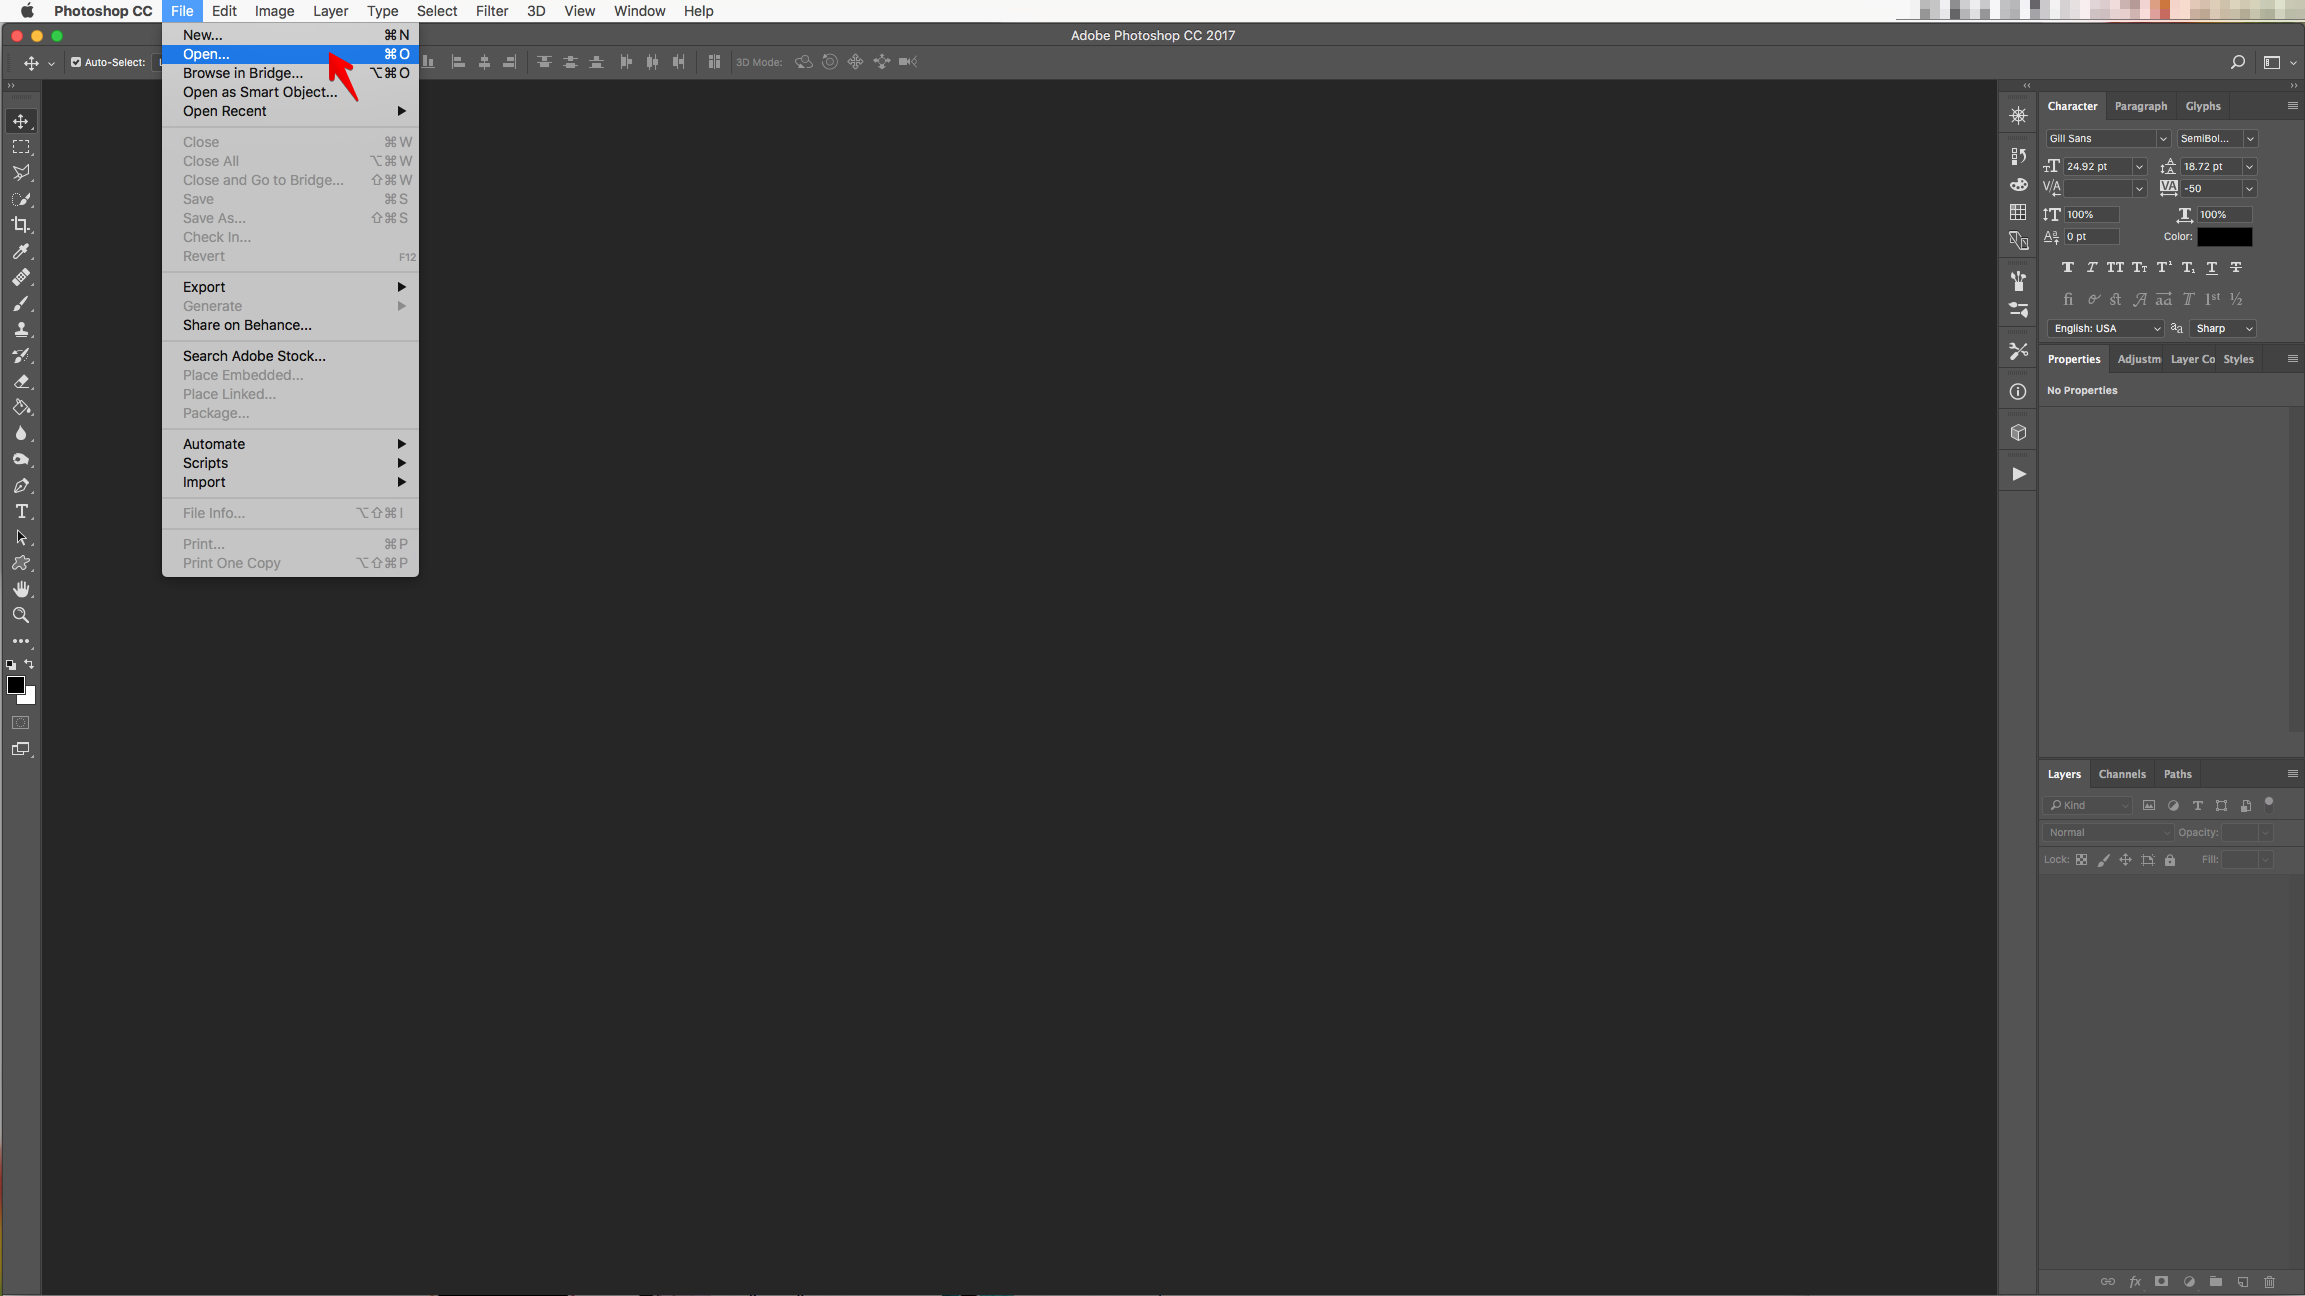
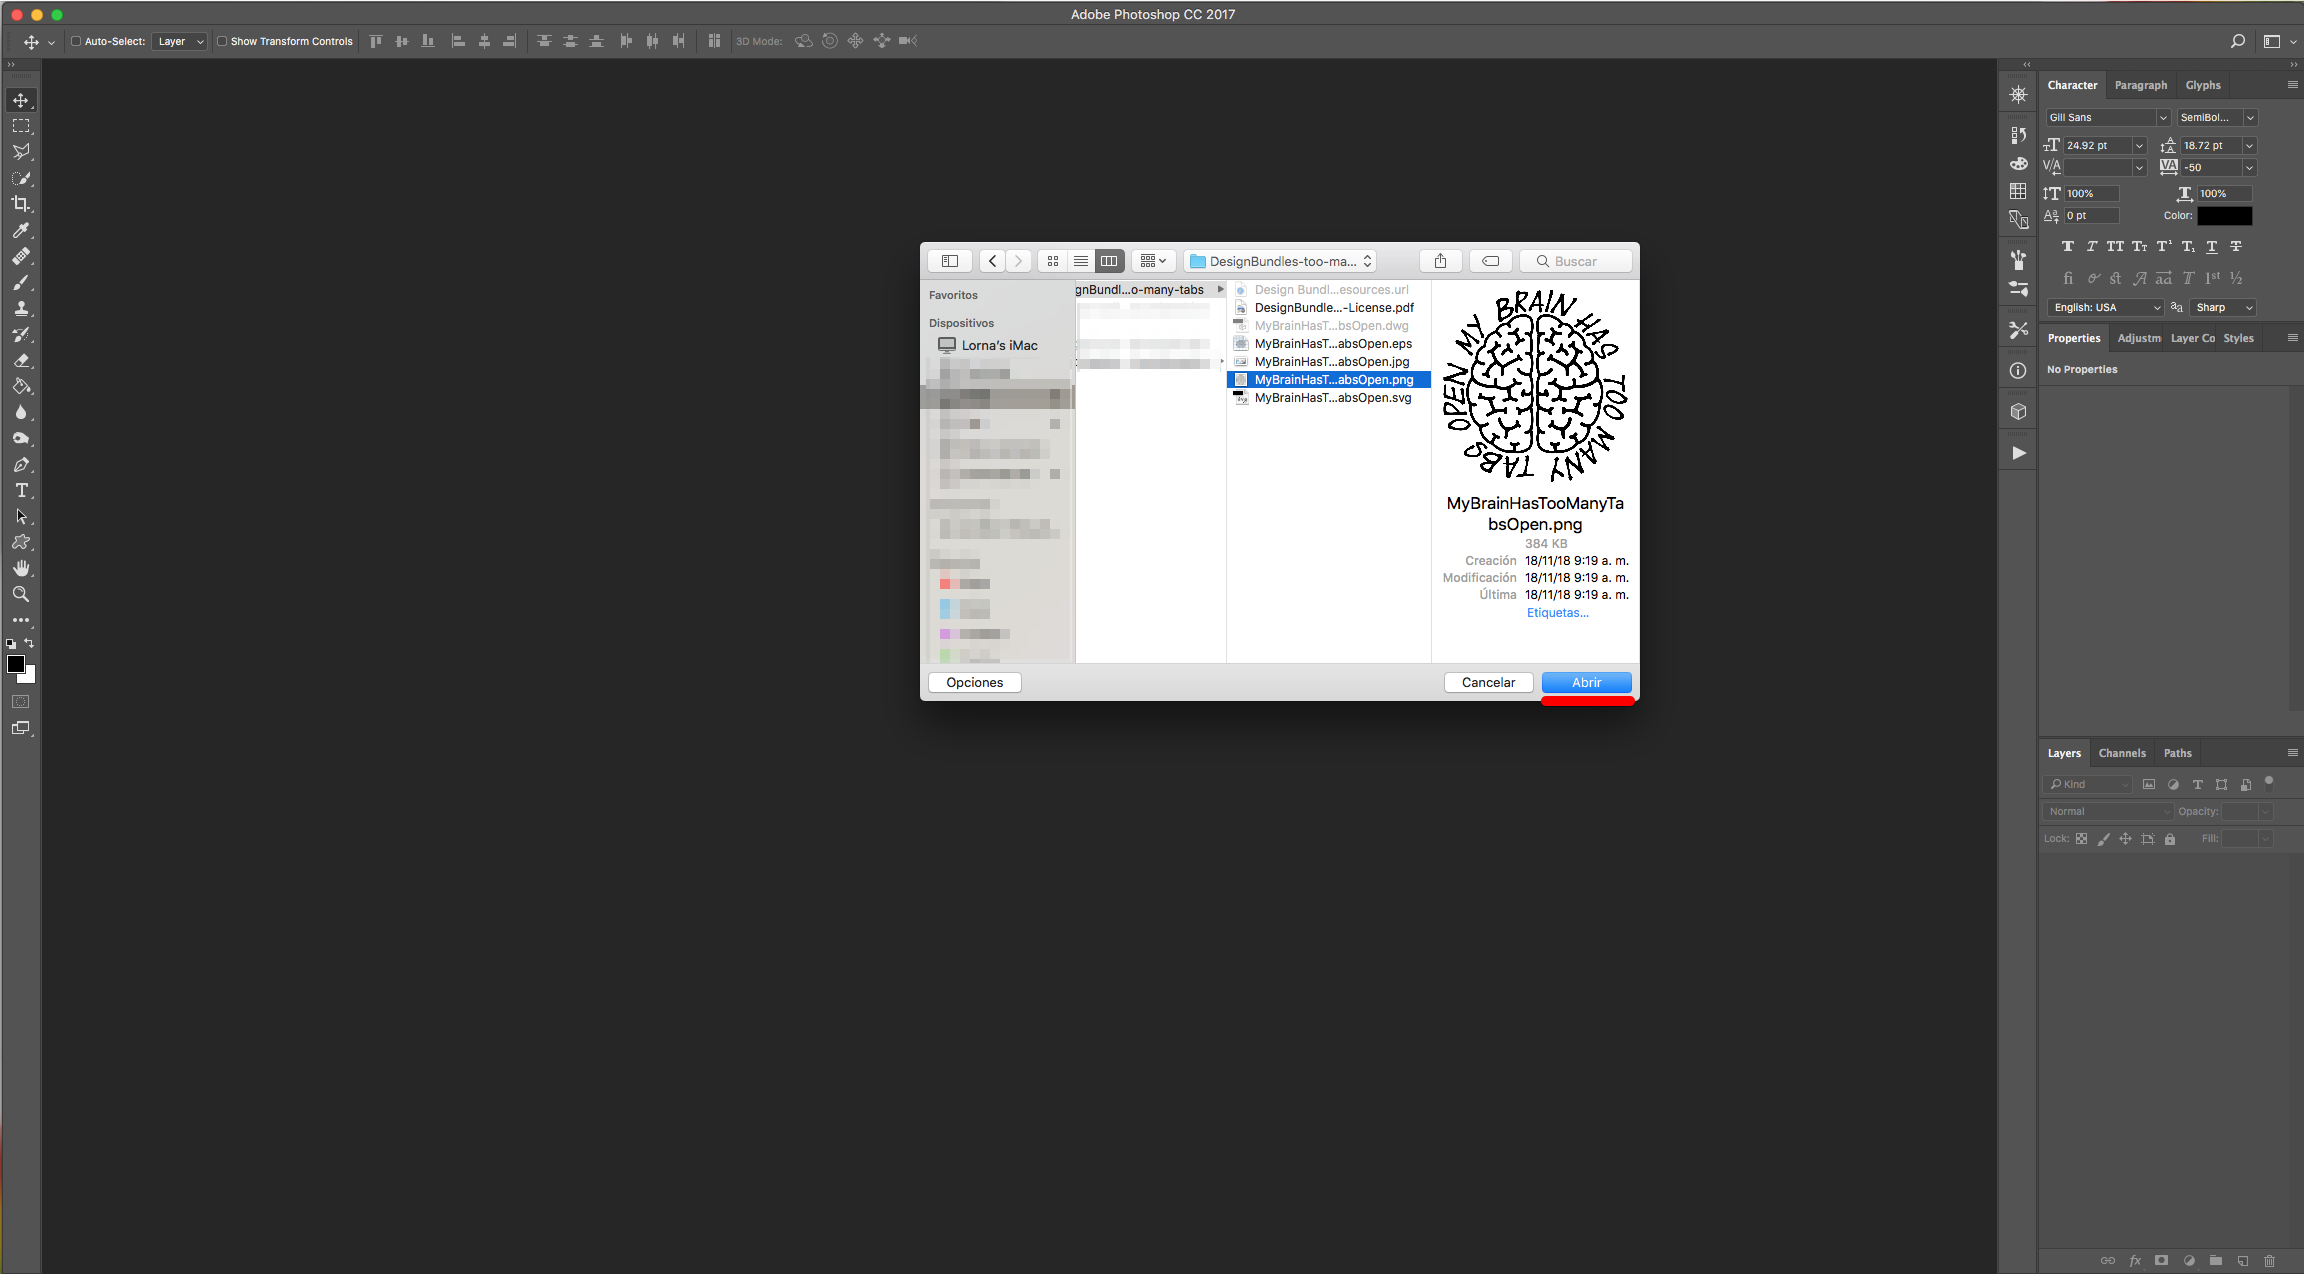
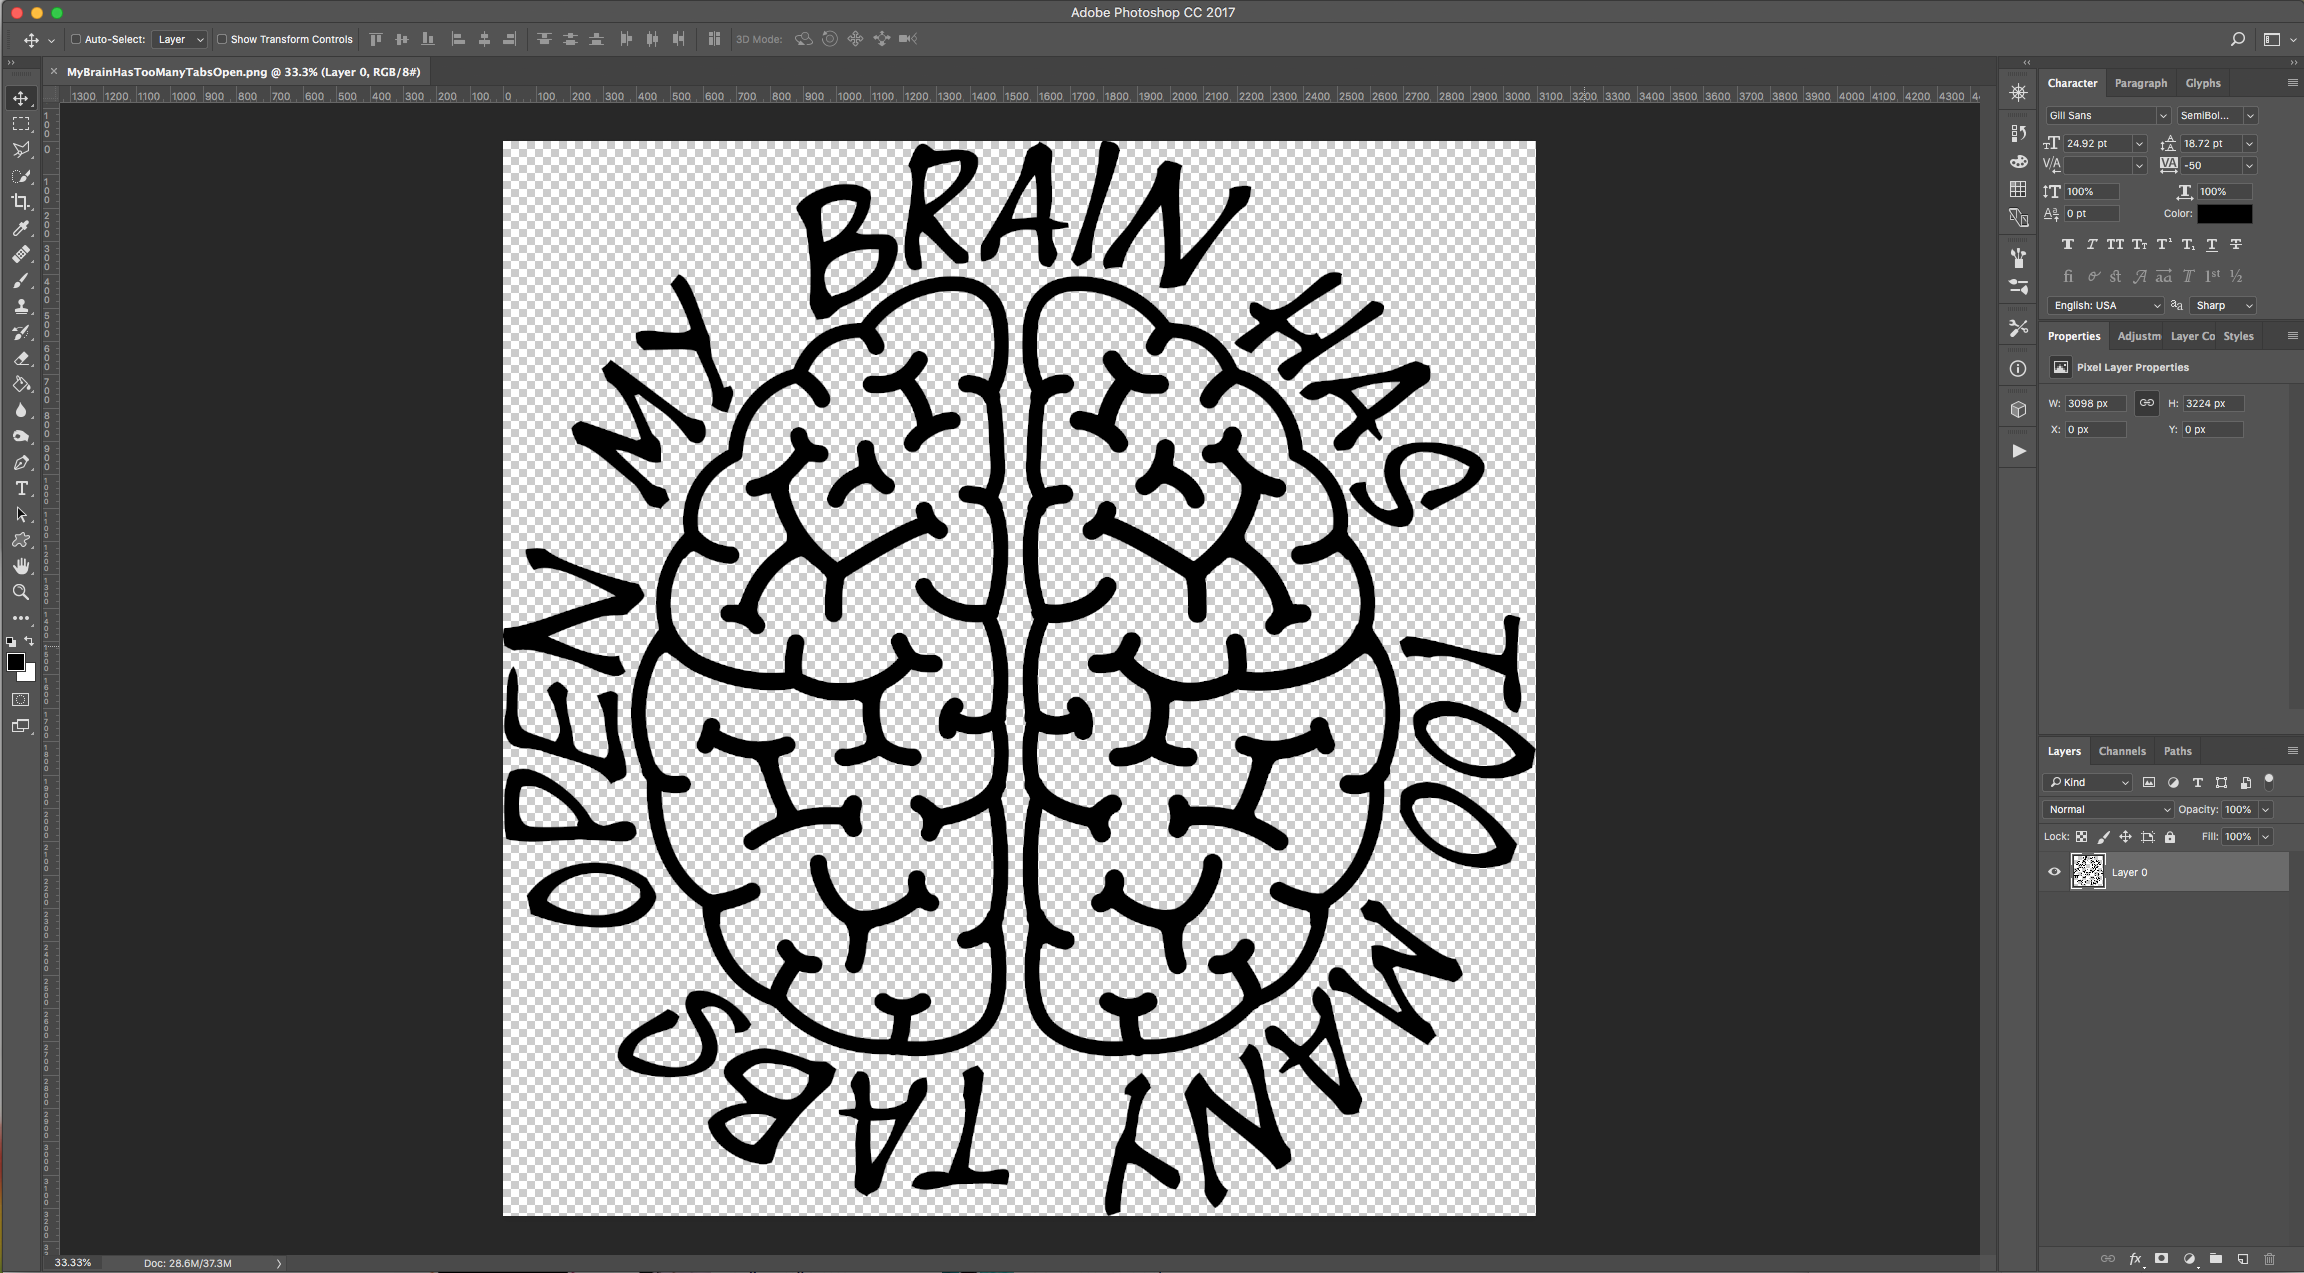
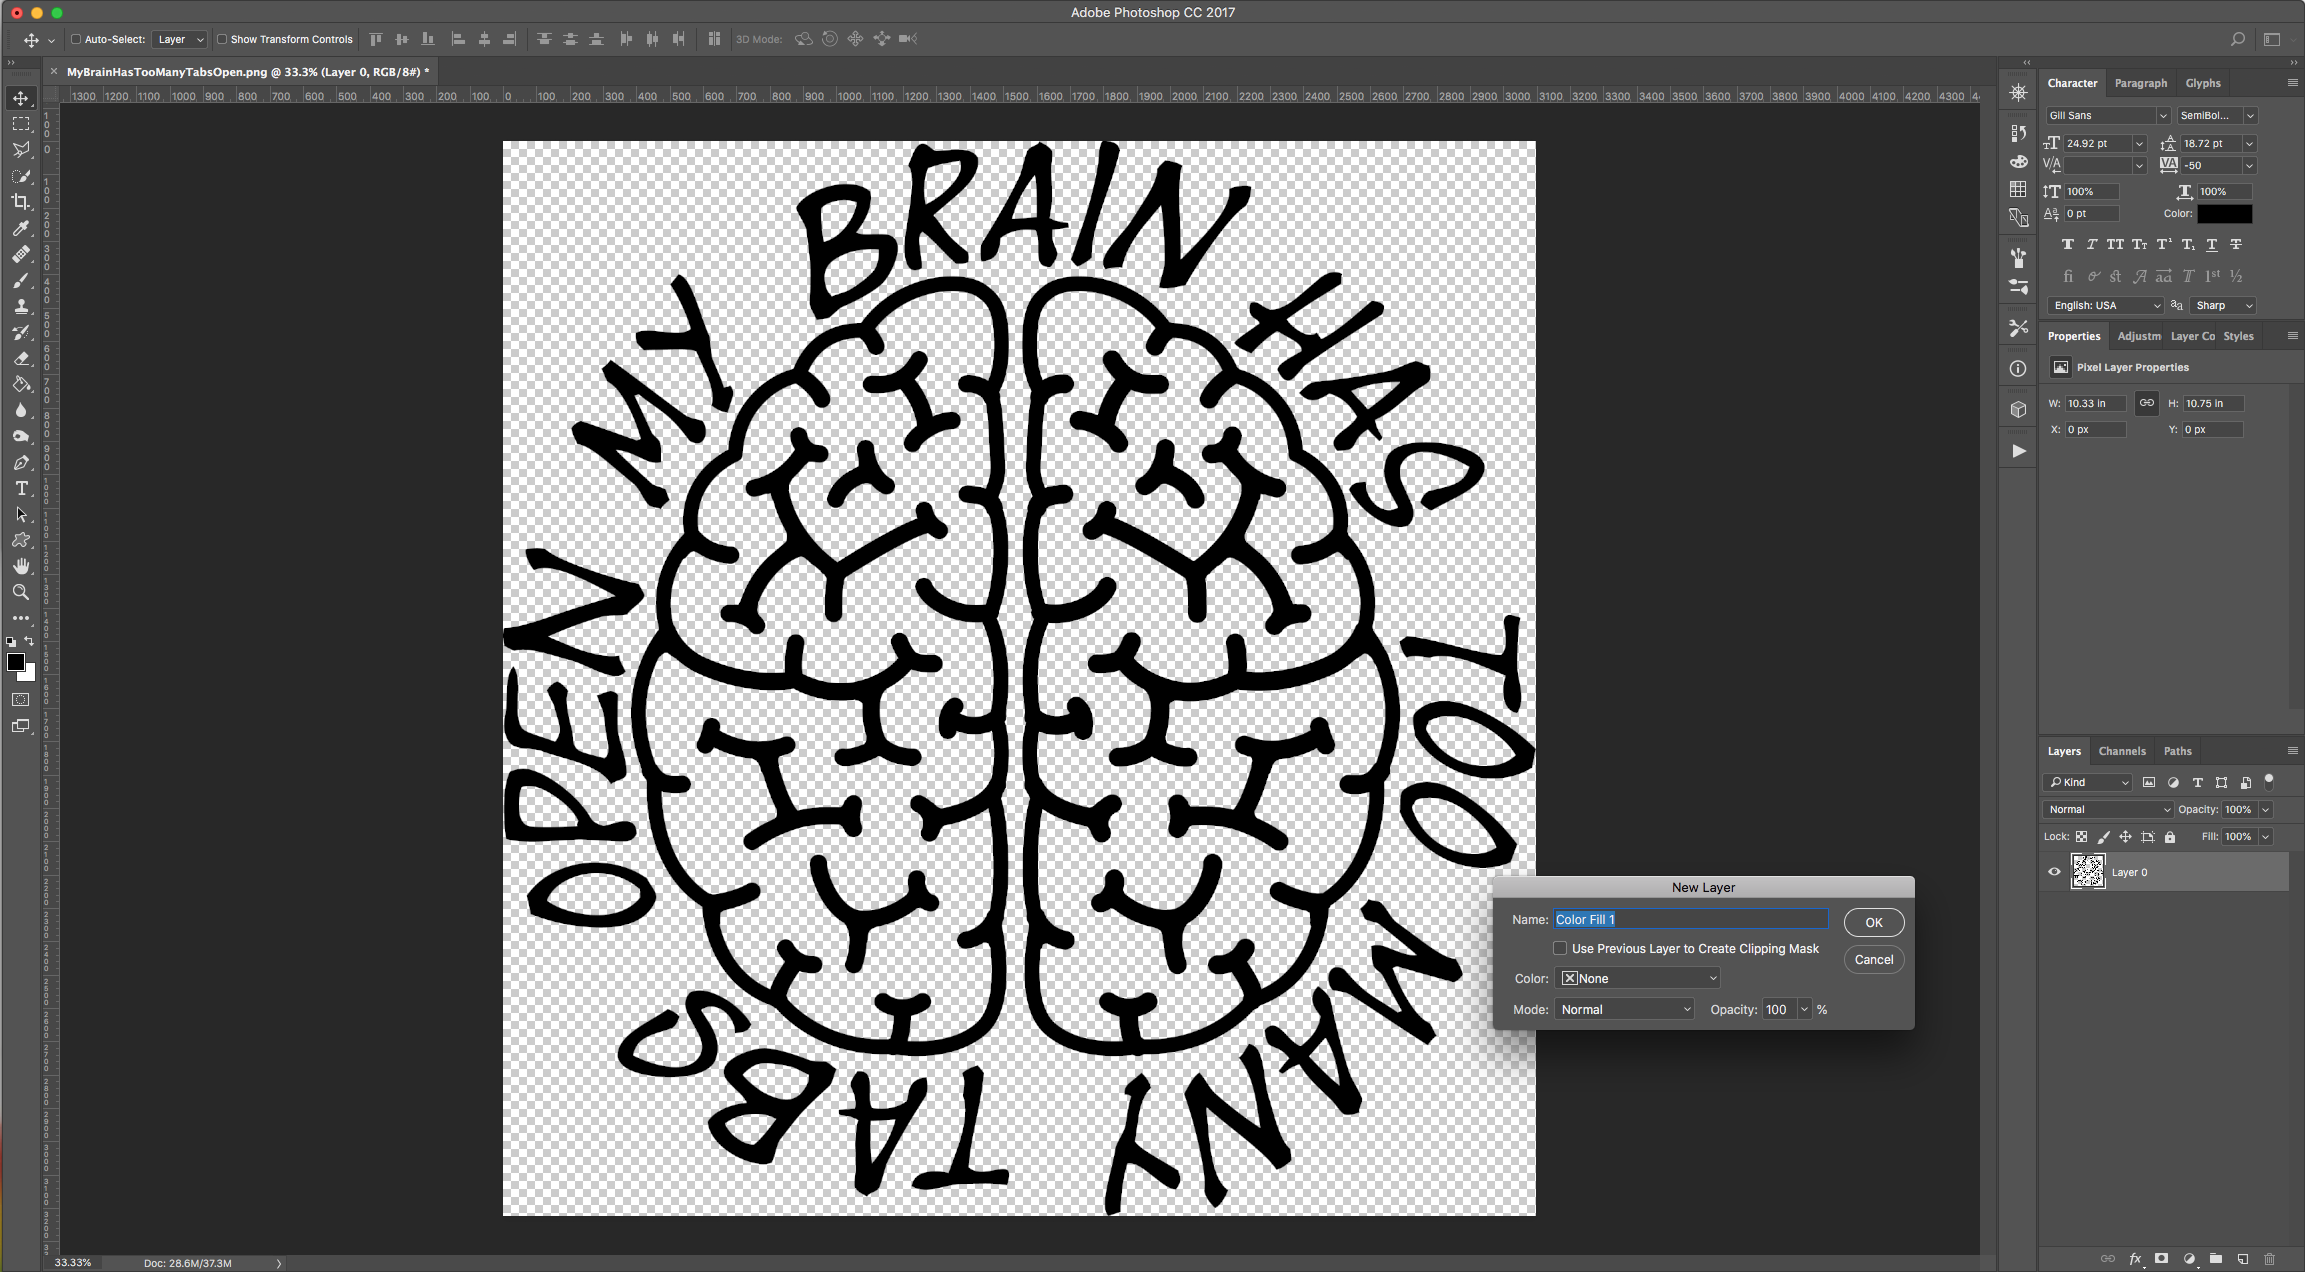
1 - In Photoshop, open the image you chose to work with. We chose the .PNG formatted file with a Transparent background. Unlock the Layer by double-clicking on top of its Thumbnail.
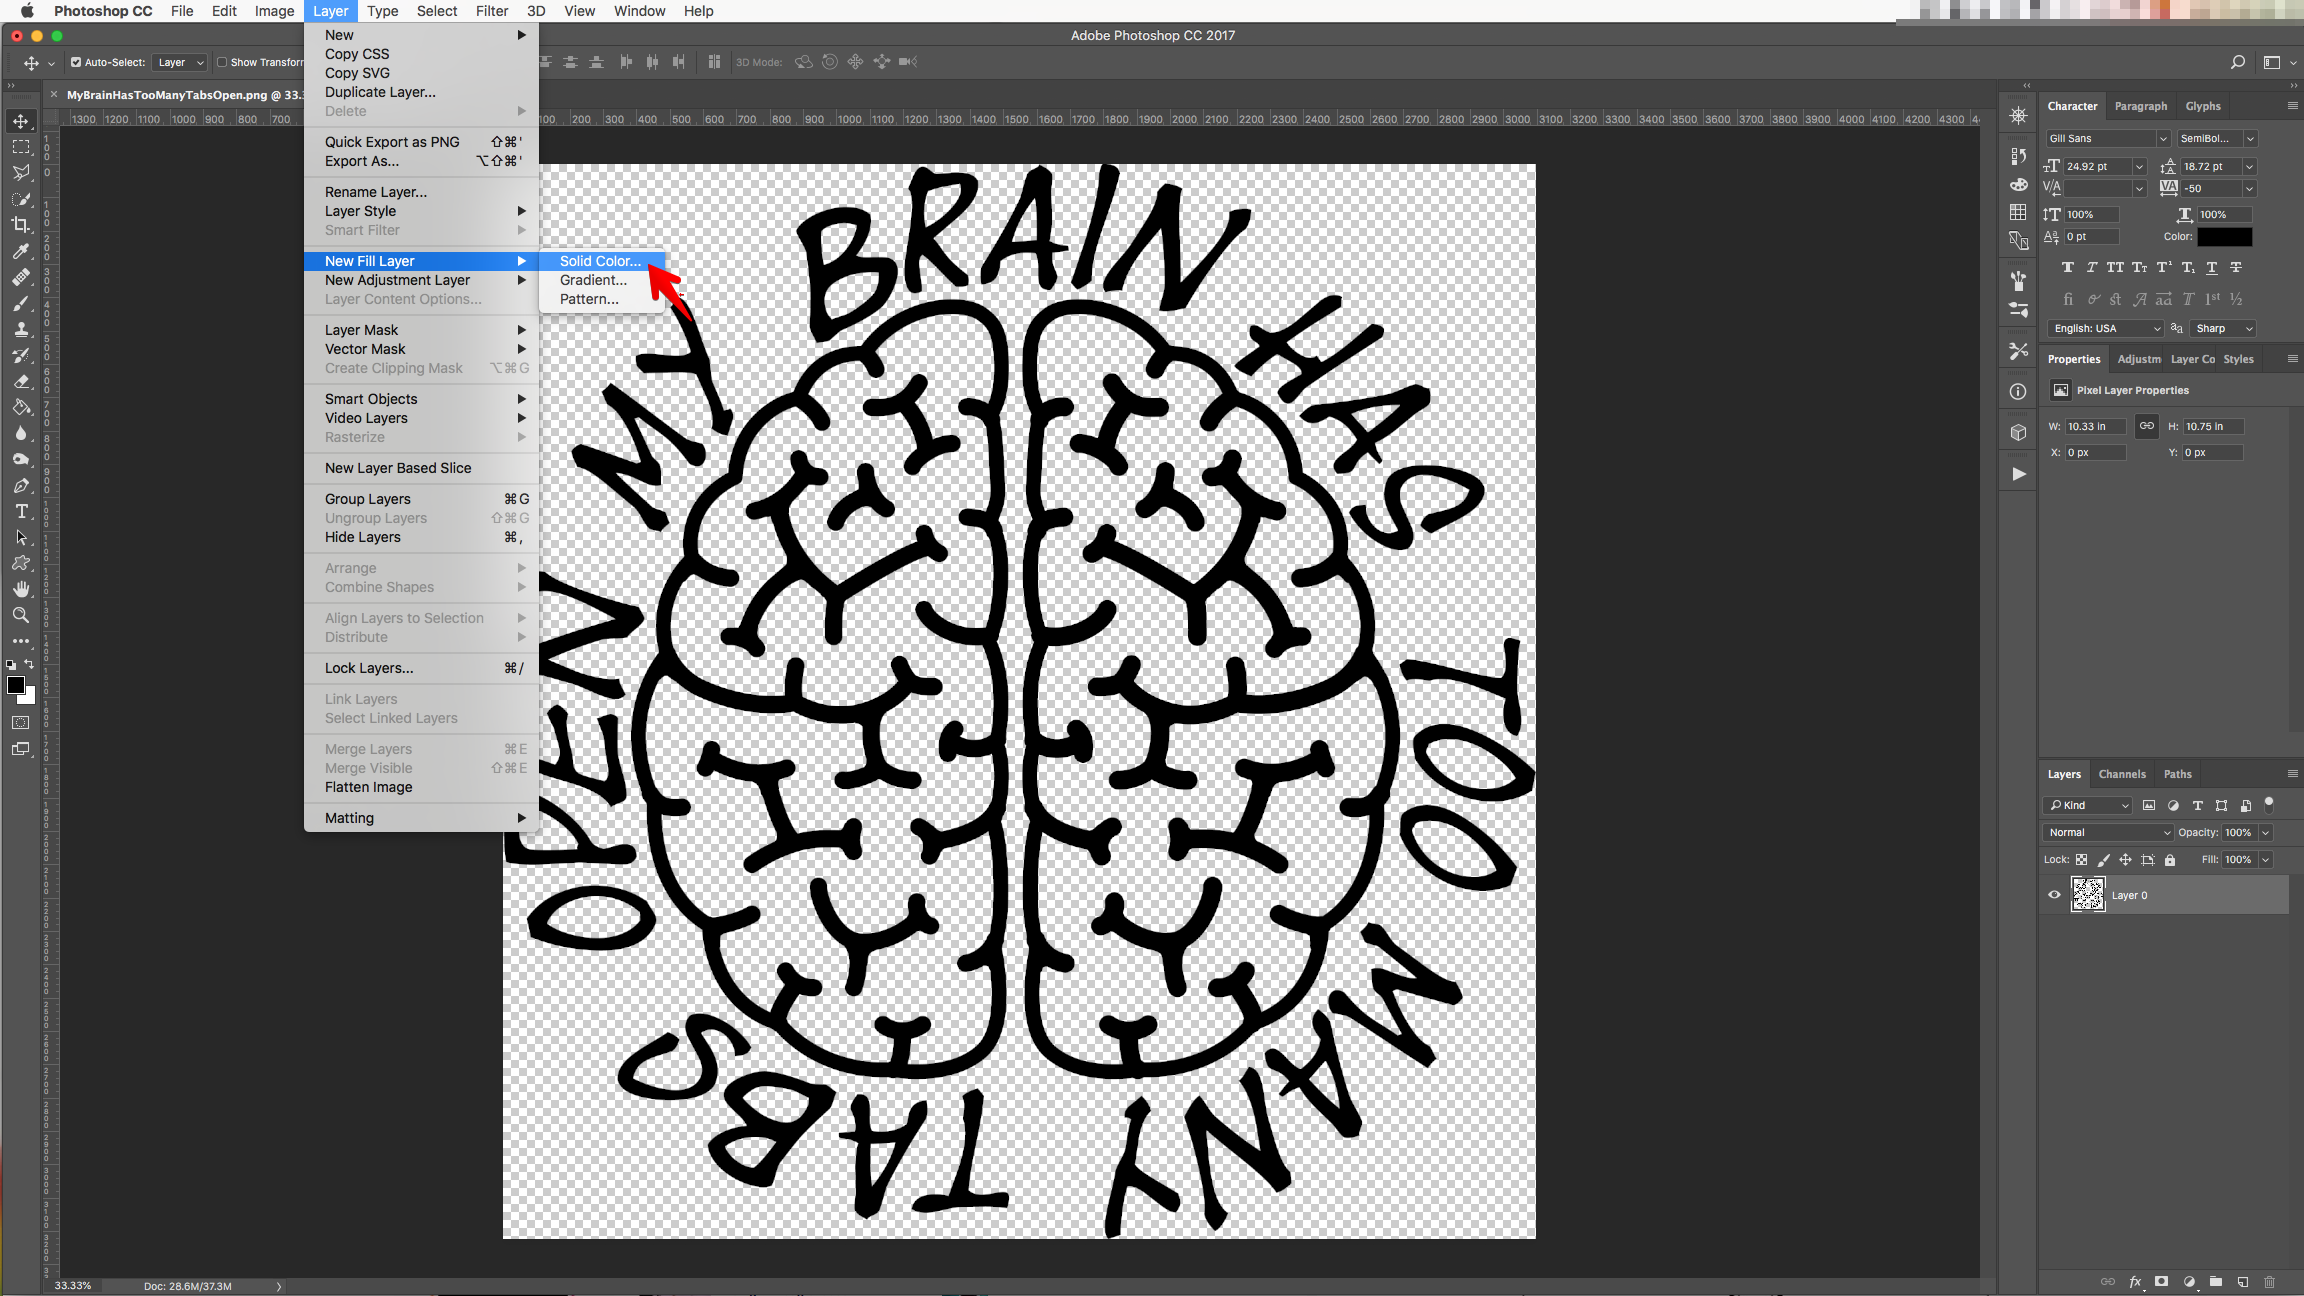
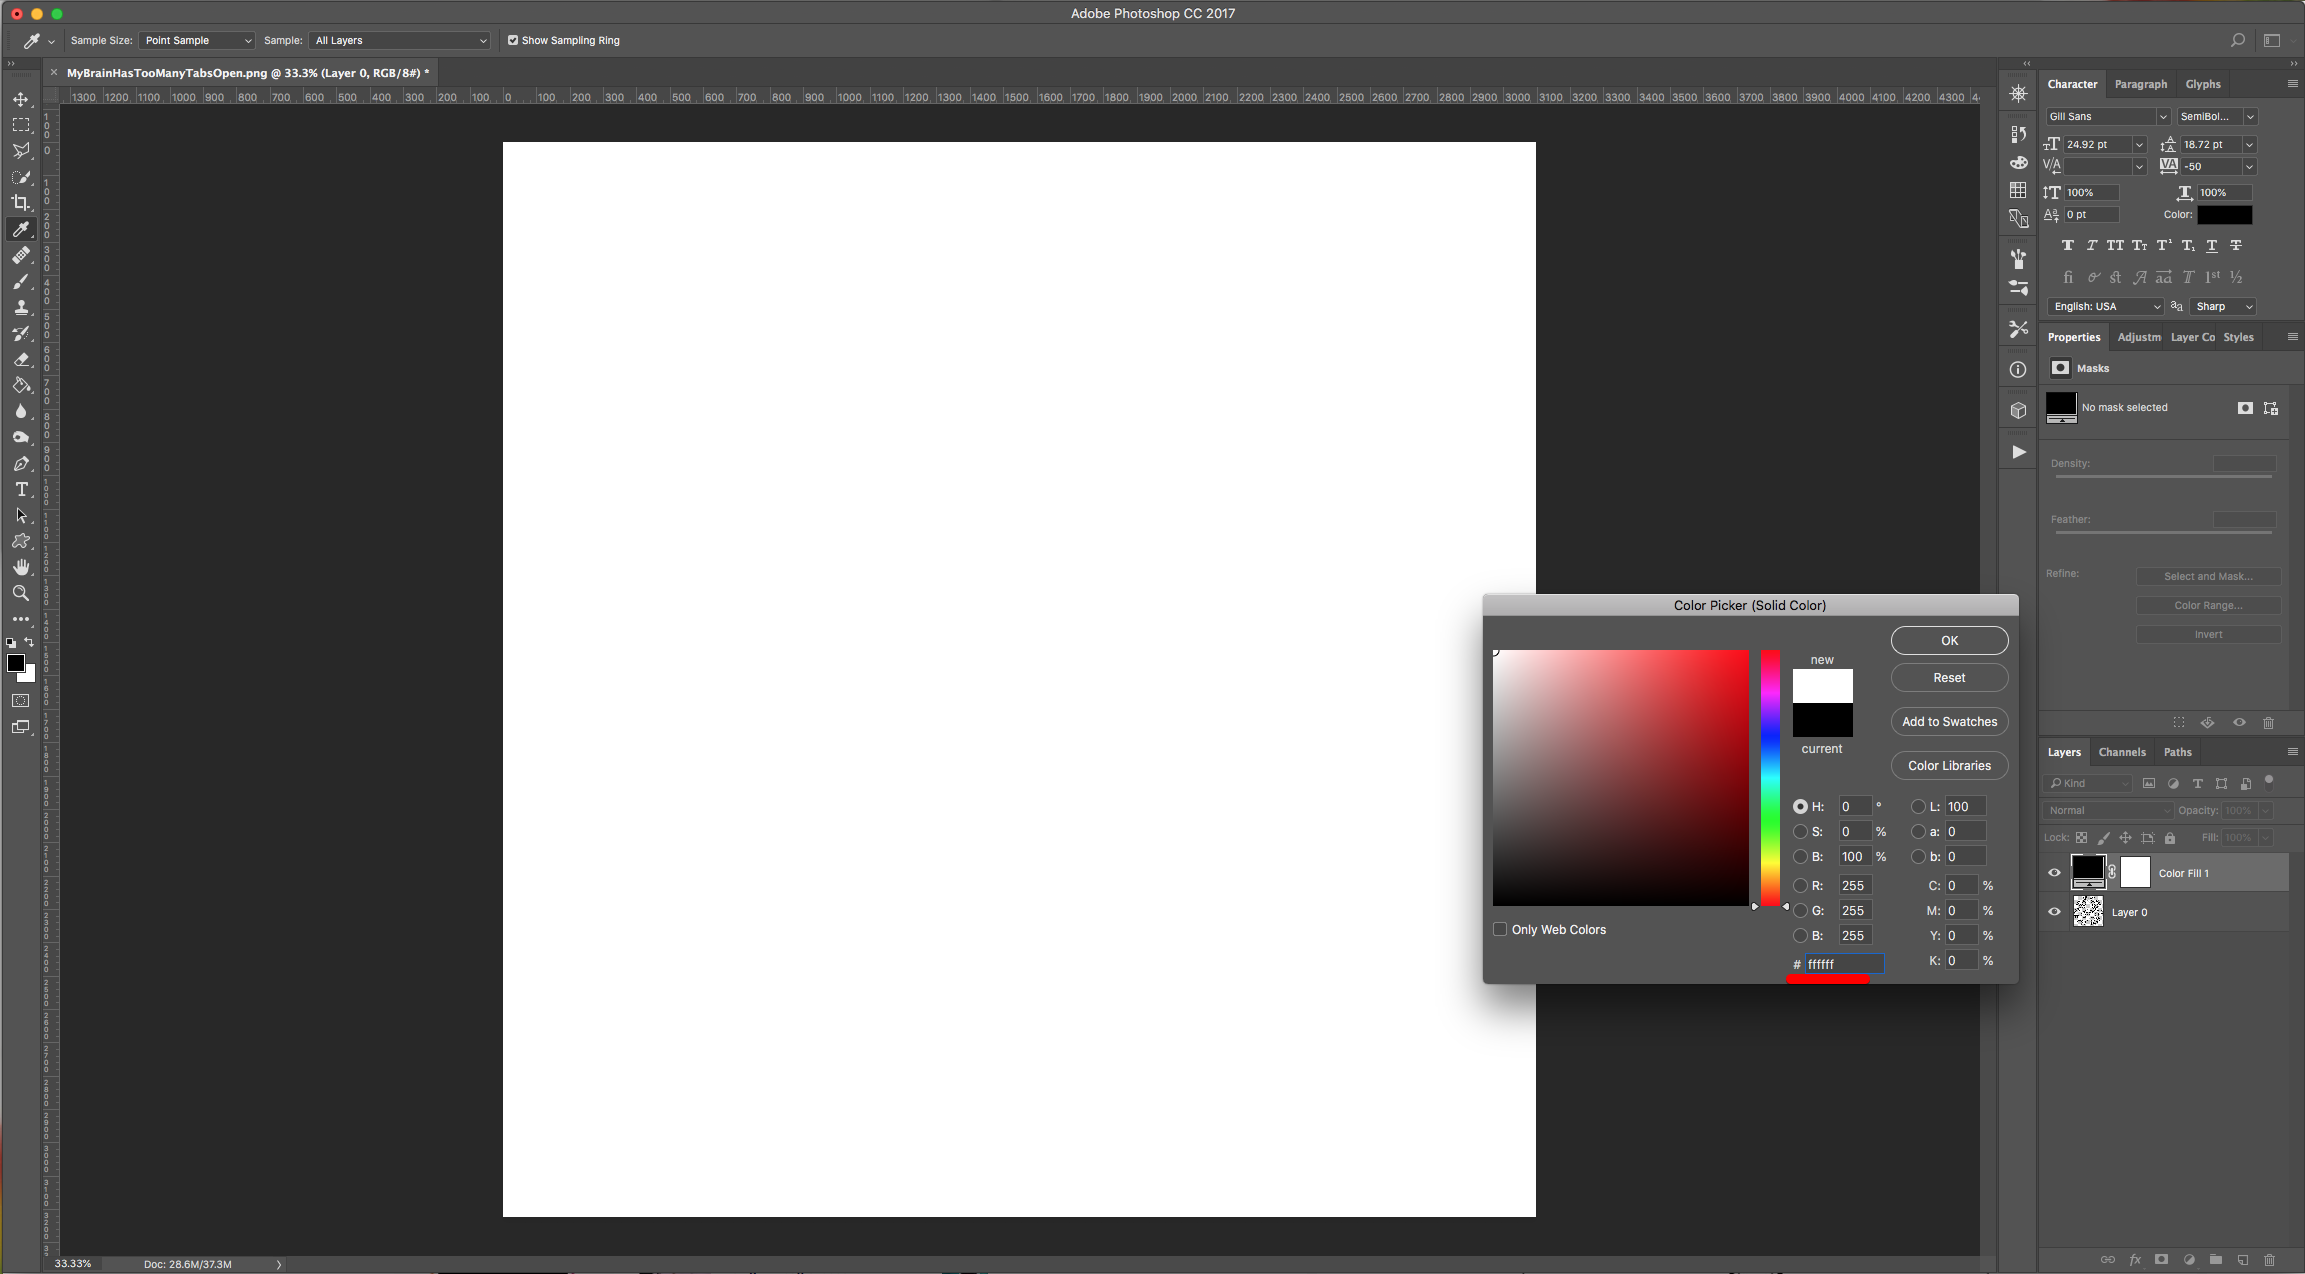
2 - Go to Layer > New Fill Layer > Solid Color, choose “None” for “Color” and click “OK”. Then use White (#ffffff) as fill color.
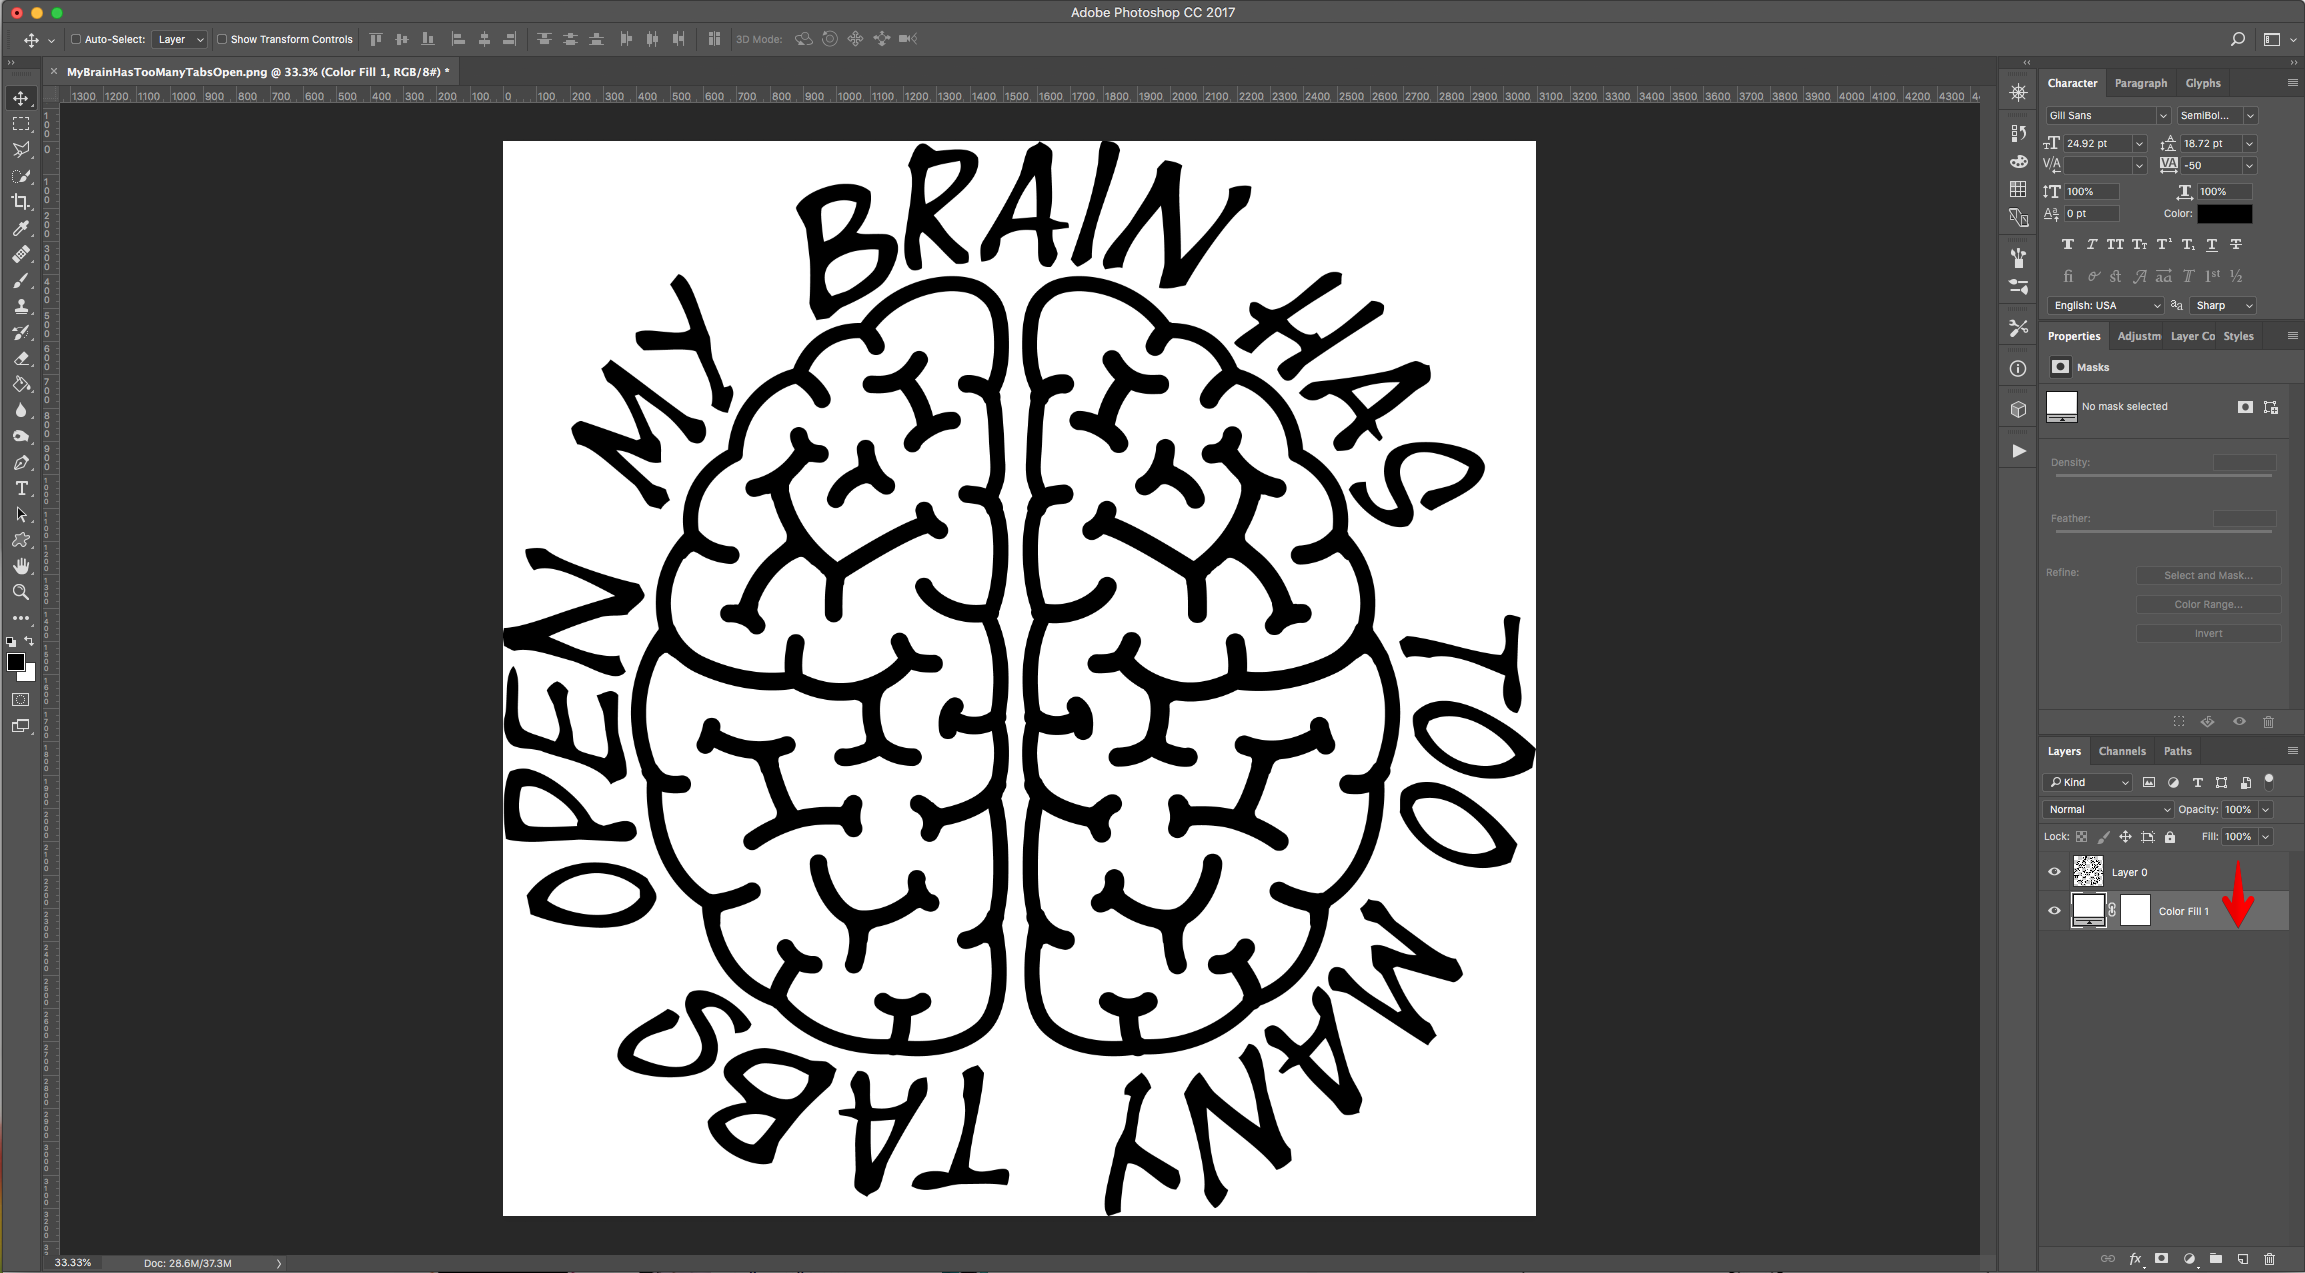
3 - Drag the “Color Fill” Layer down and place it under the original image.
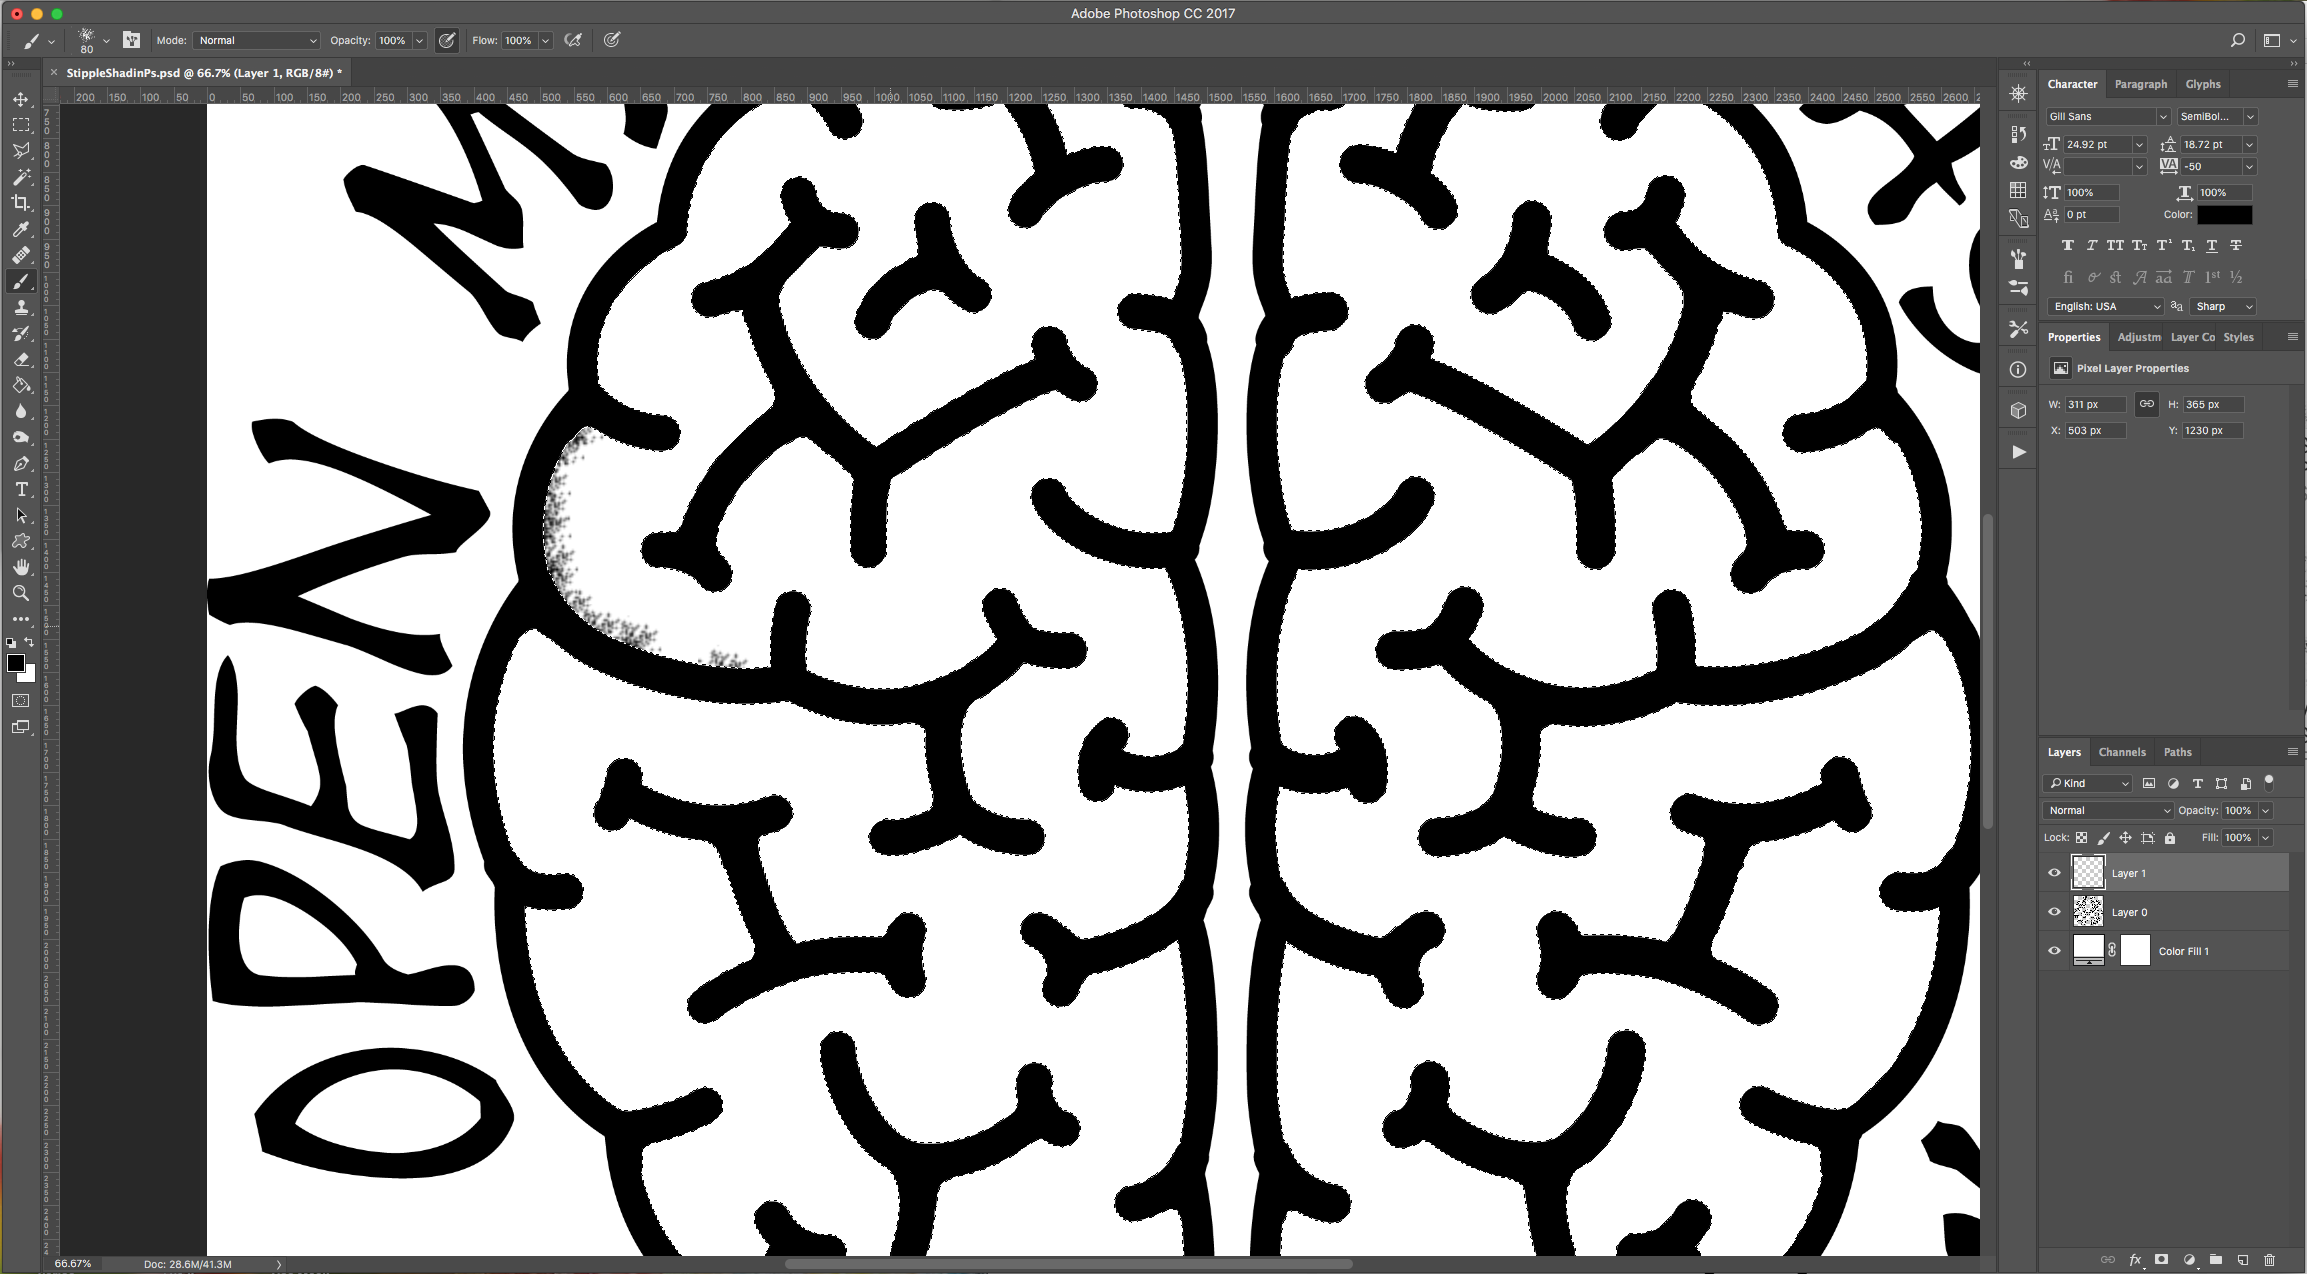
4 - Use the “Magic Wand Tool” (W) and select the portion of the image you want to use the brushes in.
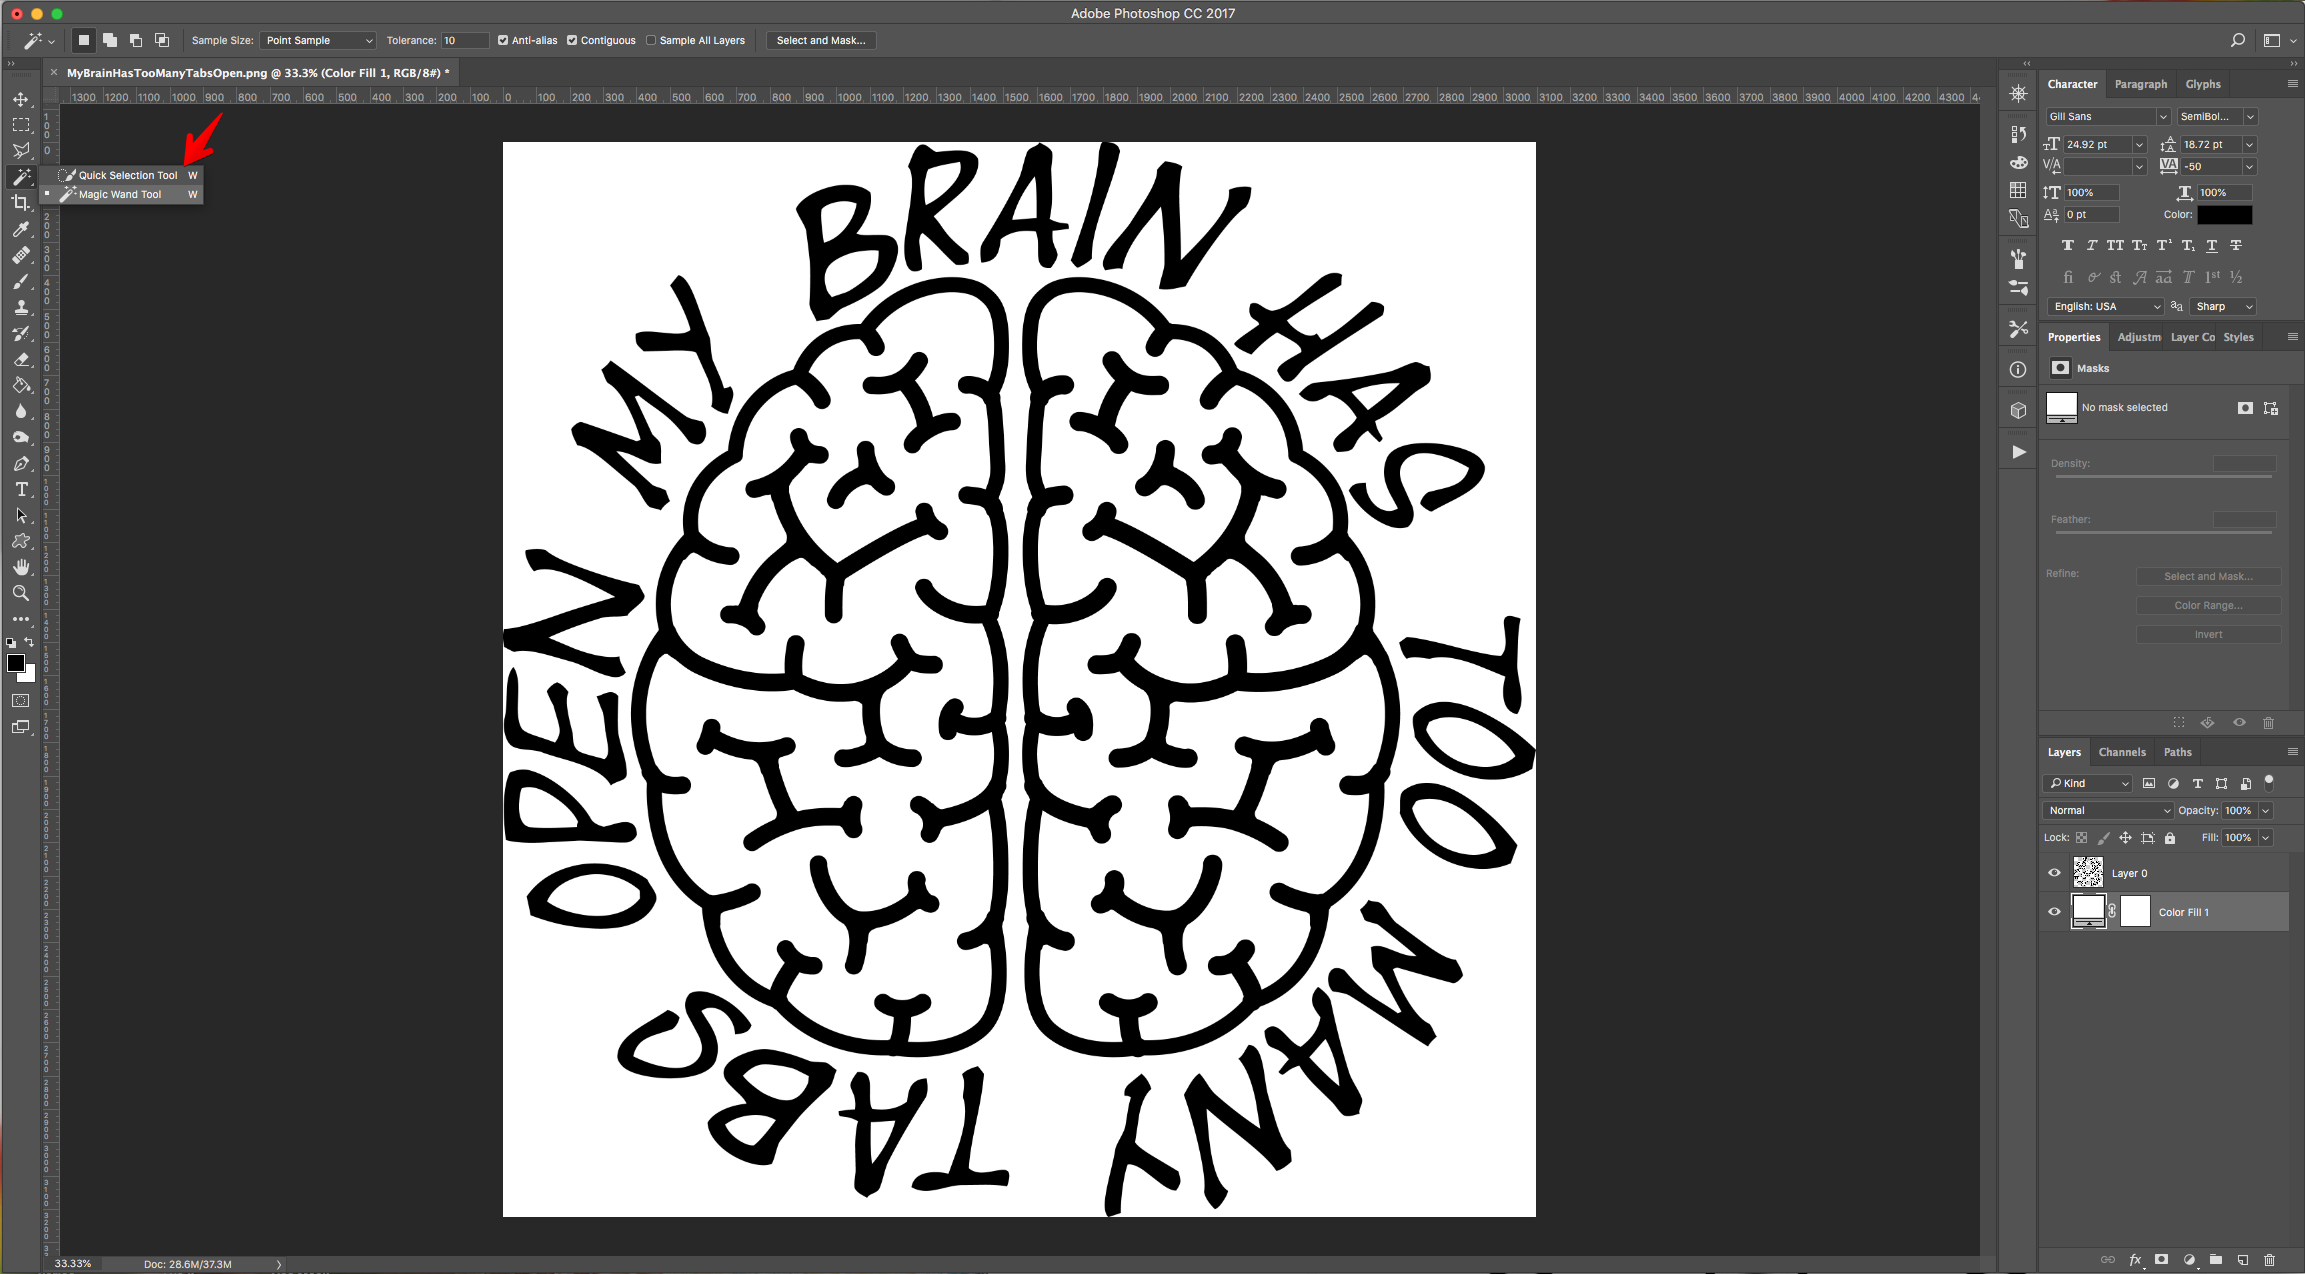
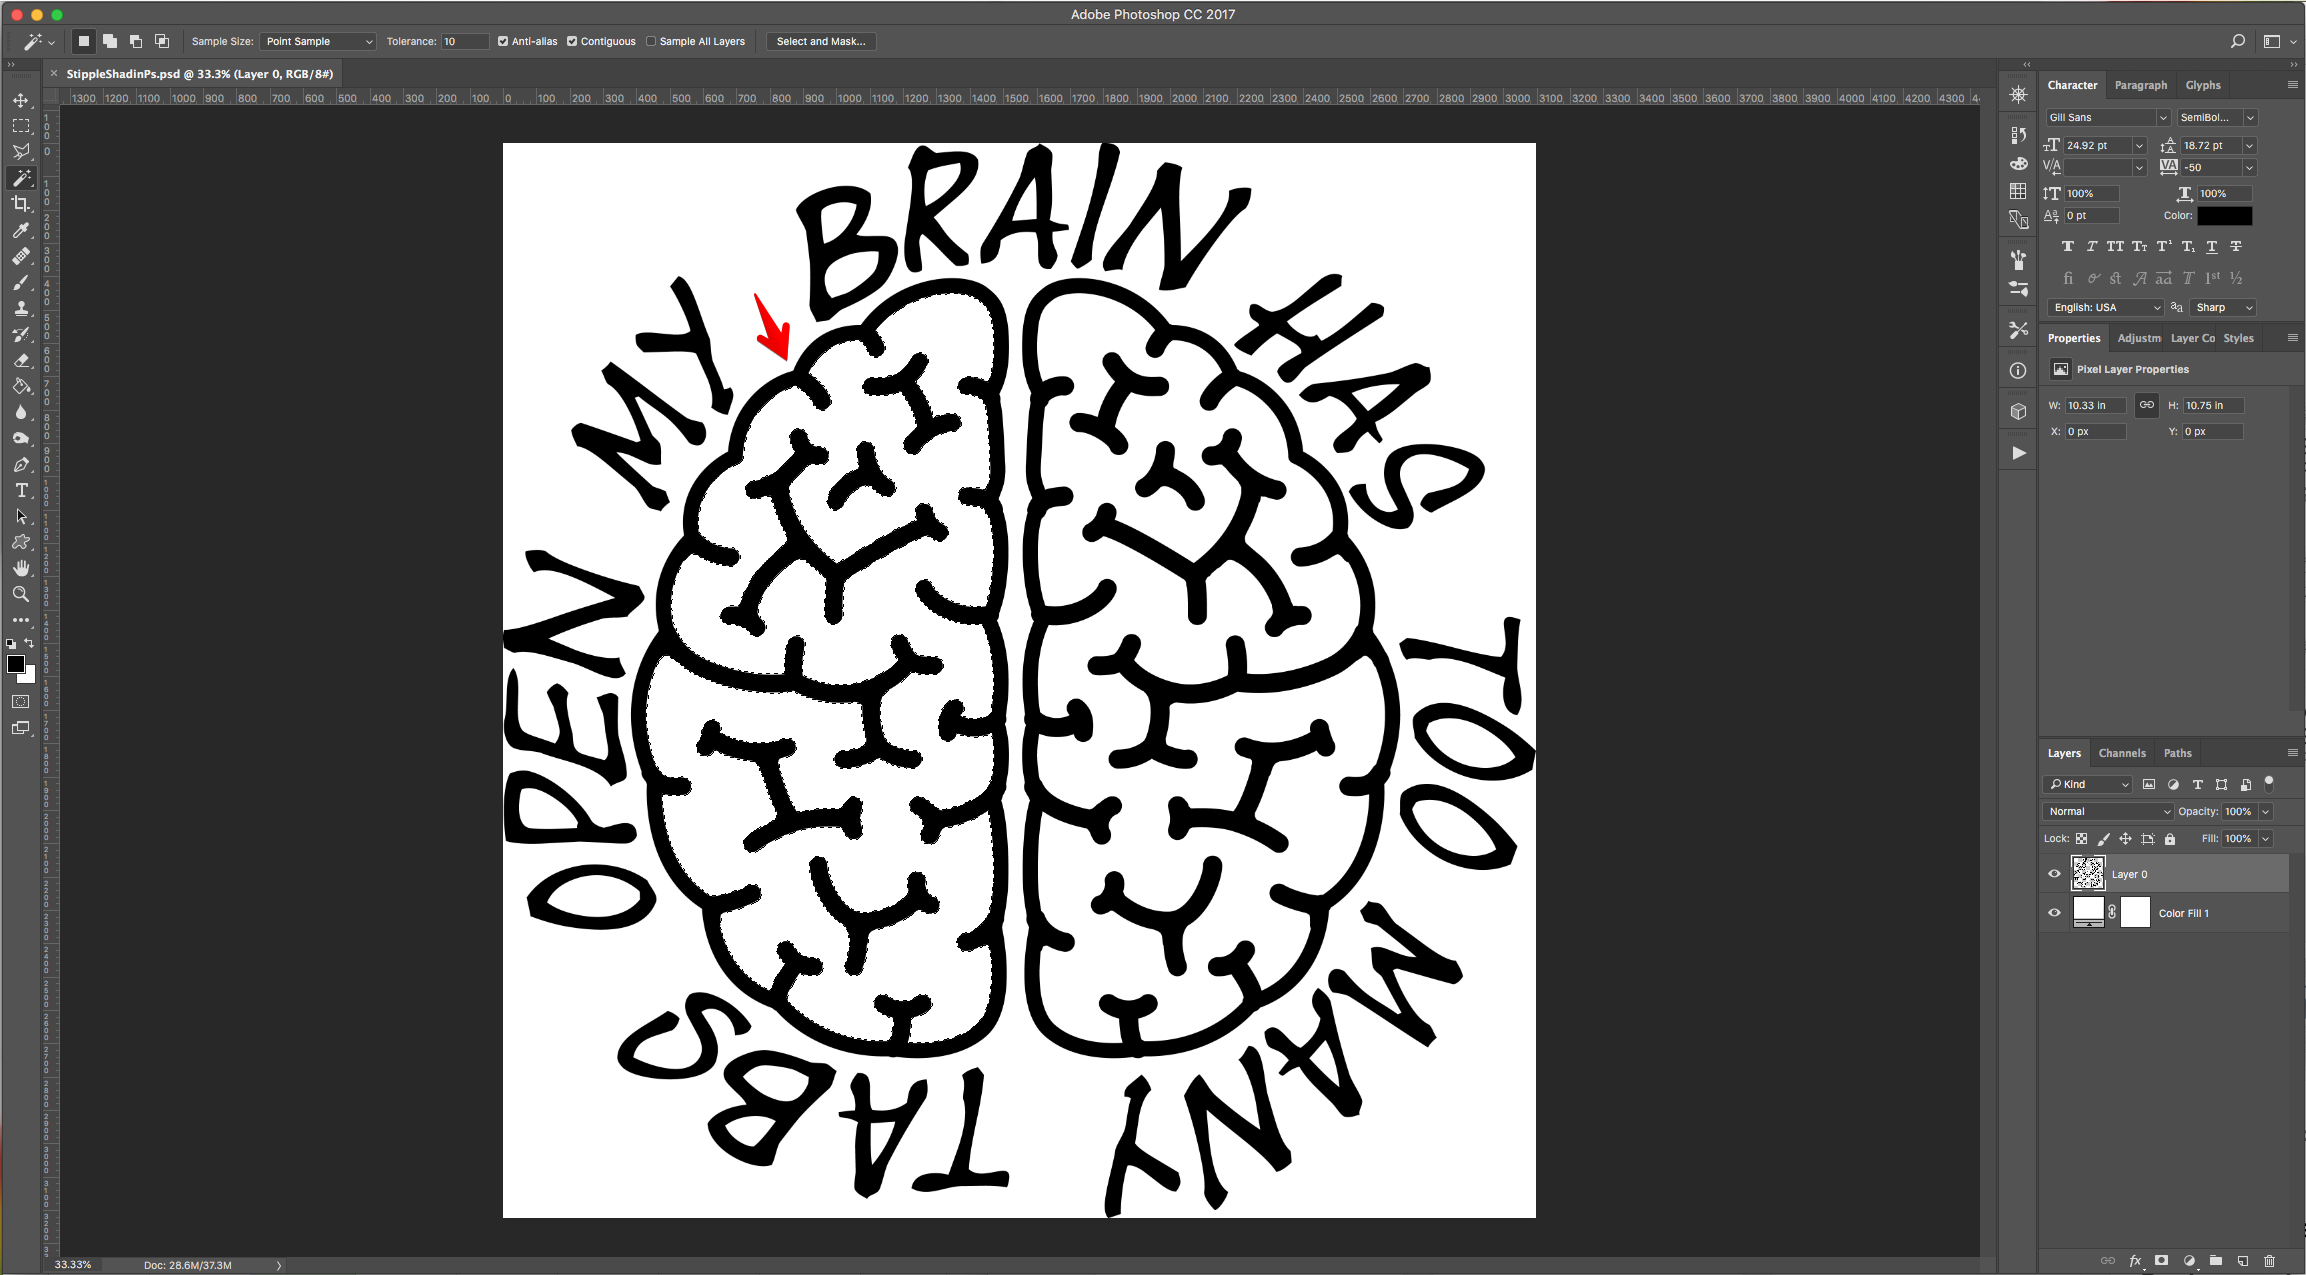
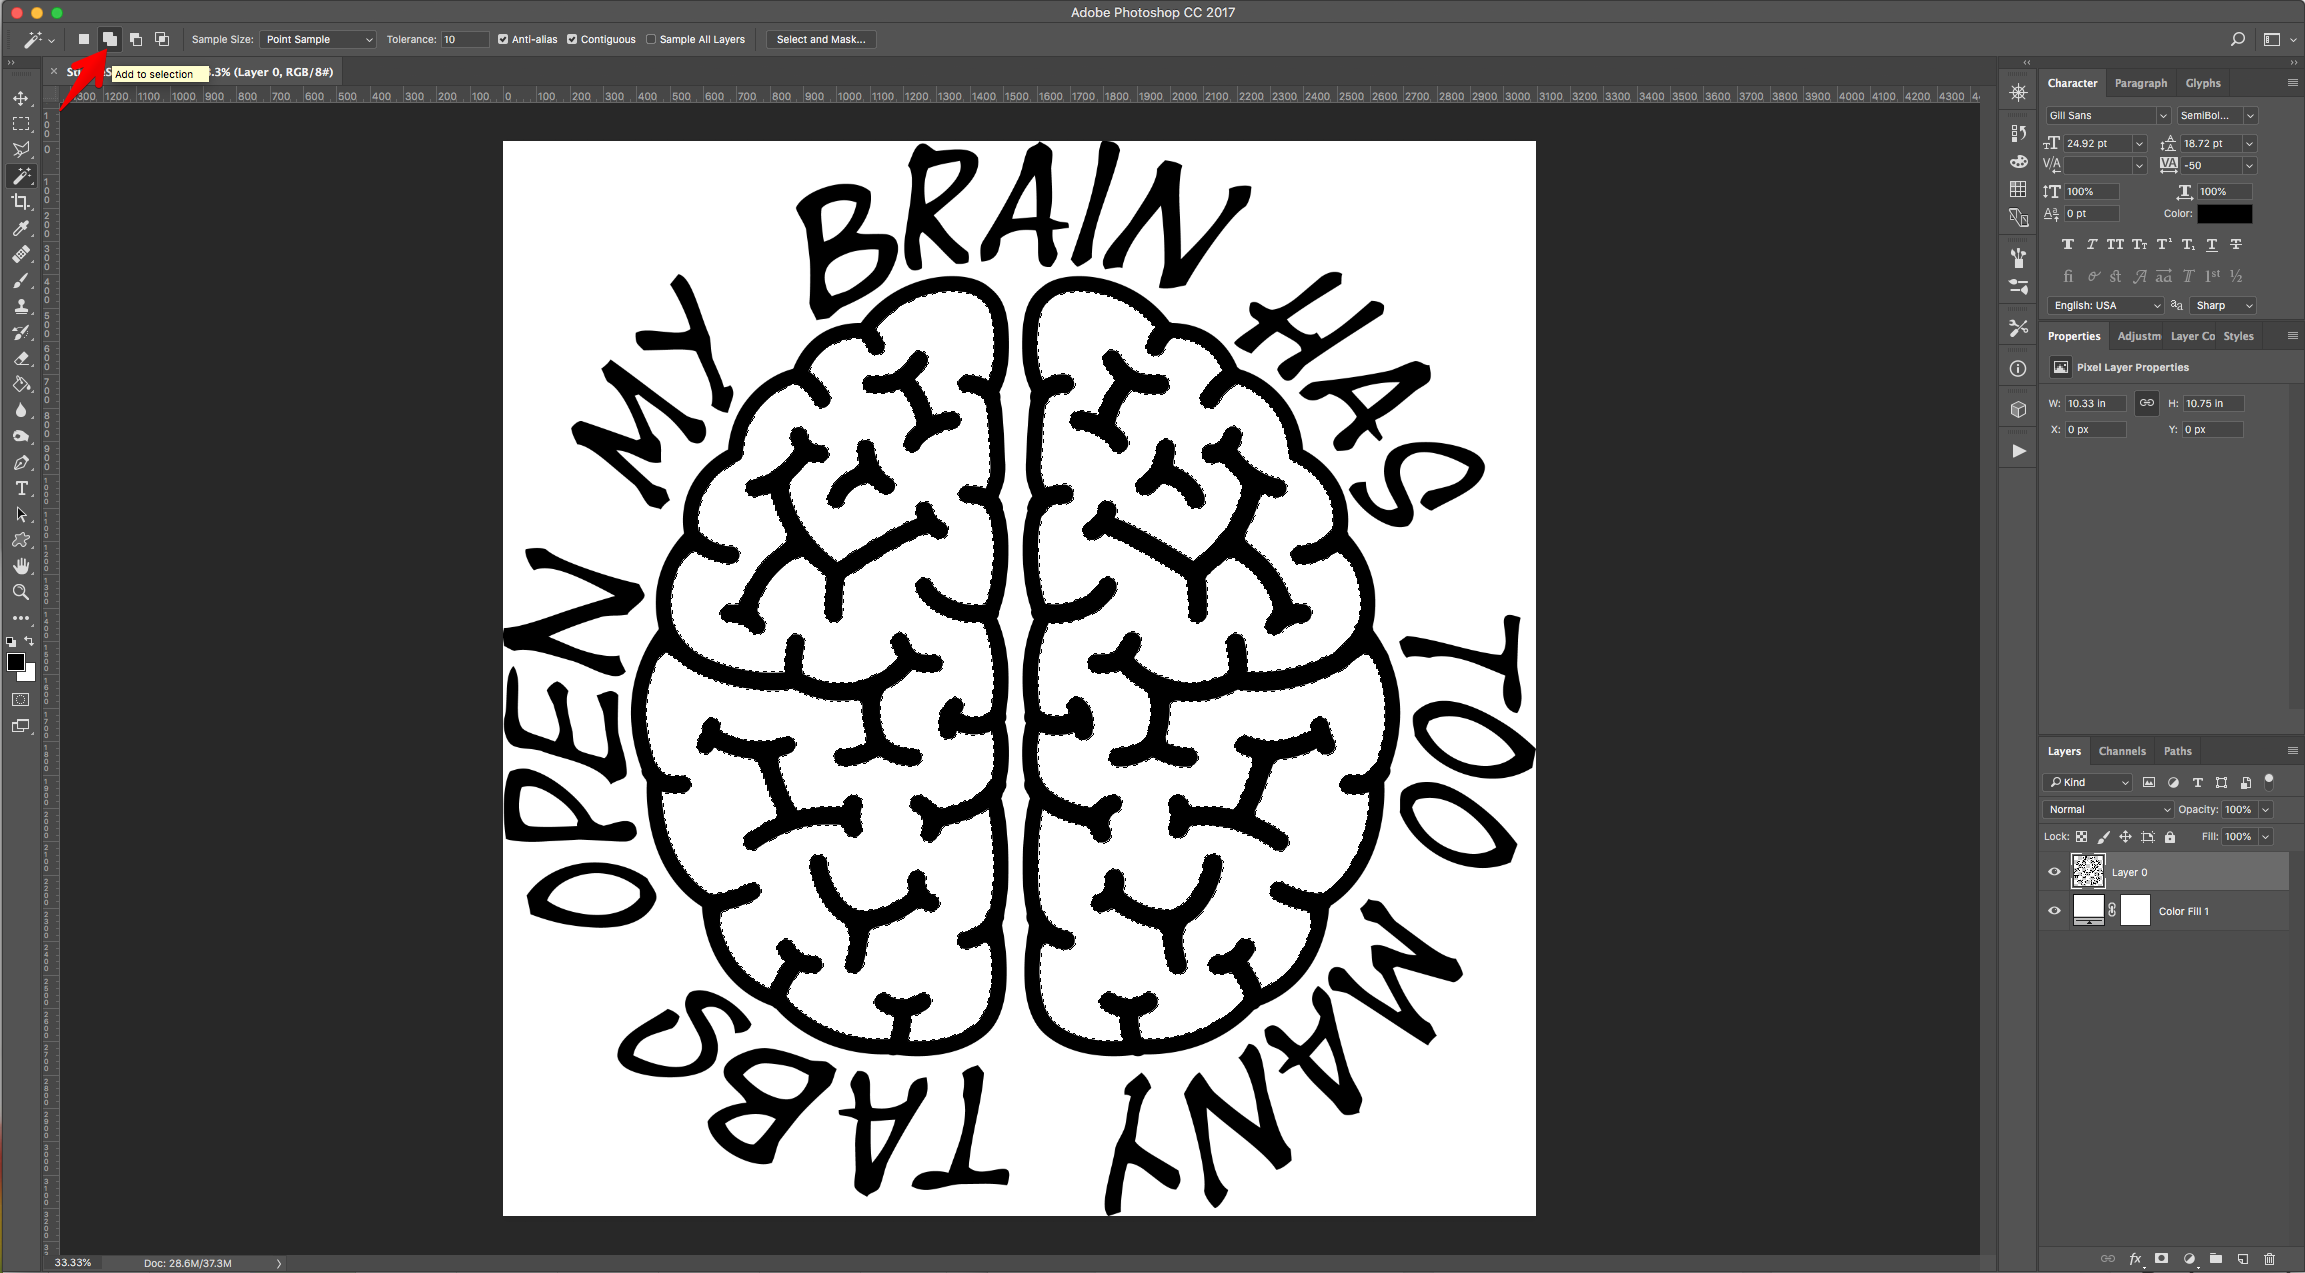
5 - Choose the “Add to Selection” in the Top Menu to add to your selection if needed.
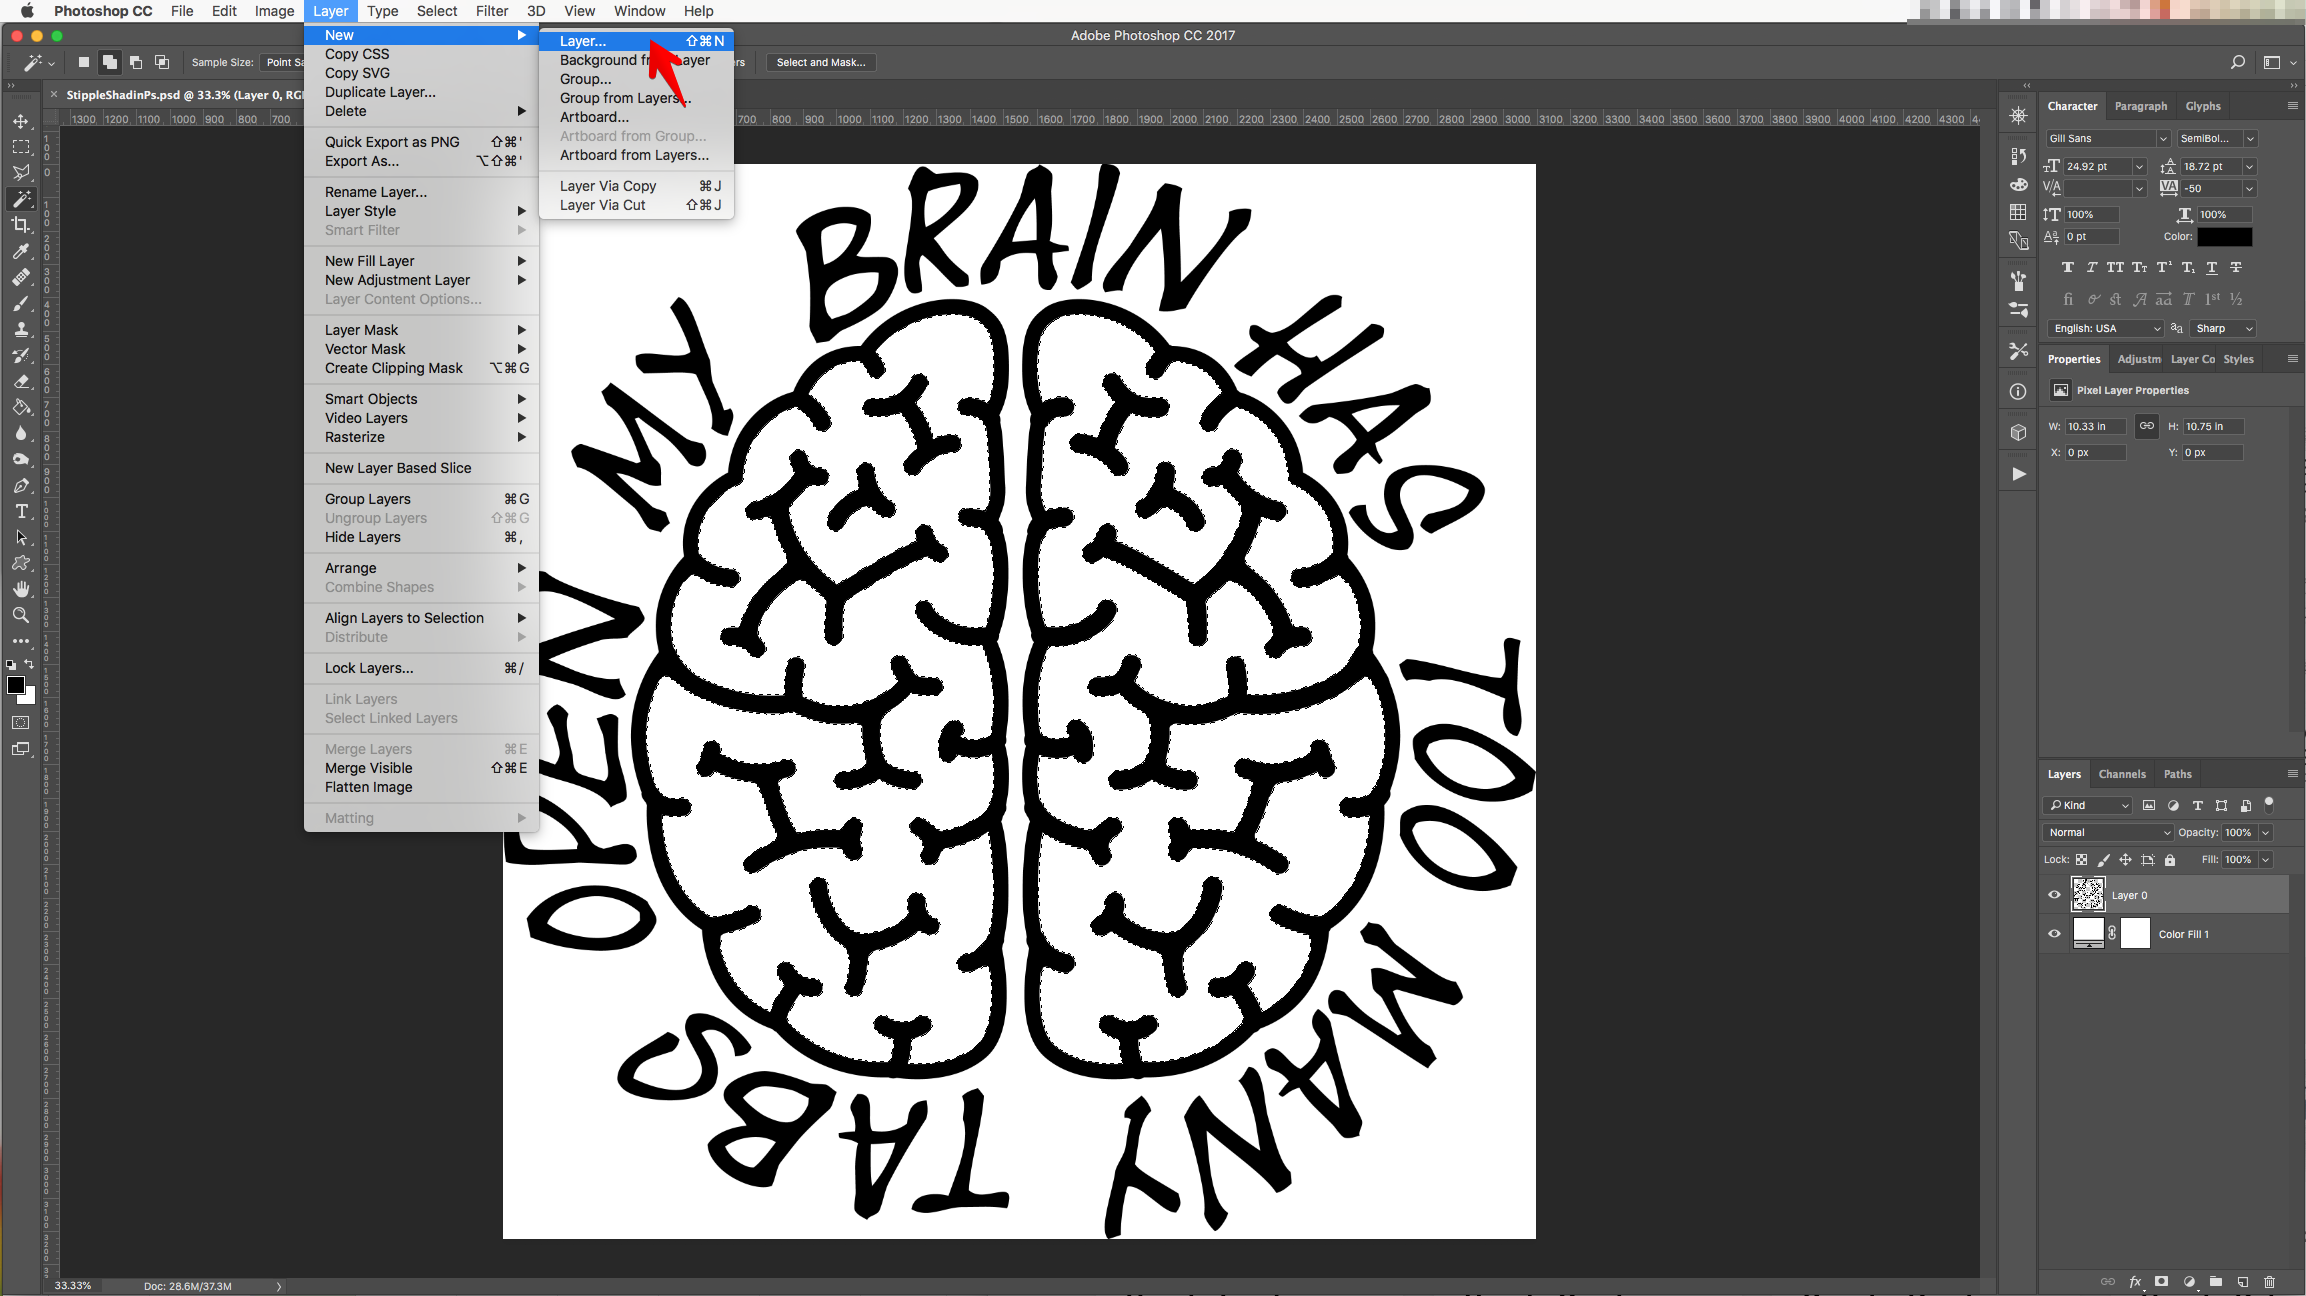
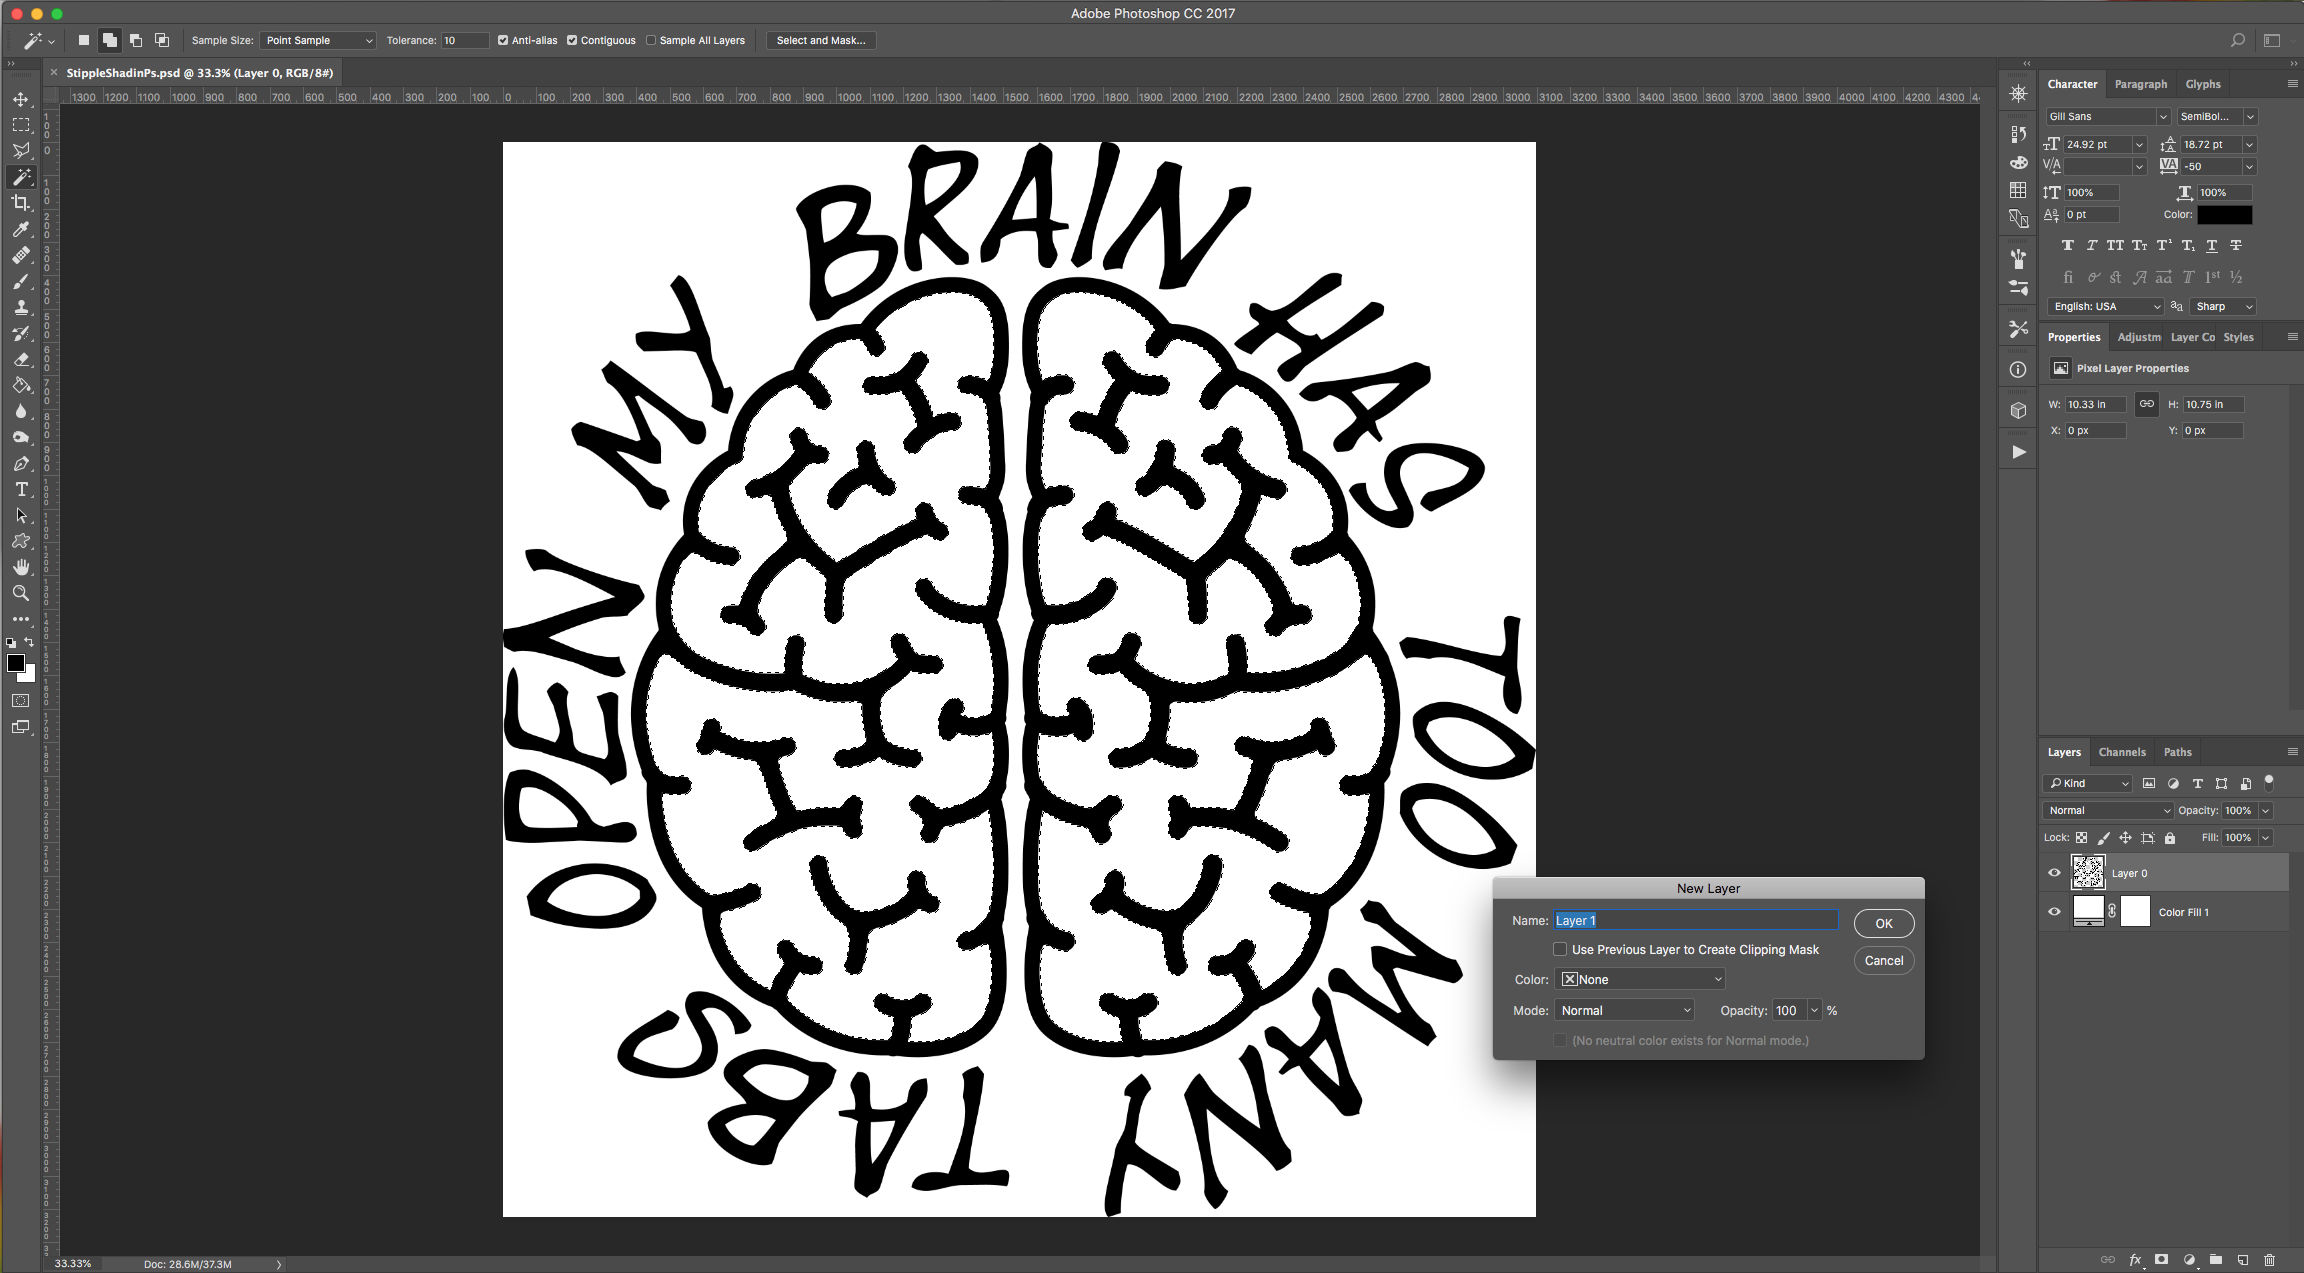
6 - With your selection still active, go to Layer > New Layer (Shift + Command/Control + N) to create a “New Layer” on top of everything, choose “None” for “Color” and click “OK”.
7 - Select the “Brush Tool” (B), click on the “Brushes Panel” and then in the small Menu icon on the Top-Right select “Load Brushes” and navigate to where you saved the Free Brushes and “Load” them. You can also select the “Assorted Brushes” from that same Menu and use some of them instead.
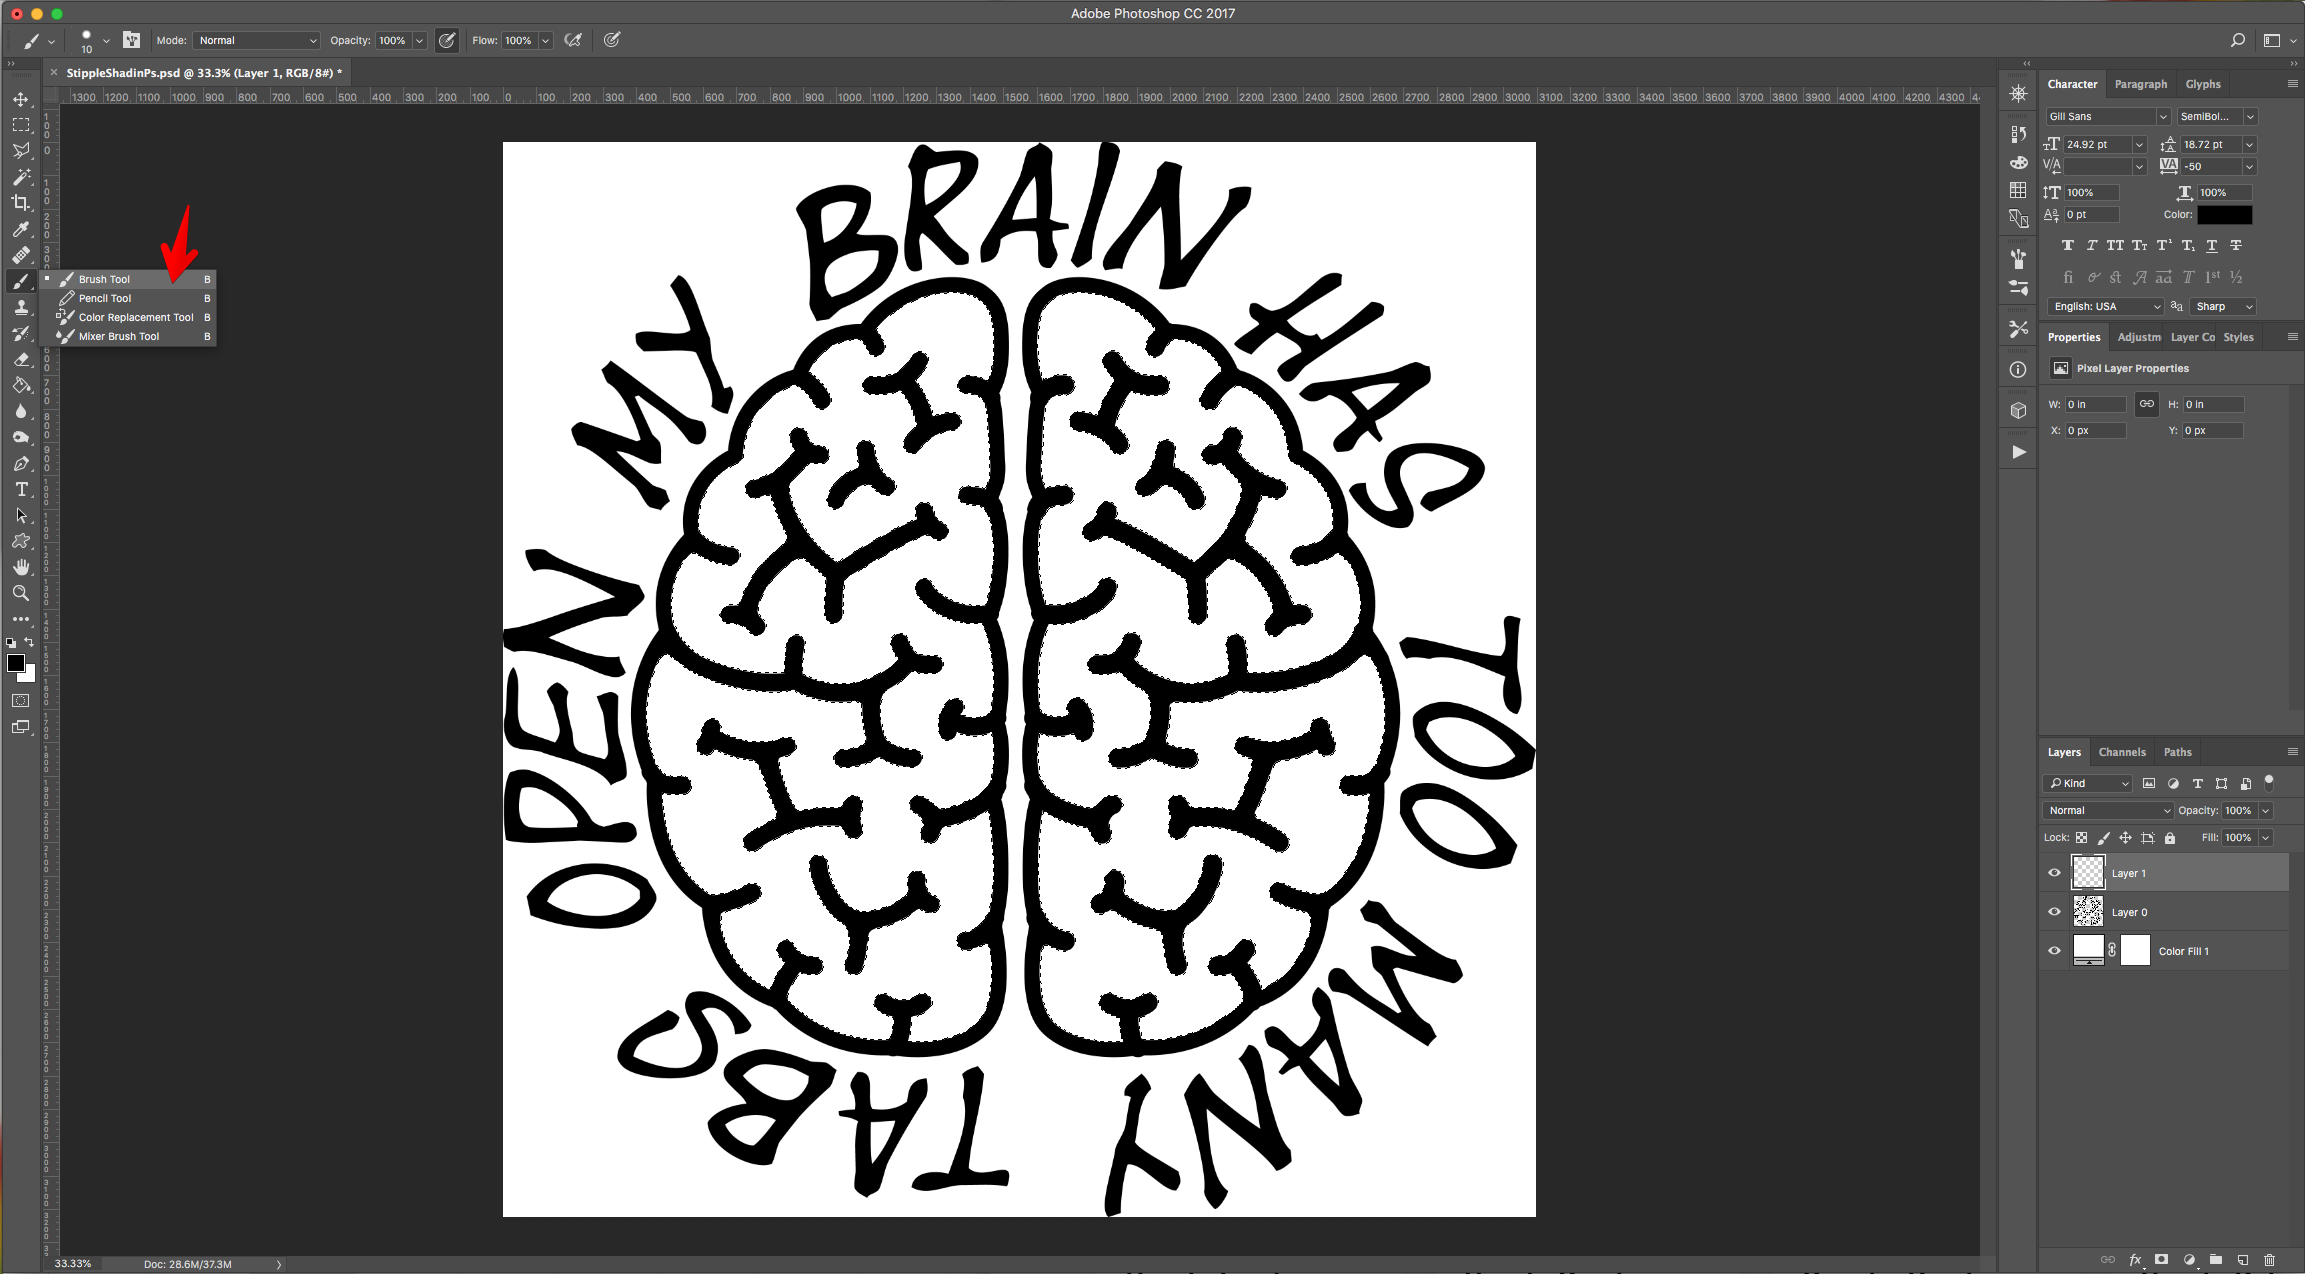
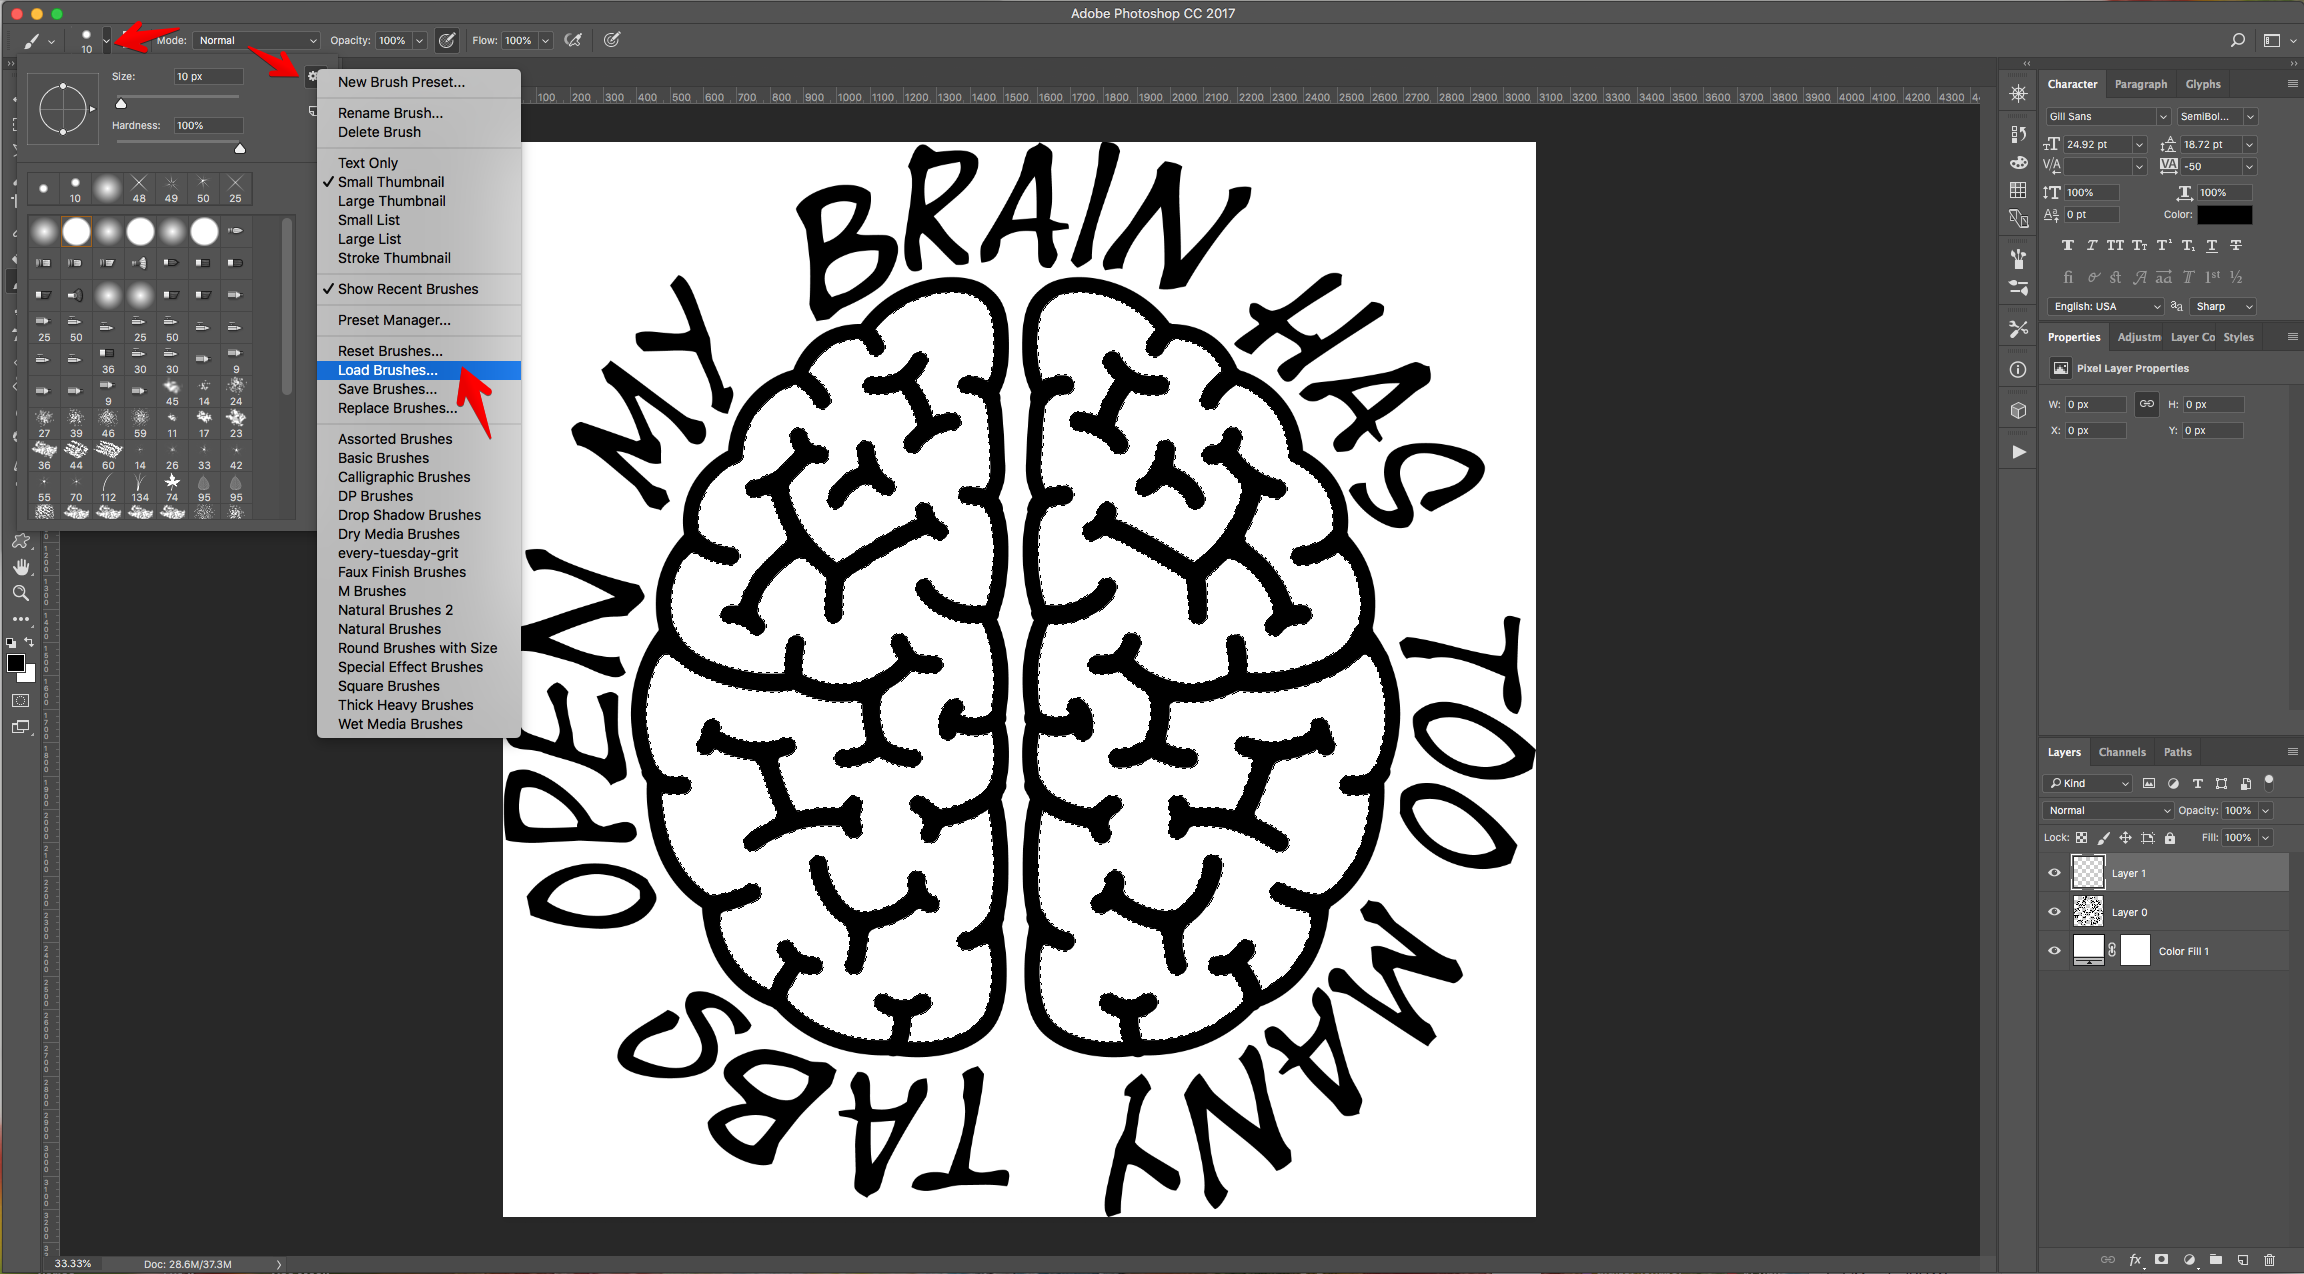
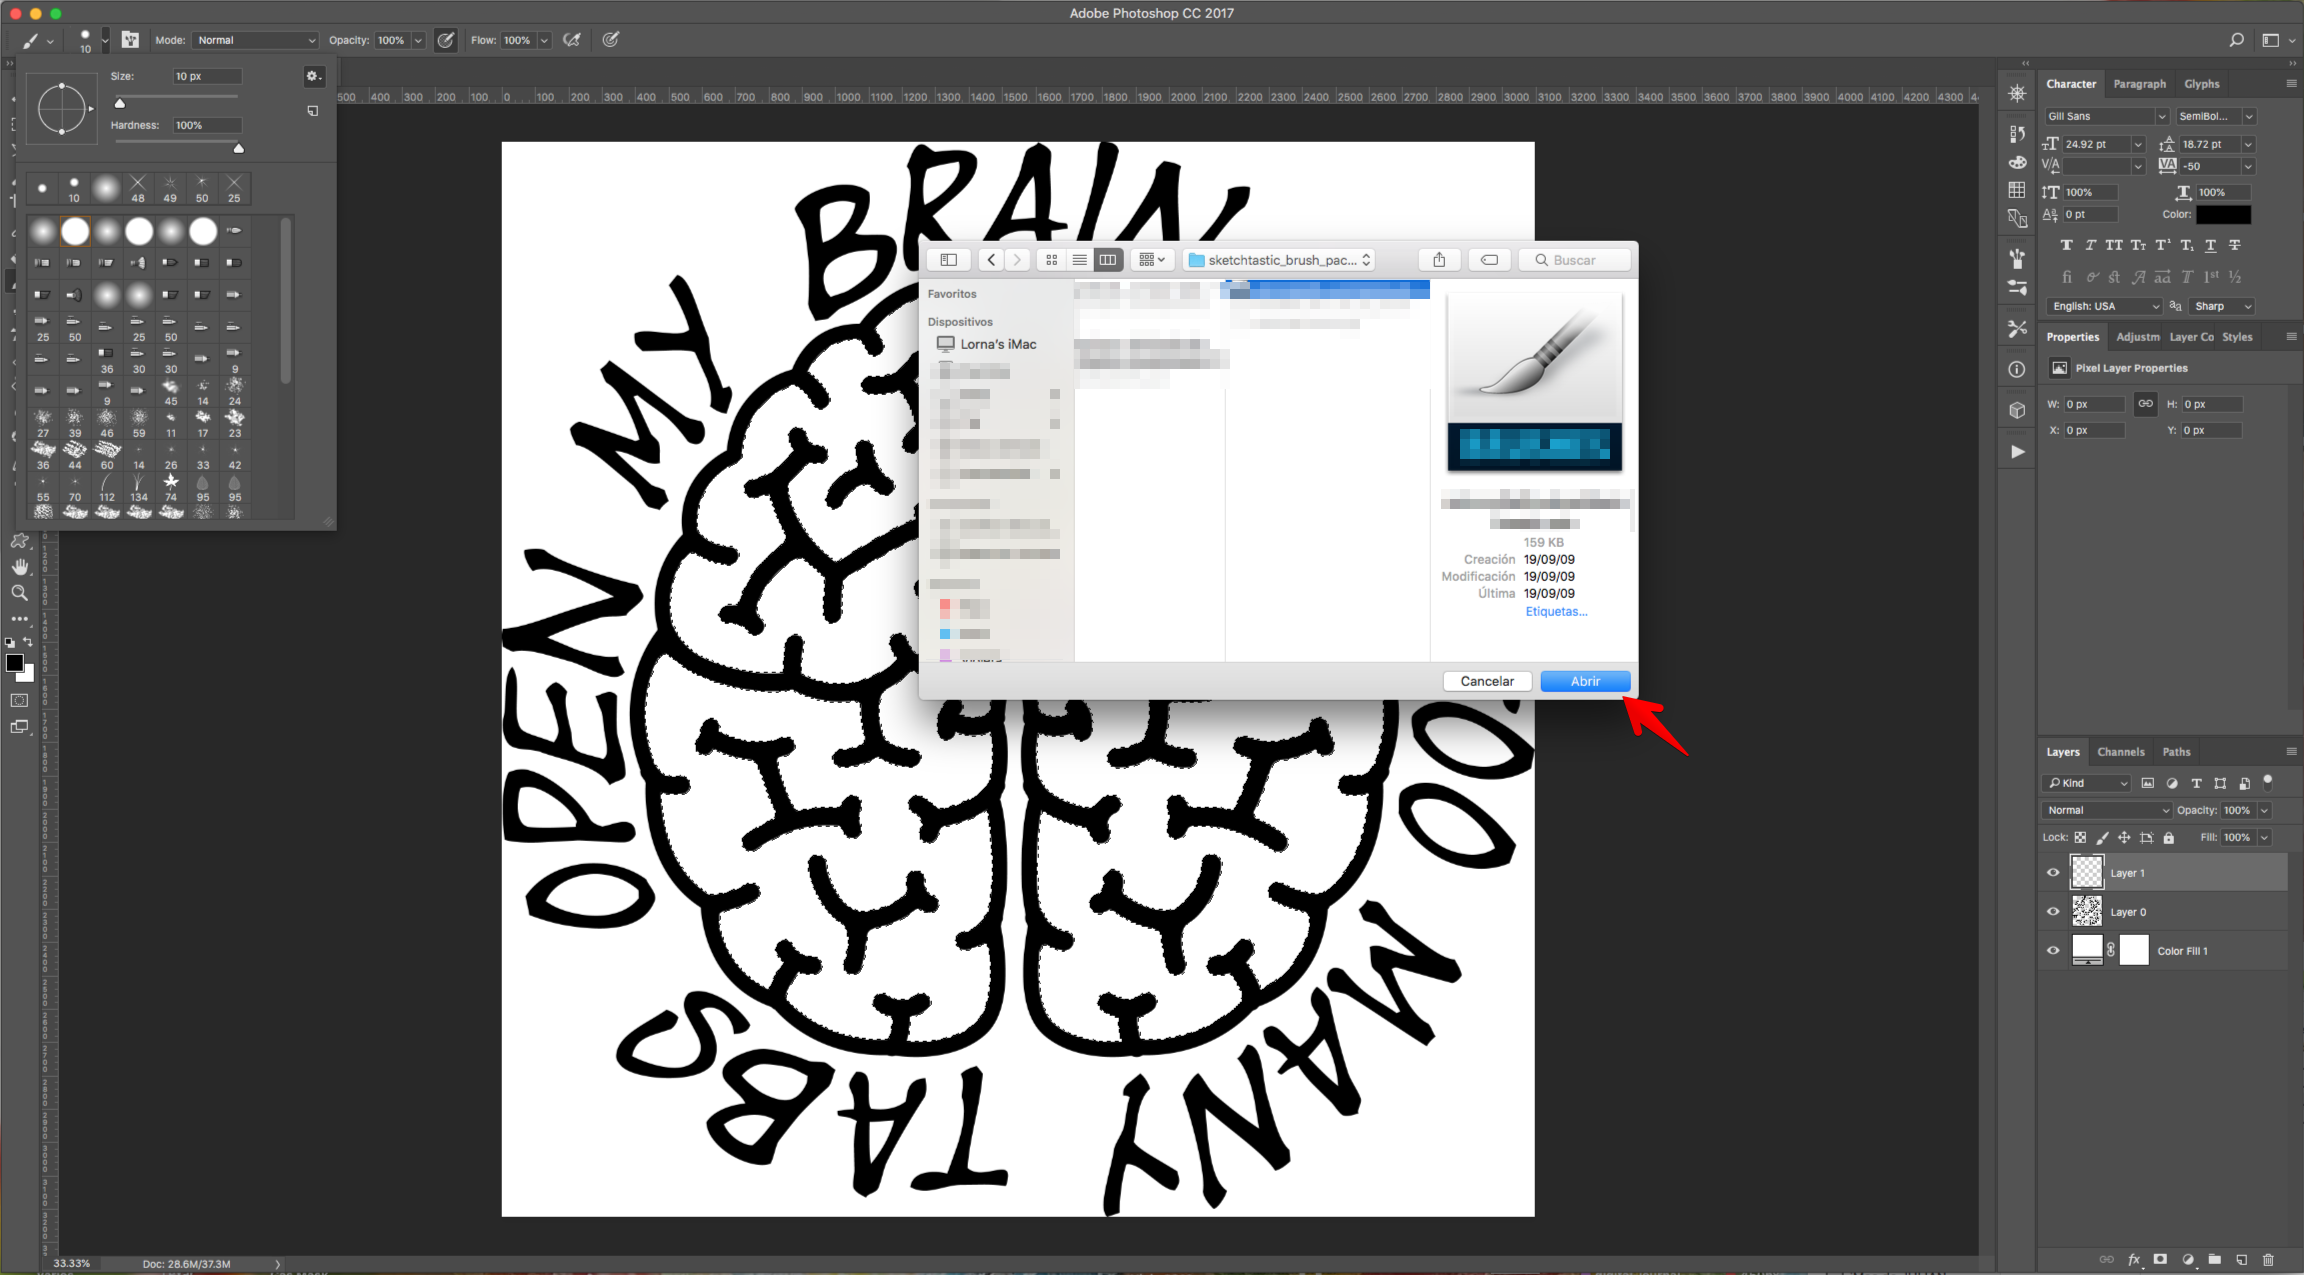
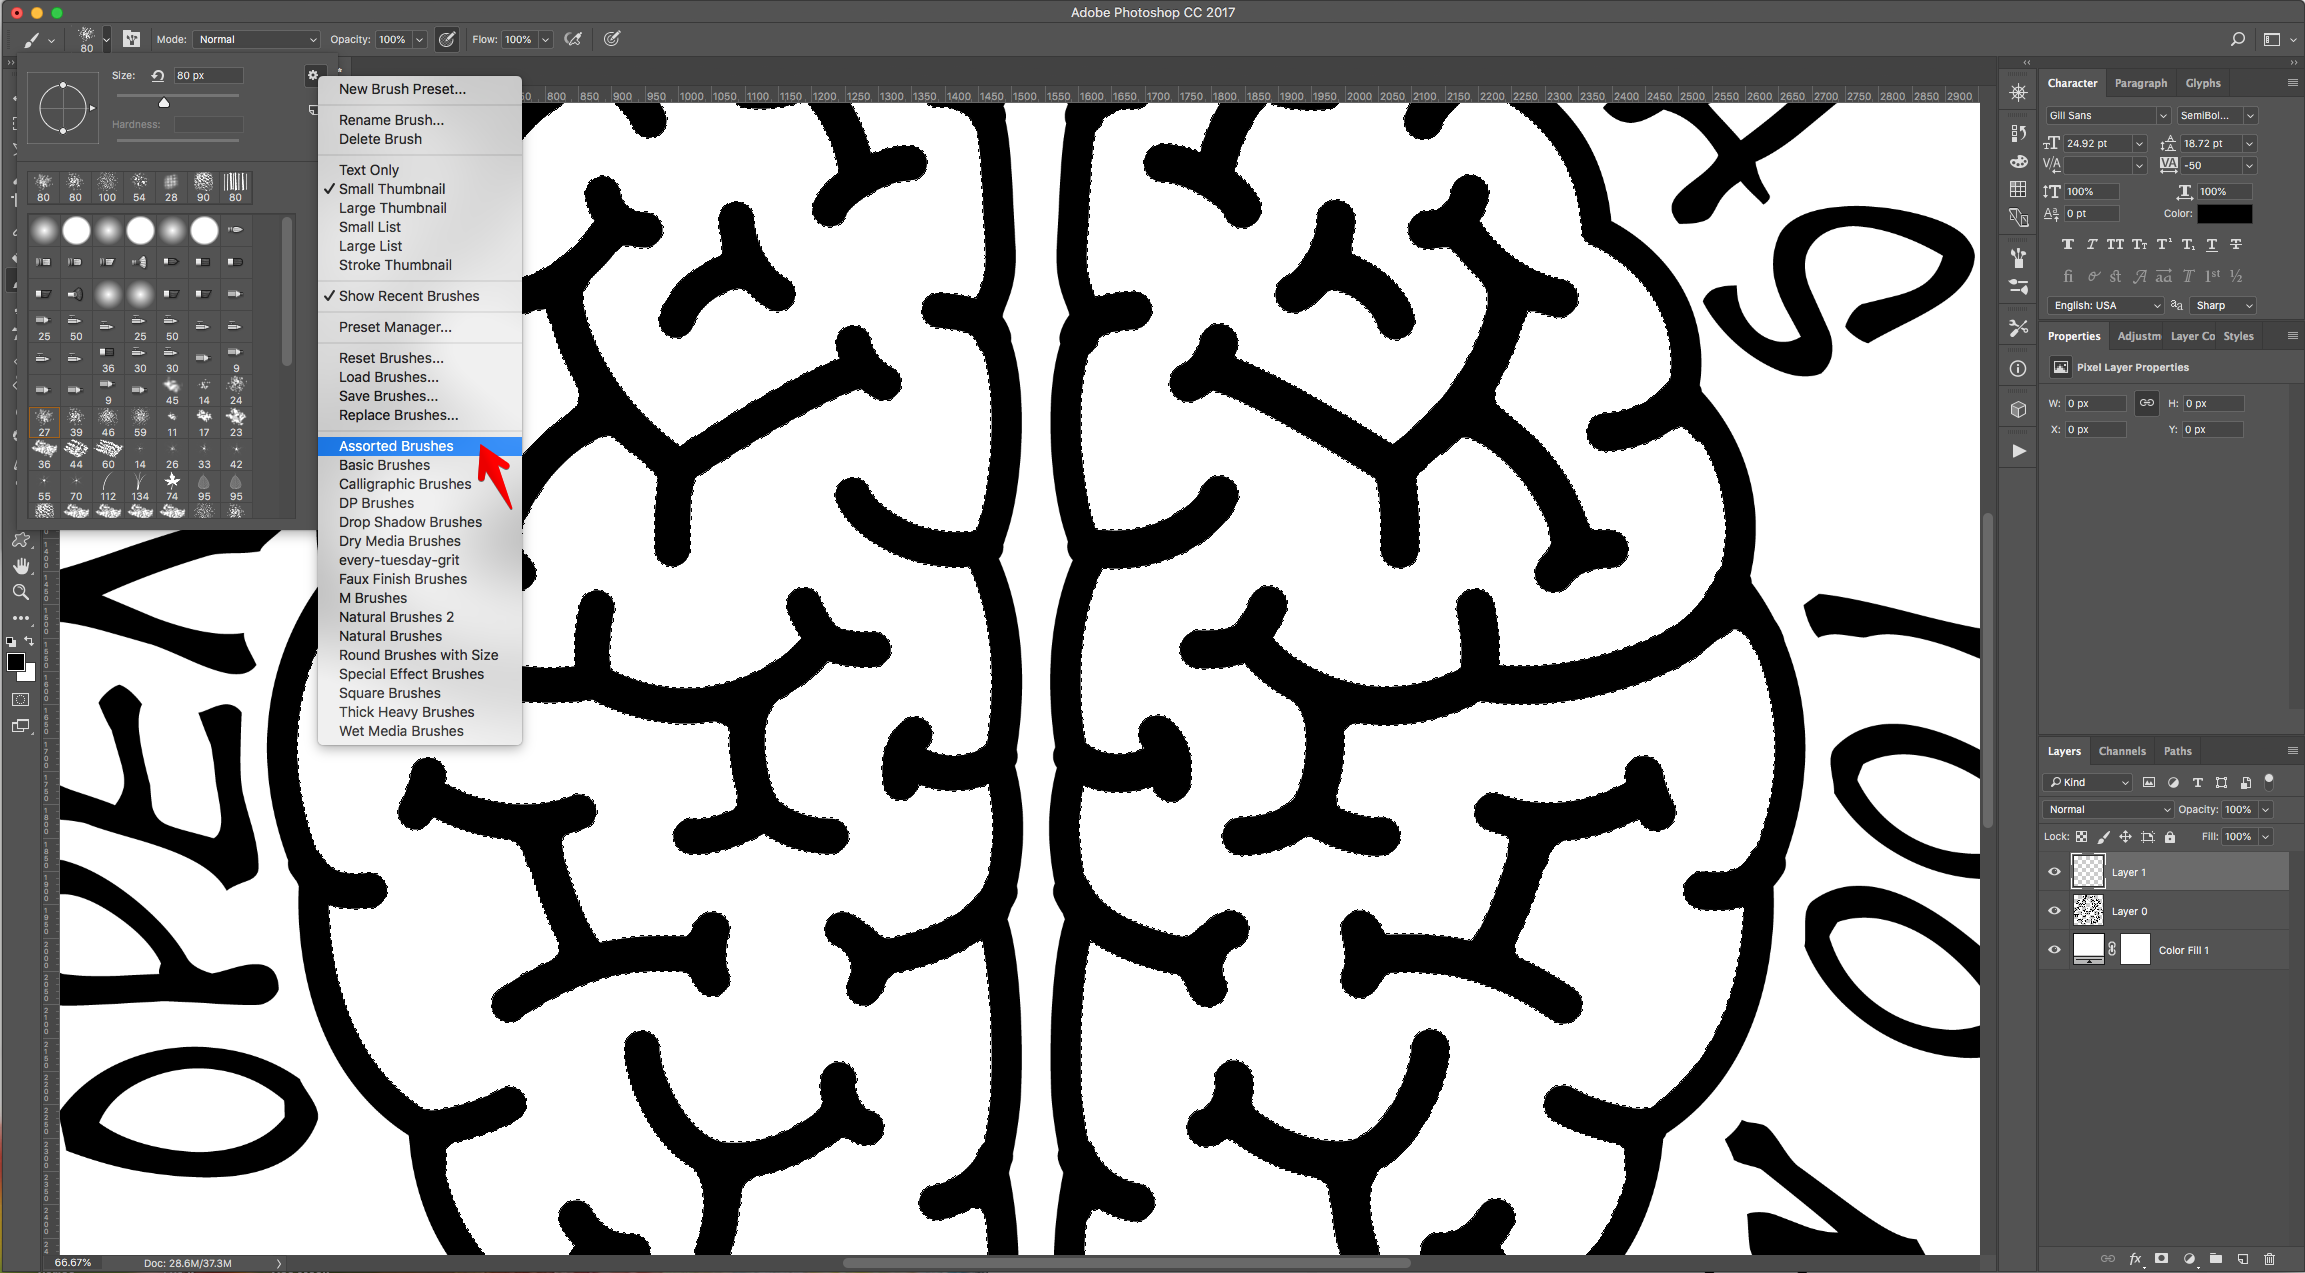
8 - Start painting some shading inside your selection to create the shading. You can use different brushes and/or sizes.
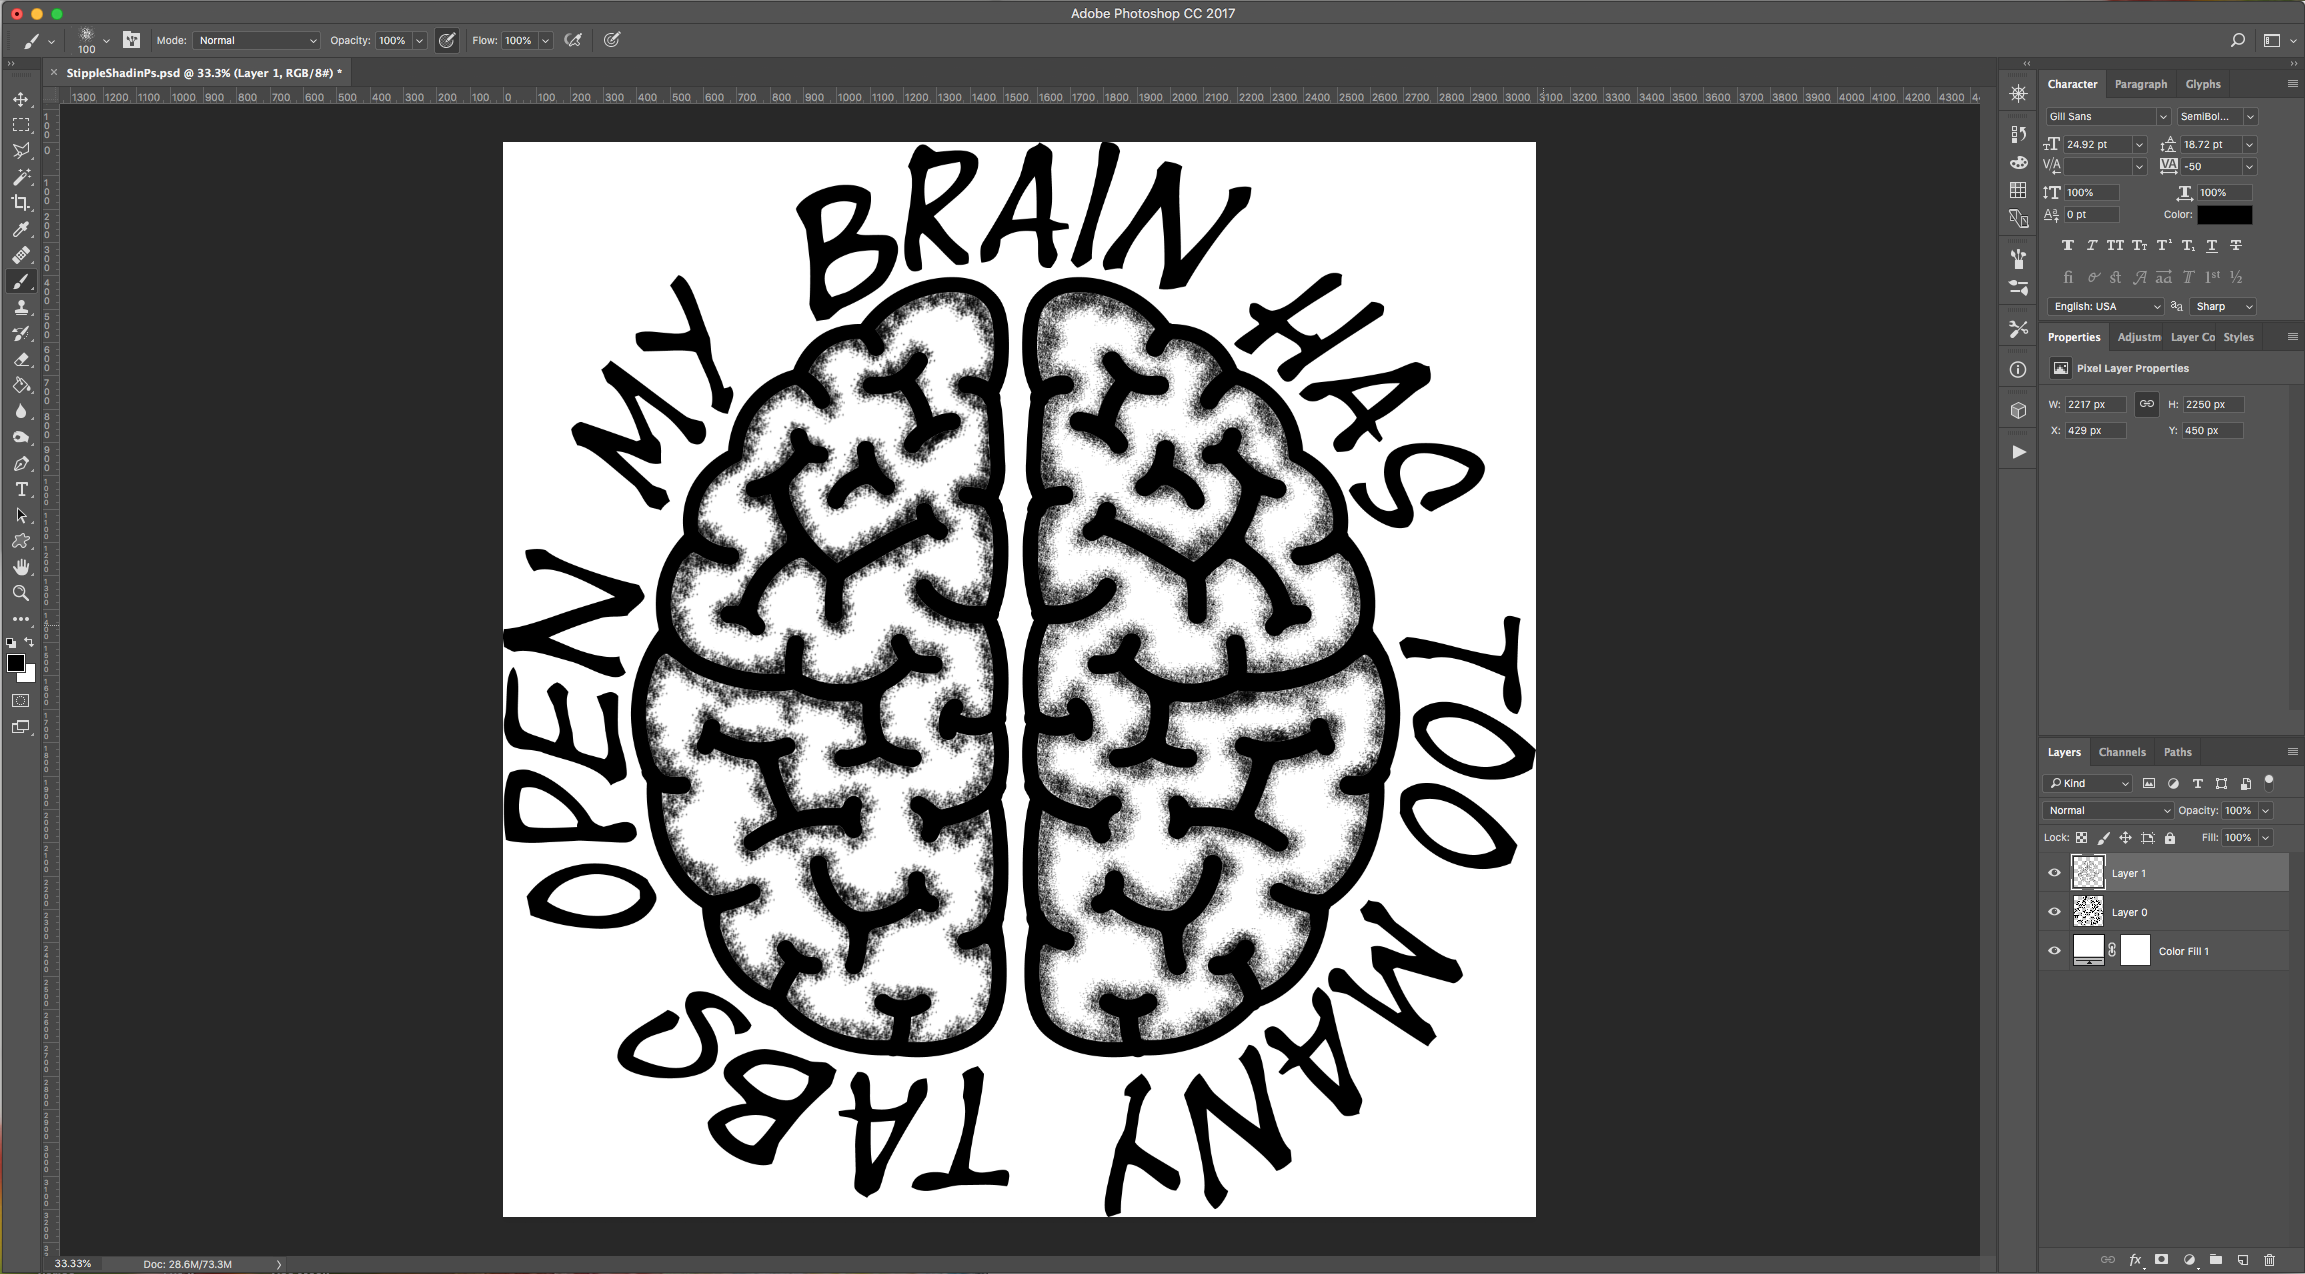
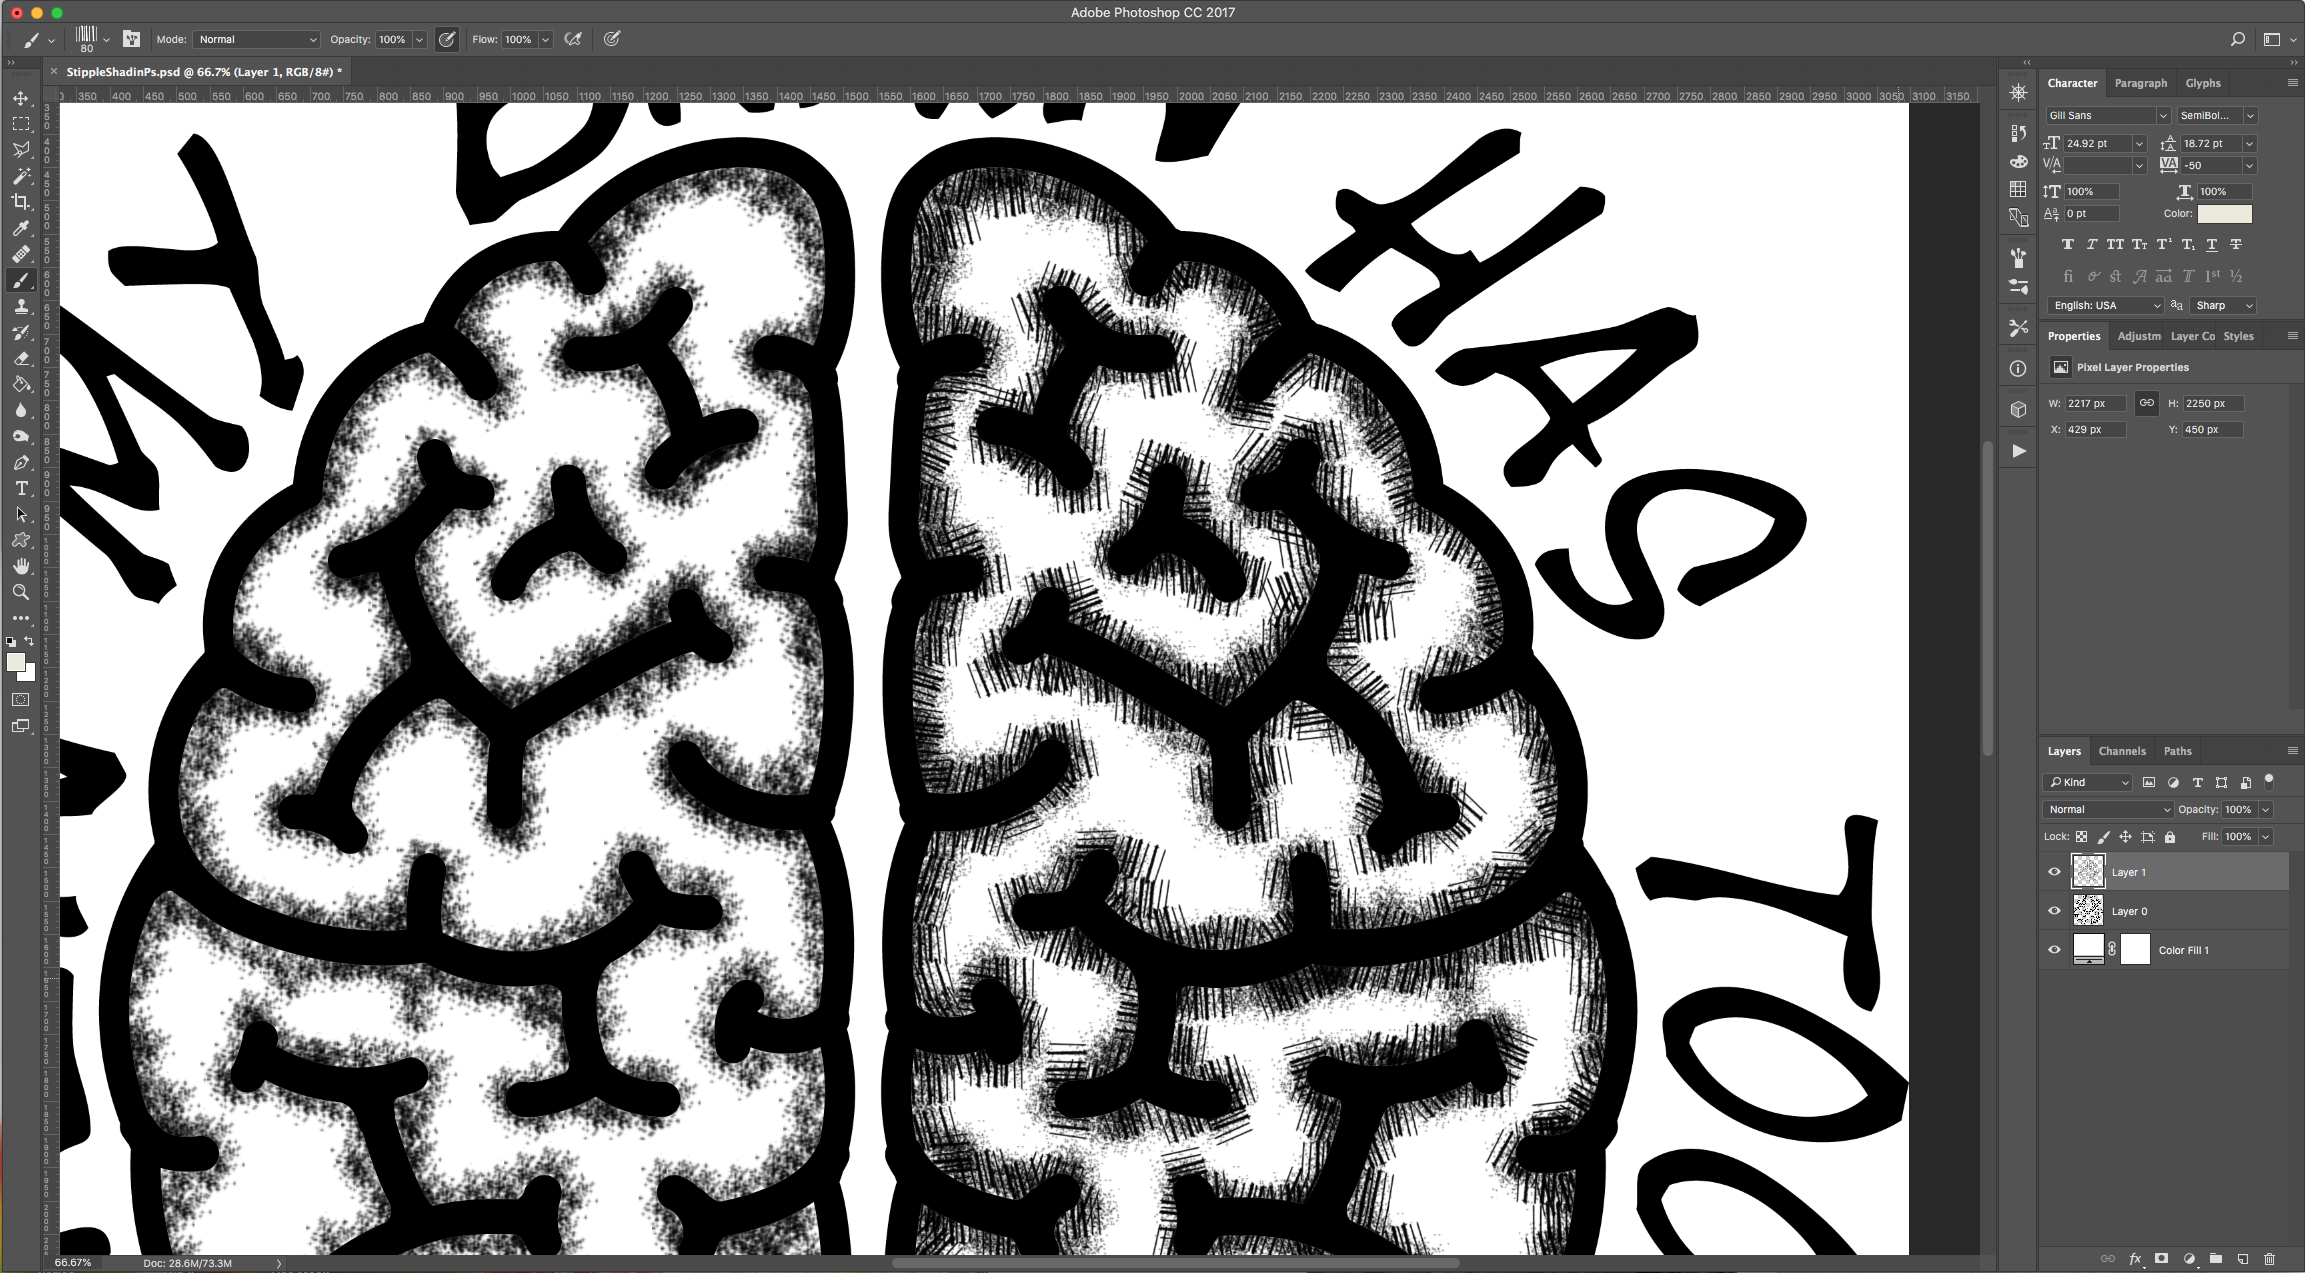
9 - You can also use a “Crosshatch” Brush to add some effects. Or overlap different brushes.
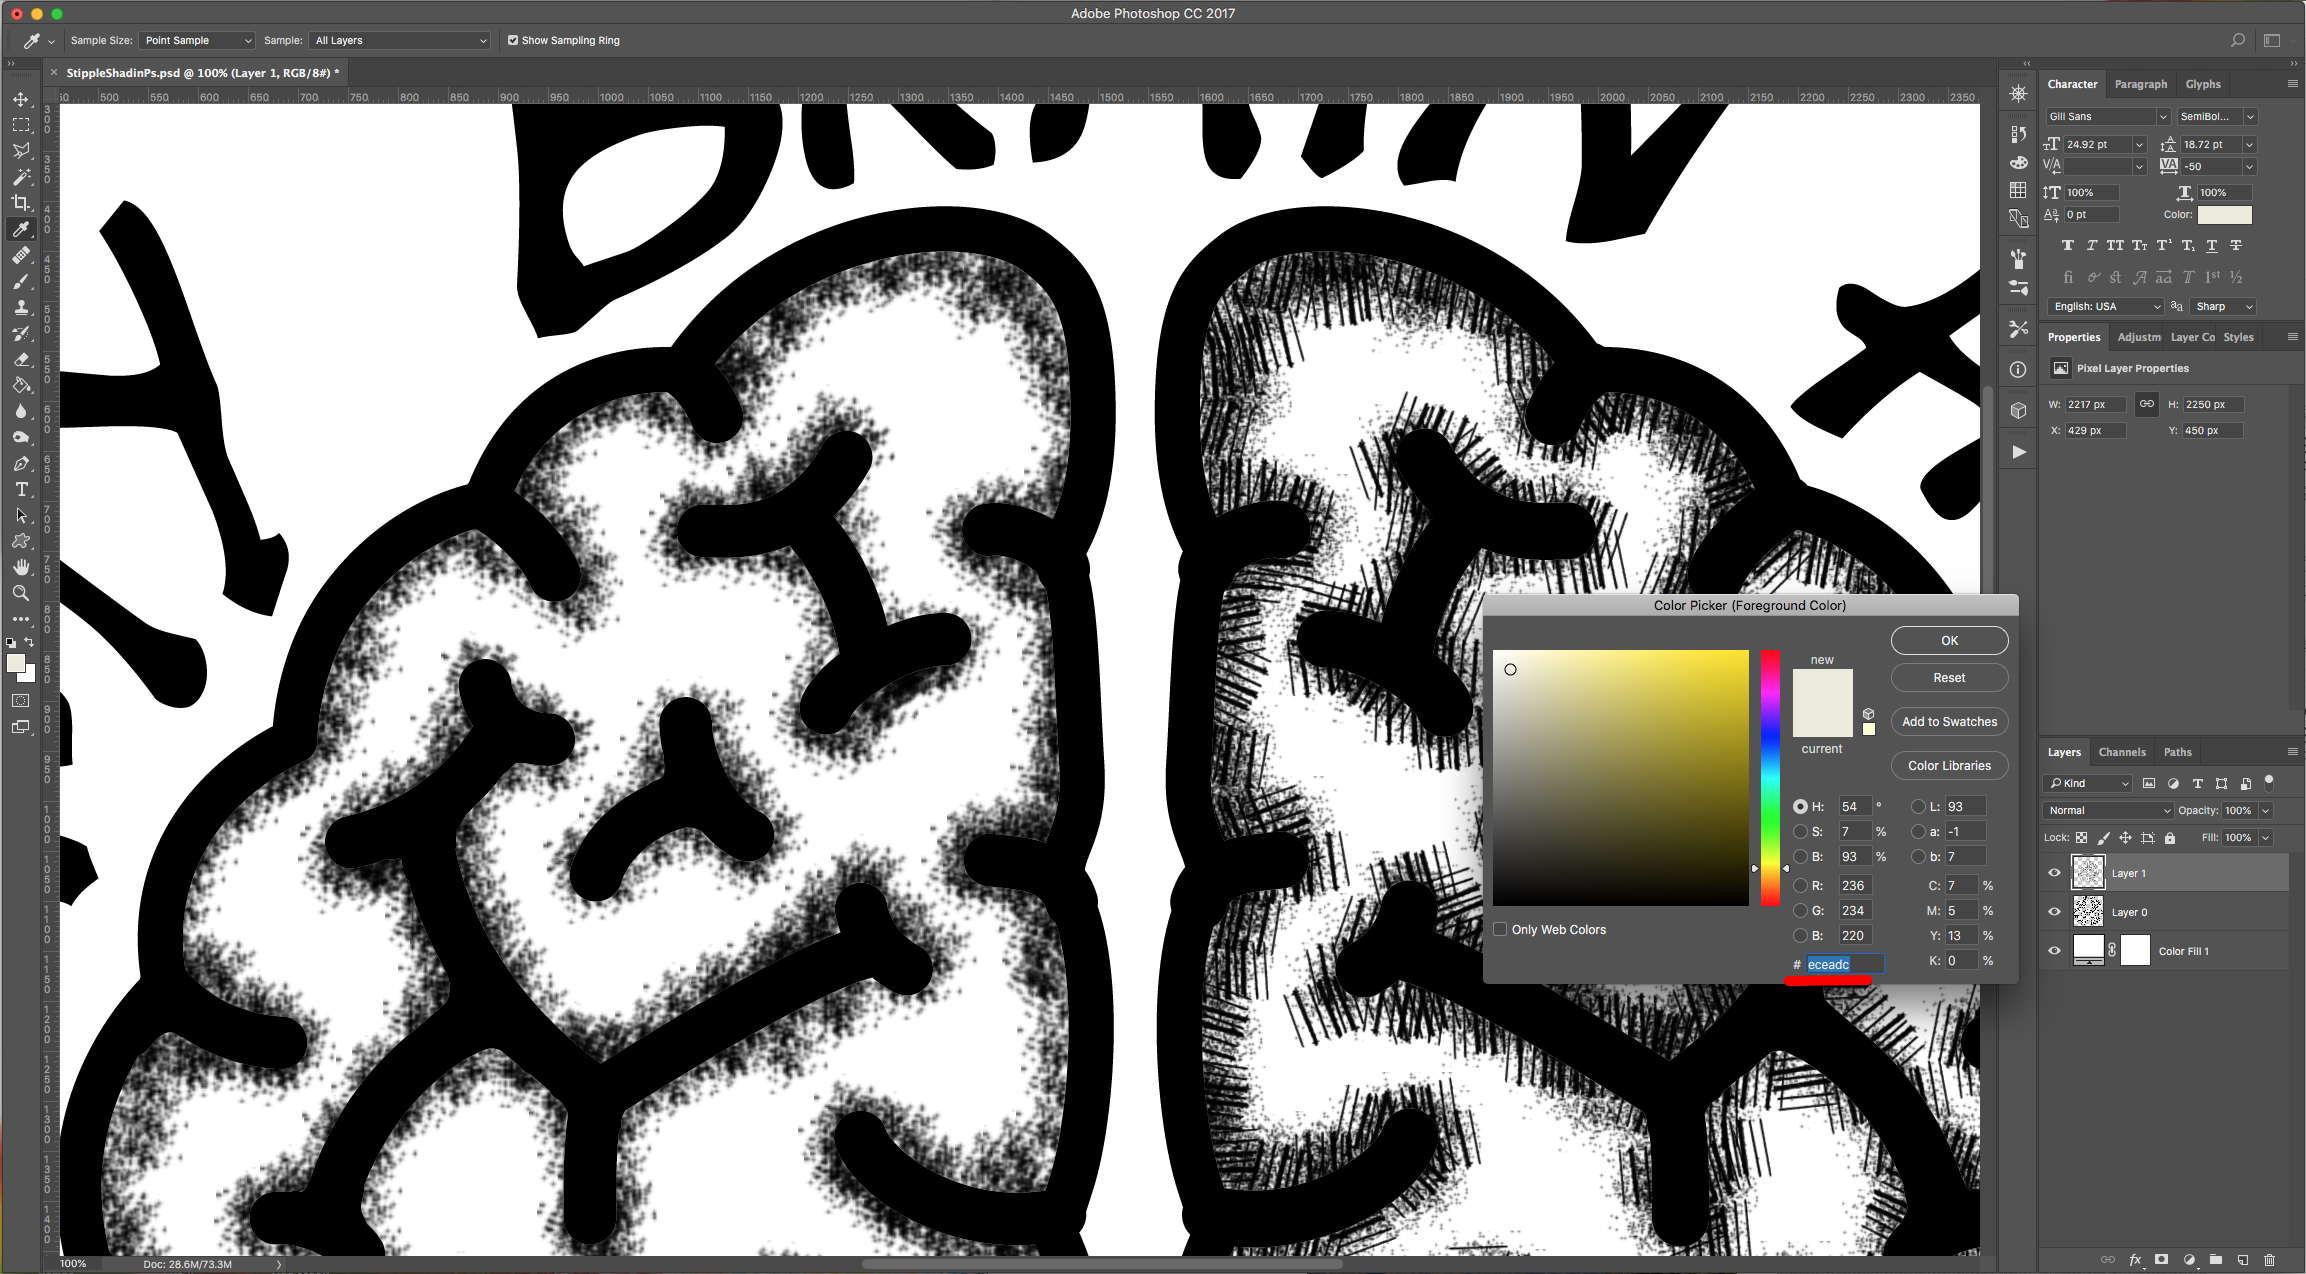
10 - Add another “Layer”, change the “Fill” color (we used #eceadc) and add more shading to achieve a different effect.
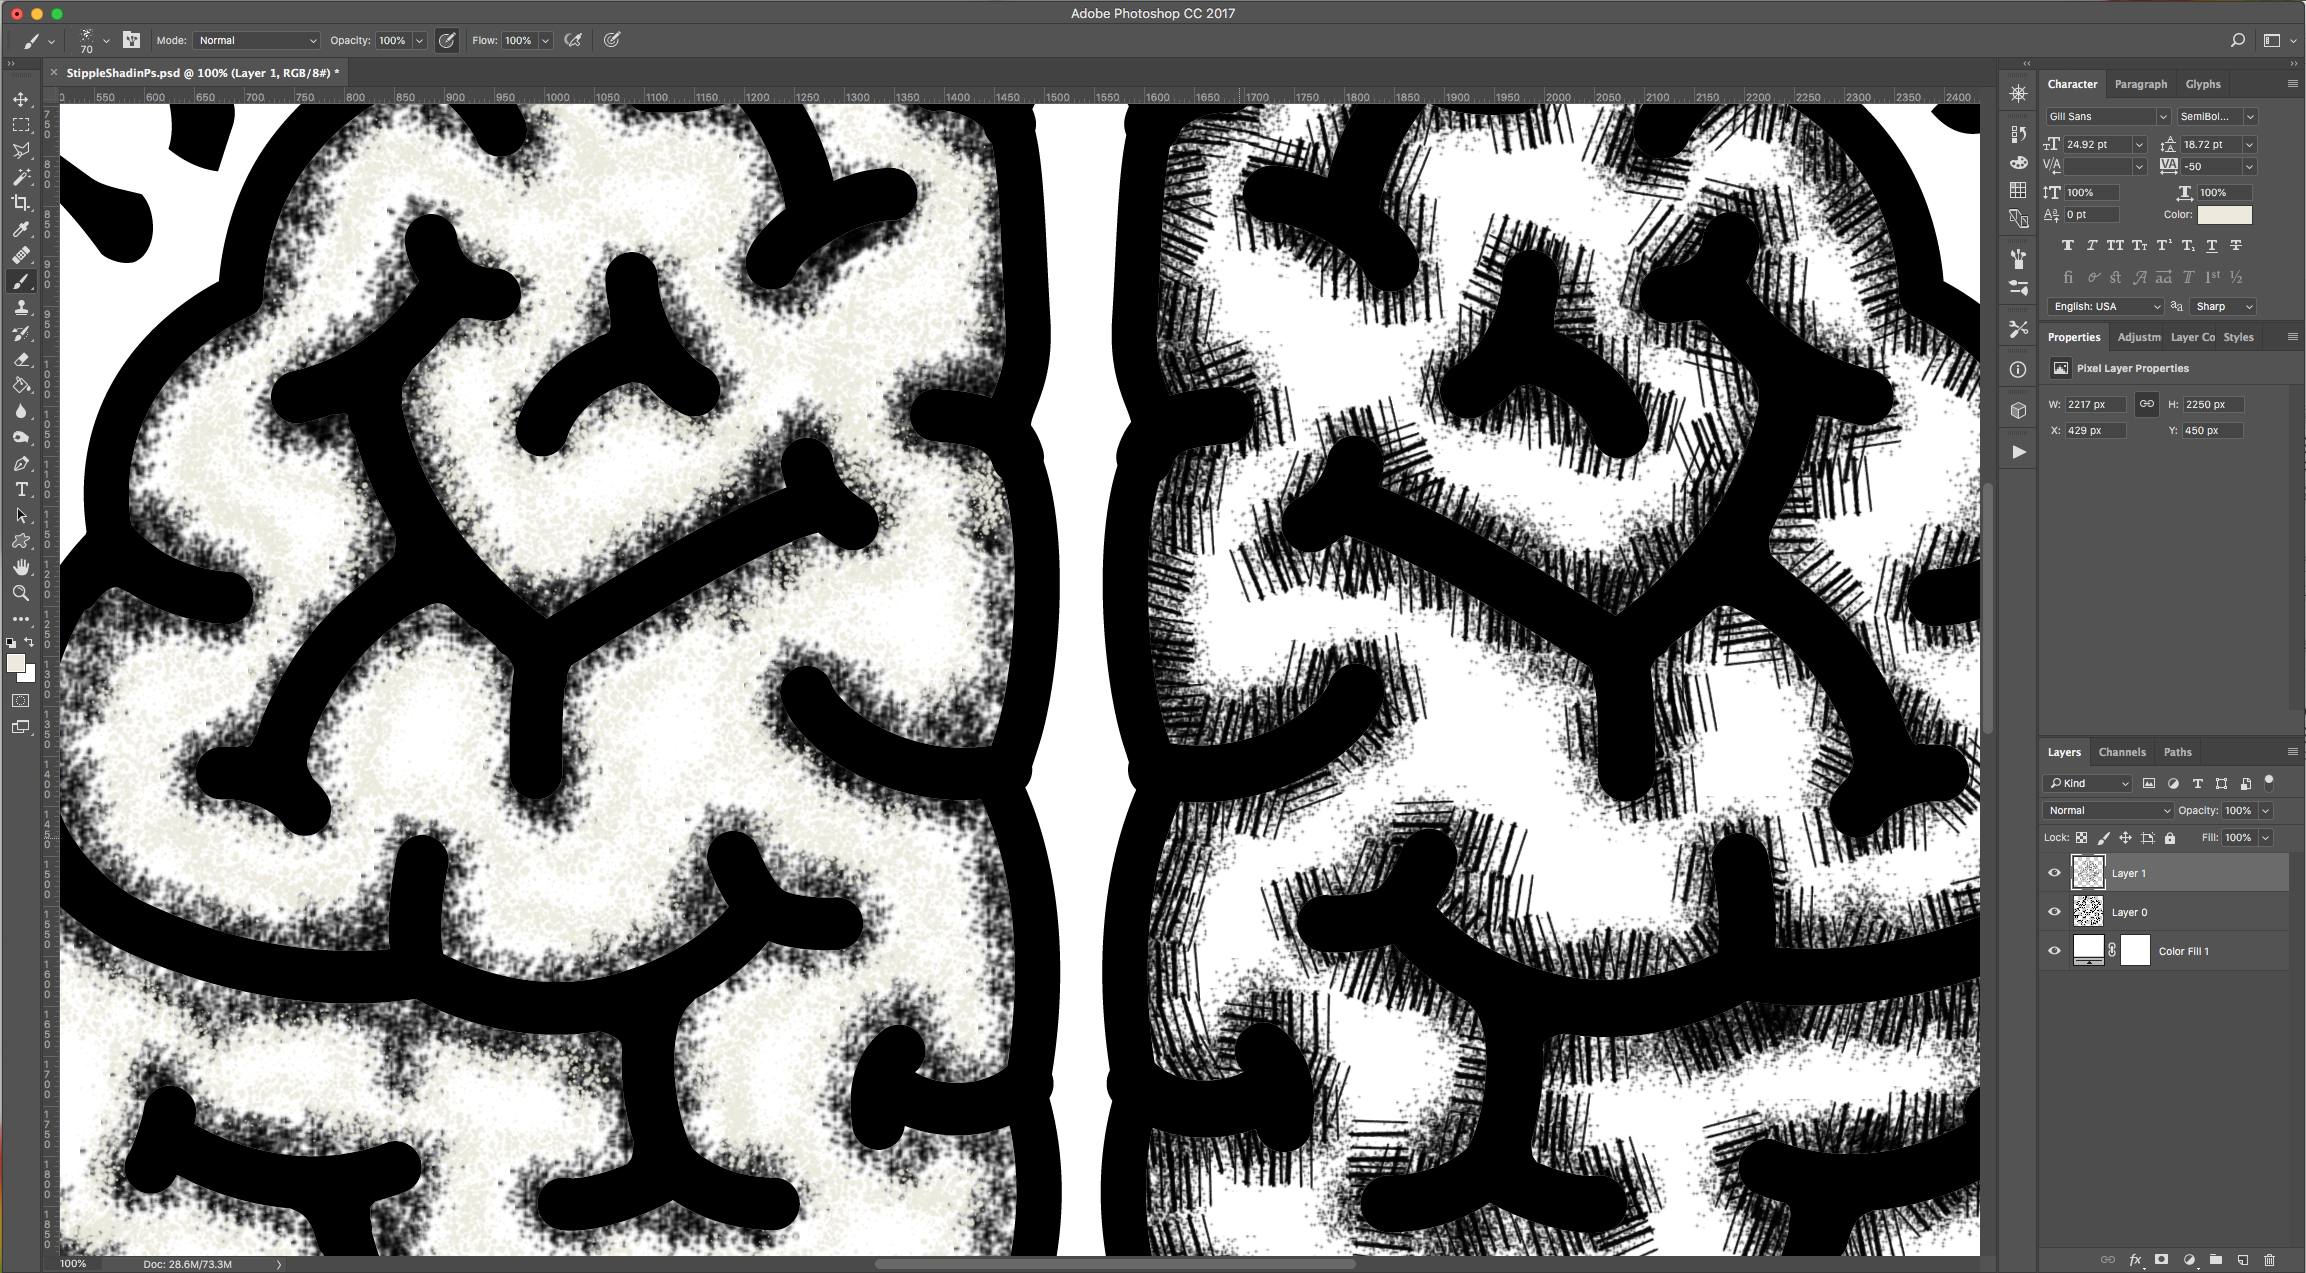
11 - Your image should be similar to this.
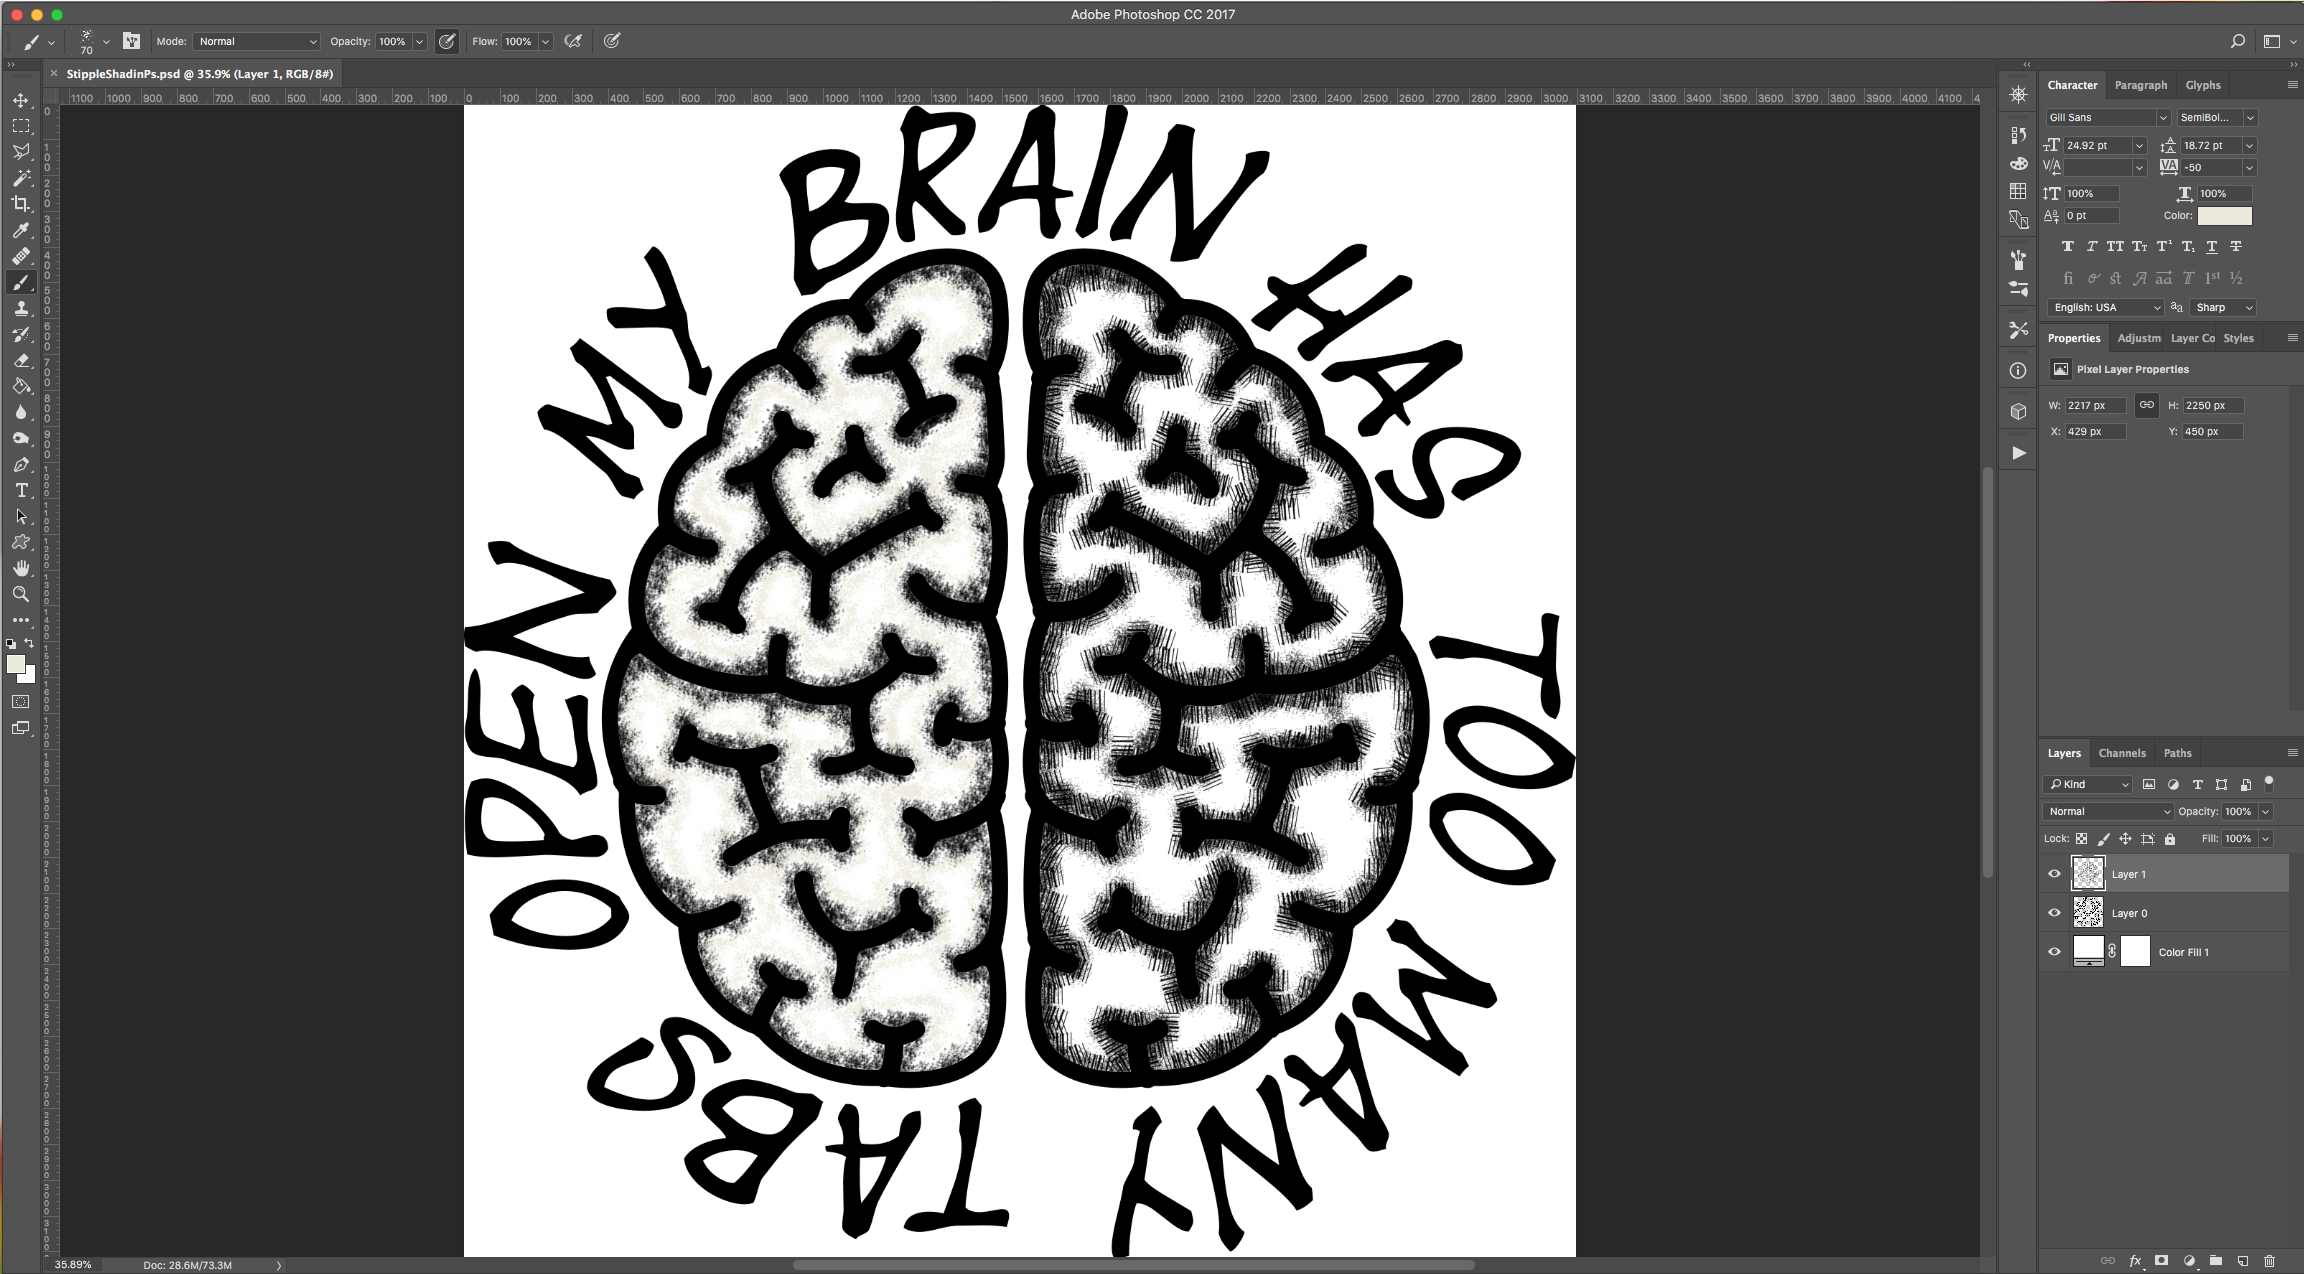
by @lornacane
6 Related Photoshop Tutorials
You may be thinking of swapping out Photoshop for Procreate to make digital drawings. But you may be wondering if your brushes will work in Procreate. The good news is, you can take all your Photoshop .abr brushes and move them into Procreate. Awesome right? In this tutorial, we will ...
Did you know you can use Photoshop .abr brushes in DesignScape? DesignScape is an online editing software available to Gold Plus Members. Not a Plus Member yet? Sign up for a free 30 Day Trial of the Gold Plus Membershiptoday! Since there is no need to download any software, it is ...
You can quickly load and use Photoshop actions in DesignScape. Use your favorite actions in your projects with this online editing software available to Gold Plus Members. Want to give DesignScape a try? Then sign up for a free 30 Day Gold Plus Membership Trial today! With a list of features ...
1- Open up Photoshop And select your image.2-Once your image is in your workspace right click on the background image in the layers palette.3- Select duplicate background and a new box will appear. Name your background copy and click OK4- Go to Filter > Filter Gallery. ( note ...
Affinity Designer has a vast array of tools for creating and editing designs. One of these tools is the brush tool. Brushes are available for purchase in both vector format and raster format. They both work in a similar way however there are a fewdifferences.Locating the Brush ToolAfter opening ...
Today we will learn how to create a basic set of stipple brushes in Illustrator. Stippling is the process of adding small dots to create a texture or shading. These brushes are great for adding depth to vector art designs. The technique can also be used to create other types ...

 All your Font Needs


