Unlimited Downloads 15% off Marketplace Purchases Exclusive Software Access Unlimited Downloads
15% off Marketplace Purchases
Exclusive Software Access
Go Unlimited Maybe Later
Bitmap fill in Affinity Designer
  • By Design Bundles
  • 25 Apr 2017
  • 4 Mins
  • Affinity Tutorials

Bitmap fill in Affinity Designer

Discover how to use a bitmap fill of a texture, pattern, or image in this Affinity Designer tutorial

In this super quick tutorial we will show you how to use Affinity Designer’s Bitmap fill. You can use a texture, pattern, or image to fill a design and create something unique. Bitmap fills are a great way to make your designs stand out.

You are welcome to browse through our collection of digital patterns for your projects. Any image can be used so let’s get started by opening Affinity Designer.

Step 1 - Create or Open your Design

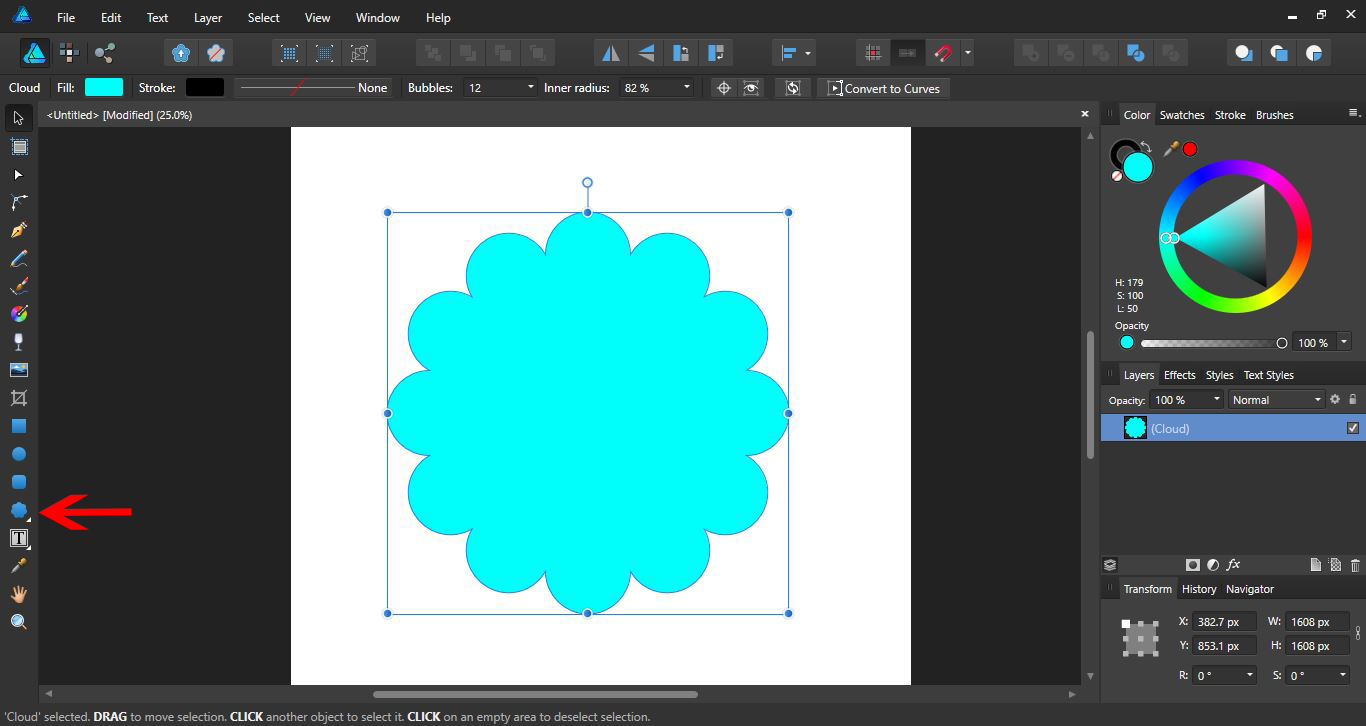
We are going to use the Shape Tools menu on the left side to add our shape. Click on the menu to open, then select the Cloud Tool. Now click + drag the shape out.

At the top toolbar you will find the Fill and Stroke options. Click on the Fill Color Picker box and choose a color. We went with a light blue.

You can also use the Pen Tool to create your own shapes and designs.

Step 2 - Apply Bitmap with Gradient Tool

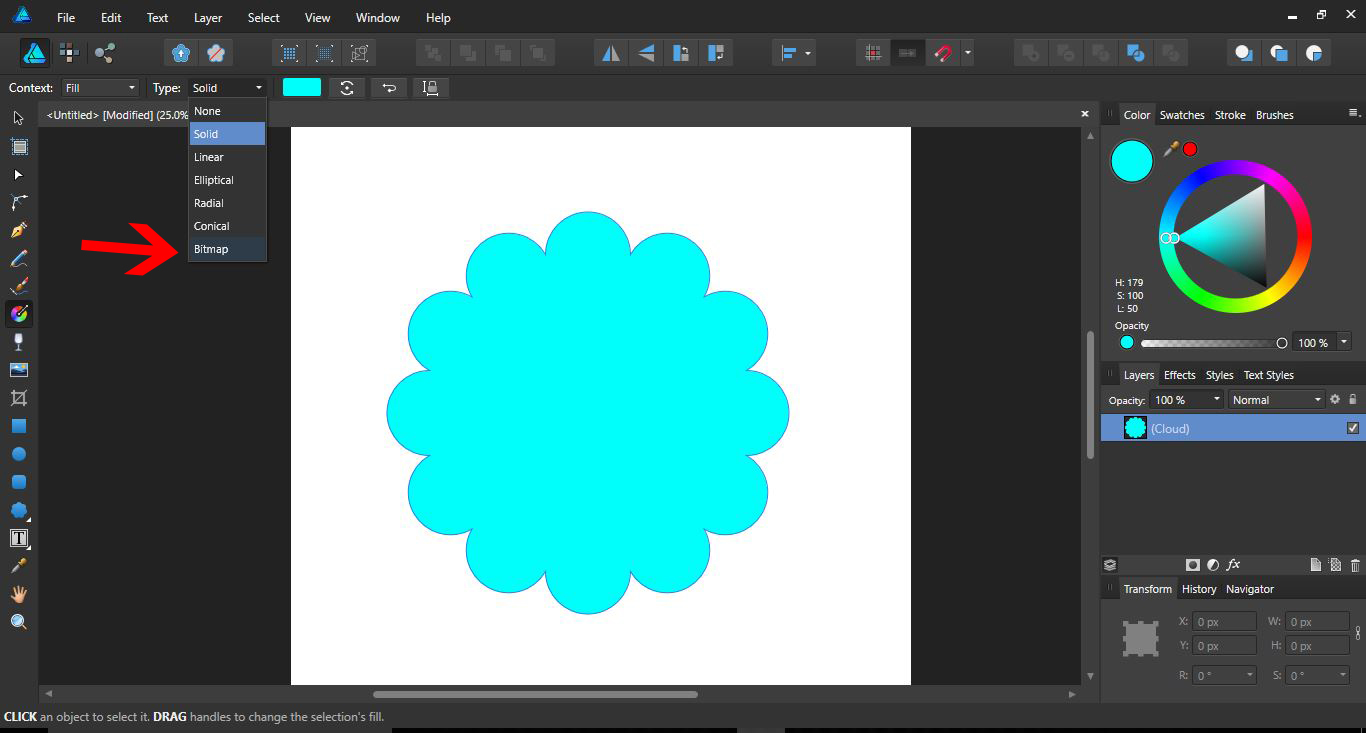
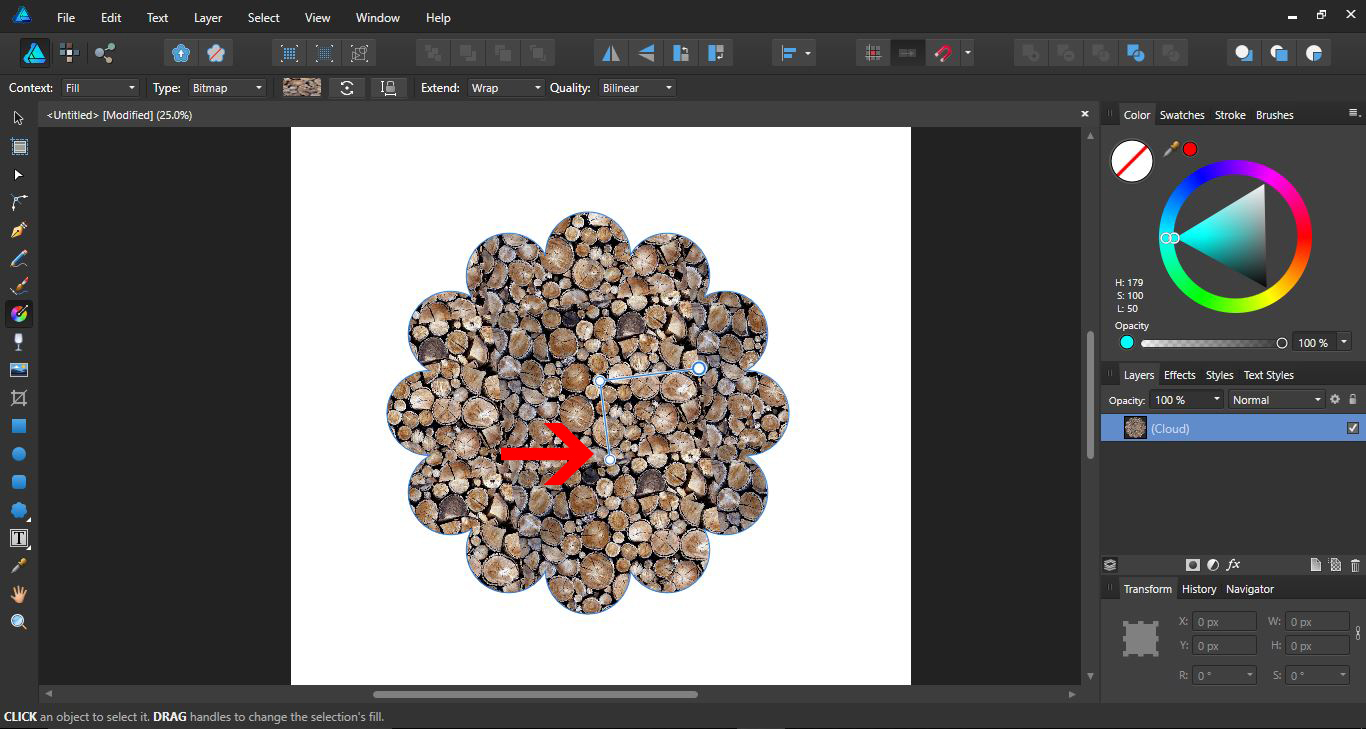
In order to access the Bitmap fill we need to use the Gradient Tool. Click on the Gradient Tool on the left side toolbar.

Make sure the shape or design is selected. In the top toolbar next to Type, select the dropdown box and click on Bitmap.

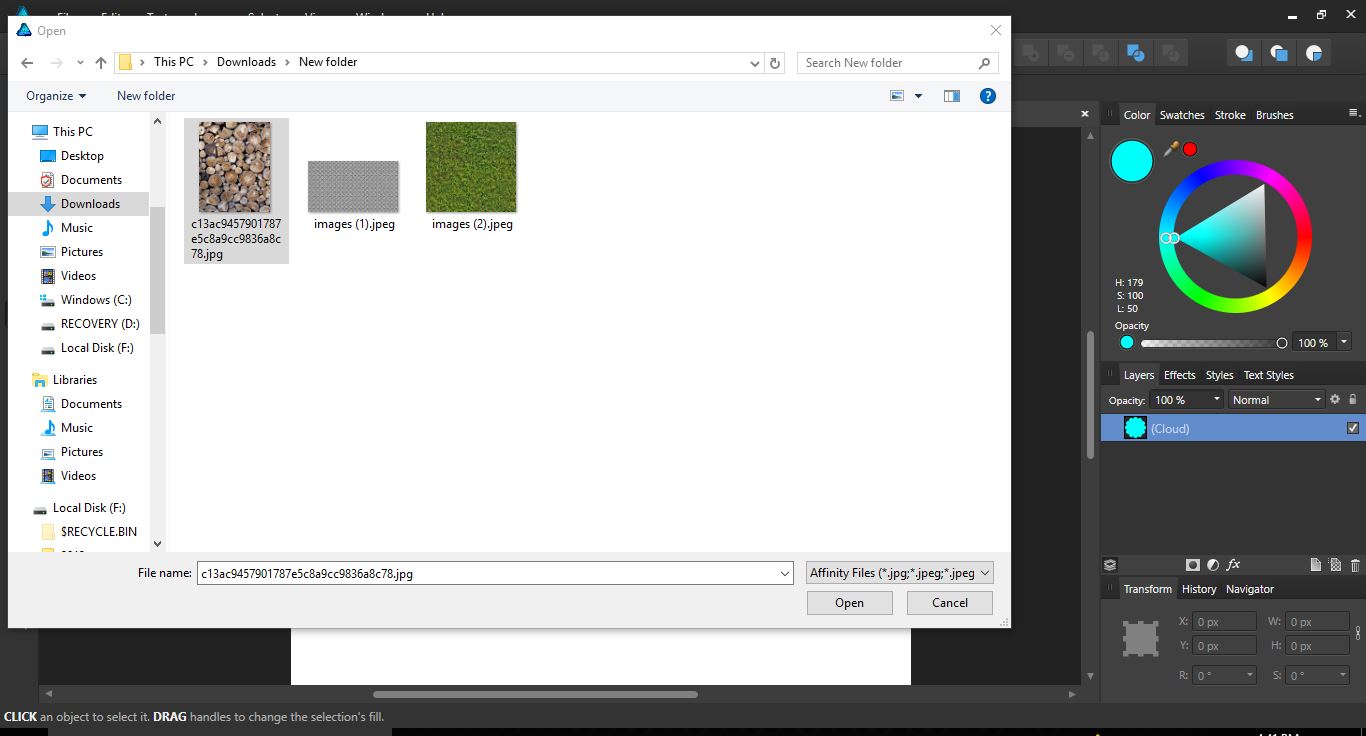
A new window will appear where you can select to open your texture.

The texture or image will now fill your shape.

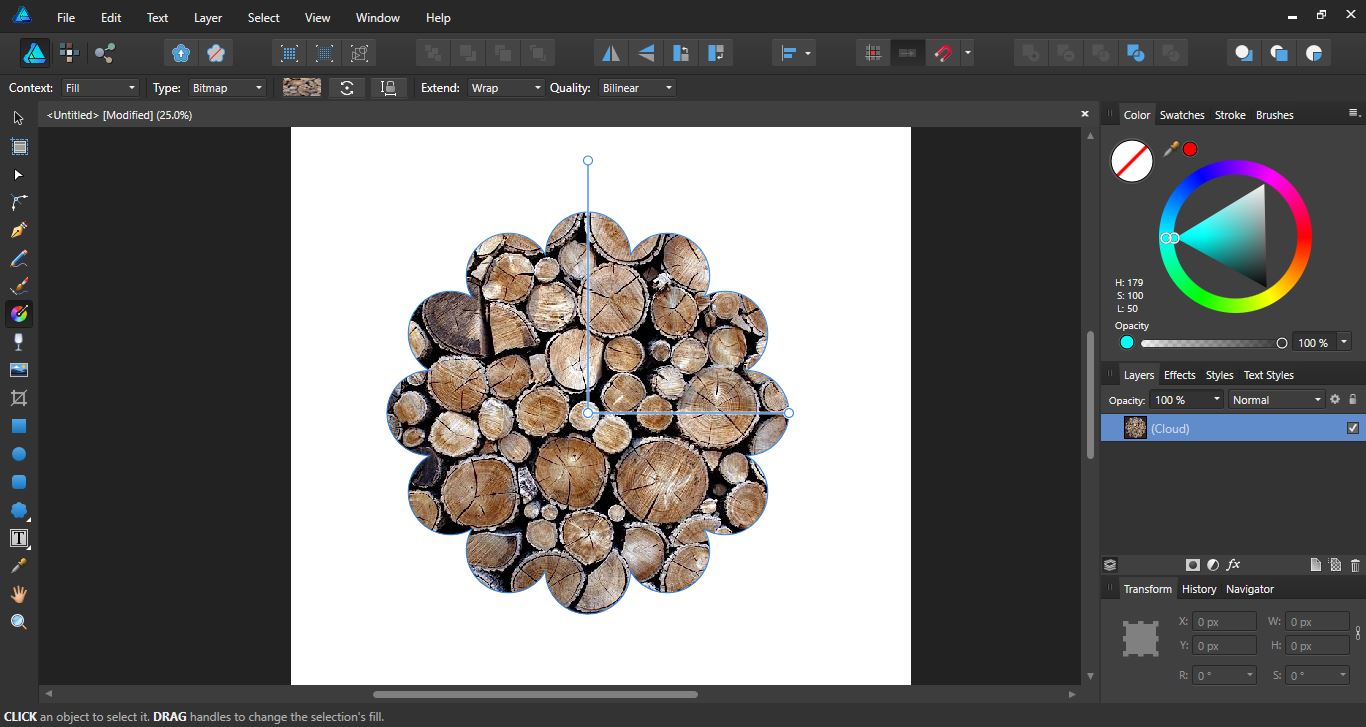
You can adjust the size of the texture using the gradient handles.

Each time you want to change the fill, you will need to click on the Type drop down box and select Bitmap. In the window that appears, select a new texture.

You can even add images as a Bitmap fill. This is a quick and fun way to create frames for your images.

Affinity Designer’s Bitmap fill is a useful tool for adding textures as well as creative frame ideas. They also help to constrain the background to a specific design or shape and create repeating patterns. We hope you enjoyed following this tutorial and can use the techniques in your future ideas.


6 Related Affinity Tutorials

Creating interesting textures adds depth to an image and can turn a flat looking design into something special. There are two ways to add texture to designs in Affinity Designer. We will cover them in this tutorial on how to add texture fill to text.Using a Brush to create ...

In this tutorial we will take you through the steps for using the Affinity Designer gradient Fill Tool. Gradients are the smooth transition from one color to the next. Adding a gradient is a fairly quick process that can create more depth to your designs. Gradients are used across a ...

Shapes in Affinity Designer can be filled with patterns by using the Fill Tool option. This can be applied to a range of projects like sublimation, stickers, card designs and more. Any image can be used including seamless patterns. Creating a design with a pattern fill has never been more ...

Drop shadows can be used in graphic design to give the illusion of a 3D object. It gives the image depth as though it is hovering above the page. There are various setting that can be changed to simulate the direction of the light source, the size of the shadow ...

The Long Shadow effect is as the name implies. It adds a long shadow to give dynamic impact to text or logo. The process involves multiple duplicates aligned in a specific way. The duplicates are then combined with a Boolean action and edited with the Node Tool. We will show ...

Gradient backgrounds are great for making social media posts, graphics, and more. In Affinity Designer we don't have the luxury of a mesh gradient. However, we can blend multiple gradients using the Blending modes. How you position the layers also impacts on the final result.In this tutorial we will ...

You may also like

Help Center
ol image