
How to Use Clipping Masks in Affinity Photo
In this step by step tutorial we will show you how to use clipping masks in Affinity Photo.
In today’s tutorial you will learn how to use clipping masks in Affinity Photo. A clipping mask uses one layer to control the visibility of another. Clipping masks are great for confining an image to a shape such as a frame. Text can also be filled with textures, images and so on using clipping masks.

We will be using a frame mockup from the Plus Hub. If you’re not a member yet, sign up for a free 30 day Gold Membership trial today!
For our images we chose a vintage sunflower png and watercolor paw prints. To show how clipping masks work with text we will be using a summer font called Lemon Fresh.
Use Clipping Mask with Photos
First, we are going to show you how to use a clipping mask with images in Affinity Photo.
Step 1 - Open your Two Images
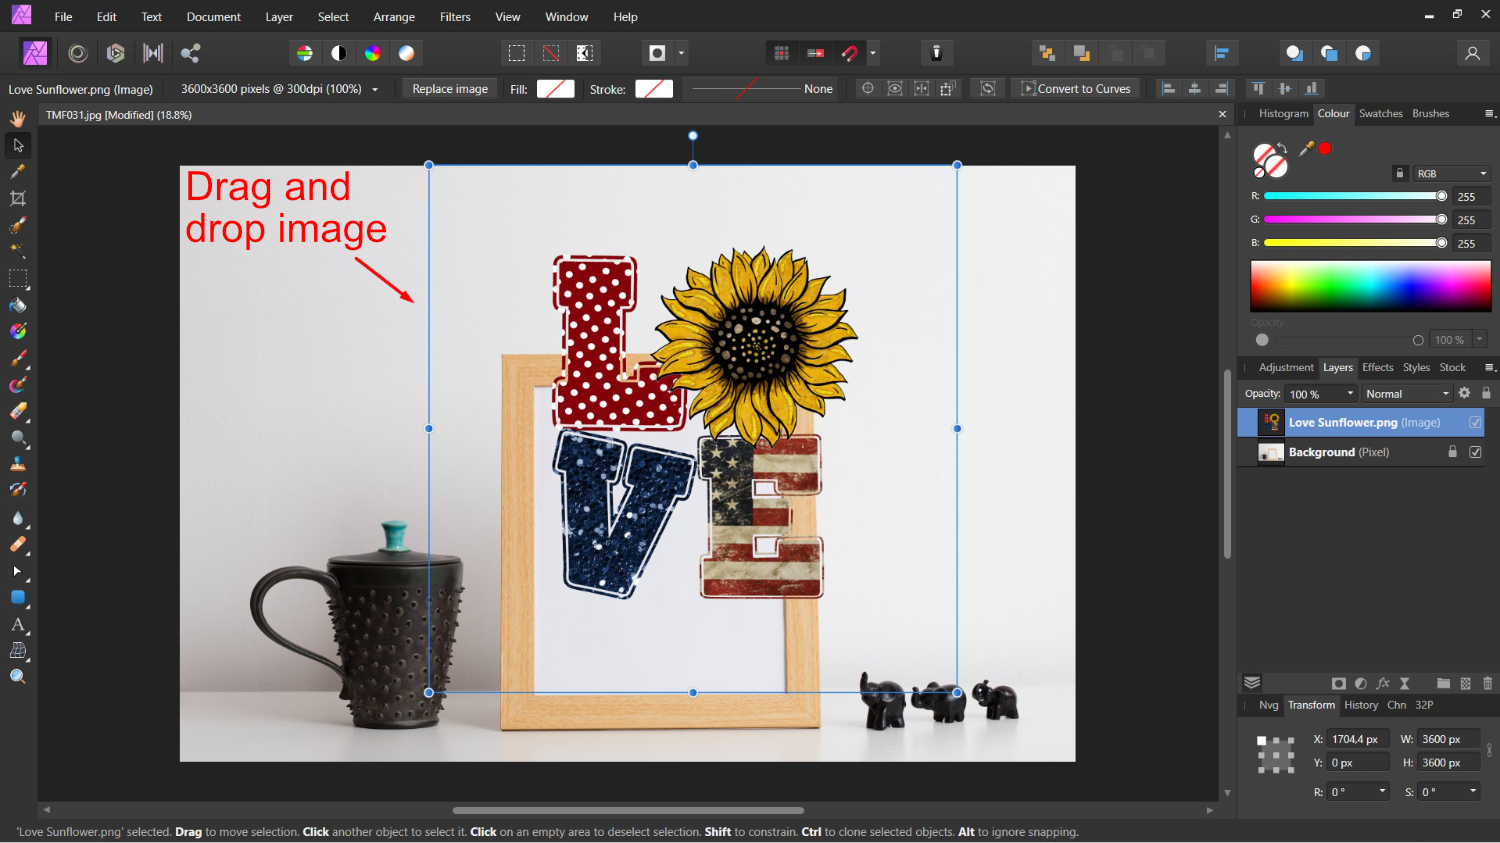
Once you have opened Affinity Photo, close out of the Document setup. We are going to open the first image then drag and drop the second one over it.
Go to File > Open then locate the frame or background you want to use. We are using the included PNG file to show you how clipping masks work.
You can also use the PSD file. We have an awesome tutorial on how to use Smart Object Mockups in Affinity Photo if needed.

Next, drag and drop the second image into the document.
Step 2 - Make a Base for the Clipping Mask
For our clipping mask we need to create a shape as the base. You can use the PenTool or the Shapes Tool. We are going to draw a rectangle from the Shapes Tool menu on the left side panel.
Shift the Love Sunflower image to the side for now.
Make sure the Background layer is selected then click on the Shapes Tool to open the options. Select the Rectangle Tool. Now, draw out a rectangle that covers the white area of the frame. Don’t worry about it being accurate, we will fix this next.
The rectangle will be placed on its own layer above the Background layer.

Now, before we can edit the shape, it needs to be converted to a curve. Go to Layer > Convert to Curves. Under the Layers Panel on the right side, the rectangle layer will show as a Curve layer.

Just above the Shapes Tool are the editing options for the Pen and Nodes. Click on the small white arrow to open the menu then select the Node Tool.

You can now edit each of the nodes on the corners and sides. Click + drag the two right corner nodes to align with the frame as seen below.

Step 3 - Create the Clipping Mask
Select your image, this being our top most layer, and reposition over the rectangle. We chose to have it extending just a bit out of the frame.

Now, click + drag the Love Sunflower layer over the Curve layer name. We don’t want to place it over the thumbnail as this will create a mask. You can use the graphic below as a guide.

Step 4 - Edit the Clipping Mask
A clipping mask is a non-destructive action. This means that you can go back and edit it. You can edit the Curve layer by selecting it under the Layers Panel. Then, fine tune the position of the nodes using the Node Tool.

You can also edit the Love Sunflower layer. Select the layer, then click on the Move Tool left toolbar. Click + drag a corner node inwards or outwards to resize the image. If you want more control over sizing, check out our tutorial on resizing images in Affinity Photo.

The image can easily be changed out by deleting it and repeating Step 3.
Use a Clipping Mask with Text
Now, let us have a look at using a clipping mask with text. This technique works best with bold fonts where you can clearly see the fill.
Step 1 - Create your Text Object
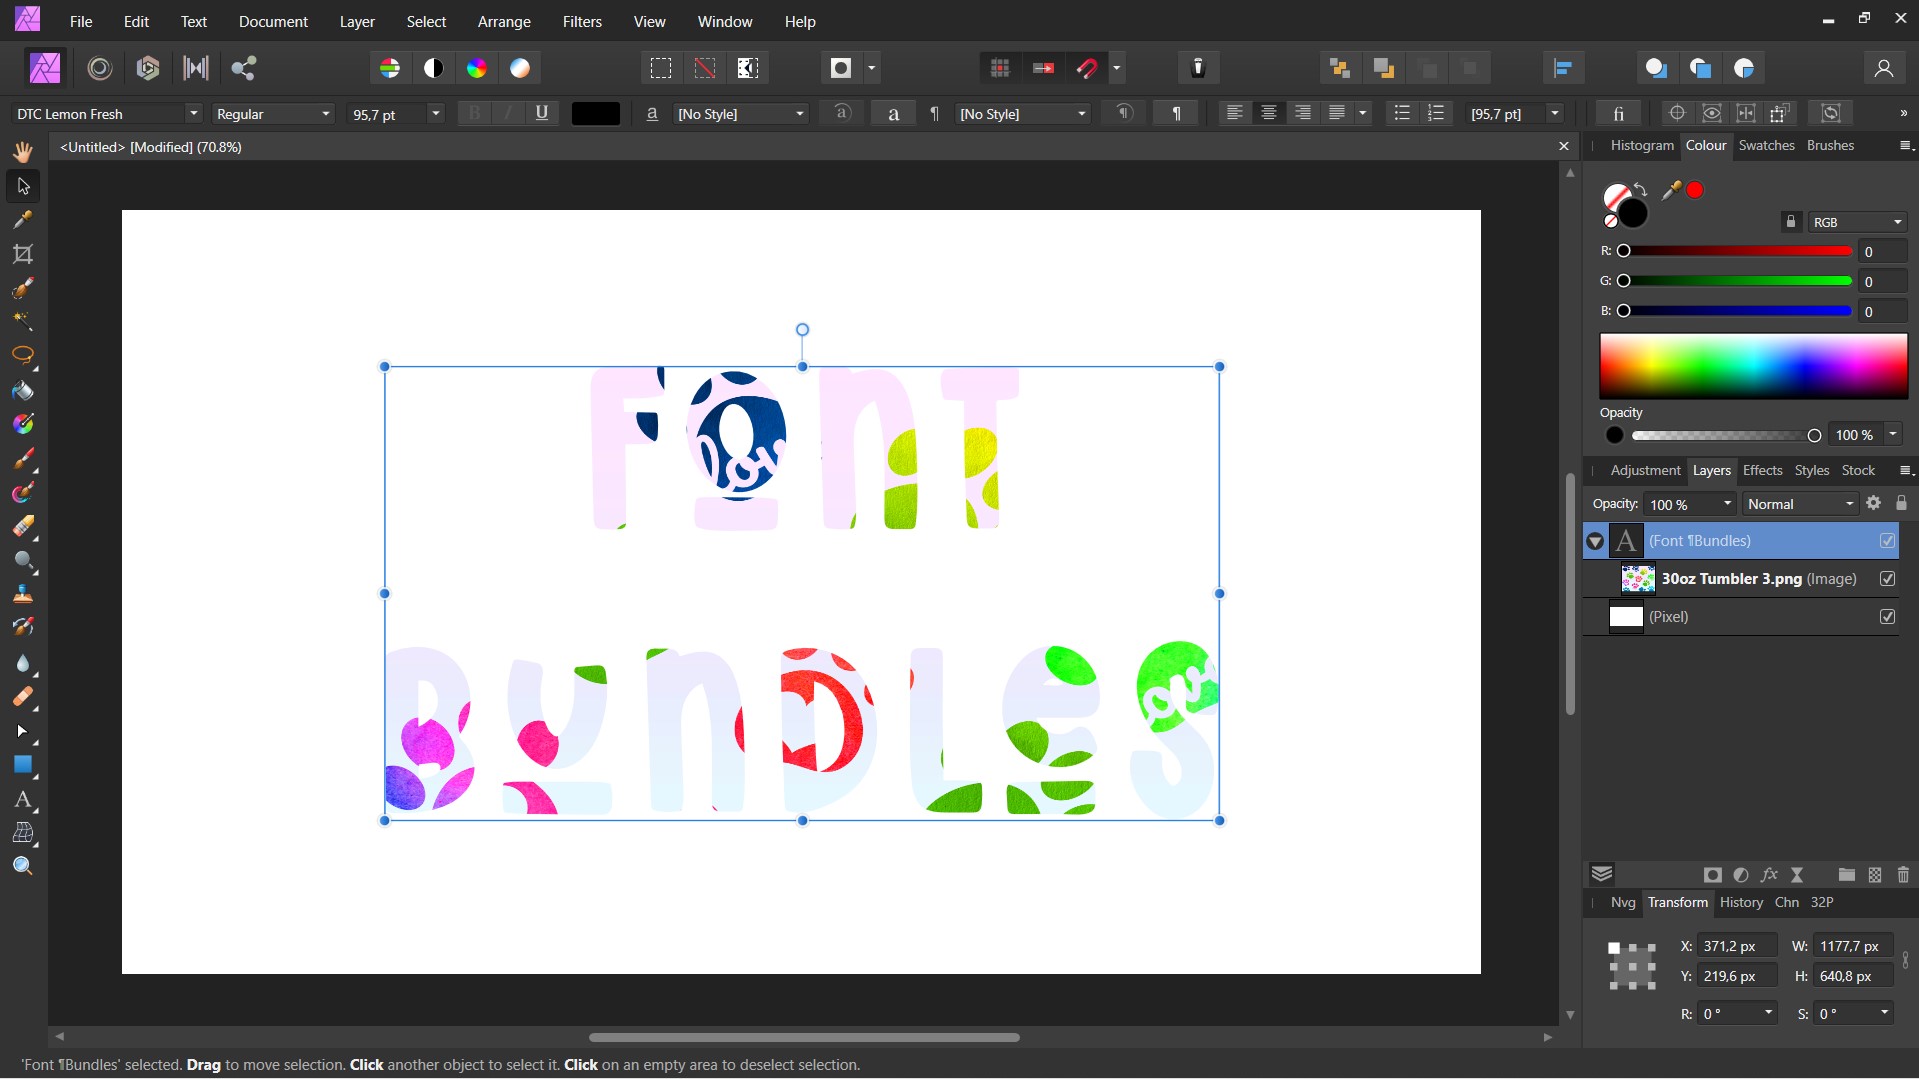
Select the Artistic Text Tool on the left side panel and type out your text. Format the text as you want. There is no need to fill with color as the clipping mask will sort that out.

Step 2 - Create a Clipping Mask with the Text
As we did before, drag and drop the image you want into the document. Then resize and reposition so it covers the text object.

With the text layer, we don’t need to convert it to a curve. Go ahead and follow the same process in Step 3 of creating a clipping mask with photos. Click + drag the image layer over the text layer name. Remember, you don’t want to place it over the text layer thumbnail.

You can also edit the text and image independently like we did with the photo clipping mask.
Clipping masks can be used in so many creative ways. For PNG images you can create a shaped background and clip the image to it. Images can be easily added to frames or border areas. With the non-destructive properties, you can use clipping masks in Affinity Photo with great results.


