Unlimited Downloads 15% off Marketplace Purchases Exclusive Software Access Unlimited Downloads
15% off Marketplace Purchases
Exclusive Software Access
Go Unlimited Maybe Later
Creating Furry Text in Photoshop
  • By Design Bundles
  • 08 May 2017
  • 4 Mins
  • Photoshop Tutorials

Creating Furry Text in Photoshop

1- Open Photoshop.

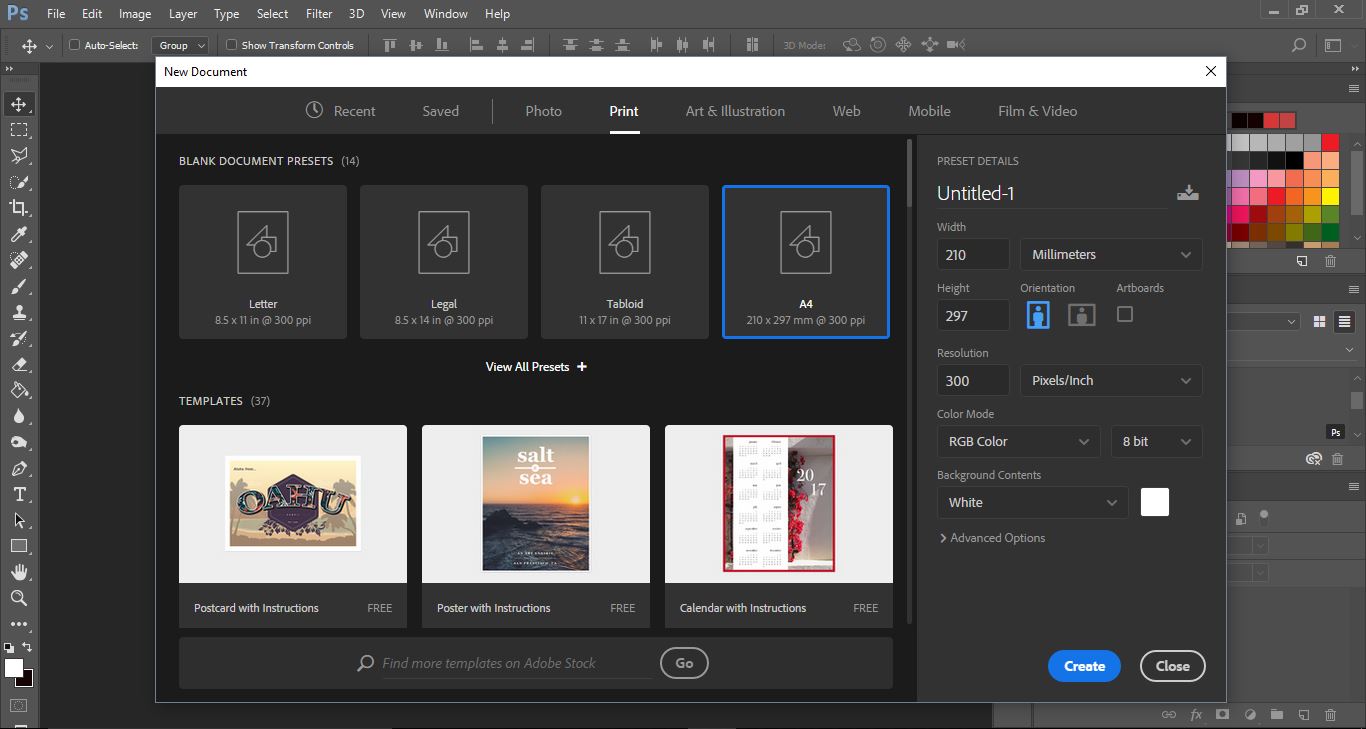
2-Create a new file or open the file you would like to add your text to.

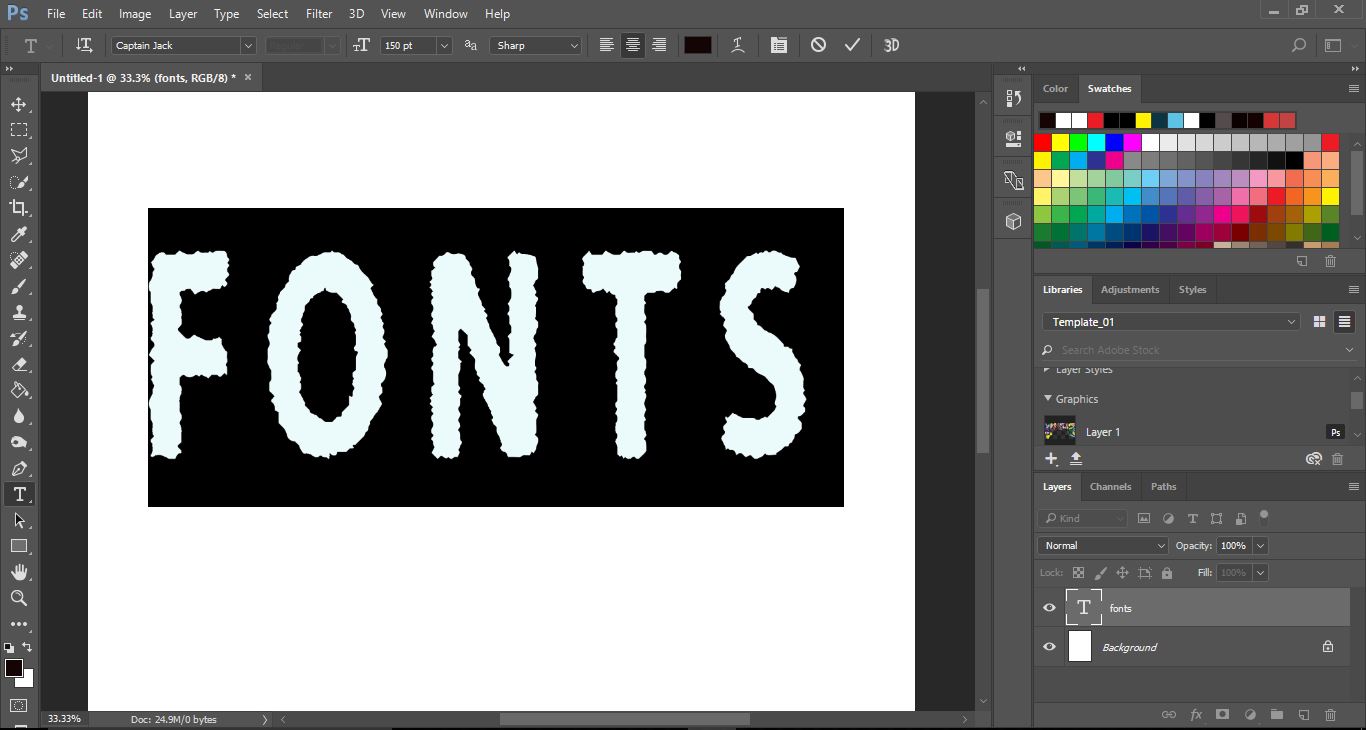
3- Select the text tool and type your text. Highlight and change the font to the one you would like to use. I have found bold fonts with rough edges make for the best fonts when creating a furry effect.

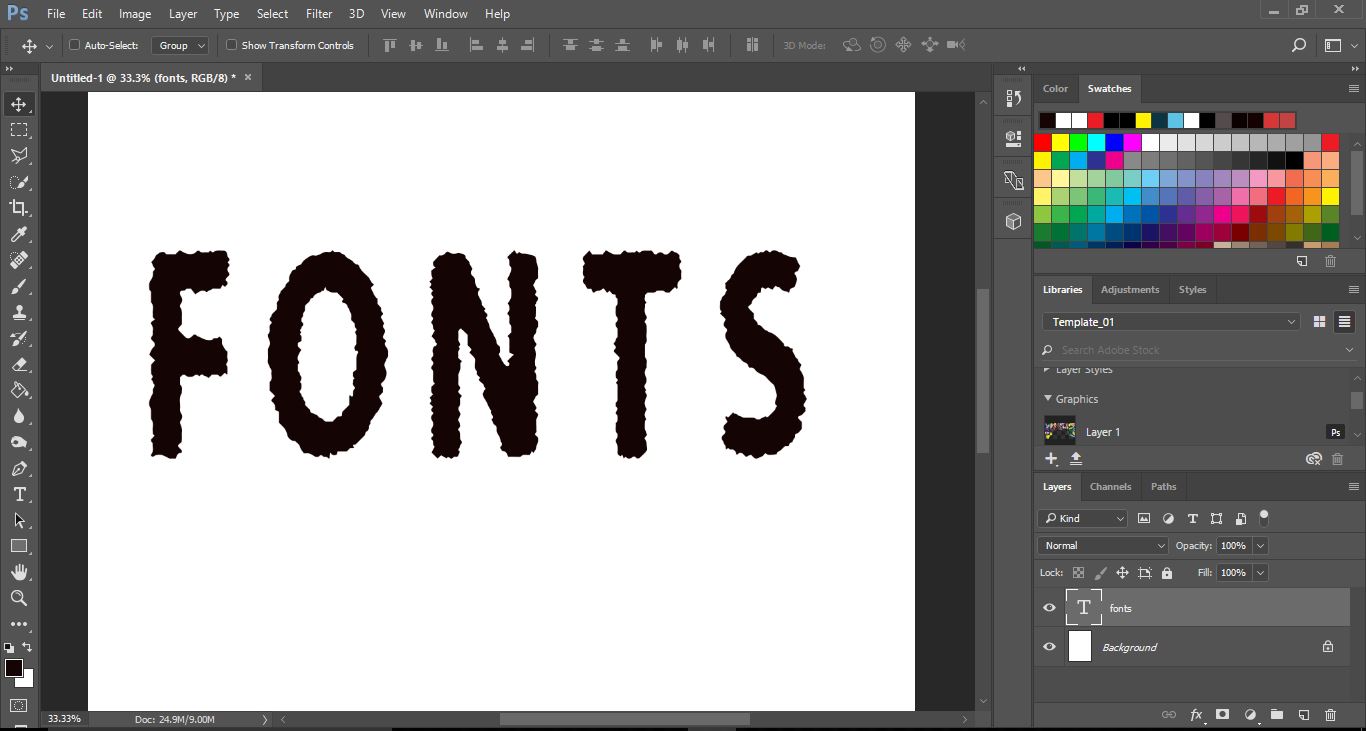
4- Adjust your text size.

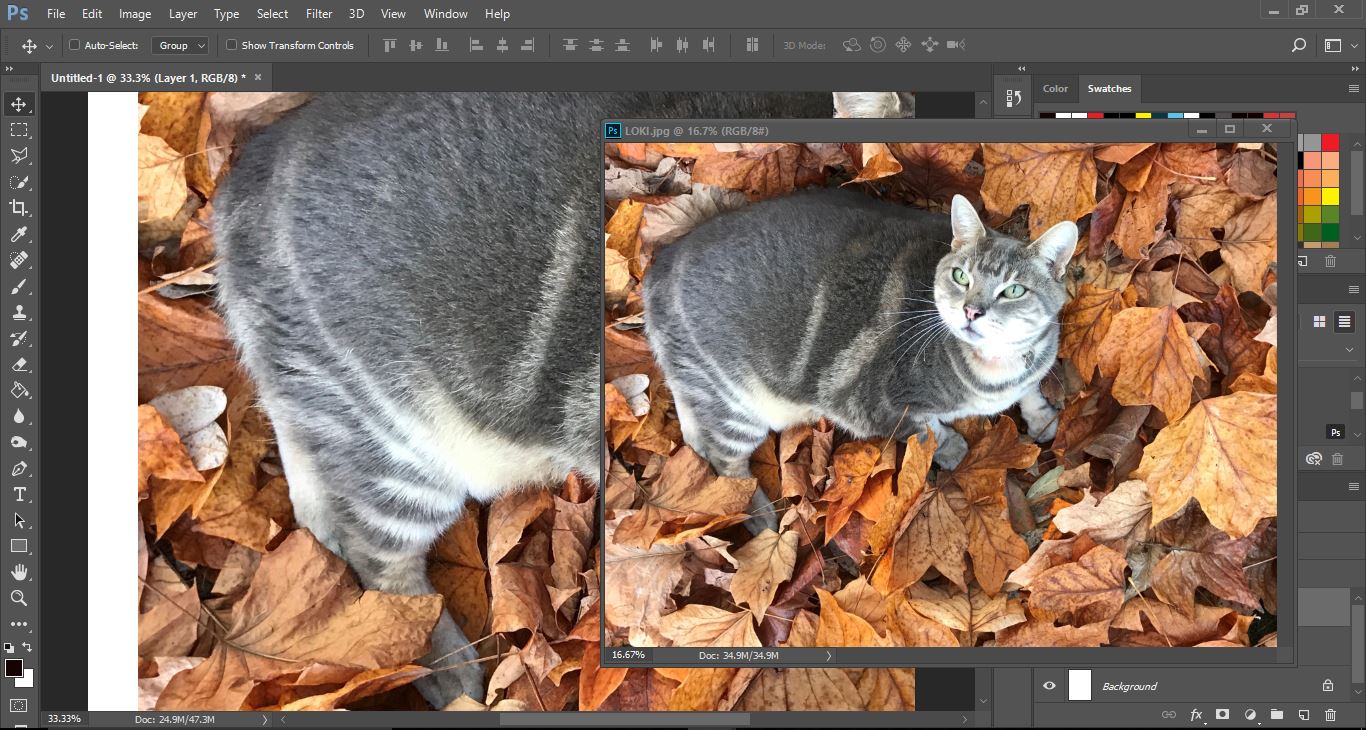
5-Open the picture you will use for the fur effect. I am using a picture of my cat Loki.

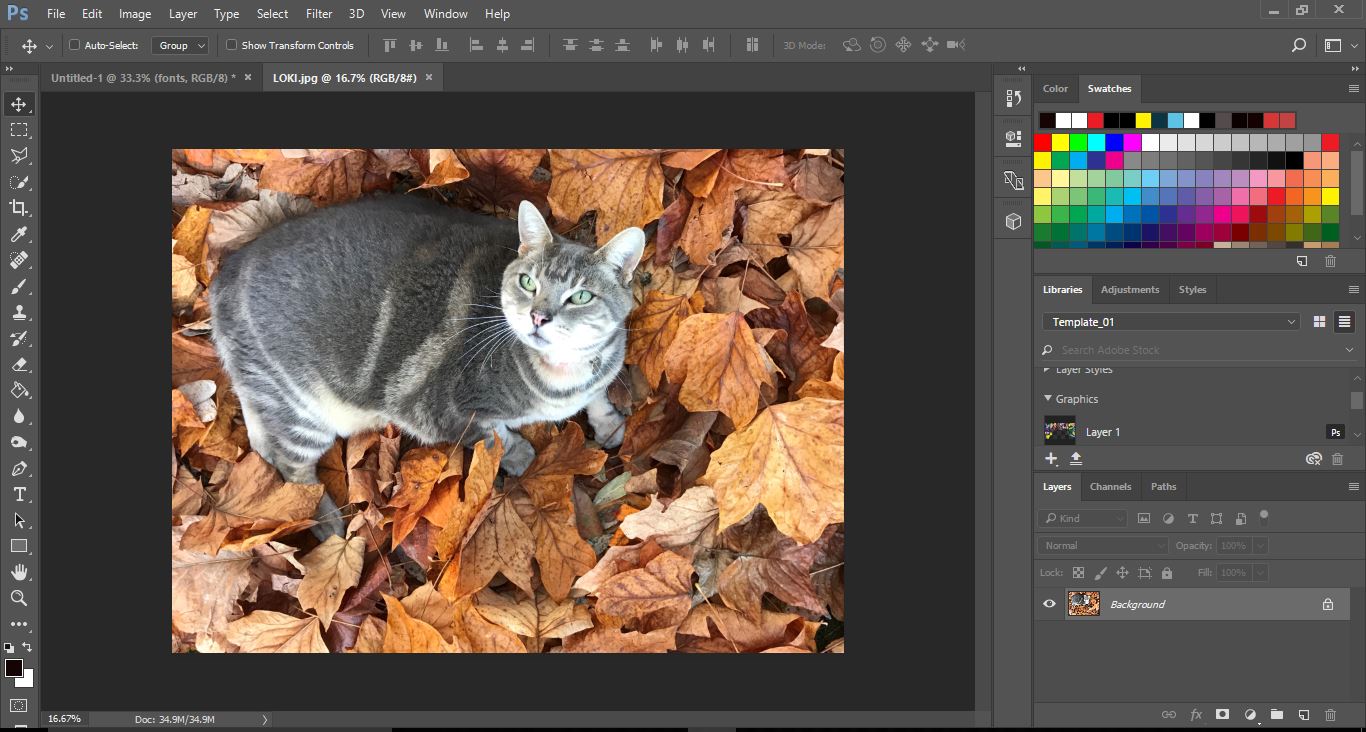
6- Click and drag the image onto your work space where the text is. Close the fur image we will not need it again.

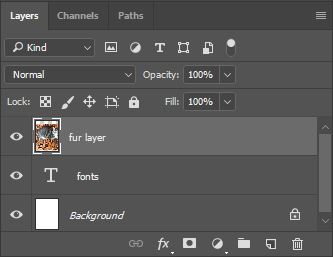
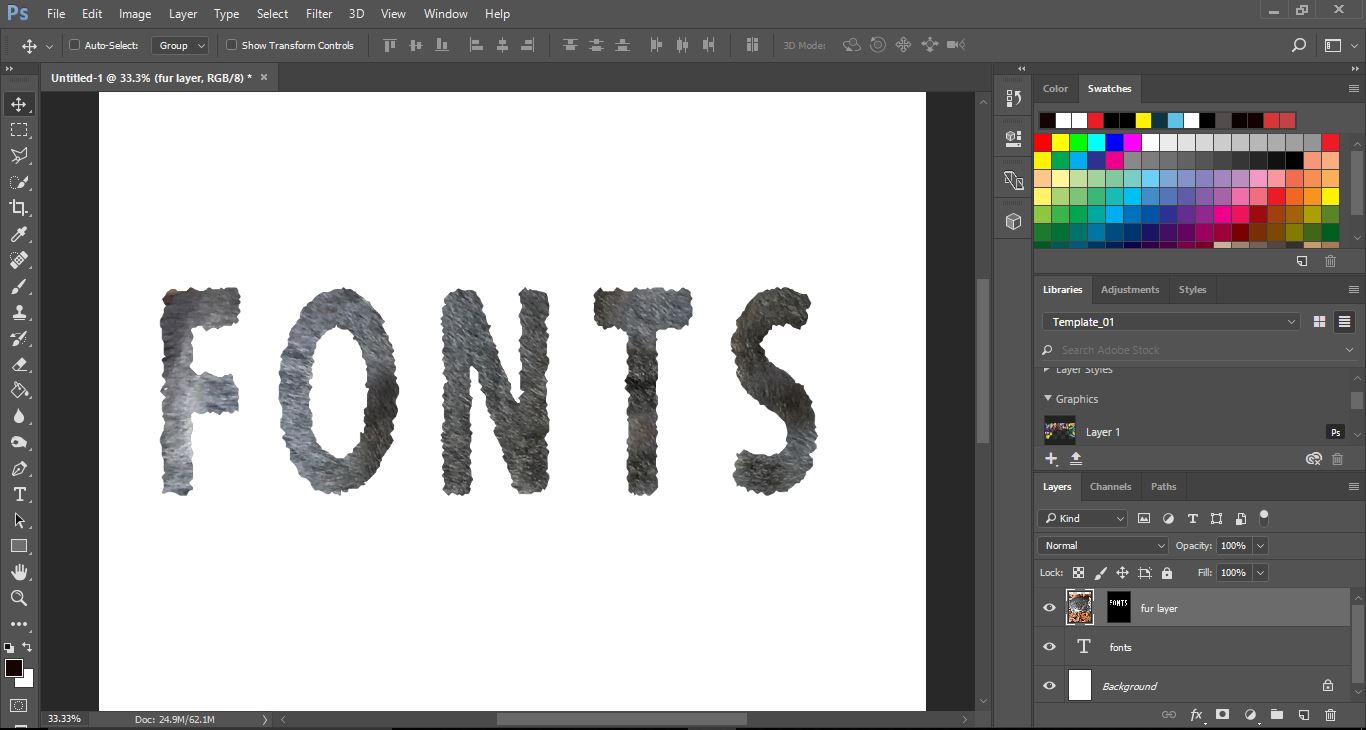
7- Rename the layer to fur layer so we know which one we need to use.

8- Select your text layer. Click and hold Ctrl at the same time to lad the selection of the text onto the fur. you will see the text as marching ants.

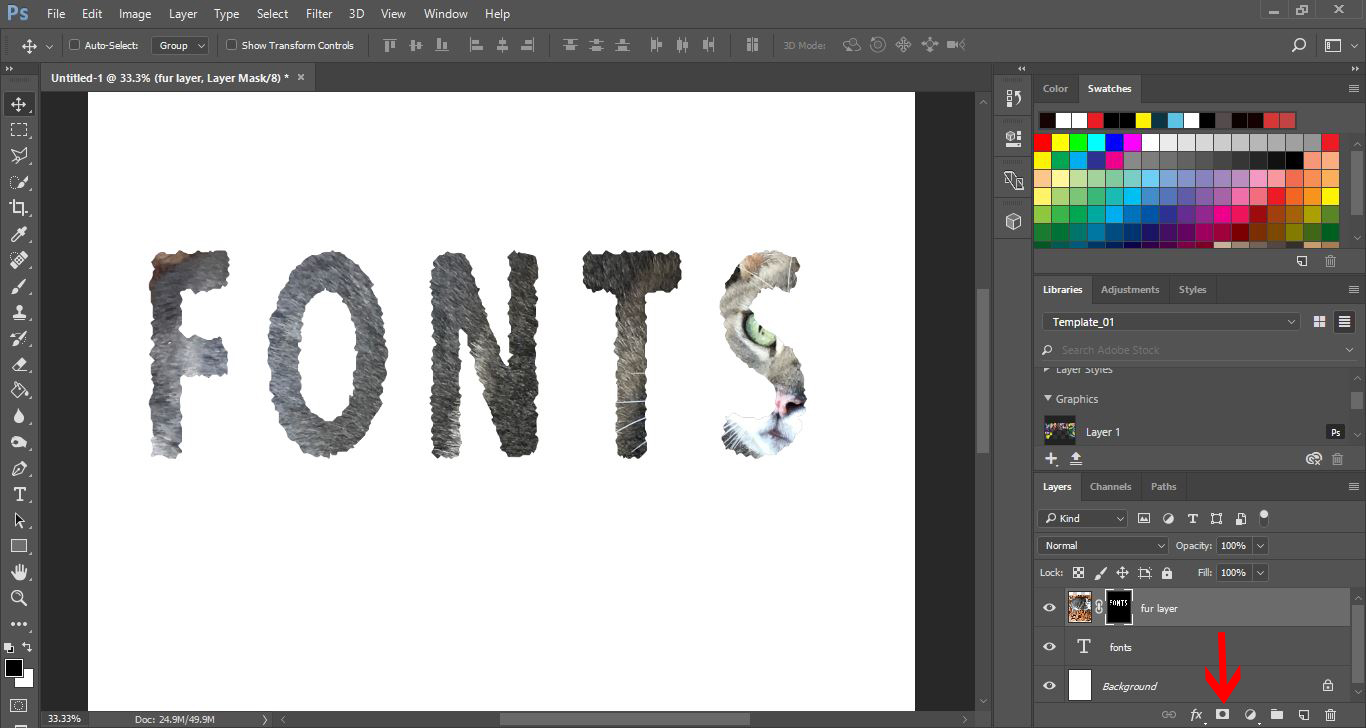
9- With the fur layer selected, click on the mask icon at the bottom of the layers tab. this will apply a mask.

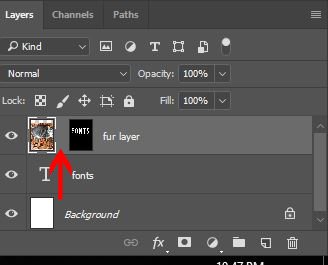
10- Select the fur layer with the mask and unselect the link that is between the image and the mask. This will let us affect either the image or mask without affecting both at the same time. Select the fur image in the layer.

11- With the fur image selected you can now move the image behine the mask around to find the best fur. You can also make the fur image larger or smaller depending if you want to change the size of the fur. I will be making my image larger to the face of my cat is not in the text.

12- Finally you can select the clone tool and hold Alt key and click the part of the fur you wold like to clone. then add the cloned fur to the parts of the text you want to edit.

The font used is Captain Jack by SmartDesigns.


6 Related Photoshop Tutorials

For this tutorial we are using a canvas or paper background and Titin Script from Font Bundles.1 – Create a new “Gradient Layer” under your “Texture” layer. Use a “Transparent to Fill Color” gradient with #d3d1d1 and #918f8f as colors, the Style as Radial and a 250% Scale. Hit ...

For this tutorial, we are using “Bukhari Script” from Fontbundles.net (https://fontbundles.net/mikrojihad/33277-bukhari-script), some cake textures (there are some web pages that have free images that you can useas textures) and a plate and table background images.We are going to divide this tutorial in two sections. ...

*Note-SCAL4 pro used.1-Open SCAL4 software.2- Click and hold on the shape tool. a drop down menu will appear and click on the spiral option.3-Click and drag to create a spiral to the size you need.4- Click on the text tool and hold. The drop down menu ...

In this tutorial, we are going to use the “3D Text” and “Patterns” created in Part 1 to add cake to your text.1 – Open the 3D text file you created in the first part of this tutorial. Delete the “Shadow” layer and merge all the other visible layers into a single ...

For this tutorial we will be using a canvas or paper background and Titin Script from Font Bundles.1 – In Photoshop create a new document or open the one with the background you wish to use.2 – Click the “Create a new fill or adjustment layer” button at bottom of the “Layers ...

For this tutorial, we will use a Background image containing an electronic device and the font “Vintage Jack”.1 - In Photoshop, open the image you chose as “Background”.2 - Create a “New Document”, make it 1 x 10 Pixels @ 300 dpi, RGB “Color Mode” and choose “Transparent” as “Background Contents”. Switch “Foreground” and “...

You may also like

Help Center
ol image