A Complete Guide to Preparing Tote Bag Designs for DTF Printing
Learn how to prepare high-quality, print-ready tote bag designs for DTF printing
Creating a tote bag for groceries, daily essentials, or items you love is always exciting. Tote bags are reusable, stylish, and practical. But what makes them even better is adding your own favorite design to them.
If you have already created designs or downloaded digital artwork, this is the perfect time to turn those designs into a custom tote bag. In this tutorial, I’ll walk you step by step through the entire process - from preparing your design to placing your print order.
For printing, we’ll be using one of the most reliable services available today:
It’s cost-effective, delivers straight to your door, and offers excellent customer support. All you need is your design. Their team handles everything else, from printing to shipping.
Let’s get started.
Step 1: Selecting the Right Design
Not every design is print-ready. Whether you created the design yourself or downloaded it, you must make sure it meets printing standards for DTF or UVDTF.
Here’s a checklist to follow before moving forward:
1. No Transparency in the Design
Transparency can cause printing issues, especially with DTF transfers.
2. Use 300 DPI for Best Quality
Resolution is extremely important.
- Designs at 72 DPI or 96 DPI are meant for screens only
- Low DPI designs can look blurry when printed large
- Always use 300 DPI for professional-quality printing
This ensures your design stays sharp, clean, and detailed on a tote bag.
3. Transparent Background
Your design should have no background (not white, not colored) unless its part of main theme.
A transparent background allows the design to blend naturally with the tote fabric.
4. Large Canvas Size
Use a minimum size of:
3000 x 3000 pixels or larger
This size works well for most printing needs, including tote bags, t-shirts, and other merchandise.
5. Clean Edges and High Contrast
Make sure your design:
- Has smooth edges
- Uses solid colors
- Avoids unnecessary tiny details
This helps the print look crisp and professional.
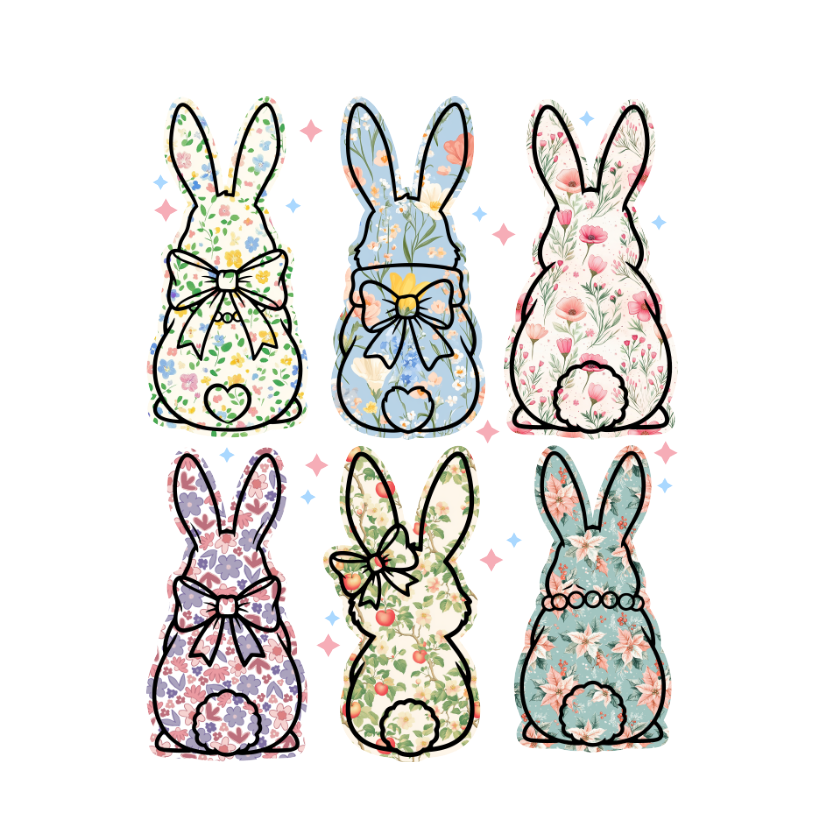
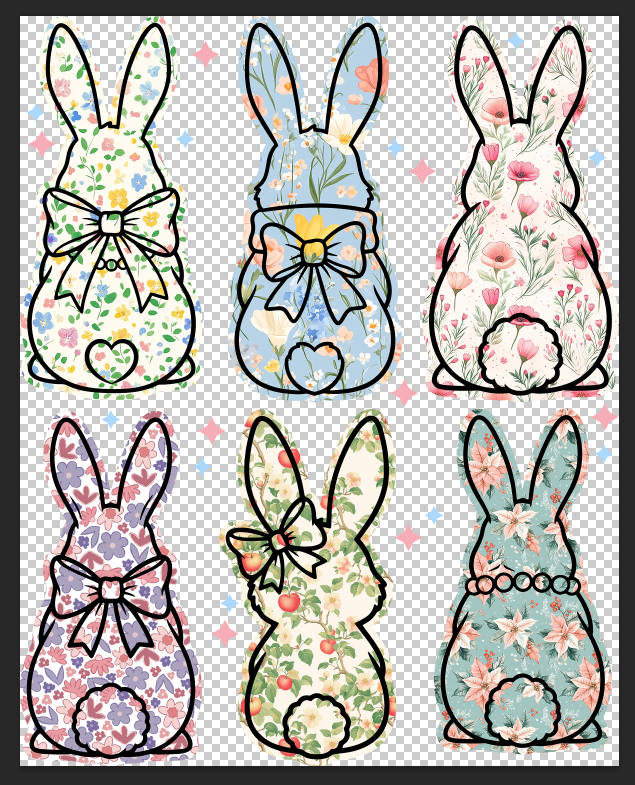
For this tutorial, we’ve selected a design that meets all these requirements.
Step 2: Preparing the Design Using Photoshop
Now we’ll prepare the design for printing using Adobe Photoshop. These steps ensure your file is 100% print-ready.
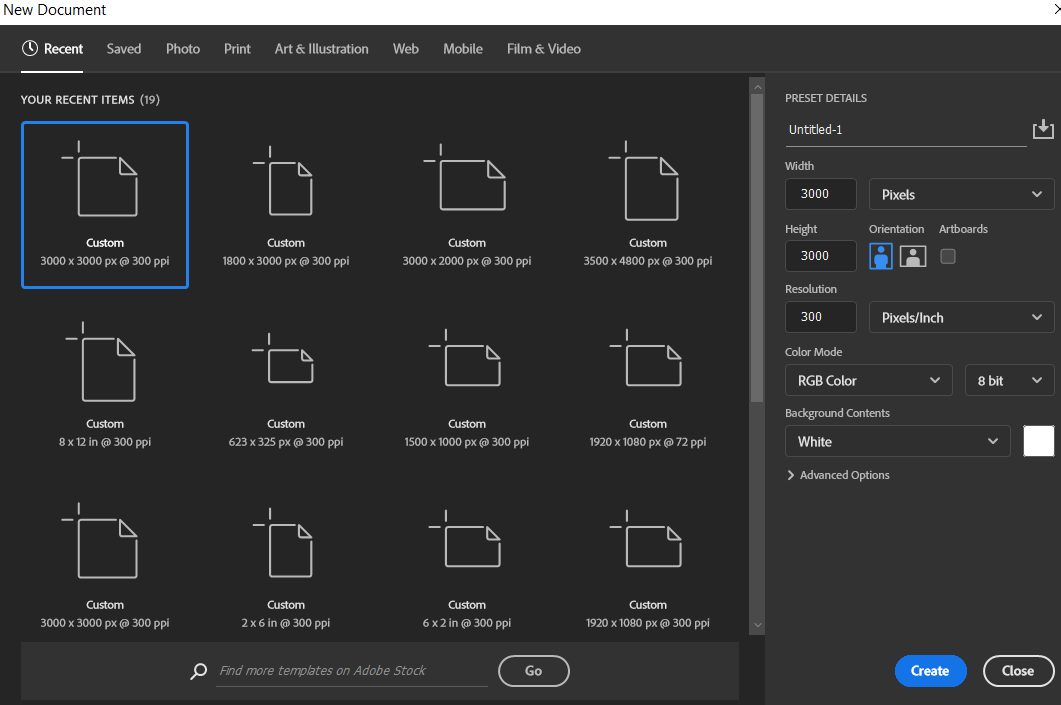
Step 1: Create a New Document
Open Photoshop
Go to File > New
- Set the canvas size to 3000 x 3000 pixels
- Set Resolution to 300 DPI
- Color Mode: RGB or CMYK
- Background: Transparent or White (which can be removed)
Click Create.
Step 2: Place Your Design
Drag and drop your design onto the new artboard
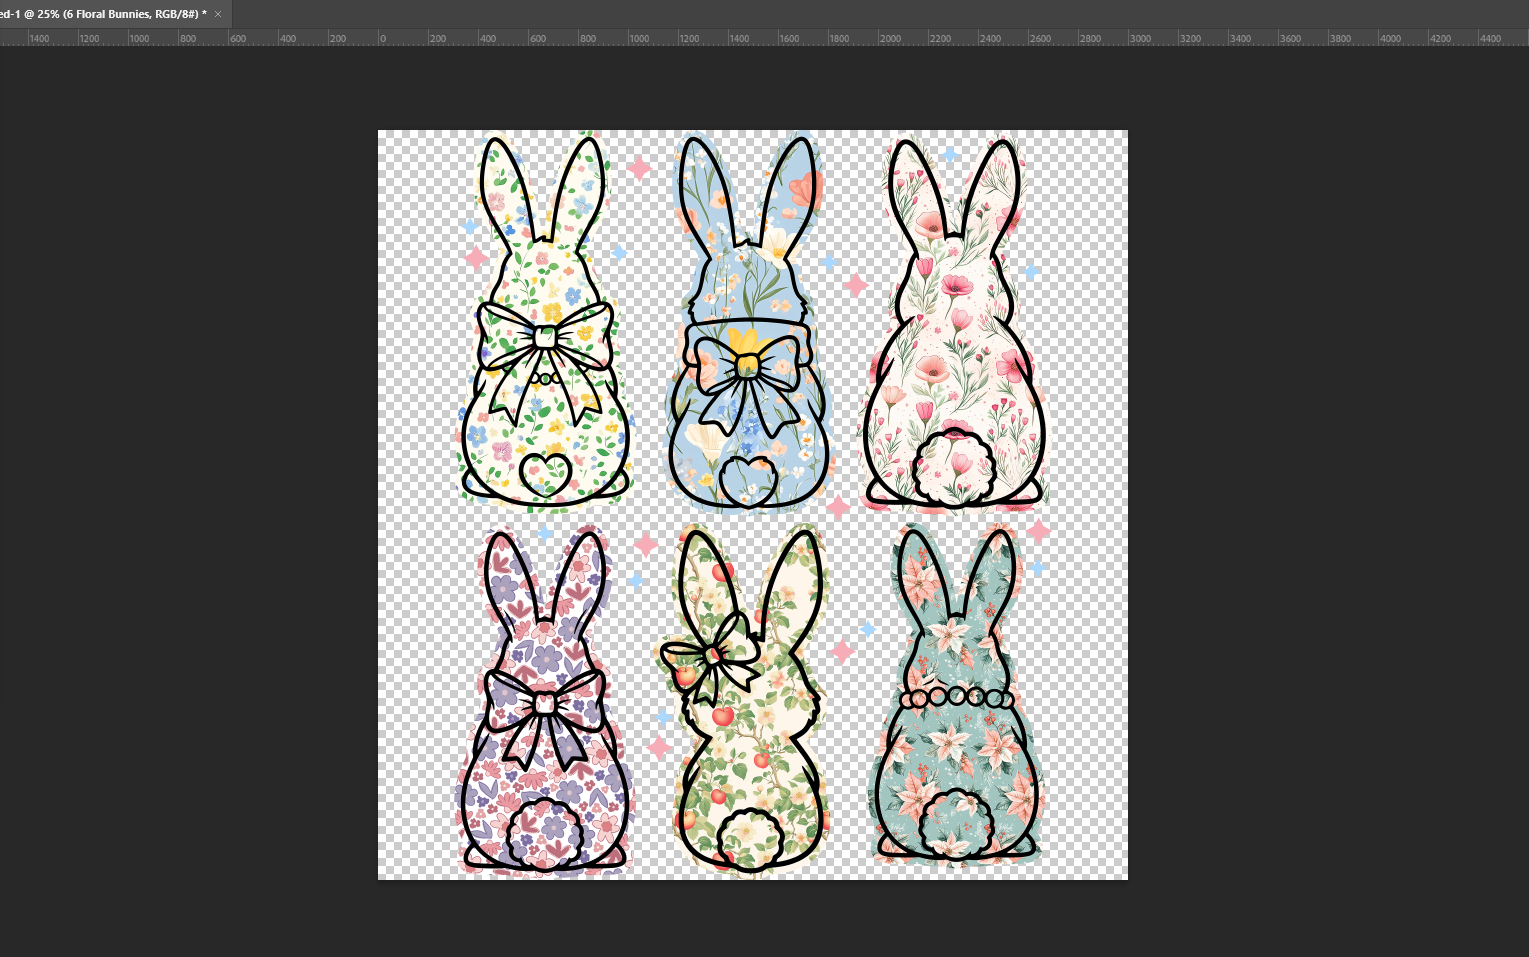
- Resize it proportionally
- Make sure it fits well within the canvas
Avoid stretching the design, as this can reduce quality.
Step 3: Remove the Background
If your design has a background:
Use the Remove Background tool
Or use the Magic Wand
The final result should only include your artwork, with a transparent background.
Step 4: Adjust the Canvas Size
Go to Image > Trim
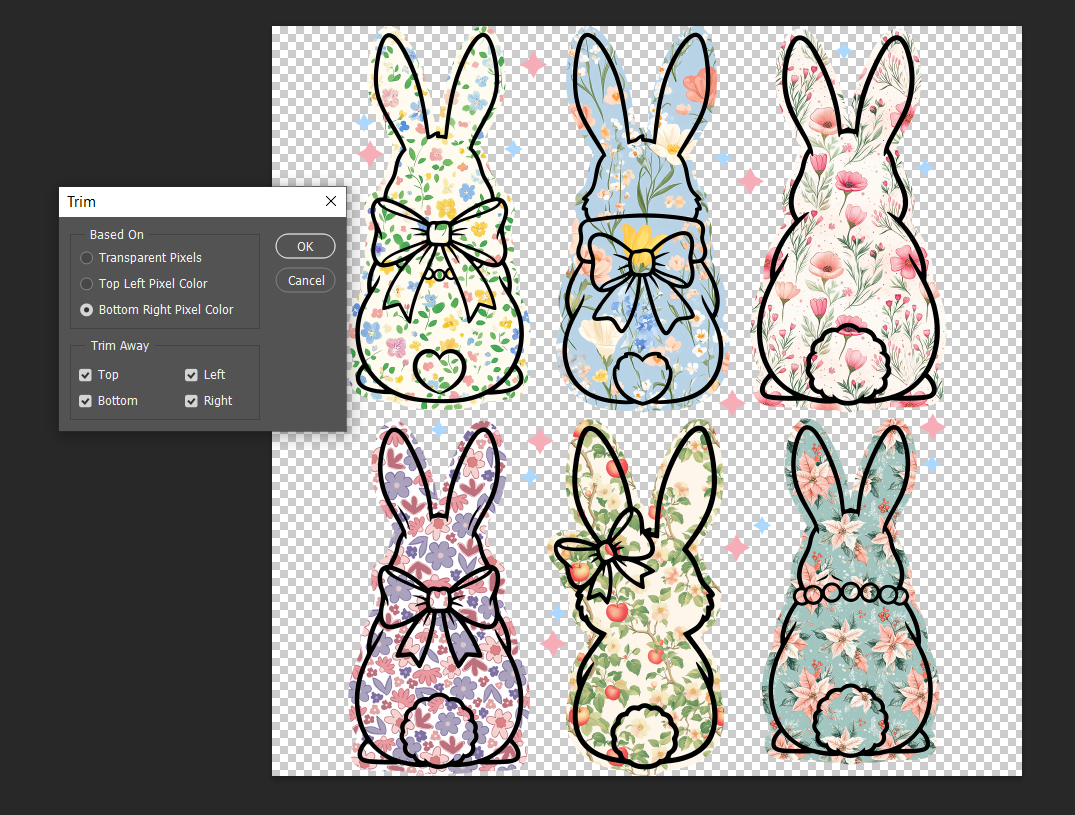
Click OK - This trims extra space around the design.
Tip: For Designs, it’s often better to leave 2–4 cm of padding around the design instead of trimming too tightly. You can adjust this manually if needed.
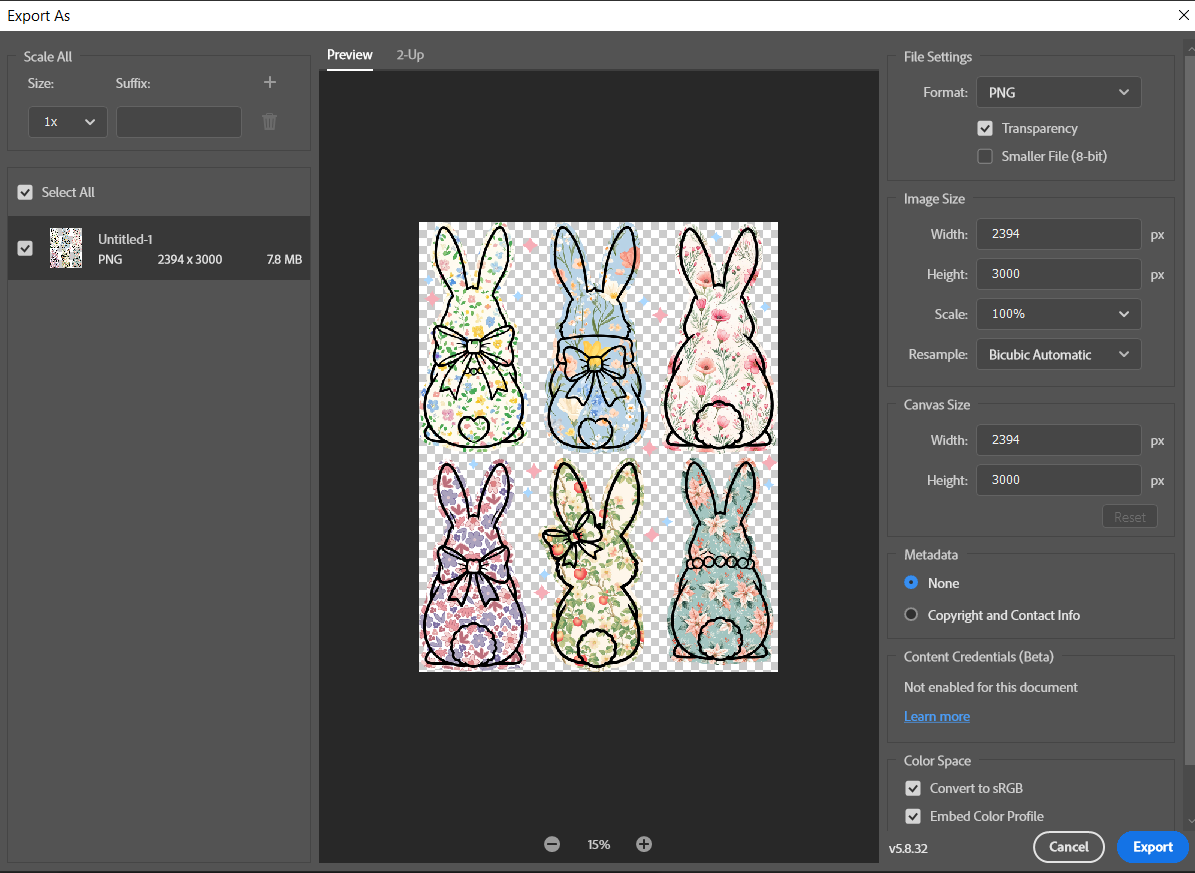
Step 5: Export the File
Go to File > Export > Export As
- Choose PNG
- Make sure Transparency is enabled
- Save your file
Your design is now print-ready.
Step 3: Uploading to DTFPrinter.com
Now comes the easiest part.
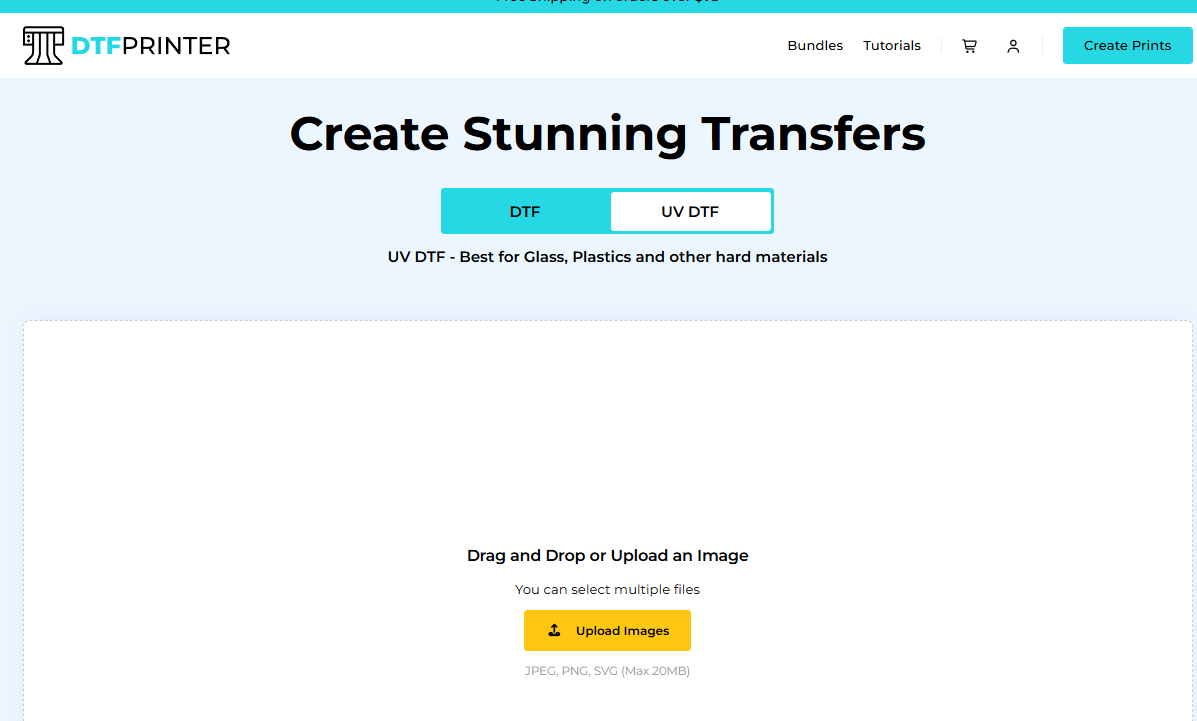
Step 1: Upload Your Design
Visit DTFPrinter.com
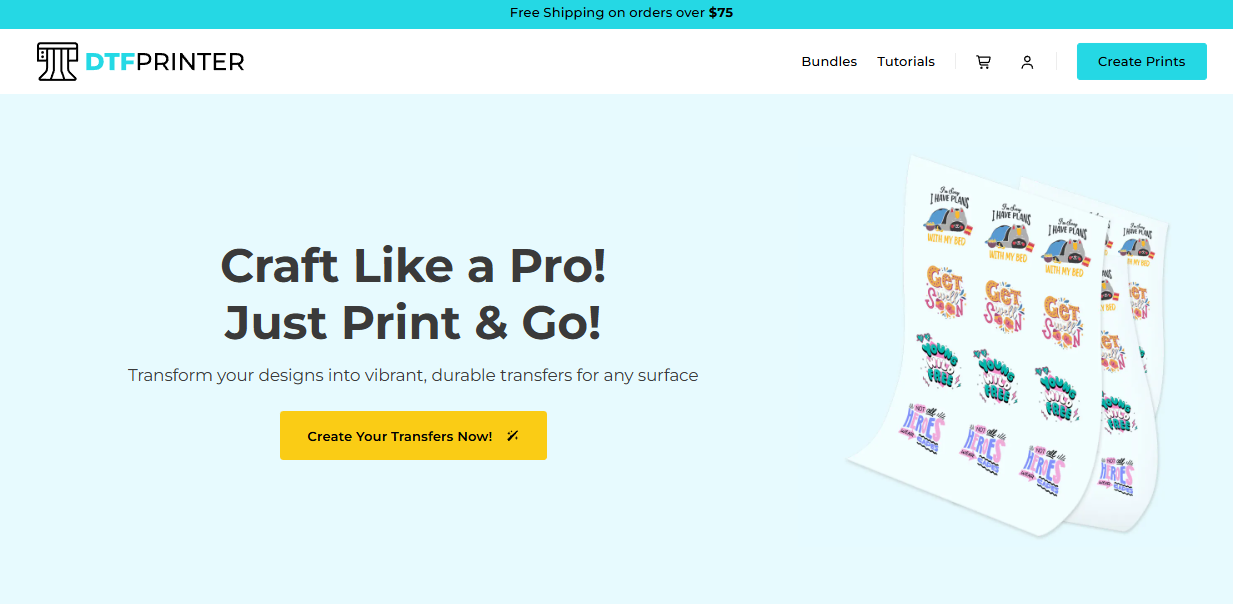
Click on Create Print and Upload your PNG file
Step 2: Select Size Settings
Choose Advanced Size Settings
Adjust width and height based on your tote bag size
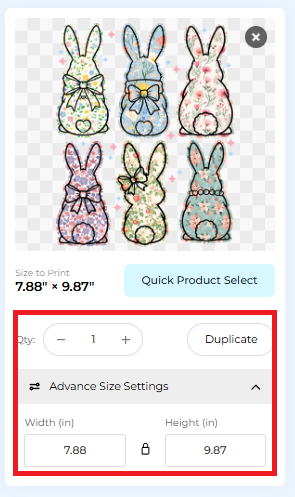
Step 3: Get Pricing
- Click Get Price
- Review your order details
- Once everything looks good, you’re ready to place your order.
That’s it. No complicated steps. No manual printing. Everything is handled for you.
Step 4: Final Result
The finished tote bag looks clean, vibrant, and professional. The colors are sharp, the edges are smooth, and the design sits perfectly on the fabric.
If you’ve been thinking about creating tote bags for:
- Personal use
- Gifts
- Small business
- Online shops
- This method is simple, reliable, and beginner-friendly.
If you’re planning to explore DTF or UVDTF printing or starting small home base business, Here is a Quick Idea!
Final Thoughts
Turning your favorite design into a tote bag is easier than you think. With the right design settings and a trusted printing service, you can create beautiful, long-lasting products without stress.
Hope you found this helpful.
Happy creating! 🎨👜