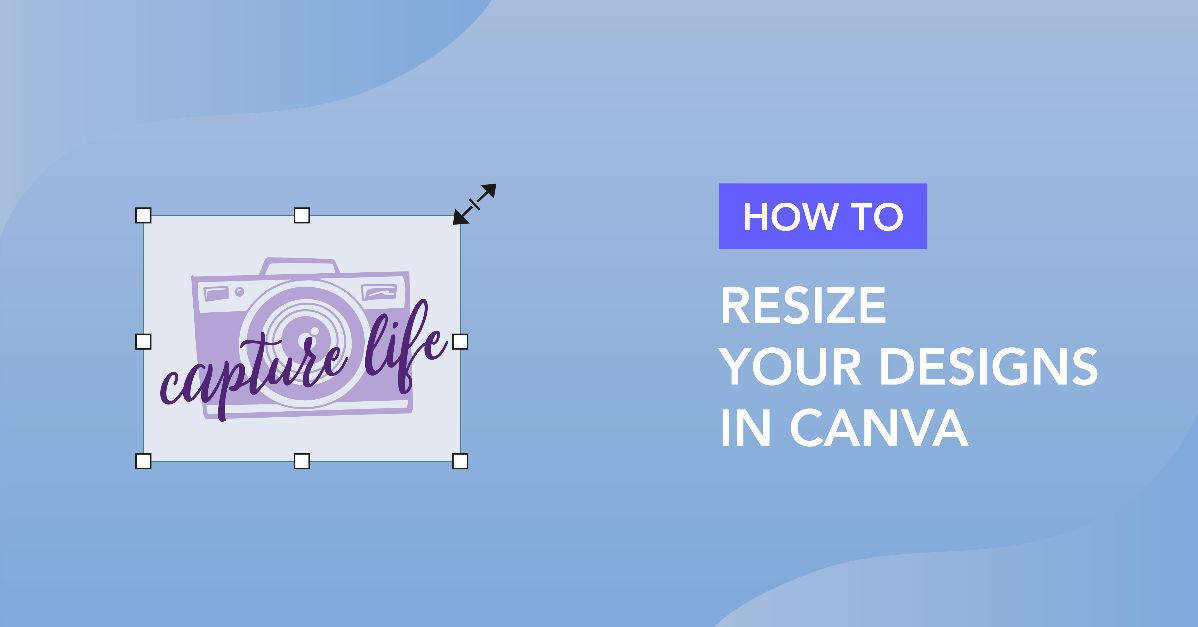
How to Resize Your Designs in Canva
Learn how to resize your design in Canva with this beginner tutorial.
Today we are looking at how to resize your designs in Canva using the Resize feature. This feature is only available to Canva Pro users. While designing visual content in Canva, it’s good to know how to resize for various media platforms. The process makes it easier to reuse designs across these platforms without having to recreate them over and over.
When you purchase Canva social media templates, they usually come in just one size. We can easily resize them with Canva’s one-click Resize feature. In this tutorial, we’re going to use this School Instagram Template to show you how to do it.
We have already downloaded and unzipped our template.
Step 1 - Open the Template to Resize
Once you’ve accessed your purchased template, it will automatically create a copy on your Canva account and open a new canvas. You can follow our tutorial on using templates if you need more detailed information. 
Step 2 - Select Canvas Dimensions
Click on the Resize button in the top menu bar. A dropdown menu for resizing your canvas will appear.
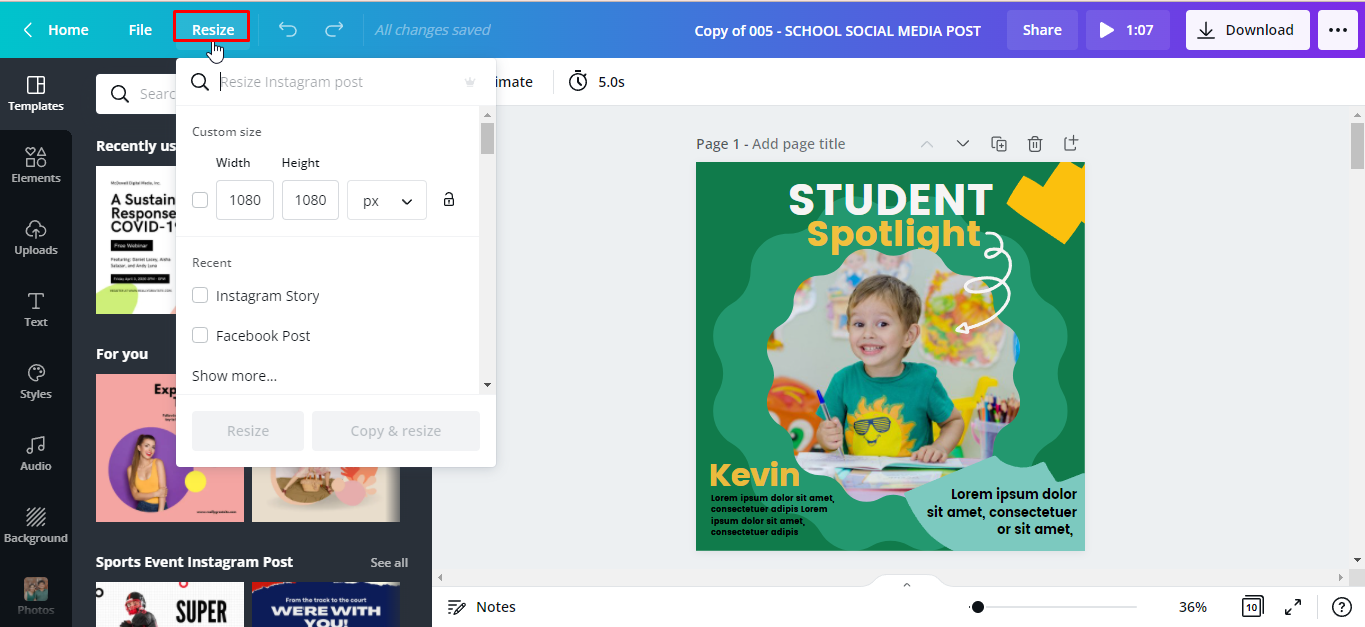
There are a few ways you can resize your design in Canva. First is by custom dimension and the other one is by selecting different sized templates.
Custom Dimension
If you have a specific size in mind, you can click the “Custom size” box on the drop-down menu. Then type in your preferred width and height. You can set the value to pixels, inches, millimeters, or centimeters.
Our template is an Instagram post size 1080 x 1080 px. We want to resize it to a Facebook post so we typed in 940 x 788 px.
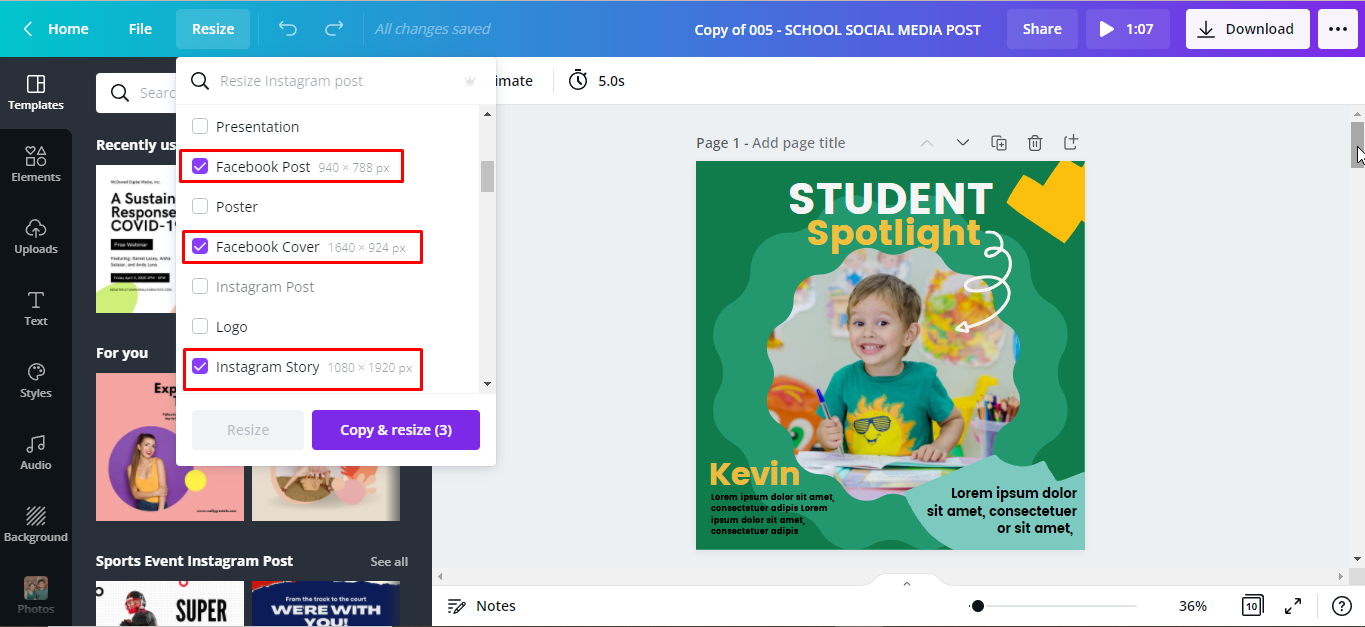
Select from Available Templates
If you don’t know the exact dimension of a social media or blog post, simply scroll through the size options. Some of the available templates are Presentation, Poster, Facebook Post and Cover, Logo, Instagram, Story, and many more. We clicked on the option Facebook Post.
You also have the option to quickly create multiple copies of your design with different size options.
Step 3 - Select a Resize Option
There are two options for resizing your template, these are Resize and Copy & resize.
You can click on Resizeso the original template or your current template is automatically resized. However, it will not allow you to save a copy of your original template and dimensions.
WithCopy & resize, it will create a copy of your template in the new dimensions you have set. This will also enable you to retain the original copy and dimensions.
Since we still want to keep a copy of our original template, we will click the Copy & resize button.
Once this option is clicked, a new window will open. A copy of your template has been automatically created. Our template is now a Facebook post sized 940 x 788 px.
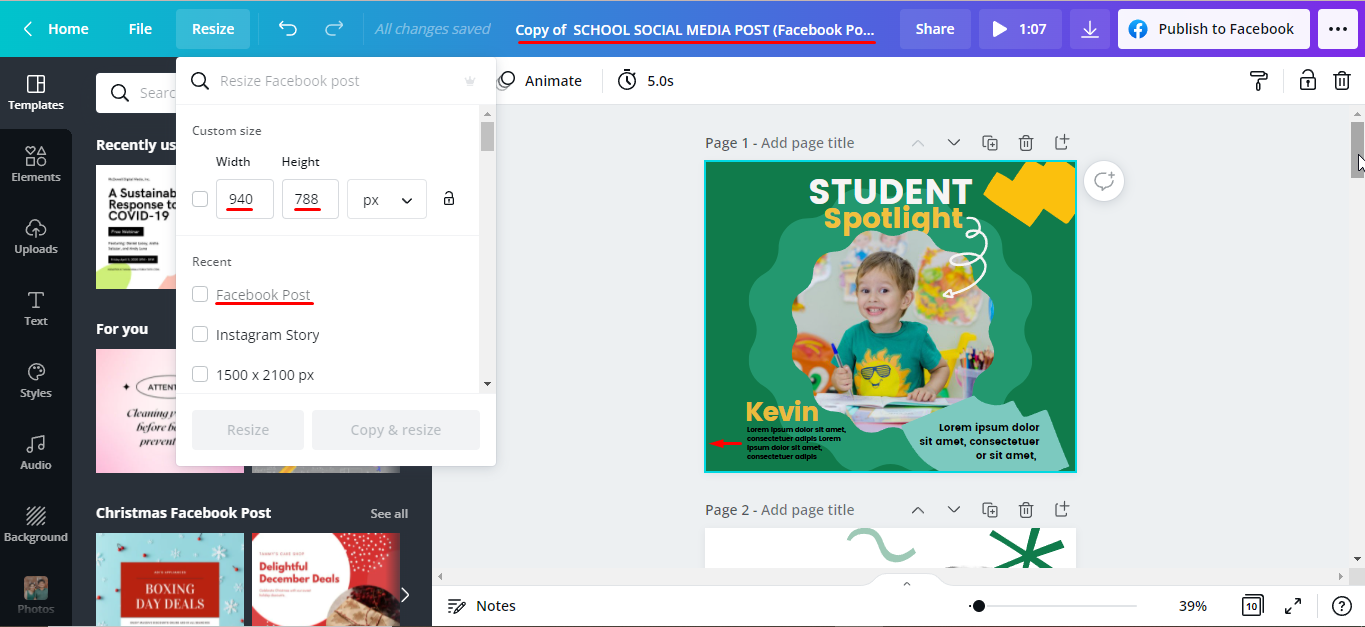
There is one important thing to note. When you resize, some of the elements might be out of place in the new canvas. You might need to resize or re-arrange the placement of each element to create the desired result.
You can now download your design and upload it to the social media platform you created it for.
Knowing how to resize your designs in Canva will save you a lot of time. When using the same design layout for different purposes, the Resize feature becomes an essential tool.