How to use the free designs in brother scan and cut canvas workspace
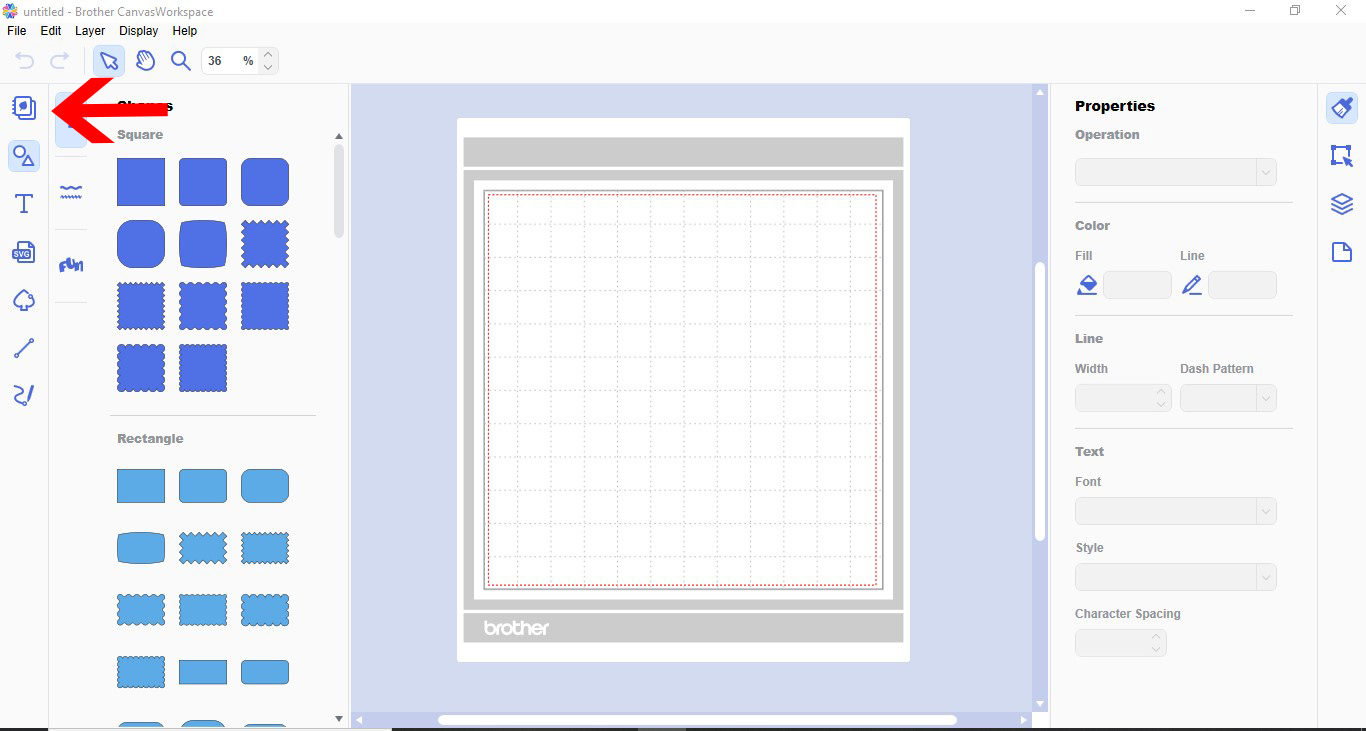
1- Open scan and cut canvas workspace. On the left toolbar there is a little folder. click on it.
2- A new window will pop up. This has lots of different free project you can create. Click on one.
3- Another window will pop up. This will have a pdf you can download along with images and the cut files. Click on the PDF.
4- In the pop up window you can save or open the PDF file. Click on open to directly read it.
5- The PDF file will show you the cut files and how to assemble them.
6- Back on the project page, click on the cut file.
7- The file will appear on your workspace ready for you to cut.
8- To get the other parts of the cut file, return to the project page and click on the next file.
9- The next cut file will appear into your workspace.
10- If you need to you can add more than one part of the cut files onto the same workspace.
11-When you have everything you need onto your workspace ready to cut go to file - transfer FCM file to scan and cut or USB.
2- A new window will pop up. This has lots of different free project you can create. Click on one.

3- Another window will pop up. This will have a pdf you can download along with images and the cut files. Click on the PDF.

4- In the pop up window you can save or open the PDF file. Click on open to directly read it.

5- The PDF file will show you the cut files and how to assemble them.

6- Back on the project page, click on the cut file.

7- The file will appear on your workspace ready for you to cut.

8- To get the other parts of the cut file, return to the project page and click on the next file.

9- The next cut file will appear into your workspace.

10- If you need to you can add more than one part of the cut files onto the same workspace.

11-When you have everything you need onto your workspace ready to cut go to file - transfer FCM file to scan and cut or USB.


