- By Nadine Spires
- 7 Mins
- Beginner
- Canva Tutorials
How to Pixelate an Image in Canva
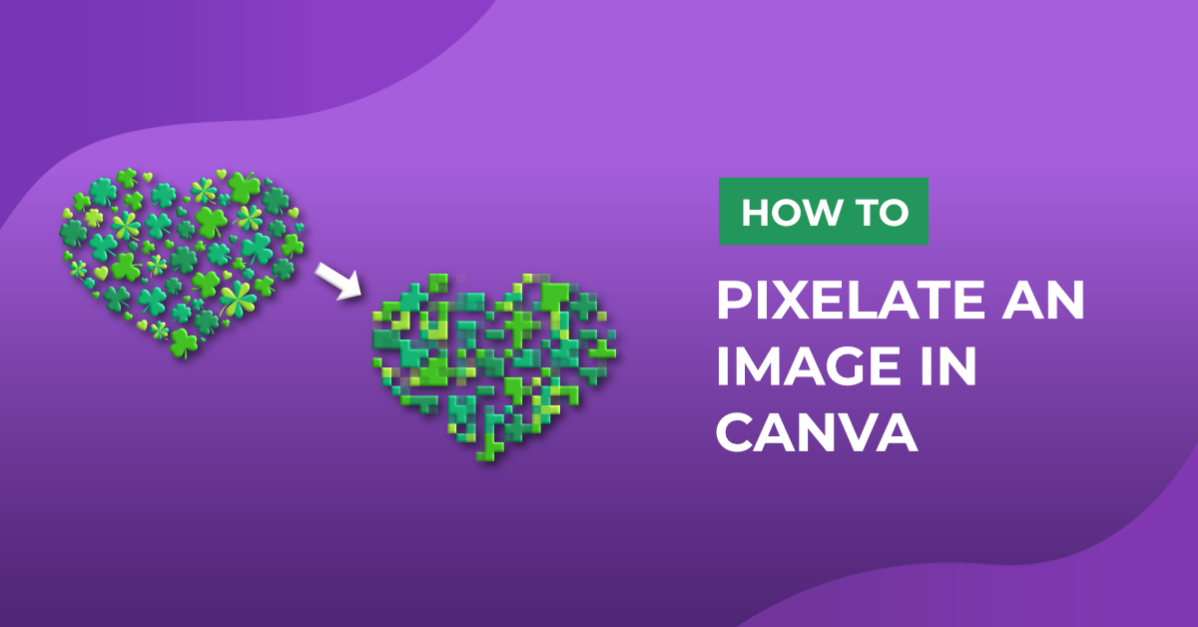
In this Canva tutorial you can learn how to pixelate an image in only 3 steps
Today we are going to have some fun as you learn how to pixelate an image in Canva. Creating content has never been easier with Canva. One of the many tools available is the option to pixelate an image. Use this technique for sneak peaks of product launches or just fun social media content creation.
Follow along with this St Patrick's Day bundle for a bit of luck and inspiration.
You are also welcome to create your own designs with one of the many awesome Canva Graphics that Design Bundles has to offer.
Step 1 - Import the Design you Want to Pixelate
On the Canva homepage, click on the Create a Design button in the top right corner. At the bottom of the menu, click on Import File.
![]()
Scroll down until you see Images and then click on the uploaded design. In the new window, click on Use in a design.

Your design will open in a new project window where you will be able to edit it.
![]()
Step 2 - Pixelate the Image in Canva
At the top toolbar, click on Edit Image to open the settings on the left-hand side. Scroll down until you see the Pixelate app. If you have never used the app before, you will be asked if you want to make use of it.
![]()
Next, make sure that the design is selected and click on one of the filter options. We clicked on Pixel to give the traditional look found in the old pixel games. When you click on one of the filters, you will see the settings icon pop up. These are the controls that adjust how big or small the pixels are.
![]()
Click on this to open the settings and adjust the pixelation of the image. Increasing the number of horizontal and vertical pixels will define the pixels further and make them smaller.
A great product launch strategy is to engage your audience with a tease reveal, week by week, of what will soon be released. You would decrease the pixels so the design is barely recognizable.
![]()
As you slowly reveal your product, you would adjust the pixels to keep followers guessing. Click Apply at the bottom left corner to commit to the changes. If you compare the image from above to the one below, you can see that there is quite a difference.
![]()
A pixelated image is also a very creative way of making a design that resembles stitch craft. Create retro looks, designs for gaming stickers, t-shirts or party decorations. Pixelation is another option for obscuring a portion of an image without affecting the entire design.
Step 3 - Pixelate Part of a Design in Canva
You can easily pixelate part of a design by using the crop function. To do this we need to duplicate the original design. Right click the design and select Duplicate.
![]()
Click + drag the duplicate over the original and center it by using the horizontal and vertical guidelines.
![]()
Make sure to select the image first, and then apply the pixelation effect that you want. Next, click + drag in the left side handle on the image and repeat on the right side.
![]()
The duplicate image that has been pixelated will be cropped and the original image will be revealed.
![]()
There are so many amazing content ideas where pixelation can be used in your creative design process. We hope that this Canva tutorial has been fun to follow and will inspire your future creative ideas and projects.
Looking for some awesome designs? Design Bundles has a wonderful collection of FREE Design Resources available to download instantly with personal and commercial use licenses. Don’t forget to check out the FREE Fonts section and give your font library a makeover!
6 Related Canva Tutorials
1- Open canvas workspace.Select the design you would like to cut. you can create your own, upload a SVG or use a preset design.2- Resize your design to the dimensions you need.3- Go to the shape icon and create a square.4- Resize the square to 1/4 the ...
This tutorial will guide you through the process of how to create Canva blog templates. Blog posts need some visual imagery for them to stand out but they take time to create. That is why an image template is such an important tool. You can use it over and over ...
1- Open Scan and cut canvas workspace. Click on the trace icon.2- The image tracing tool will appear.3- A new window will appear Click on the icon to select your image to trace.4- Select your image.5- The design will appear in the image tracing window. There ...
Today we will look at how to upload to Canva and personalise your projects even more. Canva is a great online tool to use for a variety of media. You can upload just about anything, like images, photos, svg files, clipart, gifs, and so much more. In this tutorial, we ...
Quickly print your notes in Canva documents, whether you are managing tasks, creating presentations, or using project plan templates. It's super easy to save notes and print in PDF formats using Canva's design tools and presentation ideas. In today’s free guide, we will show you how to easily print ...
For this tutorial, we will use the image of a person with a neutral background.1 - In Photoshop, open the image you chose to work with and “Duplicate” it (Command/Control + J).2 - Go to Filter > Camera Raw Filter (Shift + Command/Control + A), zoom in a bit to see ...

 All your Font Needs
