Unlimited Downloads 15% off Marketplace Purchases Exclusive Software Access Unlimited Downloads
15% off Marketplace Purchases
Exclusive Software Access
Save 70% on Plus Maybe Later
How to make a image larger than your cutting mat in Brother Scan N Cut canvas workspace
  • By Design Bundles
  • 05 Nov 2017
  • 4 Mins
  • Scan N Cut Tutorials

How to make a image larger than your cutting mat in Brother Scan N Cut canvas workspace

Learn how to cut designs larger than your cutting mat in Brother Scan N Cut canvas.

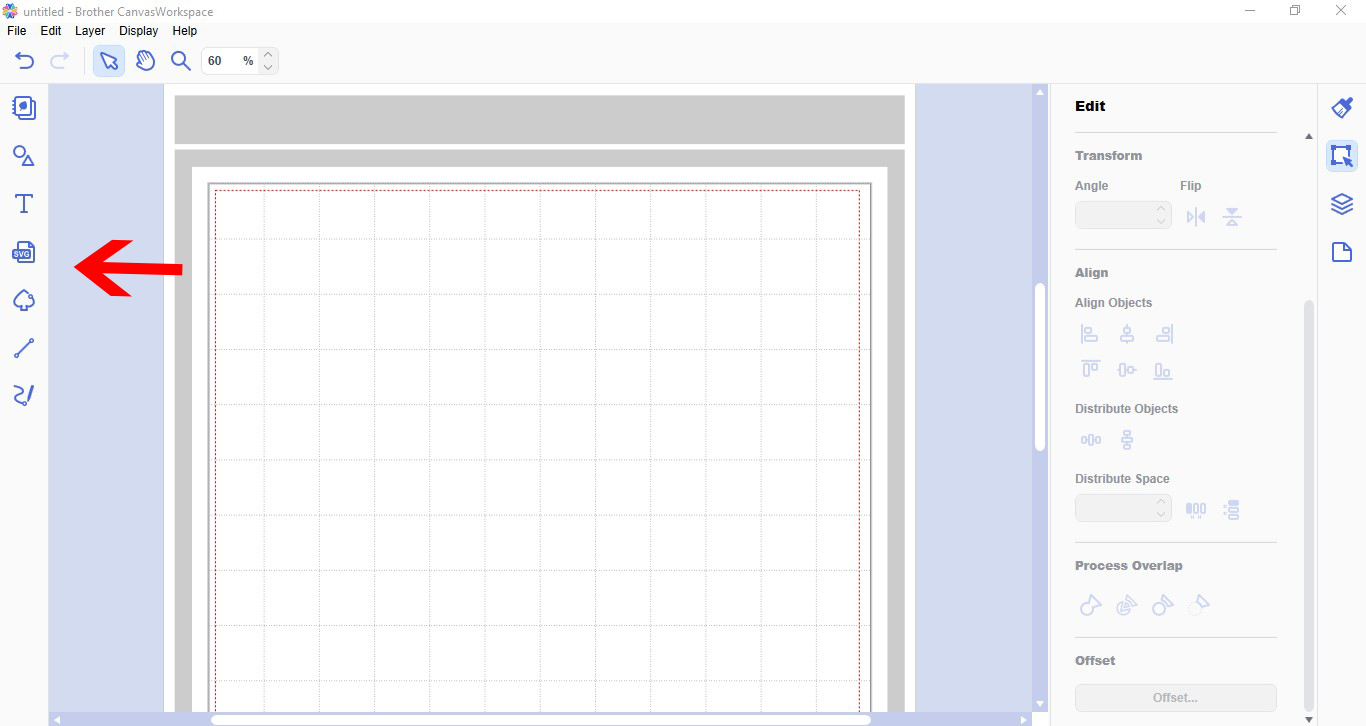
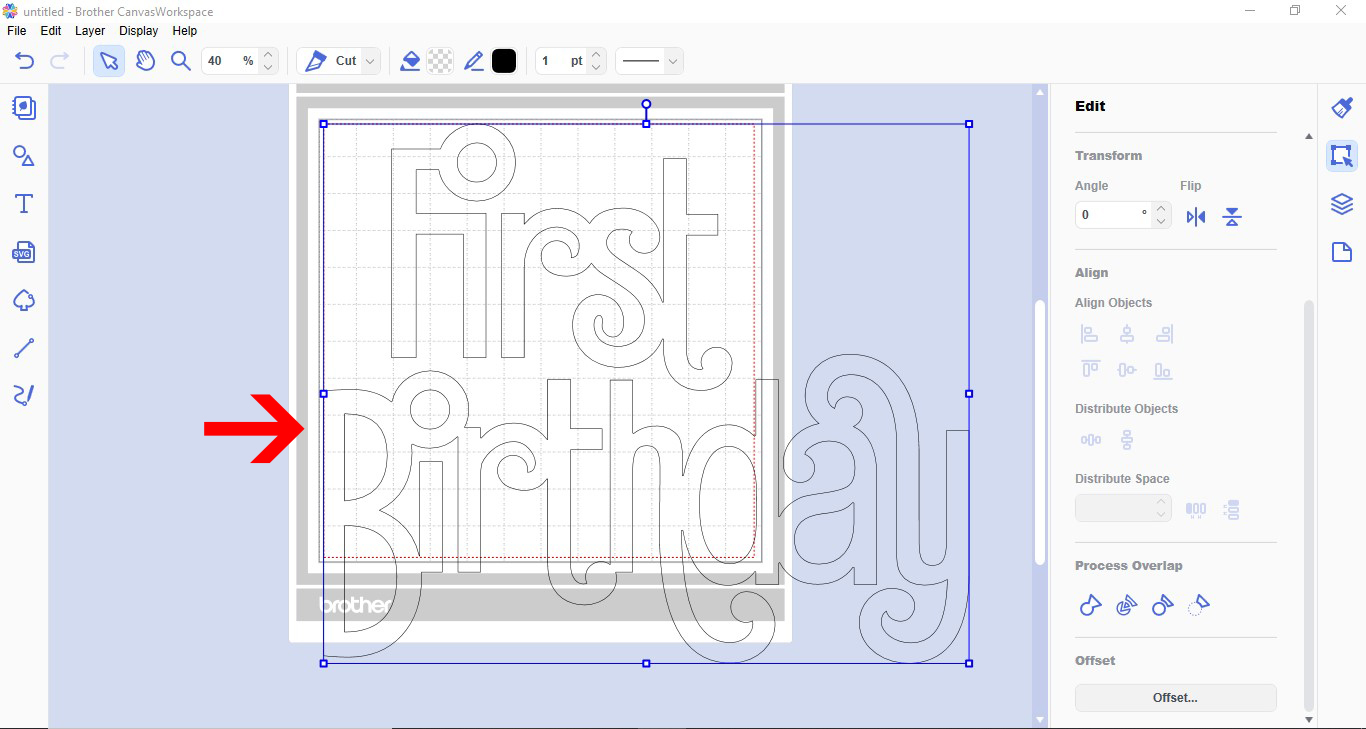
1- Open canvas workspace.Select the design you would like to cut. you can create your own, upload a SVG or use a preset design.

2- Resize your design to the dimensions you need.

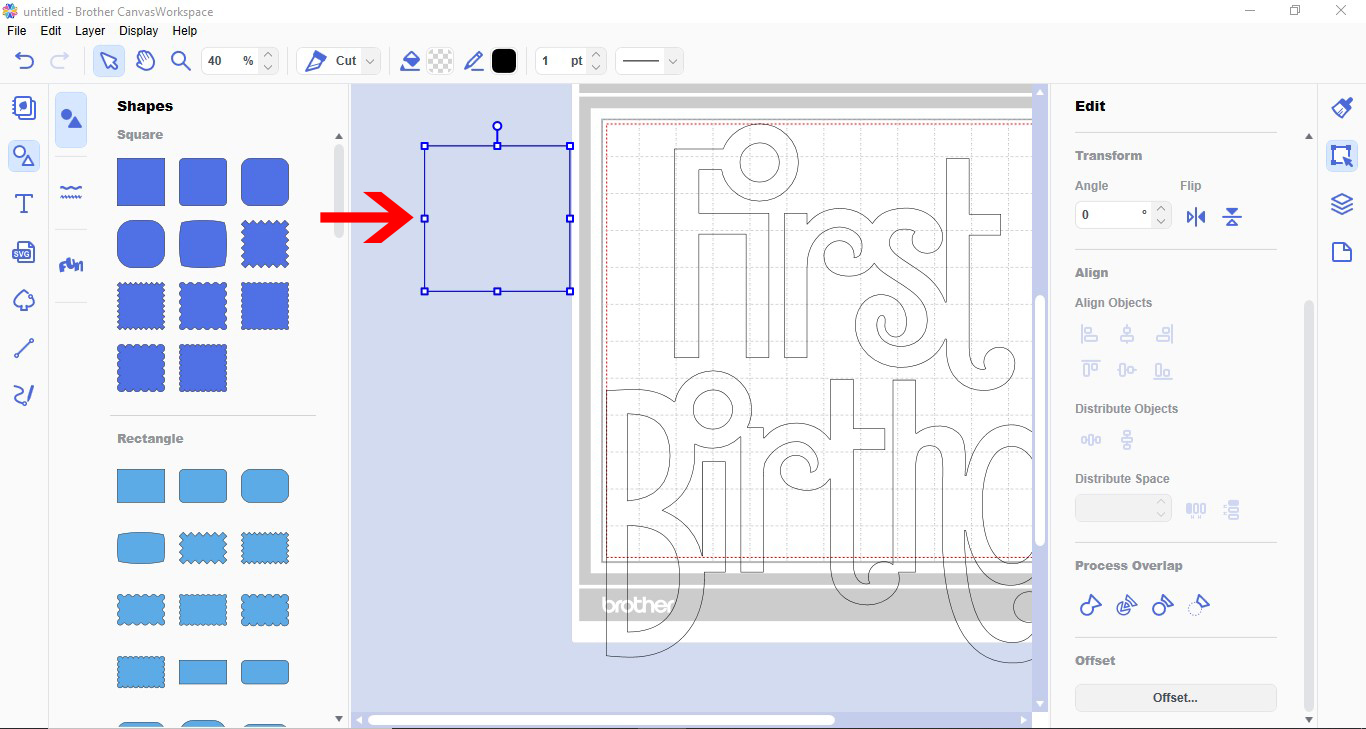
3- Go to the shape icon and create a square.

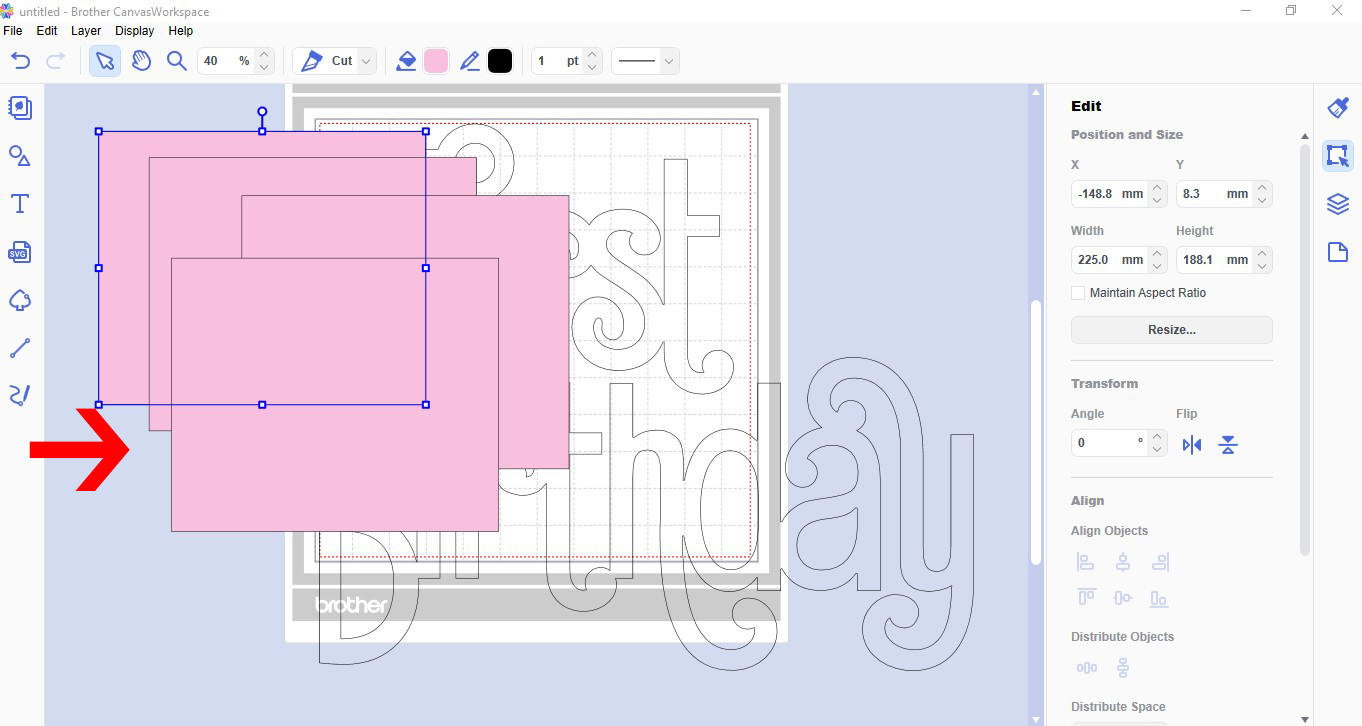
4- Resize the square to 1/4 the size of your design.

5- Color the square. this will make it easier when you are dividing your design.

6- Duplicate your square so you have 4.

7- Duplicate your design so you have 4. color each copy a different color. By coloring them you will be able to see what layer you are cutting. and it also makes it easier to remove excess cuts you do not need.

8- Using the align tool left and top, align your deign on top of each other.

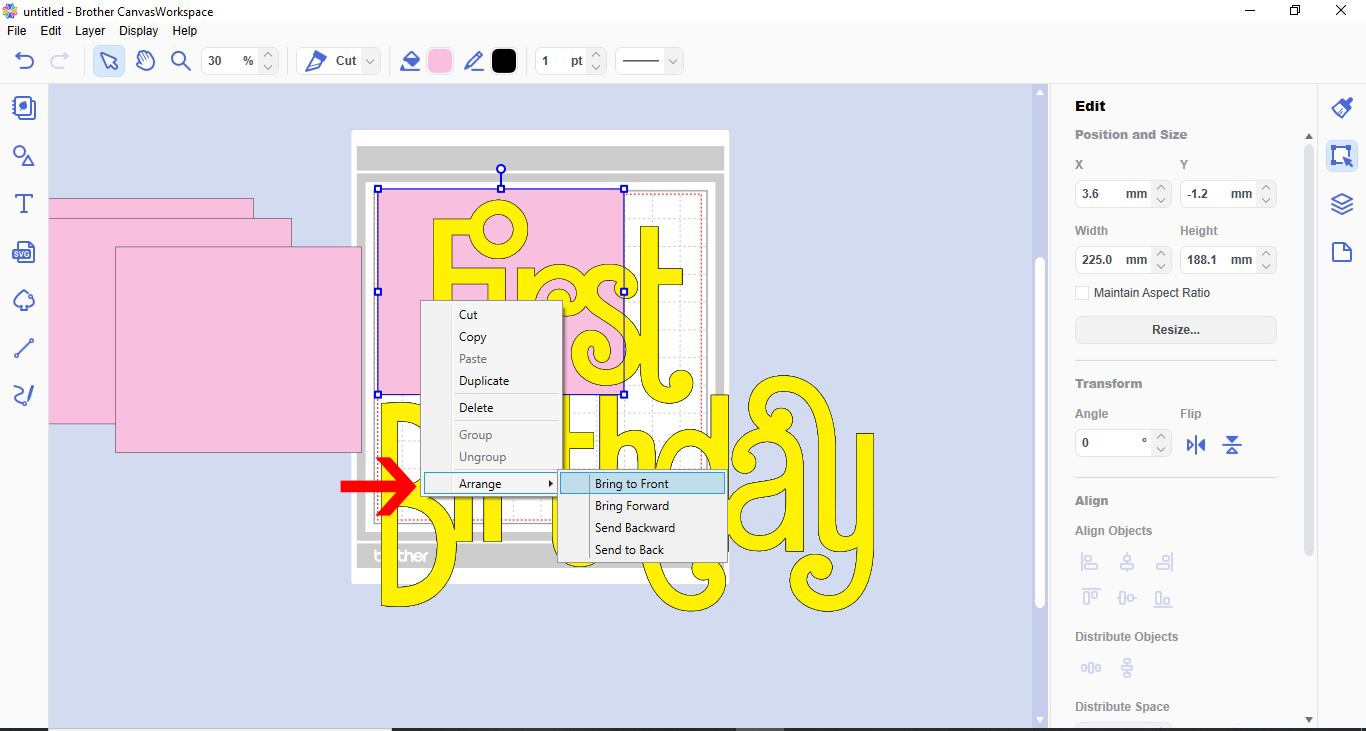
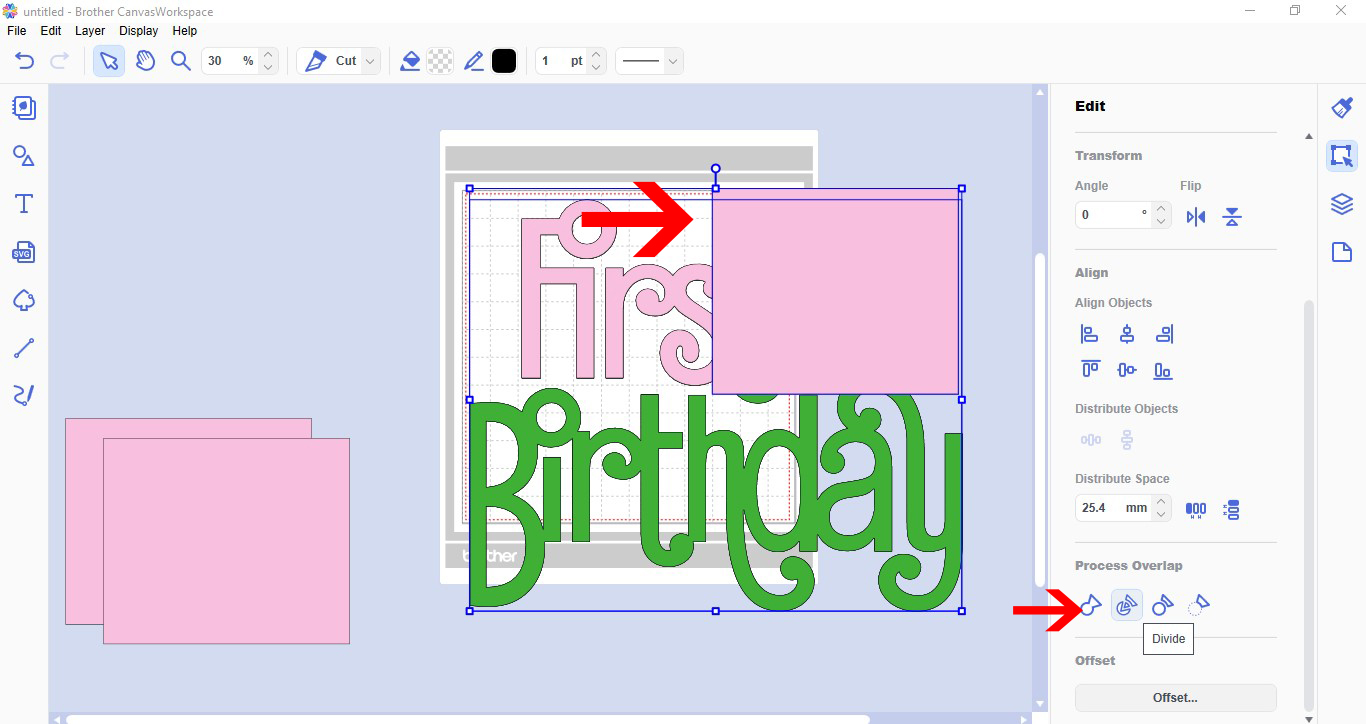
9- Place the first square over the top left of your design. make sure everything is covered and in the square. Select the square, right click and bring to the front.

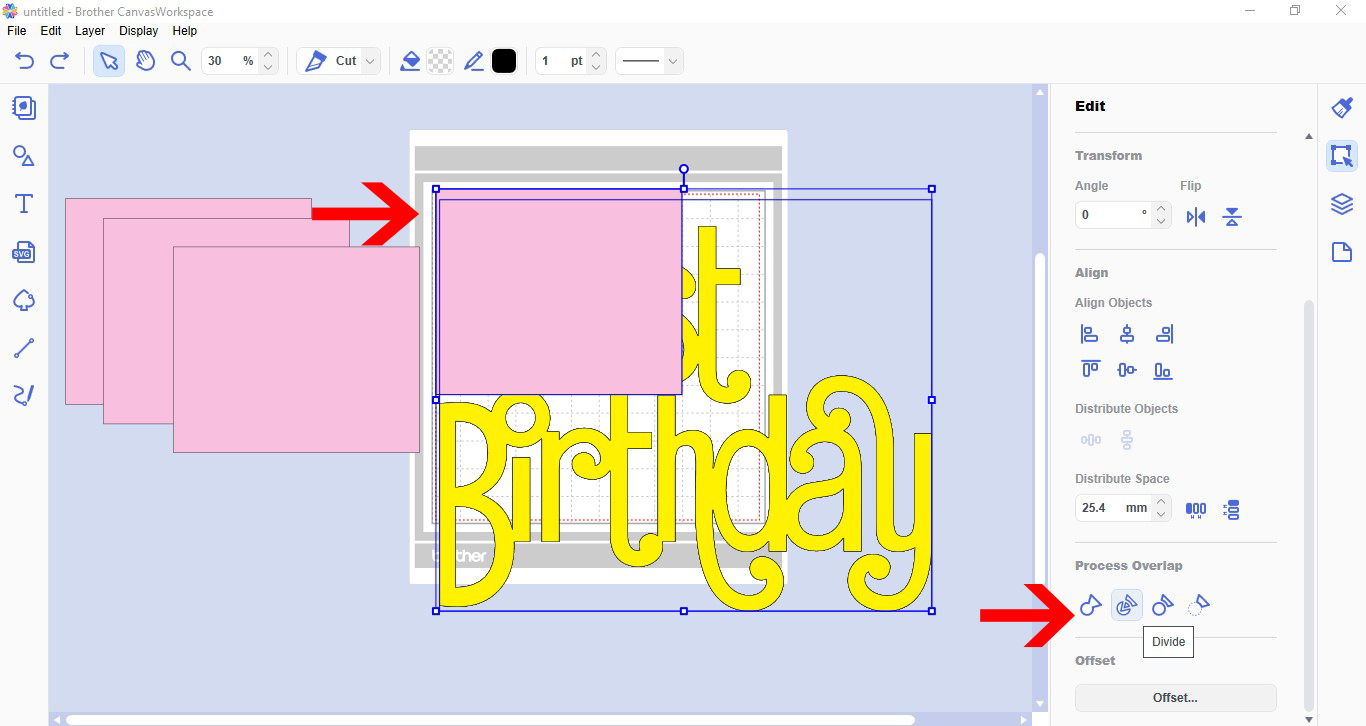
10- Select the square and the top copy of the design. go to process overlap and click divide.

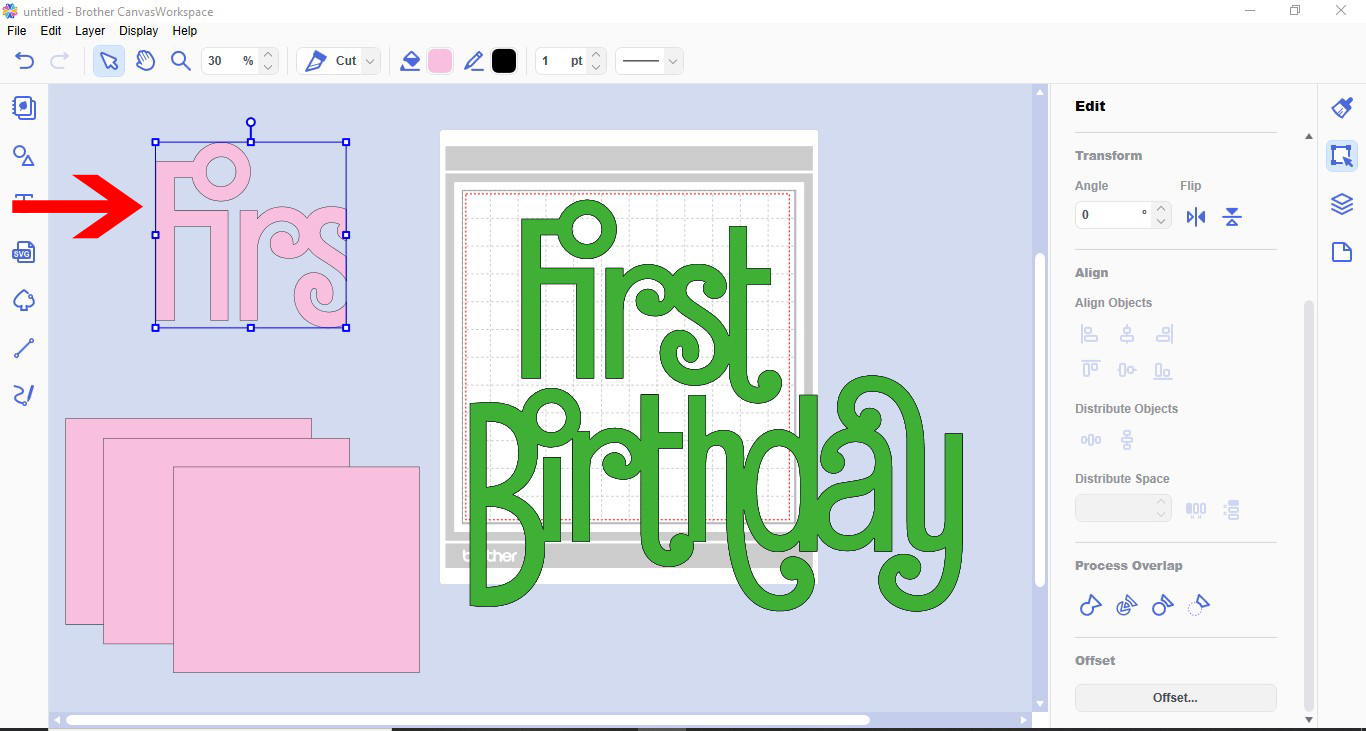
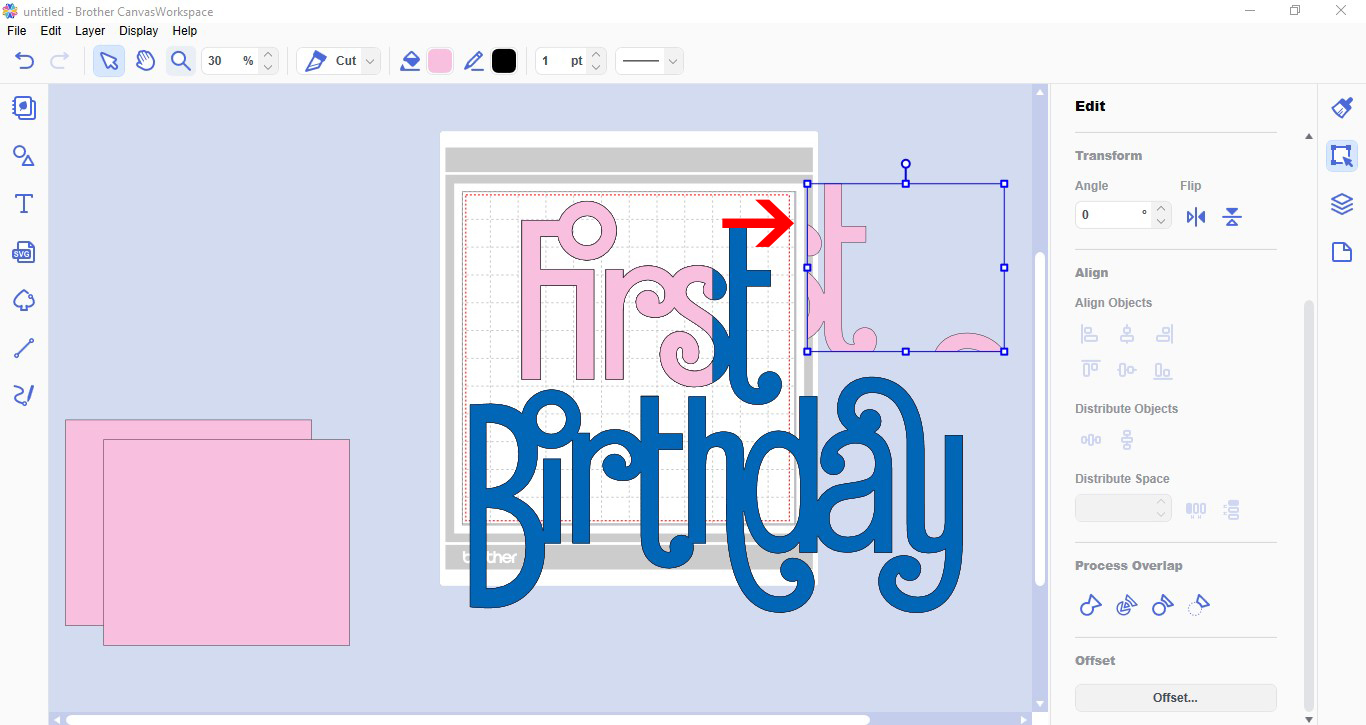
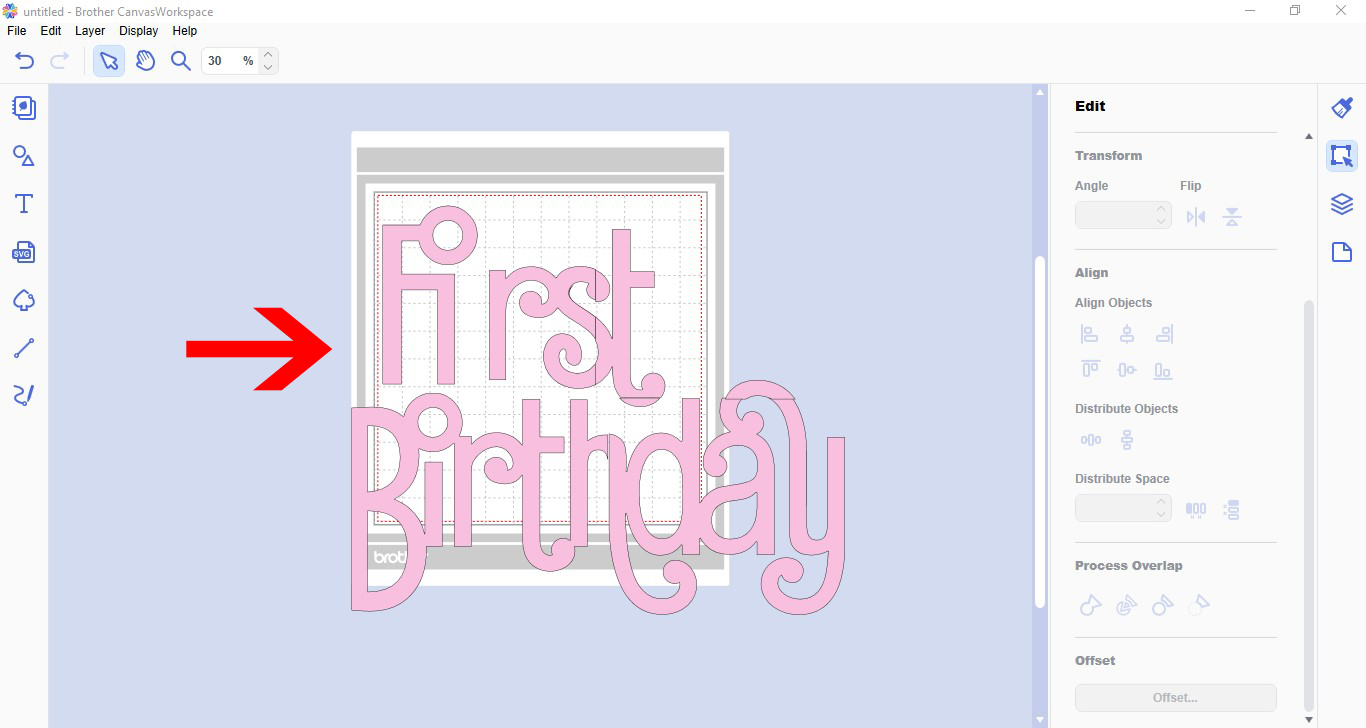
11- Remove the cut out parts from the pink shape. This will leave you with a cut out of 1/4 of your design.

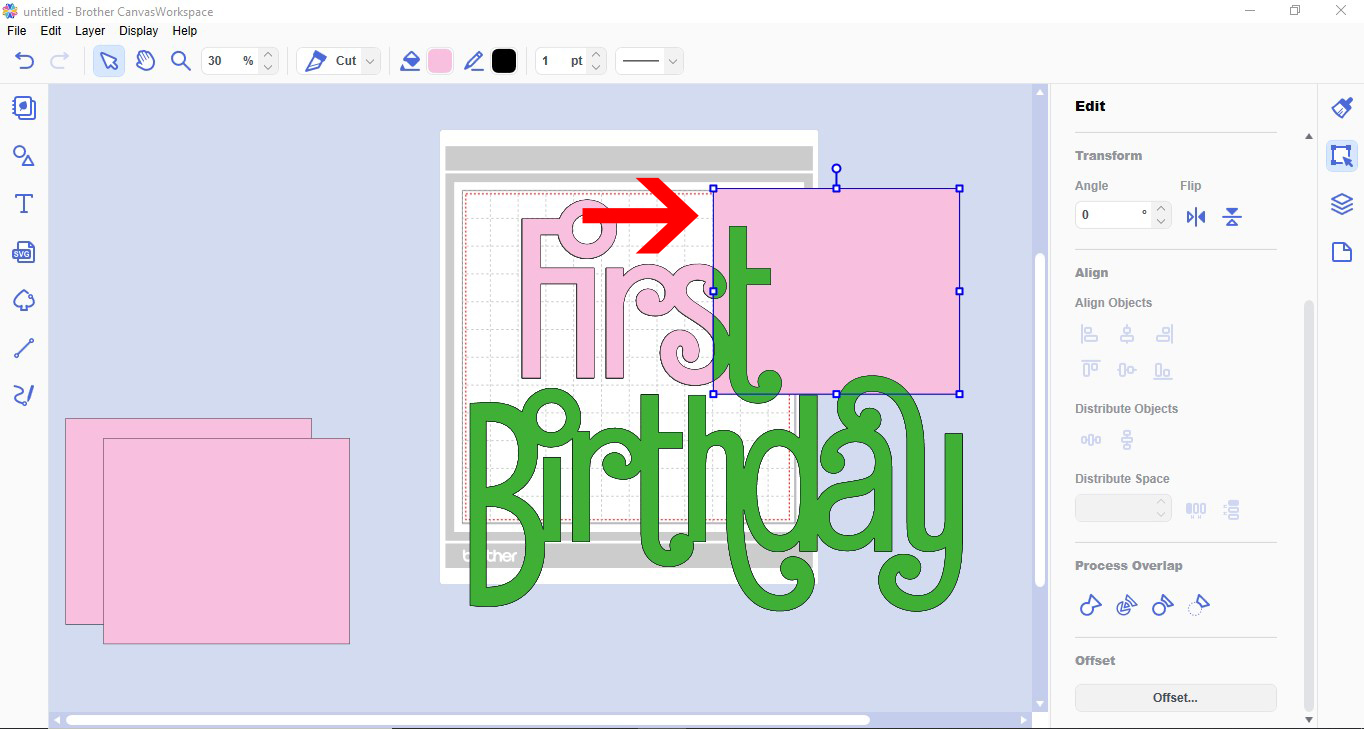
12- Place the cut out back over the 2nd copy of the text. Next, place the 2nd square over your design, lining it up with the first part you cut.

13- Select the square and your second design copy. Right click then send to the front. With both still selected go to process overlap and select divide.

14- Remove the excess cut outs. you will now have 2 parts of your design.

15- Repeat the above steps to get the 3rd and 4th quarter's of the design.Place all the parts together to ensure they line up. Now you can cut each section separately and when put together they will be larger than your mat space.

Congrats on learning how to cut designs larger than your mat.


6 Related Scan N Cut Tutorials

*Note SCAL4 Pro used. 1- Open SCAL4 software.2- Import your image that you would like to cut. I am using this Free SVG bundle. As you can see the image I want to cut is larger than my cutting mat.3- Create a rectangle/square.4- Resize the rectangle ...

1- Log into Cricut Design Space. Click on a new project.2- Go to the upload icon.3- Click on upload image.4- Click on browse.5- Select your design. it will appear in the left window. I am using a PNG from theBird Heart Paper Cut SVGby Digital Gems....

1- Open scan and cut canvas workspace. Click on the shape tool.2- Select your shape.3- Resize the shape to the size you need for your stencil.4- Select the shape, right click and duplicate.5-With both shapes selected, go to the align tool and align middle .6- Next ...

1- Open scan and cut canvas. Click on the shape icon.2- Pick the shape you would like to use for your pop up. You can use a shape or a welded word.3-  Next select a square.4- Place the square over the shape. You need the left and ...

1- Open canvas workspace. Click on the shape tool.2- Select a rectangle.3- Using the edit tool, Change the size of your rectangle to make it long and thin.4- With your thin shape selected, right click and duplicate.5- Move the duplicate under the original.6- Align the 2 ...

*CM900 used.1- Open canvas workspace. Click on the text icon.2- Type your text.3- Change your font. I am using Garlic butter font from Font Bundles.4- If any letters are overlapping, click on the weld tool. Once all welded, click on offset.5- In the offset window, ...

You may also like

Help Center