How to Create a Multi Layered Image From a Single Layered Image in Cricut Design Space
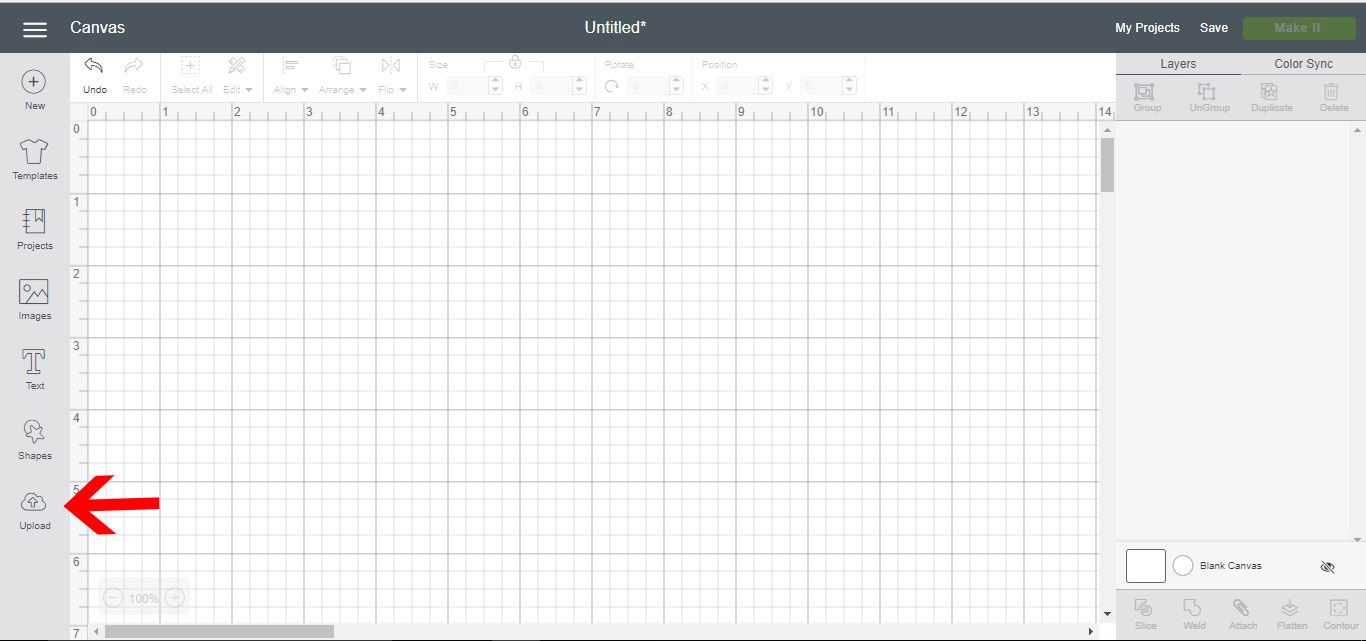
1- Open Cricut Design Space. Click on upload.
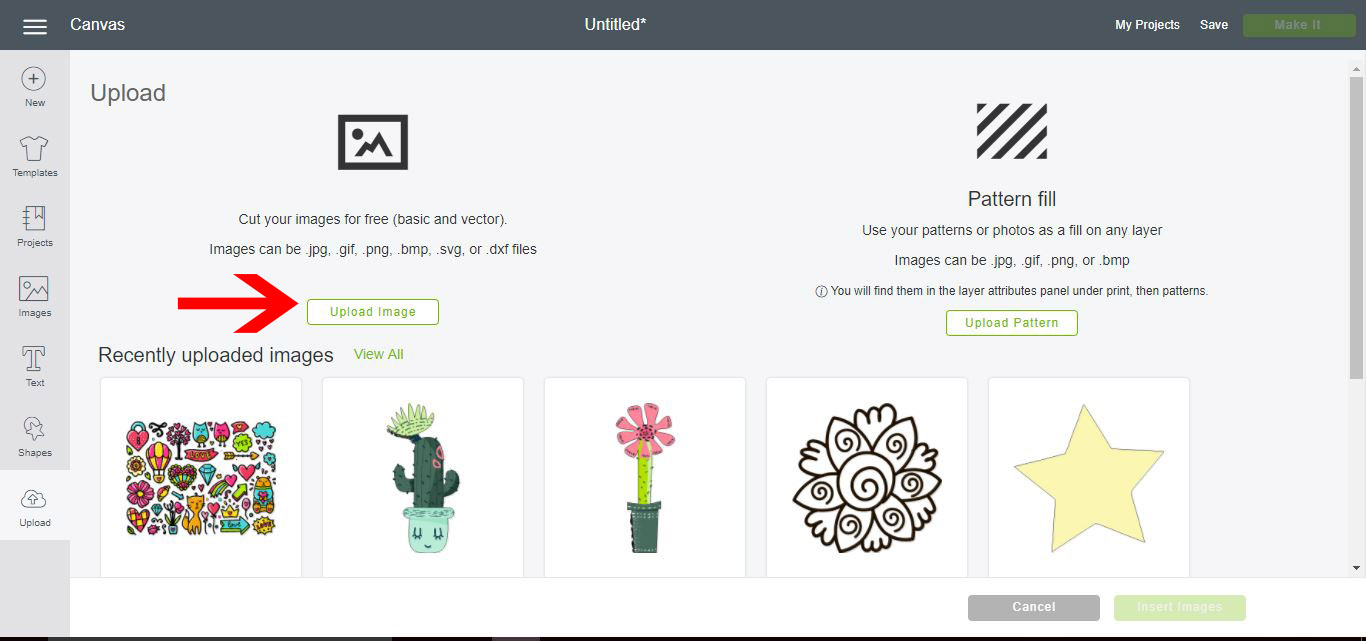
2- Select upload image.
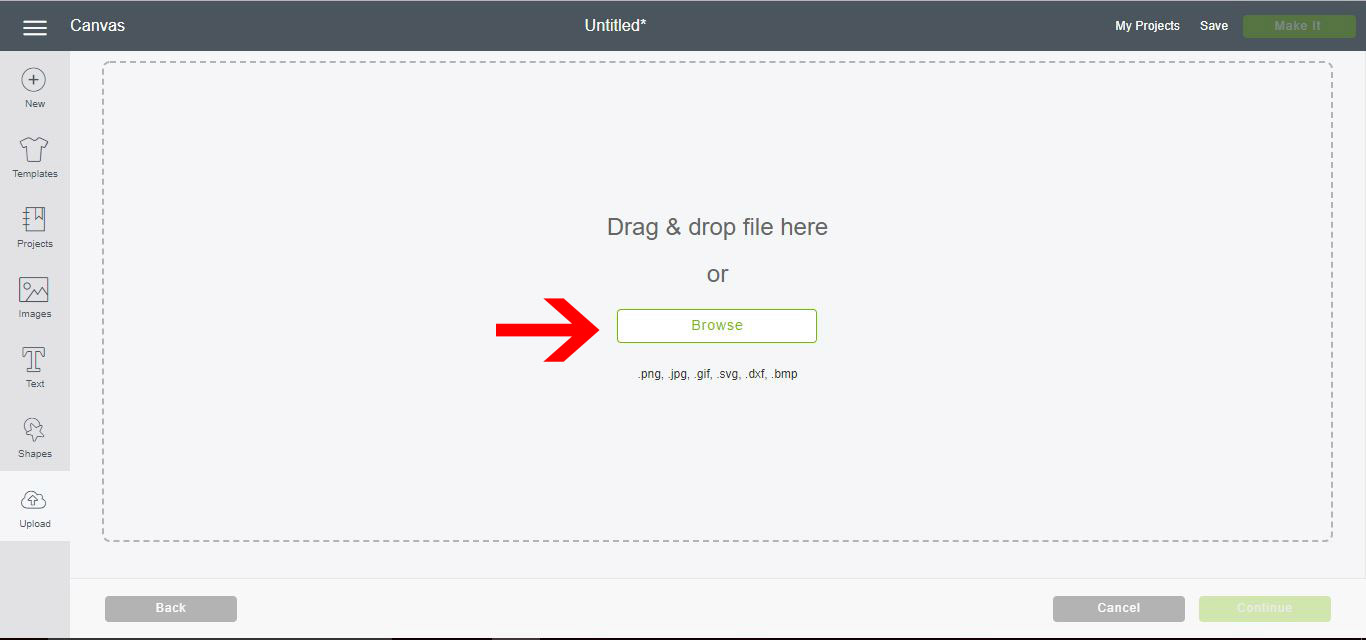
3- Click on browse.
4- We have uploaded our single layered image. To make it multi layered for paper piecing etc we need to create a background base, then separate each color for cutting. Click on complex , then continue. I am using the Valentines day vectors from designbundles.net
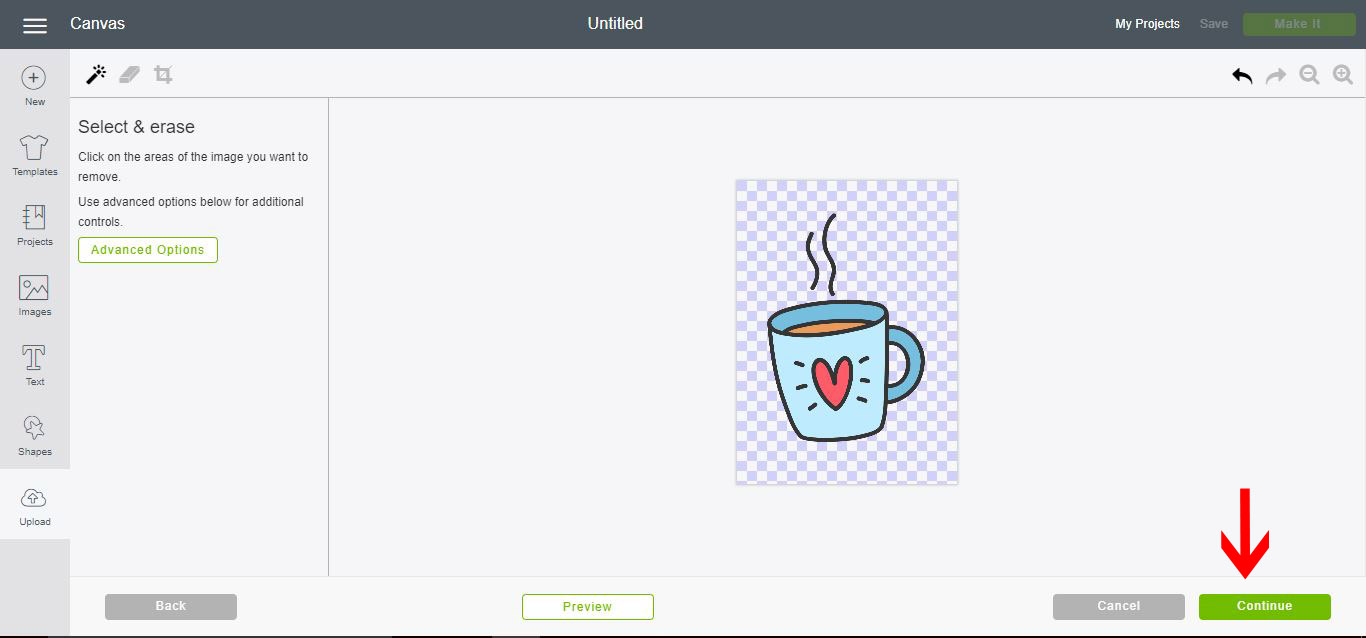
5- With your image uploaded using the magic wand, remove any unwanted excess background. Click continue.
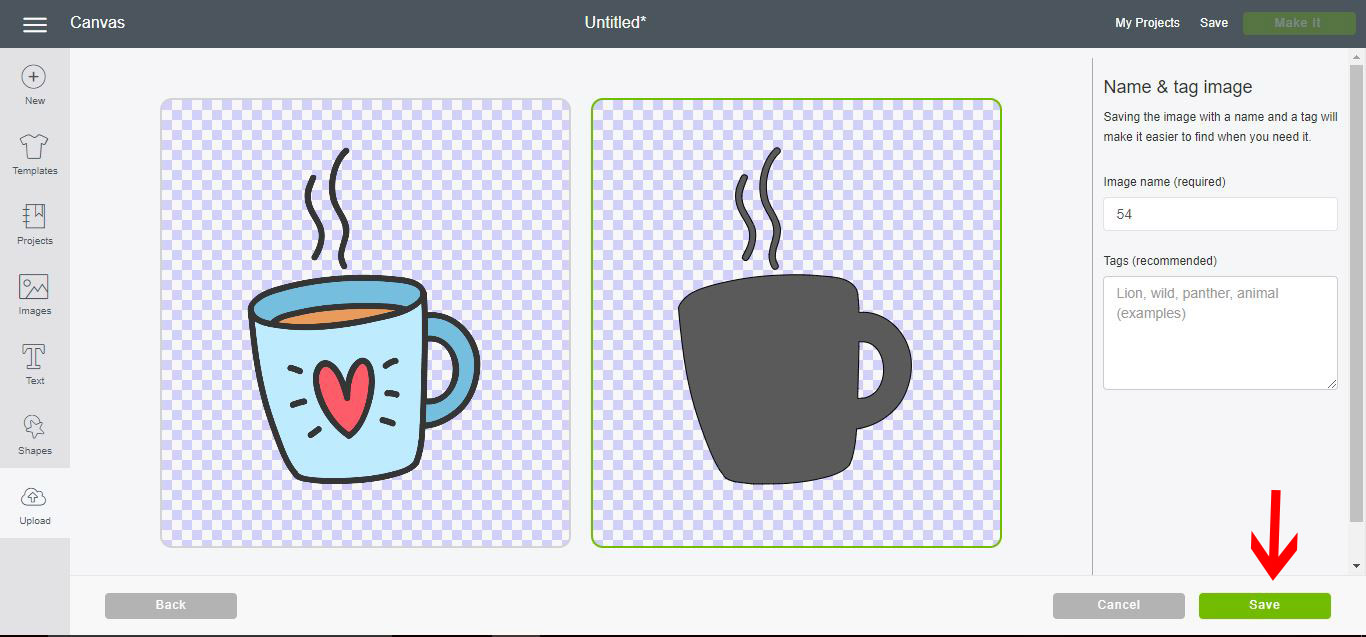
6- Select the cut file and save.
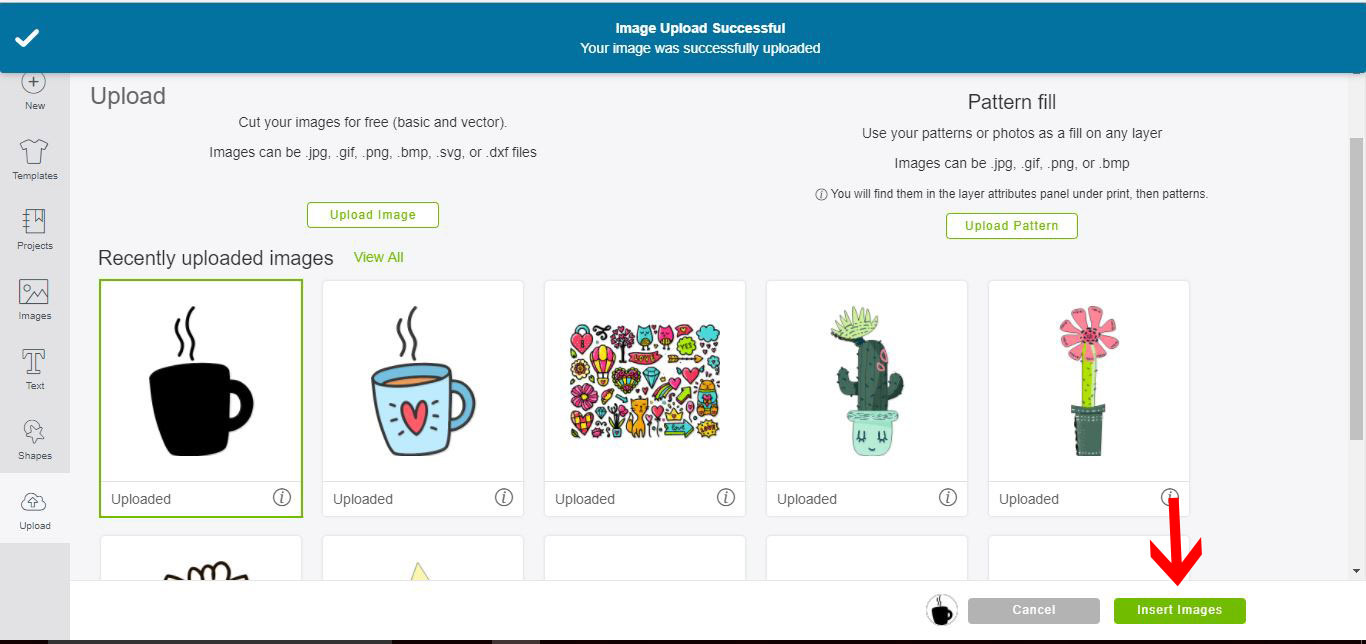
7- Insert the saved background to your design space.
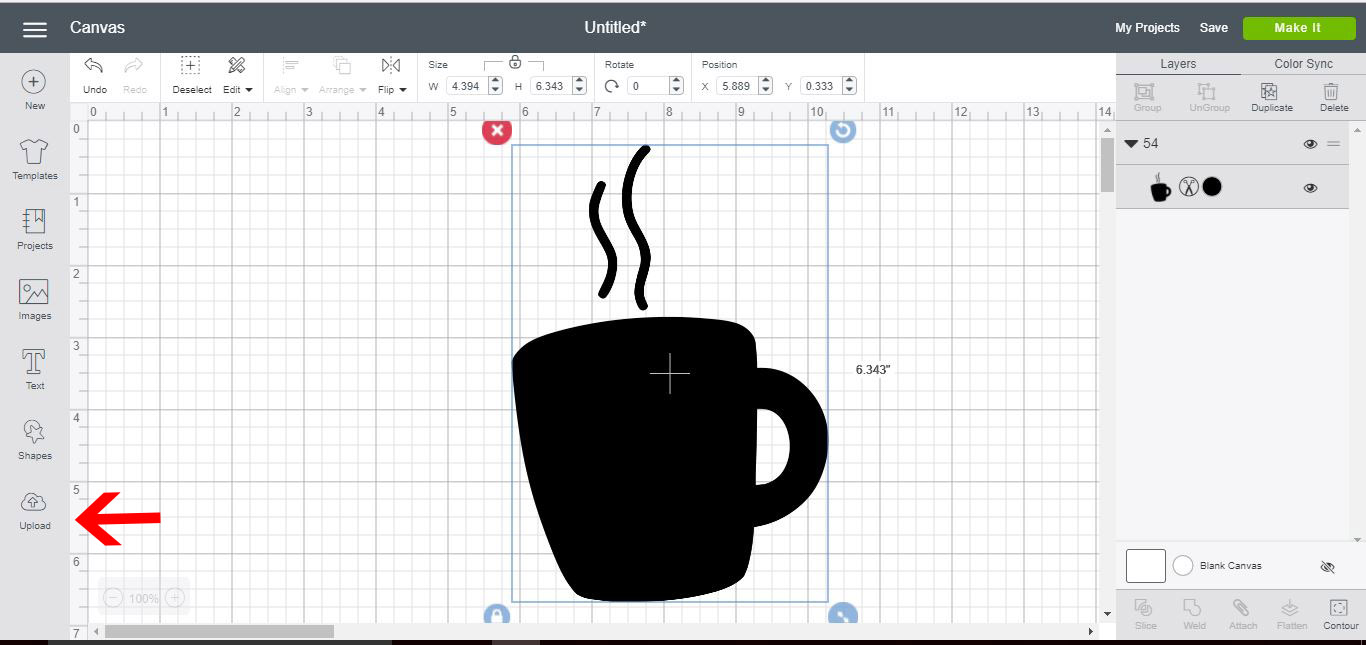
8- Your background will appear. Change the color to your needs.
9- Repeat steps 2-4 and again click on complex image.
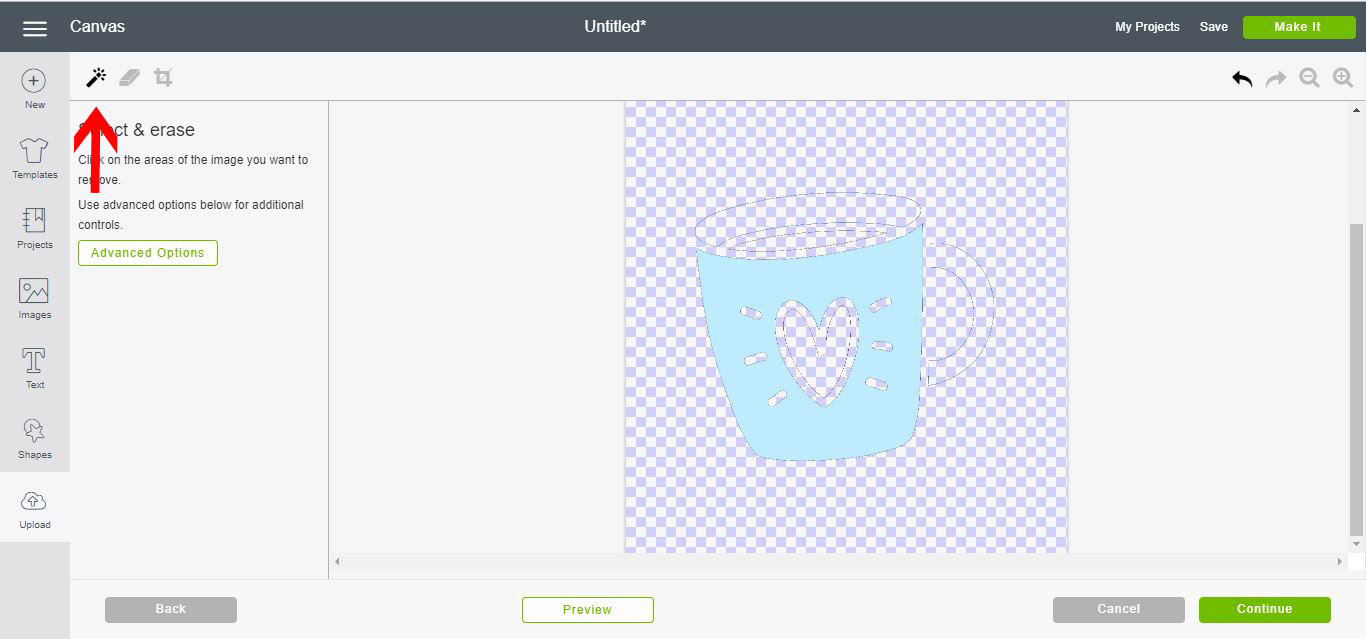
10- We now need to select a specific part of the design. A good guide is to create a new layer for each color you want to cut. So in this case we have used the magic wand to remove everything except the pale blue.
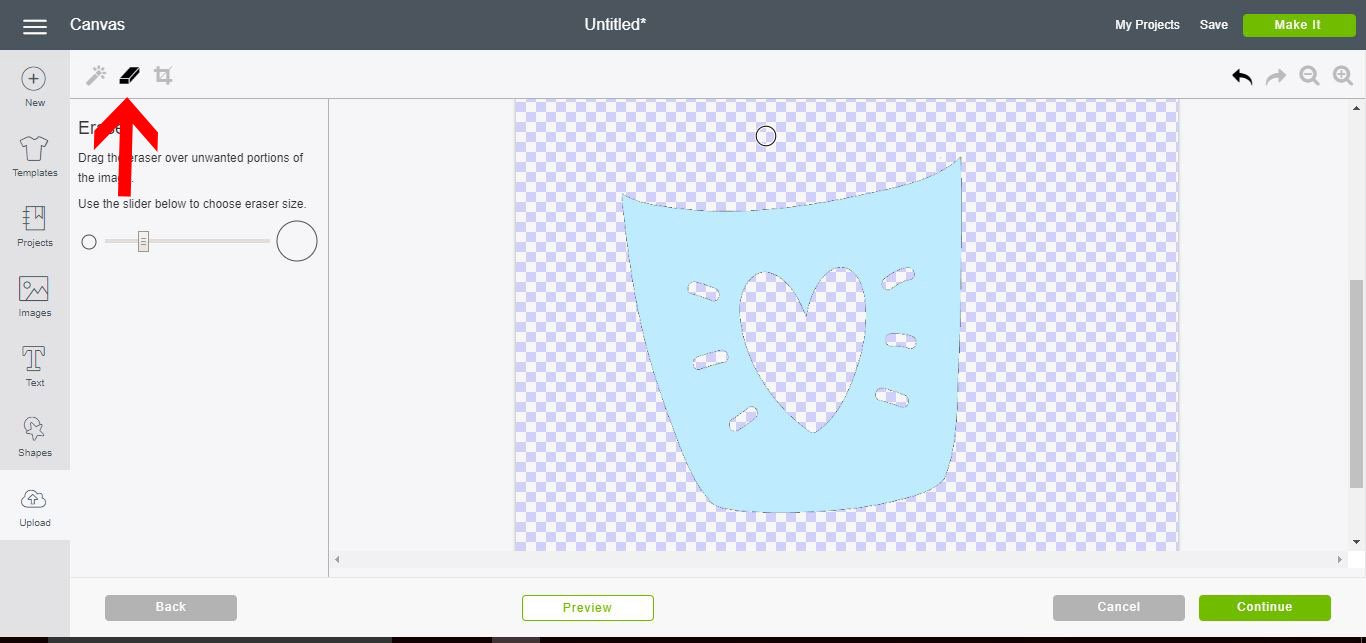
11- With the eraser tool, remove any other parts you do not need. Then click on continue.
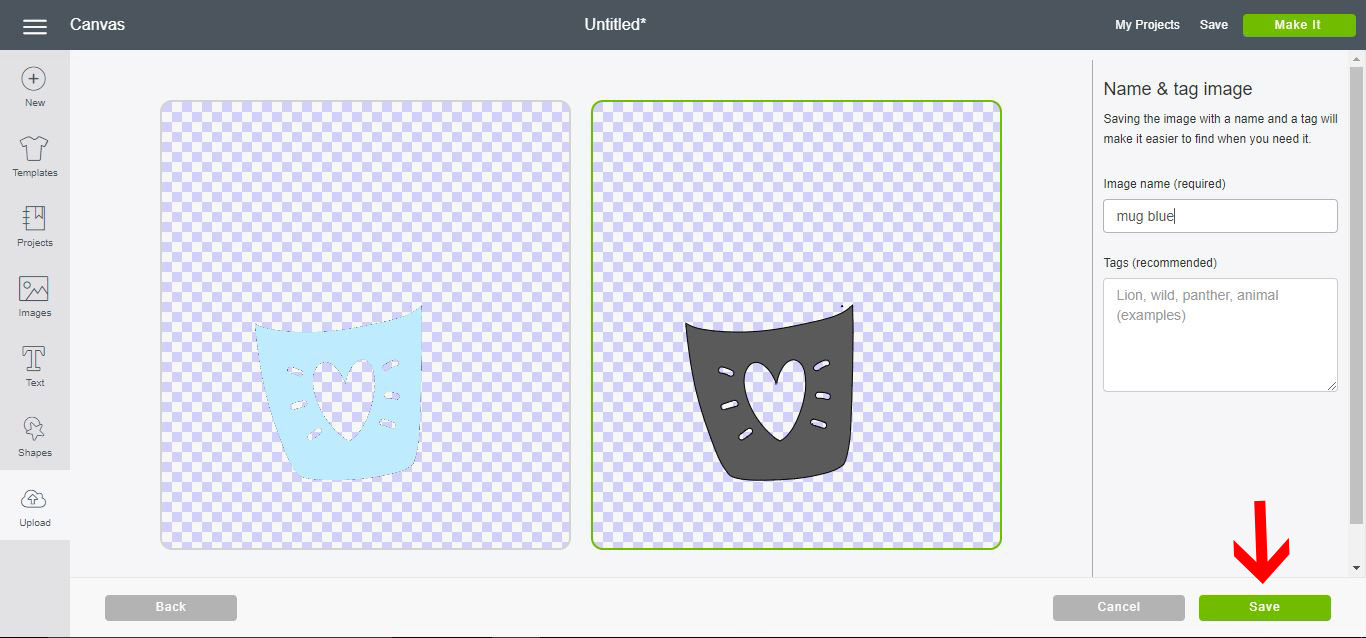
12- Select the cut file again and save.
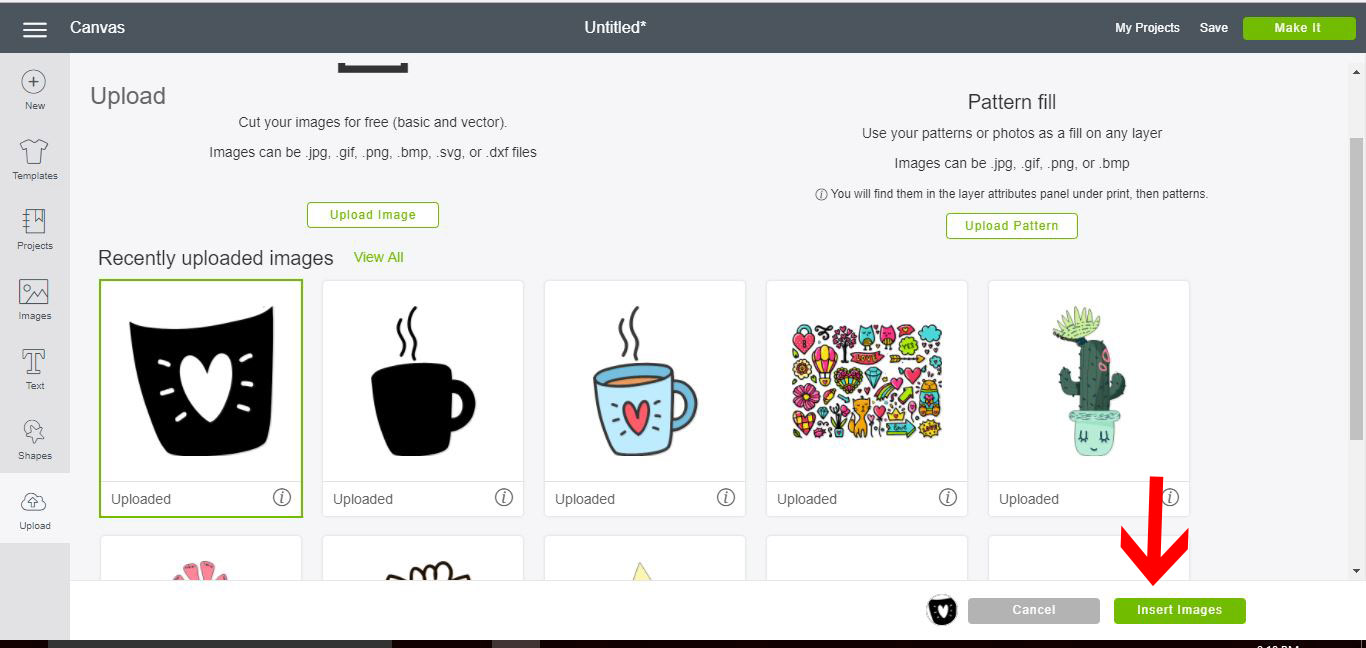
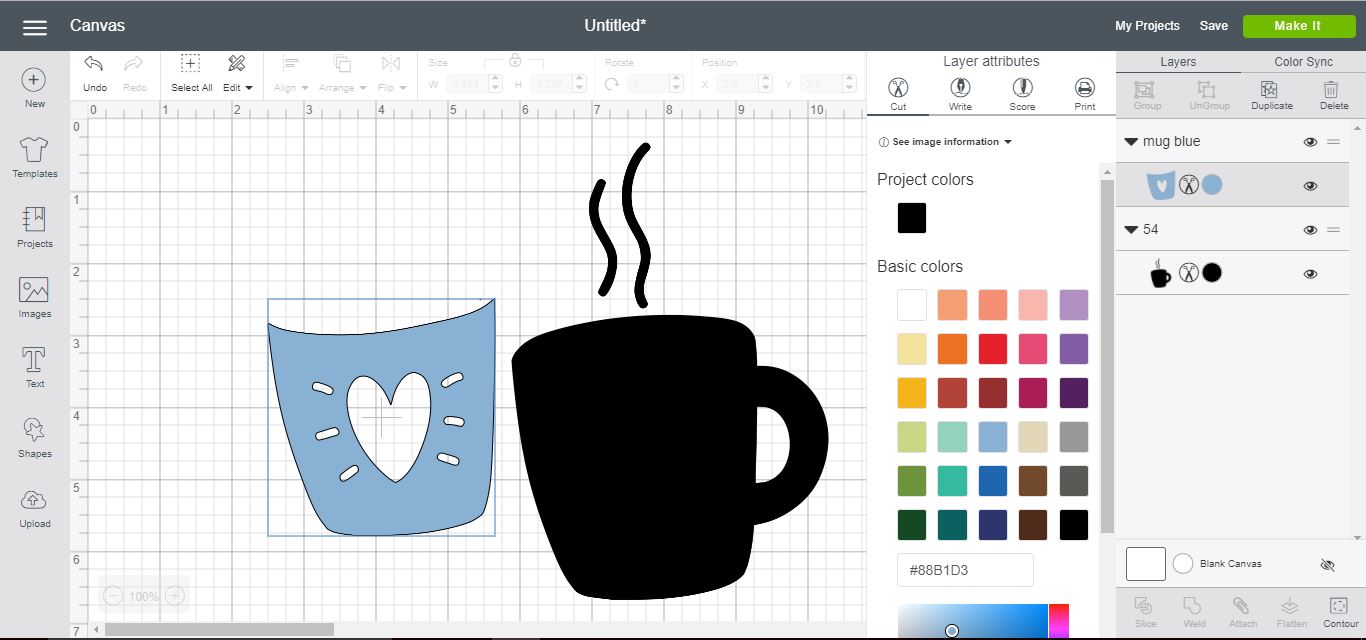
13- Insert your next layer.
14- Alter the color.
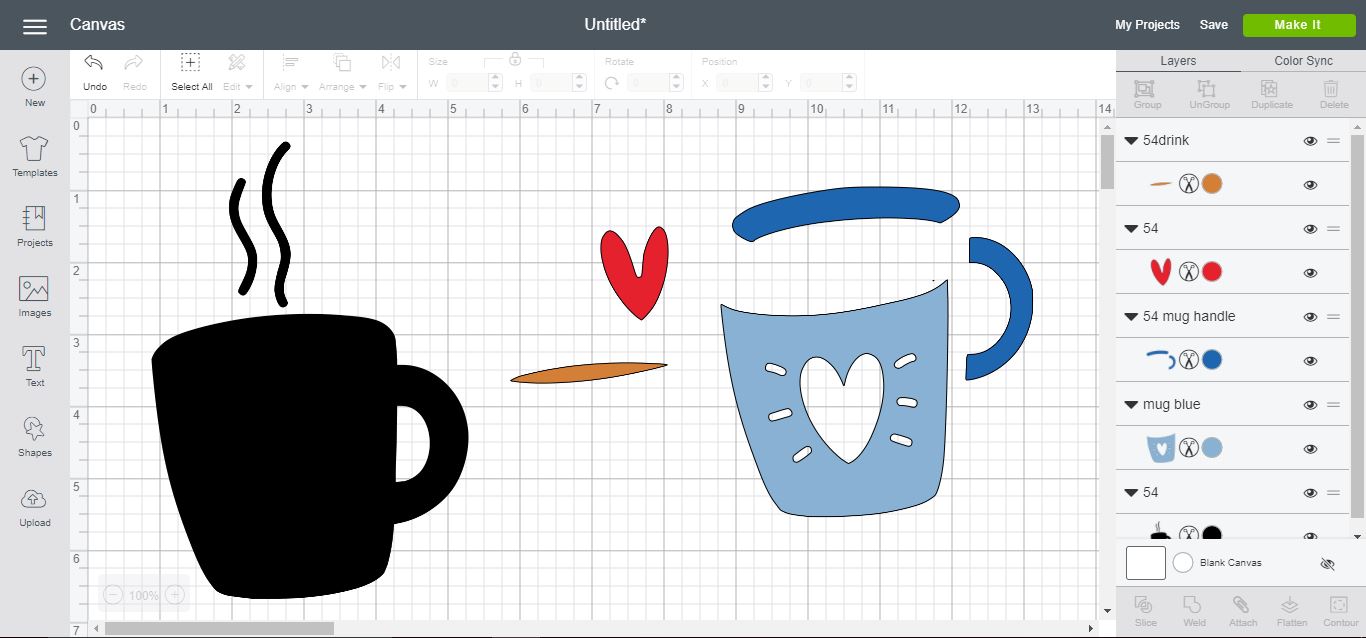
15- Repeat the above steps to create all the layers of the image.
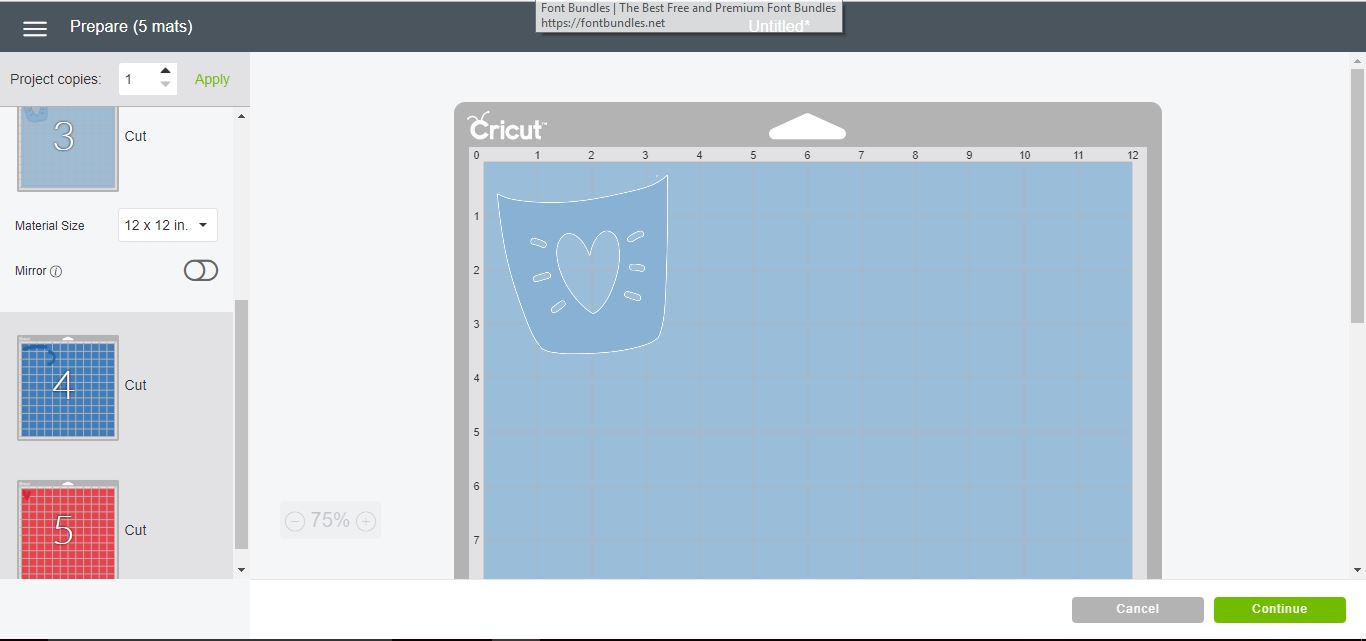
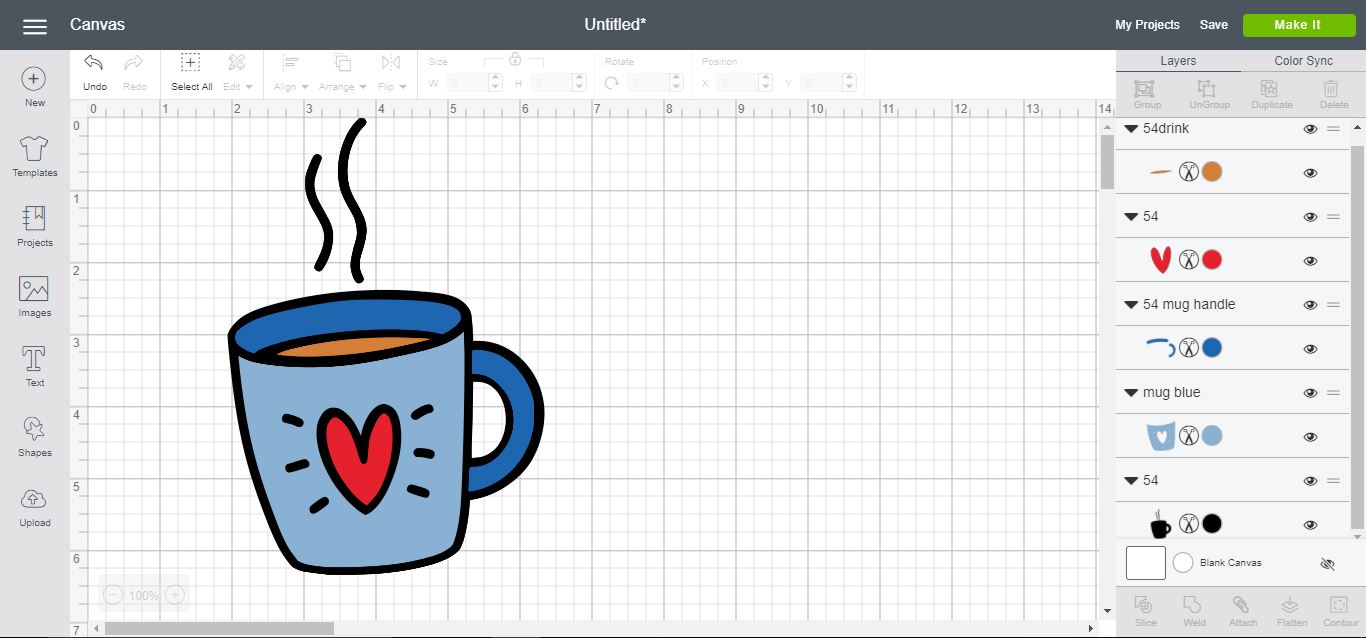
16-Layer over each other to recreate your image. Click on make it.
17- As you can now see, the image will be cut in different layers.
2- Select upload image.
3- Click on browse.
4- We have uploaded our single layered image. To make it multi layered for paper piecing etc we need to create a background base, then separate each color for cutting. Click on complex , then continue. I am using the Valentines day vectors from designbundles.net

5- With your image uploaded using the magic wand, remove any unwanted excess background. Click continue.
6- Select the cut file and save.
7- Insert the saved background to your design space.
8- Your background will appear. Change the color to your needs.
9- Repeat steps 2-4 and again click on complex image.

10- We now need to select a specific part of the design. A good guide is to create a new layer for each color you want to cut. So in this case we have used the magic wand to remove everything except the pale blue.
11- With the eraser tool, remove any other parts you do not need. Then click on continue.
12- Select the cut file again and save.
13- Insert your next layer.
14- Alter the color.
15- Repeat the above steps to create all the layers of the image.
16-Layer over each other to recreate your image. Click on make it.
17- As you can now see, the image will be cut in different layers.