How to create a speed motion effect in Photoshop
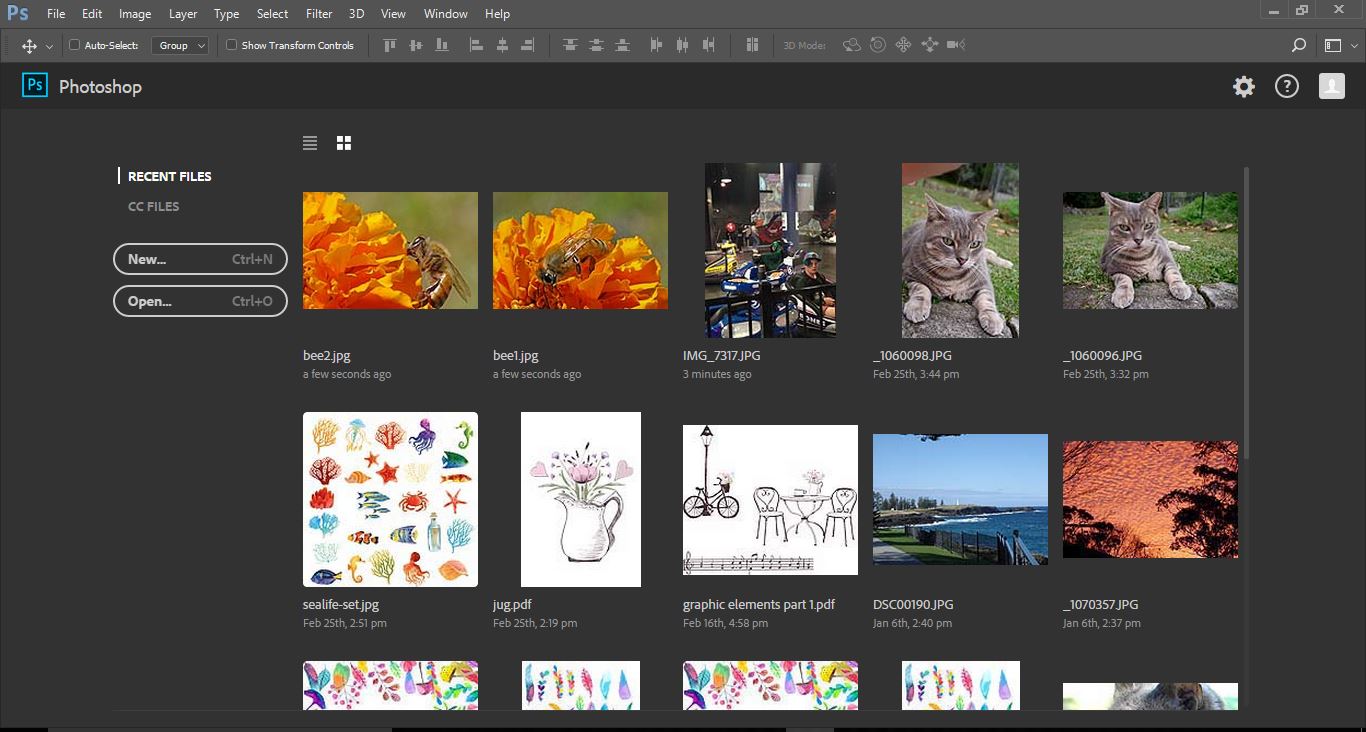
1- Open Photoshop and select your image.
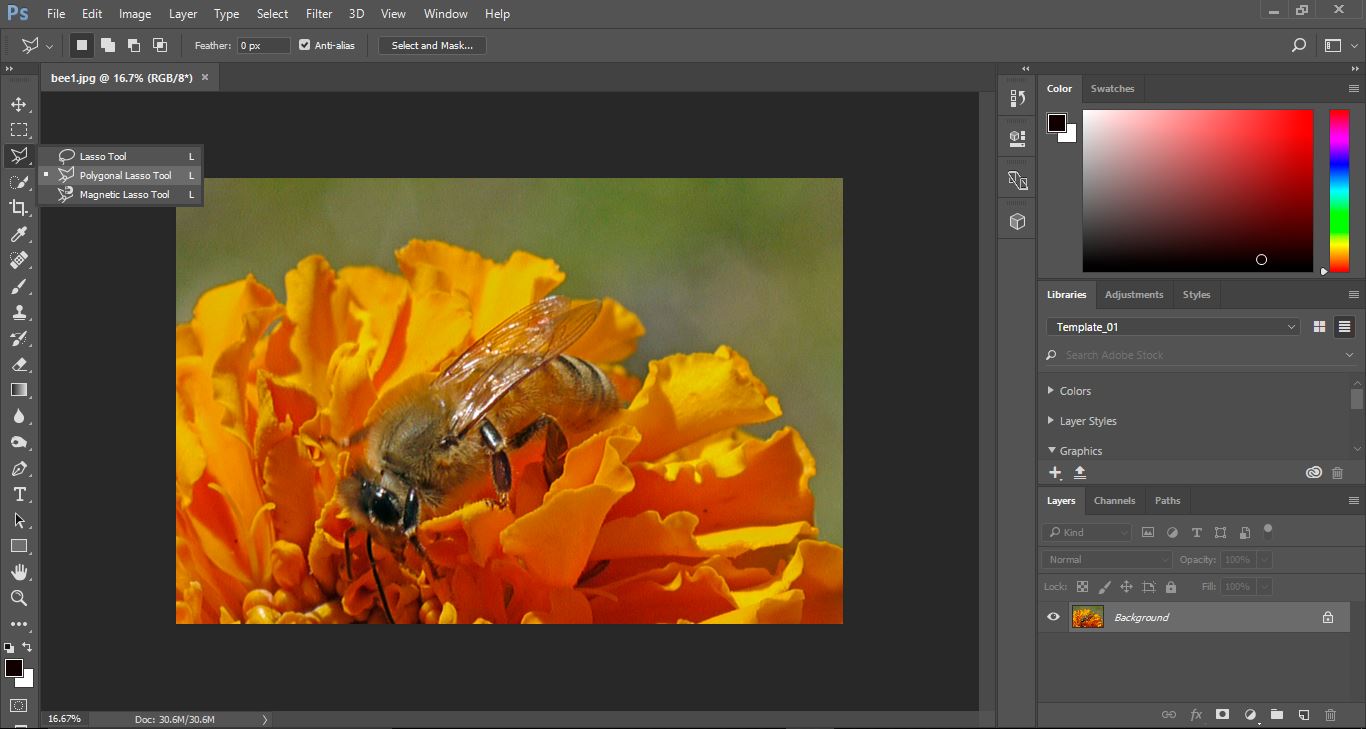
2- Select the polygonal lassoo tool.
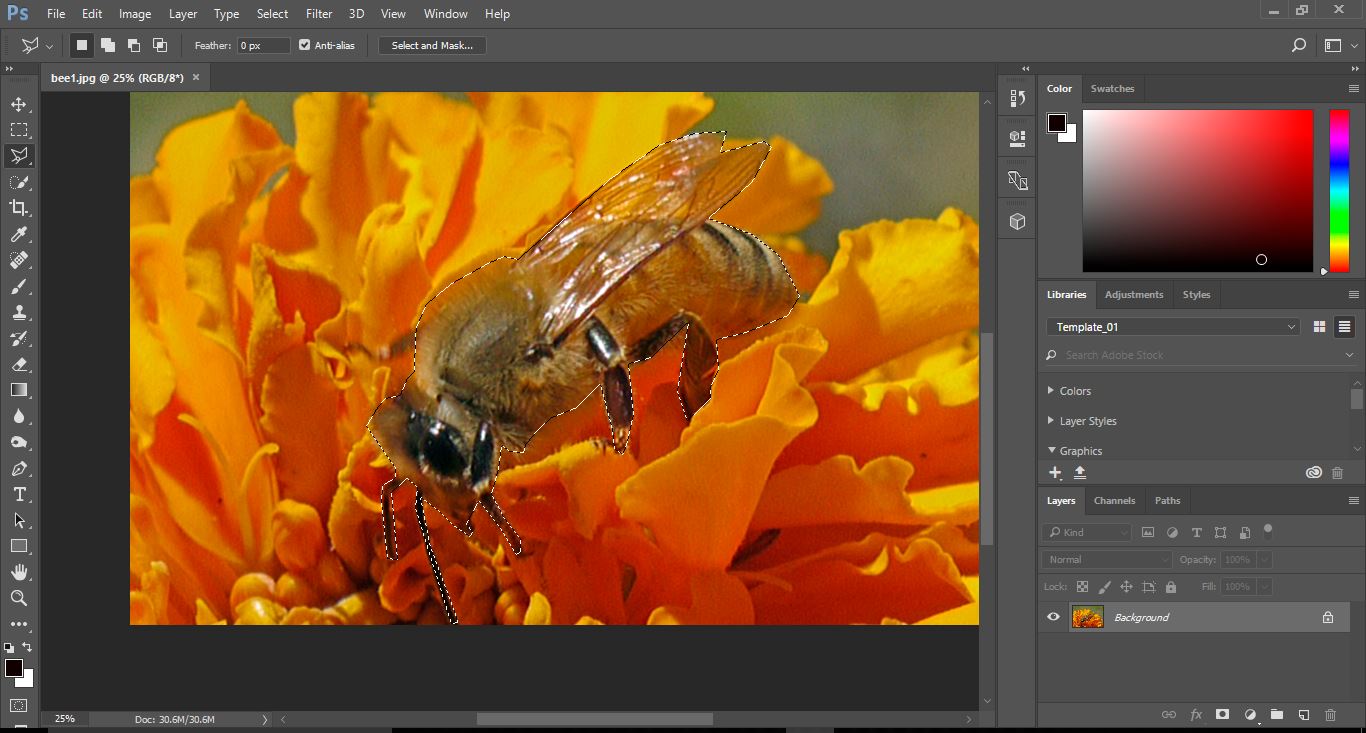
3- Draw around the main subject of your image that you want to add the effect to.
4- Copy the selected area onto a new layer. Layer > New > Layer via Copy.
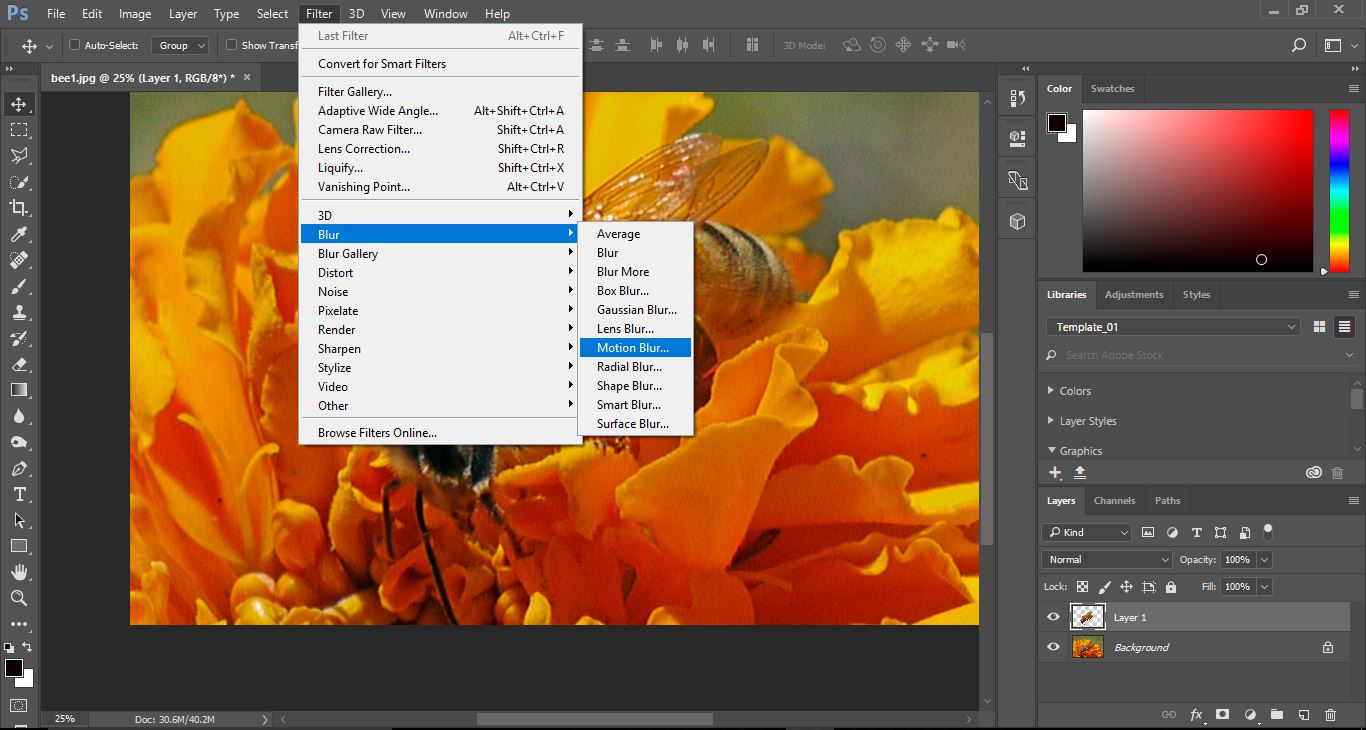
5- We now need to add the blur filter. Filter > Blur > Motion blur.
7- when you select OK the blur will appear on your image. We need to adjust this so it shows the appearance of movement.
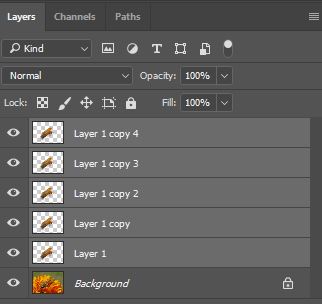
8- Duplicate the blur layer several timer (Ctrl + J)
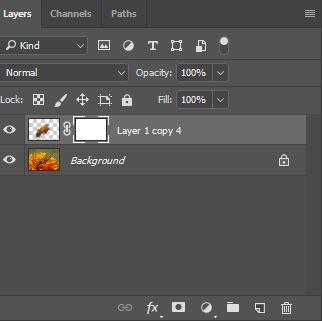
9- Select all the blur layers (Shift + Click the layers you want to group). Then go to Layer > Merge Layers.
10- All the layers are now merged. Add a layer mask to the merged layer.
11- Select the gradient tool.
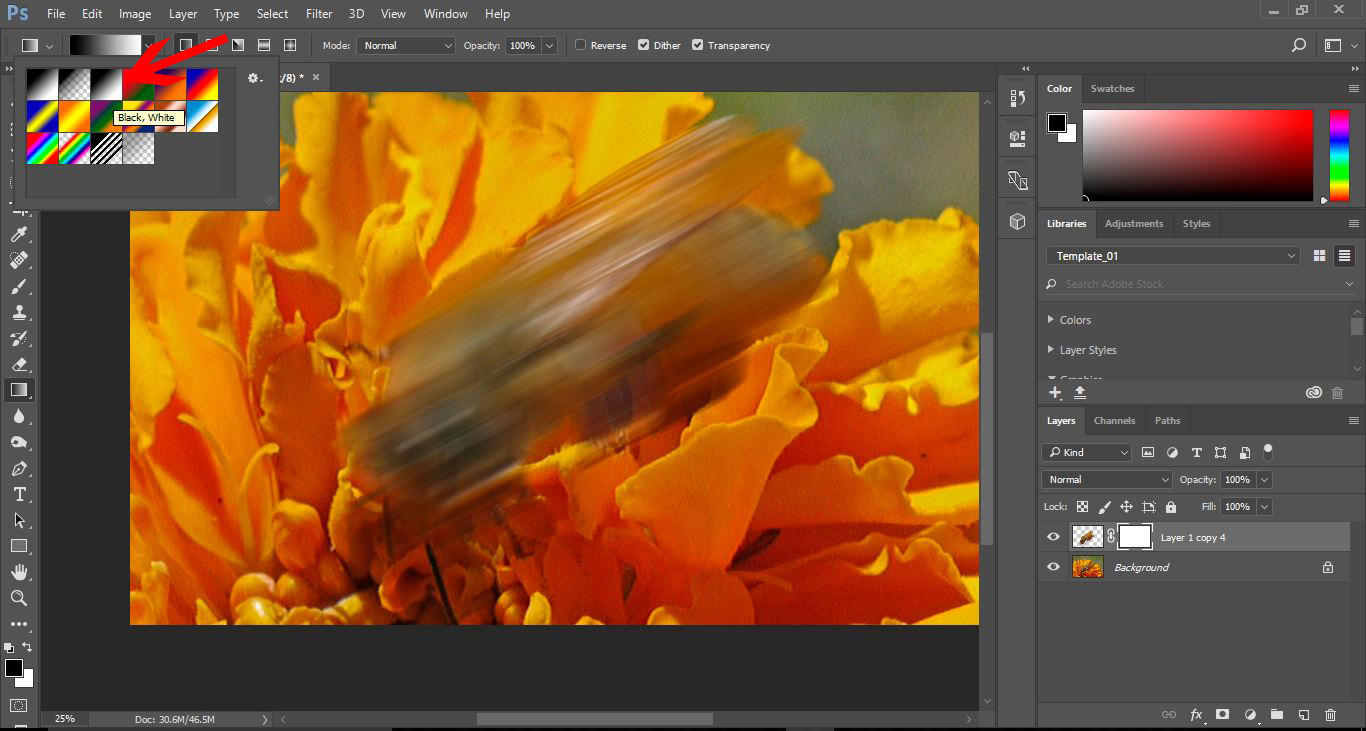
12- In the drop down box select the black to white gradient.
13- Click where you would like the blur to start and stop, then drag the cursor to where you want it to stop.
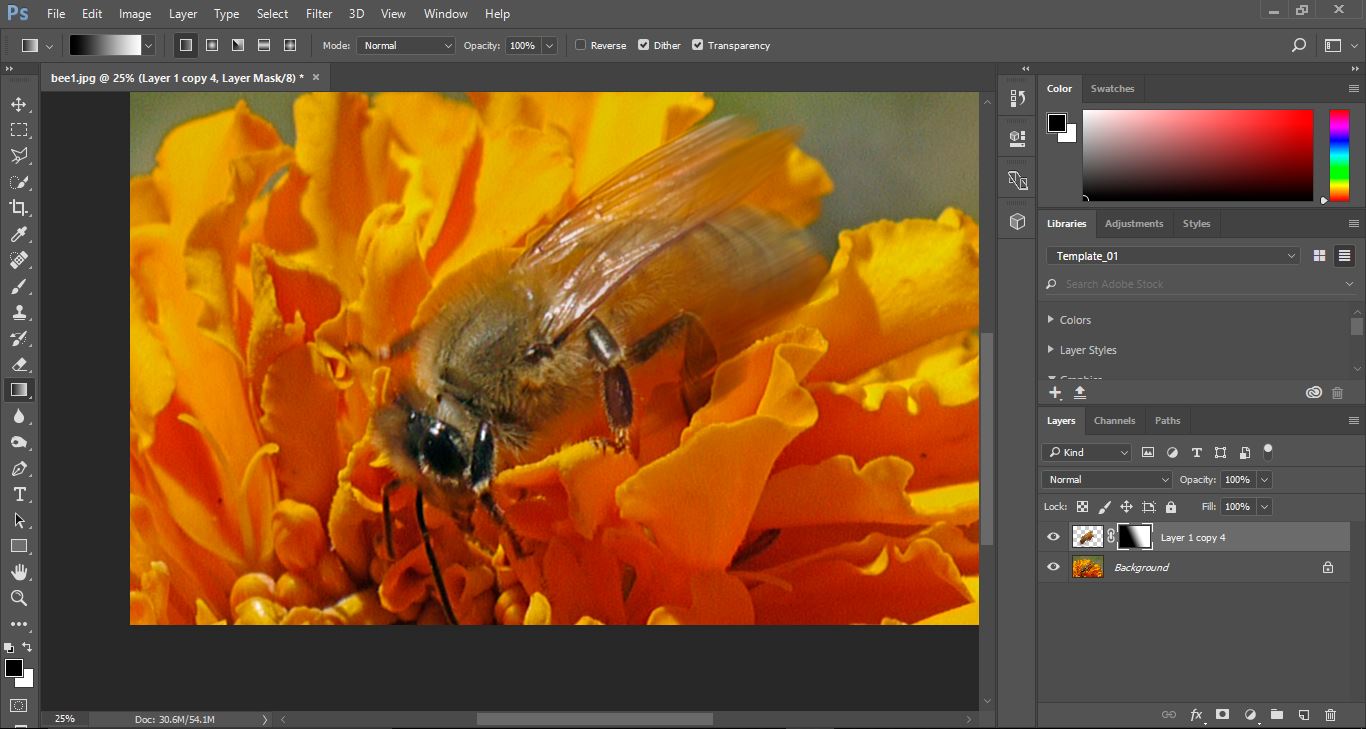
14- When you have finished with the gradient, you will see that you can see the front of your image, but the back is a gradient to blur, giving the affect of motion.
2- Select the polygonal lassoo tool.
3- Draw around the main subject of your image that you want to add the effect to.
4- Copy the selected area onto a new layer. Layer > New > Layer via Copy.

5- We now need to add the blur filter. Filter > Blur > Motion blur.
6- Adjust the blur effect to suit your needs. If your image is on an angle, ensure you adjust the angle of the blur to match the image.
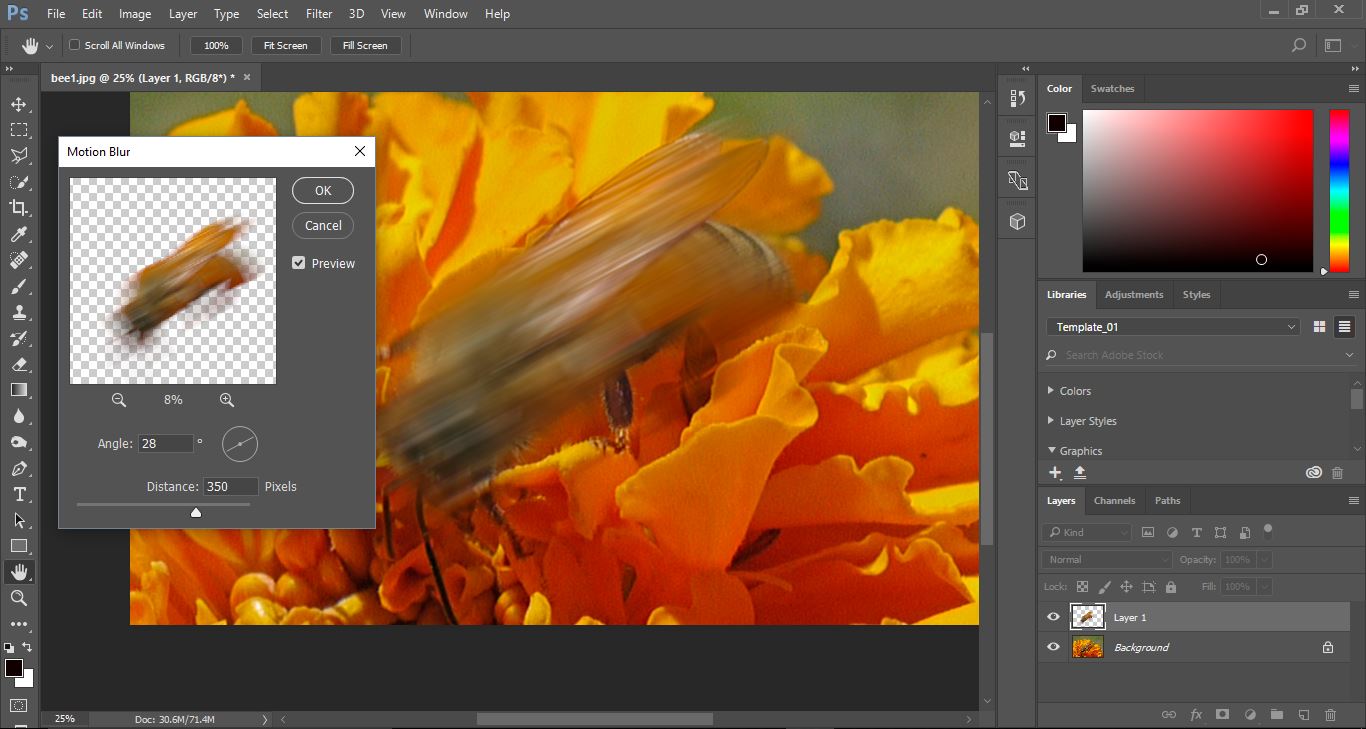
7- when you select OK the blur will appear on your image. We need to adjust this so it shows the appearance of movement.

8- Duplicate the blur layer several timer (Ctrl + J)
9- Select all the blur layers (Shift + Click the layers you want to group). Then go to Layer > Merge Layers.

10- All the layers are now merged. Add a layer mask to the merged layer.
11- Select the gradient tool.

12- In the drop down box select the black to white gradient.
13- Click where you would like the blur to start and stop, then drag the cursor to where you want it to stop.
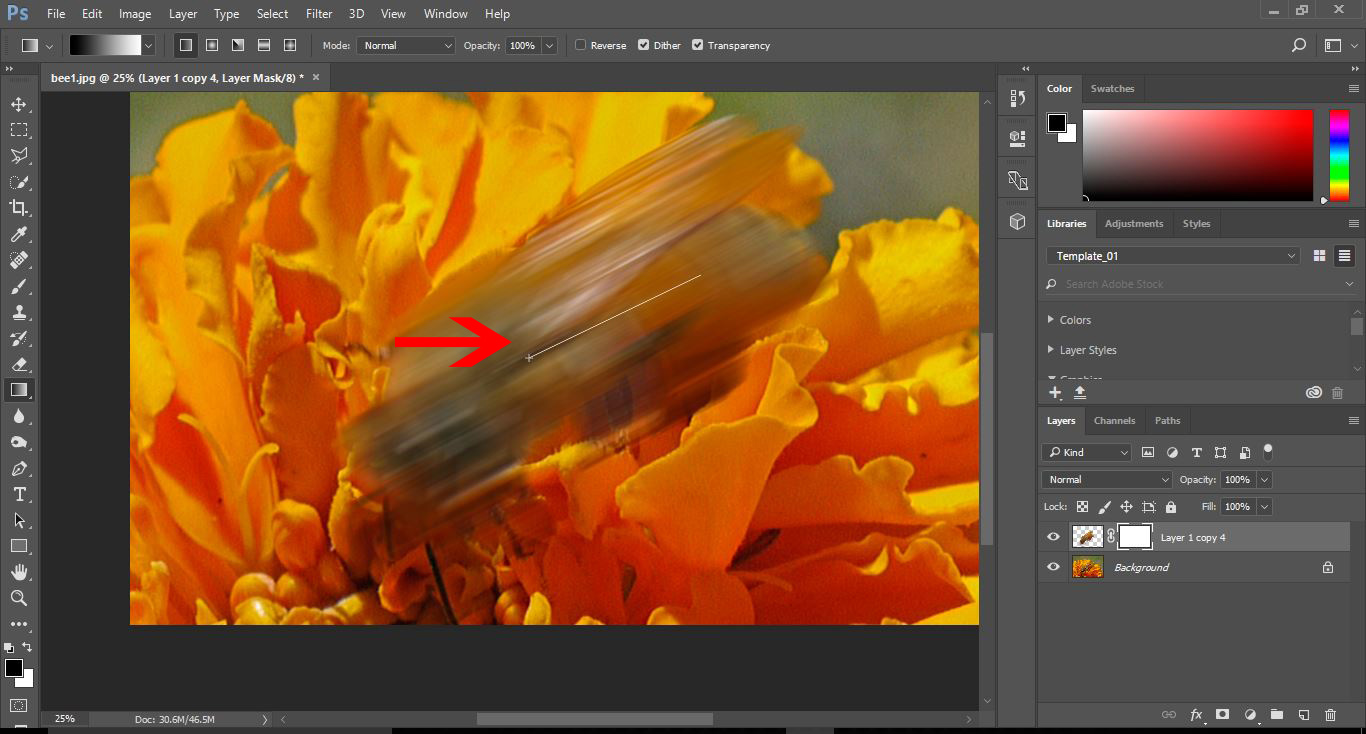
14- When you have finished with the gradient, you will see that you can see the front of your image, but the back is a gradient to blur, giving the affect of motion.