
How to Create Presets in Affinity Photo
Learn how to create presets in Affinity Photo with this step by step tutorial.
There are a few ways to create presets in Affinity Photo. Since presets are applied as Adjustment layers, they are non-destructive. In each Adjustment, for example, Levels, you can create a preset. To combine a selection of adjustments as one preset, you need to create a LUT preset. You can also create presets in the Develop persona. Follow our tutorial as we guide you on how to create presets in Affinity Photo.
During this tutorial we will be using a delicious flat lay food photo, but you can use any commercial use photo from Design Bundles.
Create Adjustment Presets In Photo Persona
We will begin by creating presets in the Photo Persona. Here you can create presets for the Adjustments as well as combine to make a LUT preset.
Step 1 - Locate Adjustments panel
In the Photo Persona, presets can be created under the Adjustment panel. This panel can be found on the right hand side. If it’s not visible go to View > Studio > Adjustments.
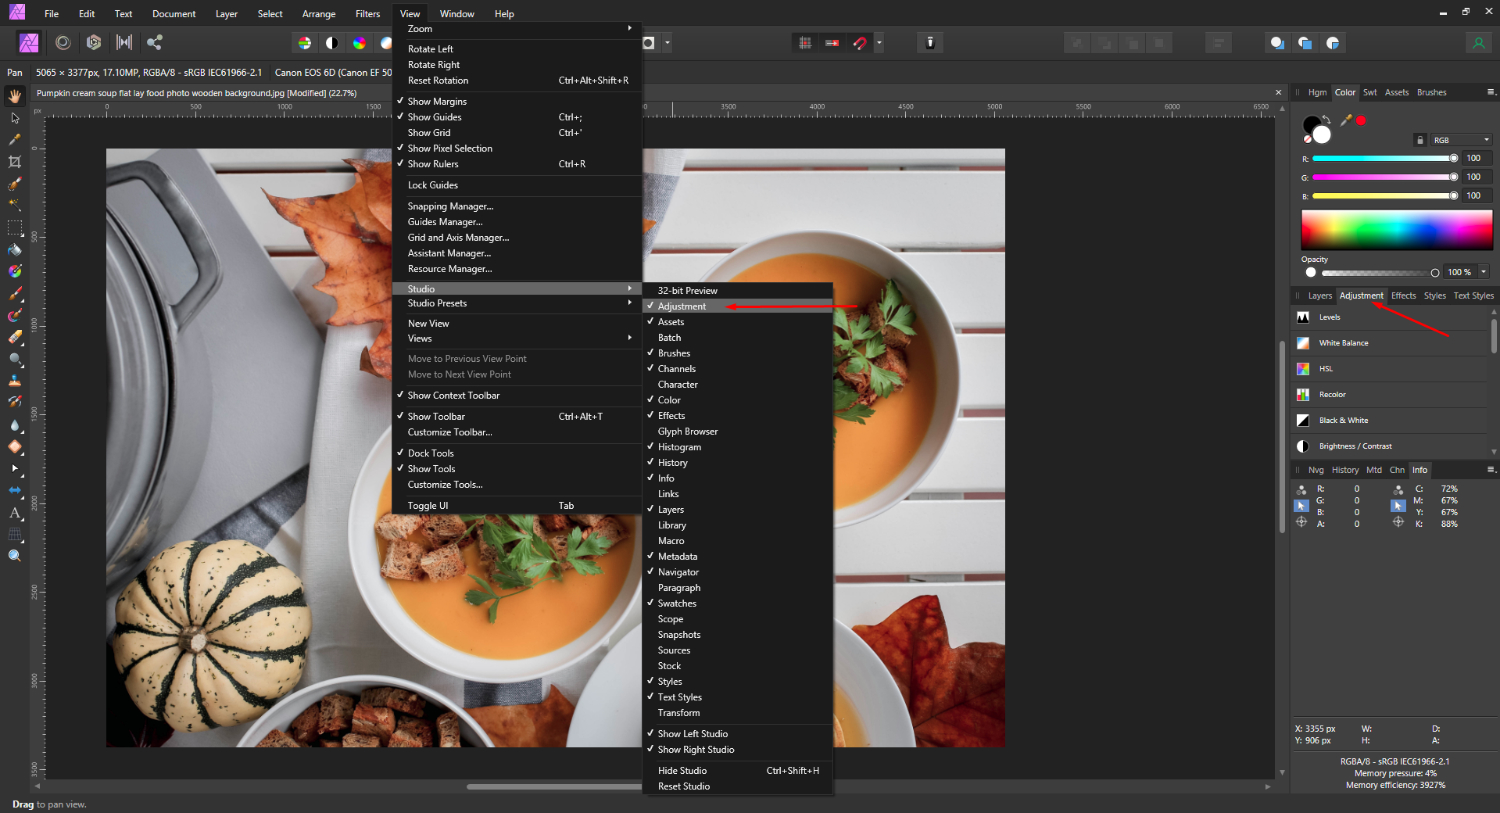
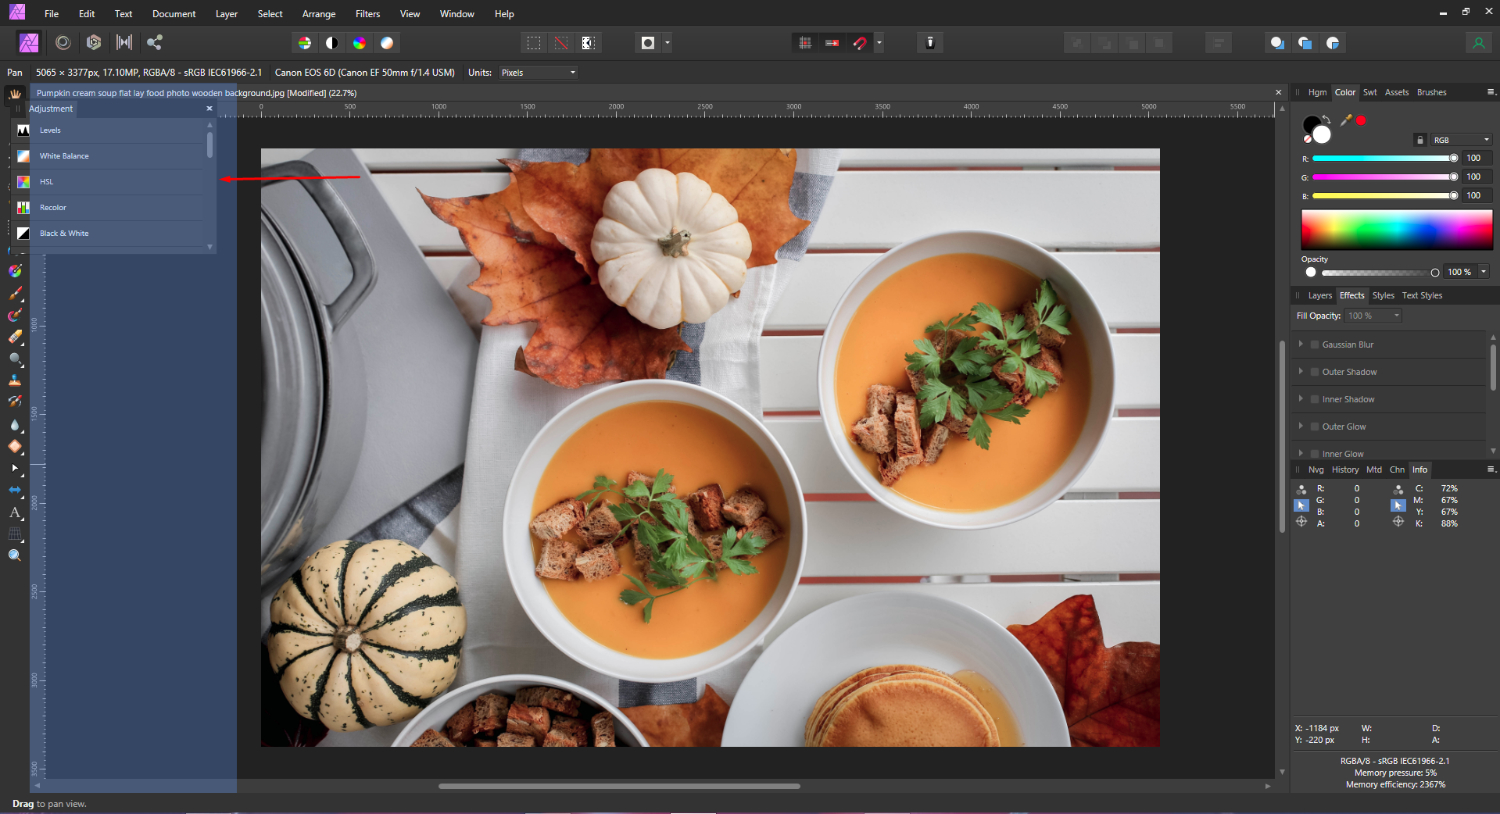
To make it easier to work with, we moved the Adjustment panel over to the left hand side. Click and drag the panel from the right to the left side. When you see the area highlighted in blue, release your mouse button to place the panel.
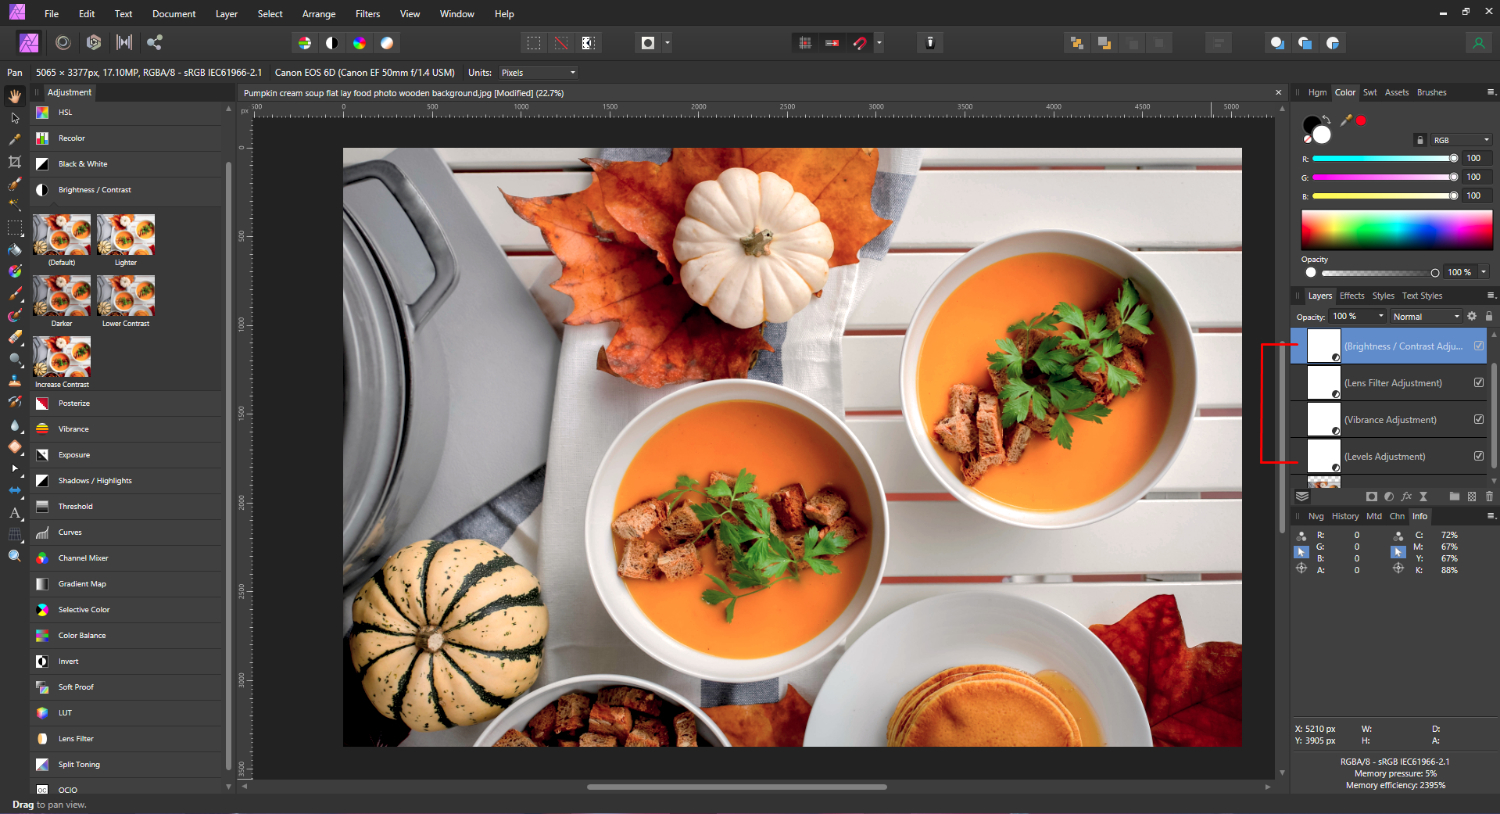
Step 2 - Create an Adjustment Preset
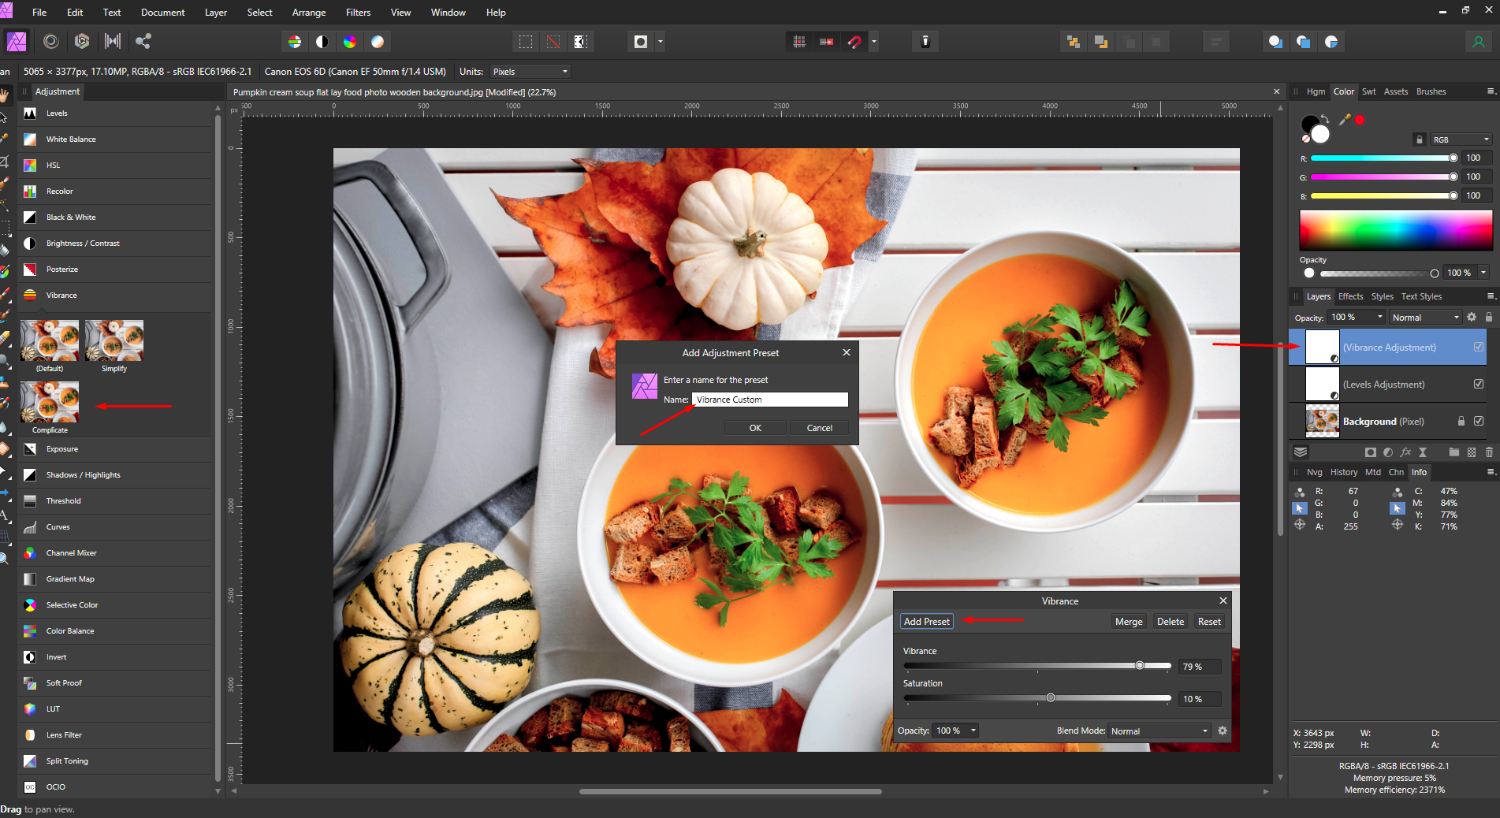
Go to where your Adjustment panel is located and select an adjustment. We chose to use Levels, the top most adjustment. In order to create a preset, you need to apply the adjustment first. We clicked on Darken, then made changes to the settings. Make adjustments according to what you want, then click on Add Preset.

A new window will appear, allowing you to give your new preset a name. Adding ‘Custom’ after the name can help to identify the presets you created. Close out the Levels Adjustment window by clicking the X top right.

Step 3 - Create and apply additional Custom Presets
Each time you click on adjustment, a new layer is added above your image in the Layers Panel. When opening each adjustment to see the presets, it can get a bit crowded. Clicking again on the Adjustment e.g. Levels will close the presets preview. Now let’s move onto another adjustment, Vibrance.
Under the Vibrance option we chose Complicate. Then made adjustments under the window that appeared. We then clicked Add Preset and named it Vibrance Custom. A new adjustment layer appeared under the Layer’s panel when it was applied.
In the Adjustments panel you will see LUT presets. When clicked, you don’t get preview options. We will discuss in the next part how to create LUT presets. These can be a combination of adjustment layers to create a specific preset.
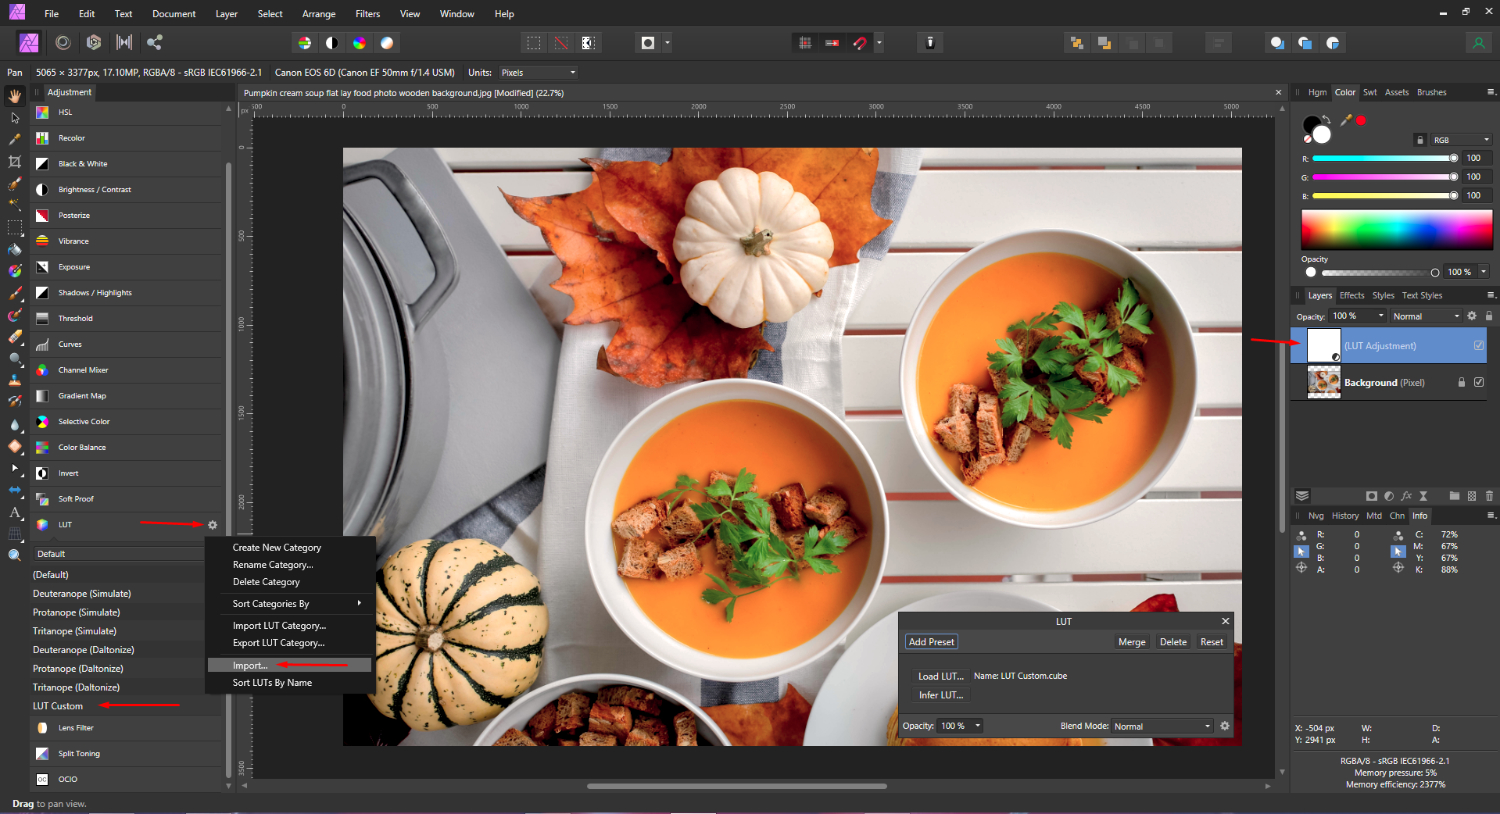
Create LUT Presets
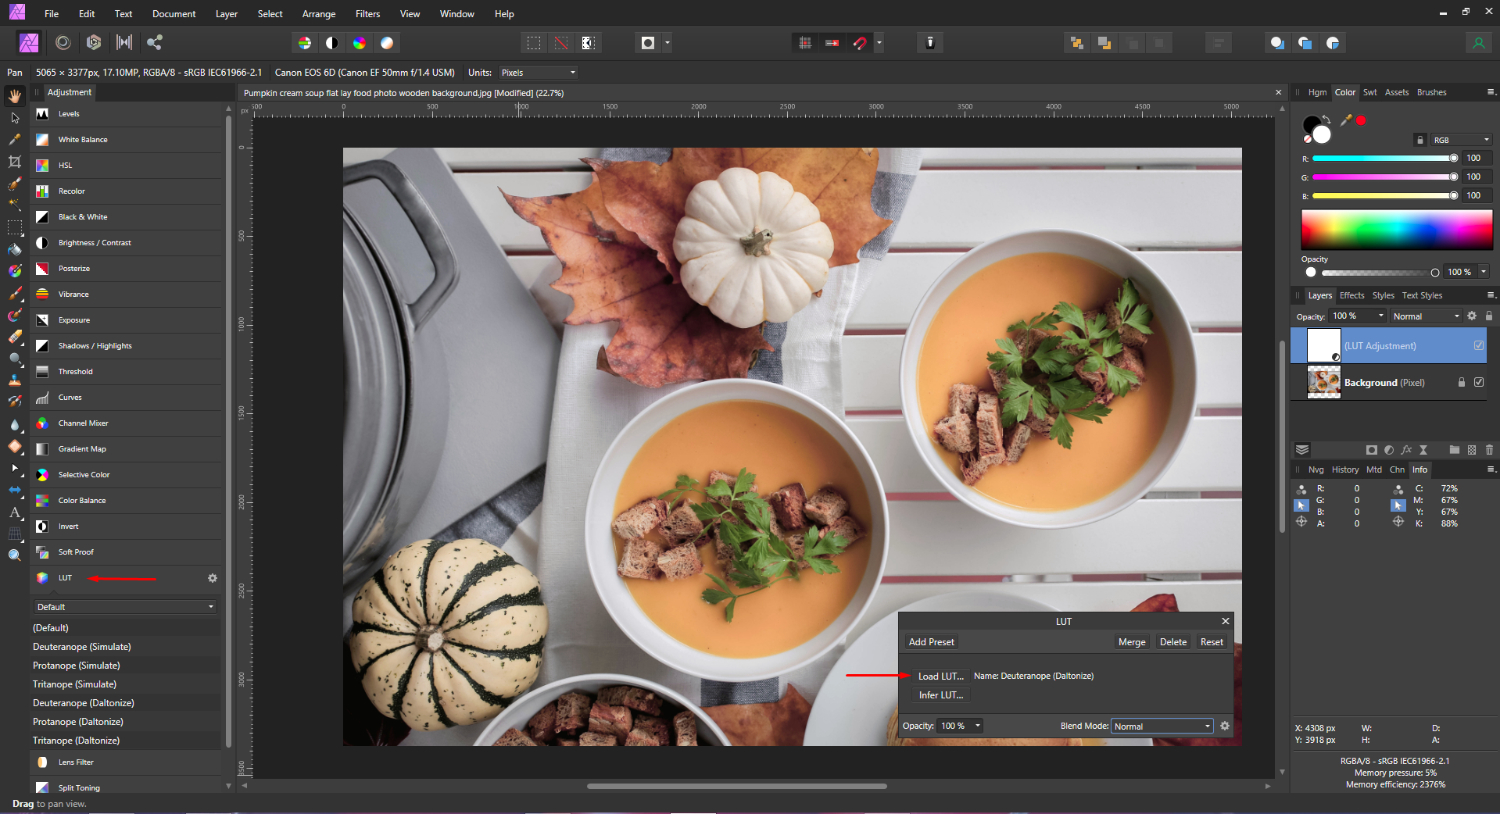
The LUT presets available under the Adjustments panel are applied in the same way as the other adjustments. You won’t have much in the way of options except for the Blend Mode. You can change the LUT by clicking Load LUT. This will give you the option of loading a LUT that you have created or purchased.
Step 1 - Use Adjustments to create LUT Preset
To begin creating a LUT preset, we need to add our adjustment layers. Delete any Adjustment layers that you may have under the Layer panel. Hold Shift then click on each layer to select and hit the Delete button. You should be left with the original image.
Go back to the Adjustments panel and add/edit your chosen adjustments. For this photo we added our custom Levels and Vibrance adjustments. We also added a Lens flare adjustment layer. Then we reduced the Contrast with a Brightness/Contrast layer.
Step 2 - Save your adjustments as a LUT Preset
Unlike saving a preset within an adjustment, we need to create a LUT file and save it. Once you have added all of your adjustments, go to File > Export LUT. The Export LUT window will appear with a photo of a kitten. This is your preview image that lets you see how the preset will look.

Under Title is where you give your file a name. We left the format as .cube and increased the Quality all the way. When you are done with the changes, click Export. Select a location to save your preset to then click on Save. Depending on the image and quality it may take a few seconds to save before the window disappears.
Step 3 - Load your saved LUT Preset
Begin with the original image, then under the Adjustments panel, scroll down to LUT. Click on the little cogwheel then select Import. Locate your LUT preset, click Open and your saved preset will be added to the list. You will see the Adjustment layer added under the Layers panel.
Create Presets in Develop Persona
The Develop Persona is usually where you edit your RAW files before further editing in the Photo Persona. When opening a RAW file, this is the window you will automatically start out in. However, you can edit PNG, TIFF and JPEG files in this persona whenever you choose.
Step 1 - Edit the image in Develop Persona
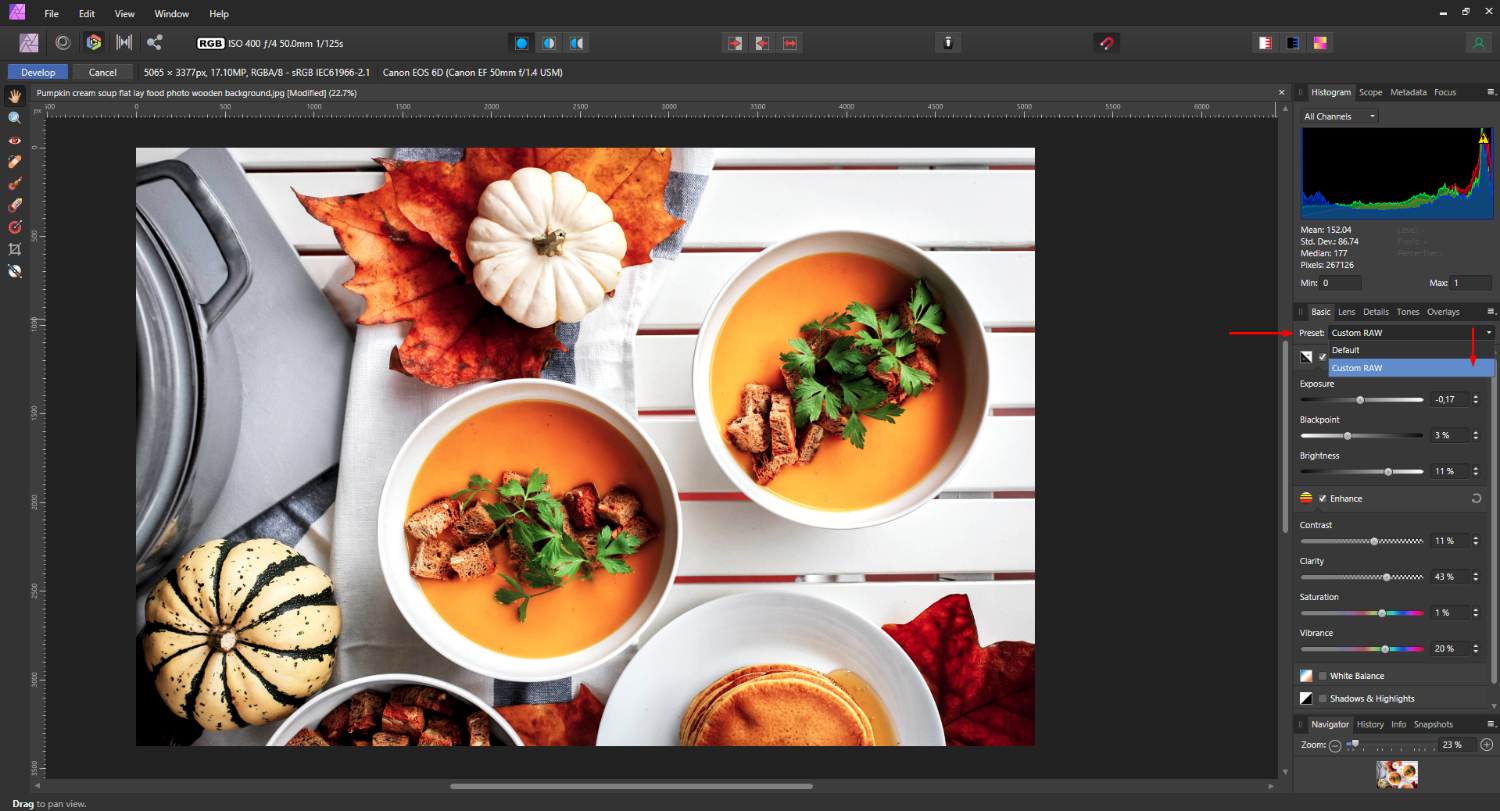
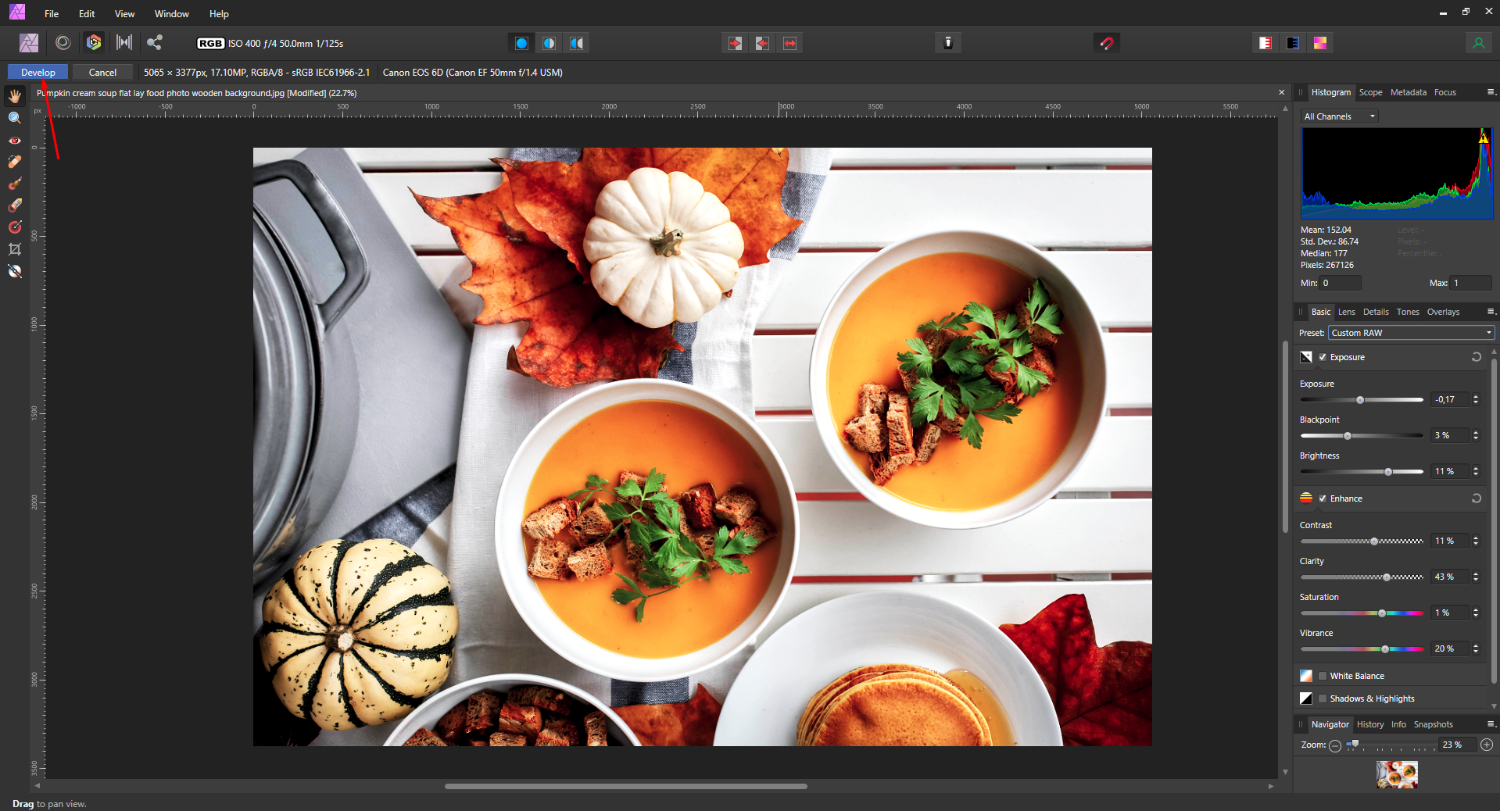
At the top of the screen click on the Develop Persona. You will be presented with the screen as shown in the following image.
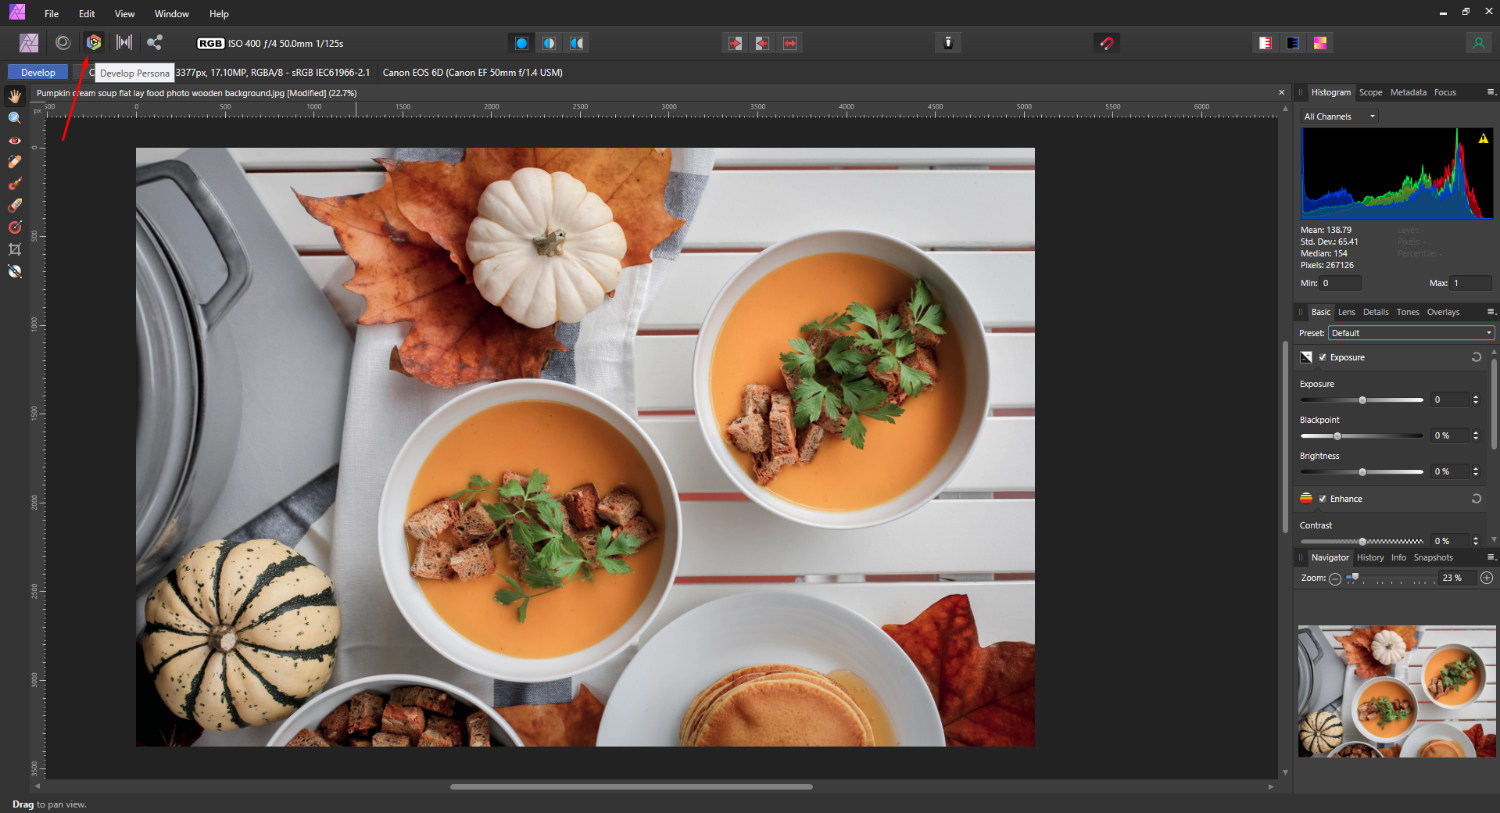
On the left and right are your editing options. We will be creating a preset using the adjustments on the right hand side.
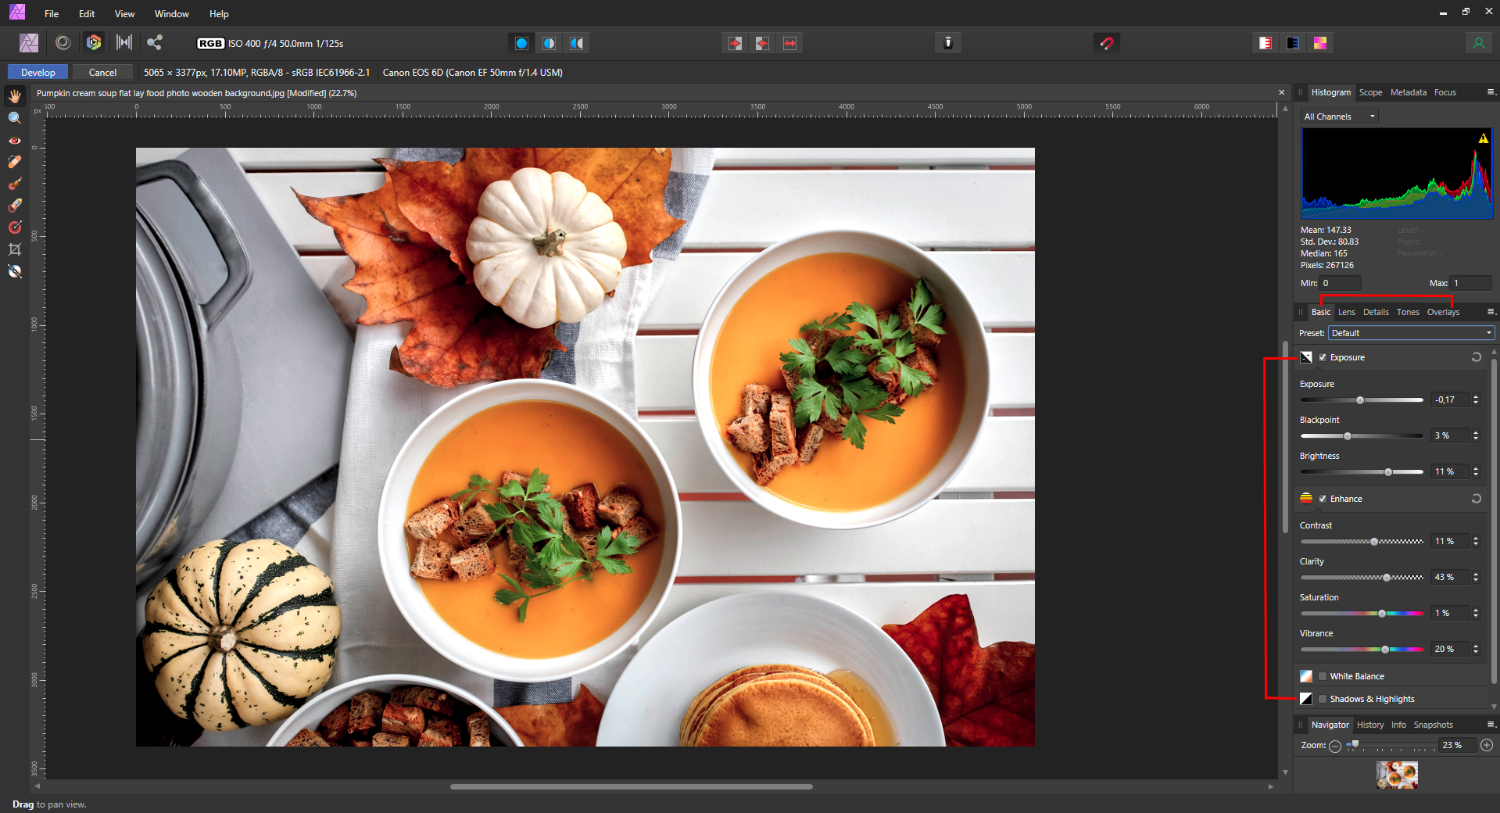
Step 2 - Create and Save the RAW preset
Much like the Adjustments panel, each editing panel has its own set of presets. For the Basic editing option, make your adjustments then click on the three lined menu or burger menu. Click on Add Preset and give your new preset a name.

For each option from Basic to Tones you can create a preset.
Step 3 - Apply the new RAW preset
Once you have created your presets, they will be saved under the Presets option. Click on the drop down menu to access the presets available. Then click on the saved preset
Once you are done with the editing under the Develop Persona, click on Develop top left. You will be taken back to the Photo Persona window. You will not see any adjustment layers added under the Layers panel even though they have been applied.
If, at any point you need to, you can go back to the Develop Persona. Your initial edits will still be available and you can adjust further.
If you enjoyed this tutorial, there are more excellent tutorials to follow such as artboard and document creation in Affinity Designer and how to use the patch tool in Photoshop.


