
How to Install Brushes in Photoshop
Discover how to download and install Photoshop brushes in 3 quick steps.
Photoshop comes with a nice variety of preset brushes included. It also allows you to install third-party brushes that can add to your workflow. Brushes can be used to create beautiful designs, add depth with shading and so much more. In this tutorial, we are going to explore how to install brushes in Photoshop.
We will use this amazing watercolor brush set from the Plus Hub, but we have a great variety of Photoshop brushes to choose from.
Step 1 - Download Your Brushes
First, you need to download your Photoshop brushes to your computer. Sometimes, you may need to decompress your downloaded brushes in order to install them. Most Photoshop brushes have a .abr file extension.

After downloading the brush files, you can save them wherever you want. But, it’s a good idea to place them in the Brushes folder. This folder is located inside the Presets folder in your Photoshop directory (HD > Applications > Adobe Photoshop > Presets > Brushes).
If you are on a computer running Windows, this is usually found in the C:\Program Files\Adobe folder.

Step 2 - Install Brushes in Photoshop
Now, the method that you need to use to install third-party brushes in Photoshop will depend on the version of the program you have on your computer. There are roughly three ways to install the brushes, which we will discuss below.
Install Brushes using the Quick Install Method
With Photoshop running, and a document opened, navigate to where your downloaded .abr brush file is located.
Then, double-click the brush file to automatically install it into Photoshop.

Now your brush should appear in the Tool Presets and/or the Brushes panels.
Use the Brushes Menu for Recent Versions of Photoshop
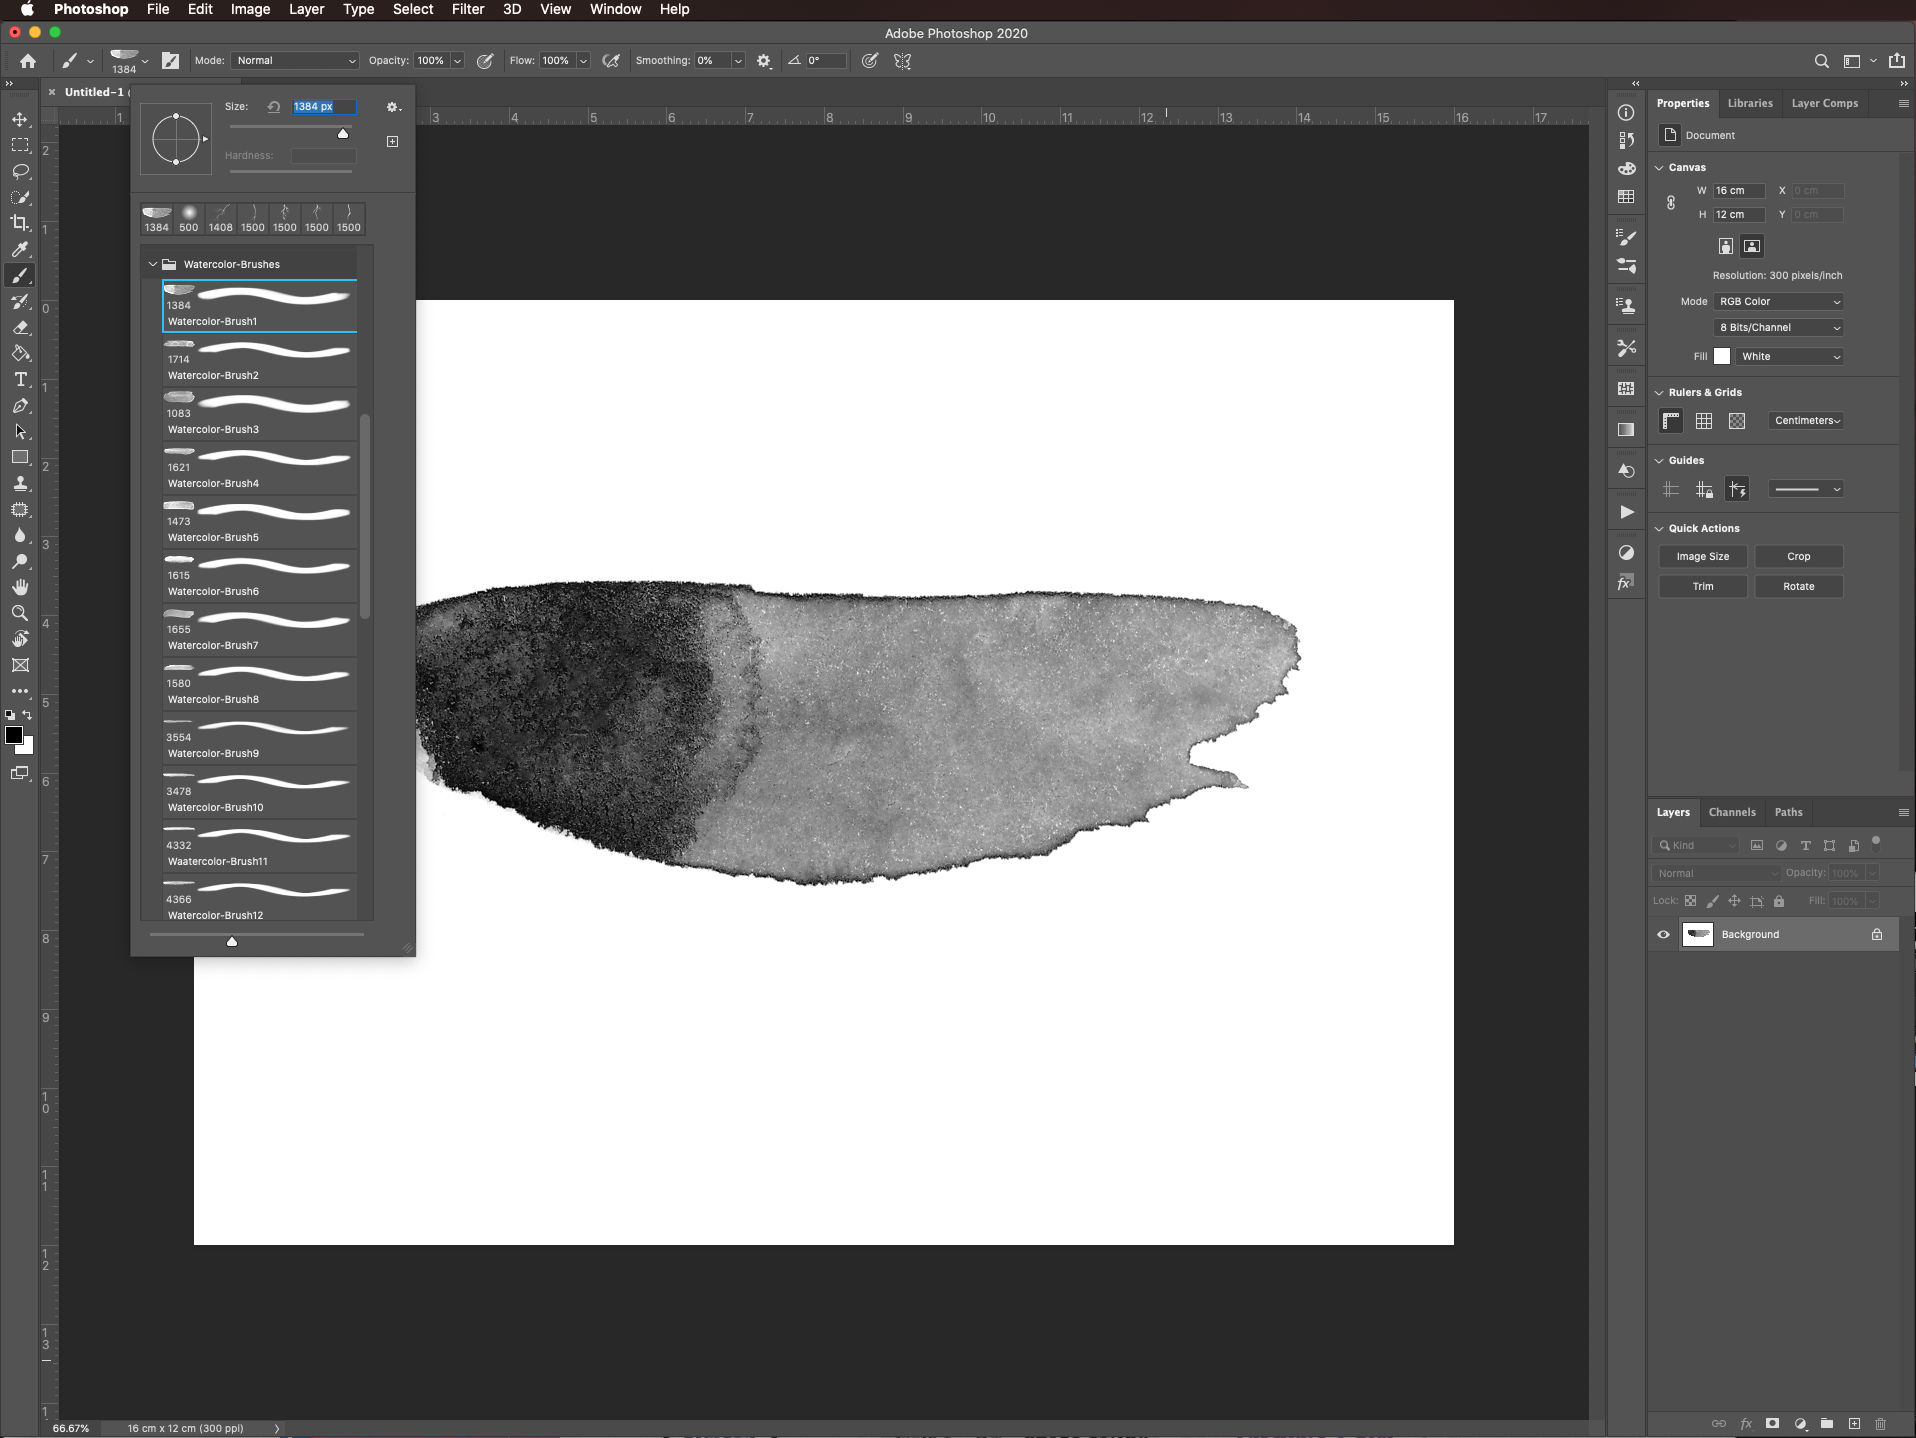
If your version is 2020 or higher, you can install new brushes using the Brushes menu panel (Window > Brushes).

To add a new brush, select the small menu icon in the top-right corner of the panel. Then choose Import Brushes from the menu.

Alternatively, you can select the Brush tool (B) in your toolbar then open the Brushes menu from there. Next, click on the small gear icon in the top-right corner of the panel and choose Import Brushes.

Now, navigate to where the brush was saved and select it. Once the ABR file is selected, click the Load button to install the brush into Photoshop. You should be able to select the new brush on the Brushes menu.

Use the Preset Manager for Older Versions of Photoshop
For older versions of Photoshop (Photoshop CC 2019 and lower), you will need to use the Preset Manager to install your brushes.
To access it, head to Edit > Presets > Preset Manager.

In the Preset Manager panel, choose the Preset type from the drop-down menu (in this case, Brushes). Then, click Load, navigate to where the brush was saved. Now select it and bring it into Photoshop.

Step 3 - Use Imported Brushes in Photoshop
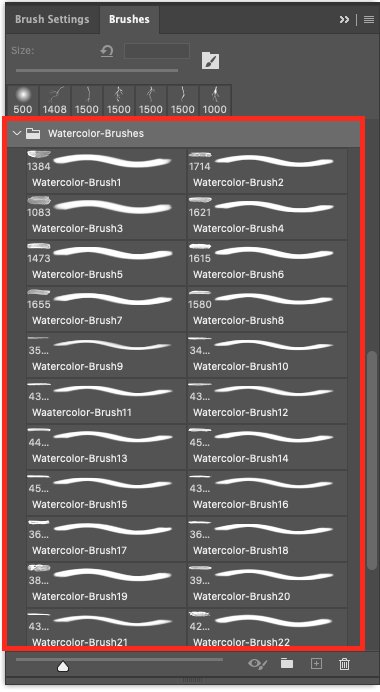
Now, you can use your imported brushes. They may appear as individual brushes, or as Brush Group folders that you click on to access all the available brushes.
There you go, you are now all set up with your imported brushes. Once your brushes are loaded into Photoshop, hit the letter B or select the Brush tool from the Toolbar. Then, choose the brush you want from the drop-down menu.
Brushes are just one of the many ways to expand Photoshop’s functionality. You can also install other third-party add-ons like overlays to help you take your artwork to another level.


