
Puffy Sticker Text Effect in Photoshop
For this tutorial, we are using “Hamster” a free font from Artimasa.
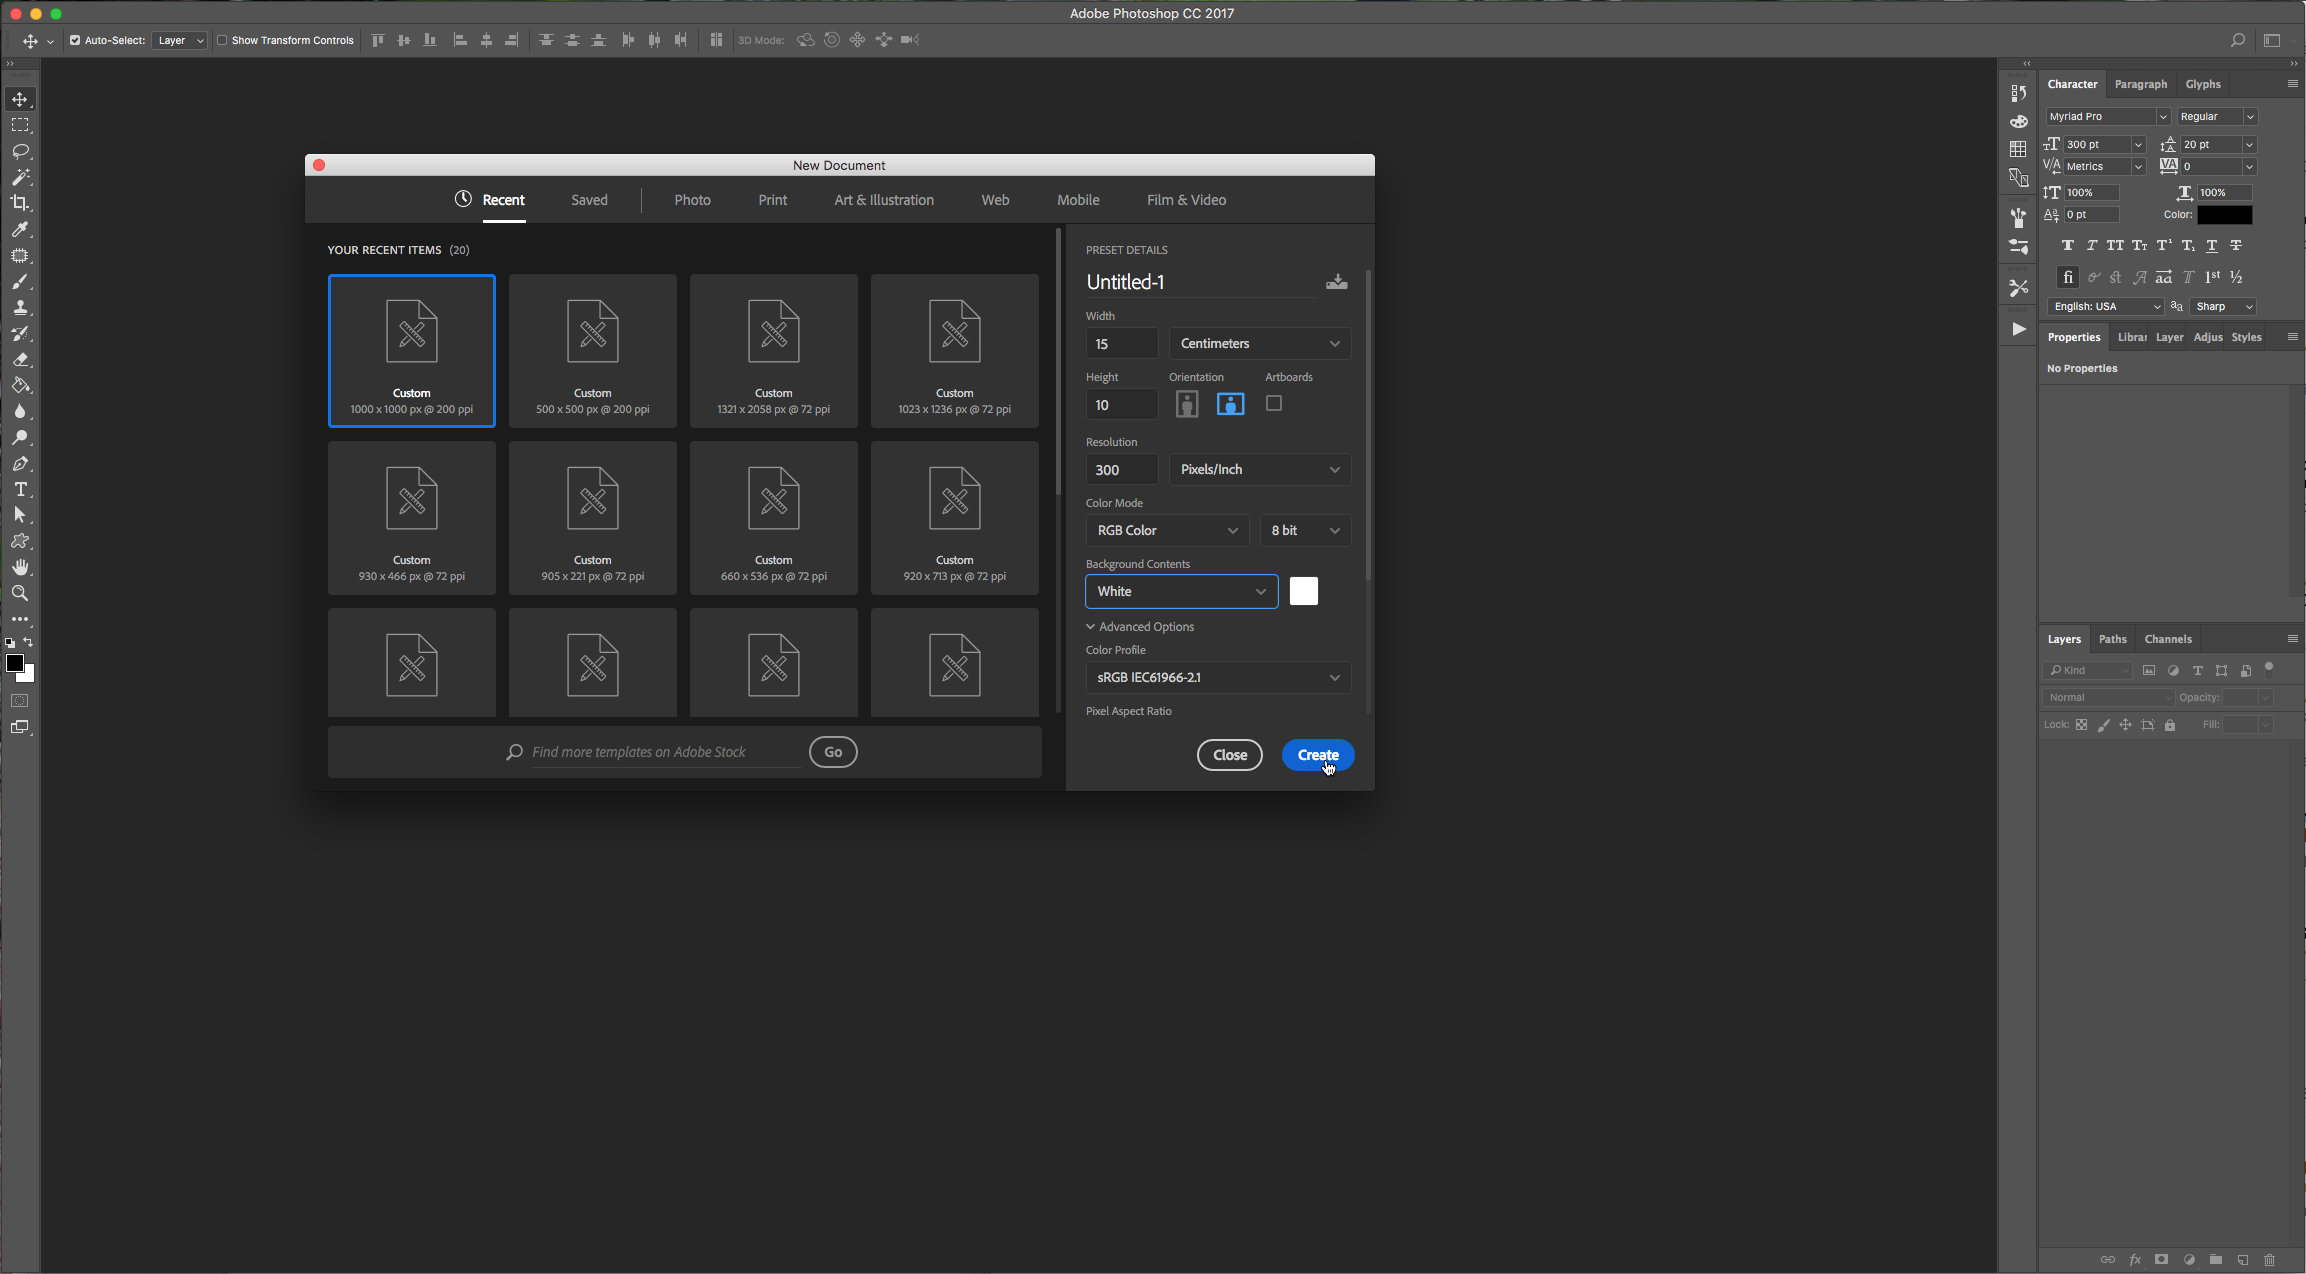
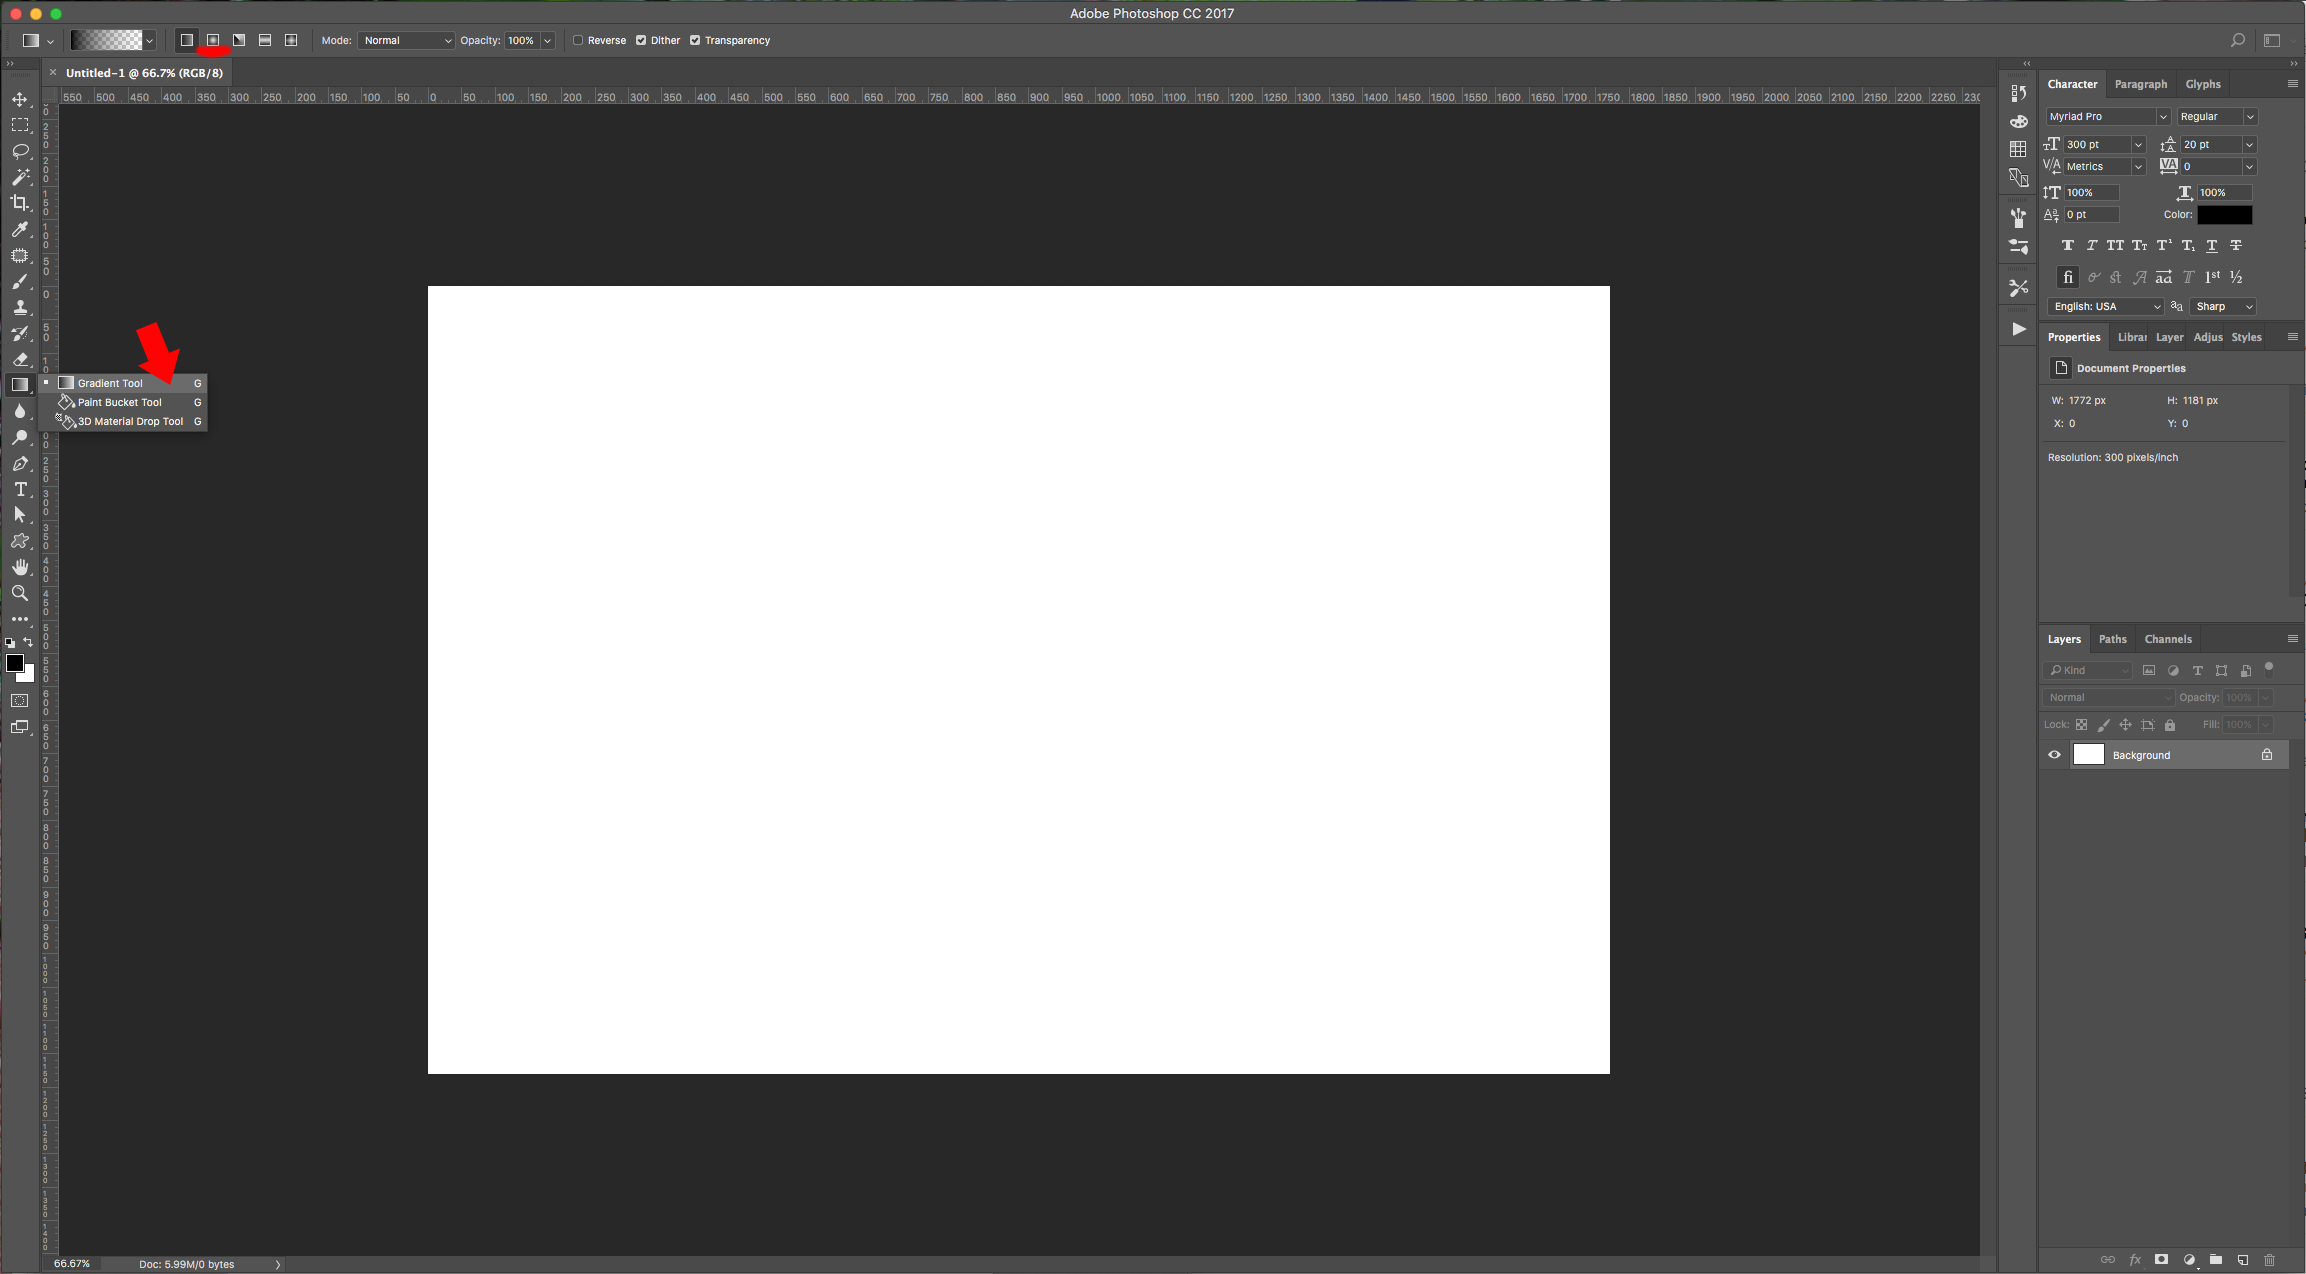
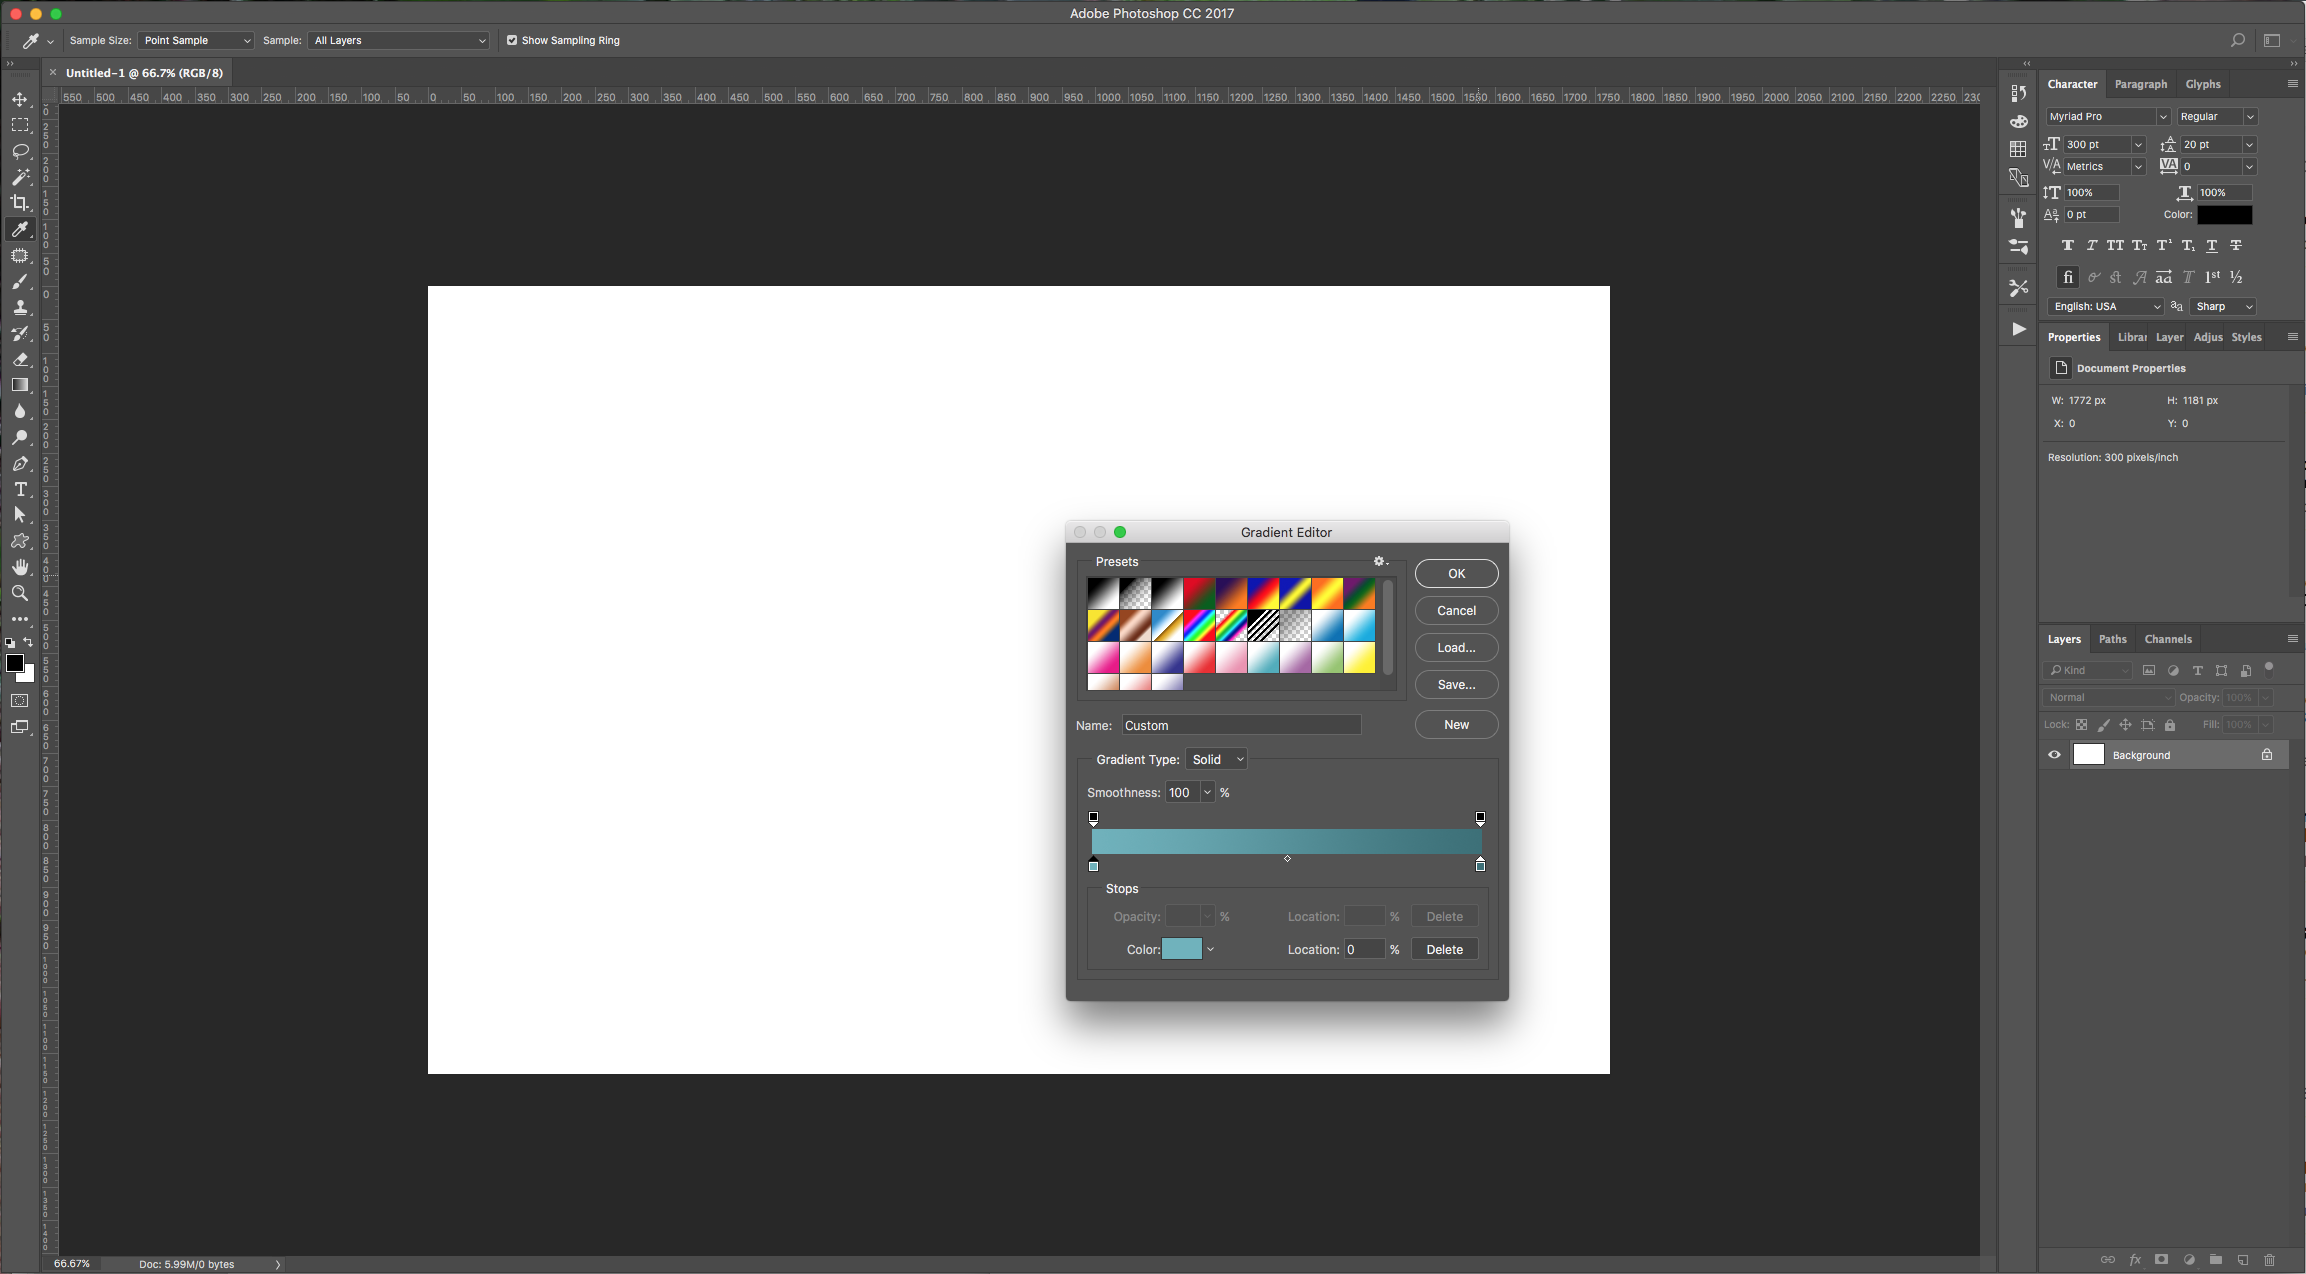
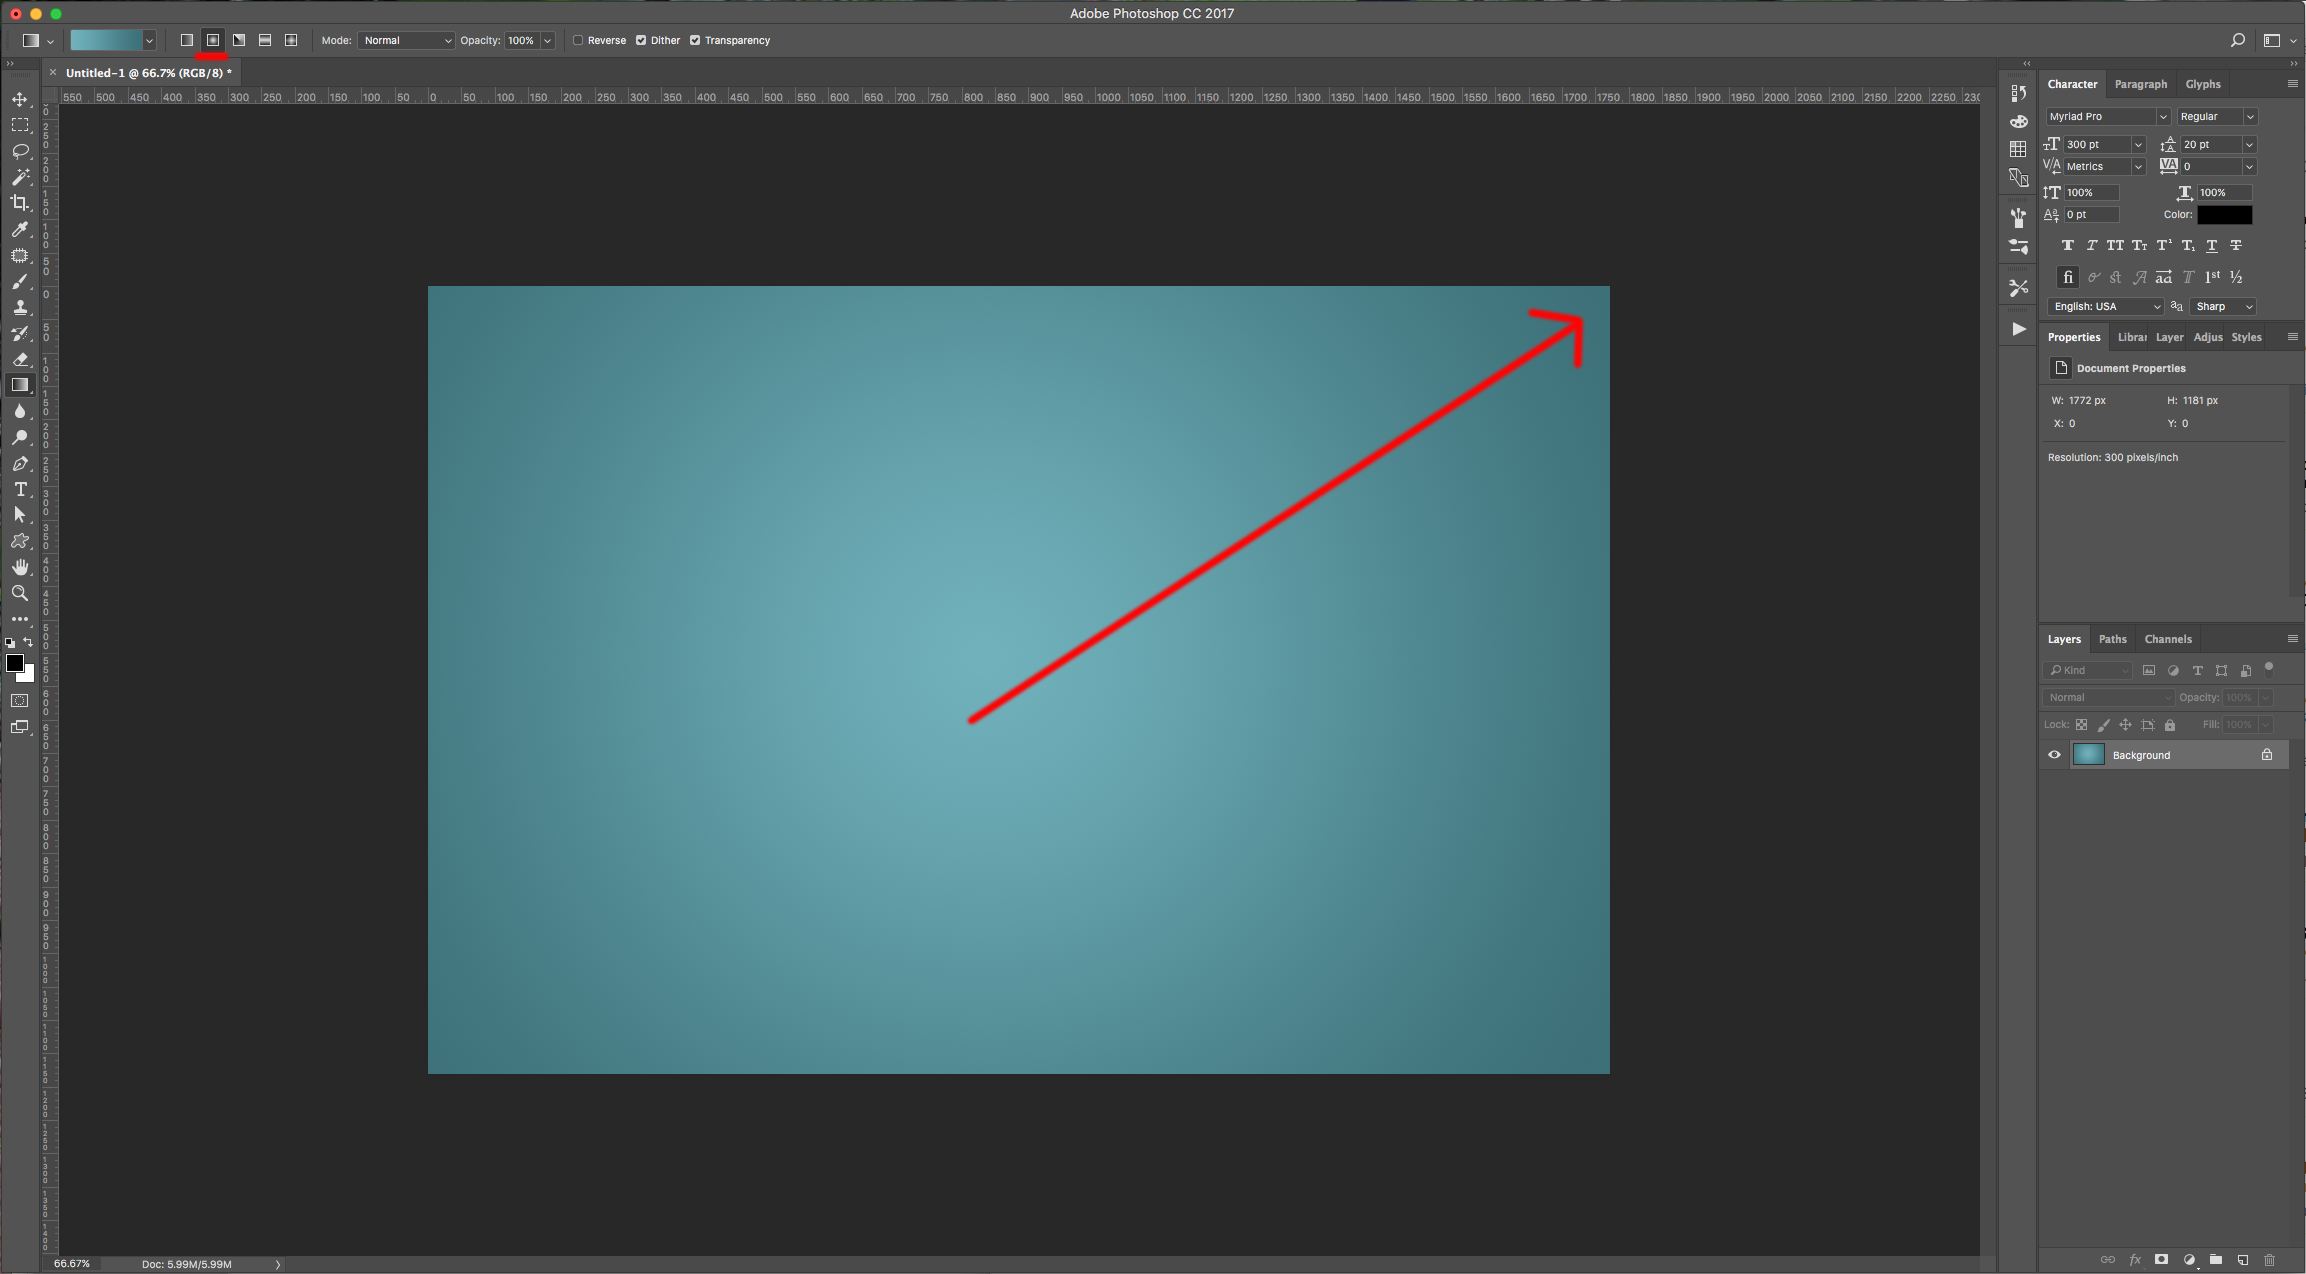
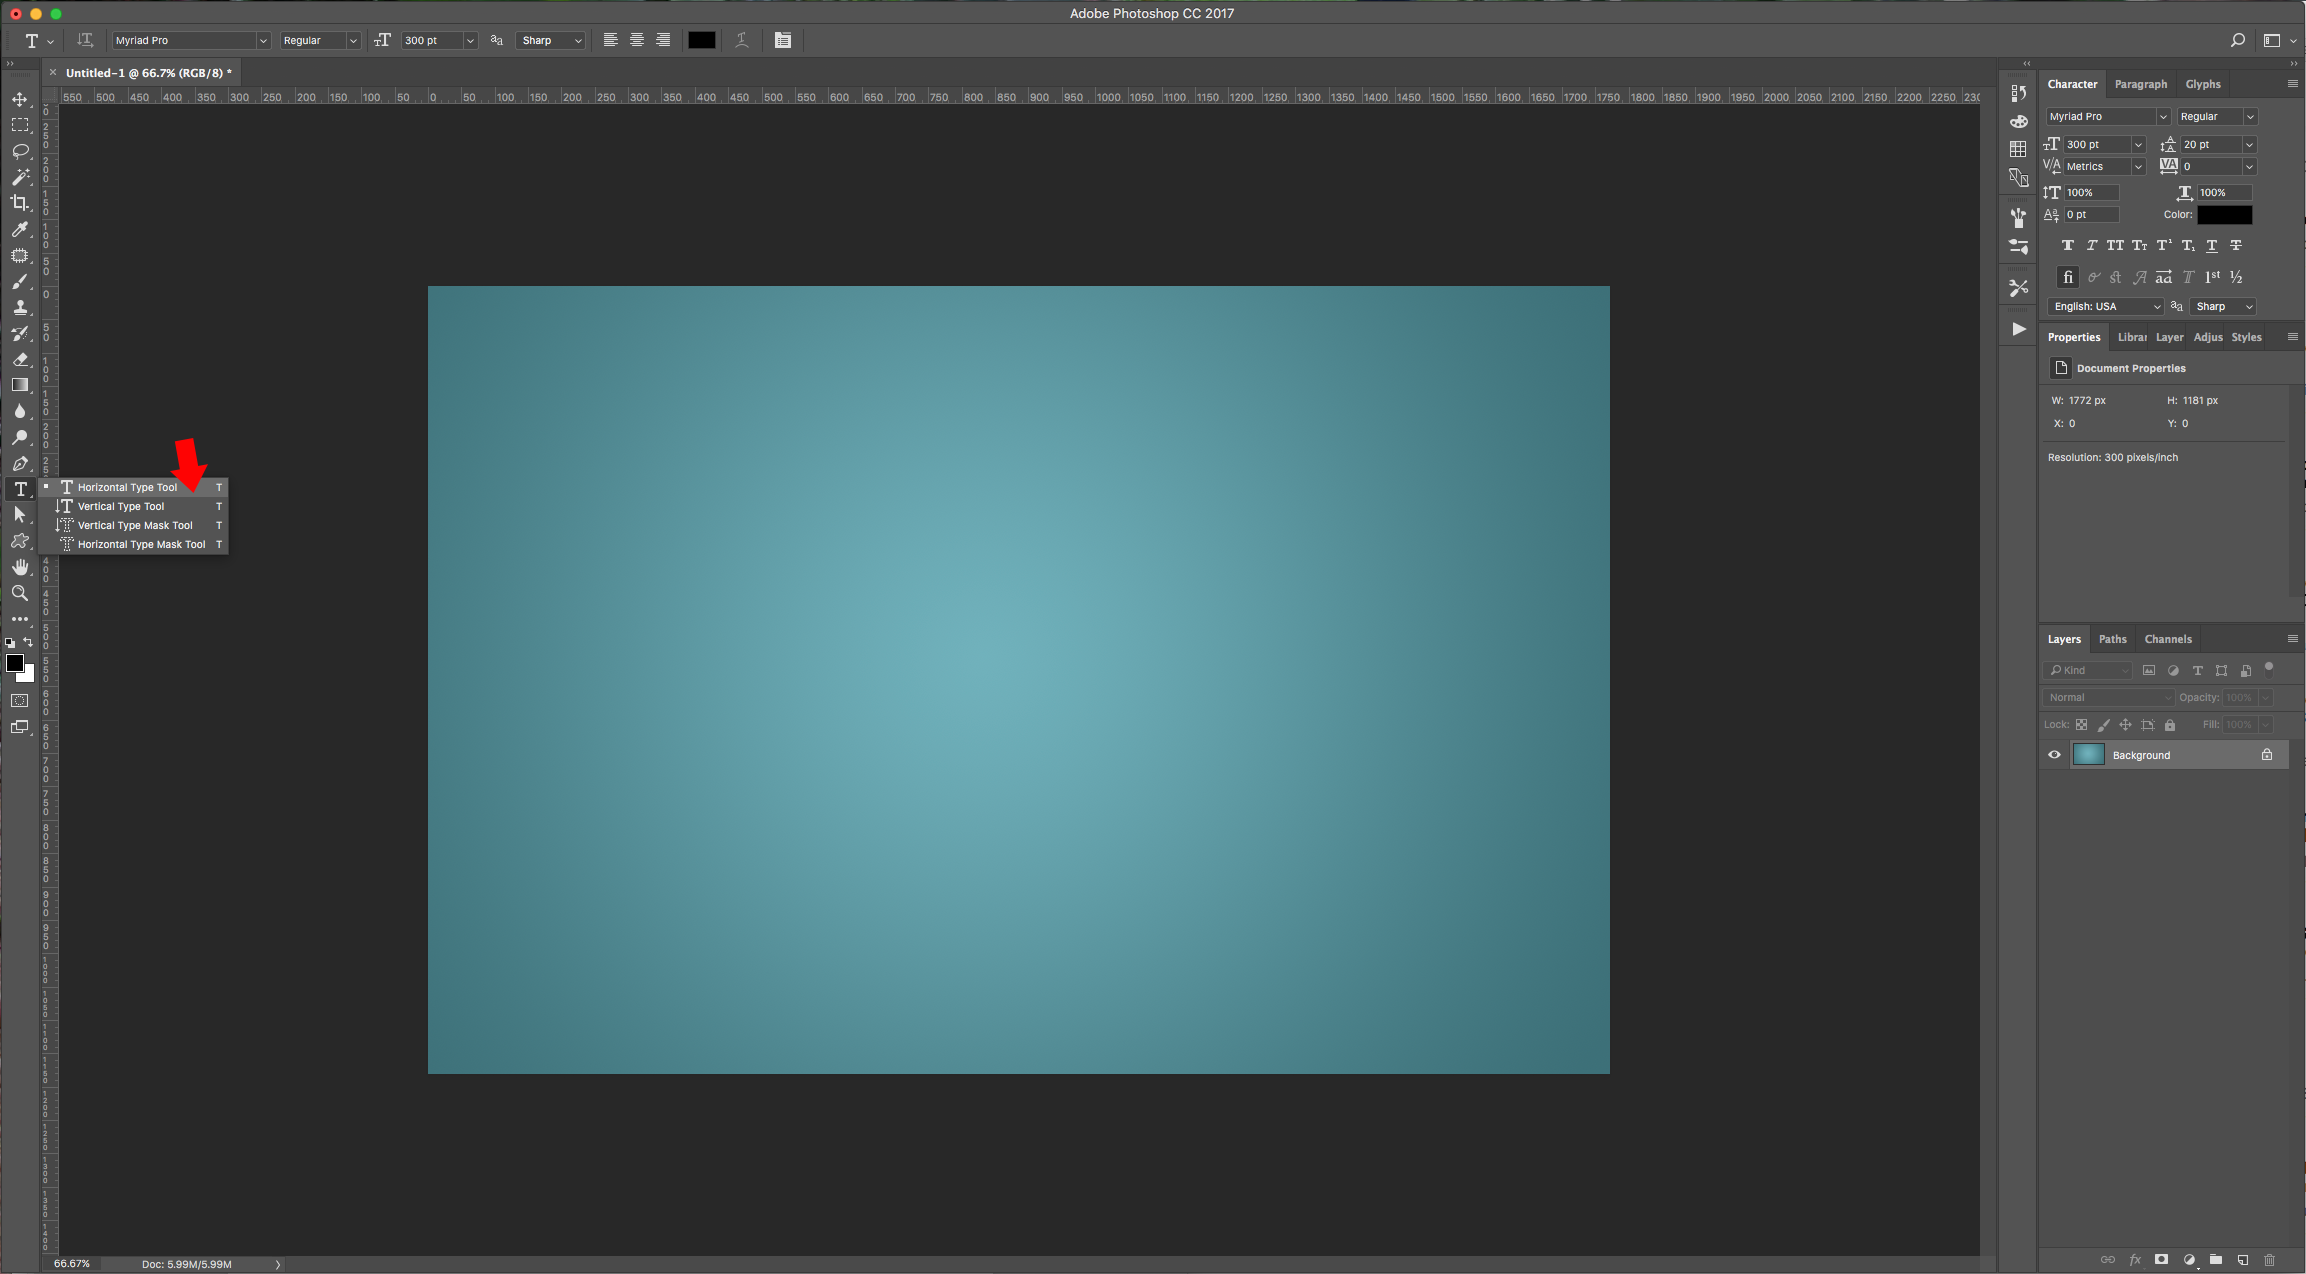
1 – In Photoshop, create a New Document. Select the “Gradient Tool” (G) and give the Background a fill of your liking. We used some shades of cyan, made it a “Radial Gradient” by clicking on the button in the Top menu and draw a line from the center to one of the corner of the document.
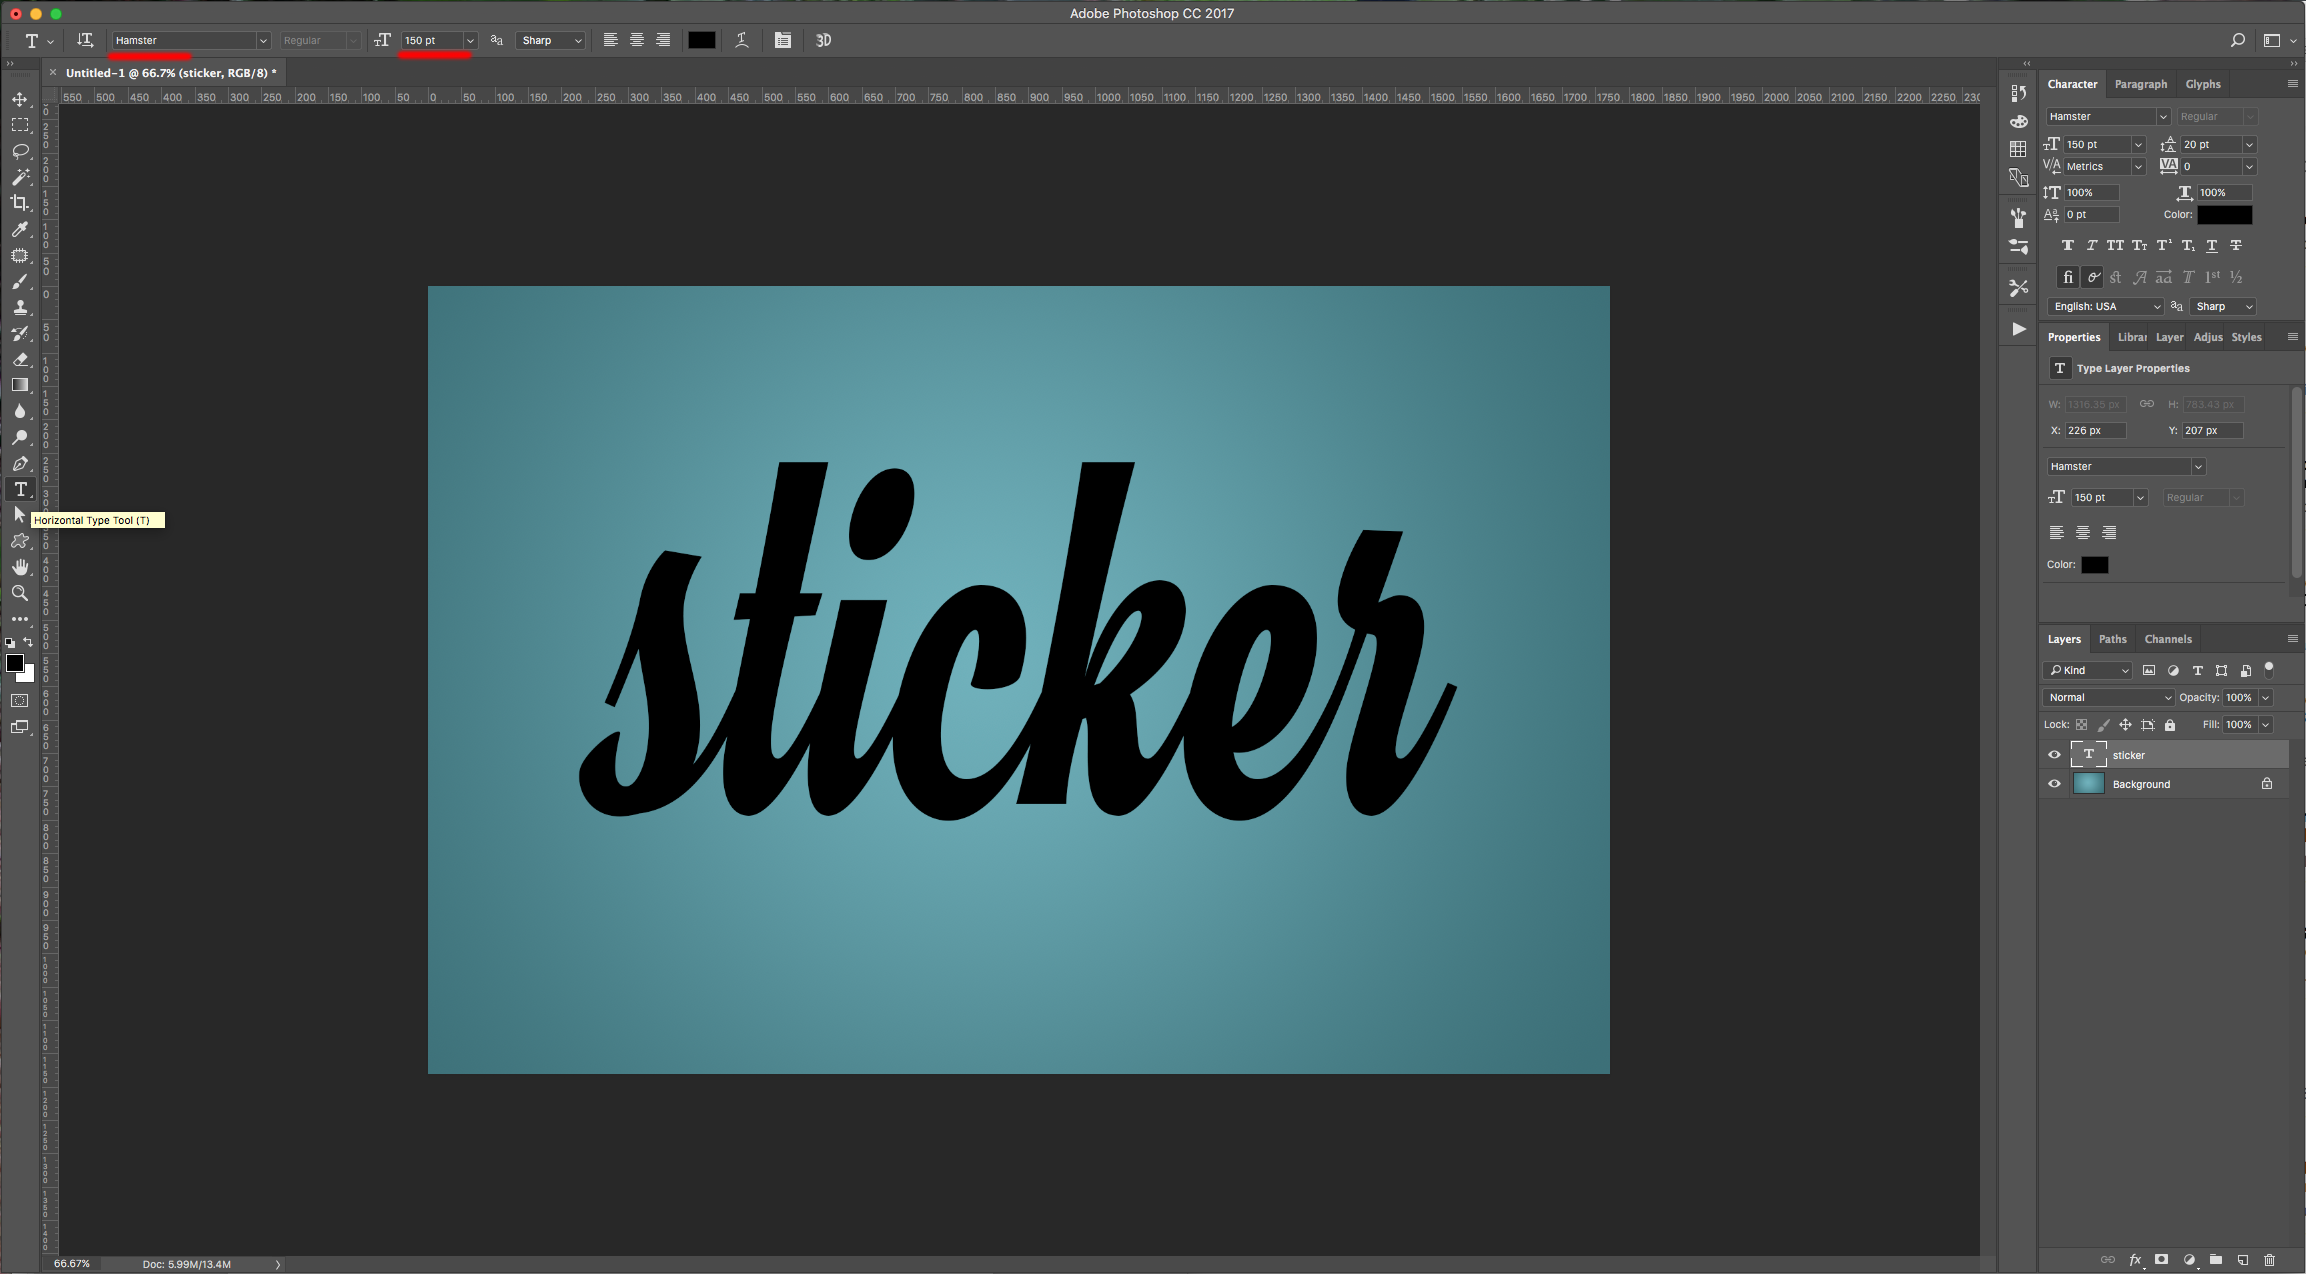
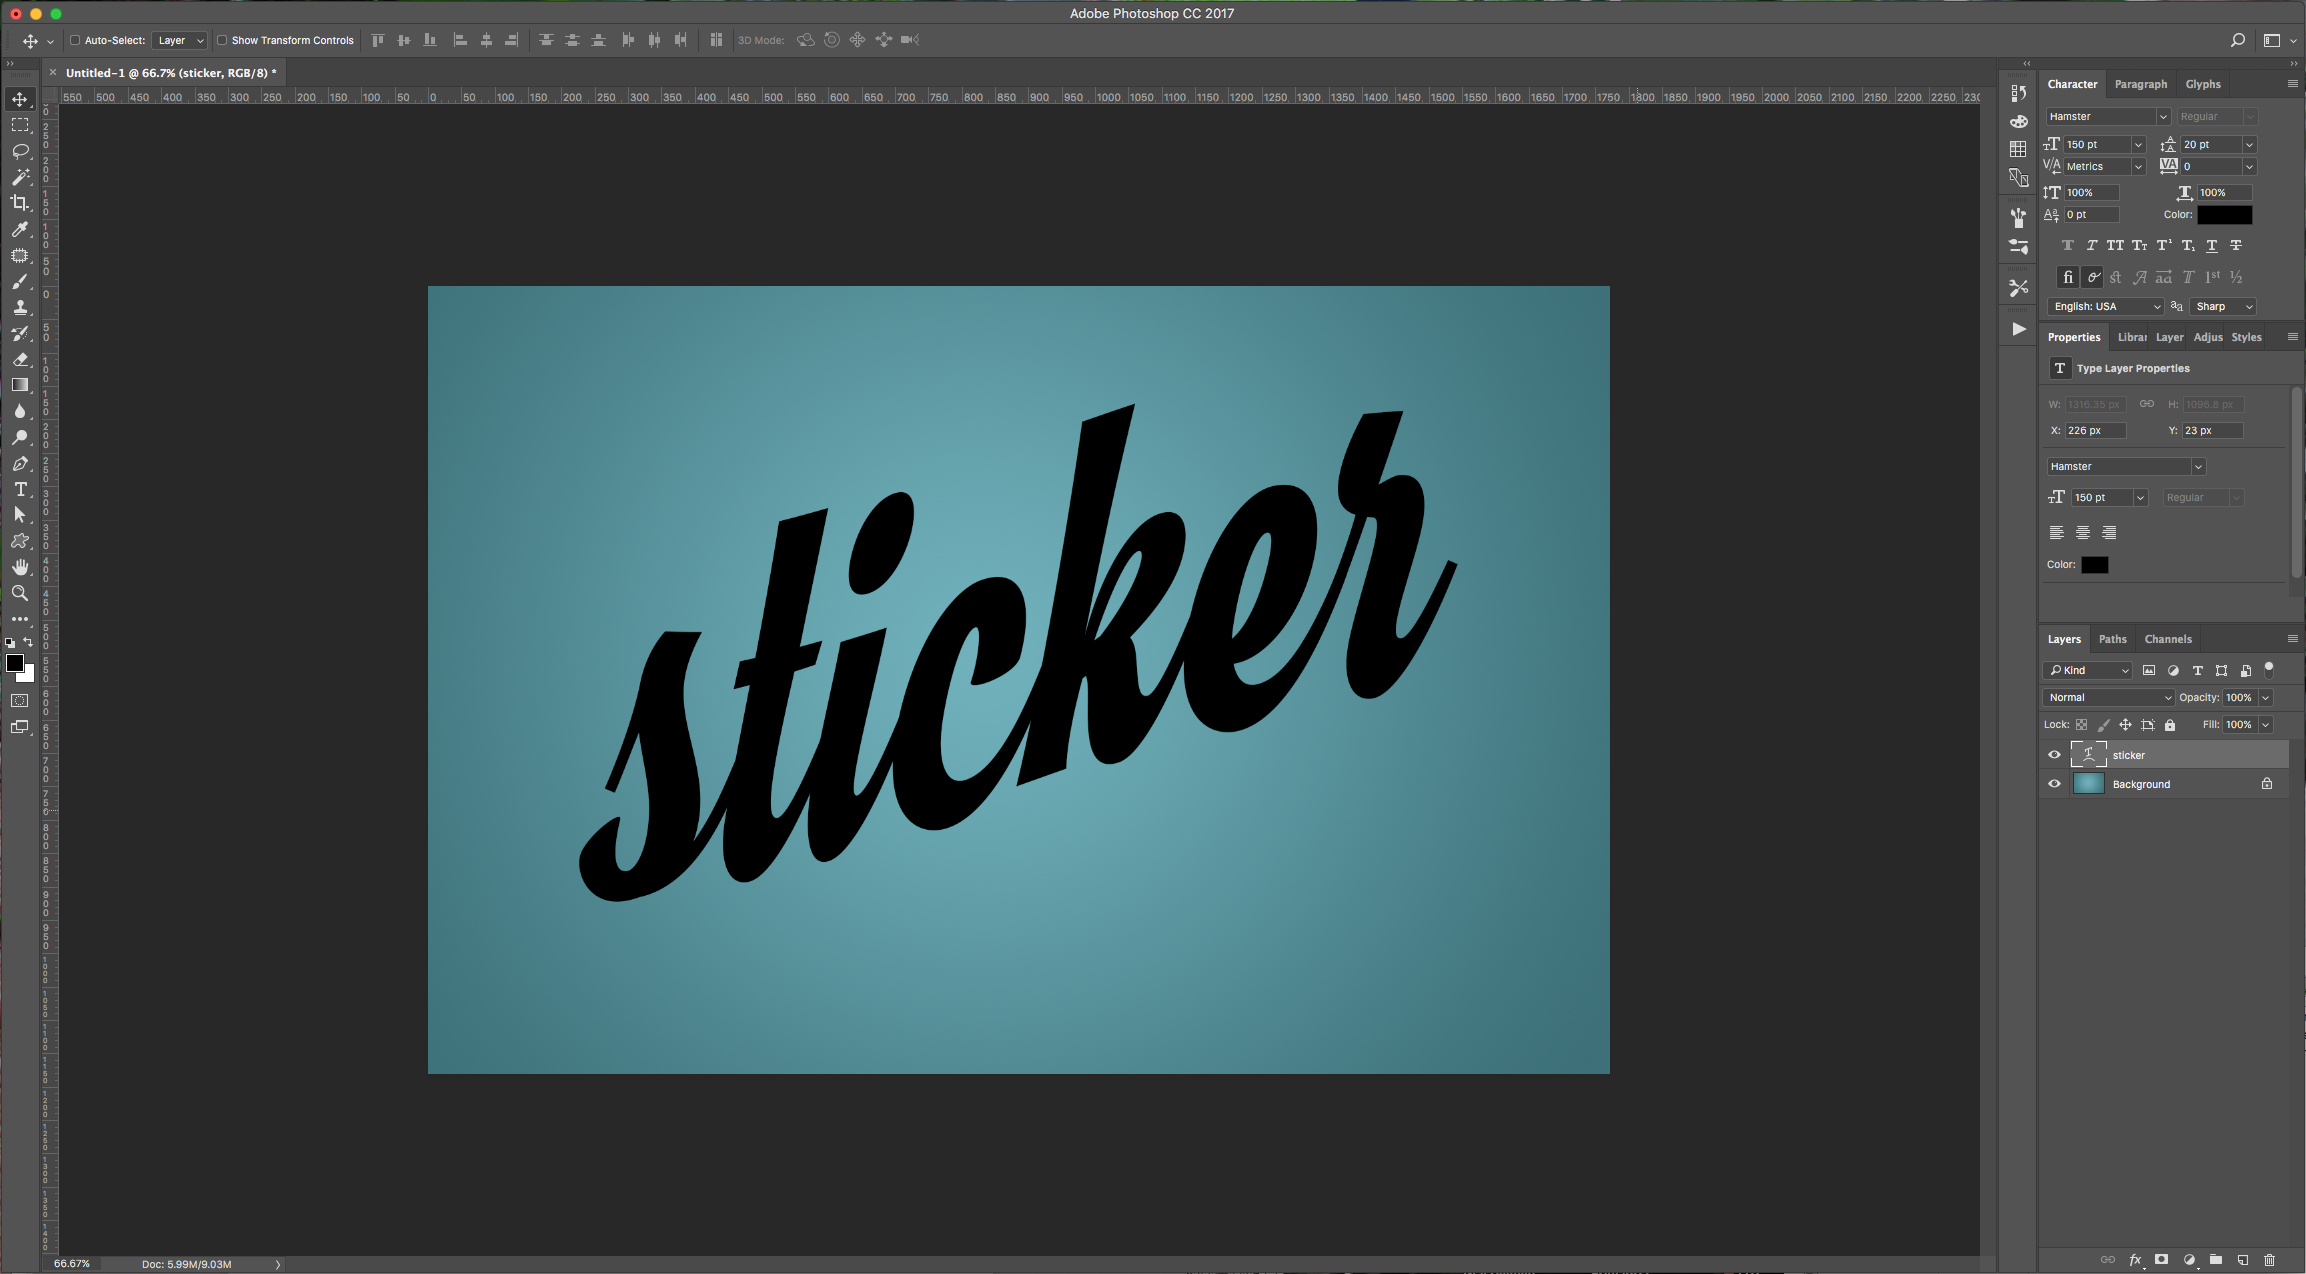
2 – Now, select the “Type Tool” (T), choose the font you like and type your text (we used Hamster).
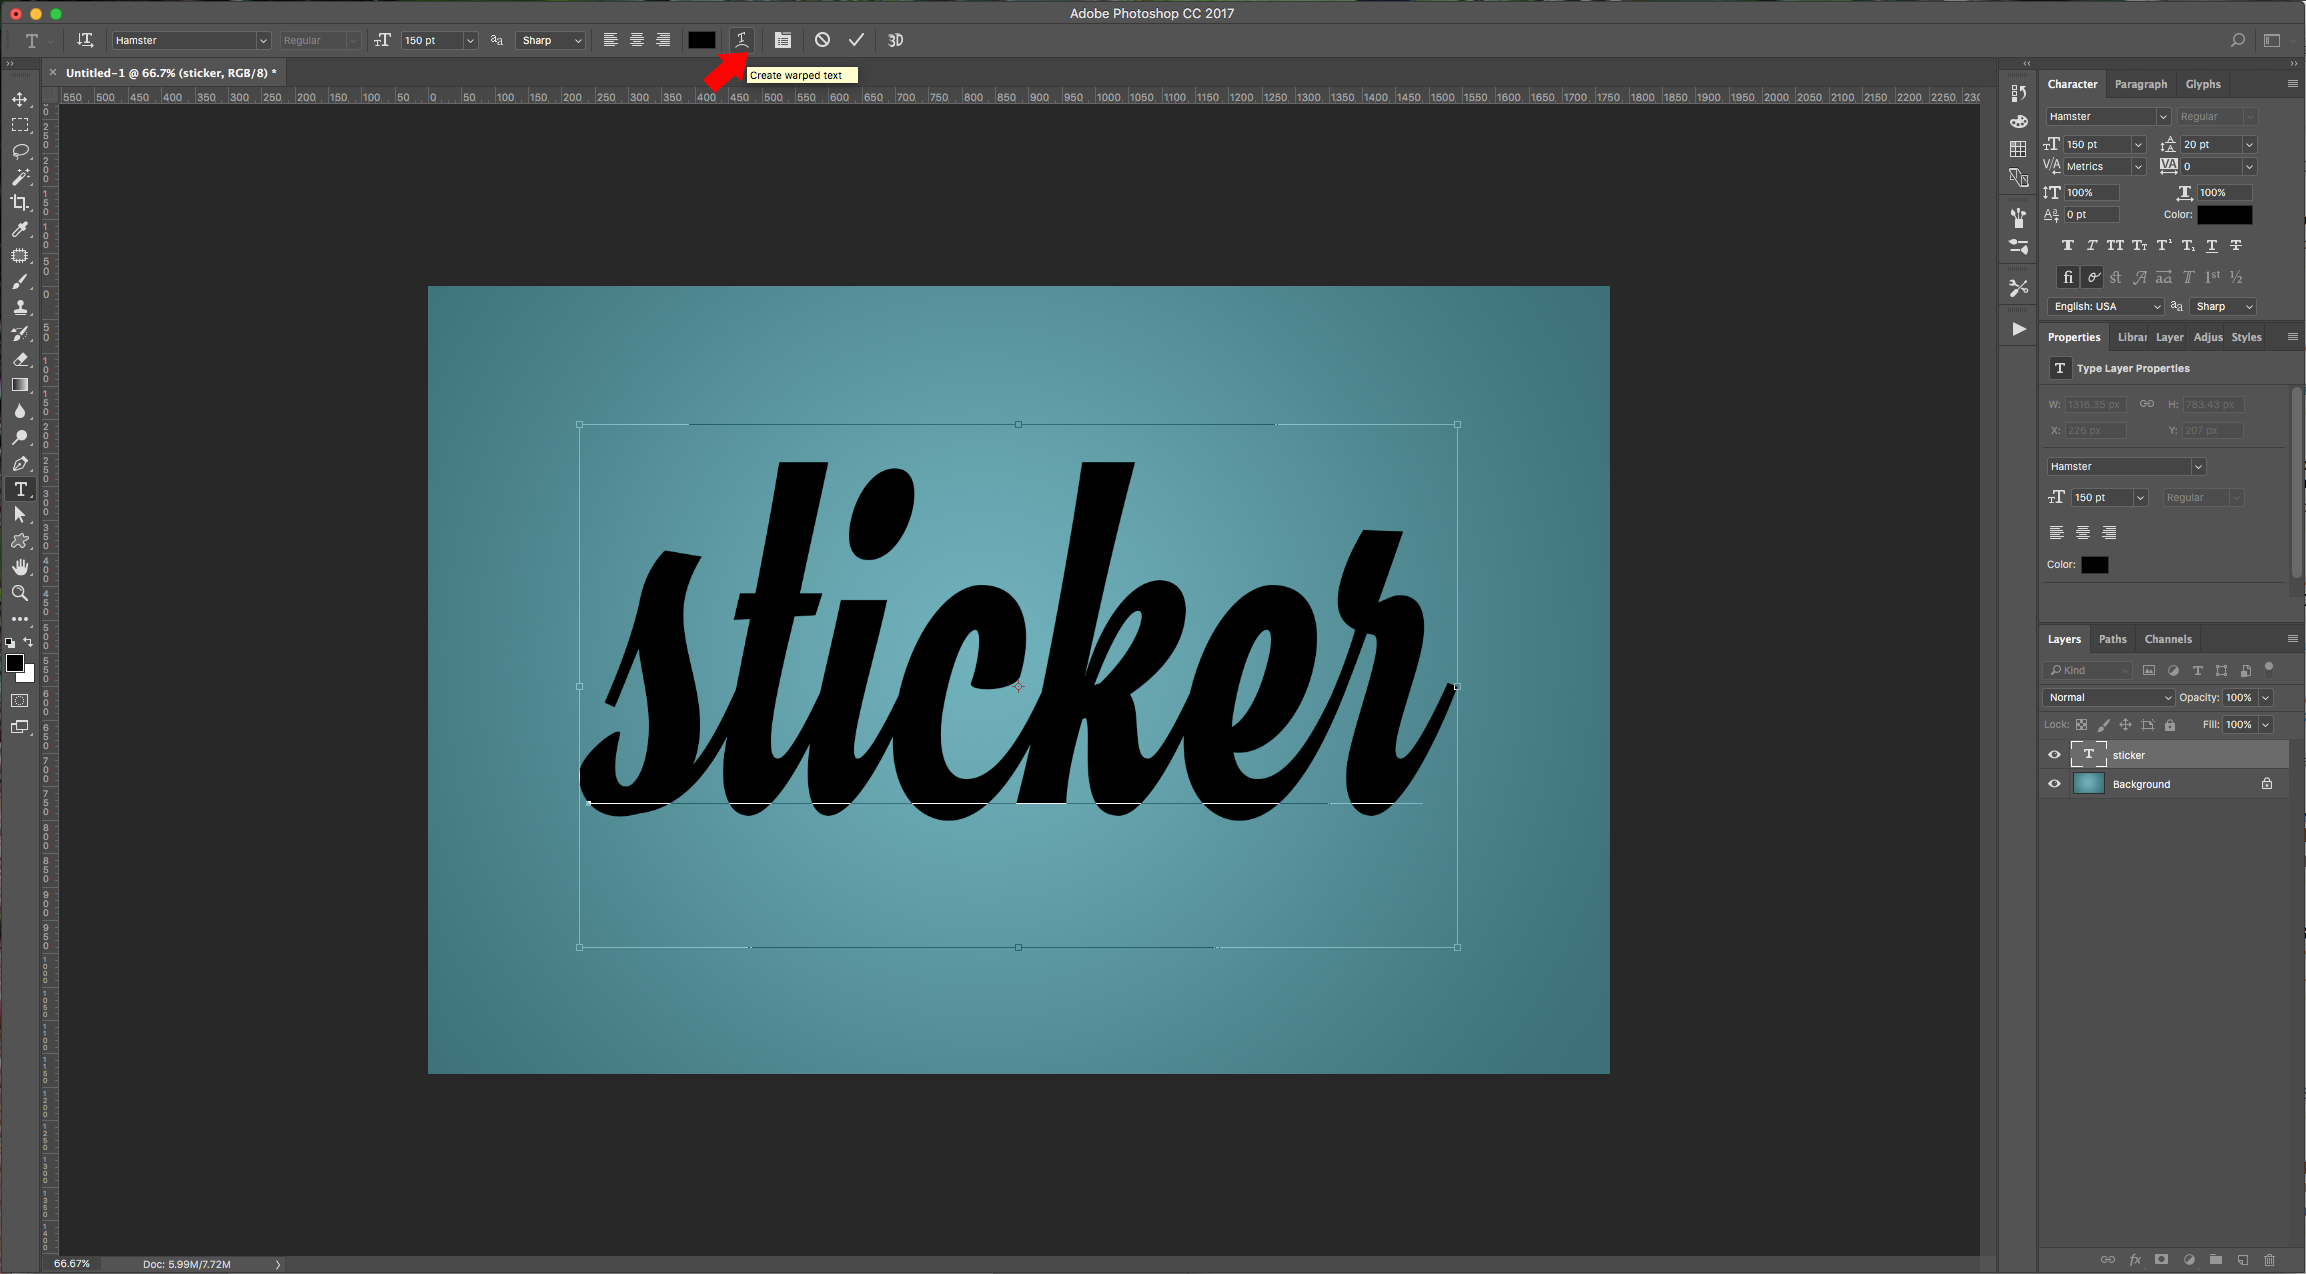
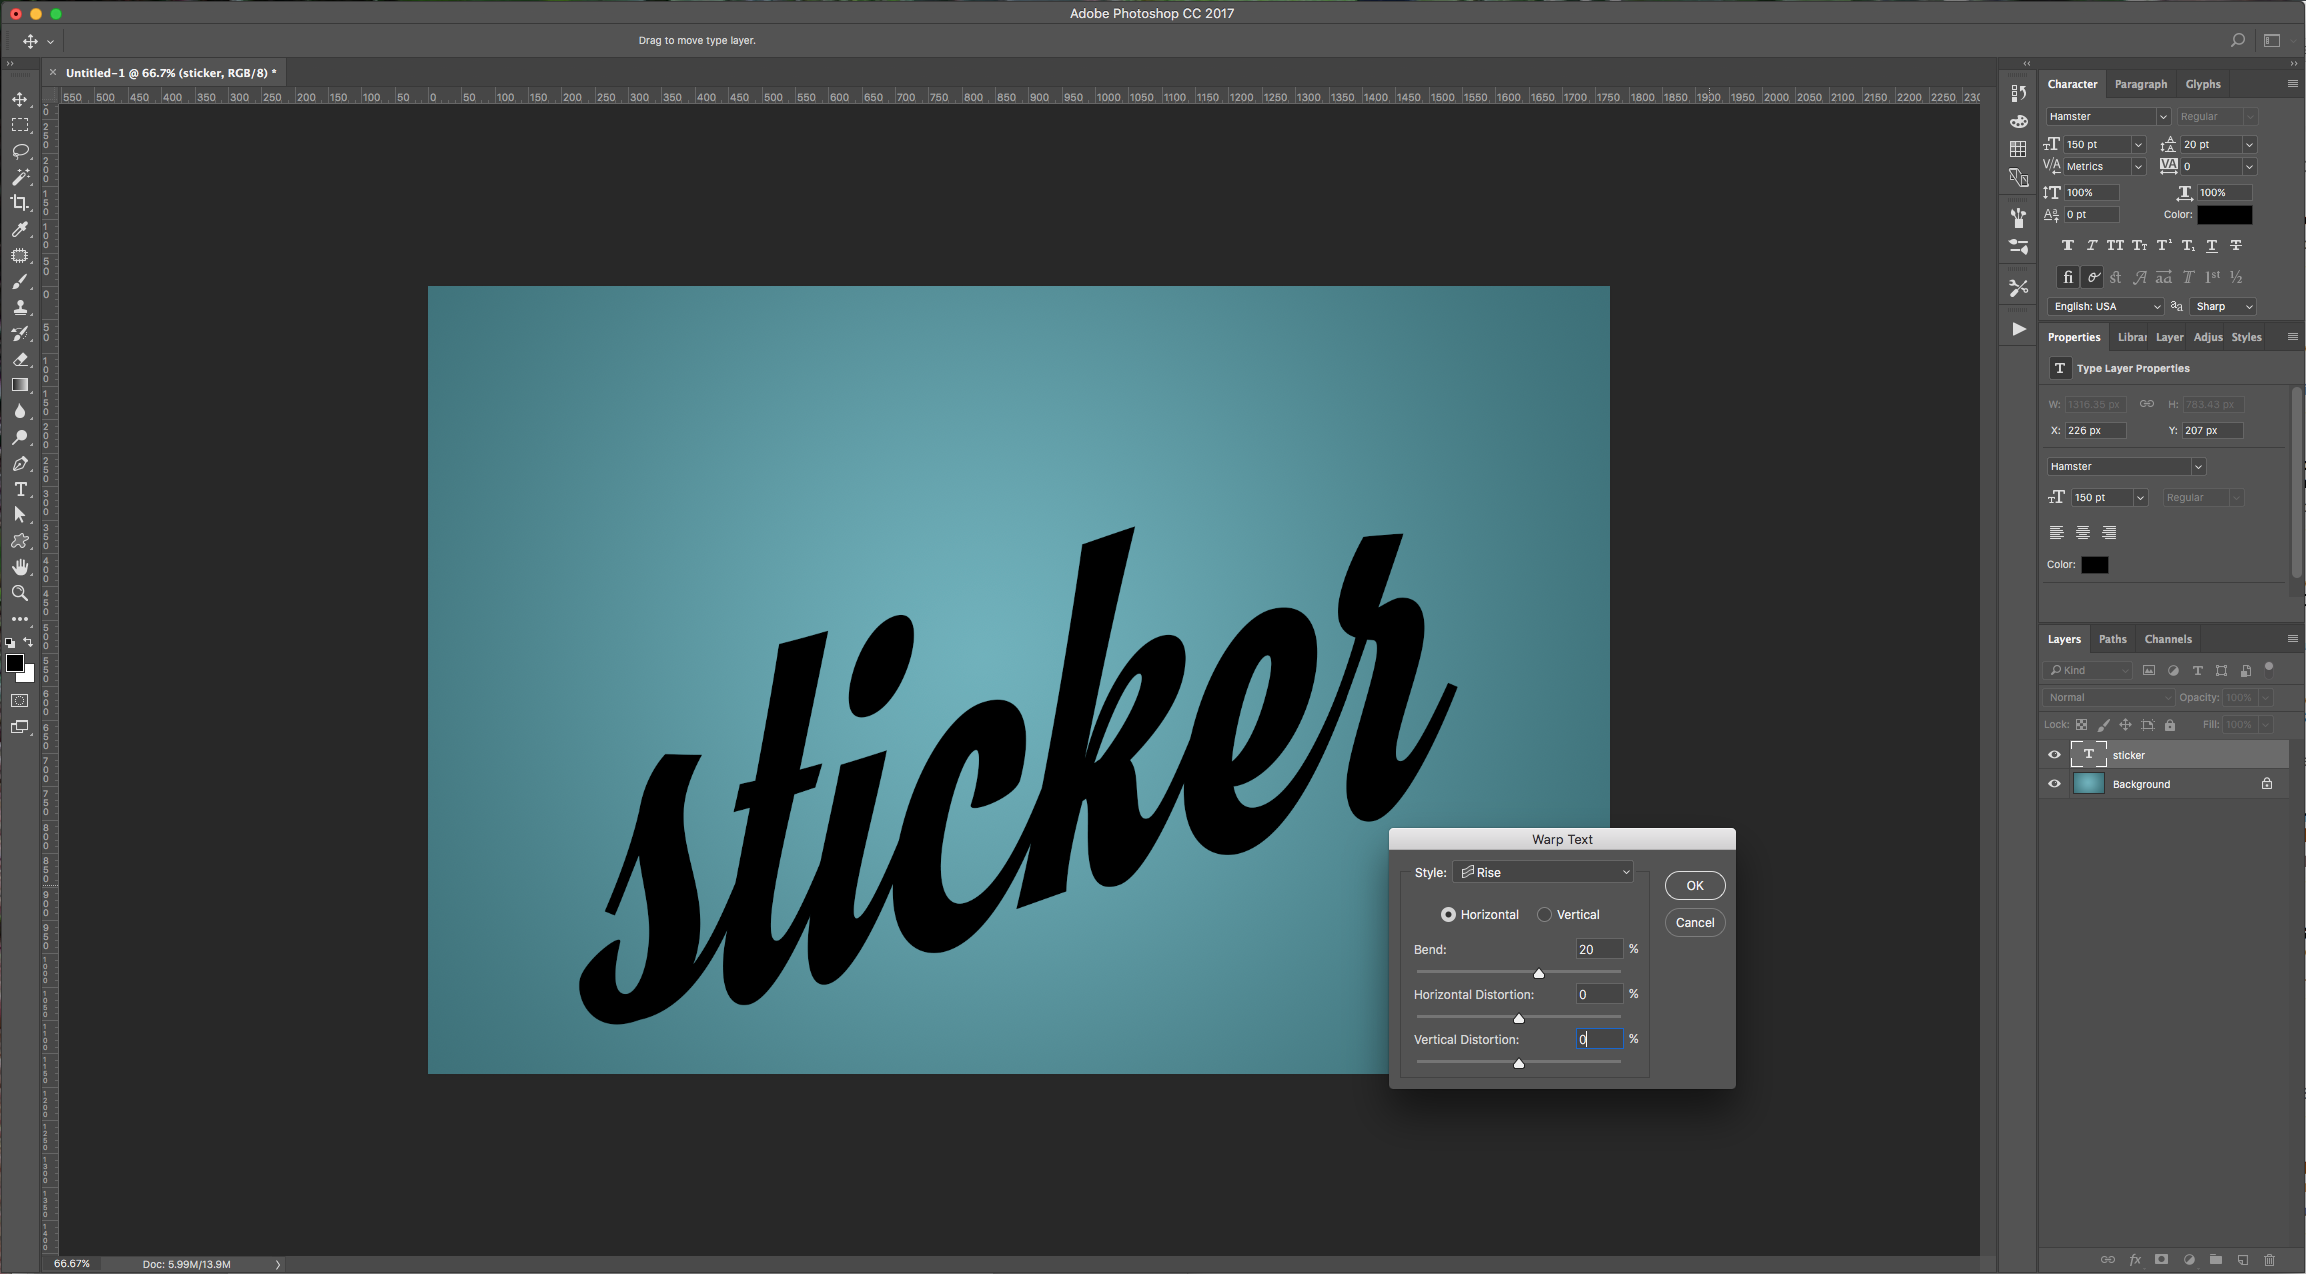
3 – With your text selected click on the “Create warped text” button on the top menu and select “Rise”, click the “Horizontal” Radio Button, and give it a value of 20% in “Bend”. Center your text a bit.
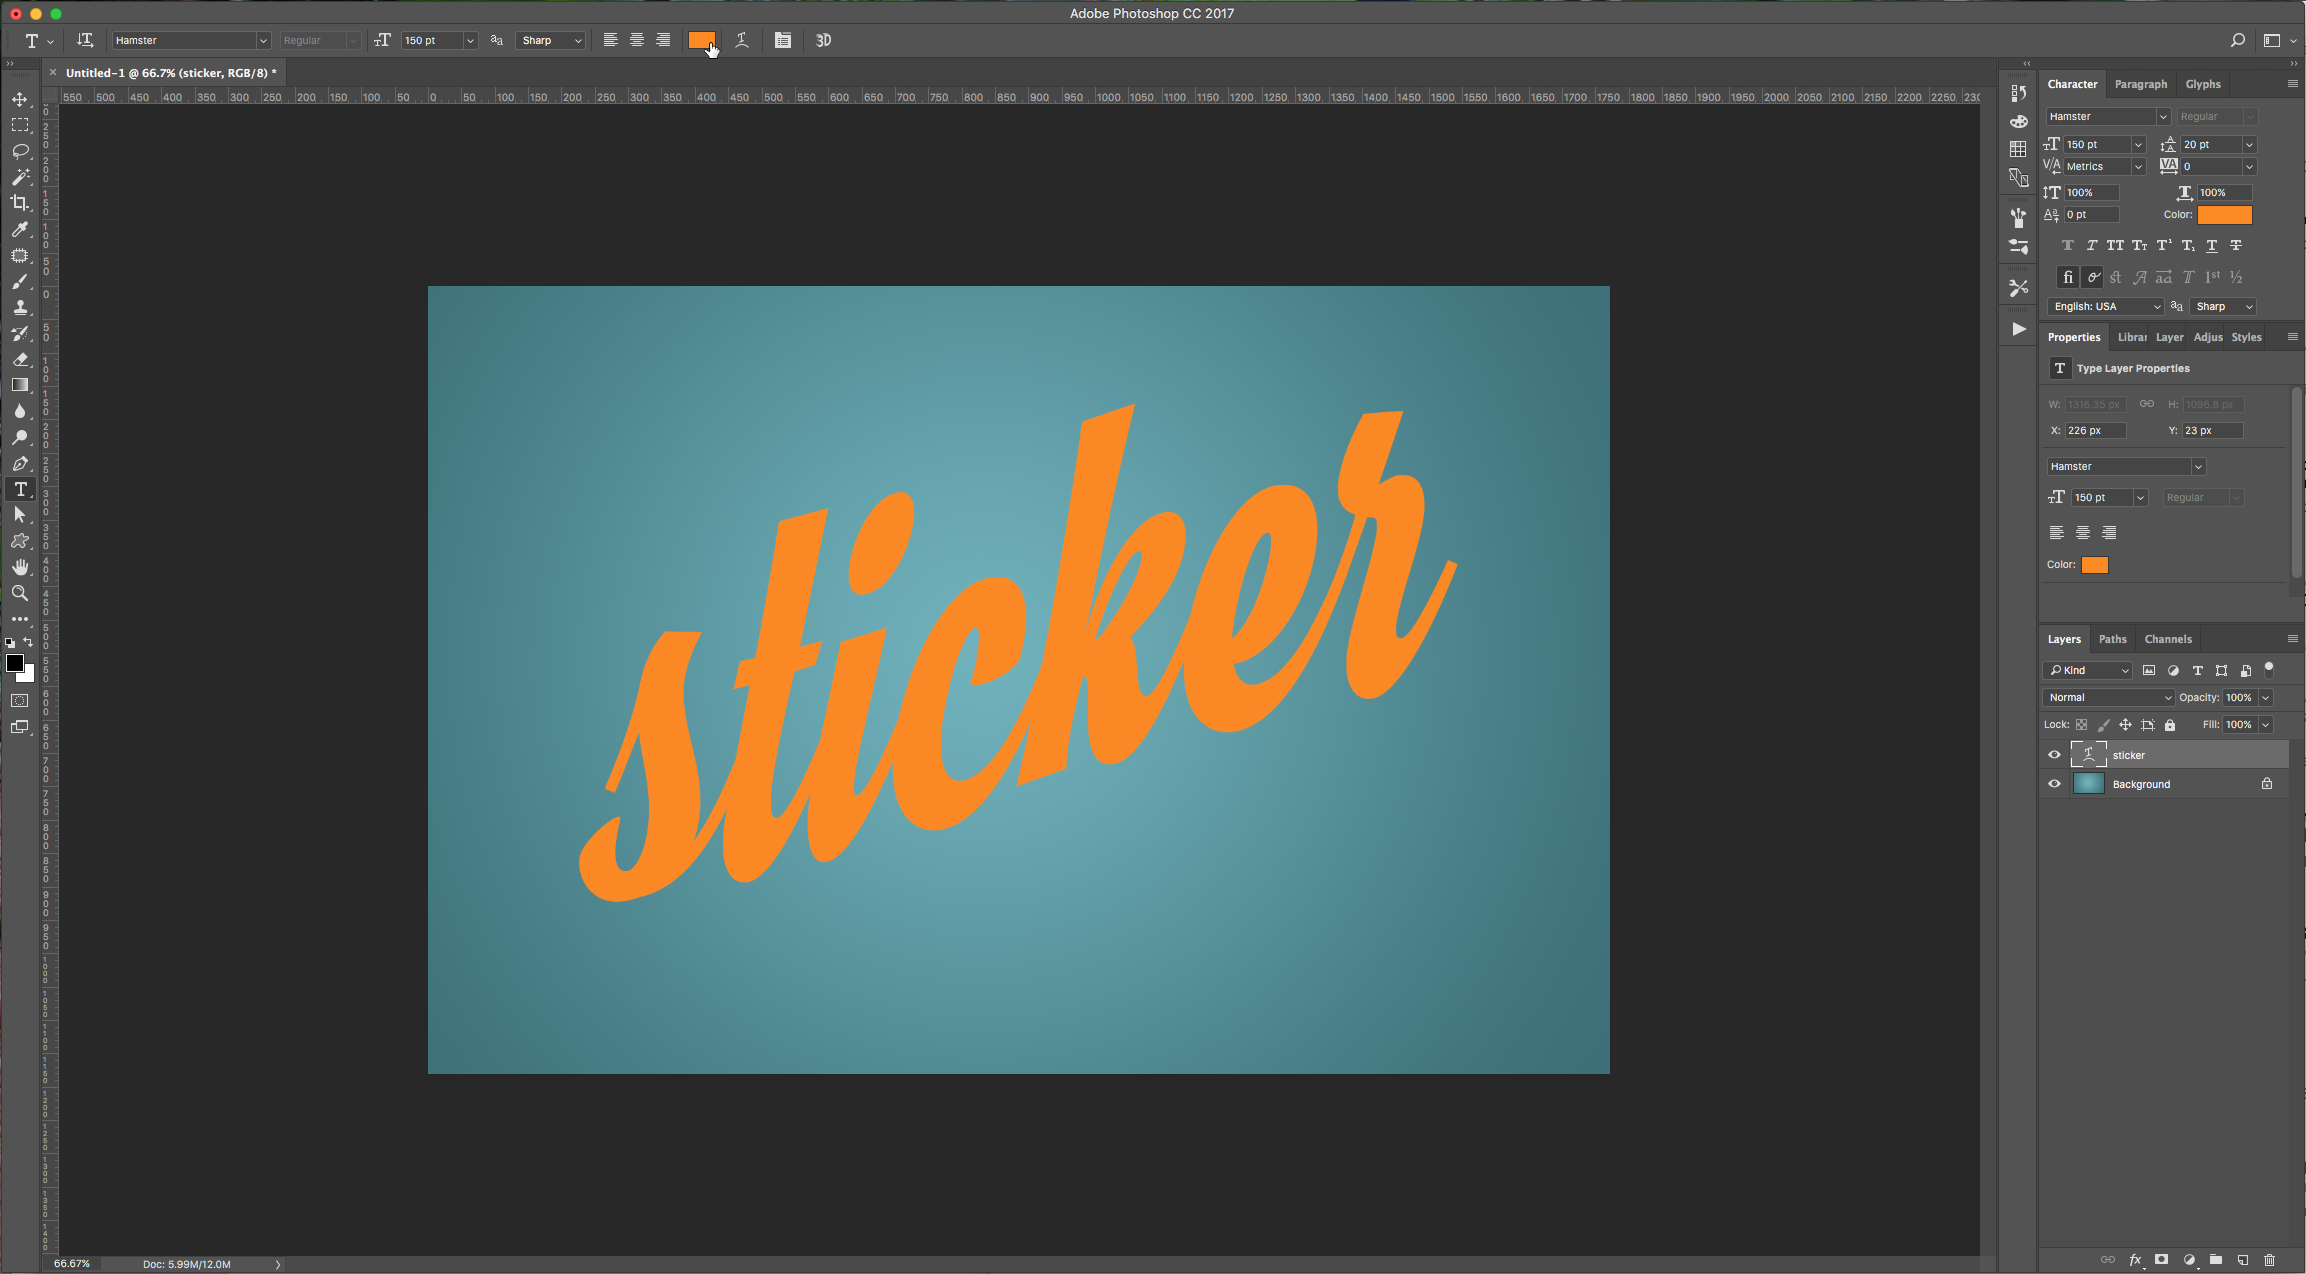
4 – Select your text and change the Fill to a nice contrasting color. (#fd8a03)
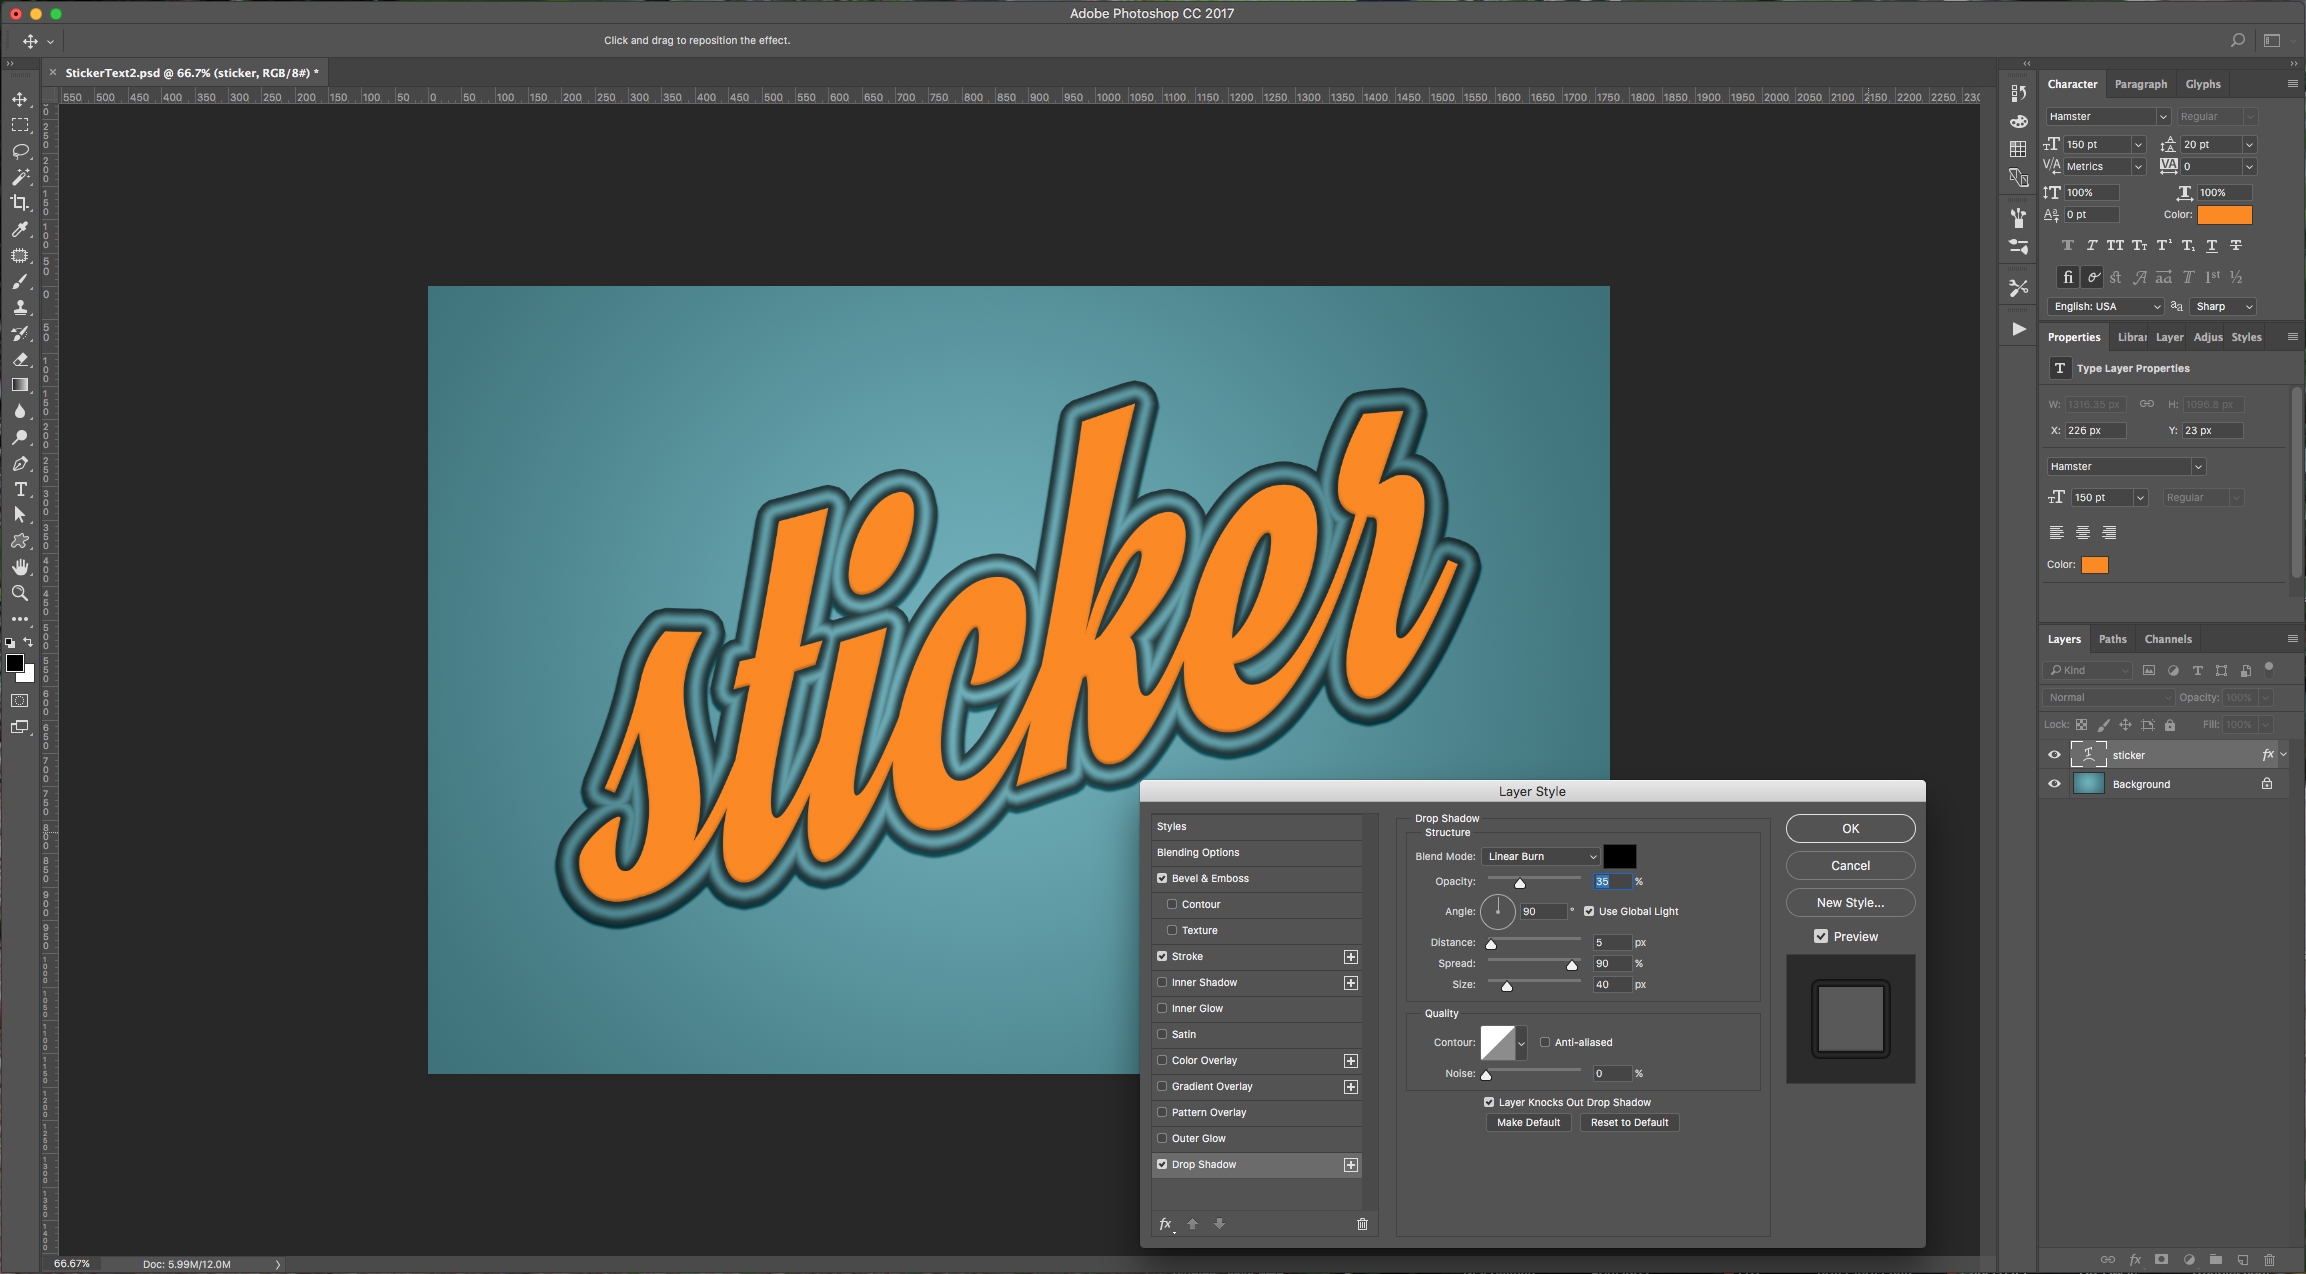
5 – Double-click on your text layer to invoke the “Layer Styles” and apply the following options:
Bevel & Emboss:

Stroke: Color 1: Location 10%, Color ##5a5a5a. Color 2: Location 50%, Color #ffffff. Color 3: Location 90%, Color ##5a5a5a.

Drop Shadow:
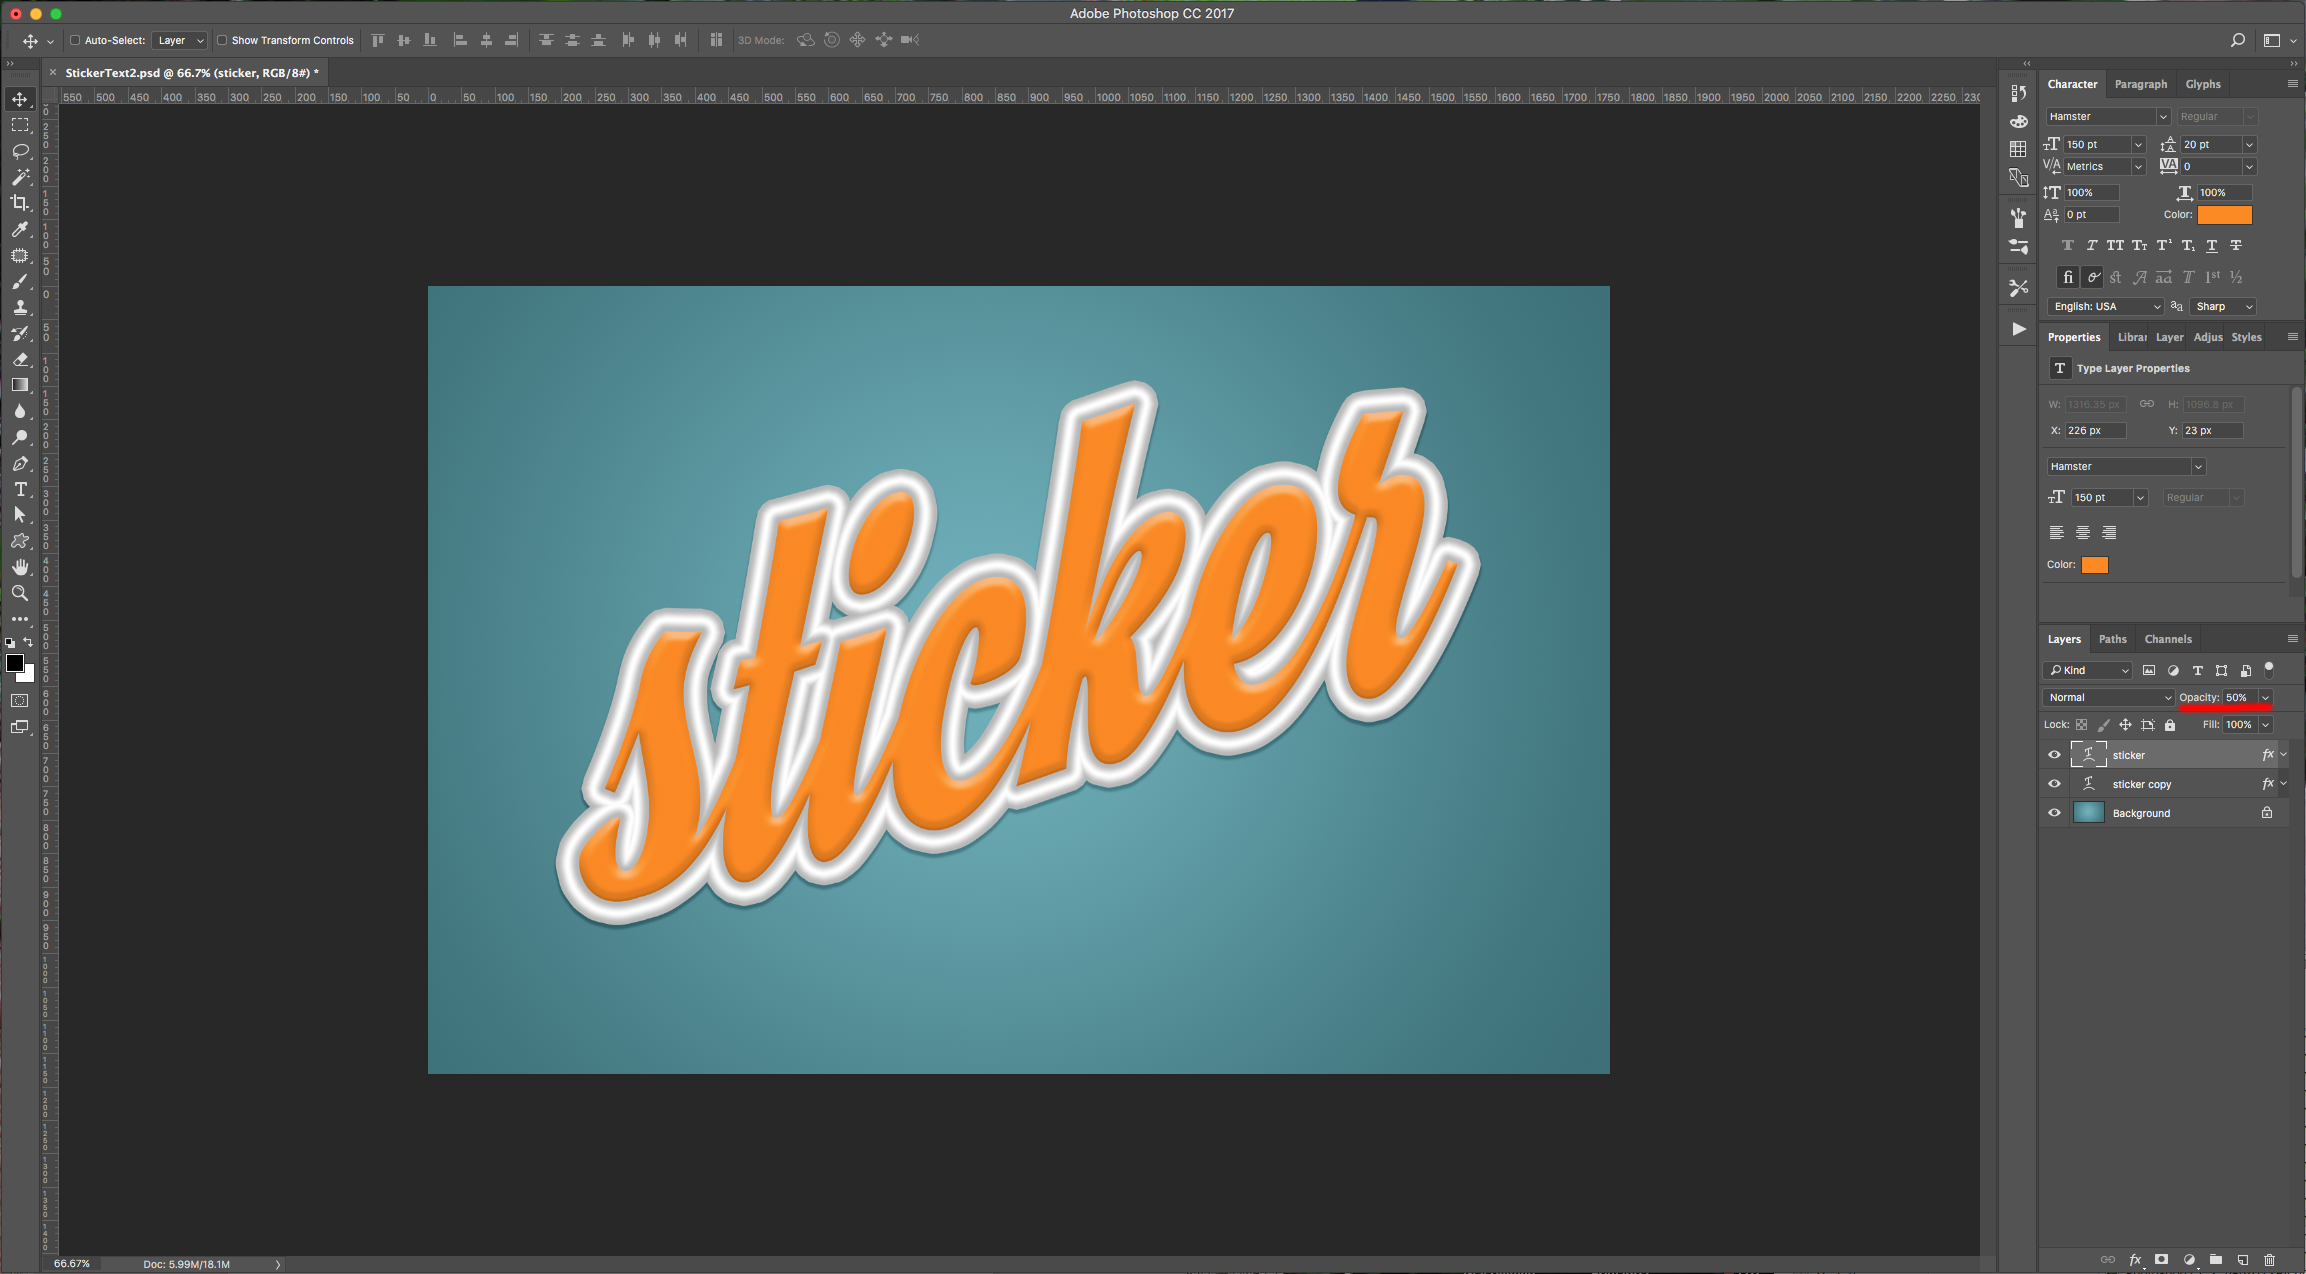
6 – Duplicate your text layer by dragging the thumbnail to the “Create New Layer” button at the bottom of the “Layers” menu, then position it under the first text layer. Lower the “Opacity” of the first layer to 50%
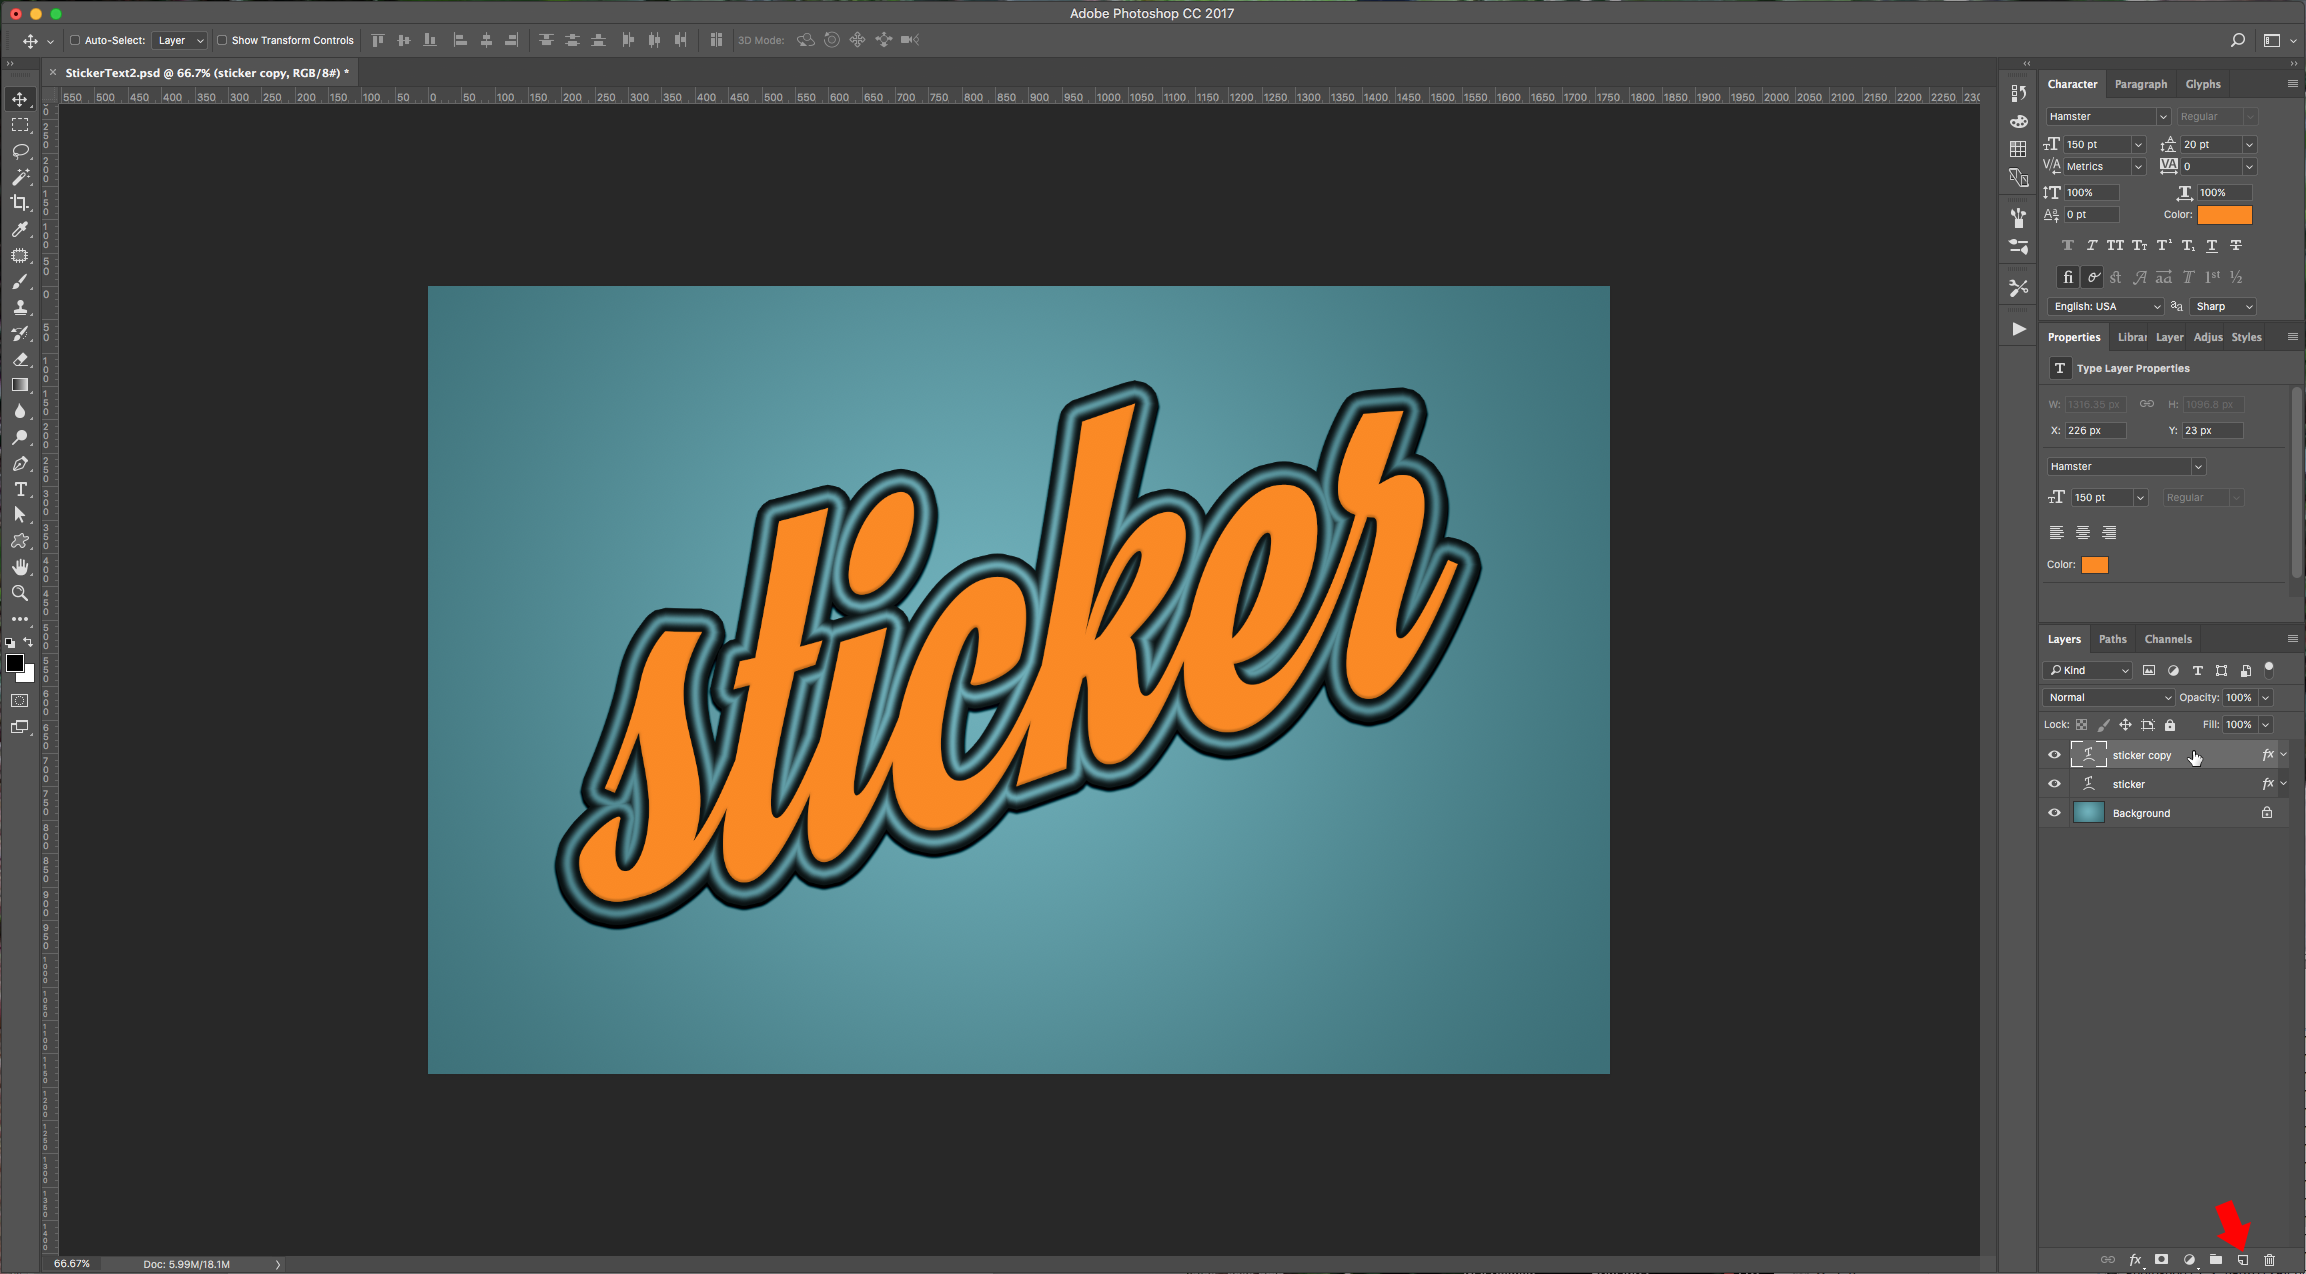
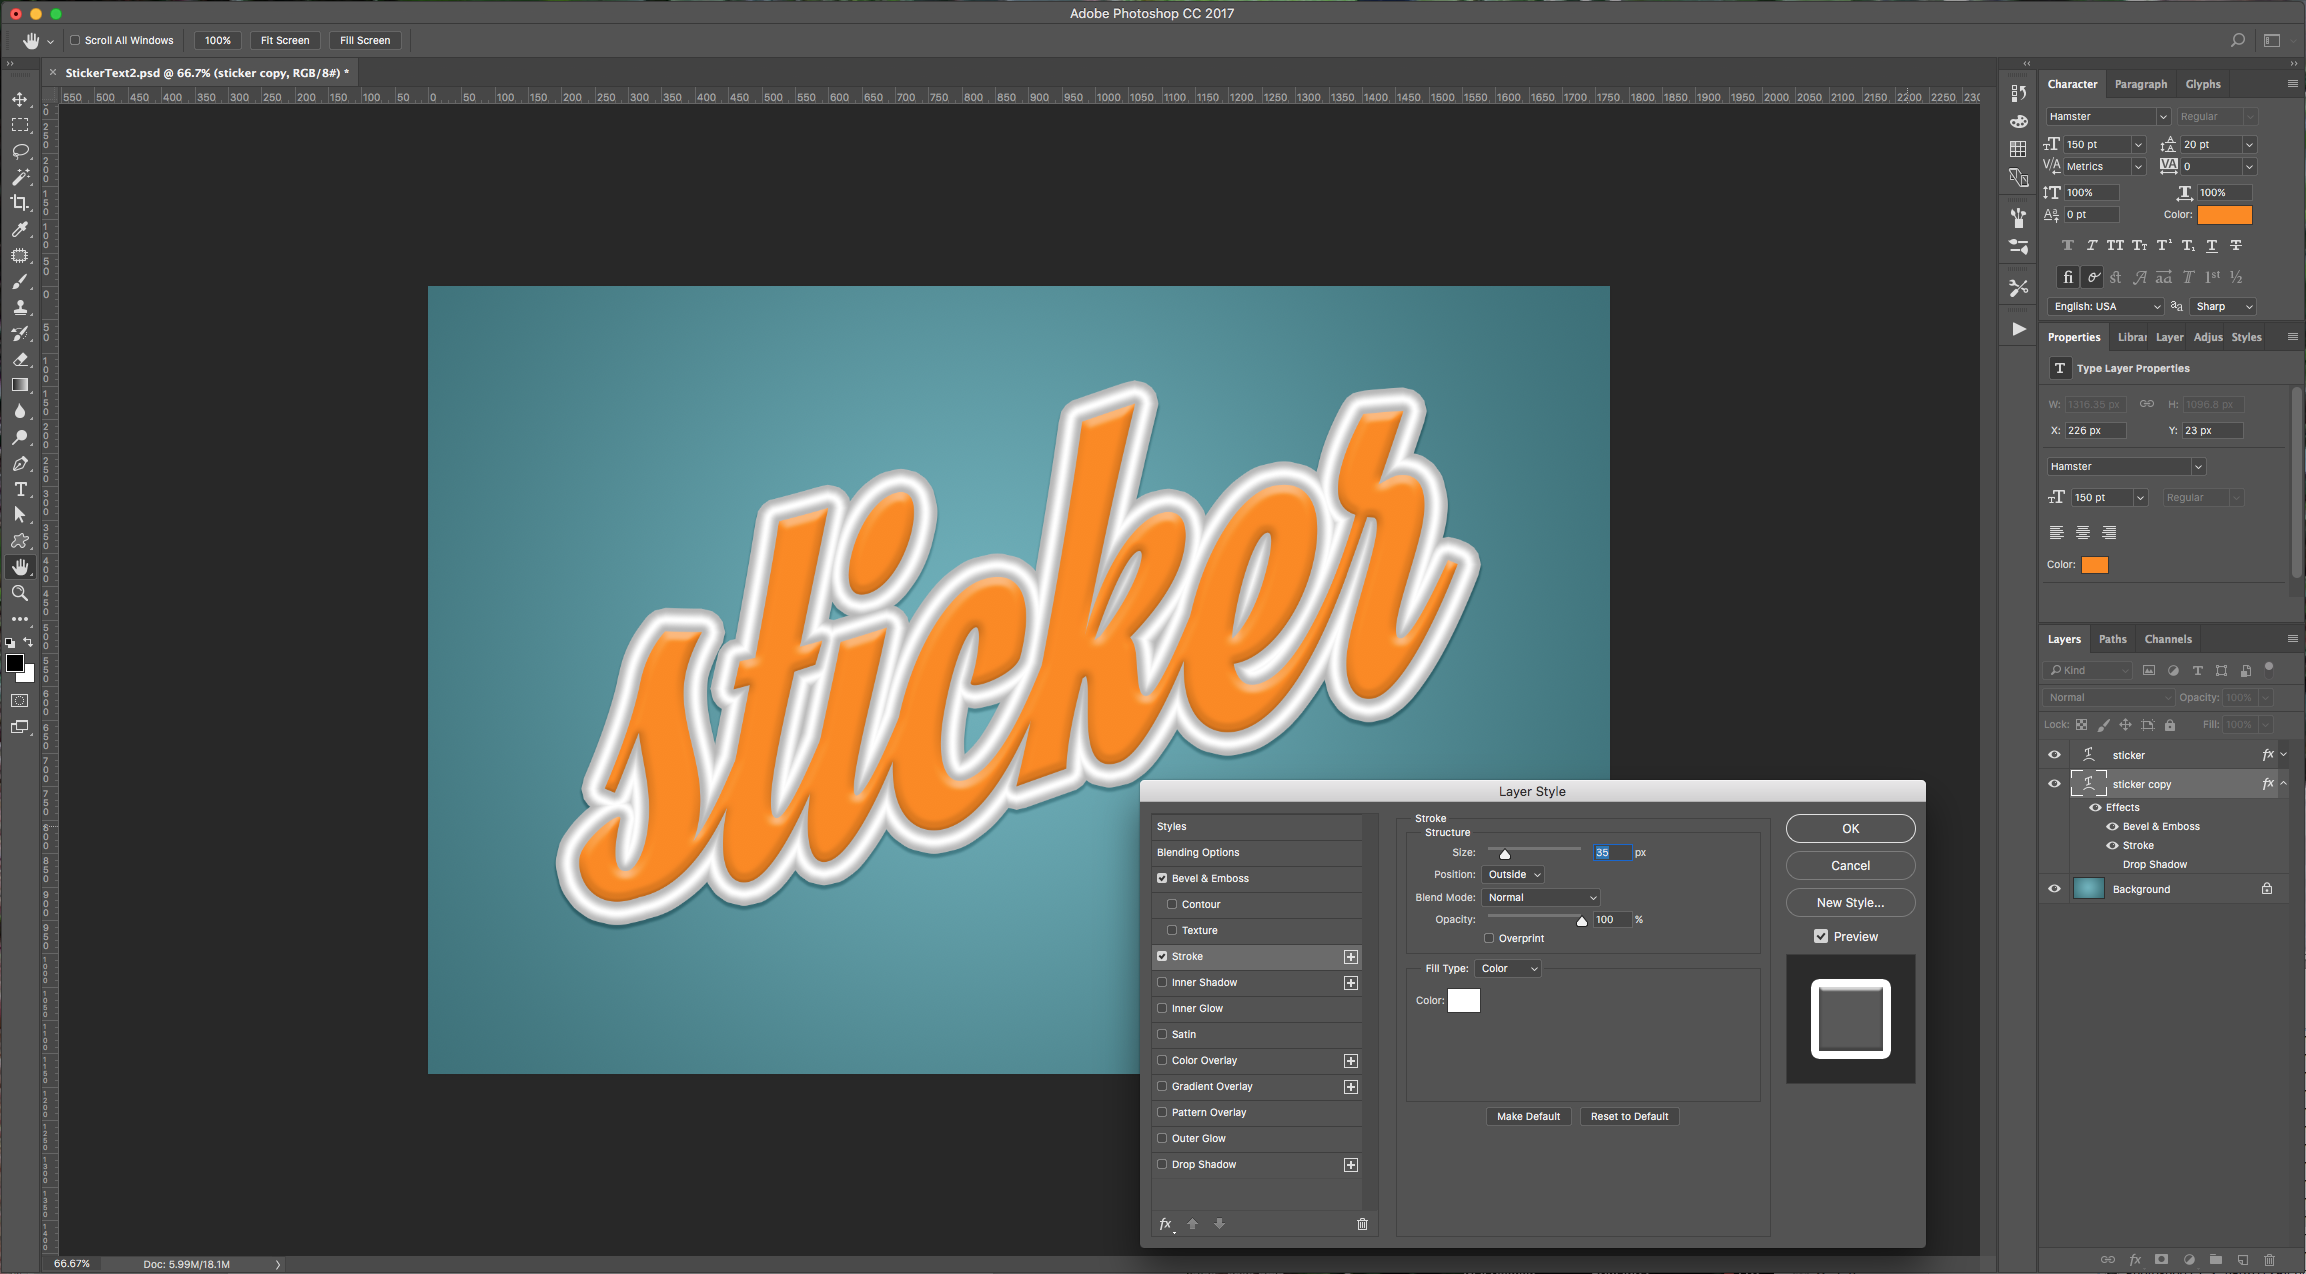
7 - Double-click on your duplicate layer and apply the following “Layer Styles” (change the existing ones):
Bevel & Emboss:

Stroke:
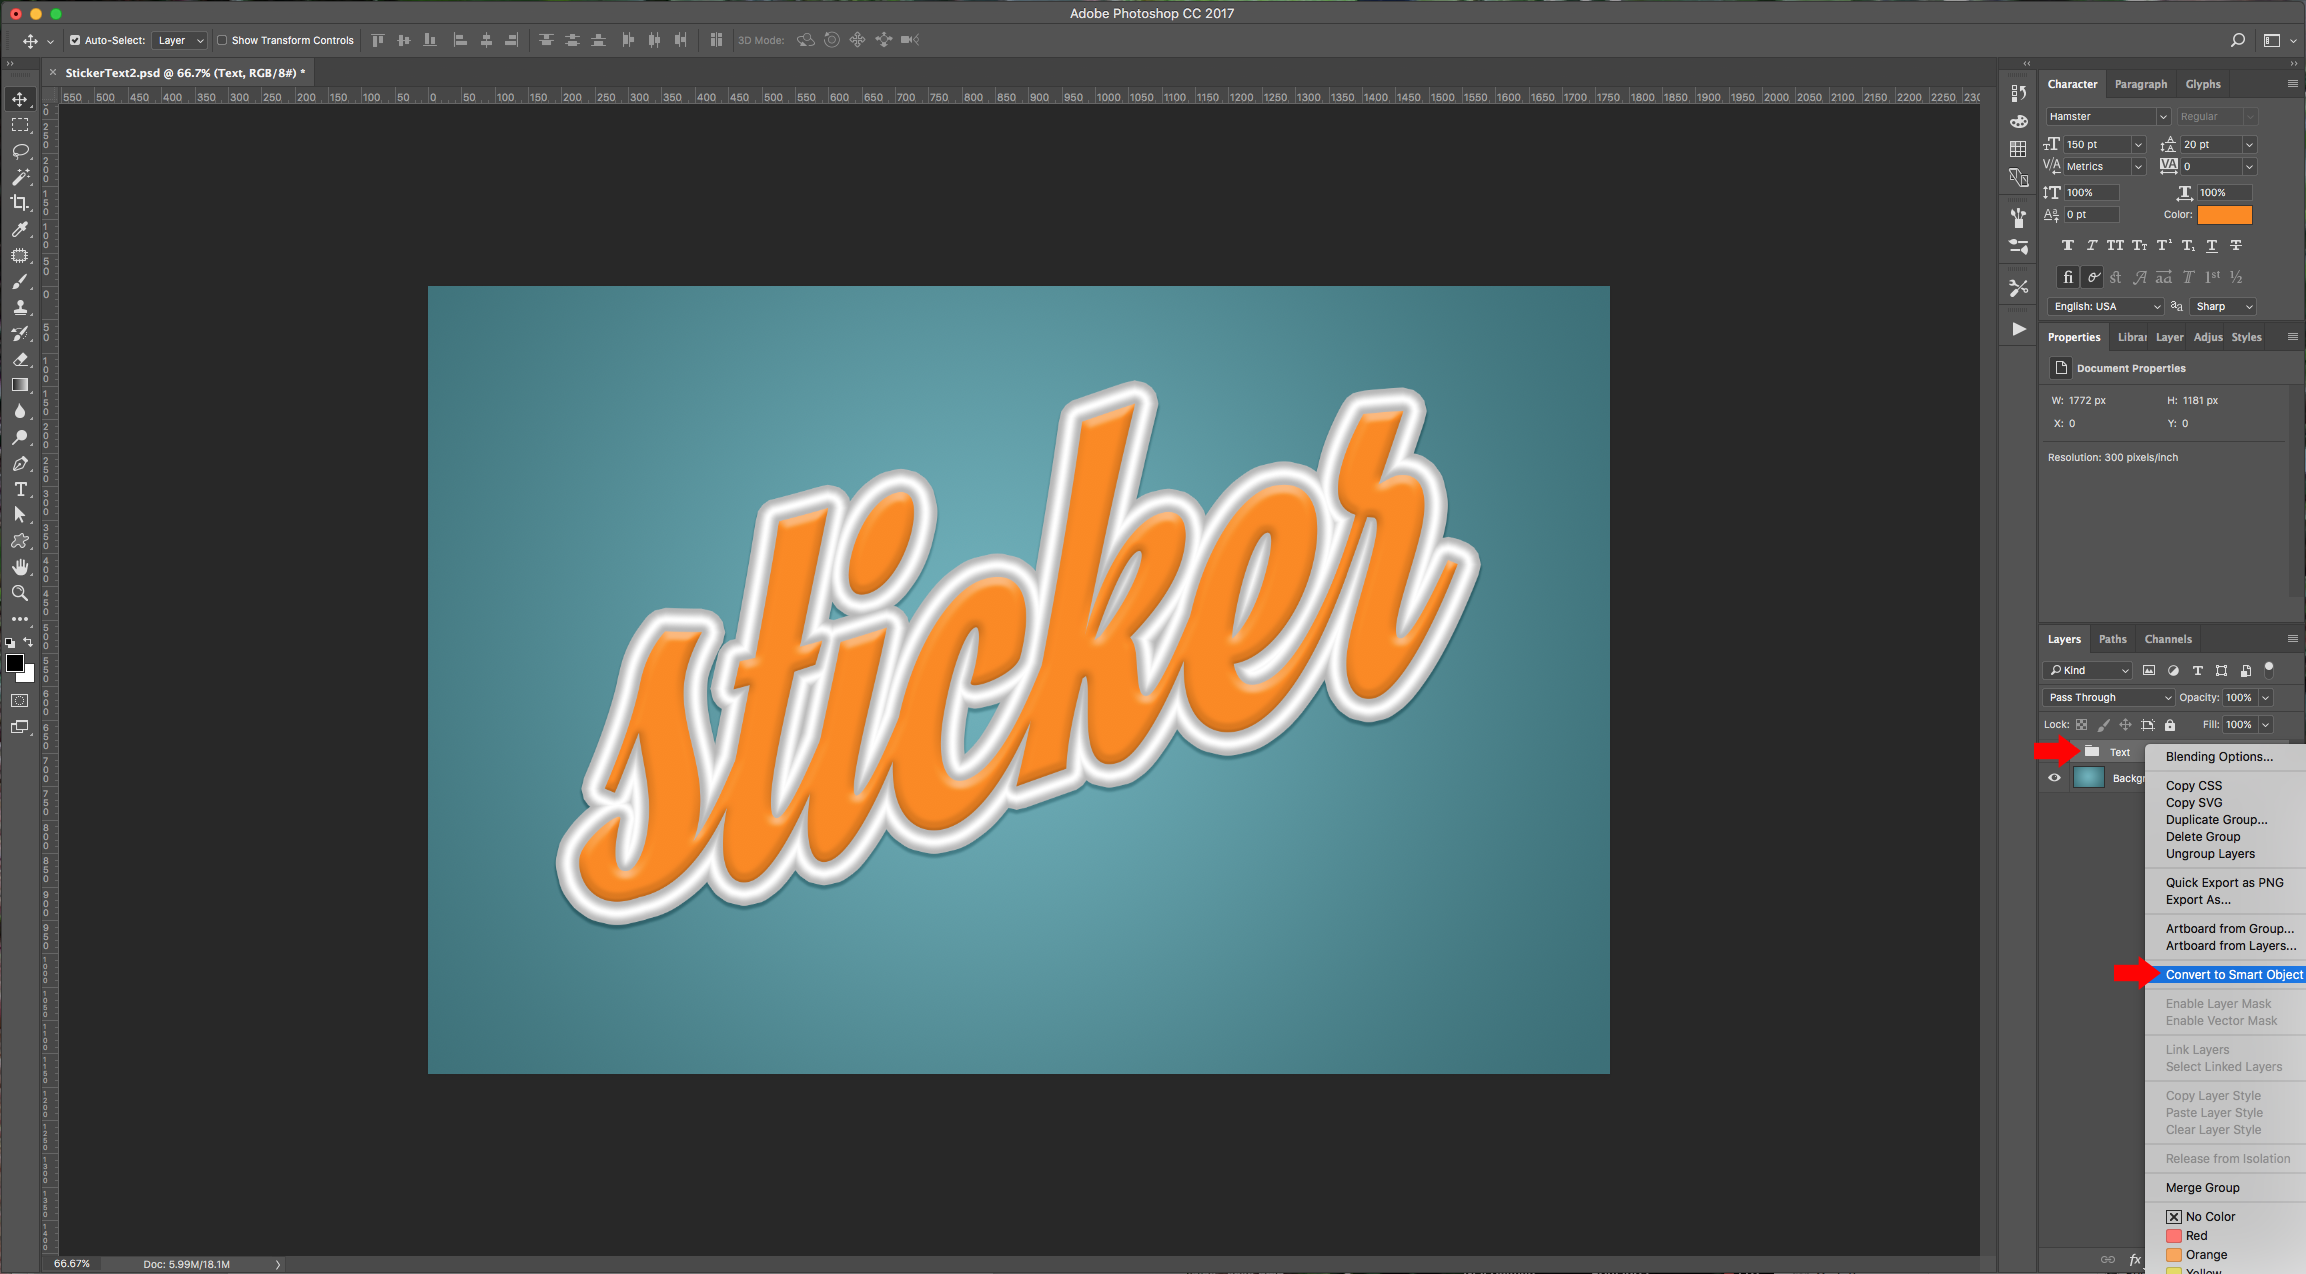
8 – Select your two text layers and group them together by selecting both layers and clicking “Create a new group” button at the bottom of the “Layers” menu, then convert the group to a “Smart Object”.
9 – Go to Filter > Filter Gallery > Plastic Wrap and give it the following values:
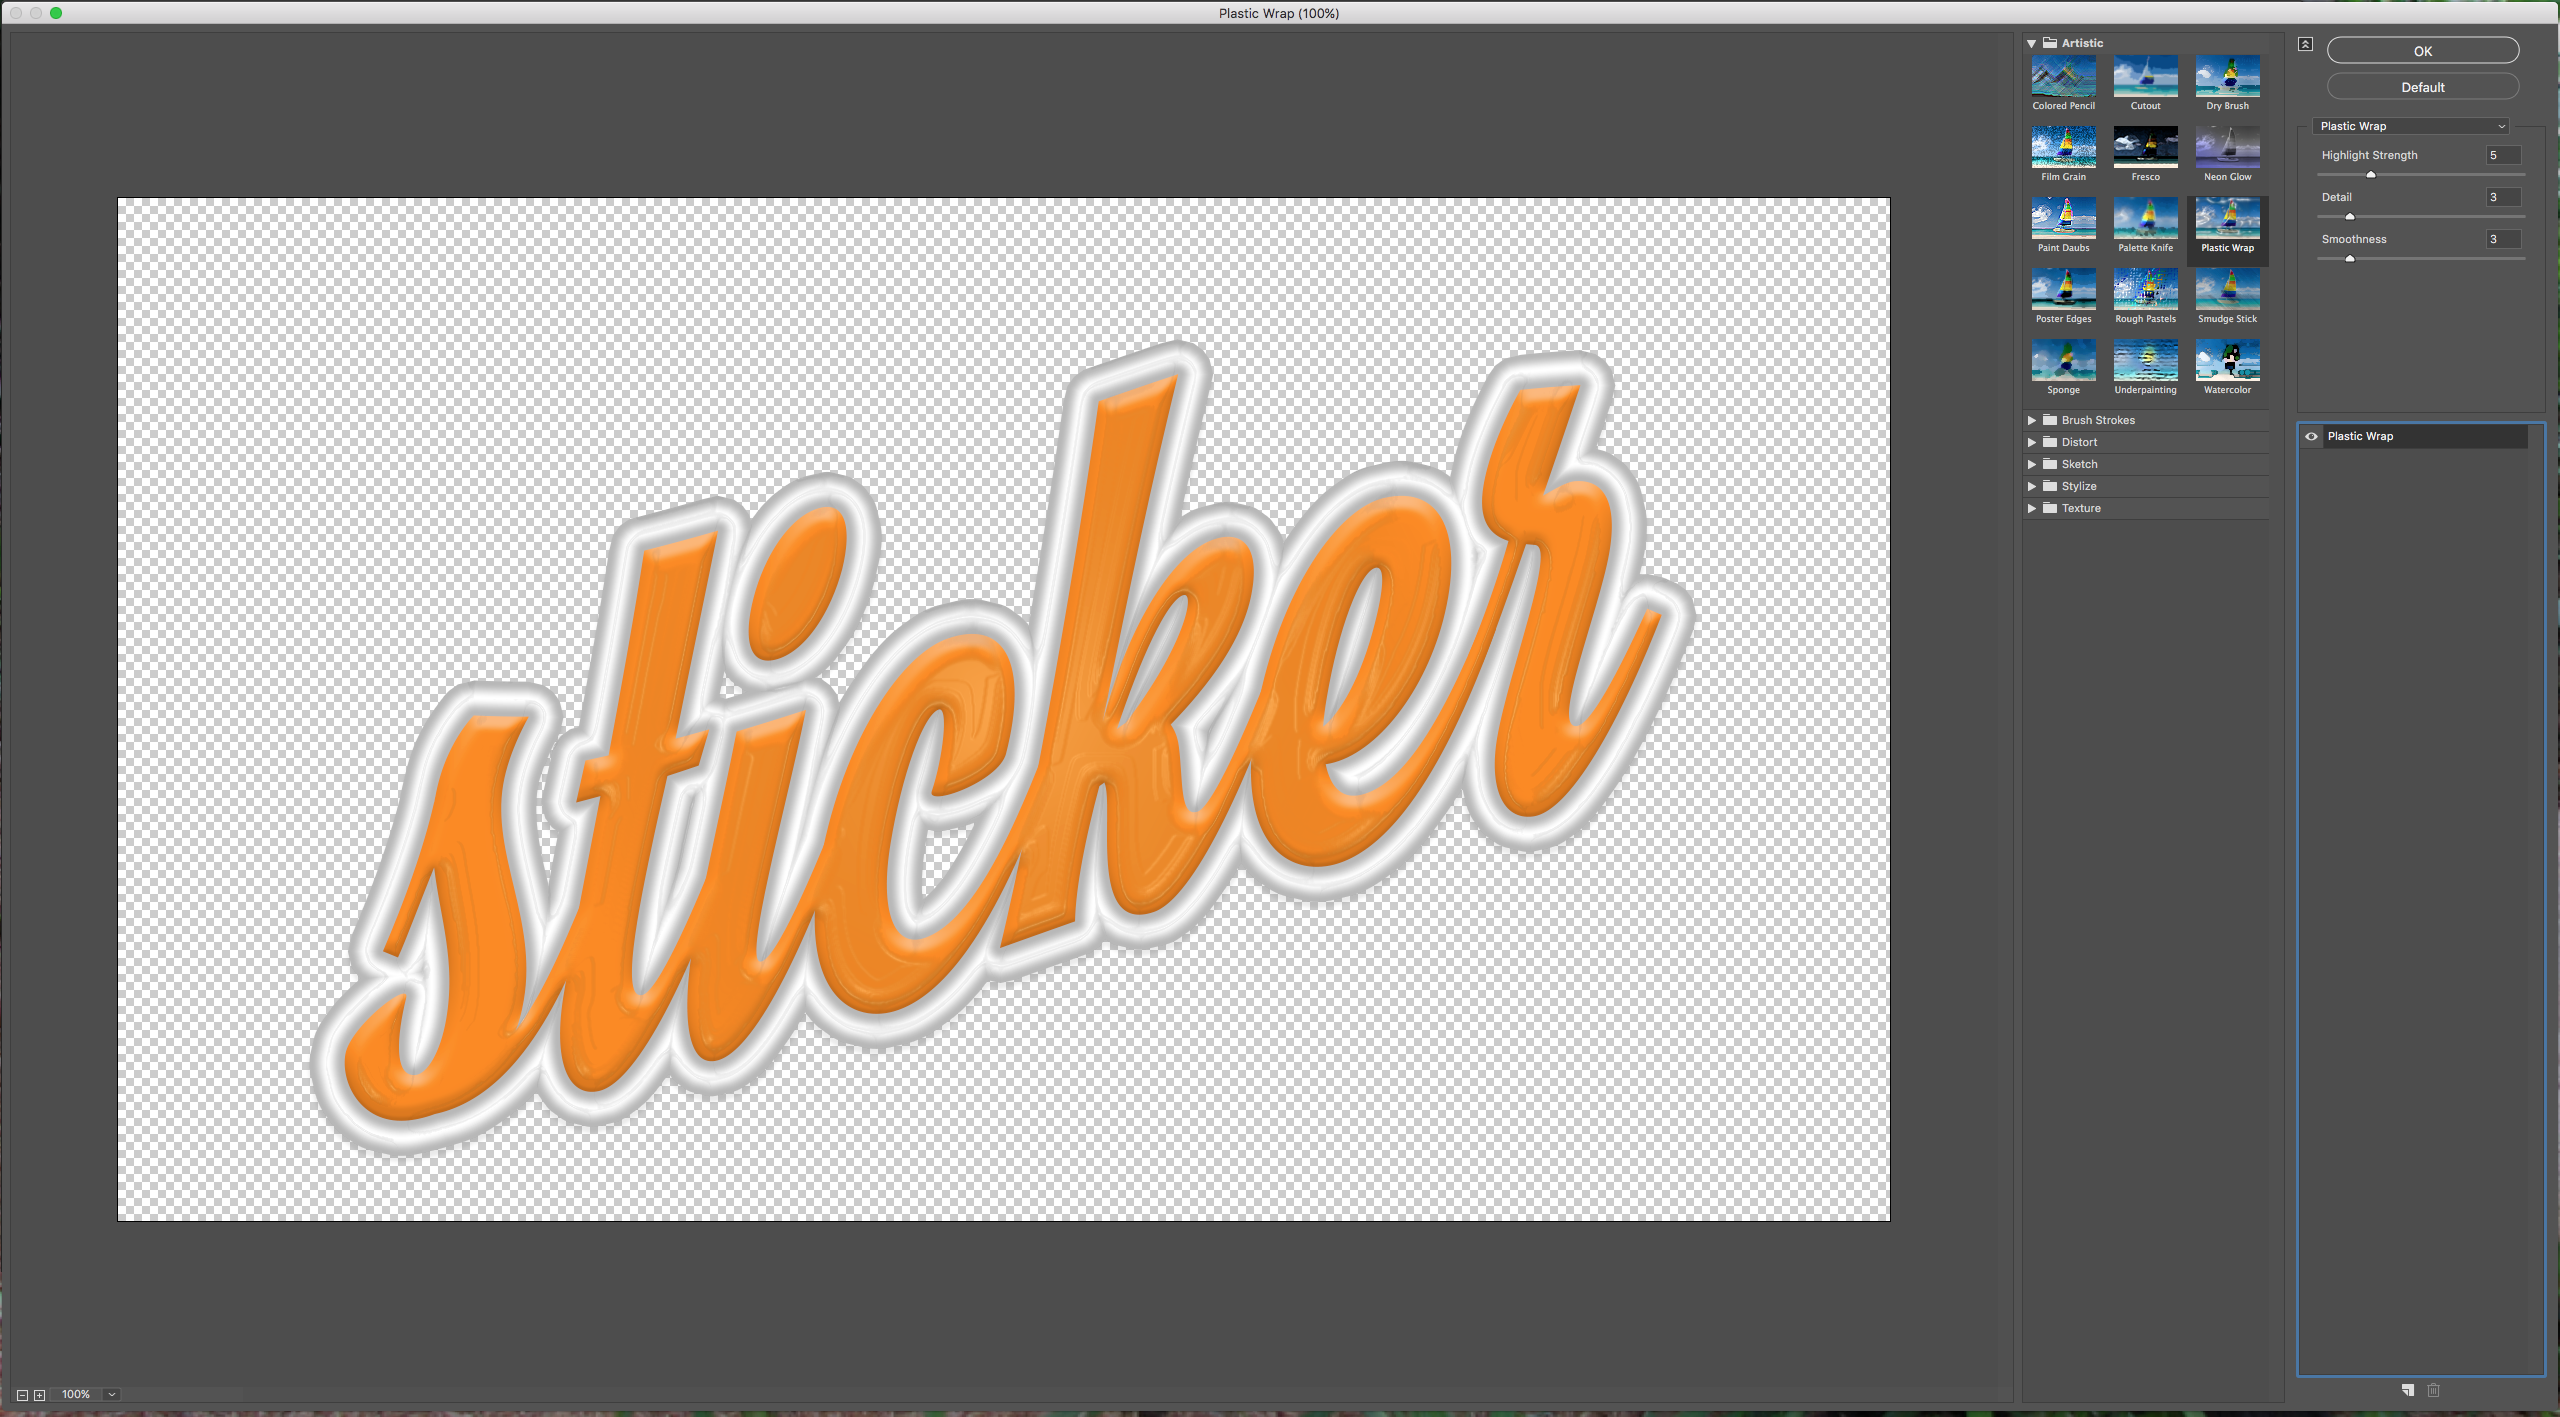
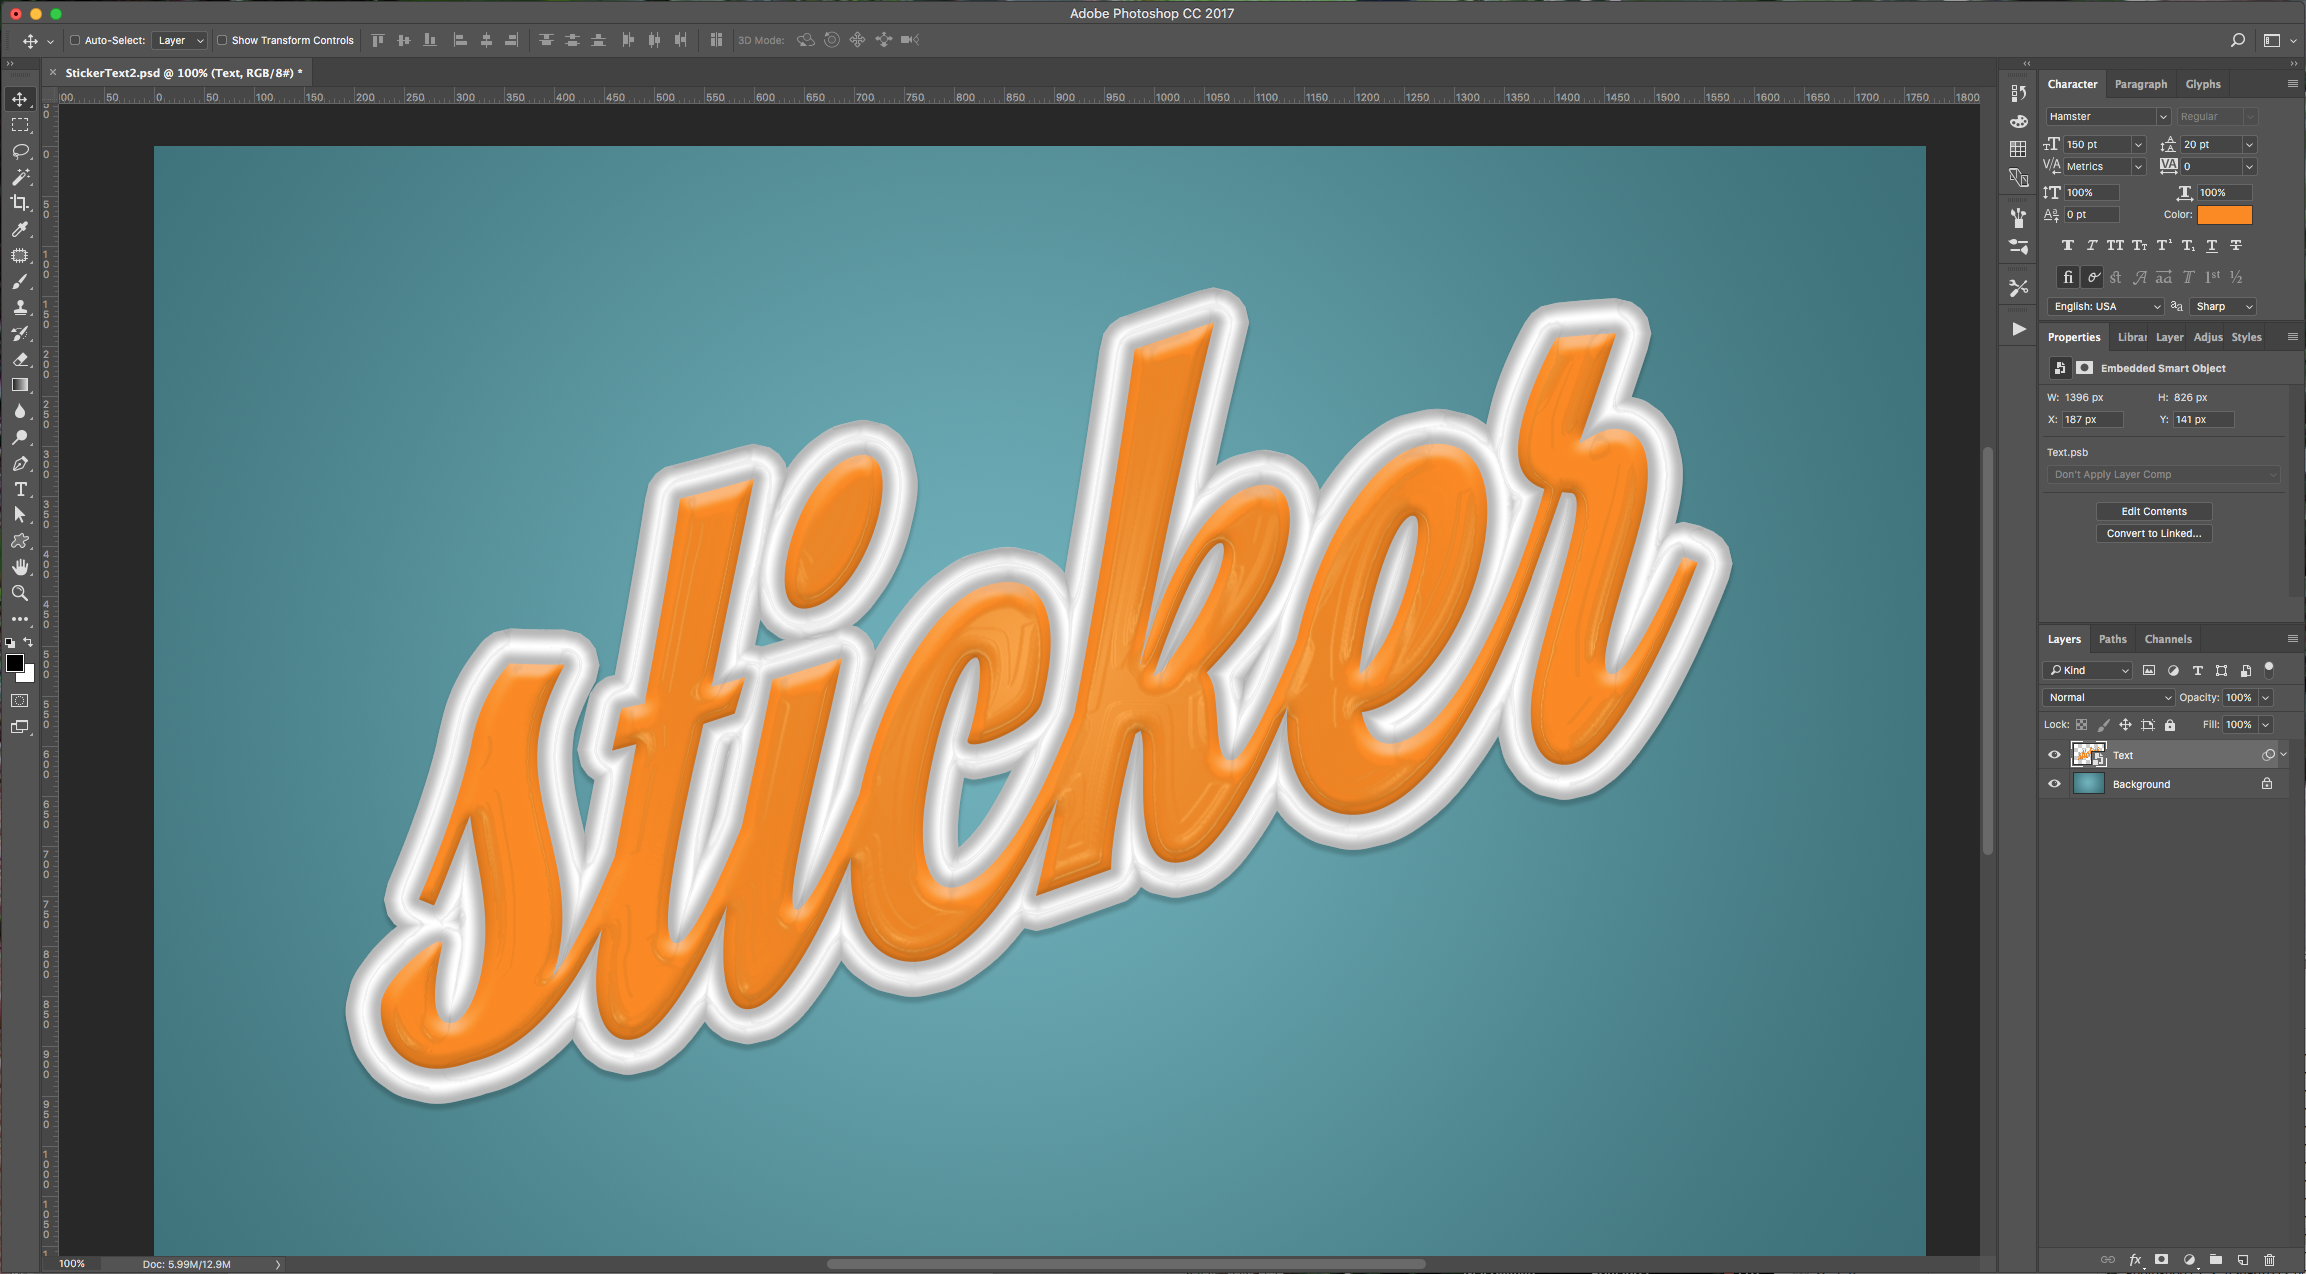
10 – Check out your text.
1 – In Photoshop, create a New Document. Select the “Gradient Tool” (G) and give the Background a fill of your liking. We used some shades of cyan, made it a “Radial Gradient” by clicking on the button in the Top menu and draw a line from the center to one of the corner of the document.
2 – Now, select the “Type Tool” (T), choose the font you like and type your text (we used Hamster).
3 – With your text selected click on the “Create warped text” button on the top menu and select “Rise”, click the “Horizontal” Radio Button, and give it a value of 20% in “Bend”. Center your text a bit.
4 – Select your text and change the Fill to a nice contrasting color. (#fd8a03)
5 – Double-click on your text layer to invoke the “Layer Styles” and apply the following options:
Bevel & Emboss:
Stroke: Color 1: Location 10%, Color ##5a5a5a. Color 2: Location 50%, Color #ffffff. Color 3: Location 90%, Color ##5a5a5a.
Drop Shadow:
6 – Duplicate your text layer by dragging the thumbnail to the “Create New Layer” button at the bottom of the “Layers” menu, then position it under the first text layer. Lower the “Opacity” of the first layer to 50%
7 - Double-click on your duplicate layer and apply the following “Layer Styles” (change the existing ones):
Bevel & Emboss:
Stroke:
8 – Select your two text layers and group them together by selecting both layers and clicking “Create a new group” button at the bottom of the “Layers” menu, then convert the group to a “Smart Object”.
9 – Go to Filter > Filter Gallery > Plastic Wrap and give it the following values:
10 – Check out your text.
by @lornacane


