Unlimited Downloads 15% off Marketplace Purchases Exclusive Software Access Unlimited Downloads
15% off Marketplace Purchases
Exclusive Software Access
Go Unlimited Maybe Later
Designing a Business card in Photoshop
  • By Design Bundles
  • 06 Mar 2017
  • 2 Mins
  • Photoshop Tutorials

Designing a Business card in Photoshop

1- Open Photoshop.

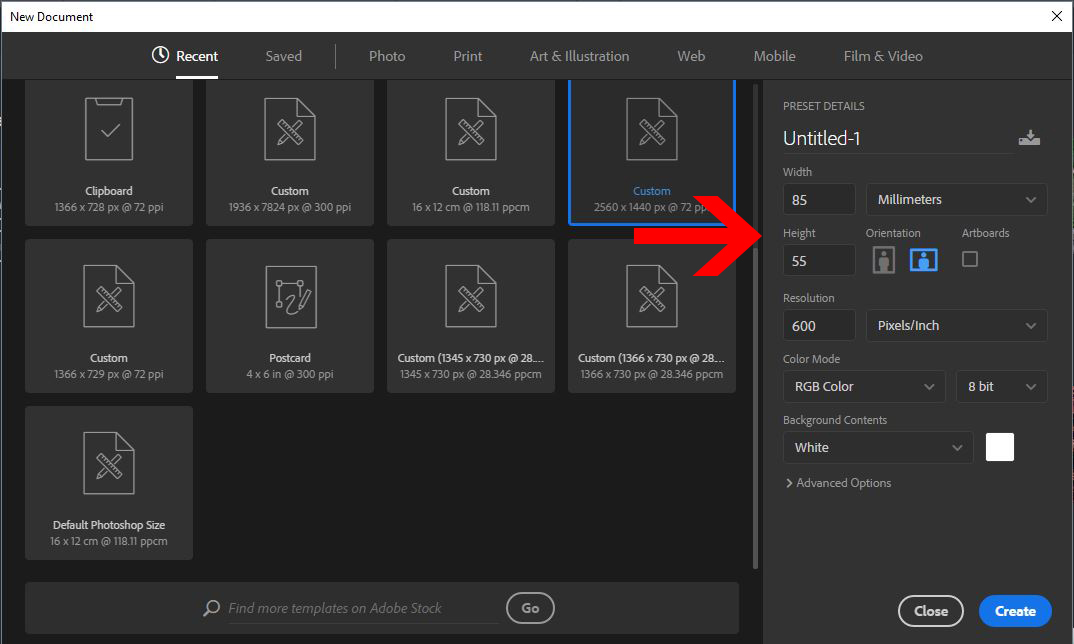
2- Create a new file 85mm x 55mm and approx 600px.

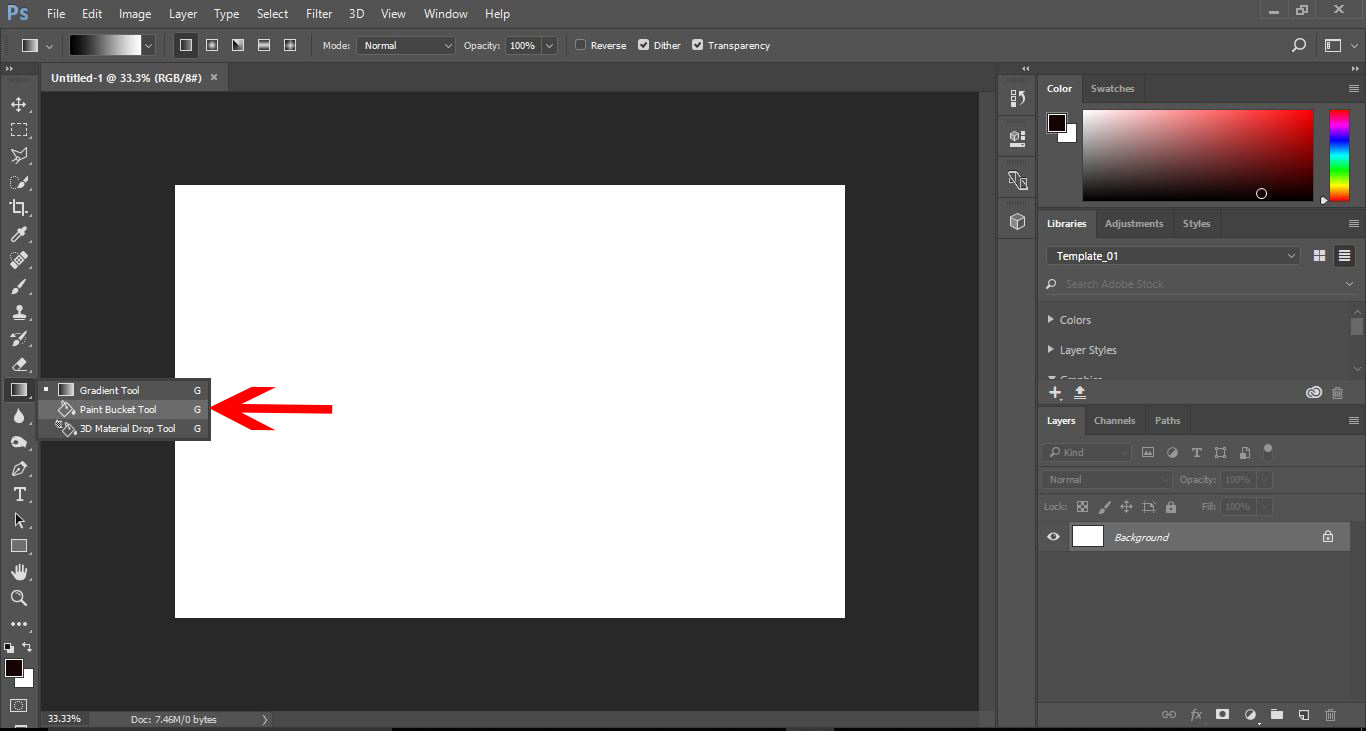
3- First we need to fill in our background colour. Right click on the gradient tool icon and select the paint bucket fill tool.

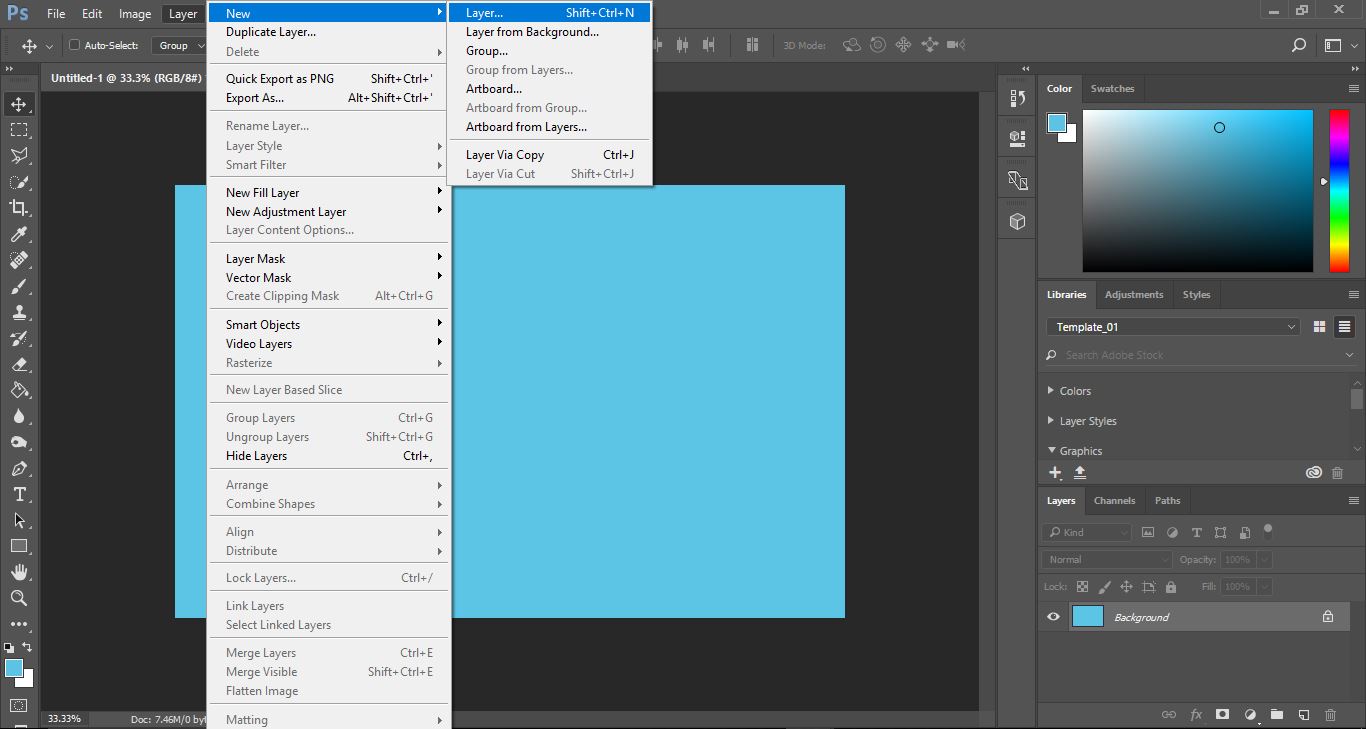
4- Select your fill colour.

5- Create a new layer to place the logo on. Layer > New > Layer.

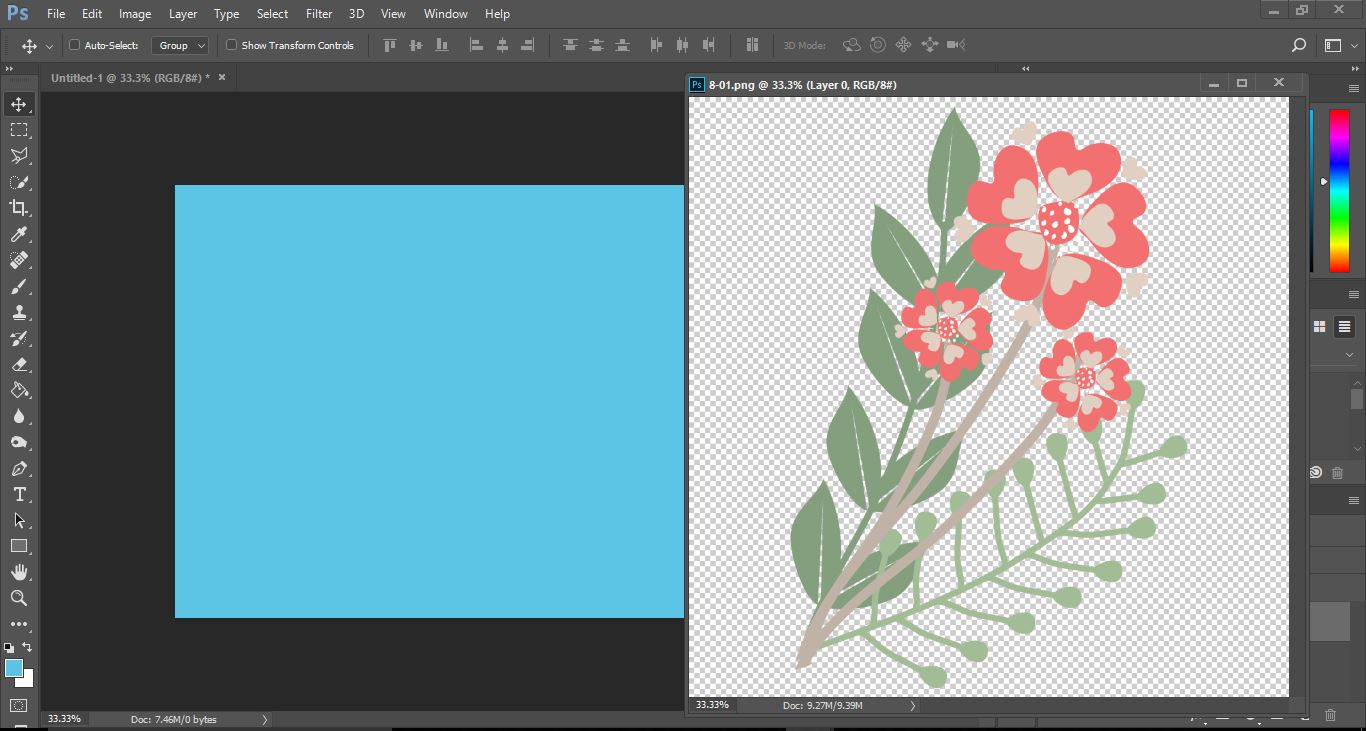
6-Open your files and select the image you would like to use for the logo.

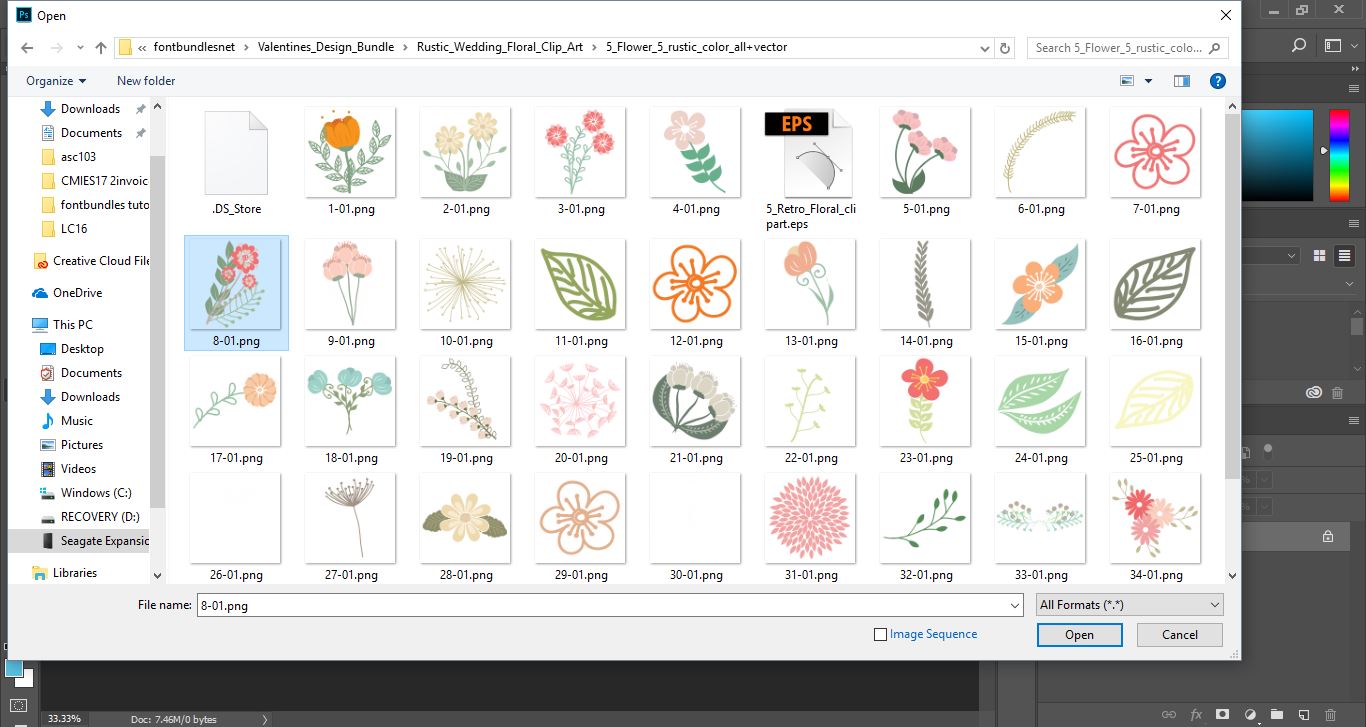
7- With your image in a separate window click and drag it onto the business card.

8- Select the image and selectEdit > Free Transform.

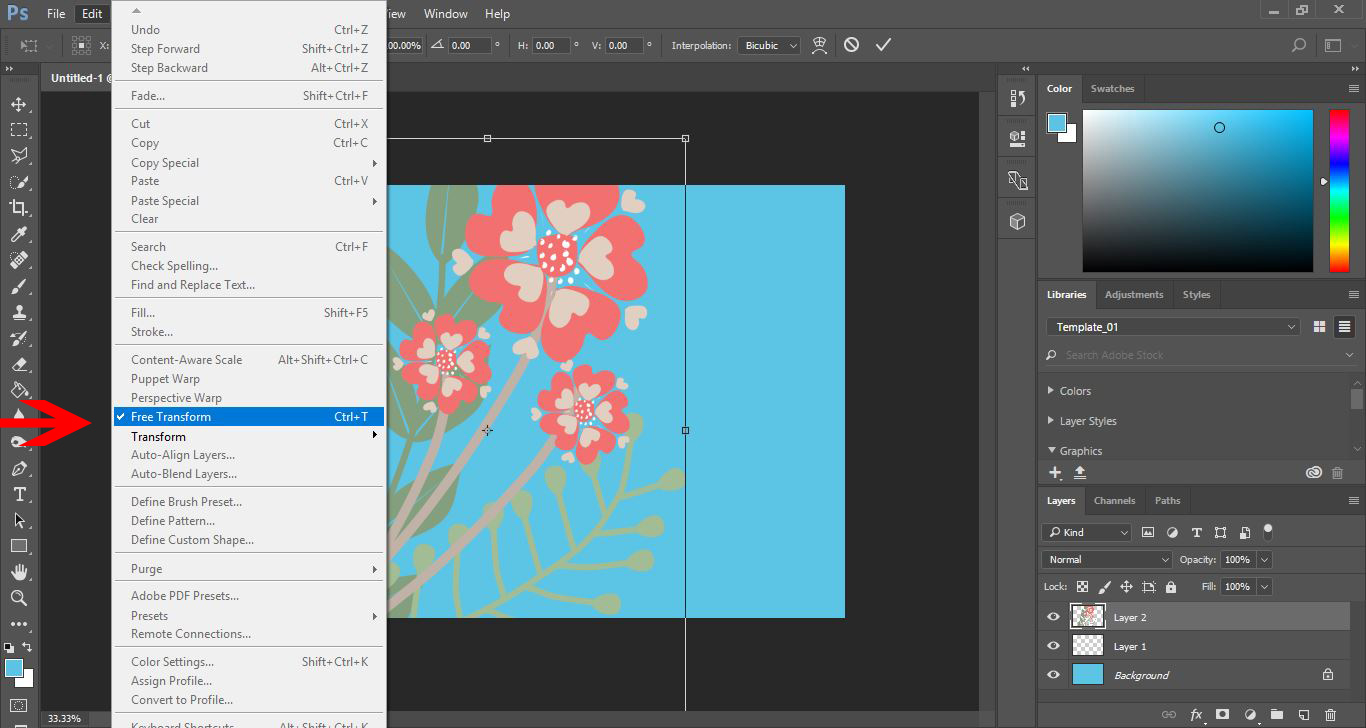
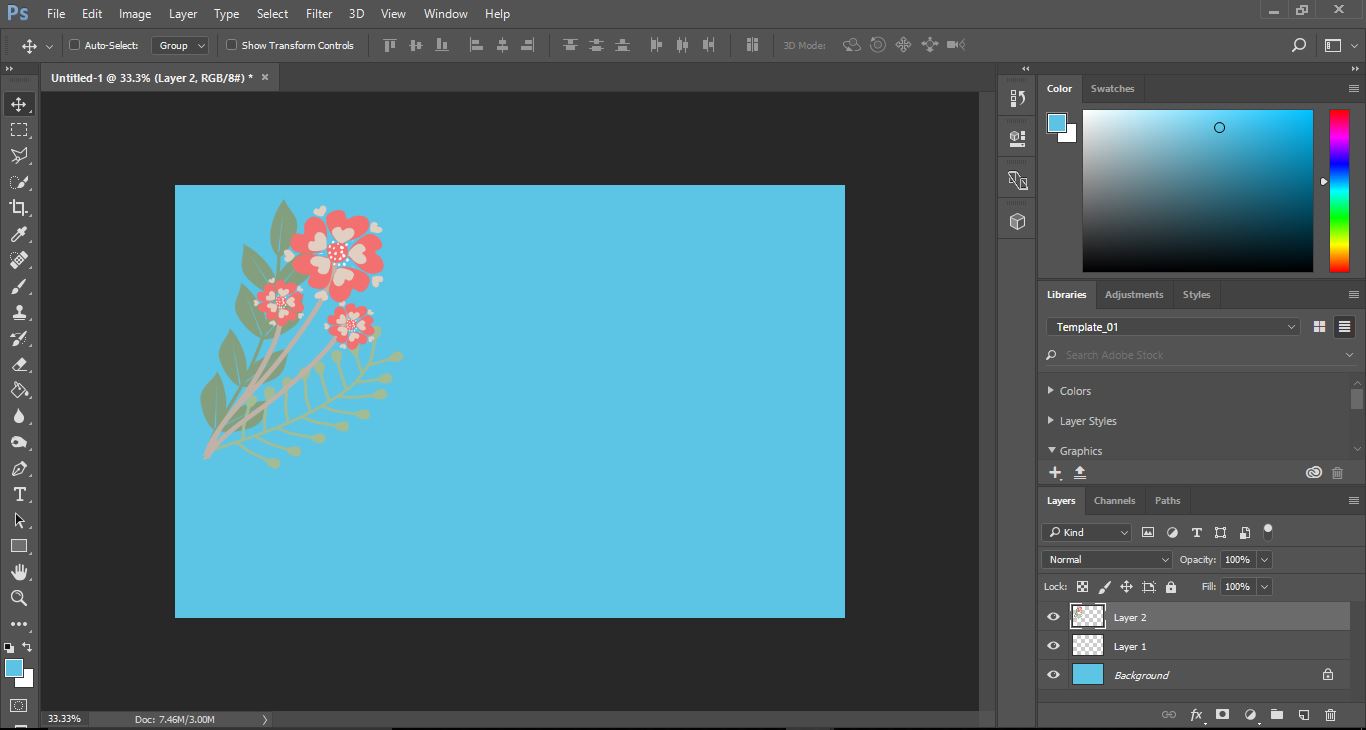
9- Adjust the size of your image to fit the business card.

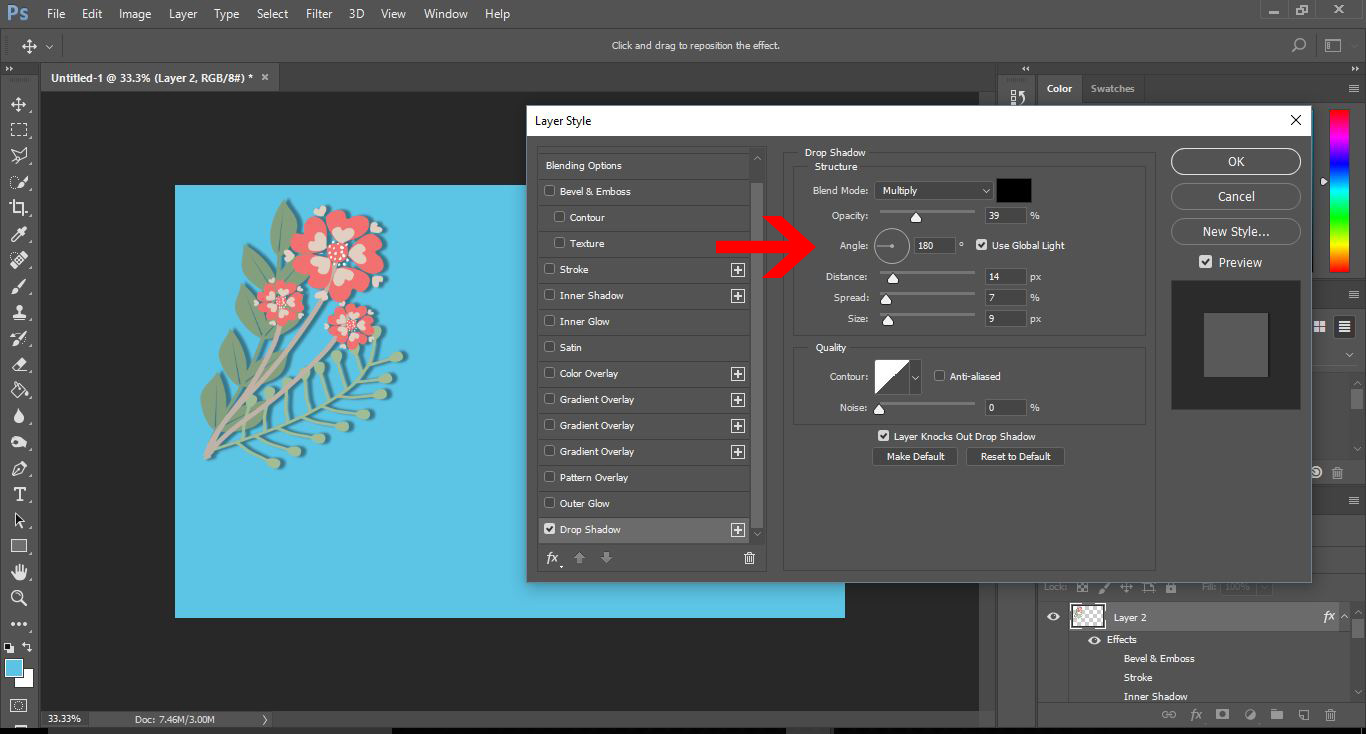
10- We now can add effects to the image. Layer > Layer Style > Drop Shadow.

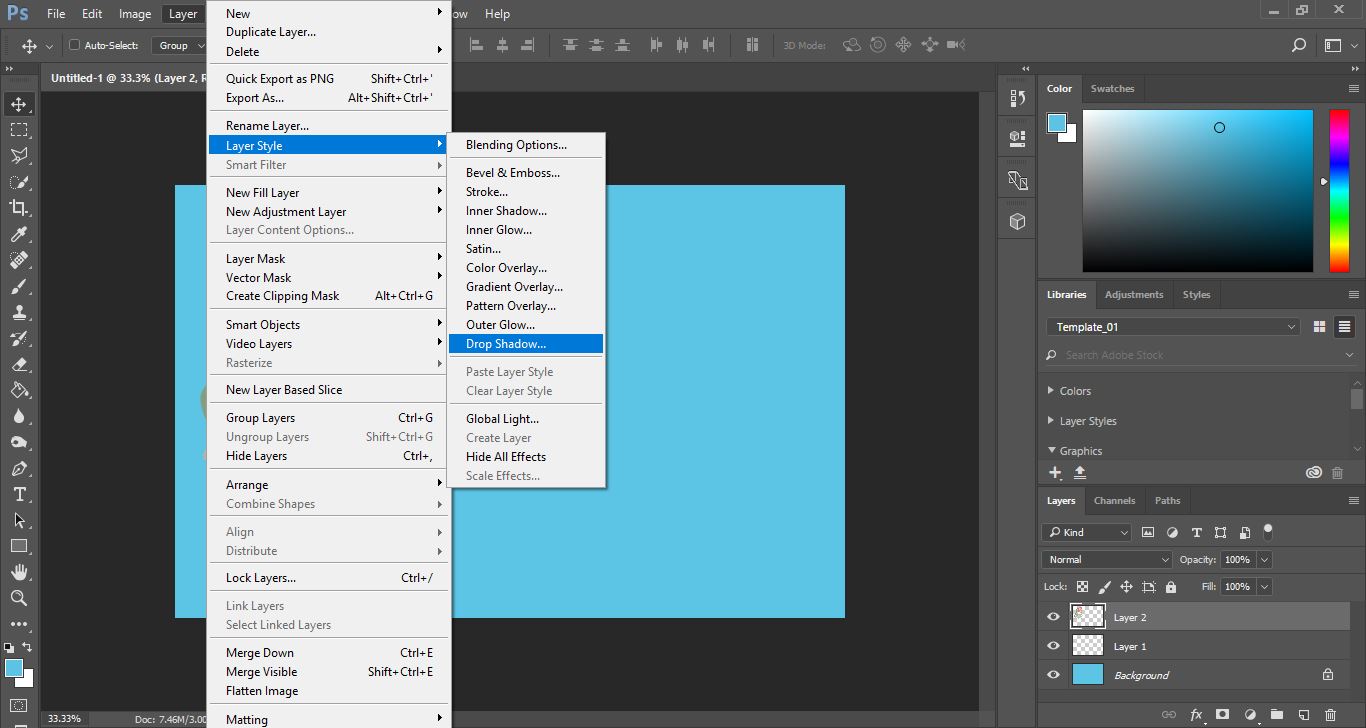
11- Add a drop shadow to your image and any other effects you would like.

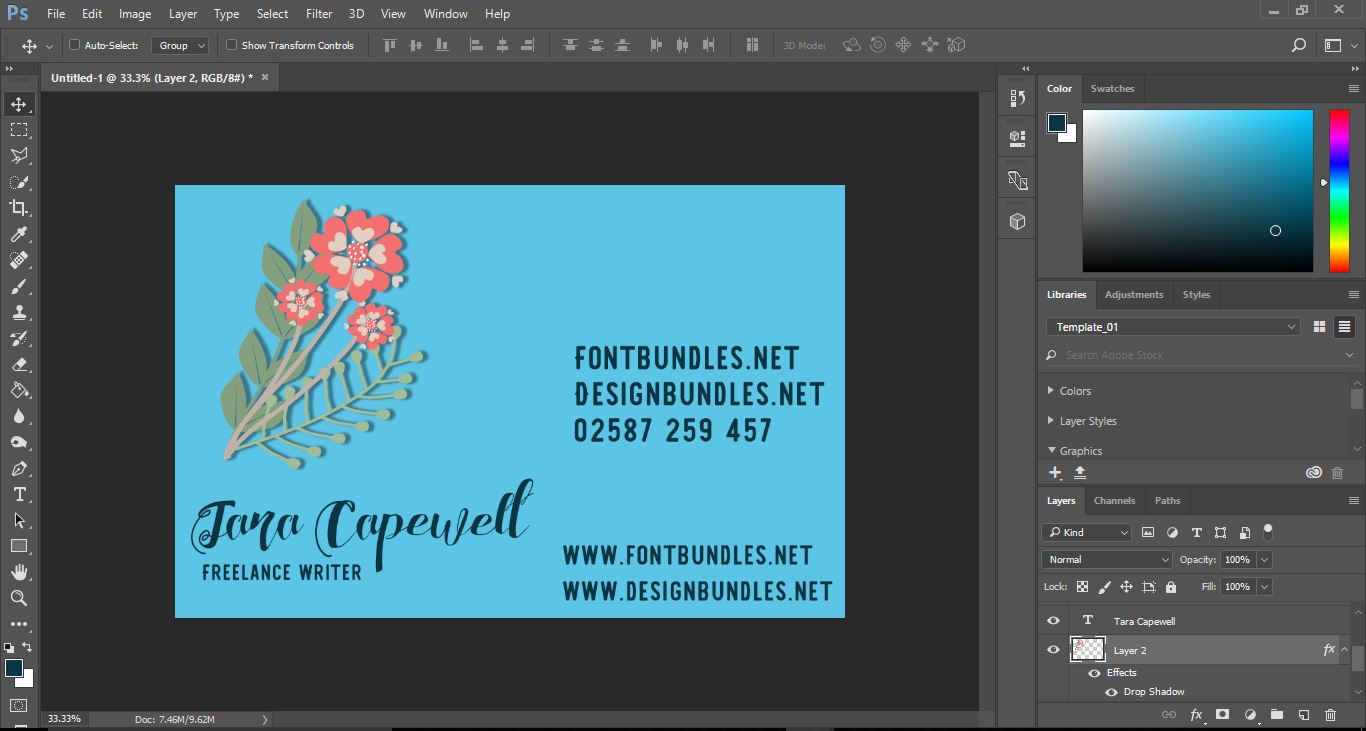
12- Create a new layer. Select the text tool and start typing your information onto the card.

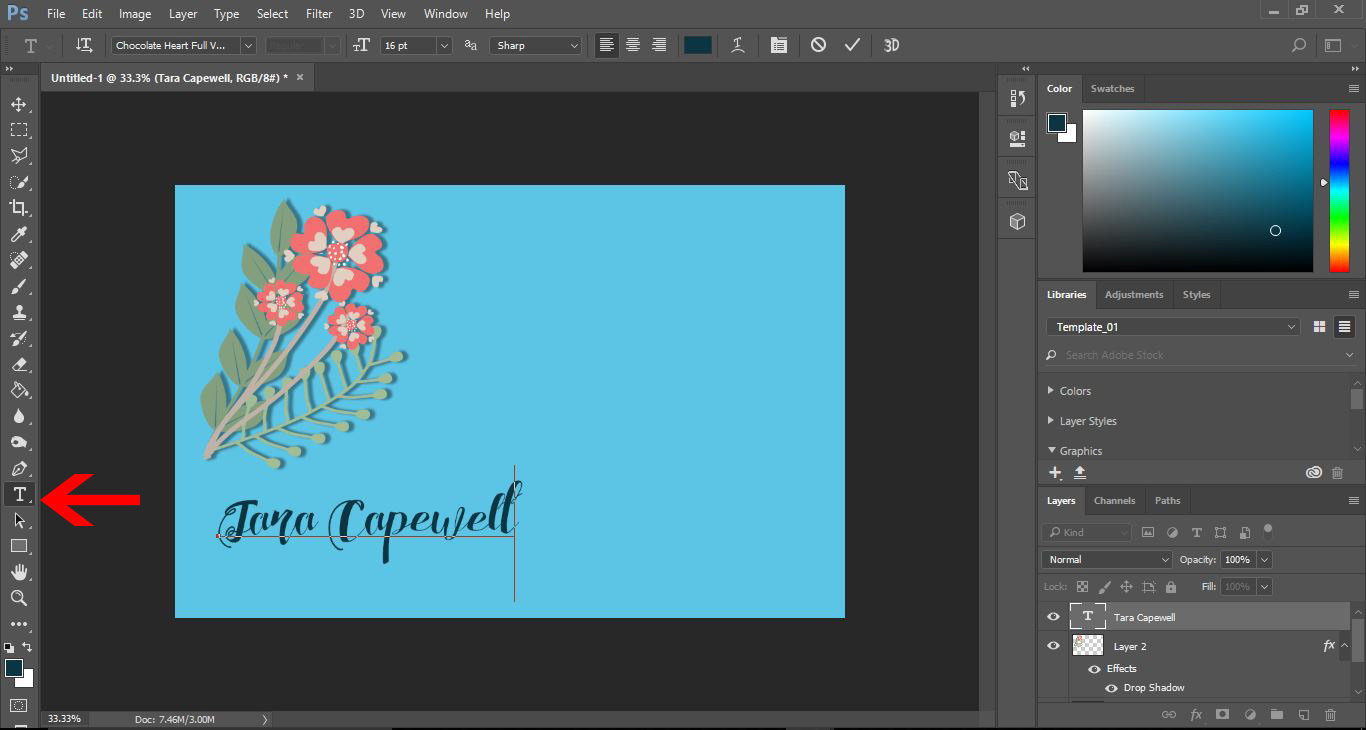
13- When adding your information, create a new layer for each selection of information. This way you can adjust them to fit the business card without affecting the other text.

I have used designs fromtheRustic Wedding Floral clipartset by burlapandlace.

One of the Fonts I have used here isChocolate Heart Scriptby feydesign.


6 Related Photoshop Tutorials

Your business card is not only informative, it also showcases the style of your brand. It helps your potential clients/customers identify your business at a glance. When you create your business card, you want to be certain it is cohesive with your style. In this tutorial, we will take ...

If you like saving time, we have the perfect tutorial for you! Today, we will teach you how to create a greeting card template in Photoshop. With a template, you can quickly add elements to make a greeting card without recreating the whole thing every time.We’ll be using ...

This tutorial will walk you through overlaying an image over another - in this case applying a 'gold foil' design over a logo design. In technical terms this is known as a clipping mask.Open a PSD designs in Photoshop, with a transparent background - this could also be a ...

1- Open scan and cut canvas. Click on the shape icon.2- Pick the shape you would like to use for your pop up. You can use a shape or a welded word.3-  Next select a square.4- Place the square over the shape. You need the left and ...

Silhouette Studio, combined with your cutting machine, can help you to create some amazing projects. From card designs to decals, HTV and much more, there are endless crafting opportunities. Today, in this tutorial, we will show you how to create a stencil edge card in Silhouette Studio.Step 1 - Create ...

In this tutorial we will teach you how to create a silhouette text cutout card in Cricut Design Space. Before getting started, make sure you've opened Design Space and have started a new project.Step 1: Create Your DesignMake sure every word and shape is touching each other at some point ...

You may also like

Help Center
ol image