
How to Color in With Inkscape
Learn how to digitally color in images with this Inkscape tutorial. Less than a 5 minute read!
In this tutorial we are going to show you how to color in with Inkscape. You can do this with PNG, JPG and even PDF files. We will be customizing a coloring page using the Fill bounded areas tool.
We will be using a PNG coloring page. You are welcome to browse our selection of pattern coloring pages for more inspiration. Make sure that before you begin you have downloaded and unzipped your files.
Step 1 - Open Coloring Page in Inkscape
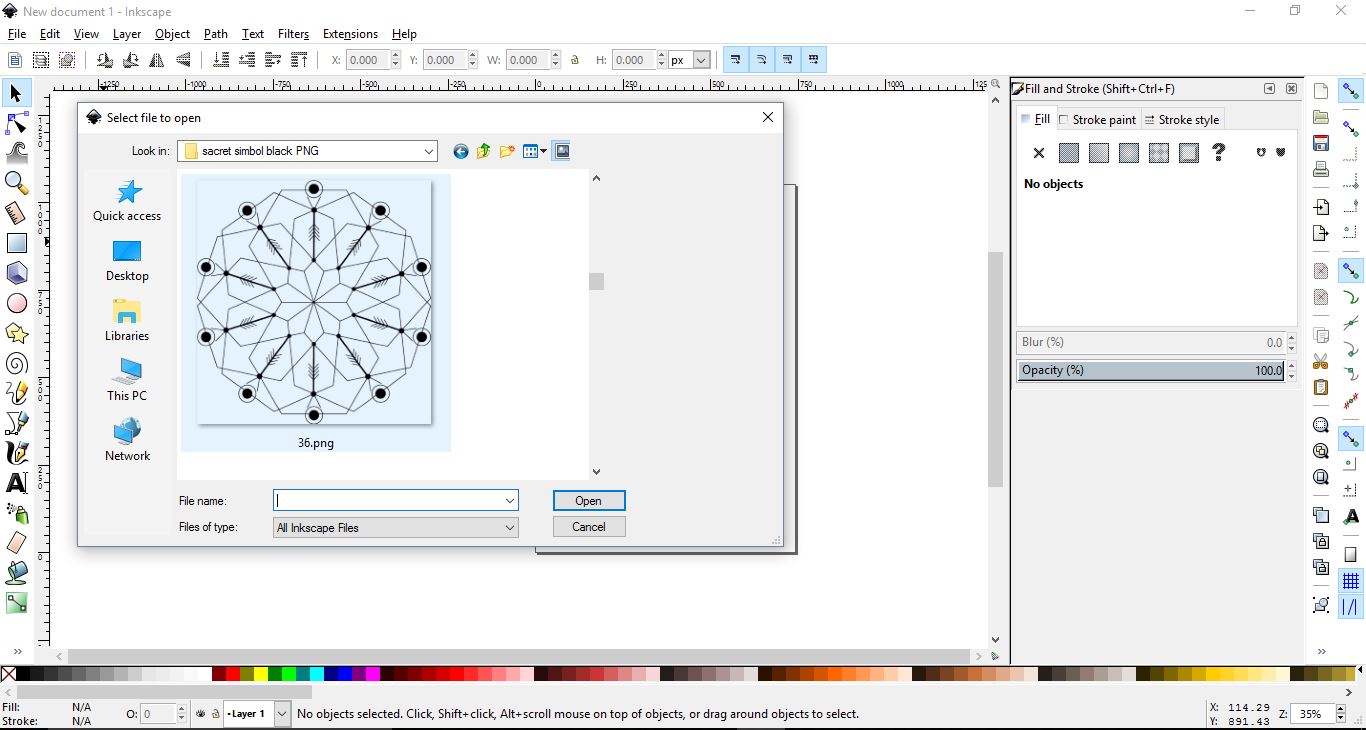
Open your file in Inkscape by going to File > Open. Then in the window, select the design you want to color in.
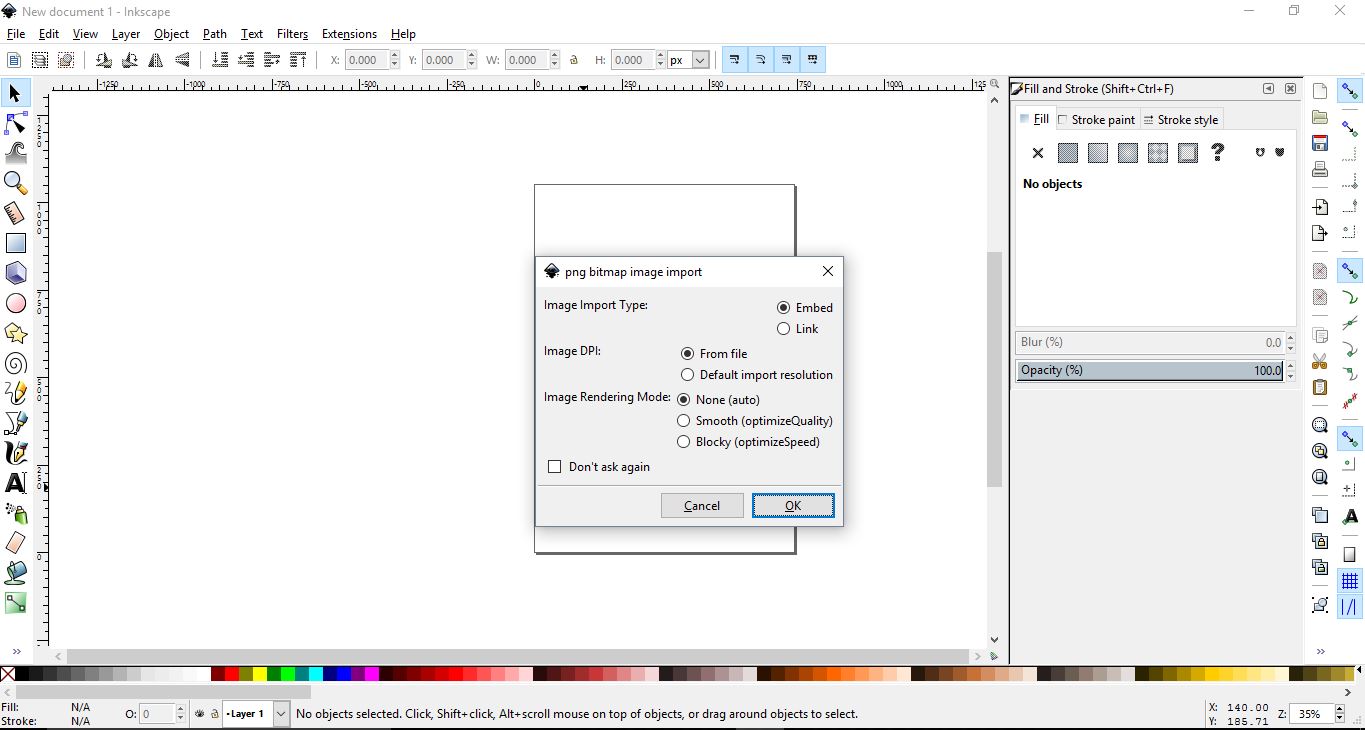
When you click Open, an import window will pop up. Leave the settings as is and click OK.
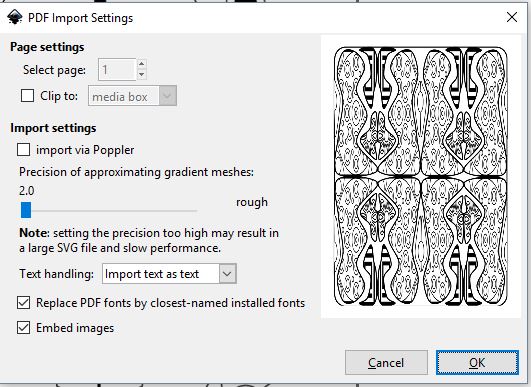
If using a PDF file as a coloring page, the PDF Import Settings window will appear when you click Open. Leave the settings as is and click OK.
Step 2 - Use Fill Bounded Area Tool
On the left hand side you will find the Fill Bounded Area tool. Click on this tool to activate it.
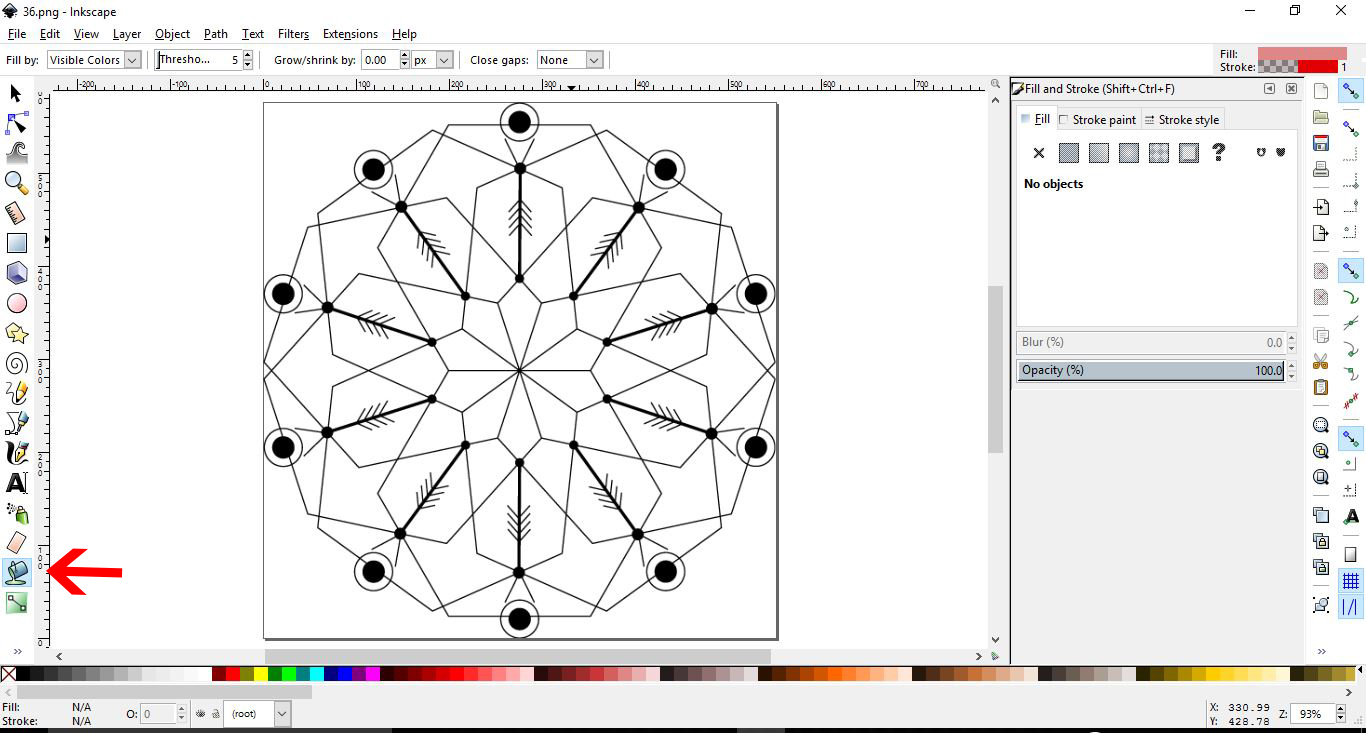
Now, click on the area that you want to fill or color in. Using the color palette at the bottom of the screen, choose your preferred color. You can also access the Fill and Stroke panel by going to Object > Fill and Stroke. Here you can also adjust the color.

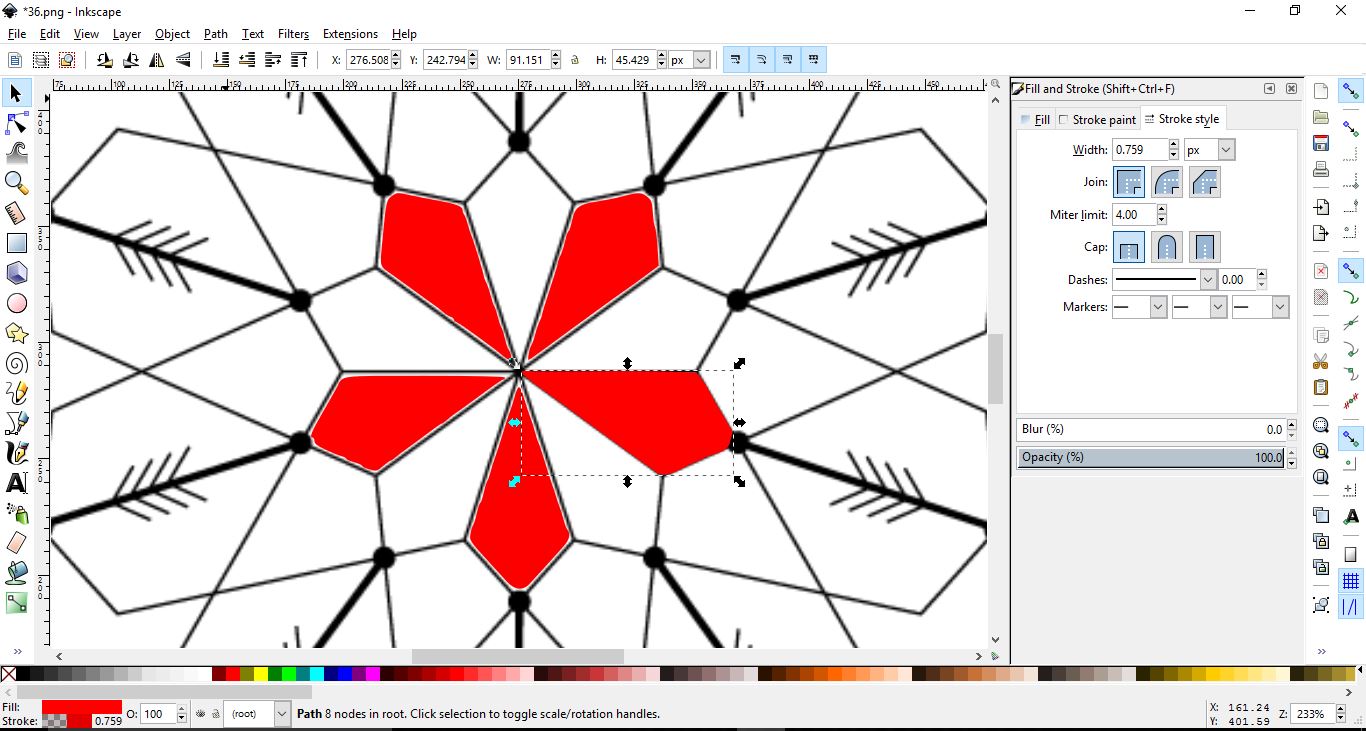
As you can see, there are some white areas where the fill didn’t apply completely.

There are two ways to fix this. The first way is done by selecting one of the filled areas. Now, press Ctrl + ), which will expand the selection. It may cover the black drawing lines like it did with our image below.
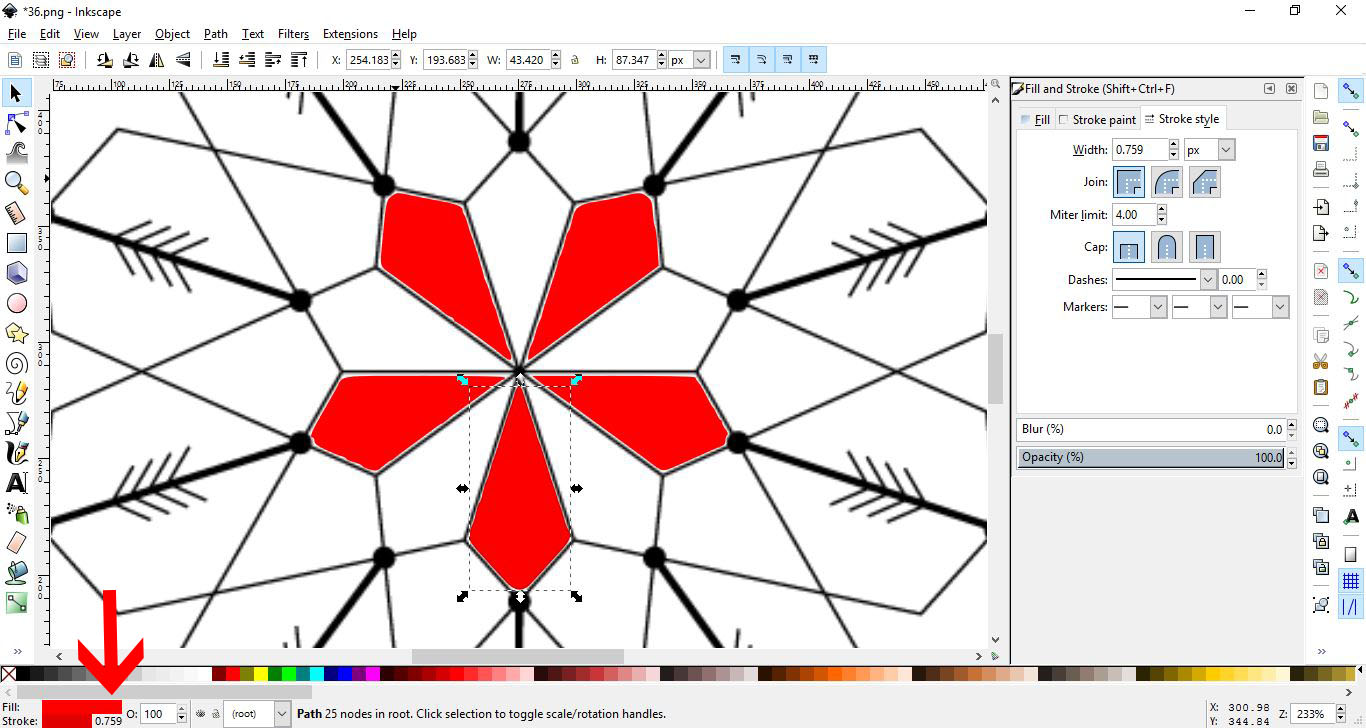
The second option is to use the Stroke and make it the same color as your fill. You can do this in the Stroke and Fill panel. Click on the Stroke Paint option, make sure Flat color is selected then click on the eyedropper tool. Sample the color from your fill.

Under Stroke Style you can adjust the width to close the gaps.

One thing to note when using a PDF page is that you may run into the opposite issue. The stroke may be too thick. If this is the case, you will need to remove the stroke to thin down the coloring in line.
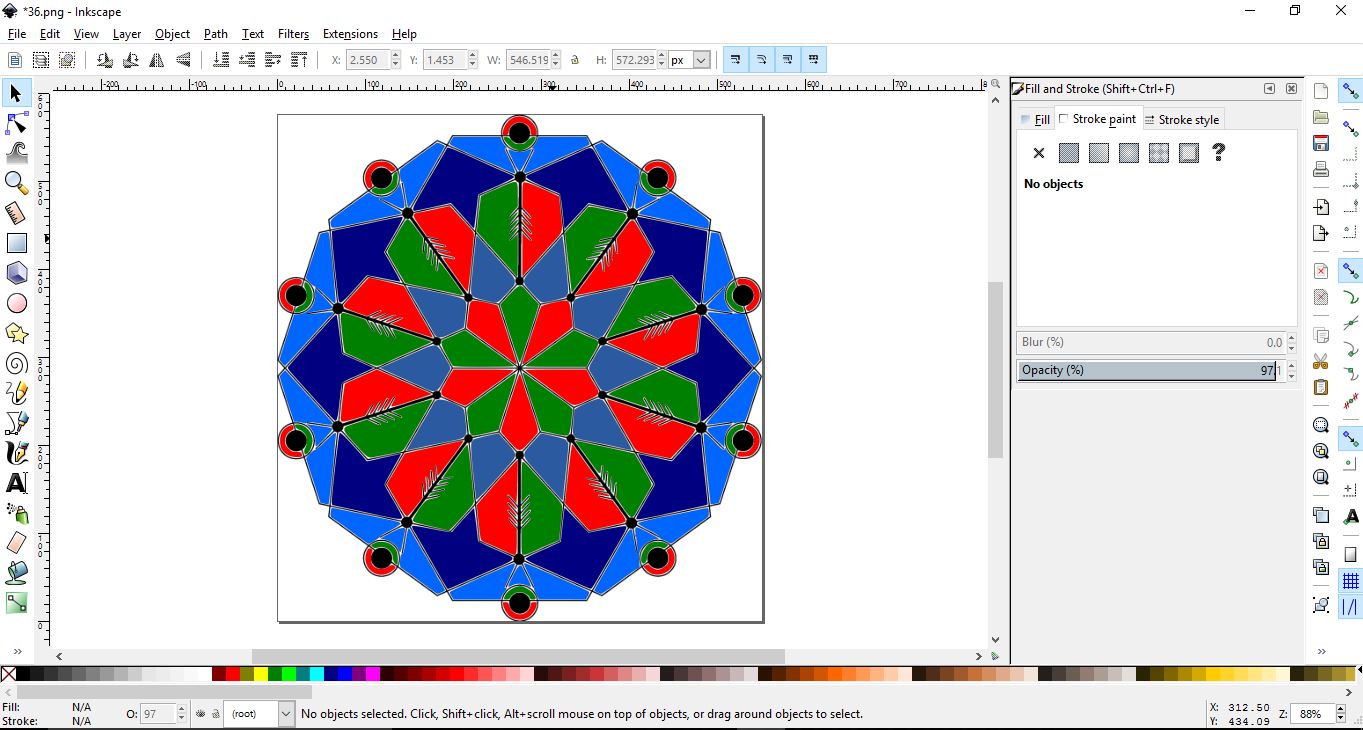
The image below is the result of using the first method.

If you apply the second method, you should get a similar result like below.
Step 3 - Add Gradients to Coloring Page
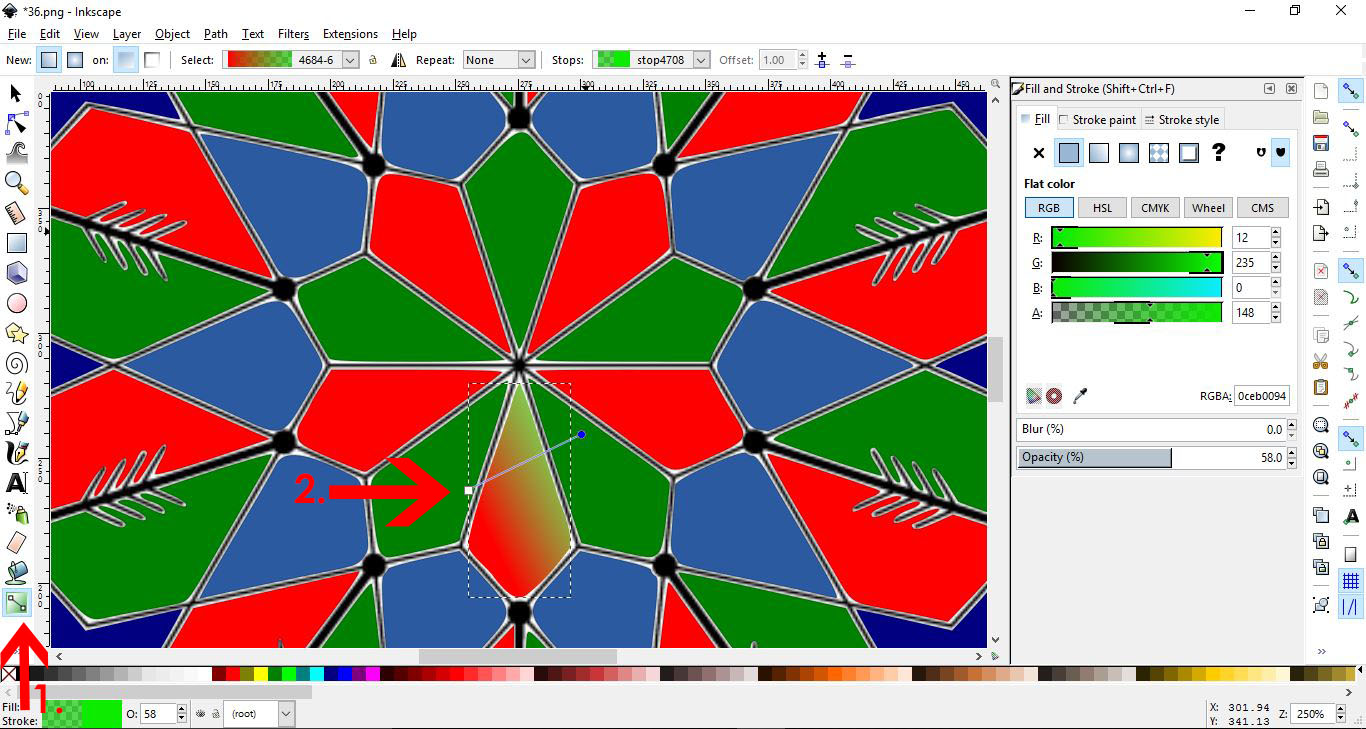
Did you know that you can also add a gradient to the sections of your coloring page? To do this, select where you want to place the gradient. Then go to the Fill and Stroke panel and under Fill choose a gradient.
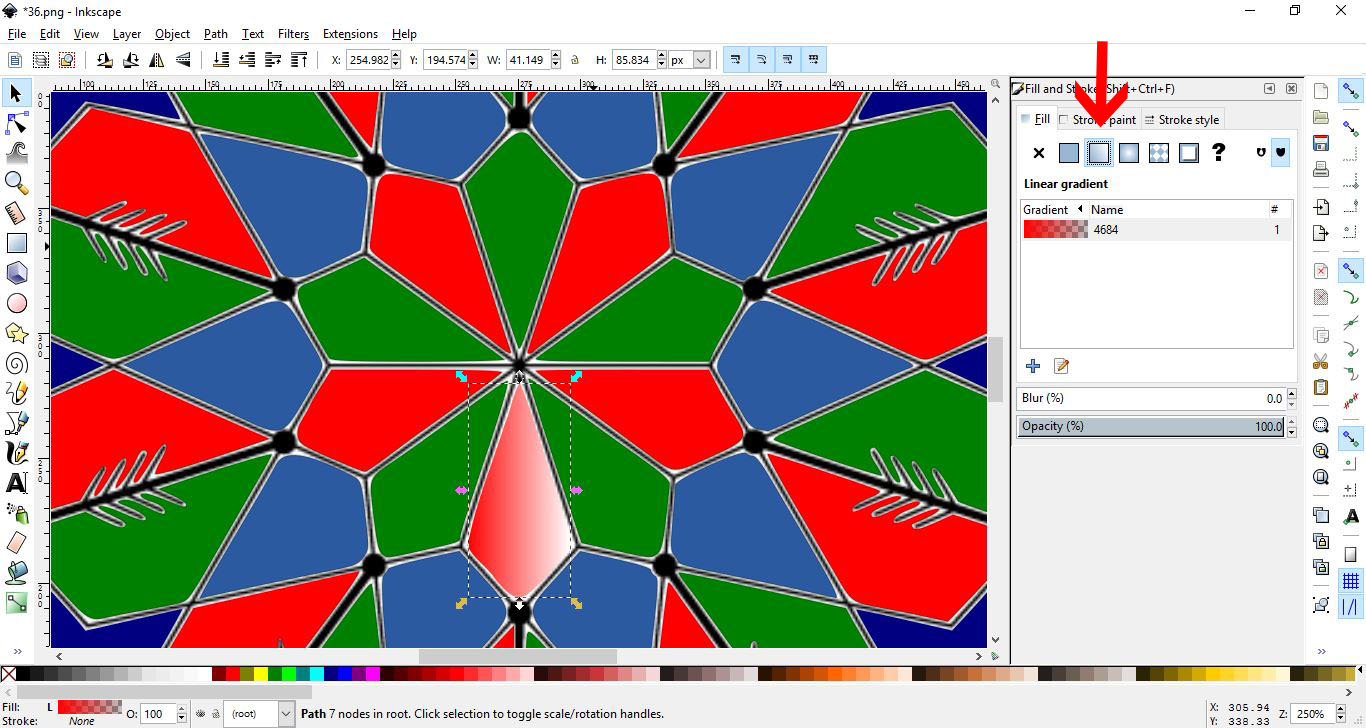
Once you have applied the gradient, you can change the color as needed. To change the angle of the gradient, select the Edit gradient tool (1). Now move the color stops (2) to the angle you want the gradient positioned.
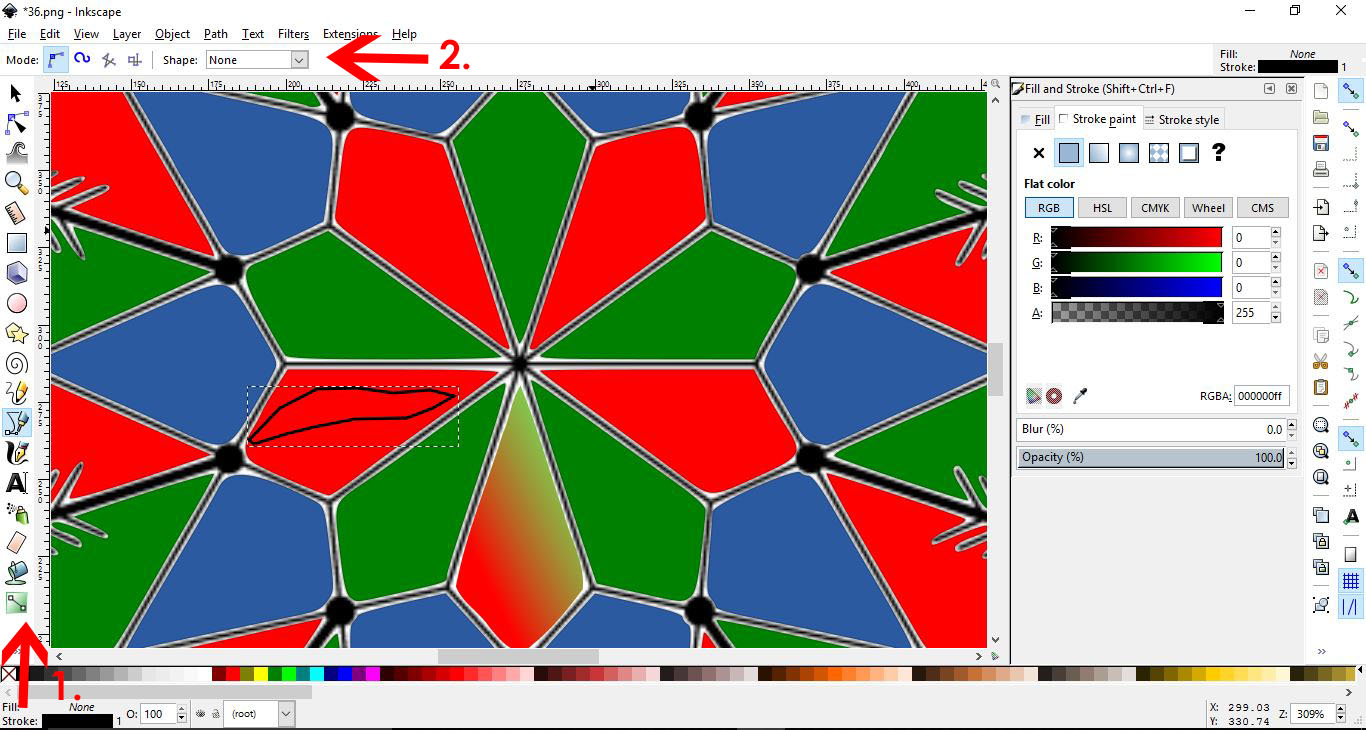
Step 4 - Add Some Highlights
To further enhance the coloring image, we can also add some highlights. Select the Bezier Curve tool on the left hand side. In the top toolbar, make sure that Shape is set to None and Create regular Bezier path is selected. It will be the first option after Mode. Next, draw out your shape.
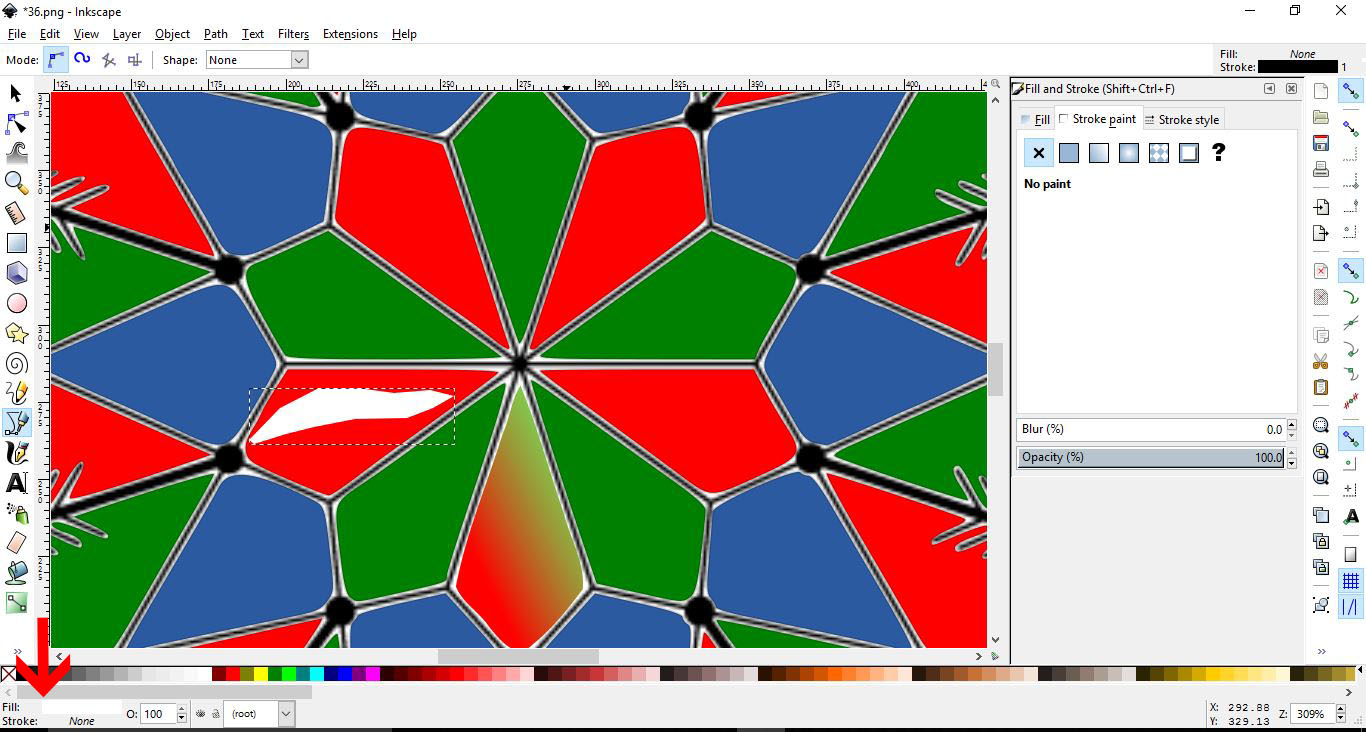
Once you have drawn your shape, fill it with white using the Palette at the bottom of the screen.

At the bottom, right click on the Stroke color and select Remove Stroke.
With this white fill area selected, go to the Fill and Stroke panel. Under the Fill option, reduce the Blur to what you require.
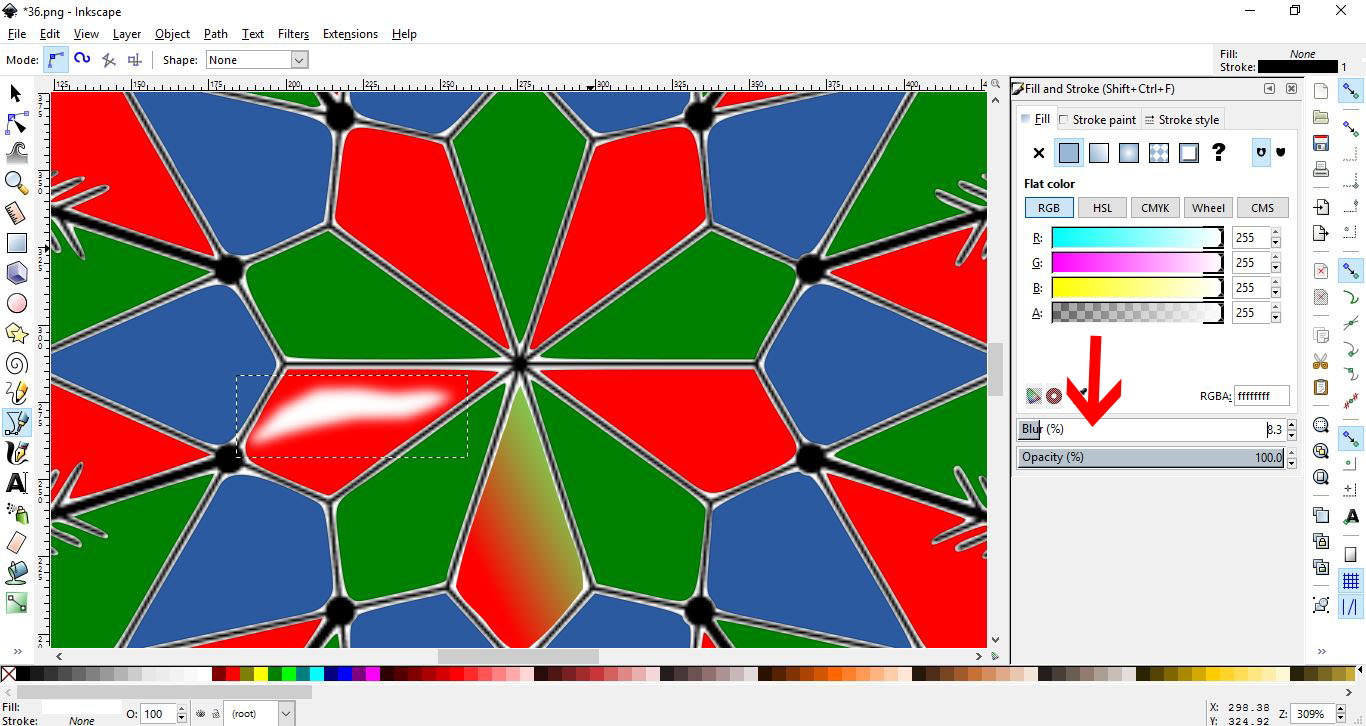
Adjust the size of your highlight to fit your area and then, if needed, adjust the blur again.
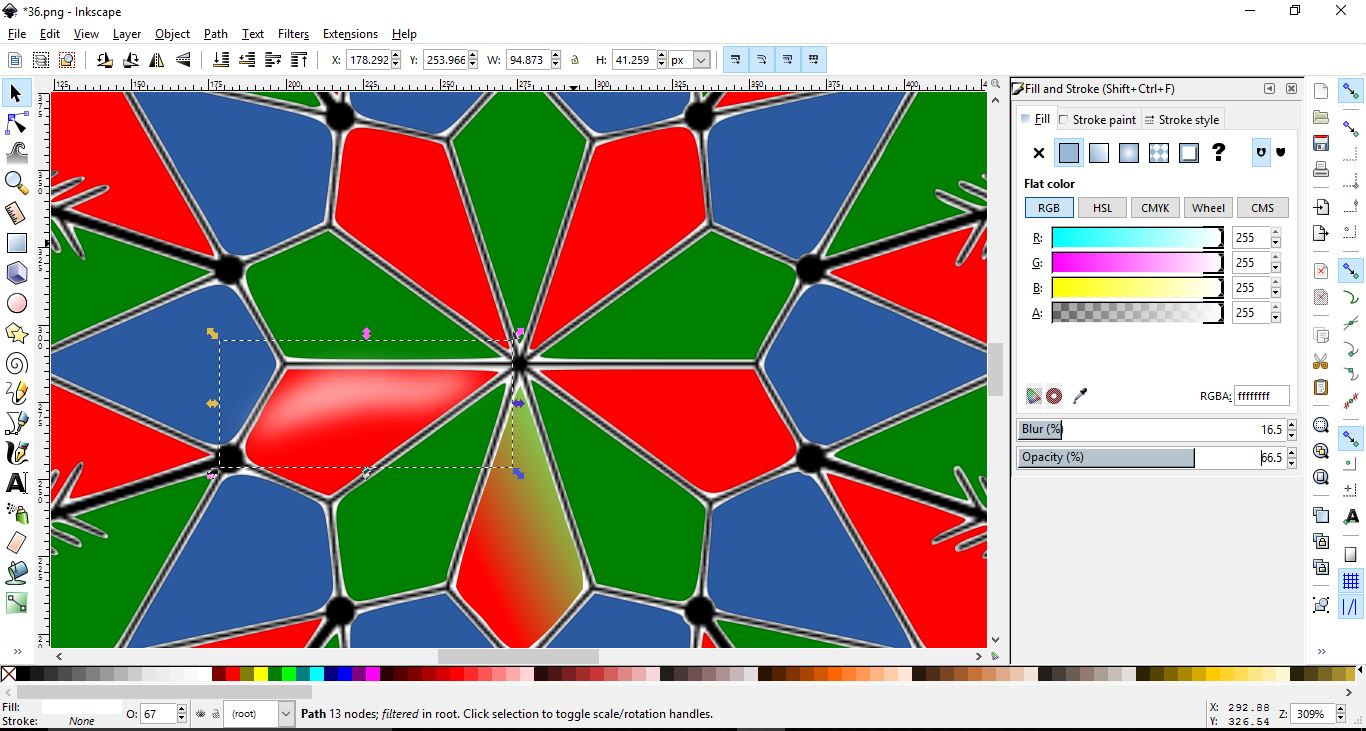
You can copy and paste the highlight to create different effects.
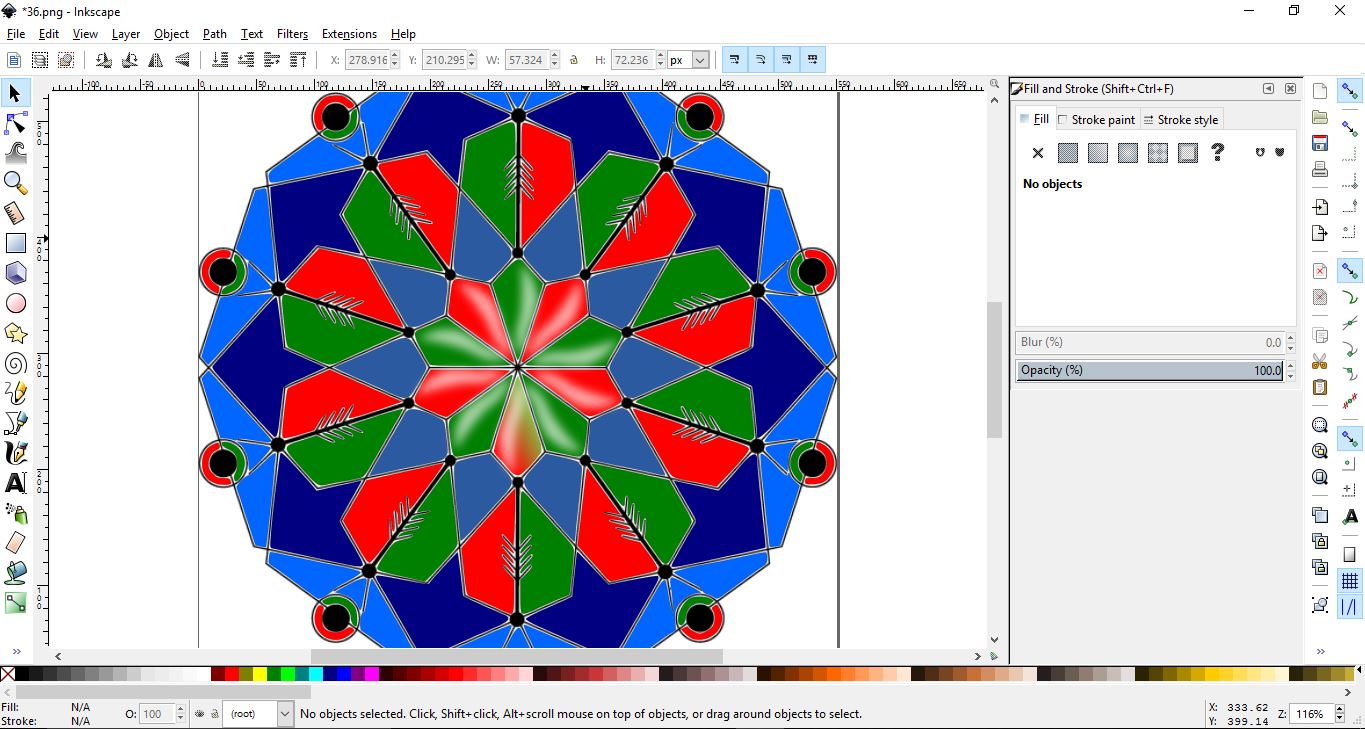
As quick as that you have learned how to color in with Inkscape. You are able to customize the design however you choose and add any color you want. If you found this tutorial helpful be sure to check out the rest of our Inkscape tutorials available.


