Unlimited Downloads 15% off Marketplace Purchases Exclusive Software Access Unlimited Downloads
15% off Marketplace Purchases
Exclusive Software Access
Go Unlimited Maybe Later
How to Create a Text Shadow in Cricut Design Space
  • By Design Bundles
  • 02 Mar 2018
  • 4 Mins
  • Cricut Tutorials

How to Create a Text Shadow in Cricut Design Space

Discover how to create a text shadow to add dimension to your designs with a shadow outline.

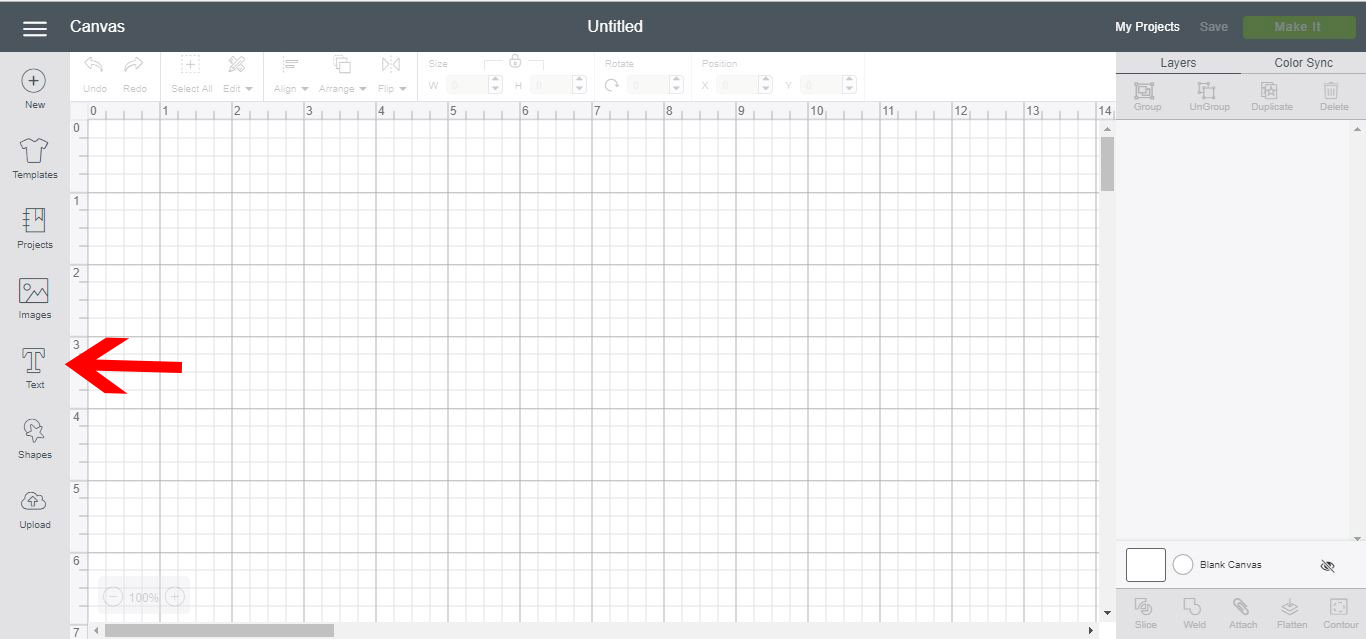
1- Open Cricut Design Space. Select the text tool.

2- Type your text. Select your font. I will be using the Dallon font from fontbundles.net.

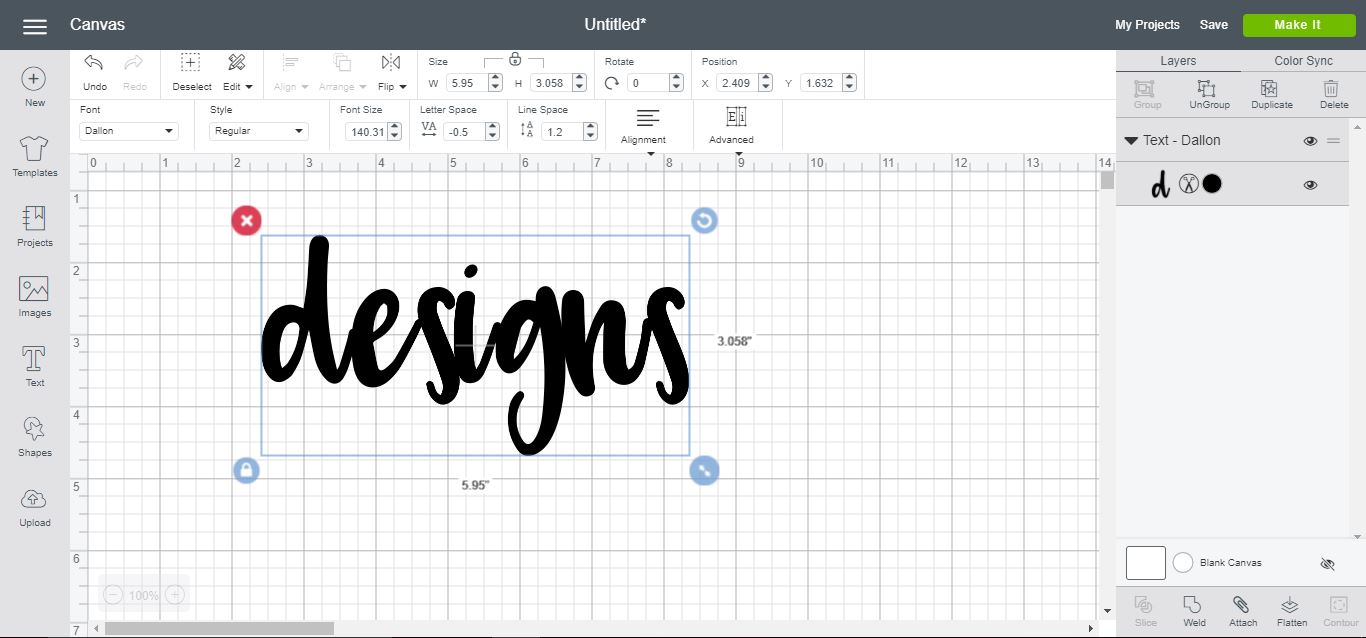
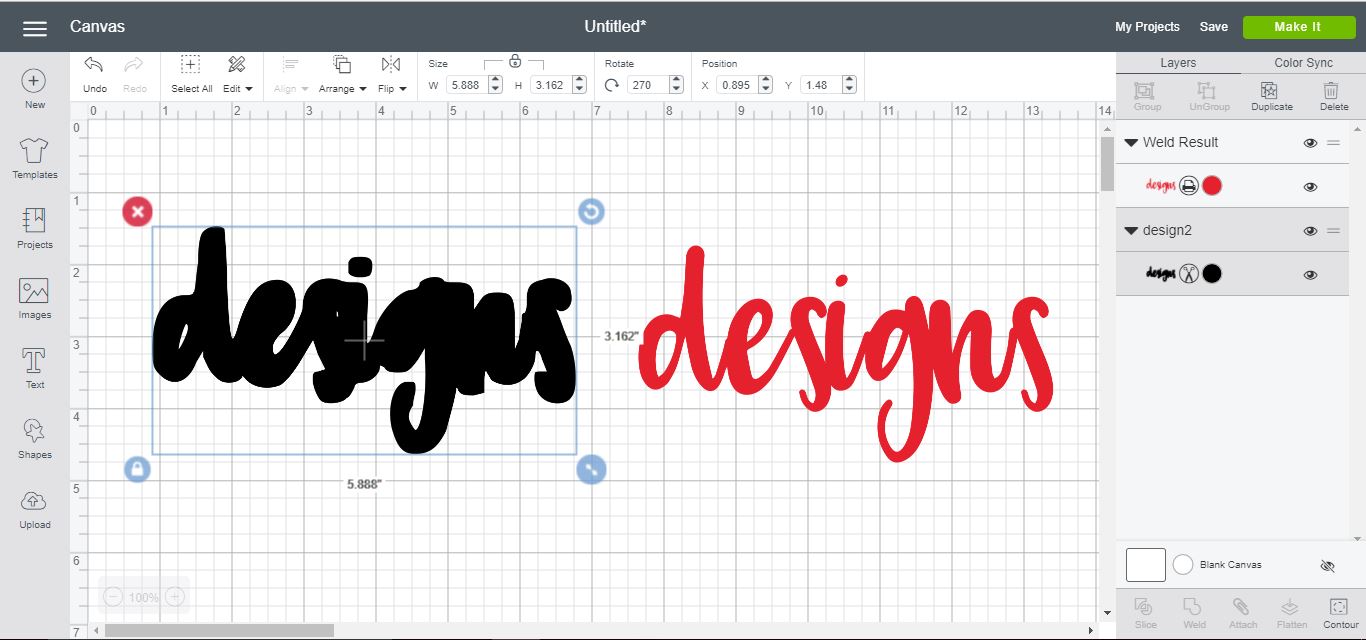
3- Click on your text and then adjust the letter spacing.

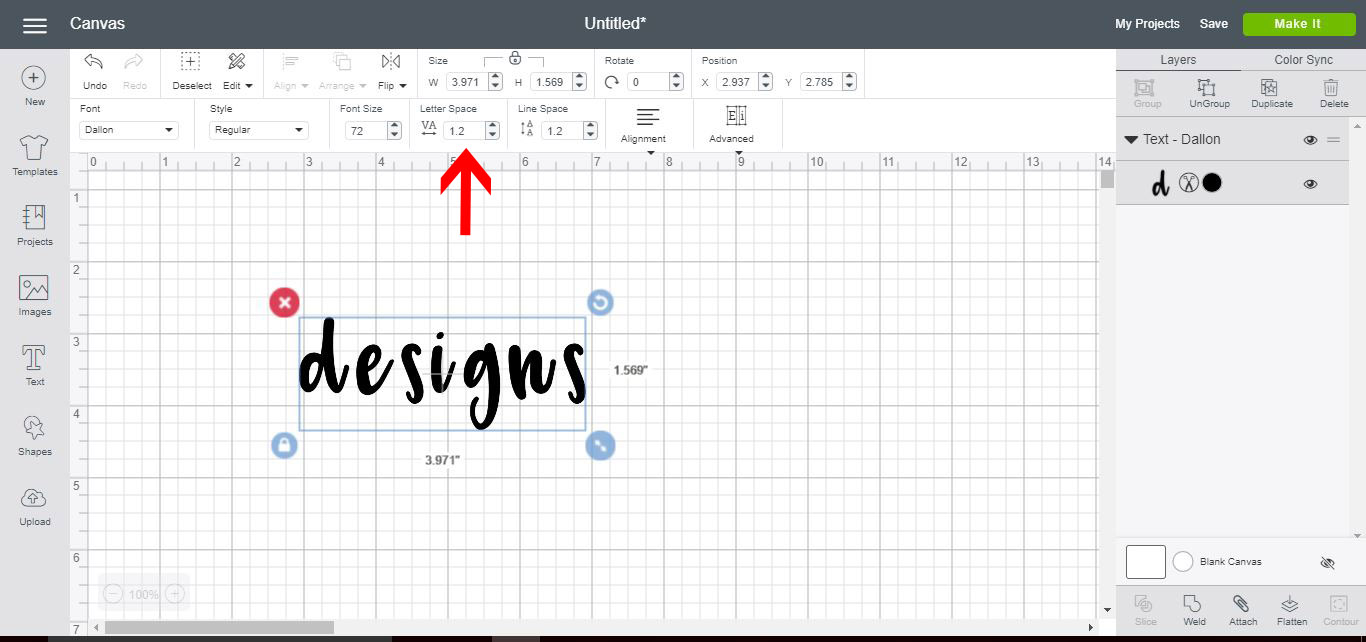
4- Adjust the letter spacing so all the letters touch a tiny bit.

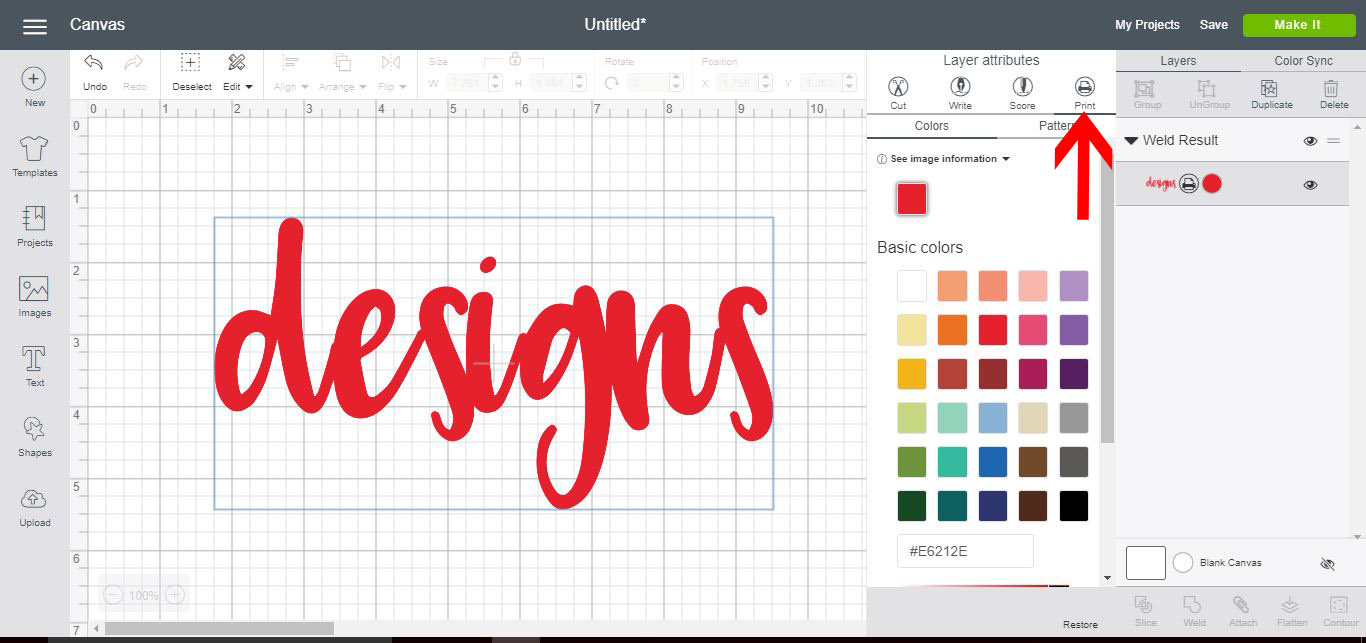
5- Click on the text layer and change the color of the text.

6- In the Layer attributes window, select the print option. Then click Make it.

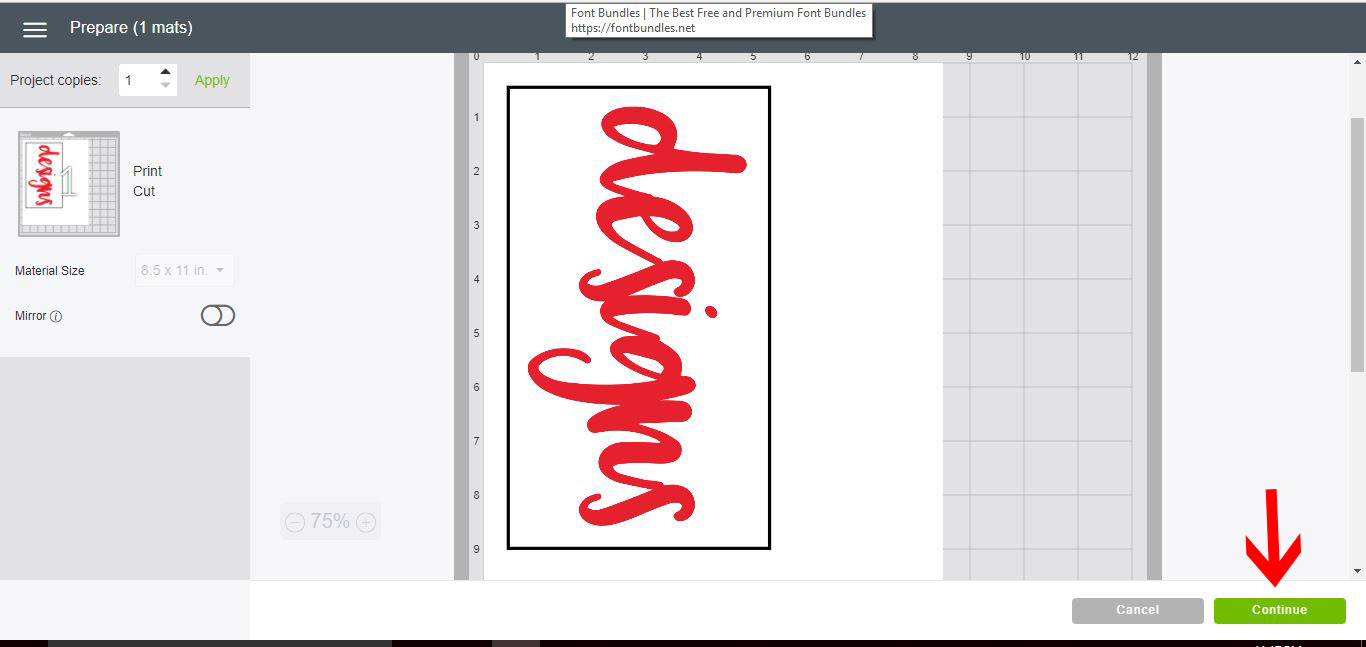
7- You will see that the print and cut window will appear. Click Continue.

*Note- you do not need your Cricut machine connected at this point to create the shadow text.

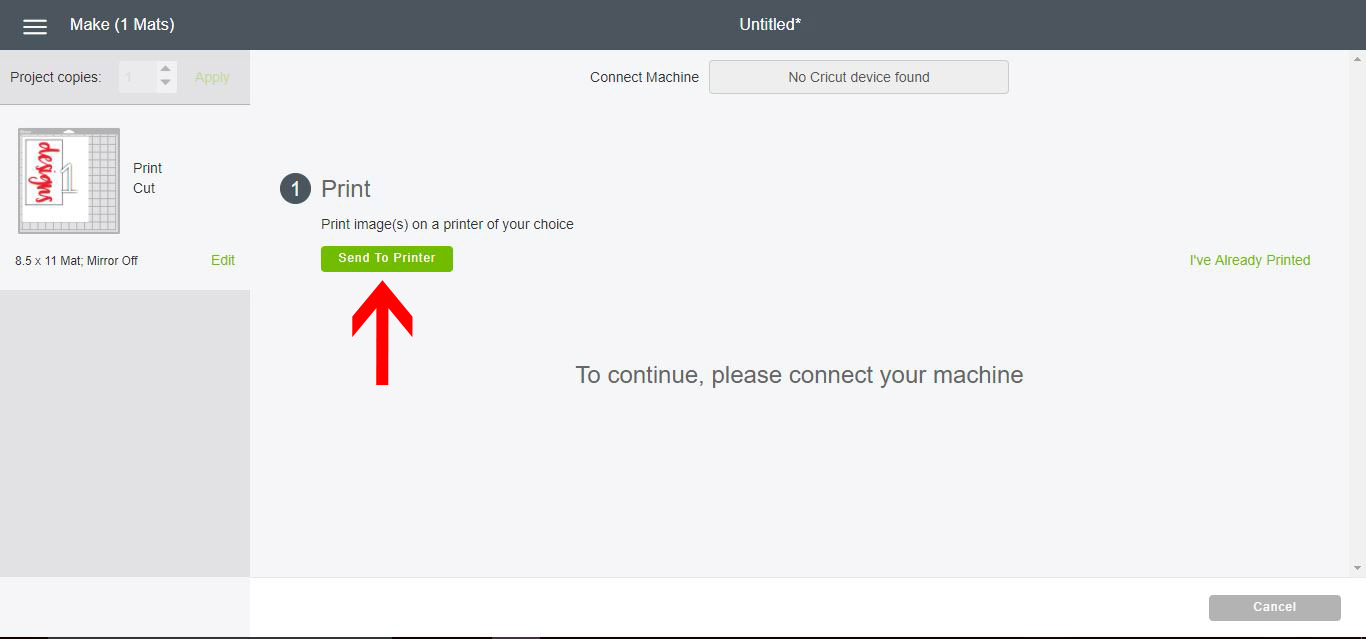
8- Click on Send to Printer.

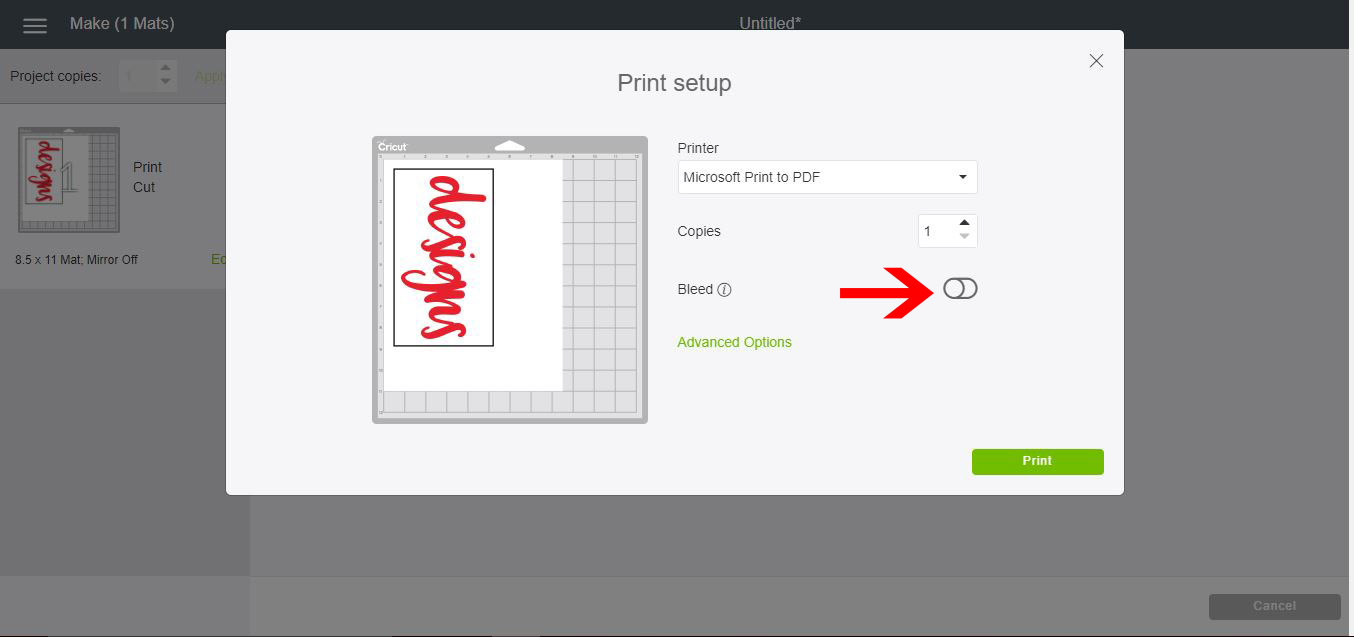
9- In the print setup window make sure that the bleed option is selected. This will make your text slightly wider.

10- Right-click on the image and save.

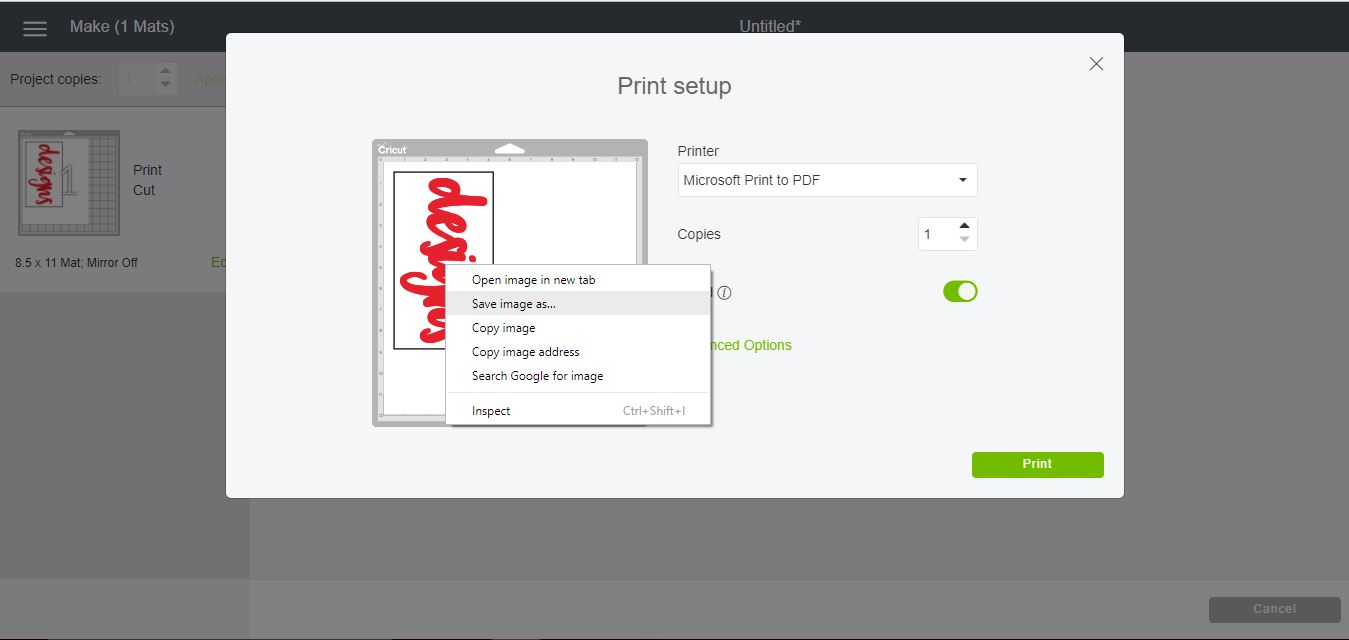
11- Save your image as a PNG.

12- Go back to the design space screen and click on upload image.

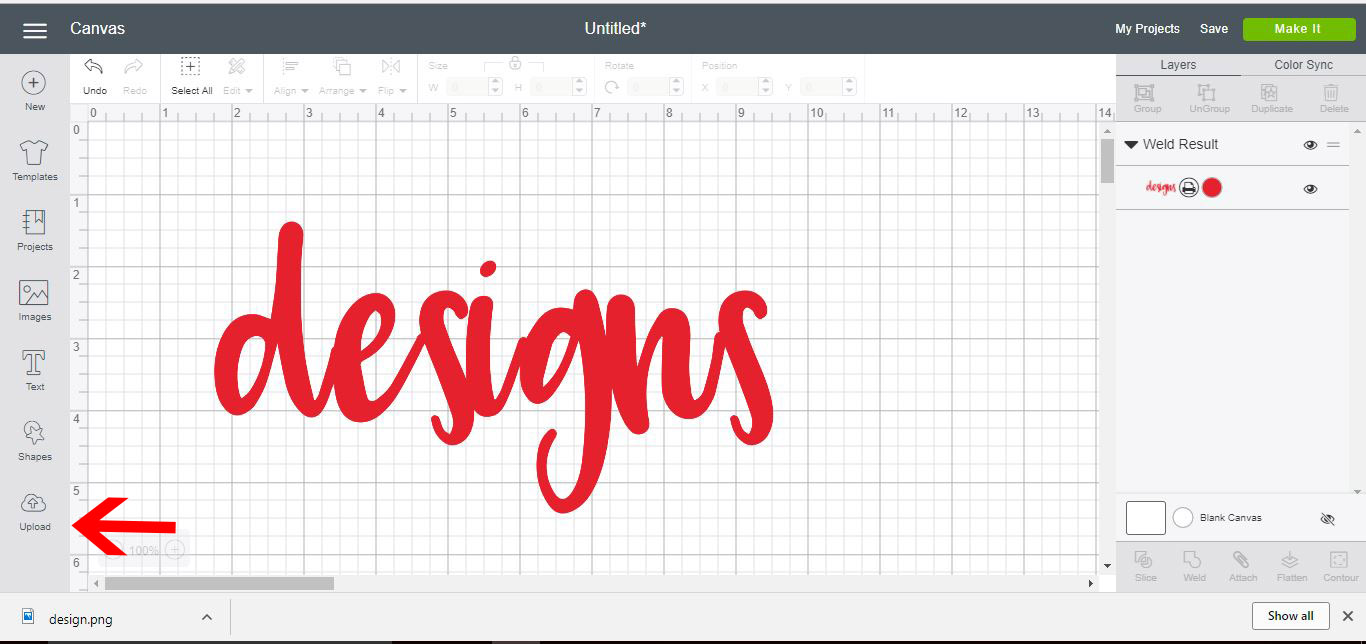
13- Click on upload image.

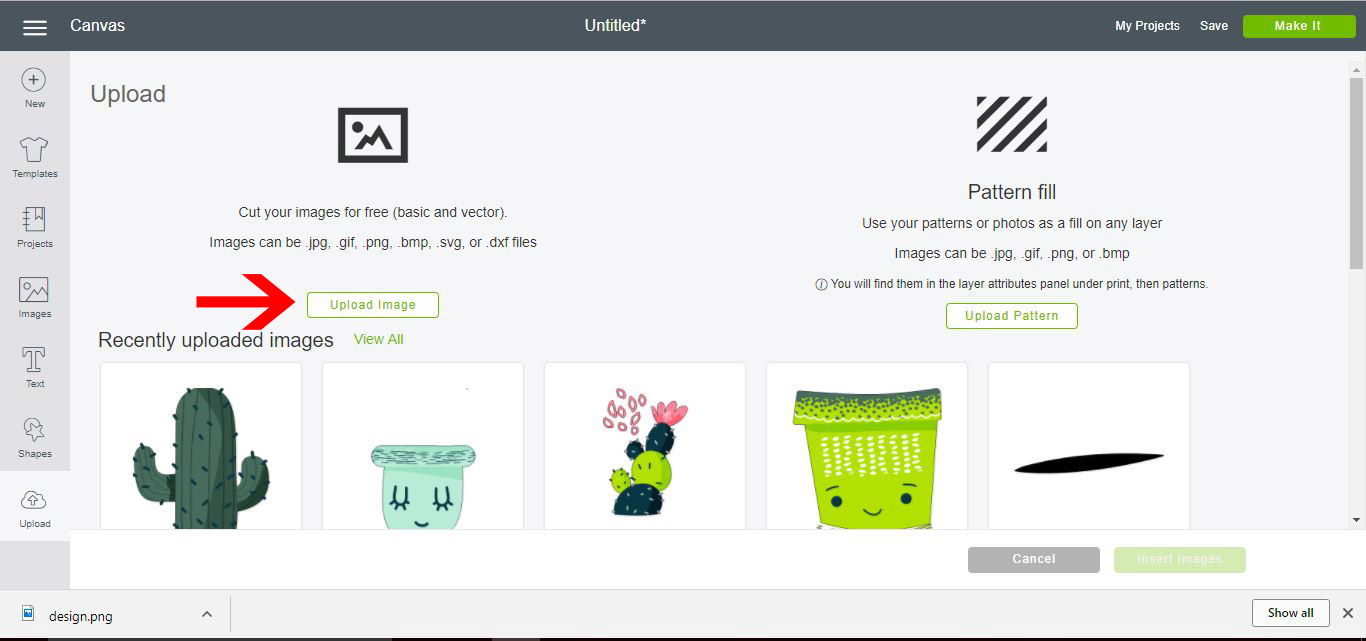
14- Click on browse and access your image you saved.

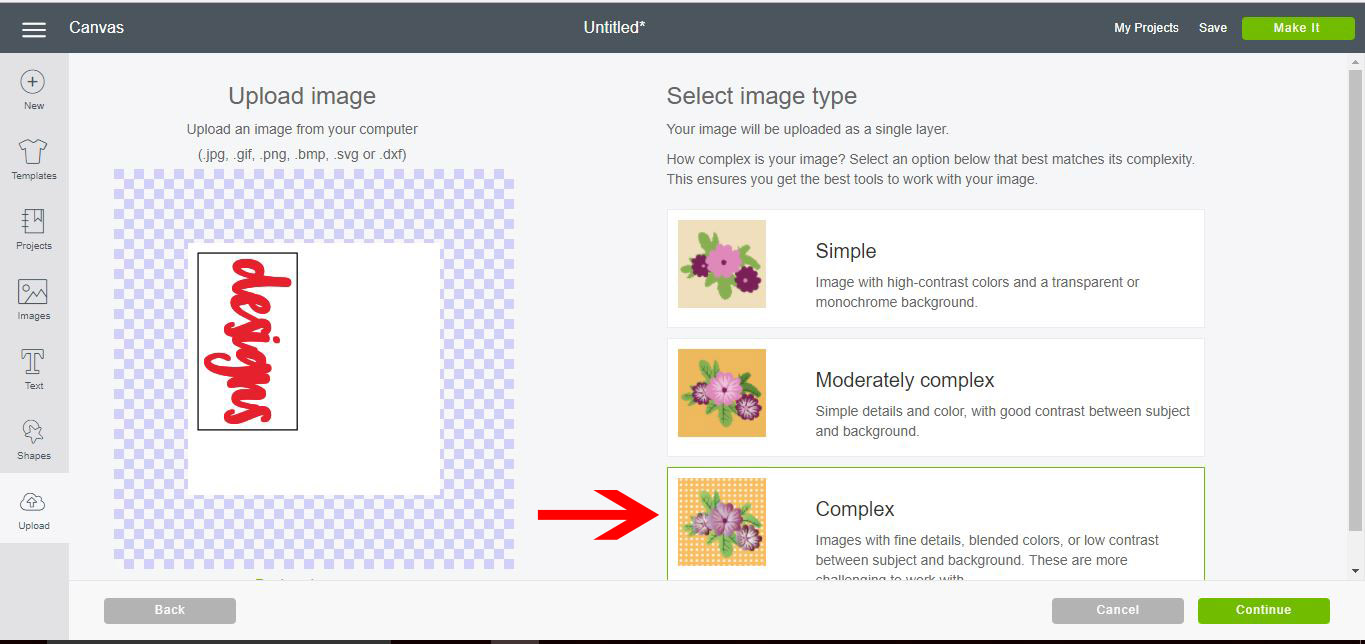
15- Your image will appear on white with a black line around it. Click Complex and then Continue.

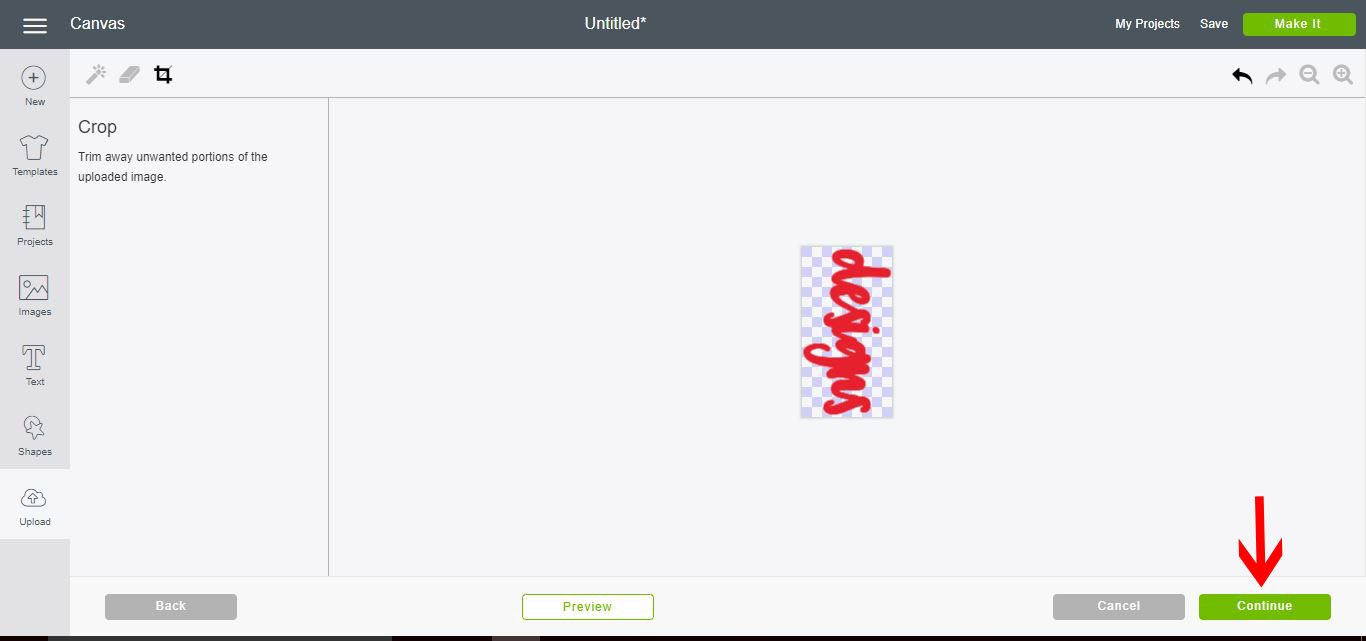
16- Use the magic wand to remove the white from your design. Next click on the crop tool.

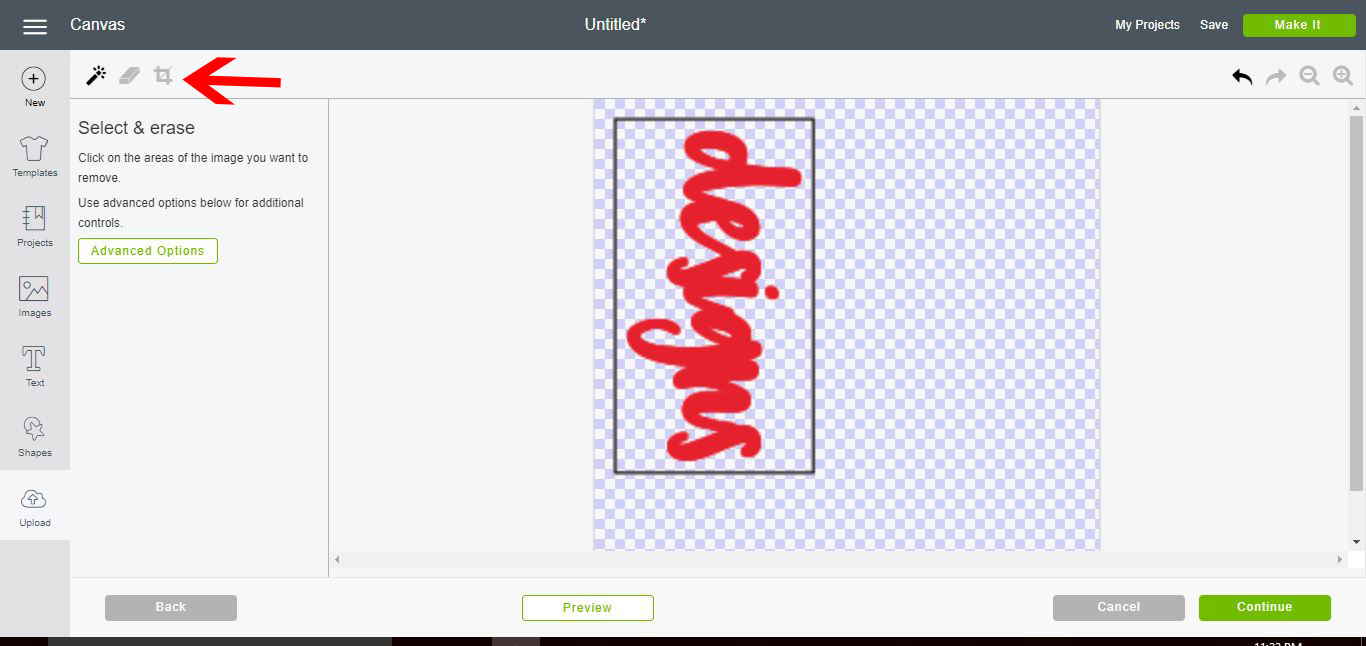
17- Crop around your text. Then click Continue.

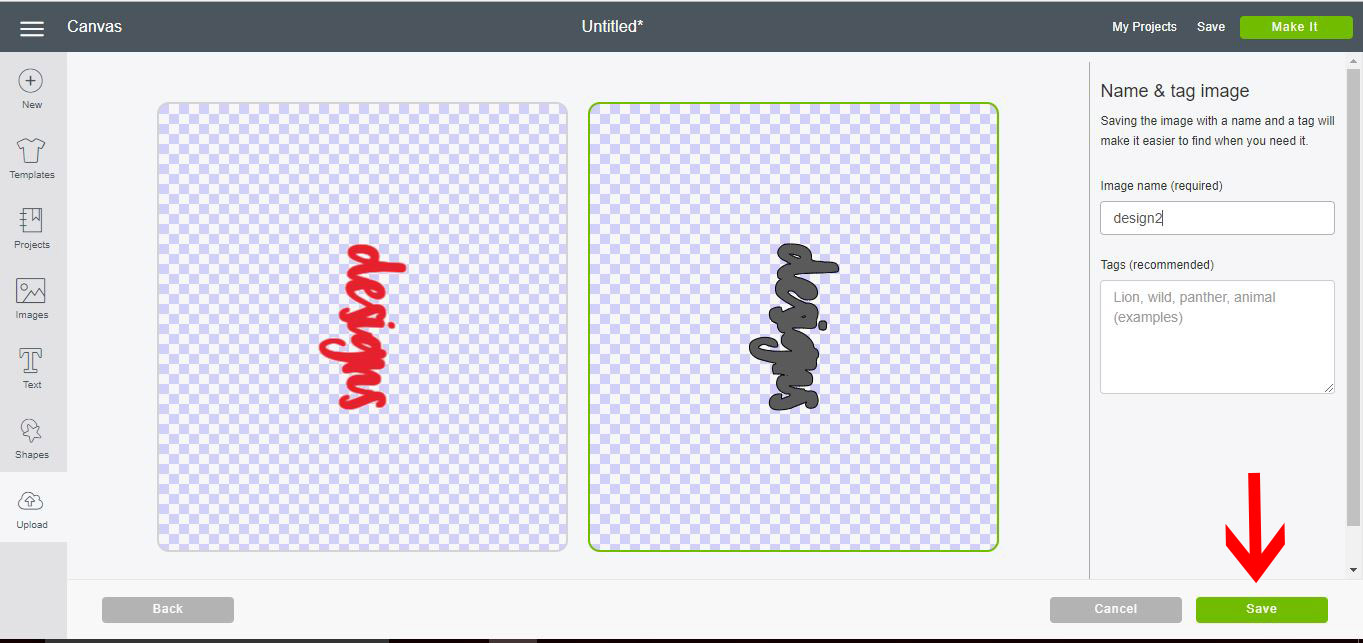
18- Select the cut file and save.

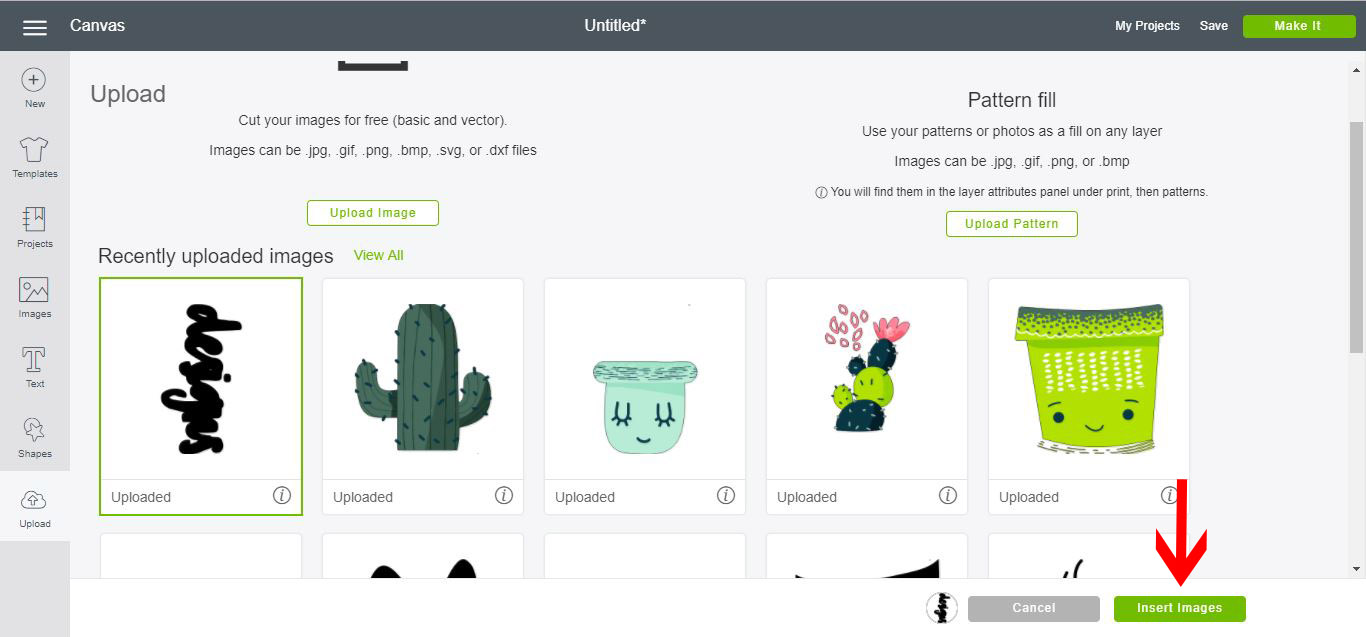
19- Select the design and insert.

20- Your image is now on your design space.

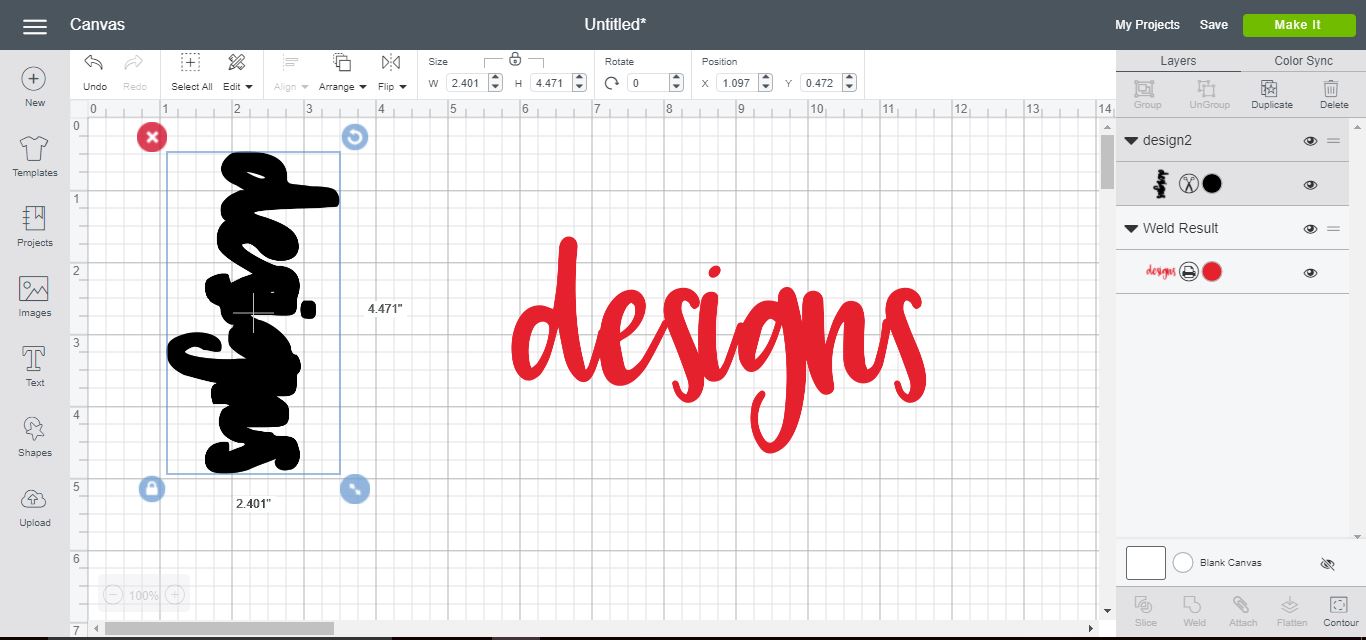
21- Using the Snap rotate function and rotate your design.

22- You can now layer the original text over the shadow layer.

23-Select the original text layer in the layers panel and change the print back to cut file. Your design is now ready to be cut.

If you want to print then cut, select both text objects, and click flatten. That will convert to a print file ready to print and cut.

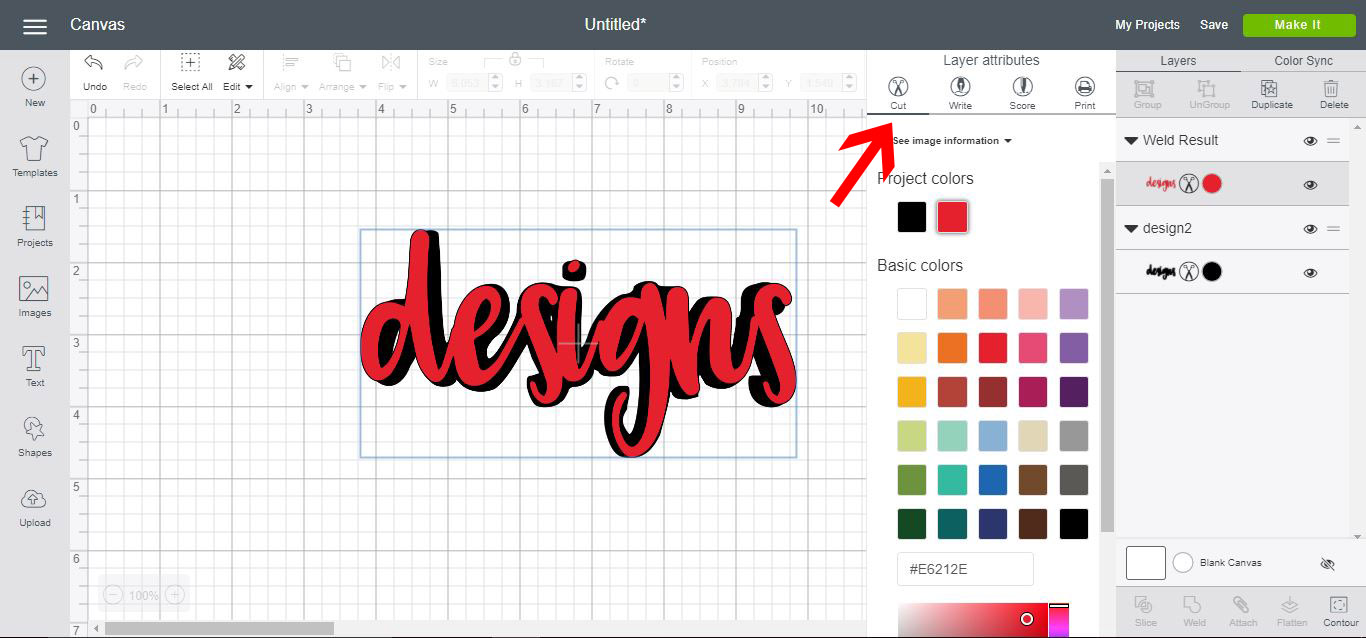
Adding shadow to text creates an eye-catching impact for your projects. Use this technique for shirts, mugs, even online with websites.


6 Related Cricut Tutorials

In this tutorial, we will be showing you how to create a knockout design in Cricut Design Space mobile app. To demonstrate this process, I’ll be using the Summer Funtime Font. There's a ton of fun tropical fonts just like the one we are using today on Font Bundles. ...

1-  Open Cricut Design Space. Click on upload.2- Select upload image.3- Click on browse.4- We have uploaded our single layered image. To make it multi layered for paper piecing etc we need to create a background base, then separate each color for cutting. Click on complex , then ...

We have a great tutorial for you today! We will show you how to create a stencil bridge in Cricut Design Space so you can make reusable stencils. When creating reusable stencils, all of the parts need to be attached. If not, the stencil will fall apart.You can use ...

Today we’ll focus on how to curve Text in Cricut Design Space App. If you're using Cricut Design Space on your computer, make sure to check out our guide on how to curve text in Cricut Design Space.Step 1 - Create a New ProjectOnce you have logged in, create ...

If you’ve ever received a flat JPG or PNG image but wish you could use it like a typical cut file with multiple layers, then this tutorial is for you.In this tutorial, we show you how to take a flat PNG image, and turn it into a multi ...

Create a stunning worn out look by simply following these steps to create your distressed design in Cricut Design Space.Step 1. Create a New ProjectOnce you are have logged in, create a new project by simply clicking on the green button that is labeled New Project on the top right-hand ...

design space create a text shadow

You may also like

Help Center
ol image