
How to Make a Long Shadow in Inkscape
Long shadows are popular in logos and they are easy to make in Inkscape. In this tutorial, we will use the font Lagoon font.
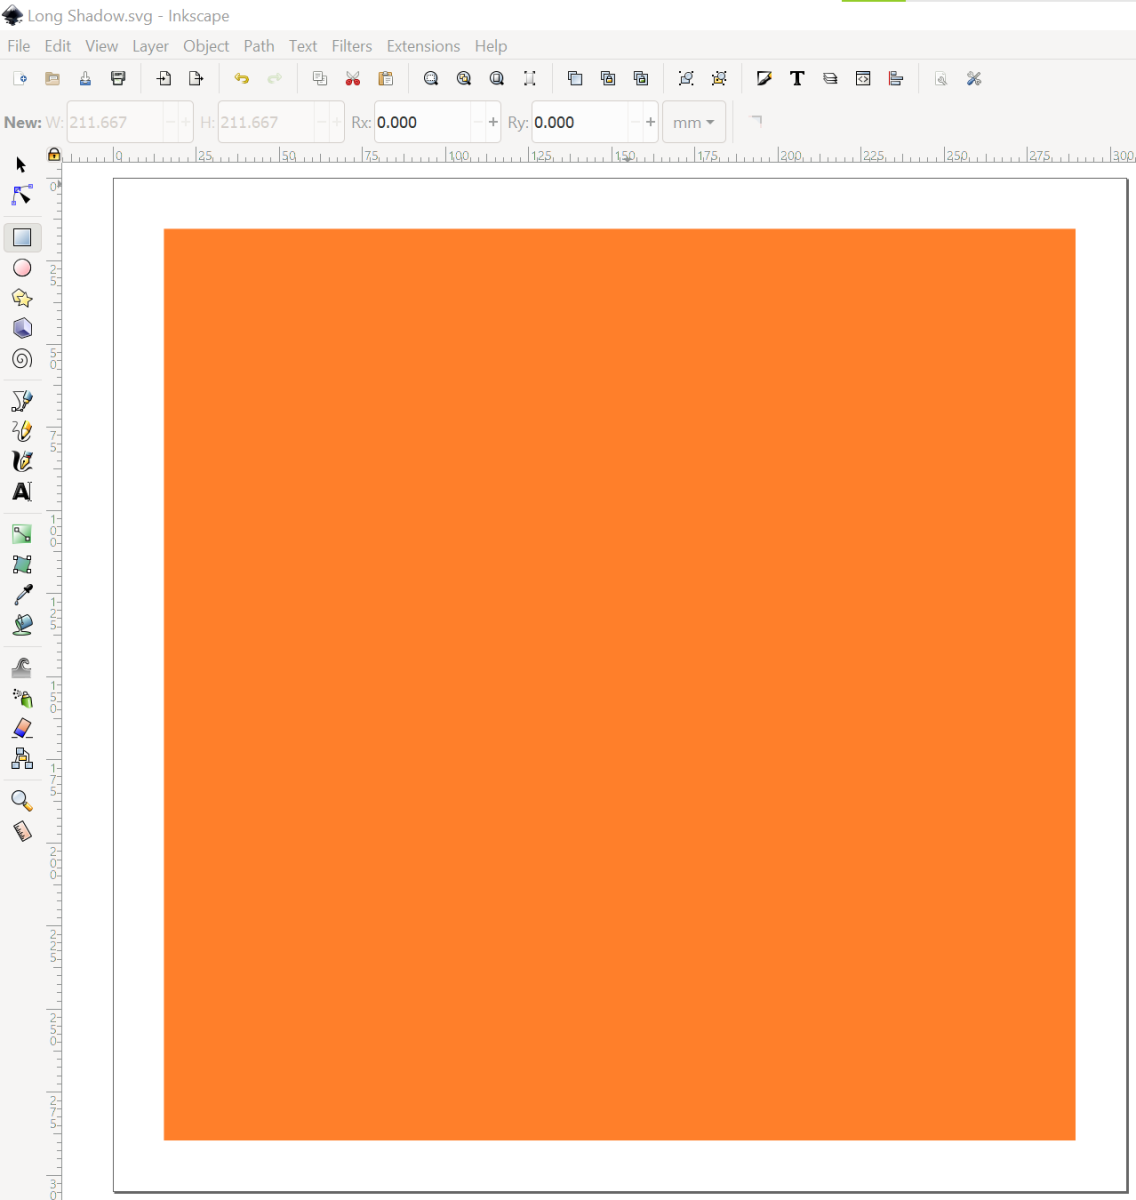
Step 1 - Draw a Square
Use the Create Rectangles and Squares tool to draw a square.
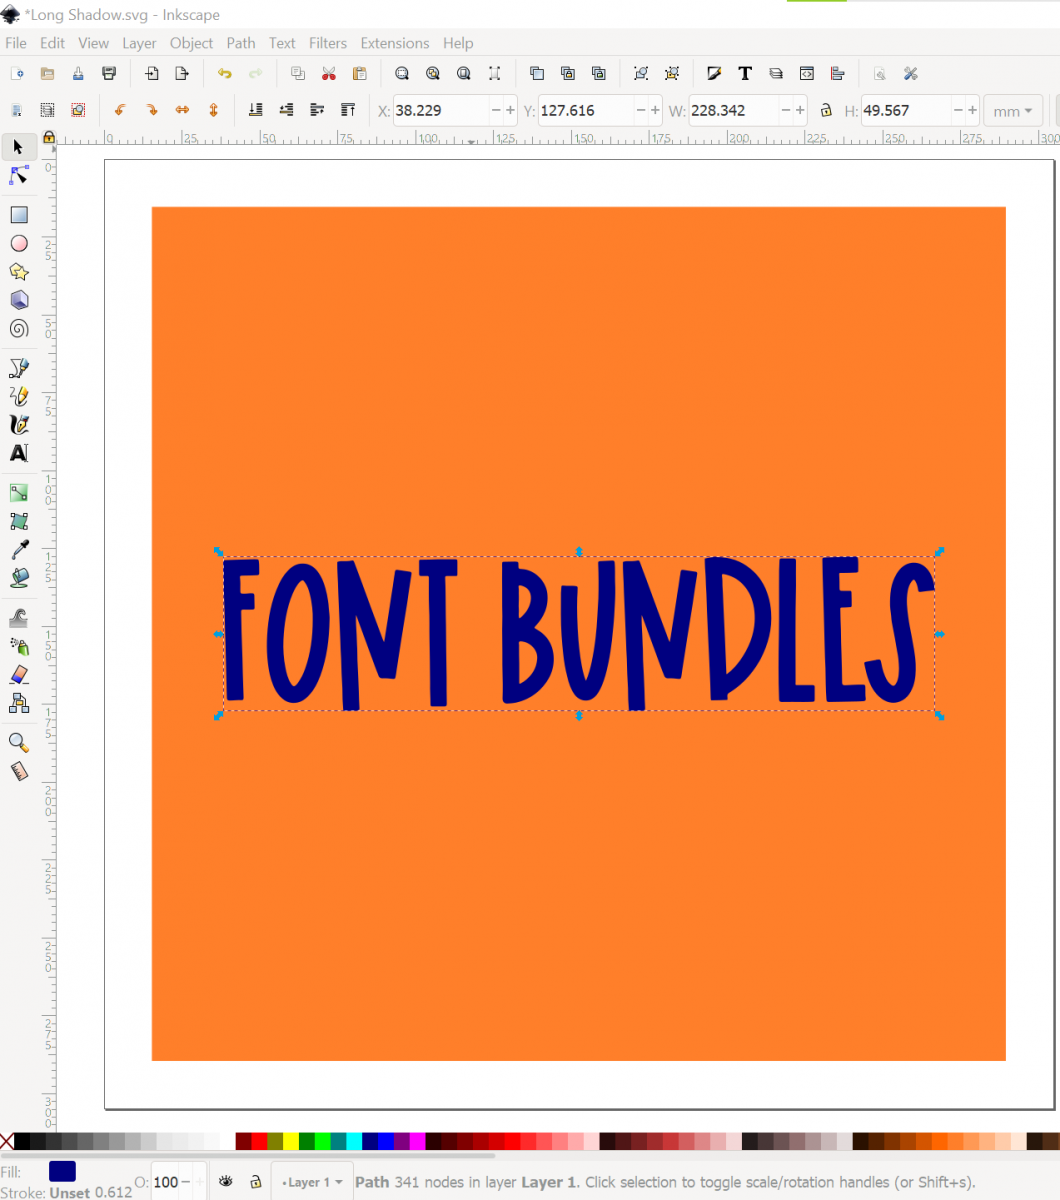
Step 2 - Type out your word or phrase
Use the Create and Edit Text Objects tool. For this example, we'll type out Font Bundles. Adjust the sizing, spacing, and coloring as you like.

Step 3 - Convert the text to a path
Click on the text with the Select Tool. Go to Path > Object to Path, then Object > Ungroup, then Path > Union. To ensure you did this step correctly, you want to see Path and a number of nodes in the bottom bar of Inkscape.
Step 4 - Duplicate the path
Select the word then duplicate (Ctrl + D) to create a second set of words.
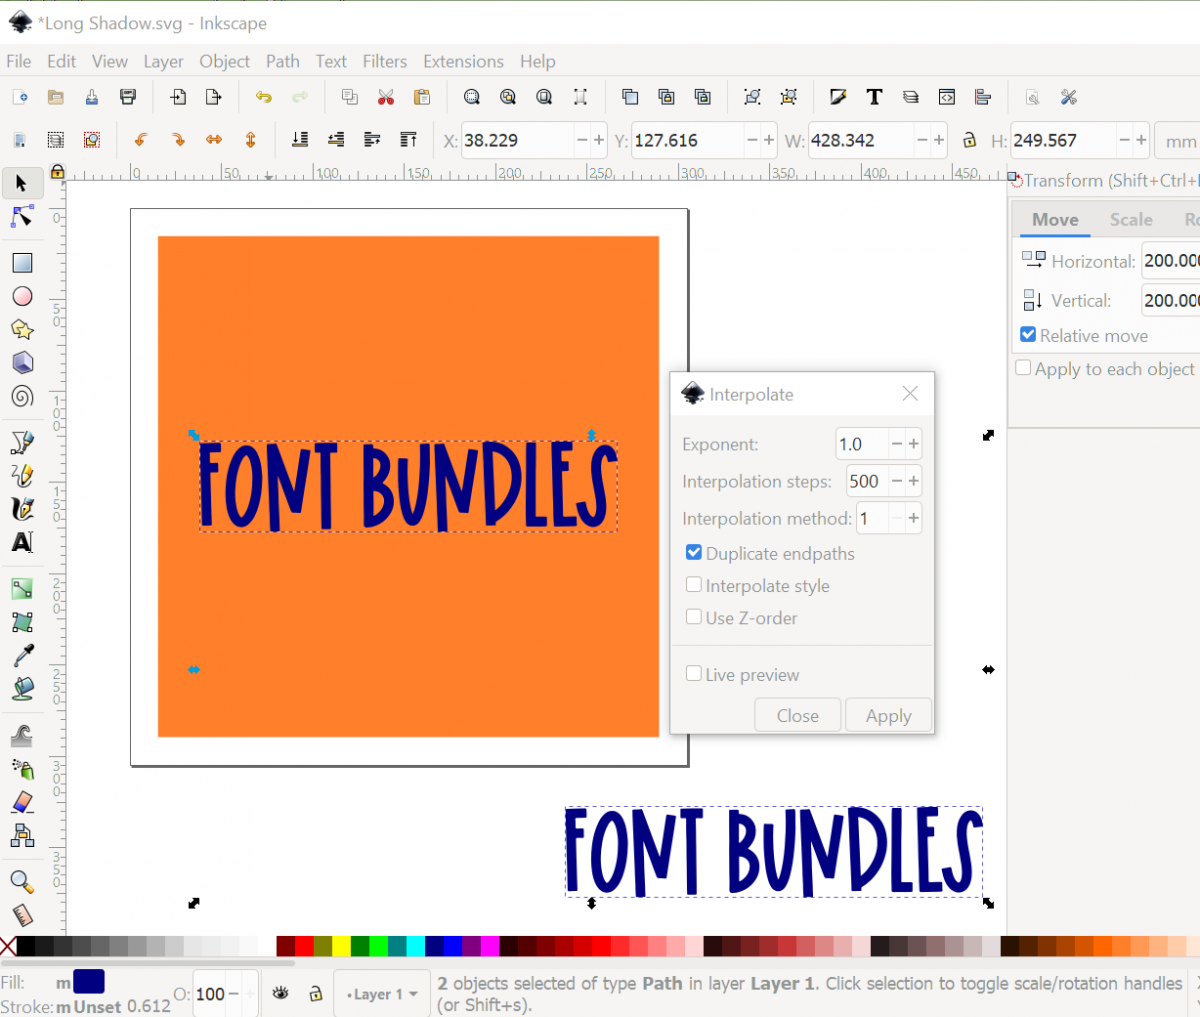
Step 5 - Use the Transform Tool to move the duplicate words
Go to Object > Transform to open the Transform Tool. We want to make sure that the duplicate words is moved outside of the square. I am able to move to object 200 mm to the right and 200 mm down to get it out of the square, but your measurements may be different. Click the Apply button and then the duplicate text will move.

Step 6 - Select both sets of words and Interpolate
Hold down the shift key and click on both sets of words to select them both. Go to Extensions > Generate from Path > Interpolate. Adjust the settings to match what is showing in the below screenshot (exponent 1.0, interpolation steps 500, interpolation method 1, and only the box for duplicate endpaths is checked). Then click the Apply button. This step can take some time and Inkscape will freeze up, but just be patient.
Step 7 - Convert the interpolation into a path
Select the interpolation, our long shadow, that was created between the two sets of words. It will be a group of 502 objects. Go to Objects > Ungroup, then Path > Union to make it a path. To ungroup and union this many objects will take some time, so be patient.
Step 8 - Move the shadow behind the words
Change the color of the long shadow and move it behind the words (you want the long shadow below the words and above the square). Delete the second set of words that is outside of the square.
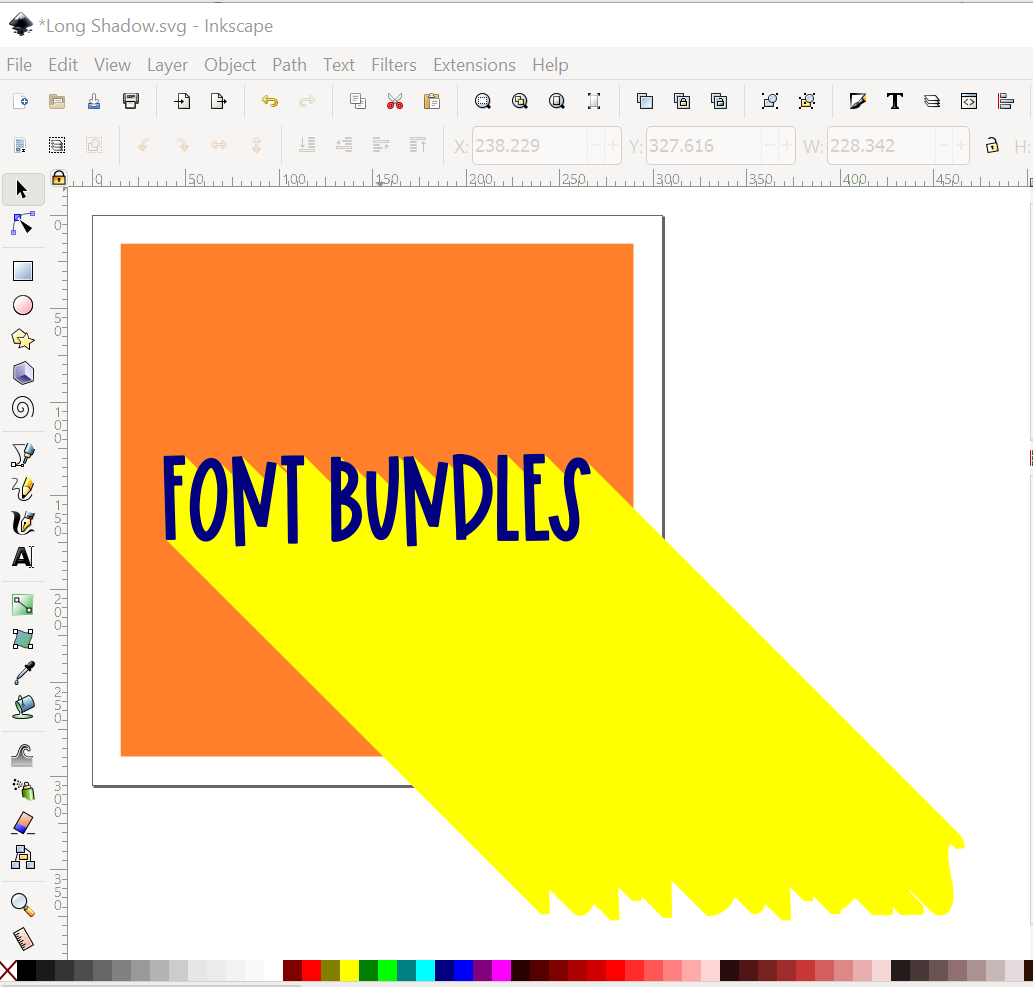
Step 9 - Use Intersection to complete the long shadow
Select the square and duplicate it (Ctrl + D). The duplicated square will be on top of everything else. Select the duplicated square and the long shadow then go to Path > Intersection.
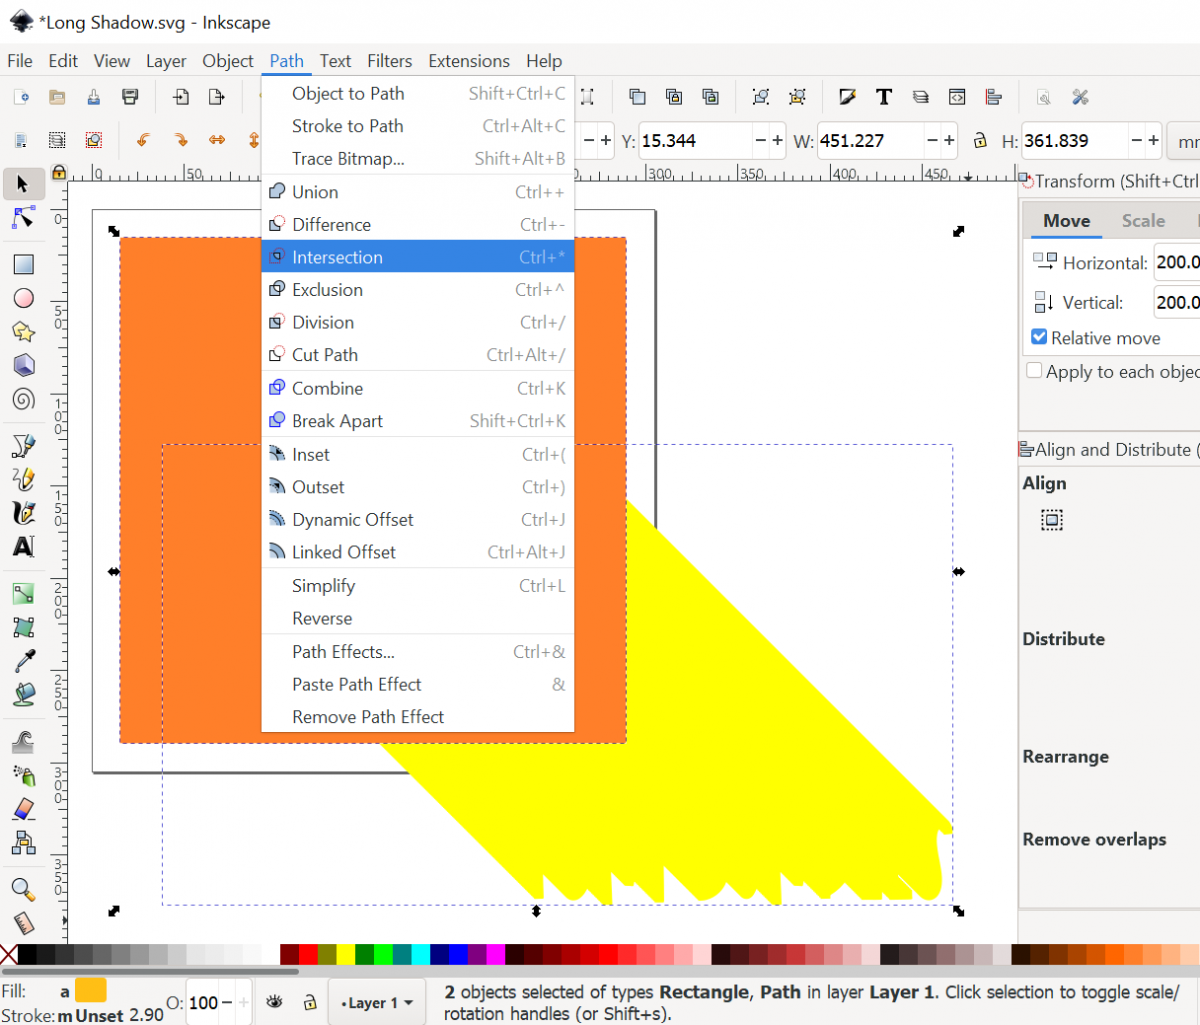
This will leave you with your completed long shadow.

The long shadow is now ready to export as a PNG. If you want to convert this to an SVG, you will want to clean up the nodes in the long shadow.
Now that the shadow has been created, you can add a gradient.
We also have guides on how to create a long shadow in Illustrator and how to create a long shadow in Photoshop.


