

By Design Bundles
Retro Rainbow Long Shadow in Illustrator
For this tutorial, we will use the Free Font “Fenton Black” from Faith G¸nes.
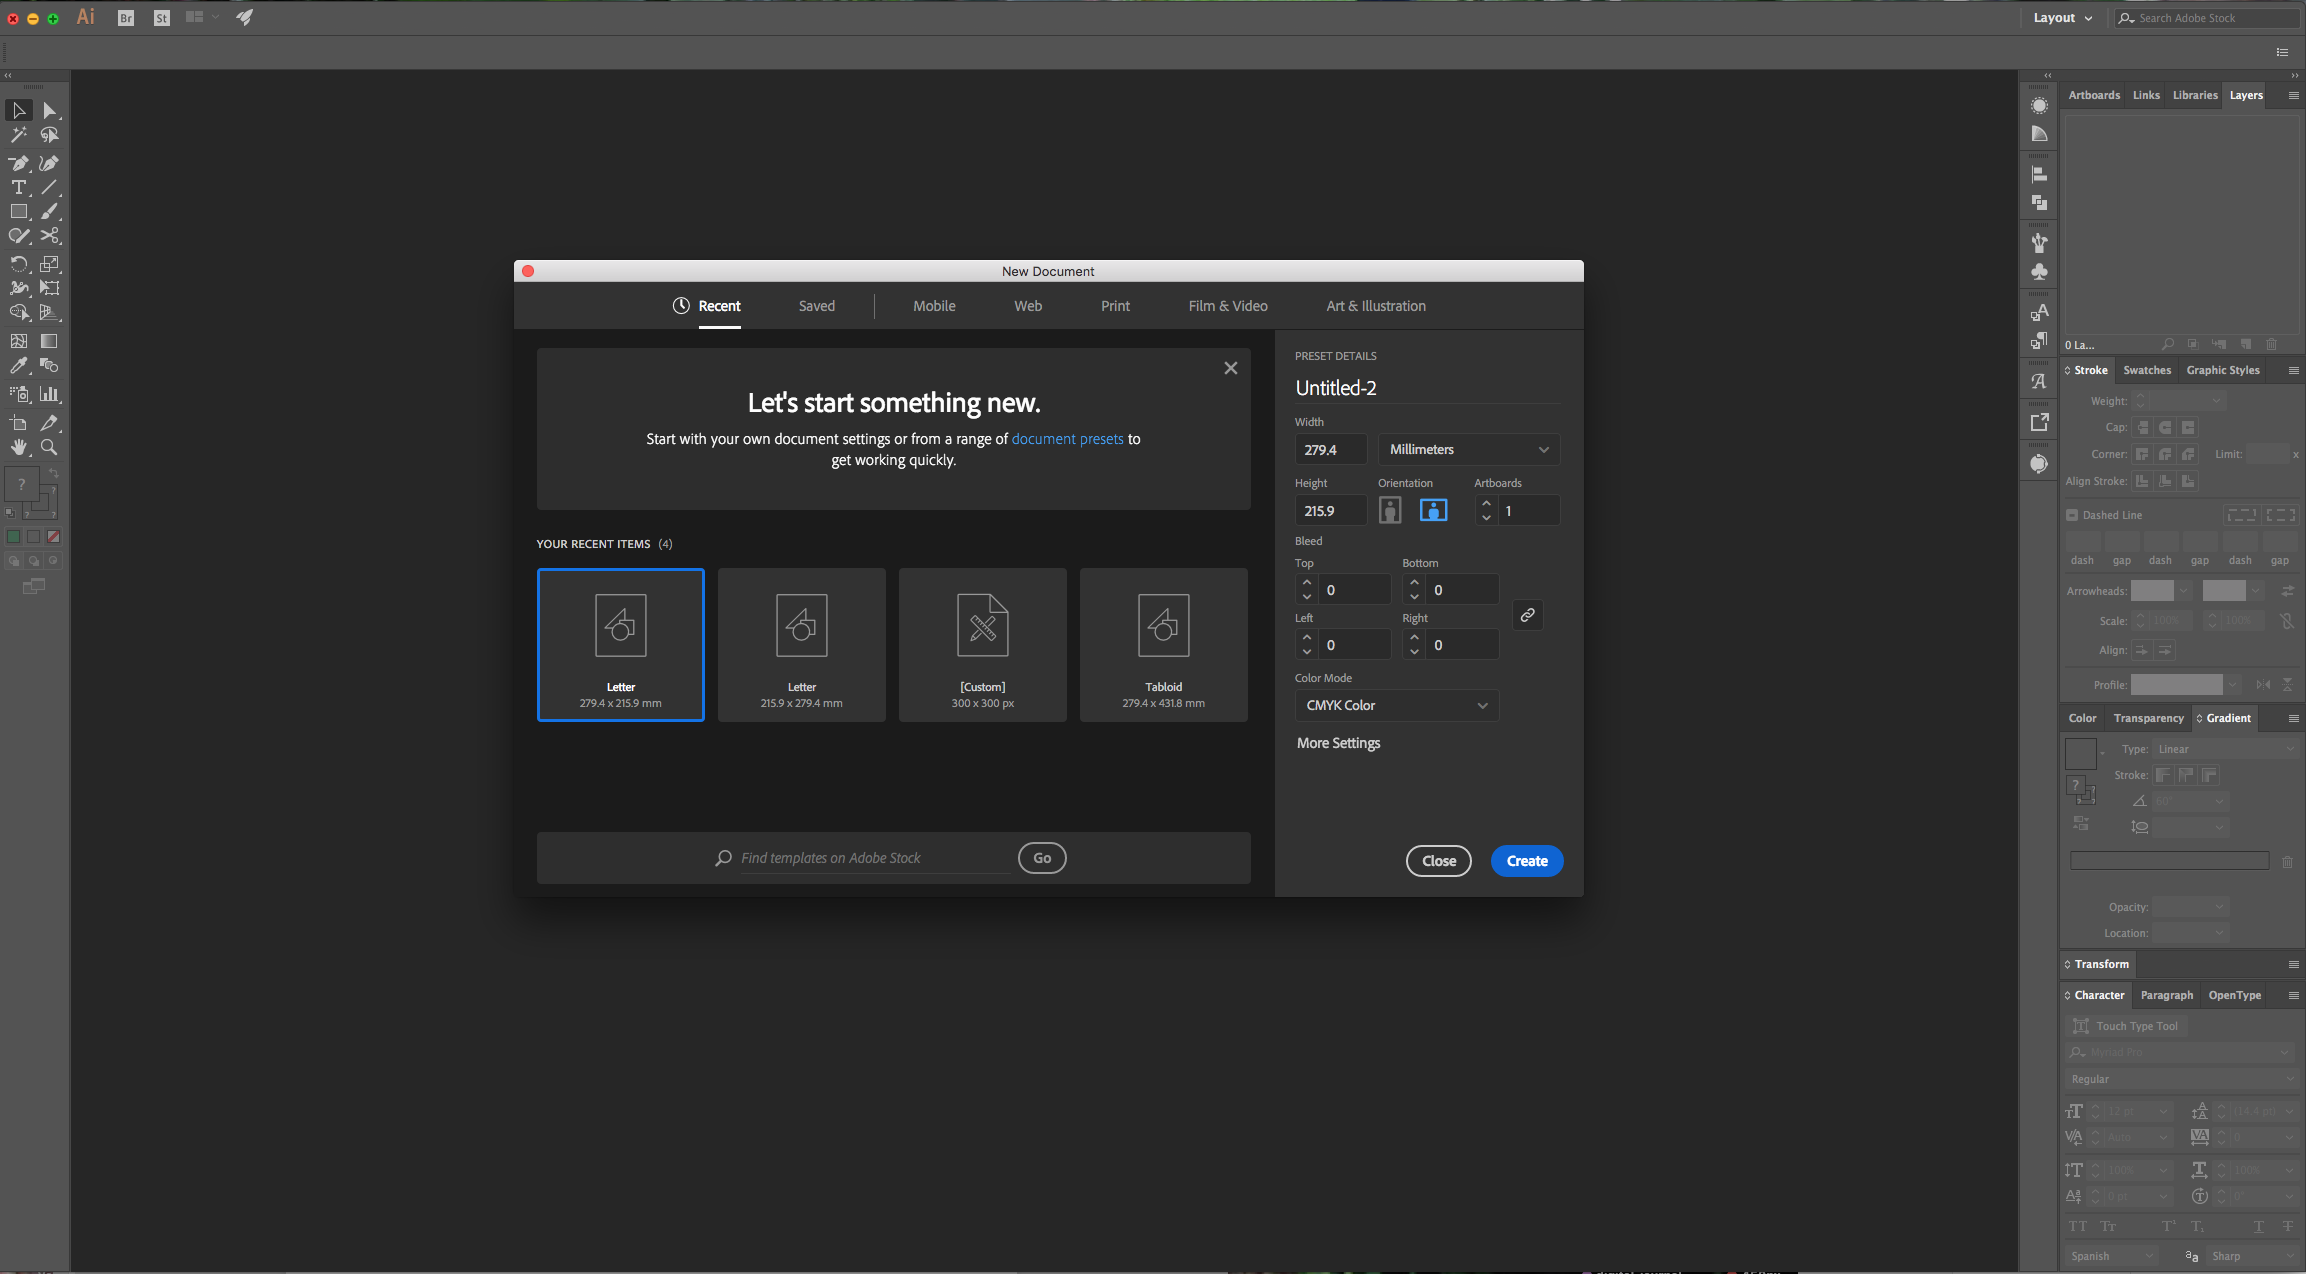
1 - In Illustrator, create a “New Document”.
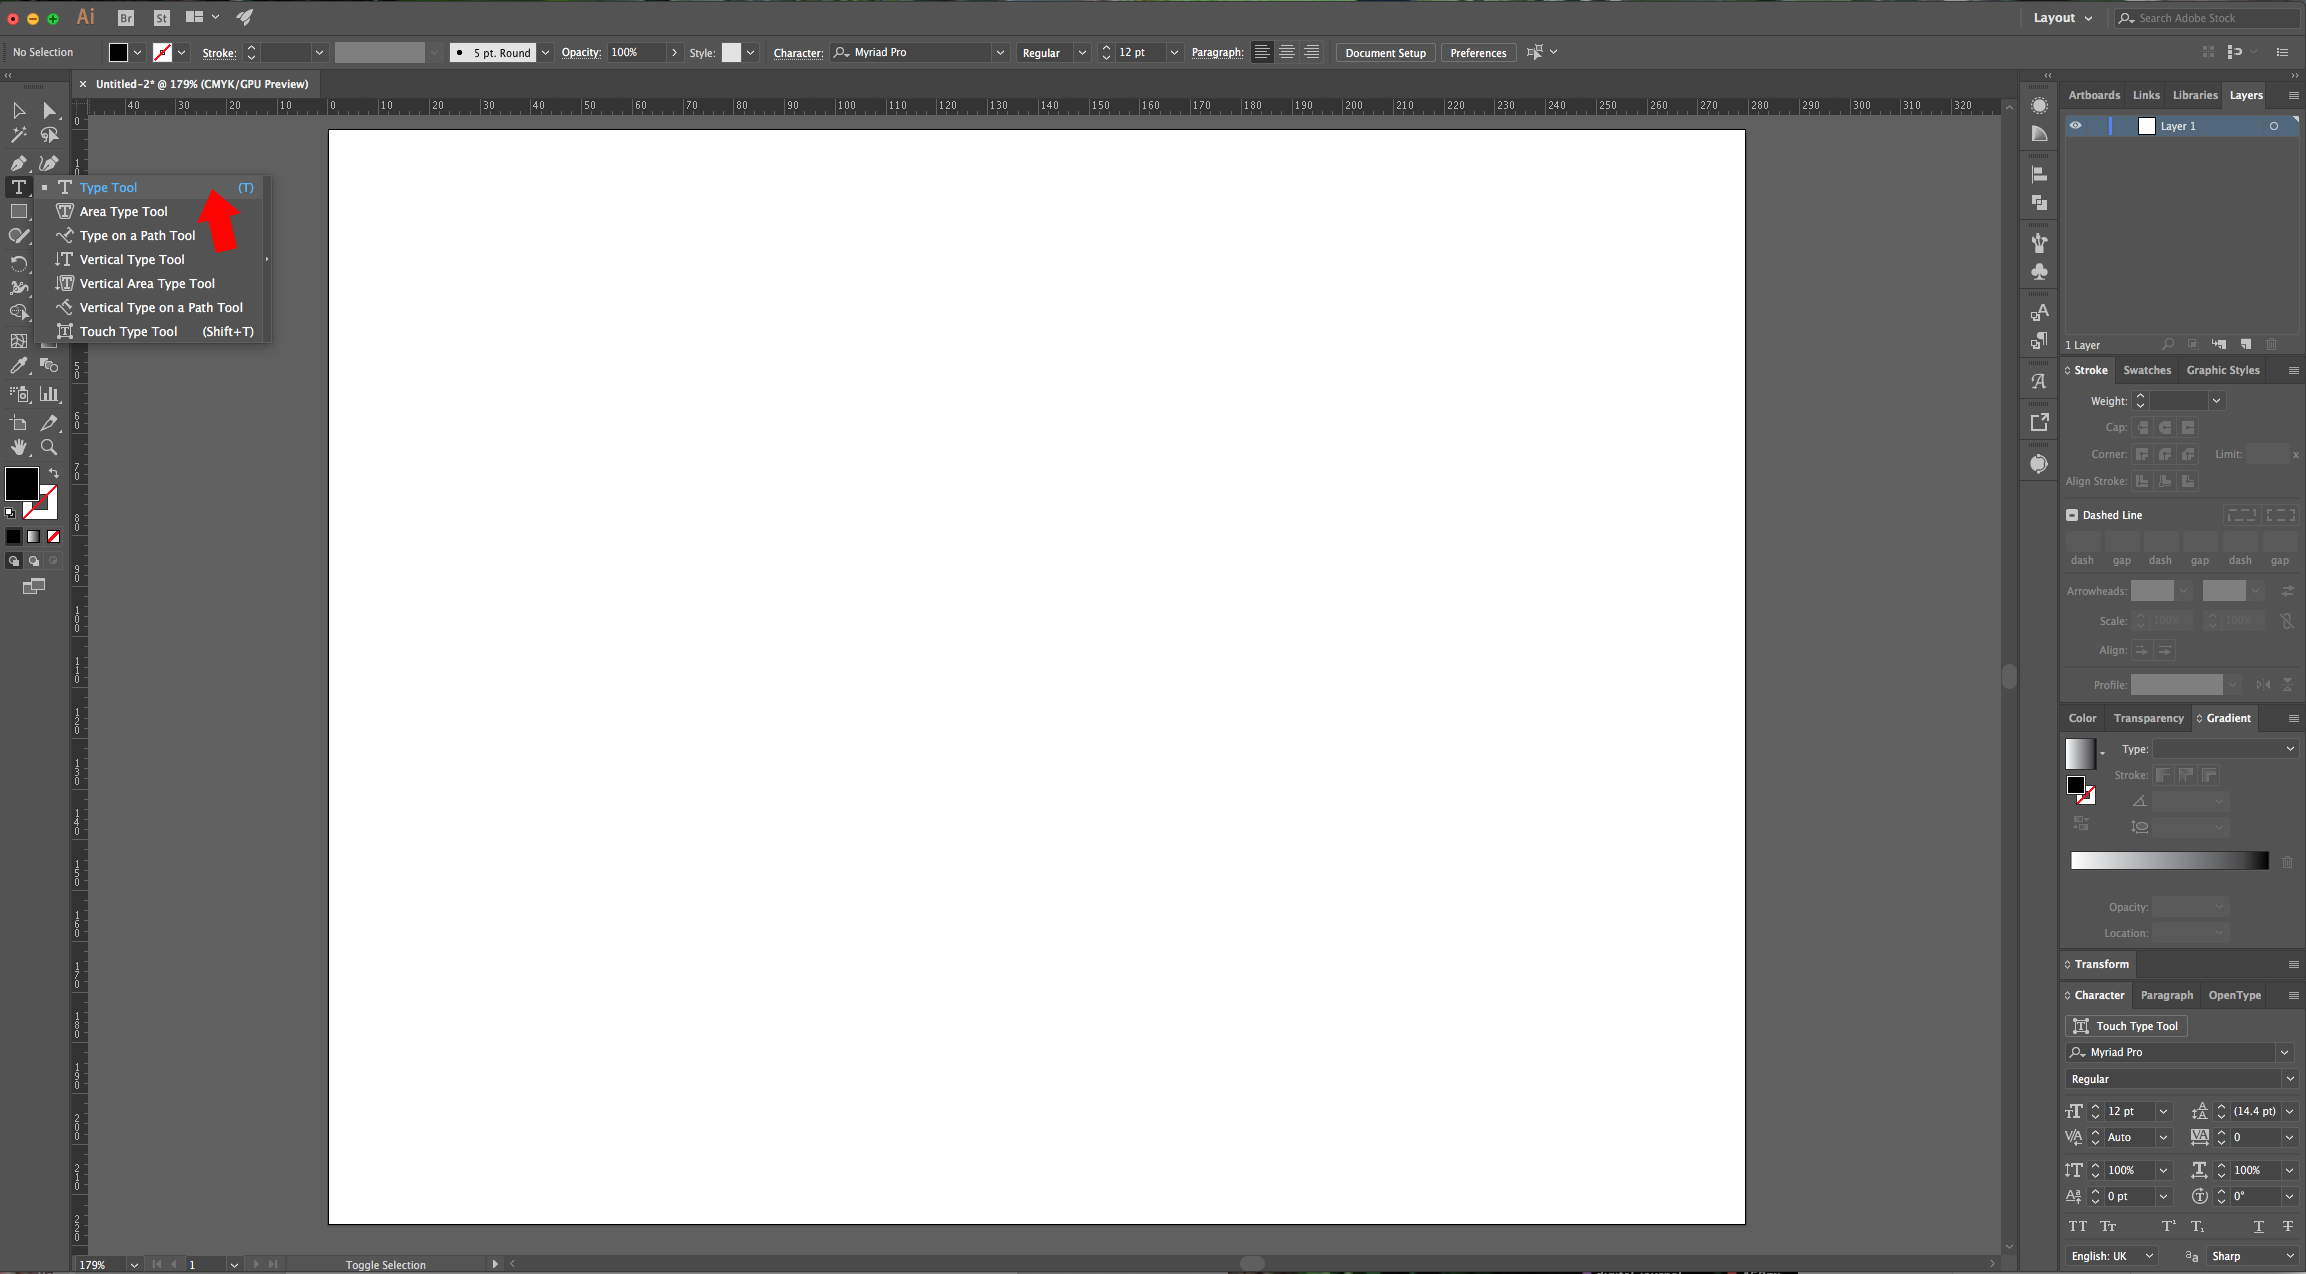
2 - Select the “Type Tool” (T), choose your font and type your text, use Black as “Fill” color and “Align” it “Left”. In the “Character Panel” set the “Tracking” to 50.
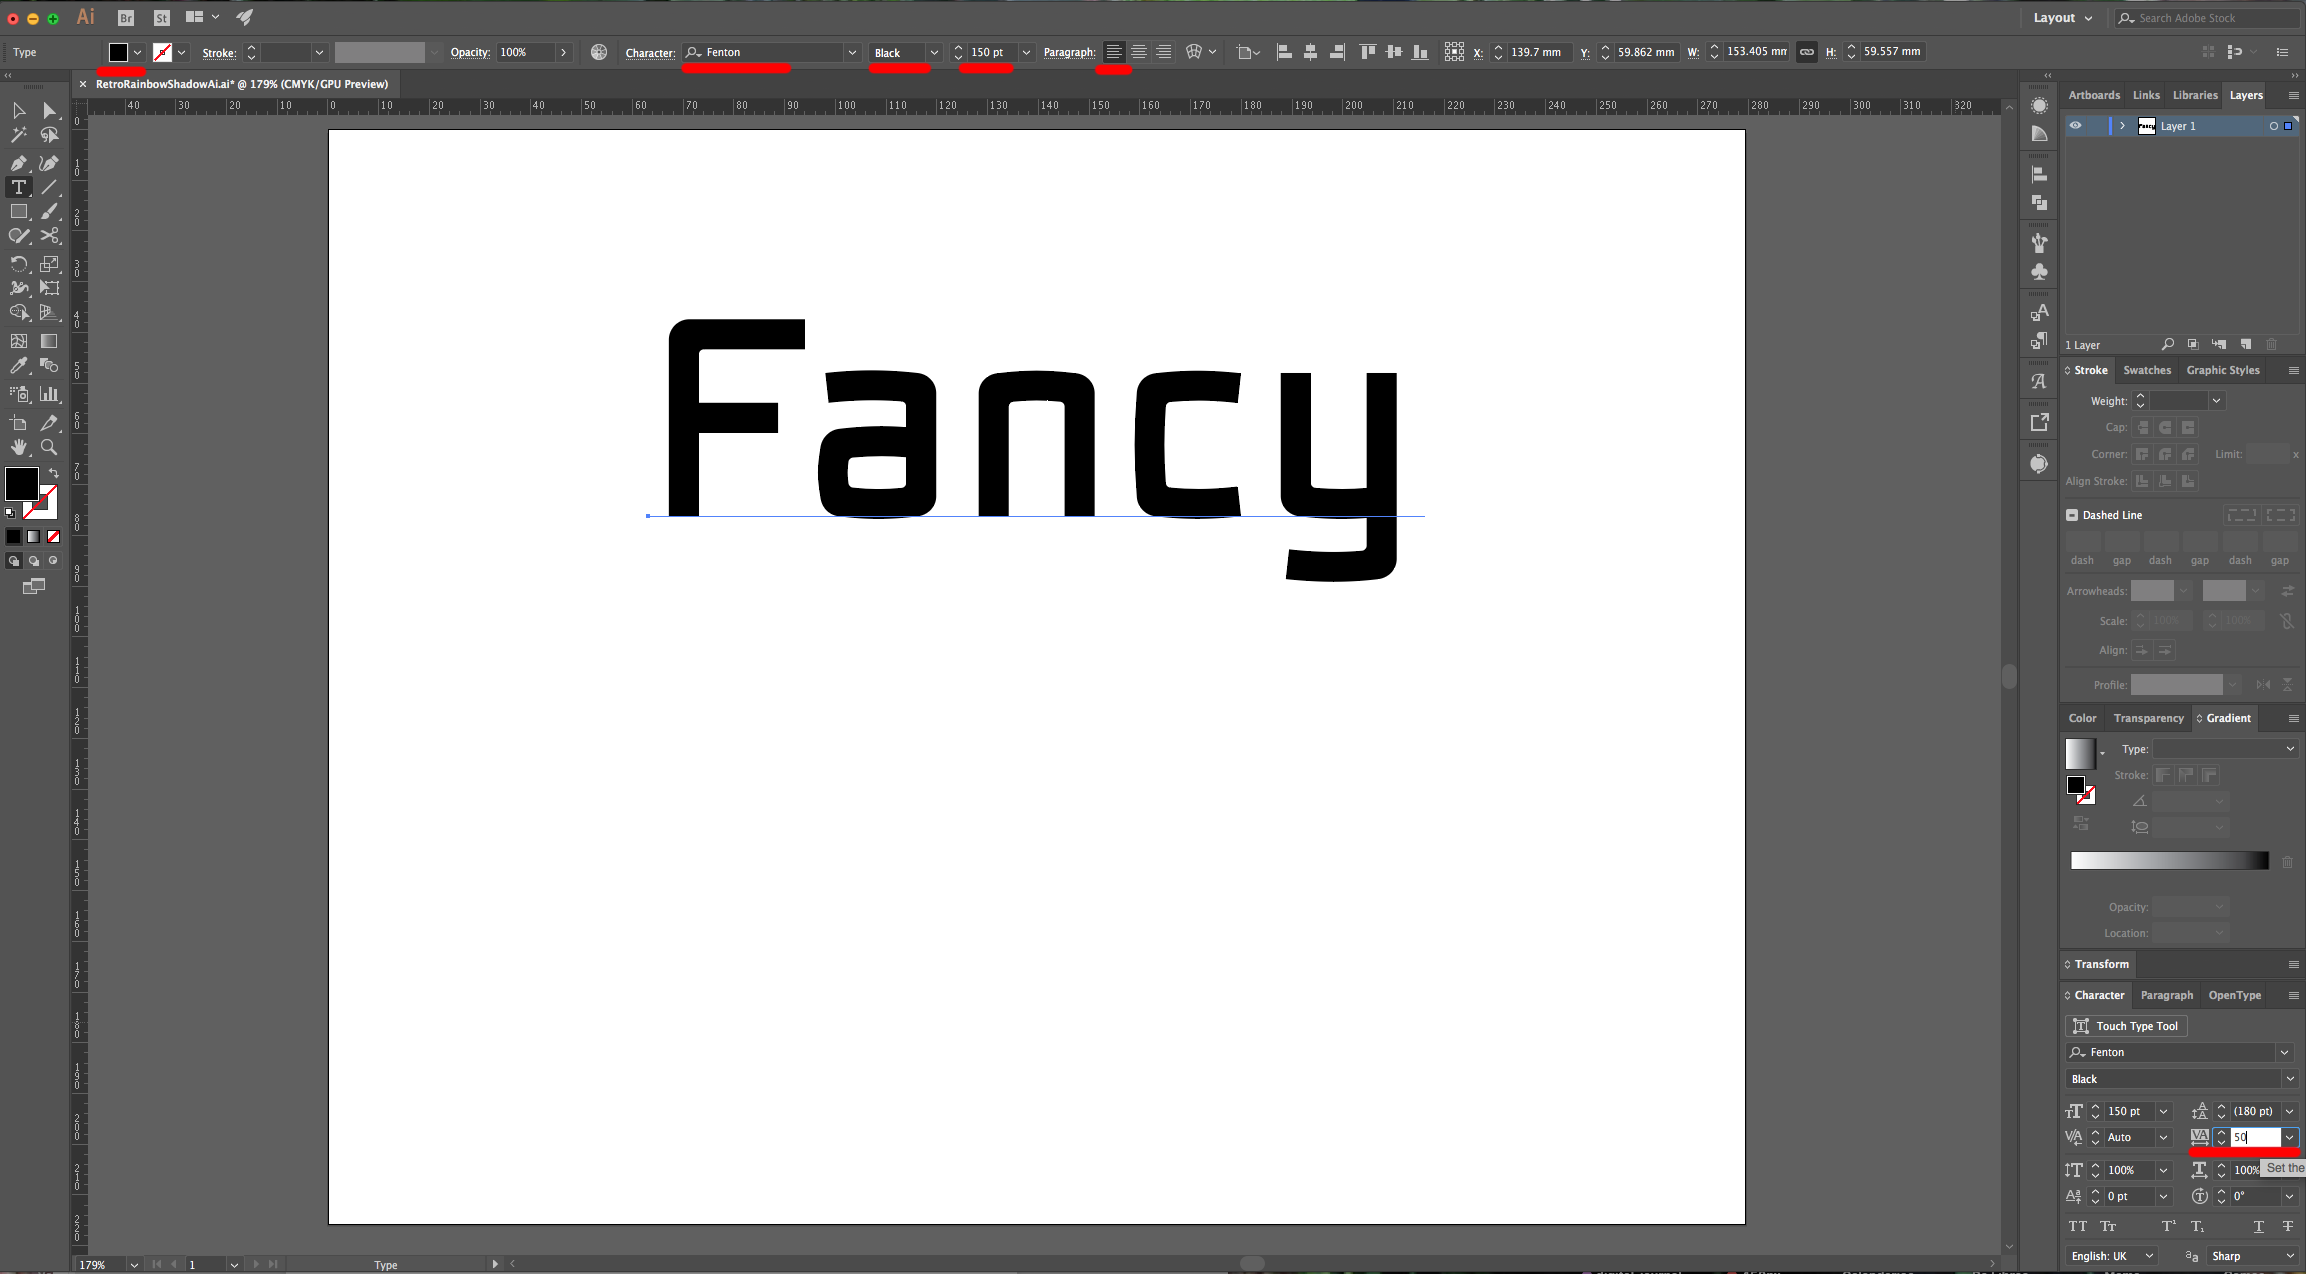
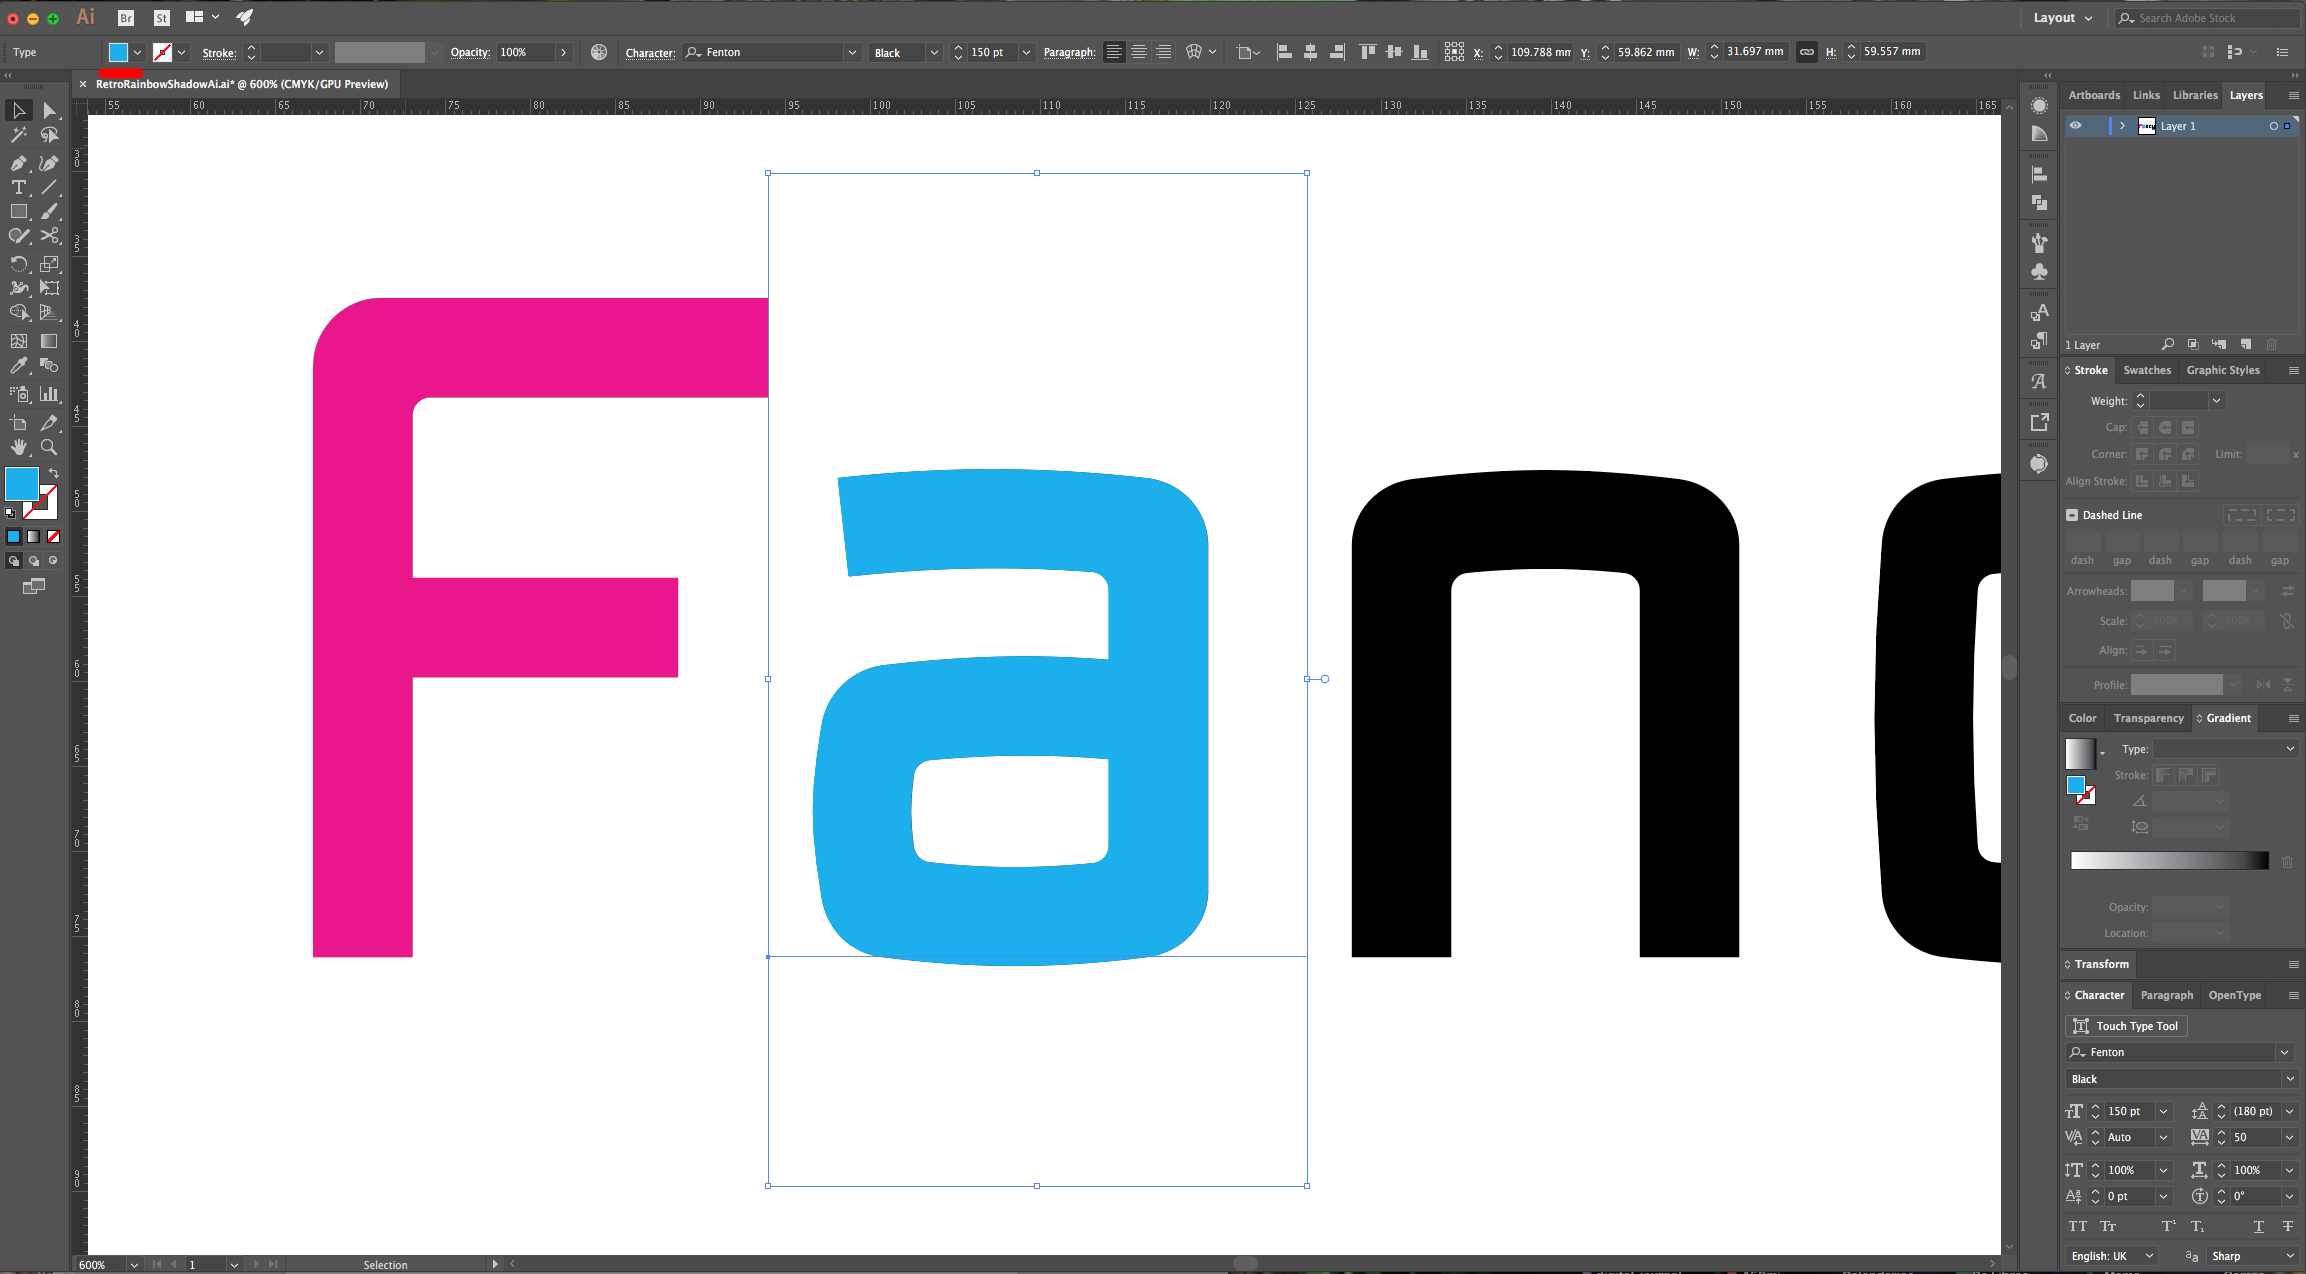
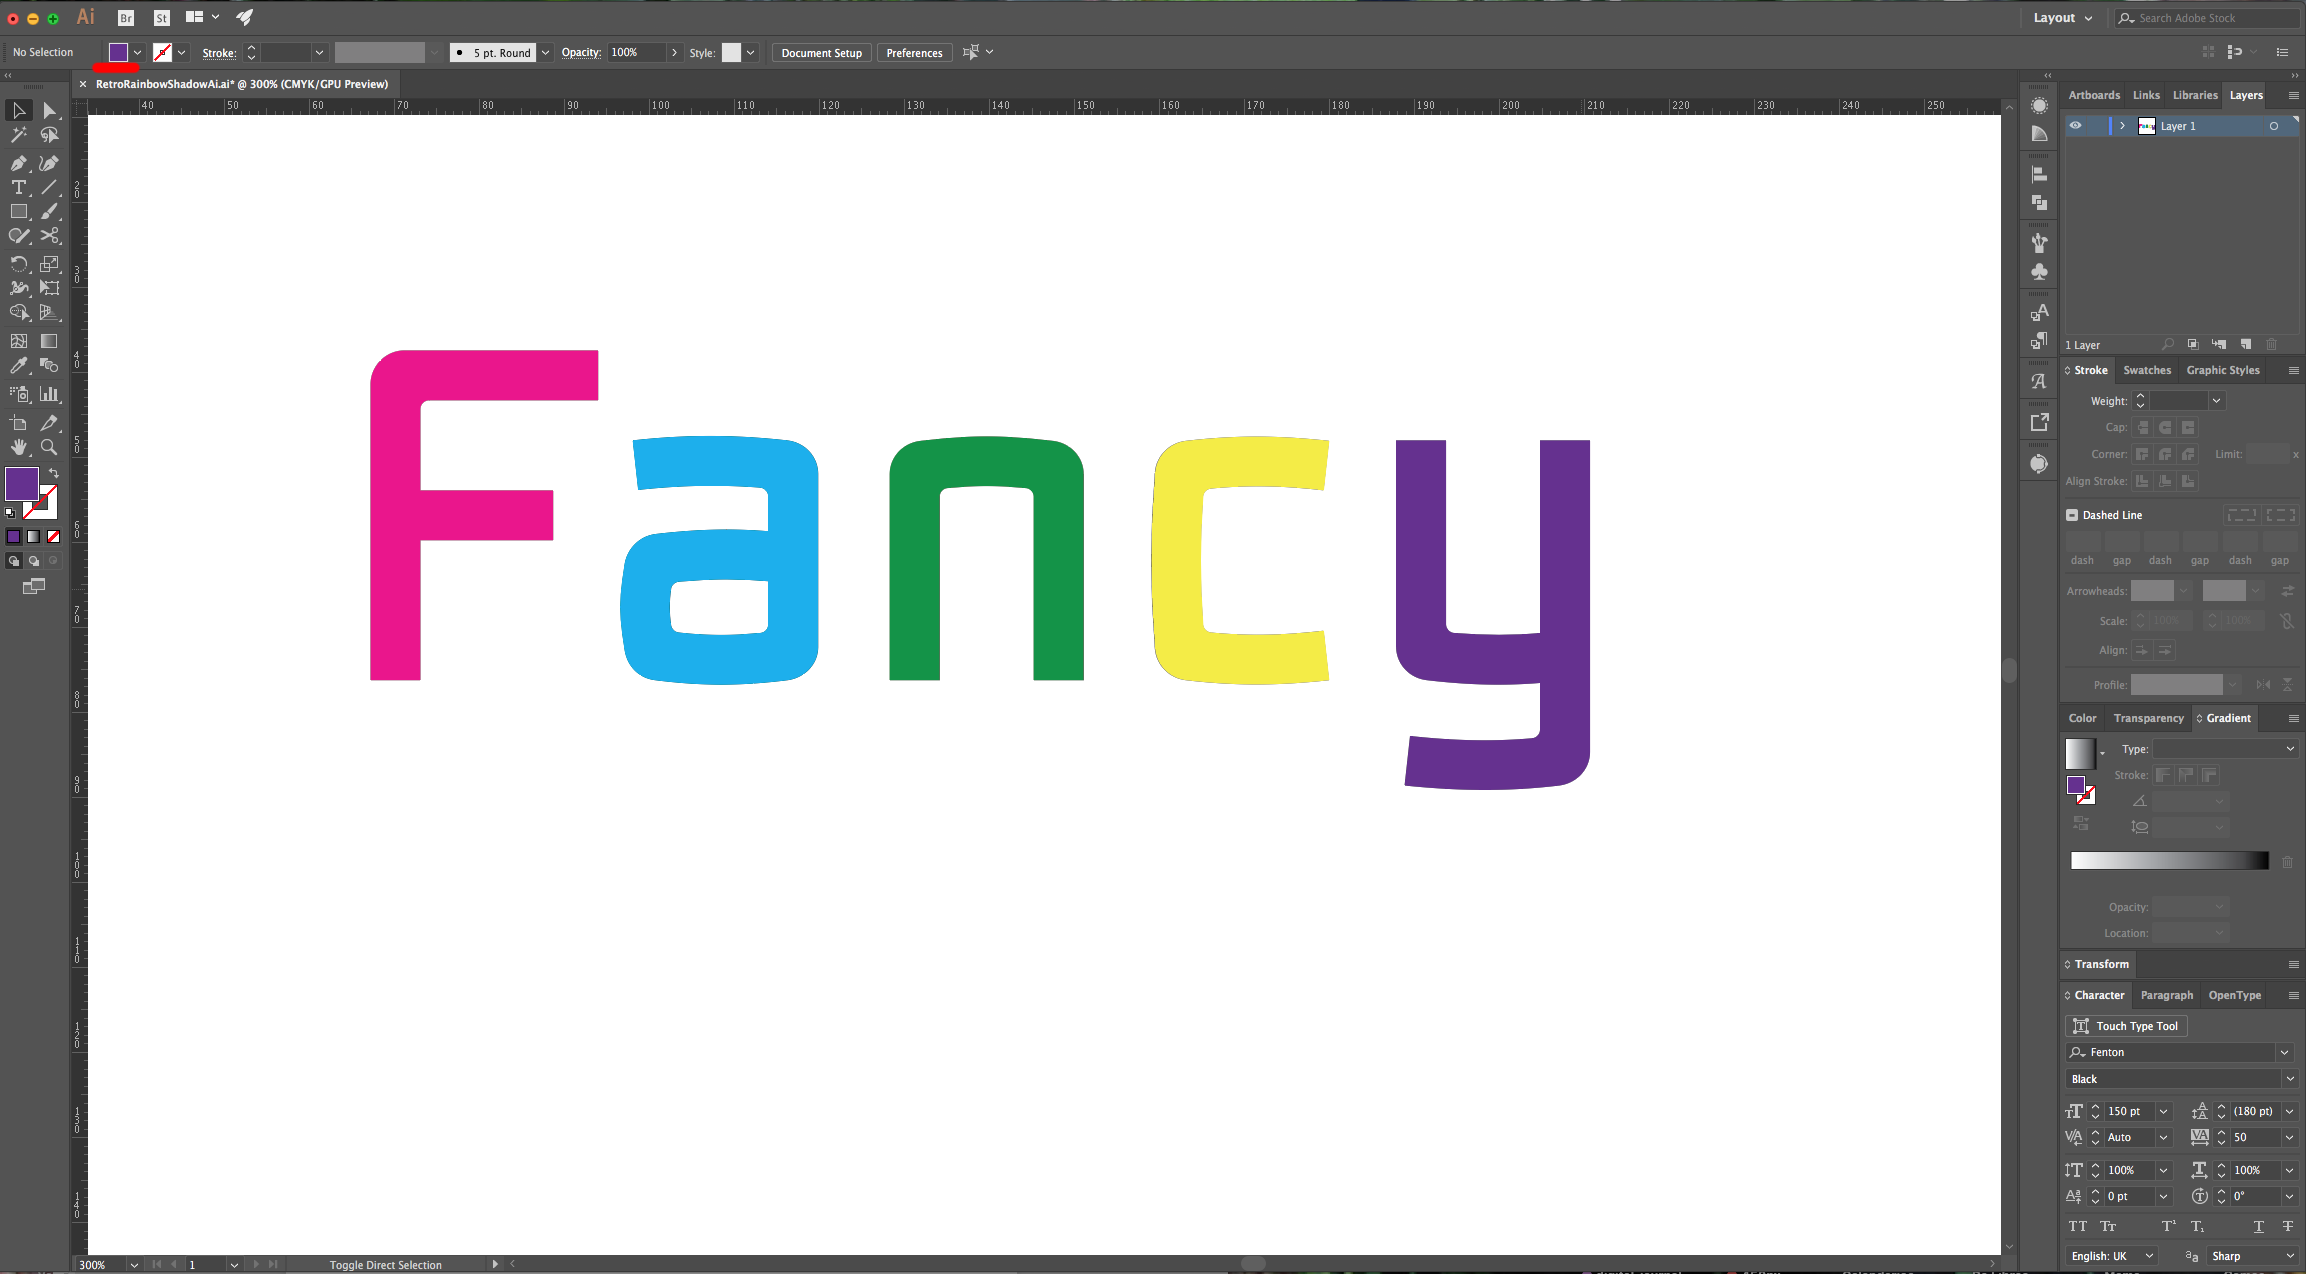
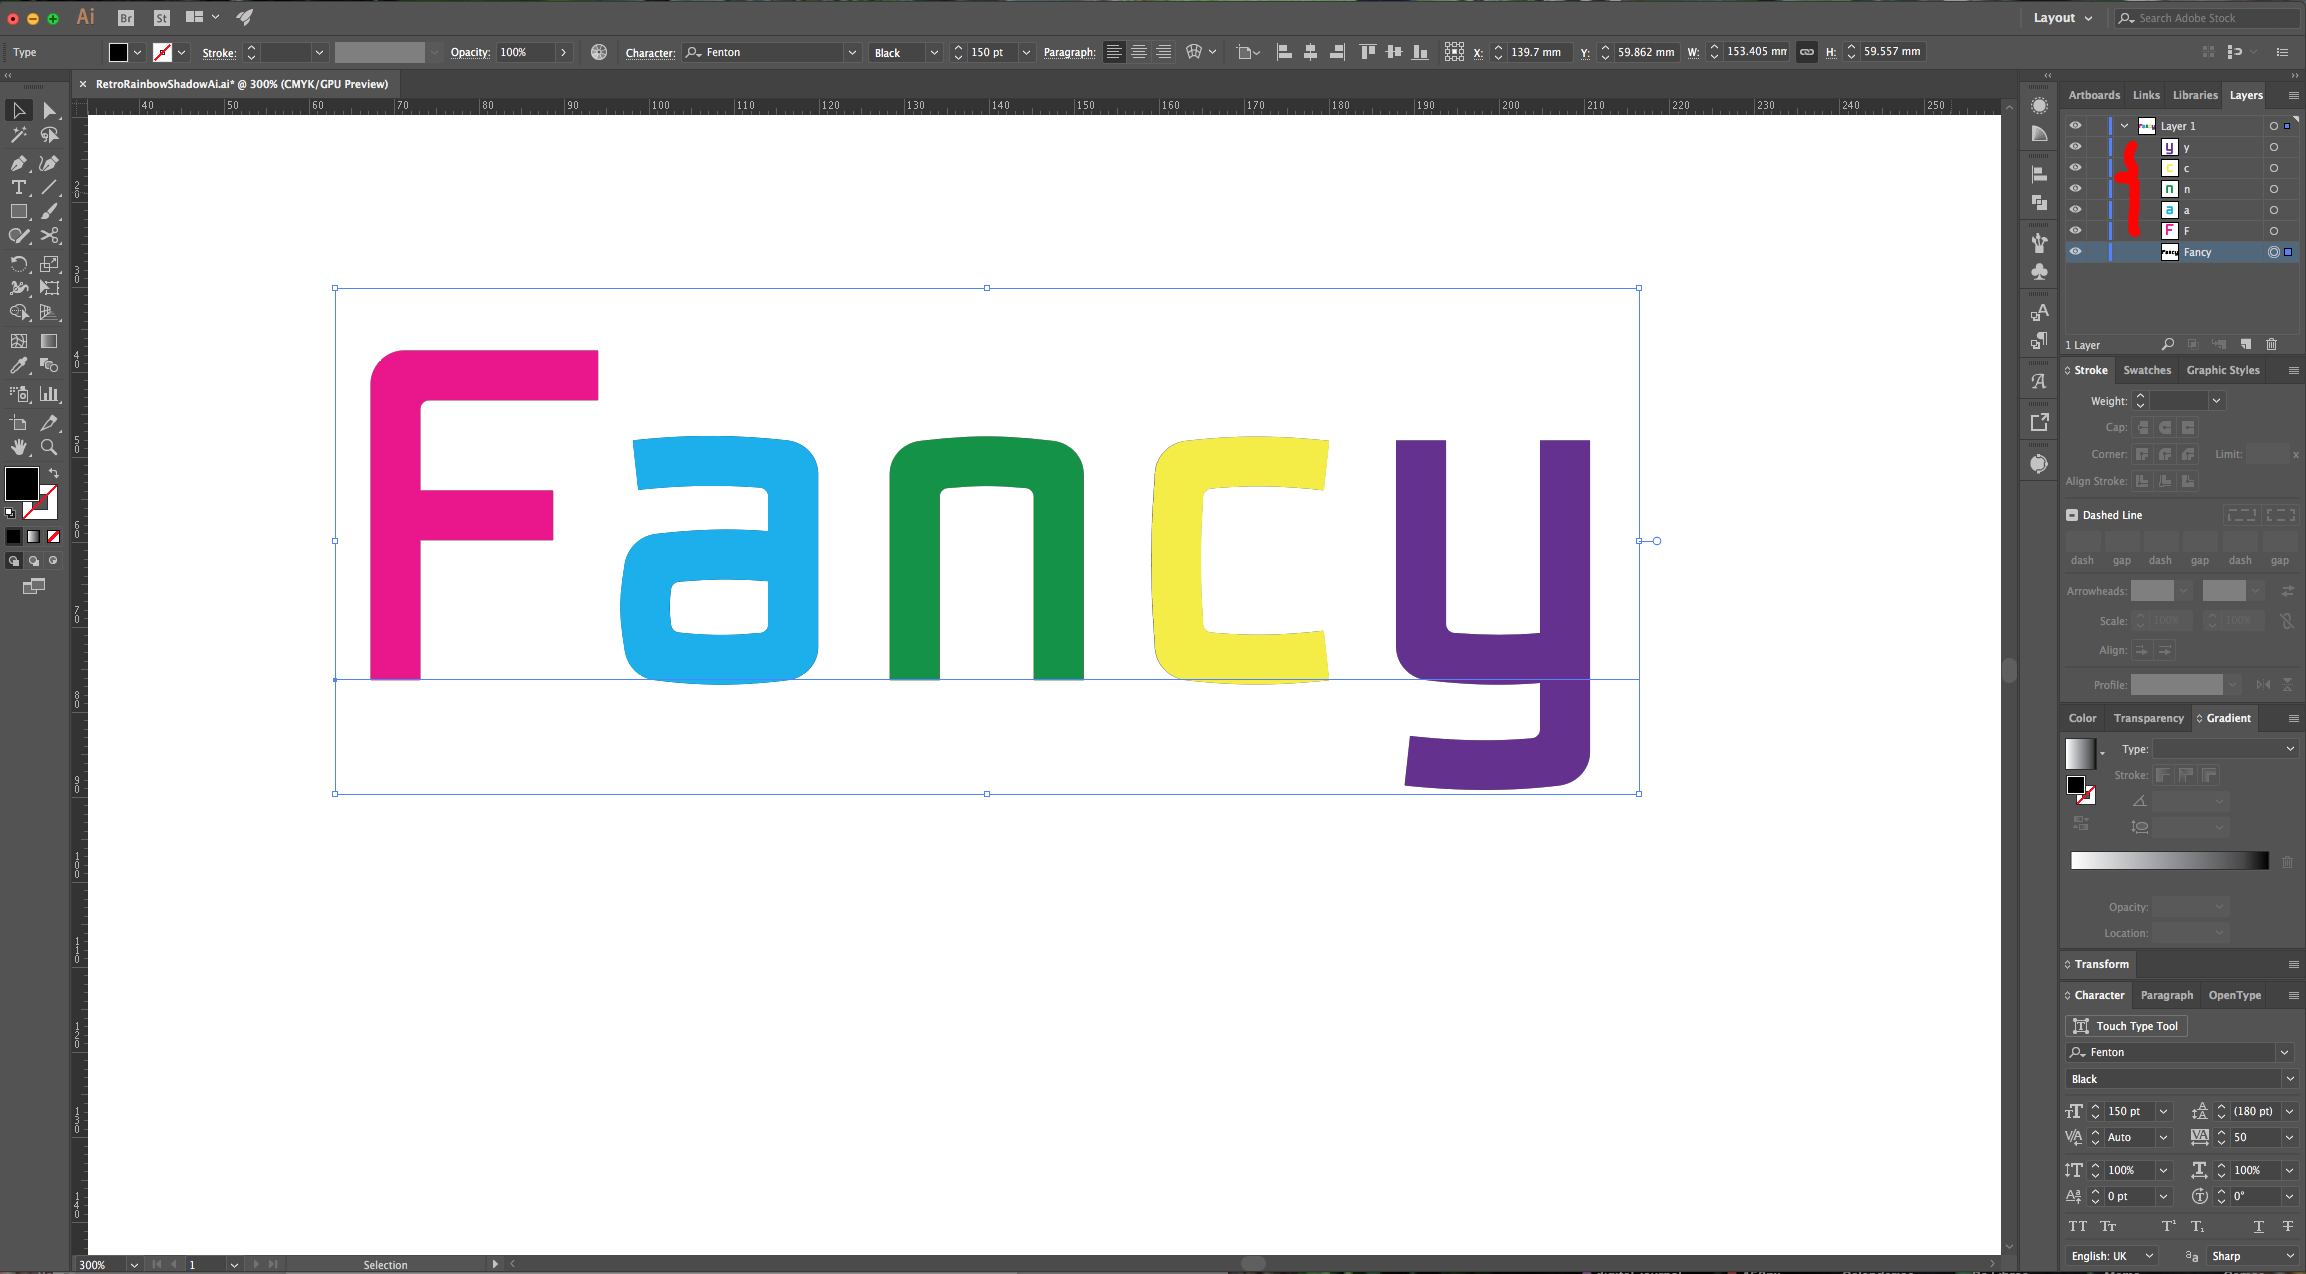
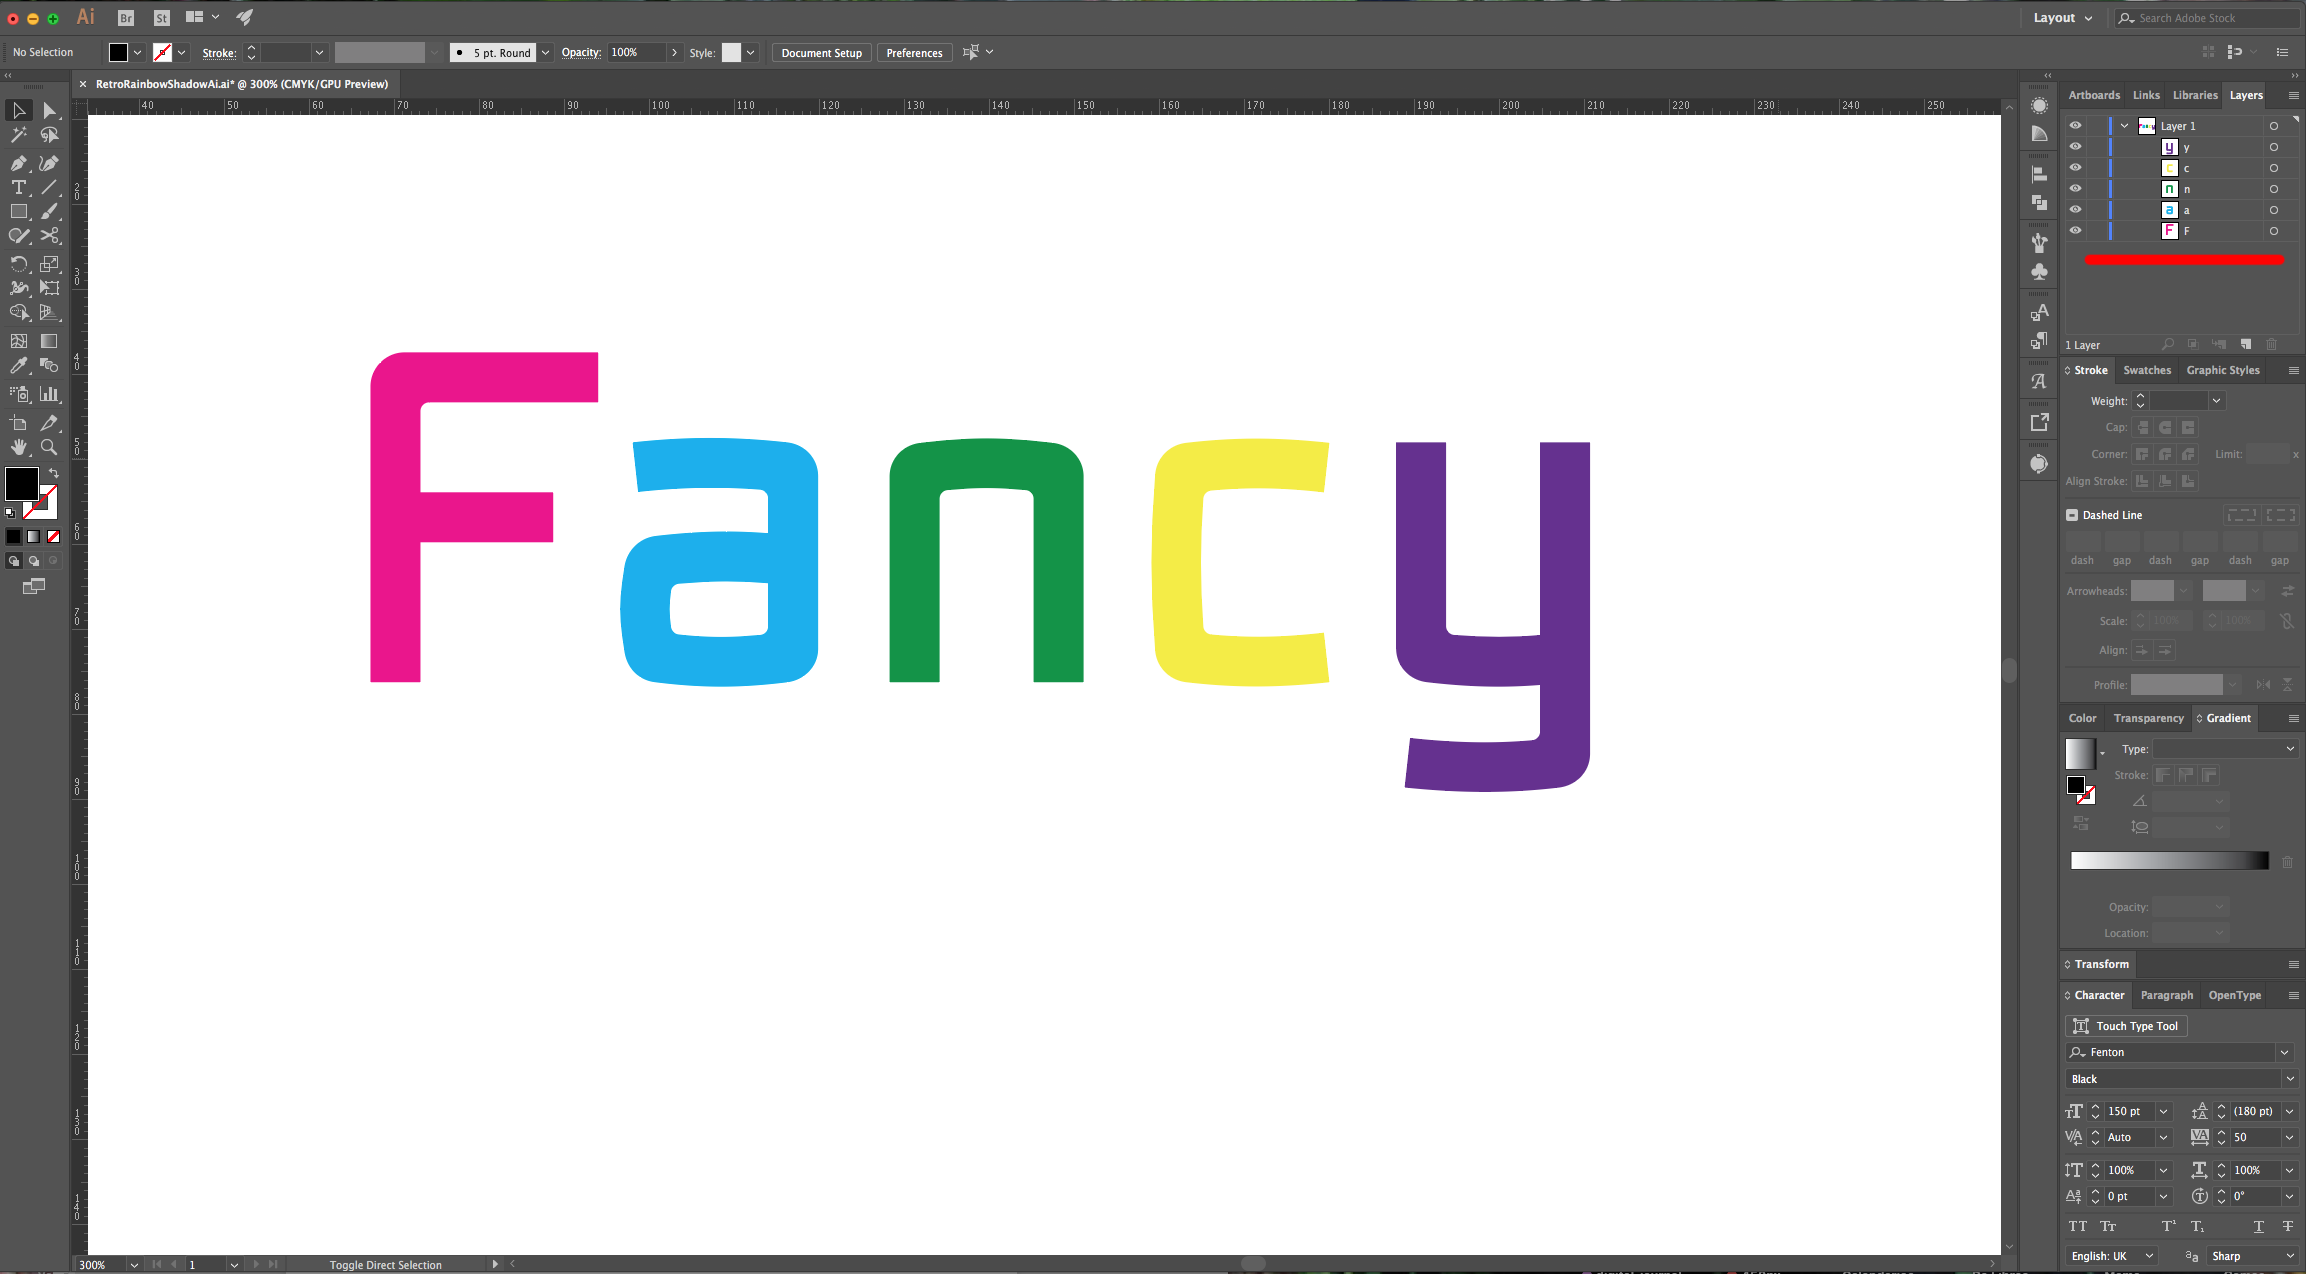
3 - “Copy” (Command/Control + C) and “Paste in Front” (Command/Control + F) your text. Change the color and erase the last letters leaving just the first one. Re-type all the other letters, change their “Fill” color and place them on top of the marker Black text. Once you are finished, you can delete the Black text.
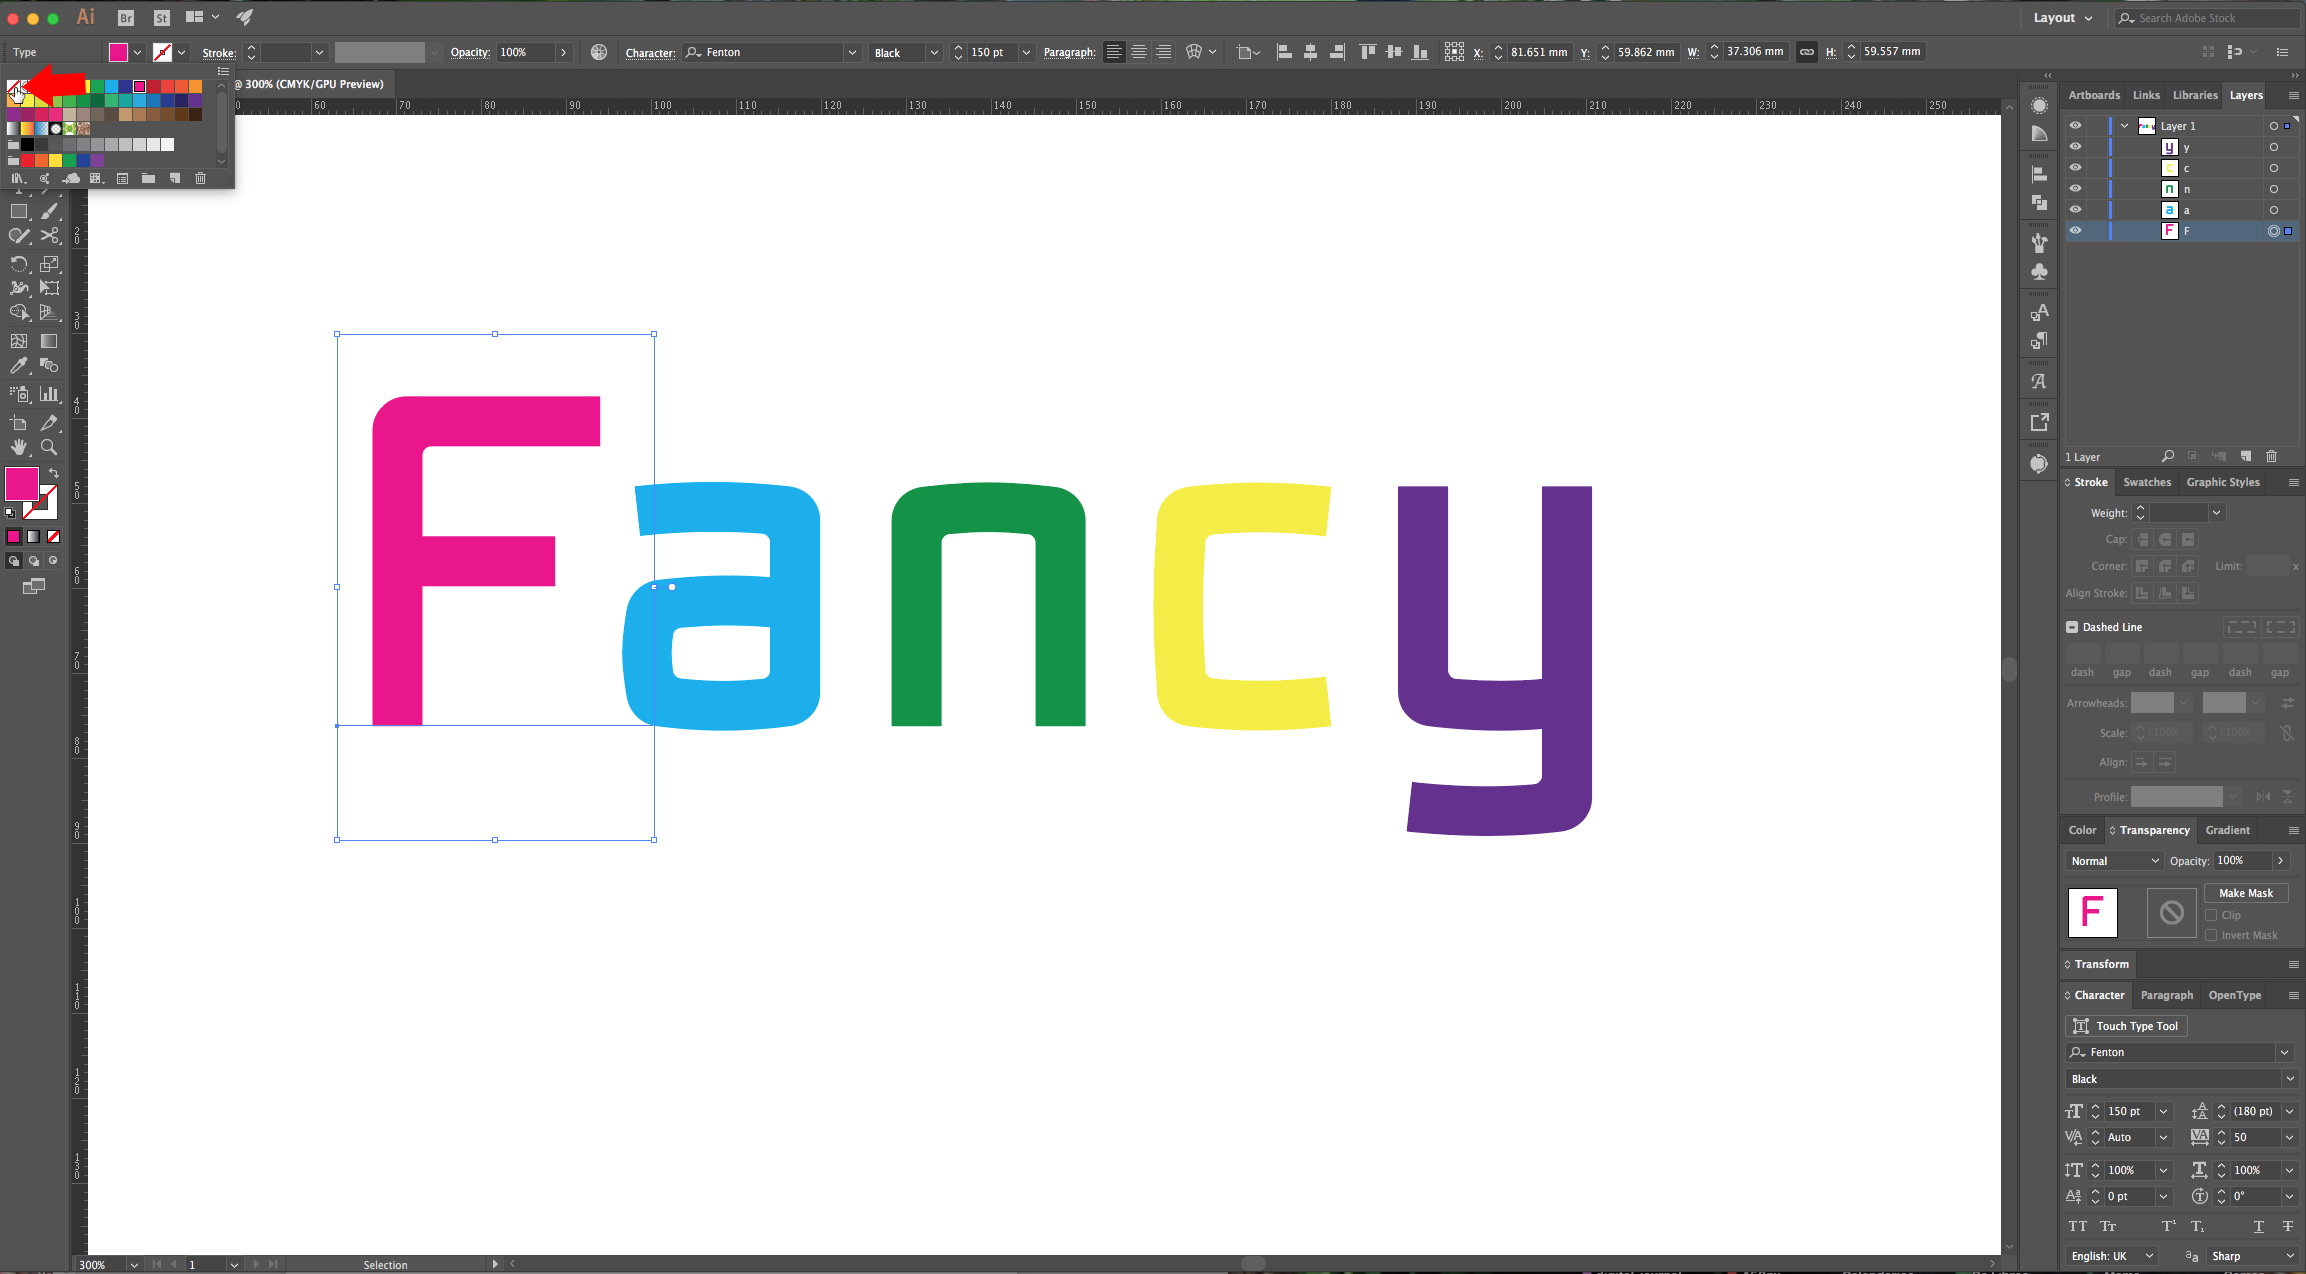
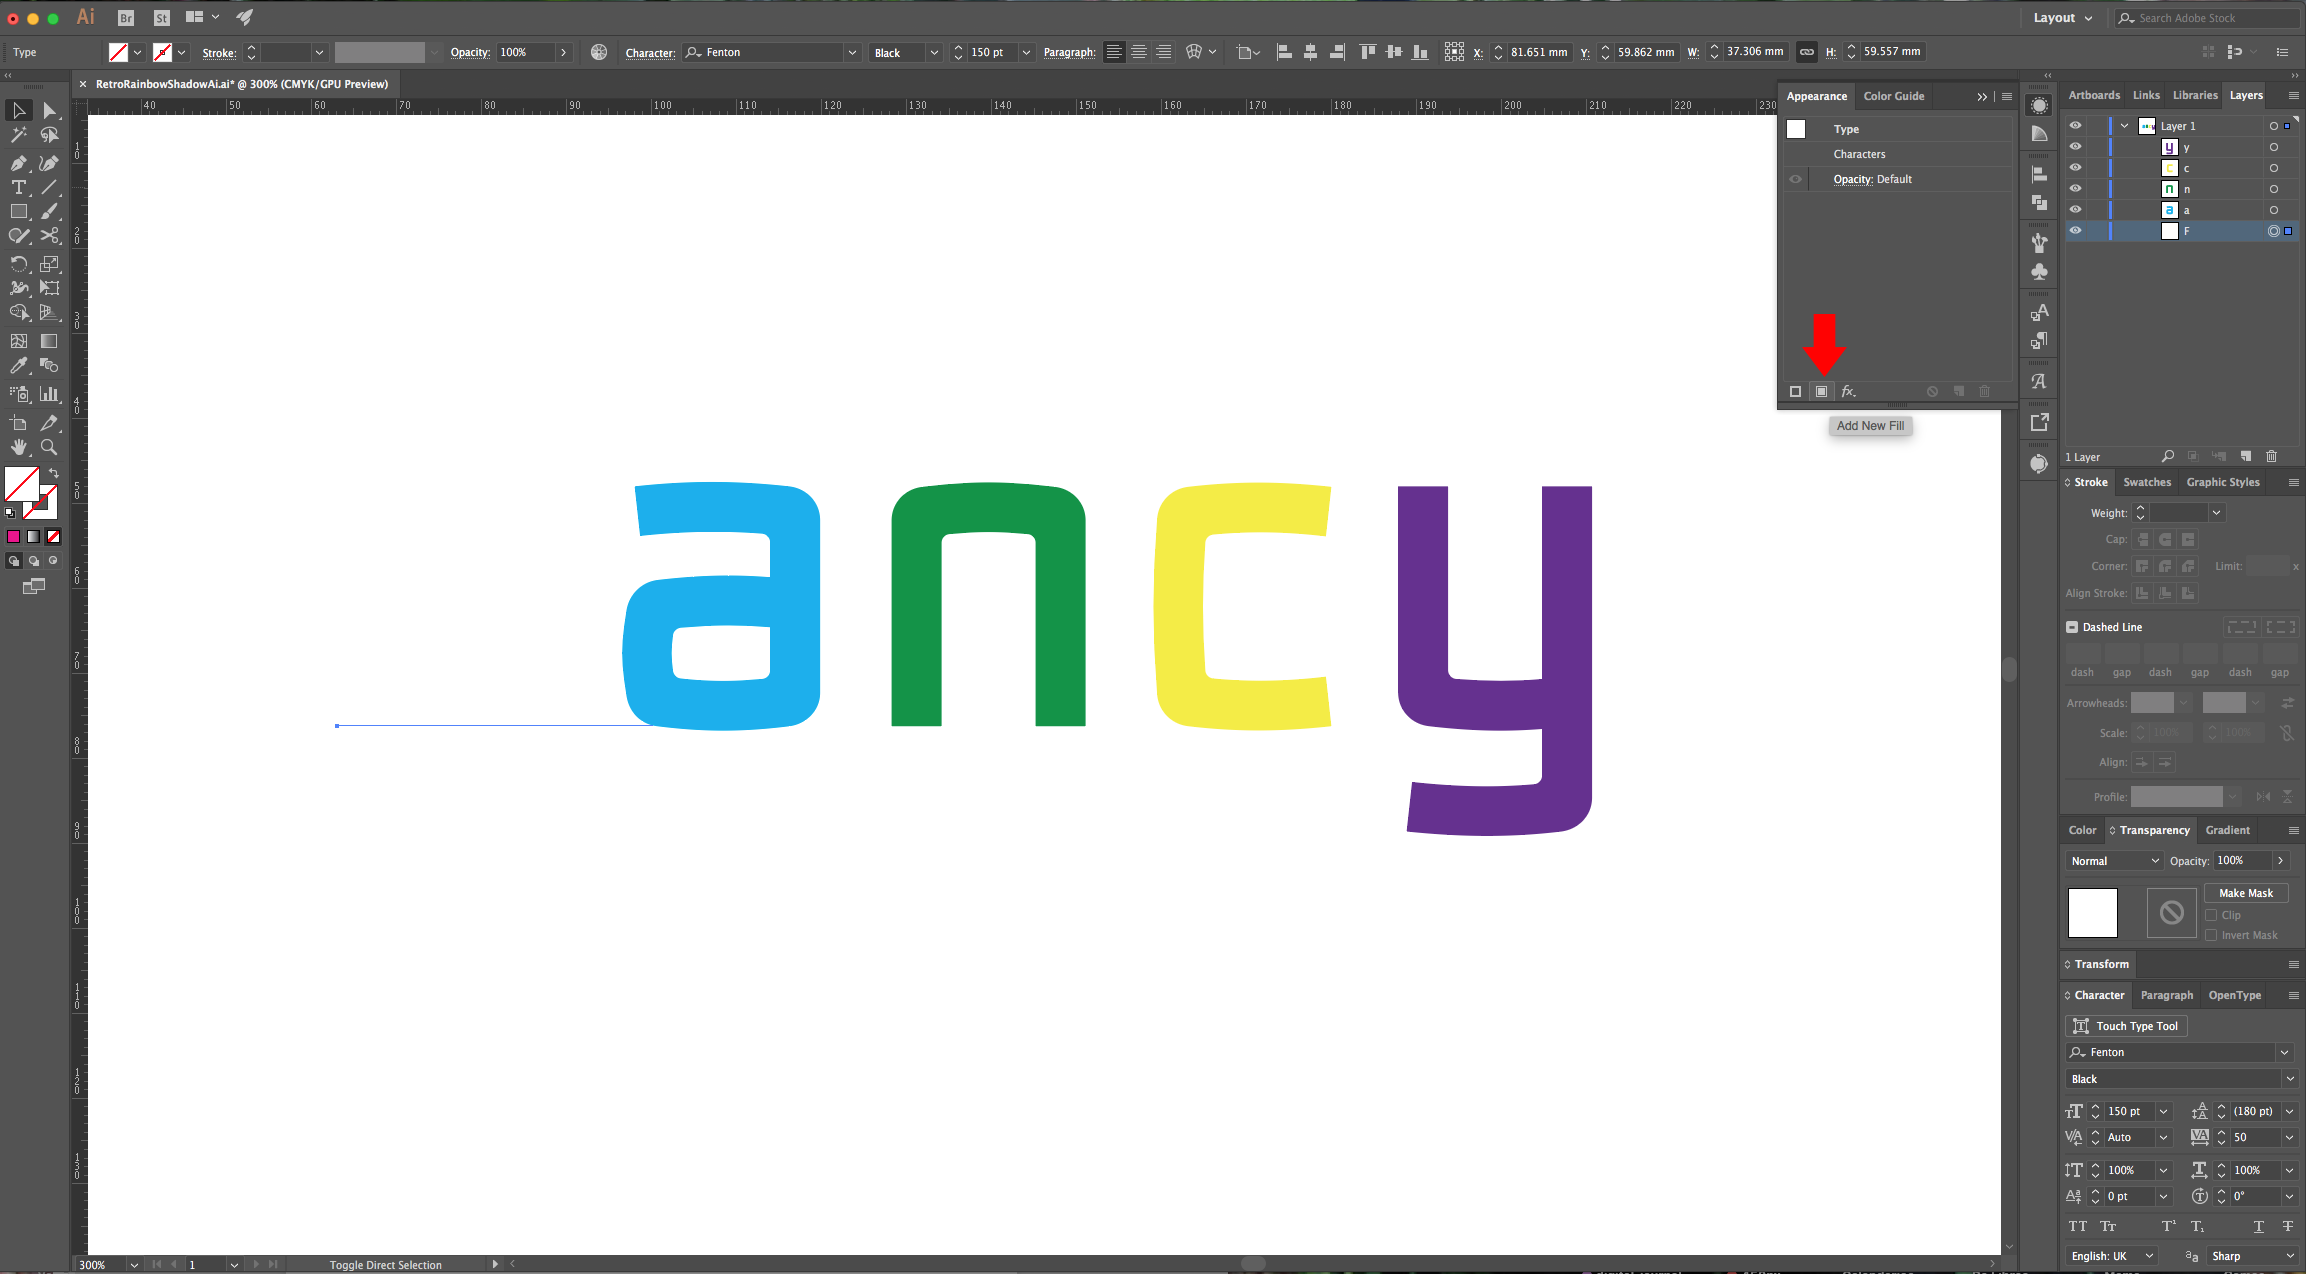
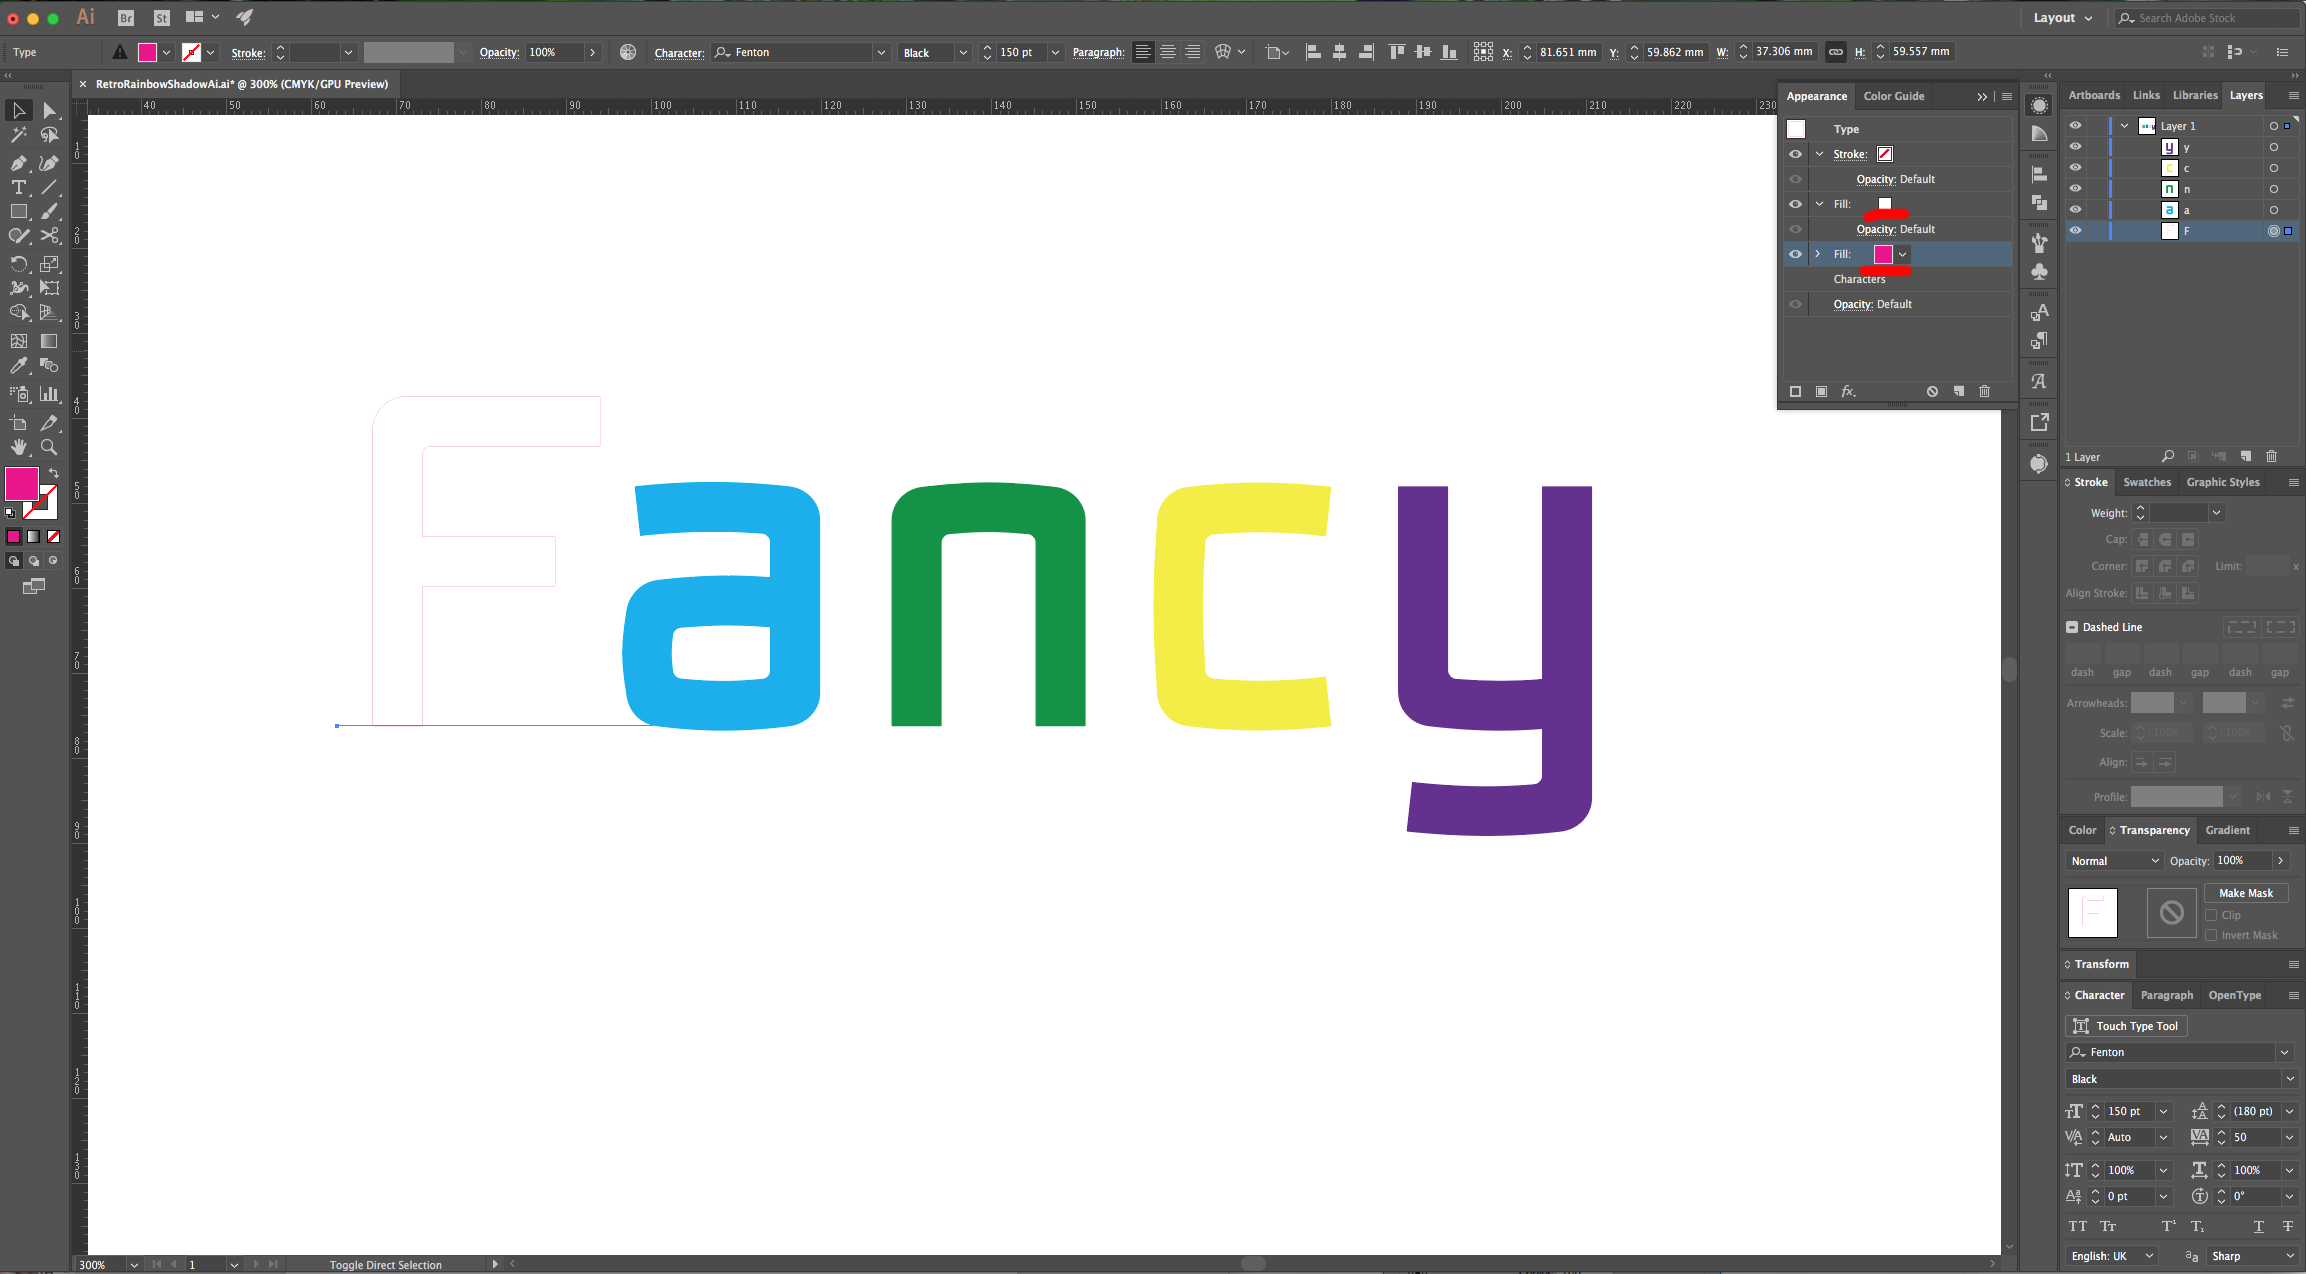
4 - Select your first letter, make the Fill “None”. Then, go to the “Appearance Panel” click the “Add New Fill” button on the bottom-left and use “White”. Add another “Fill” color and this time “Fill” it with the “Rainbow” shade you wish to use (it should be placed under the “White”).
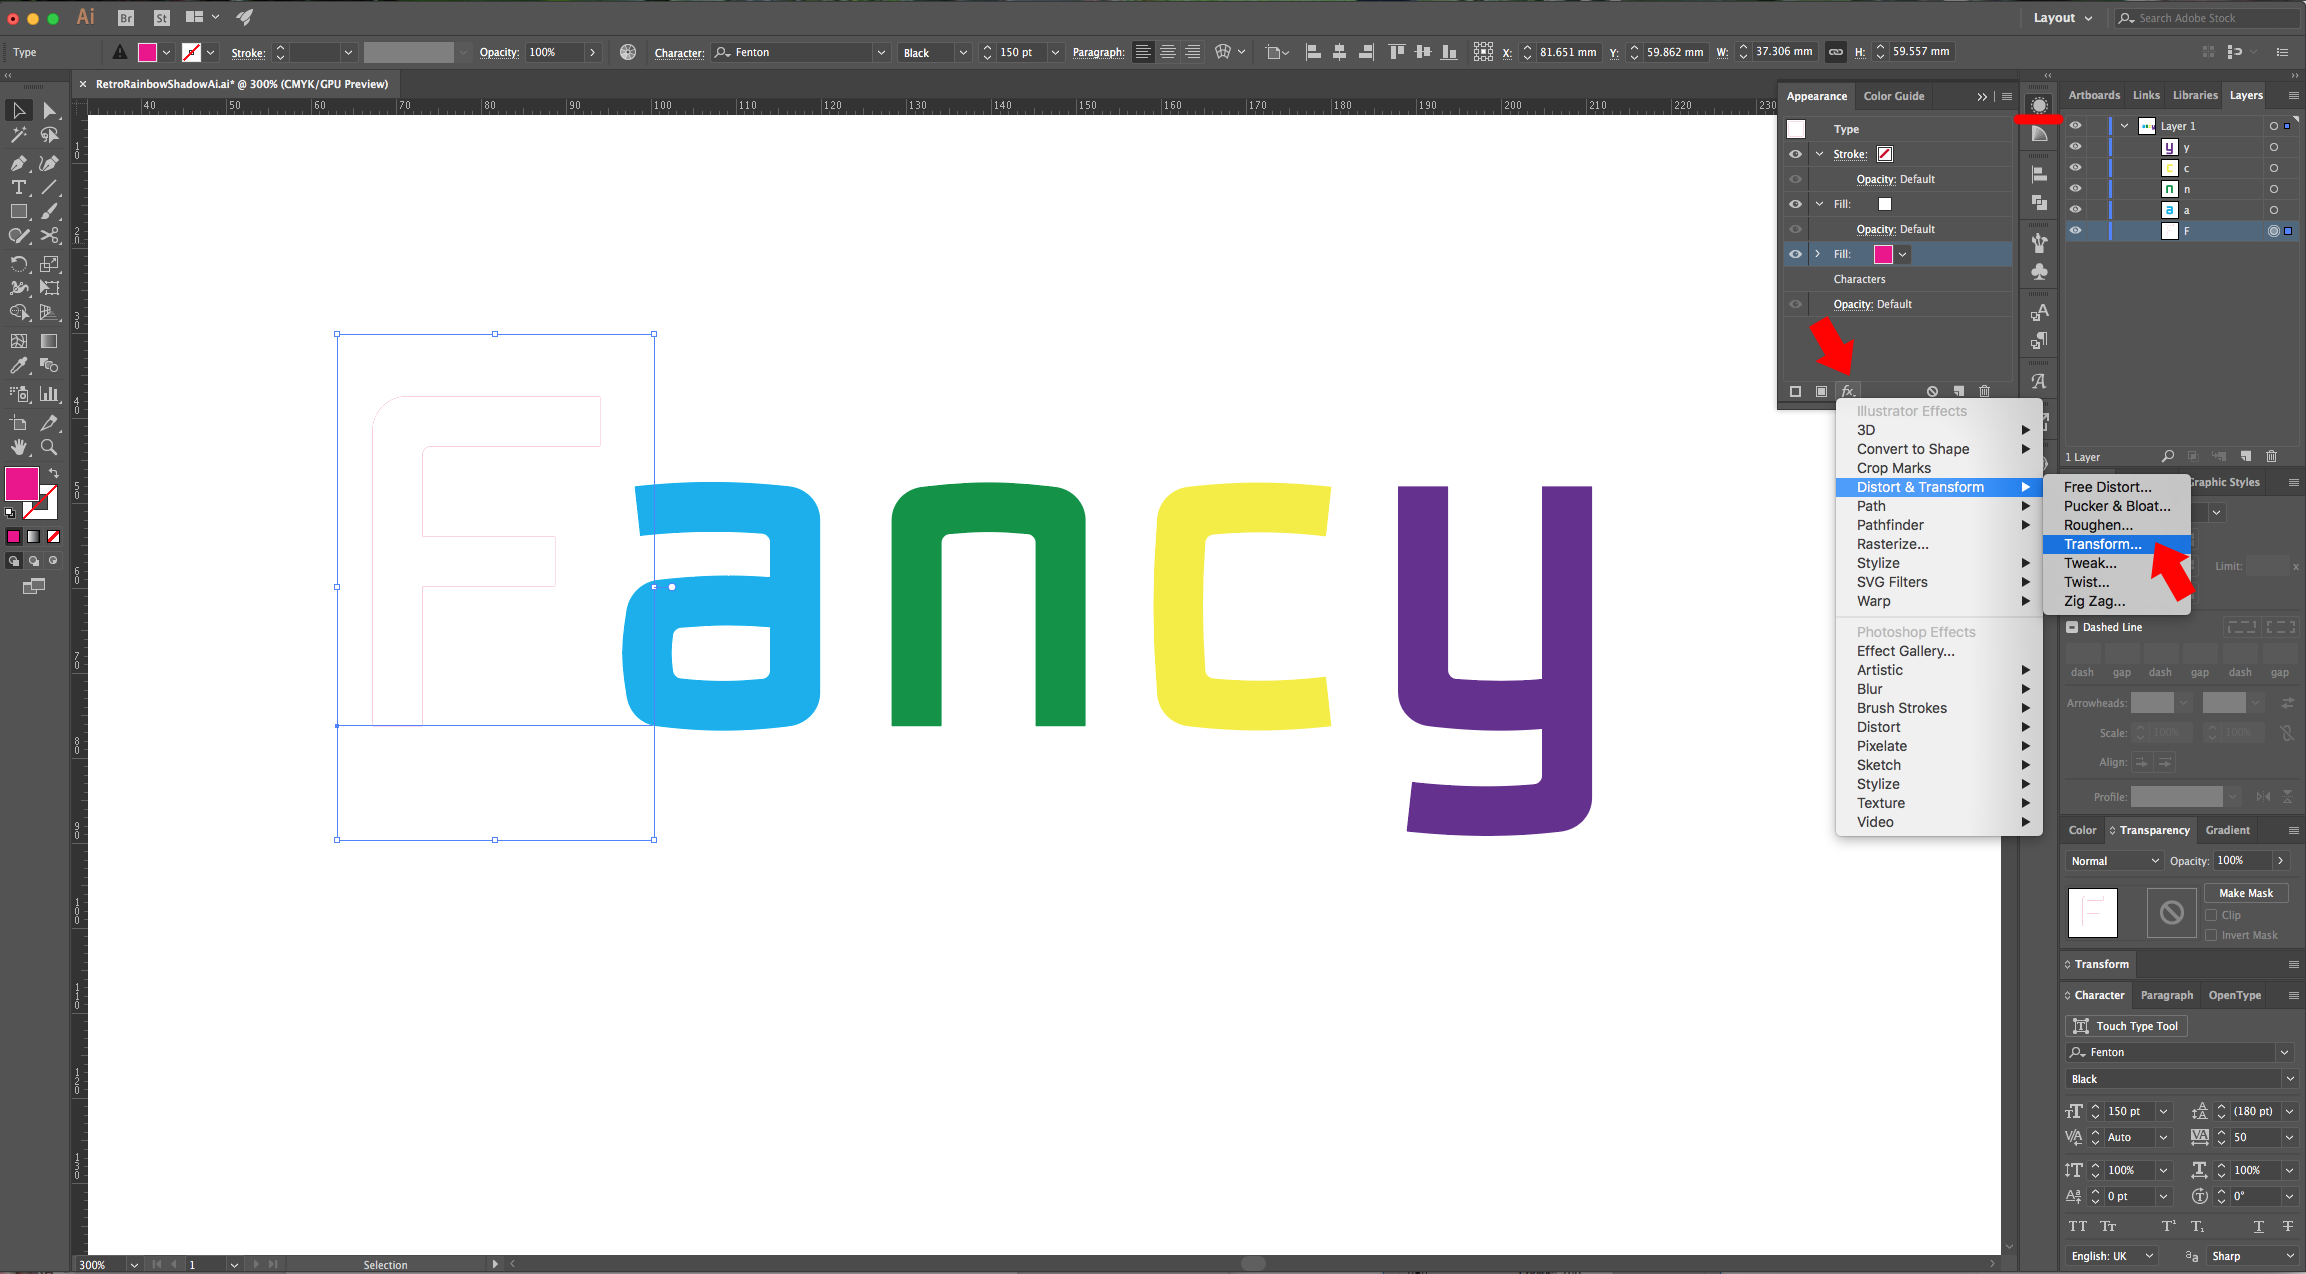
5 - Click on the “Effects Menu” at the bottom of the “Appearance Panel”, choose Distort & Transform > Transform and apply the following values:
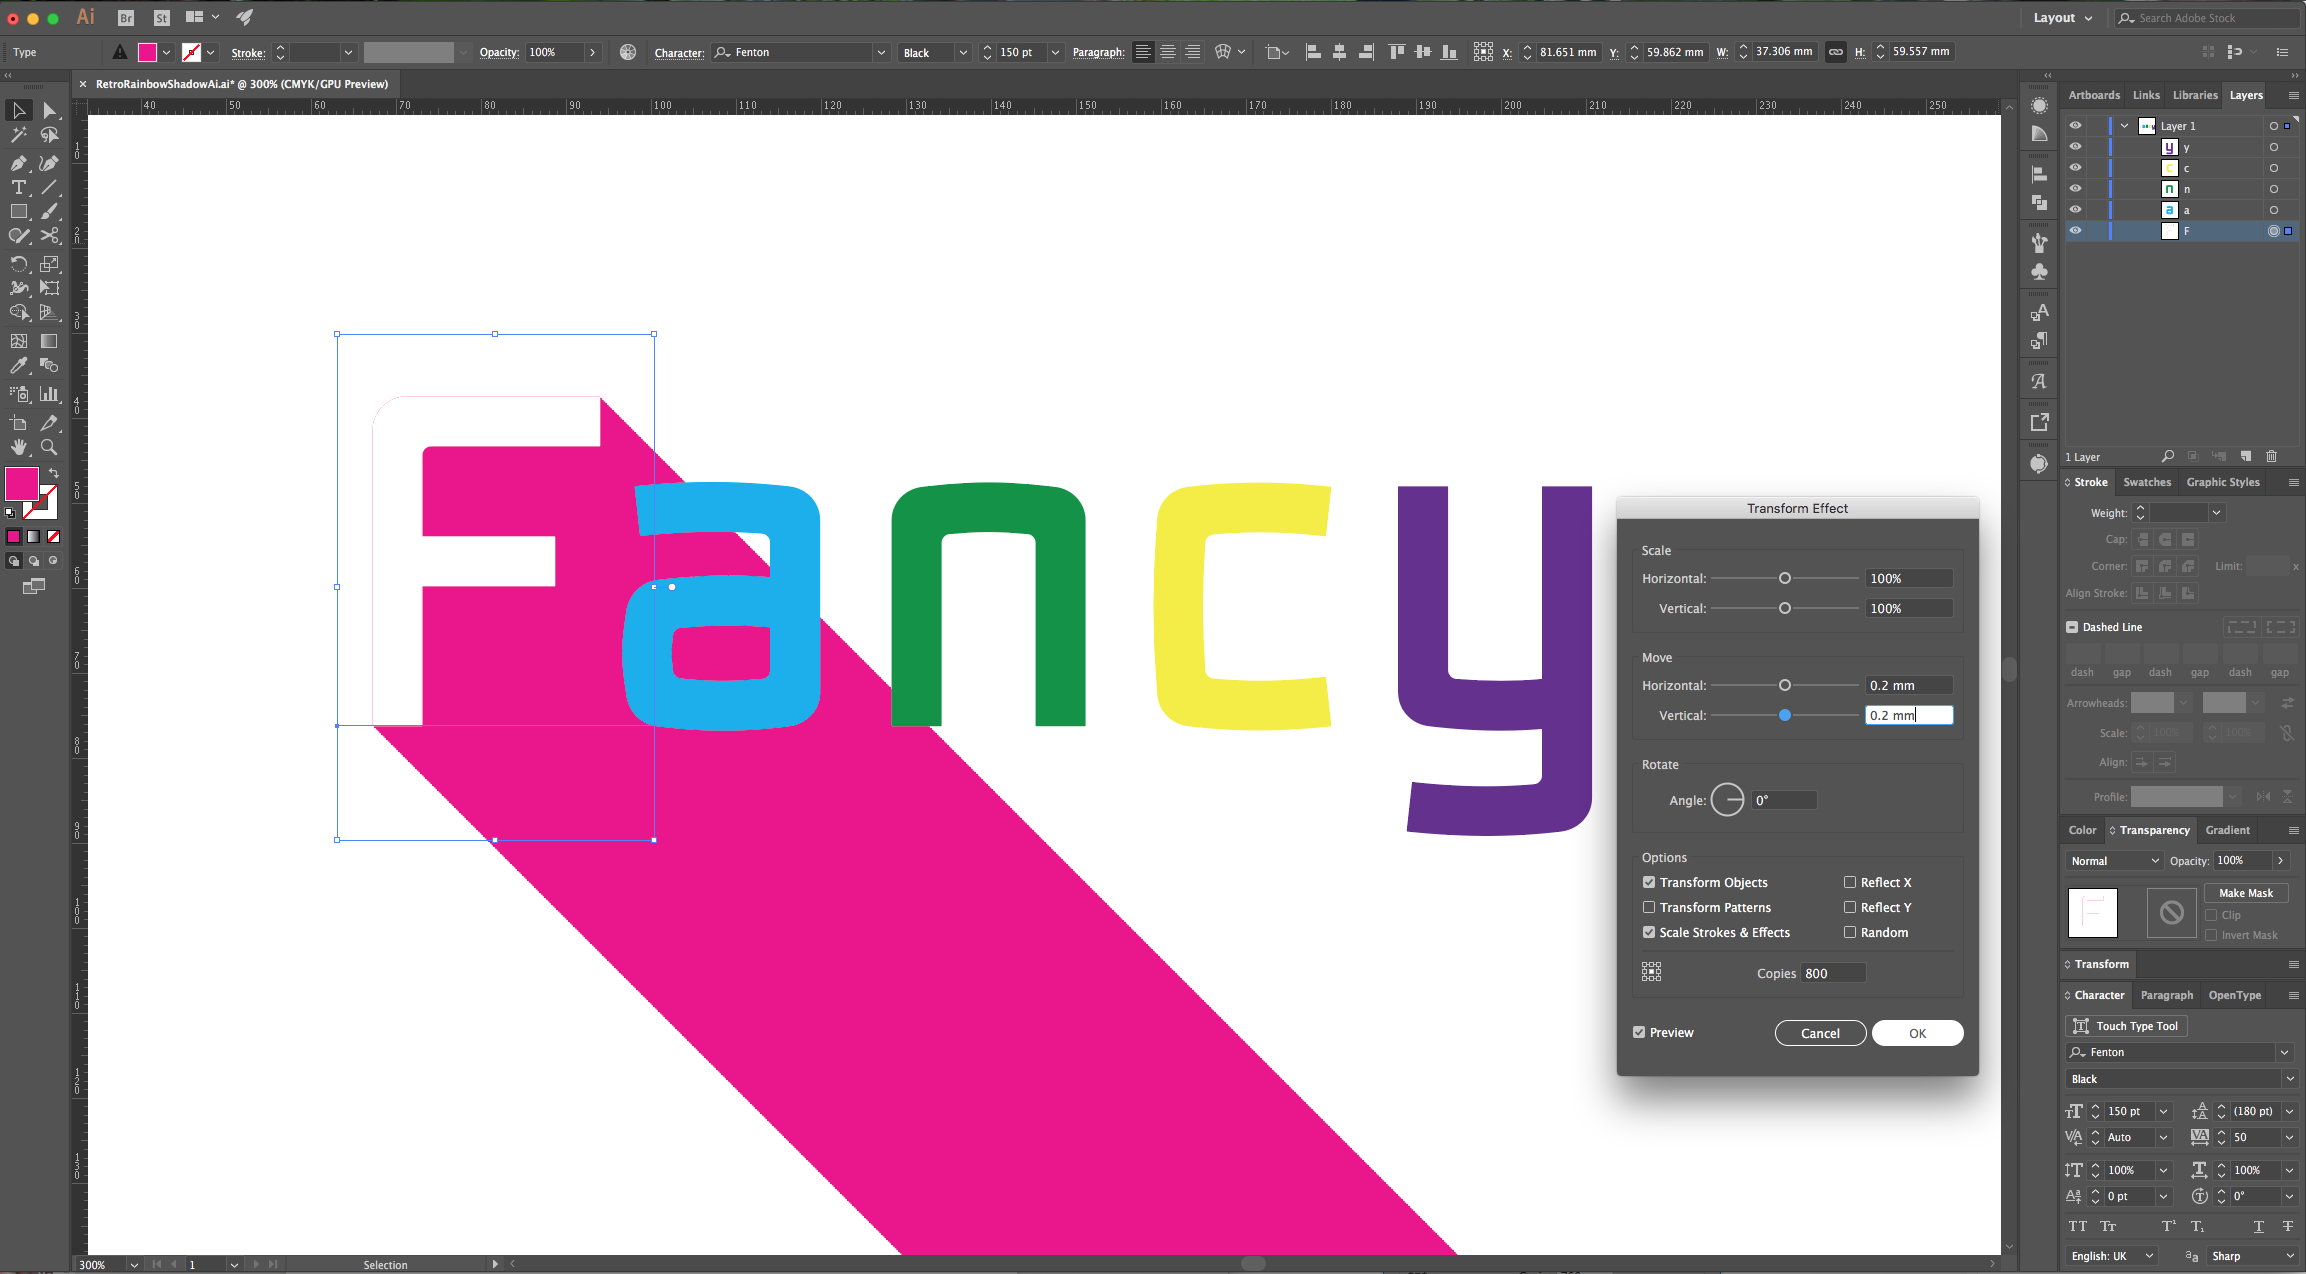
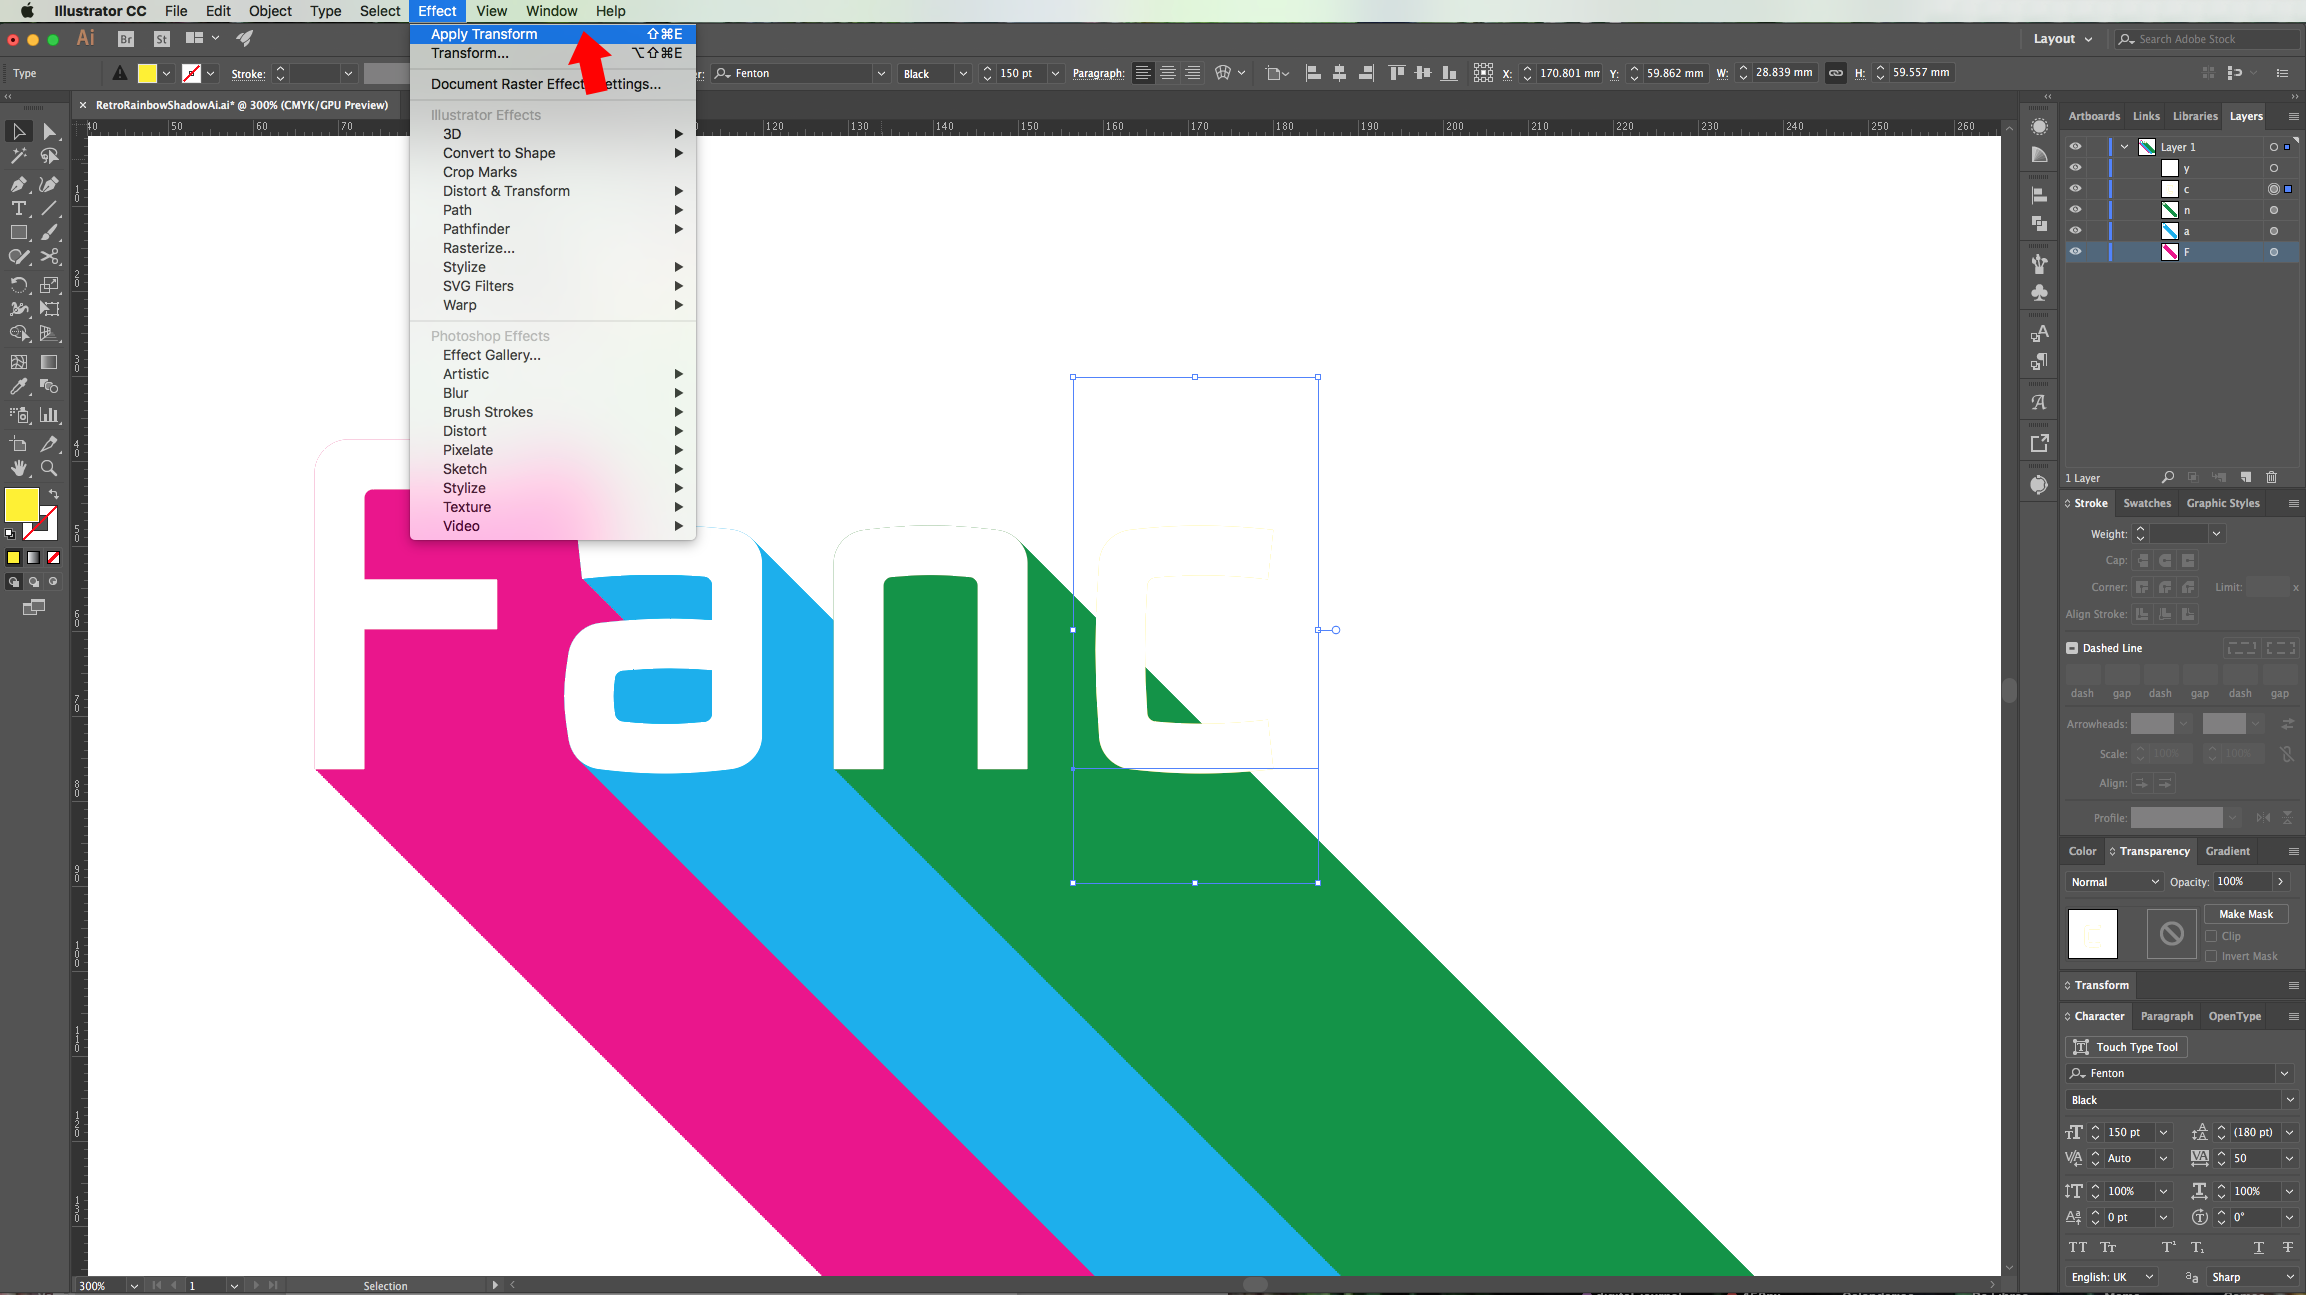
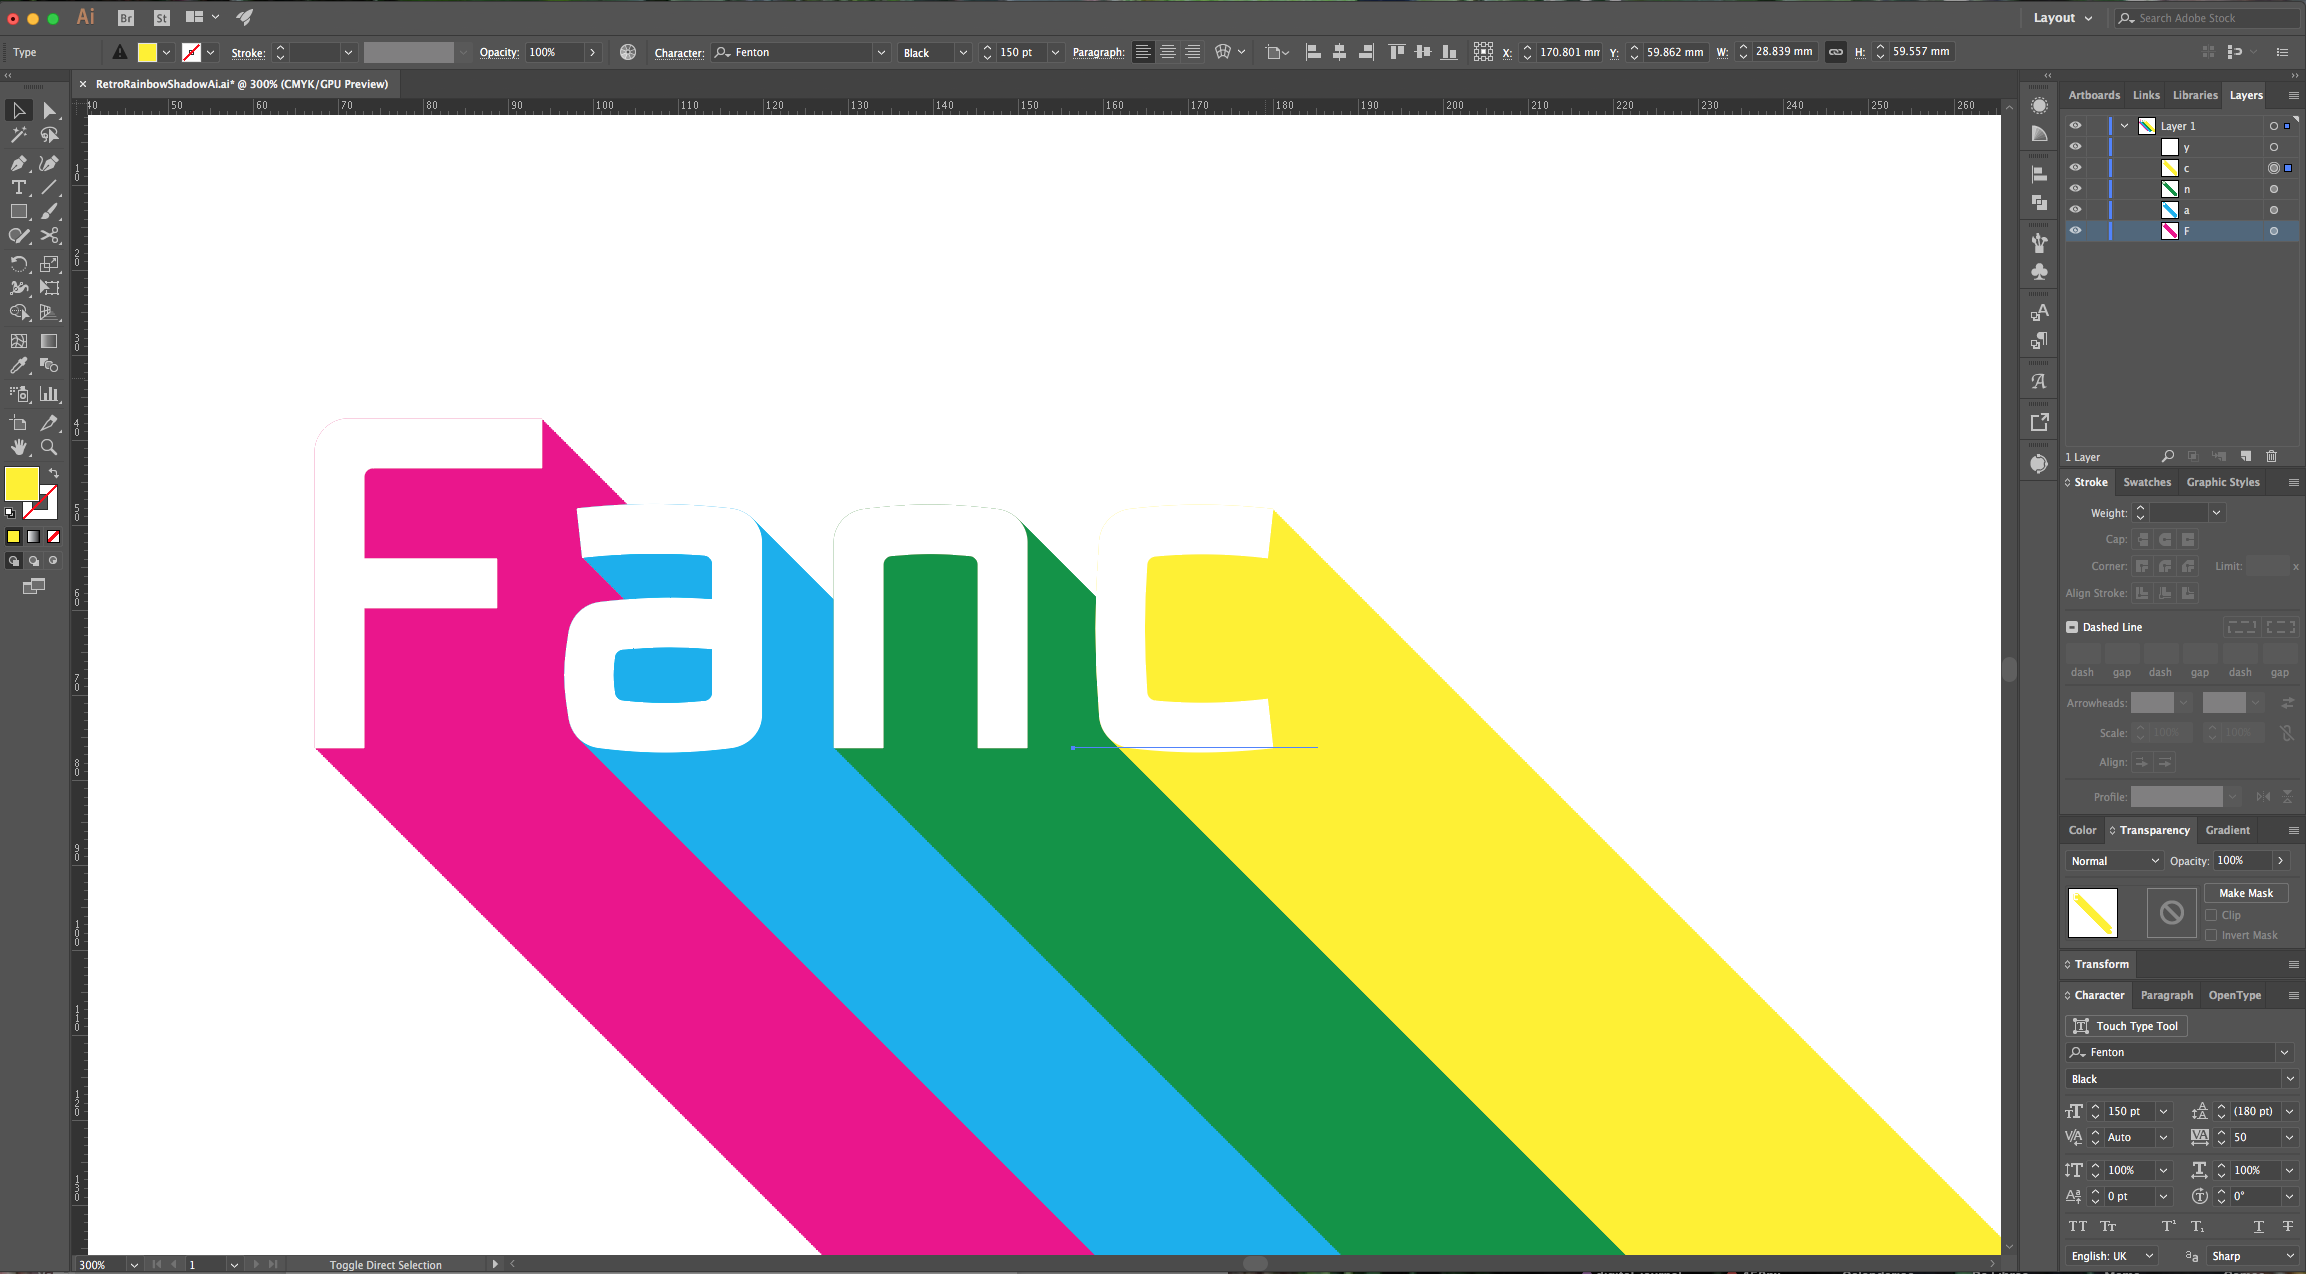
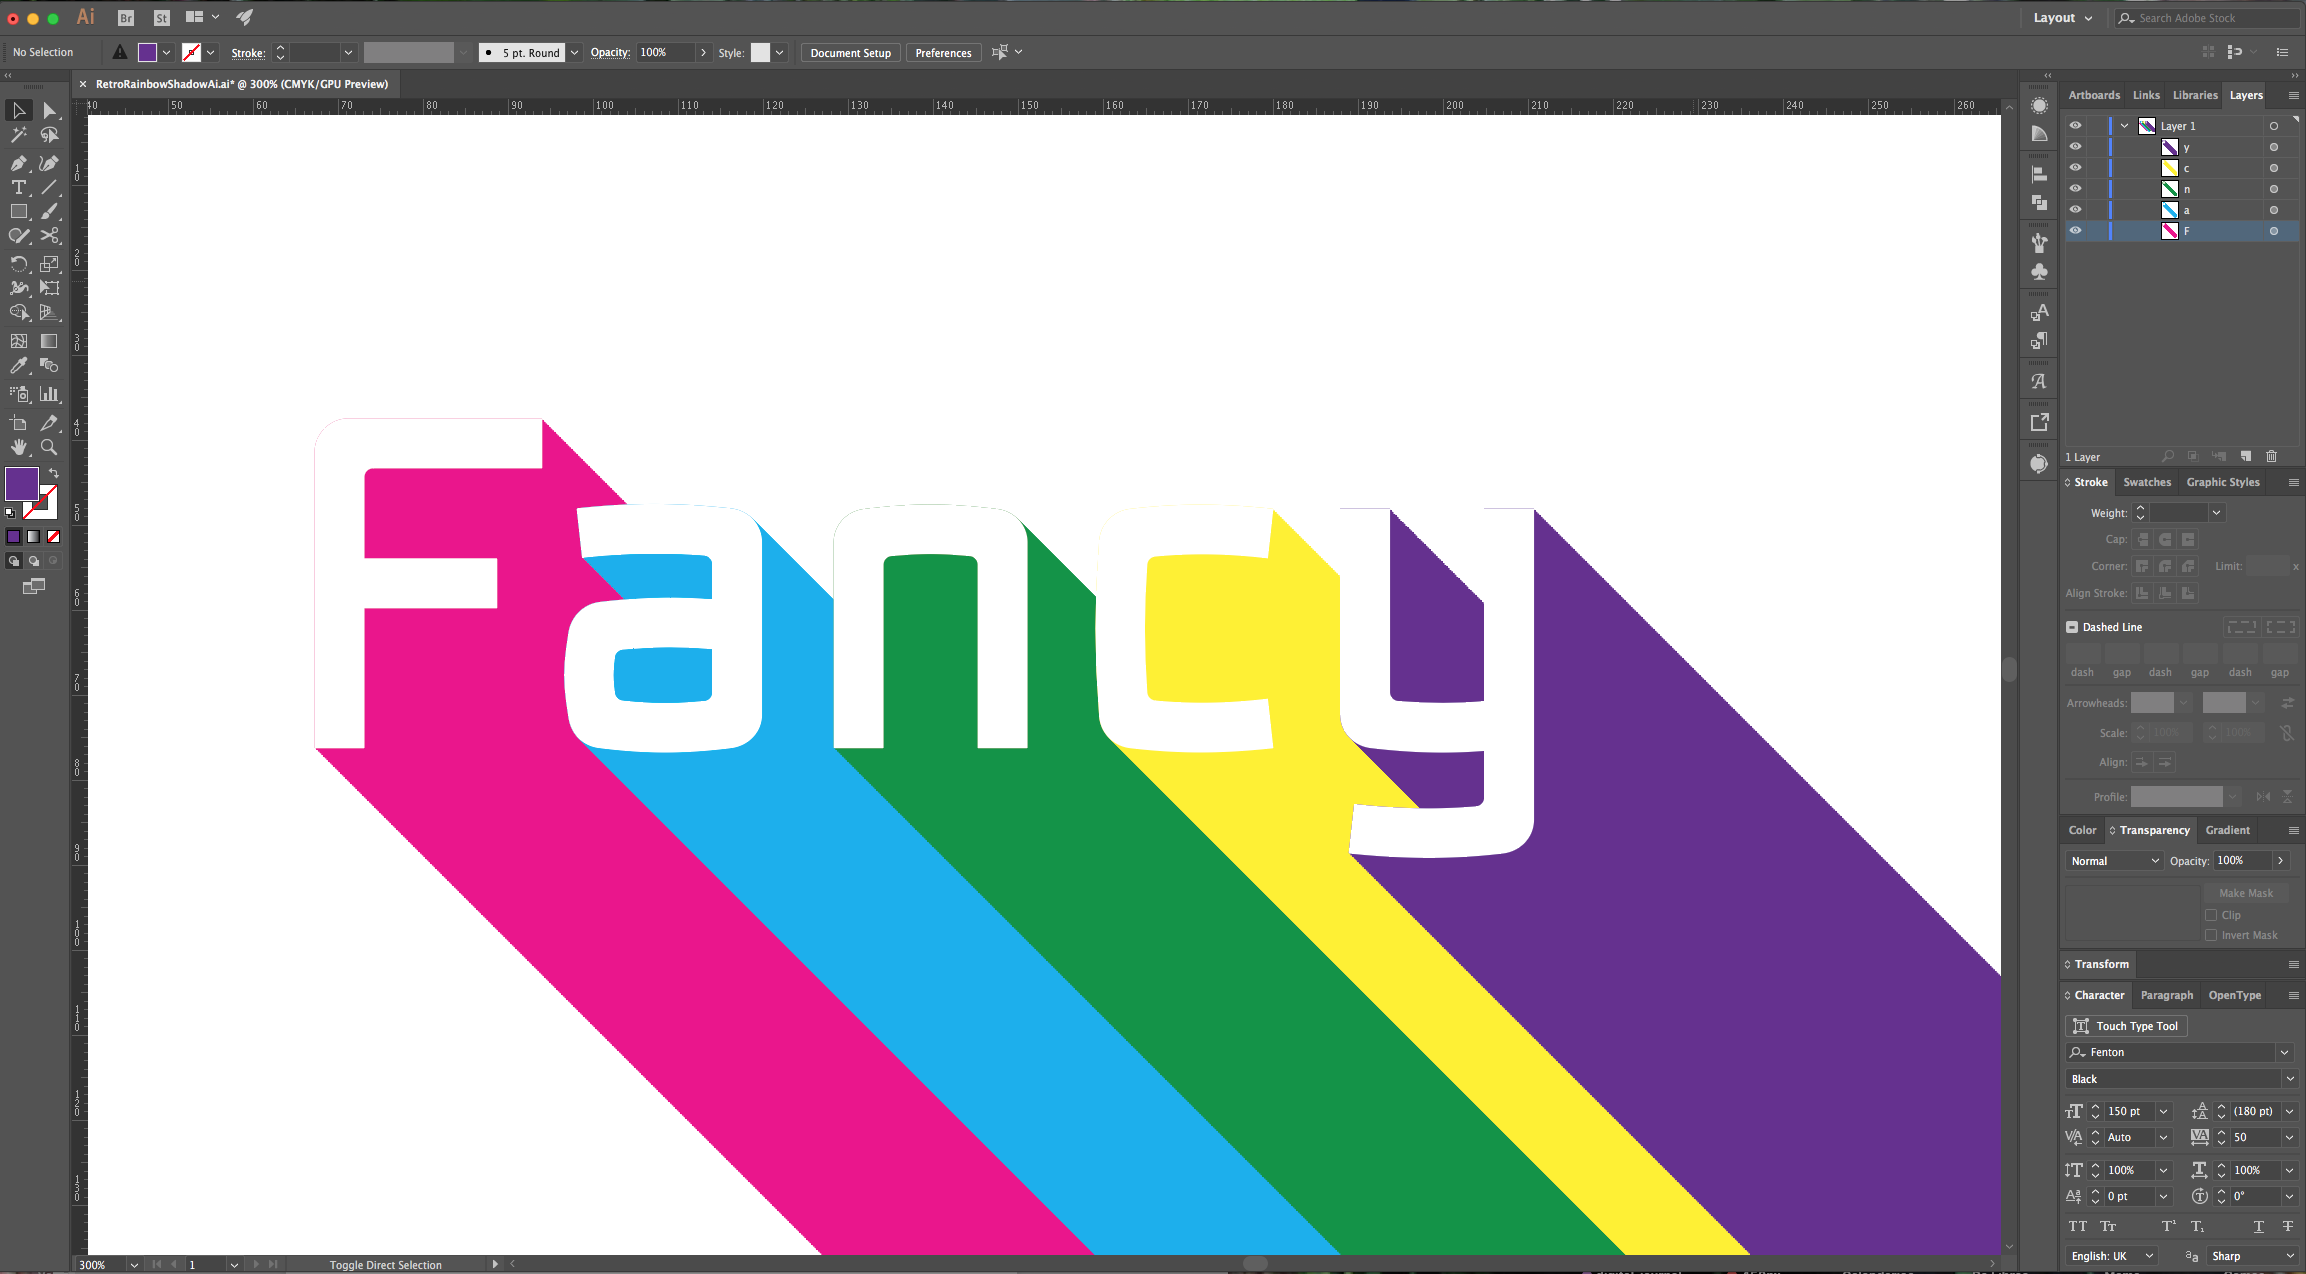
6 - Repeat with the rest of your letter remembering to change the color of your bottom “Fill”. For the “Transform Effect” go to Effect > Apply Transform (Shift + Command/Control + E) to use the same filter.
7 - Select your first letter again, add another “Fill” and this time “Fill” it with the “Black”. Drag it in between your two other “Fills”, click on “Opacity” under its thumbnail and lower it to 10%.

8 - Without deselecting it, go to the “Effects Menu” and choose Path > Offset Path and use the following values.
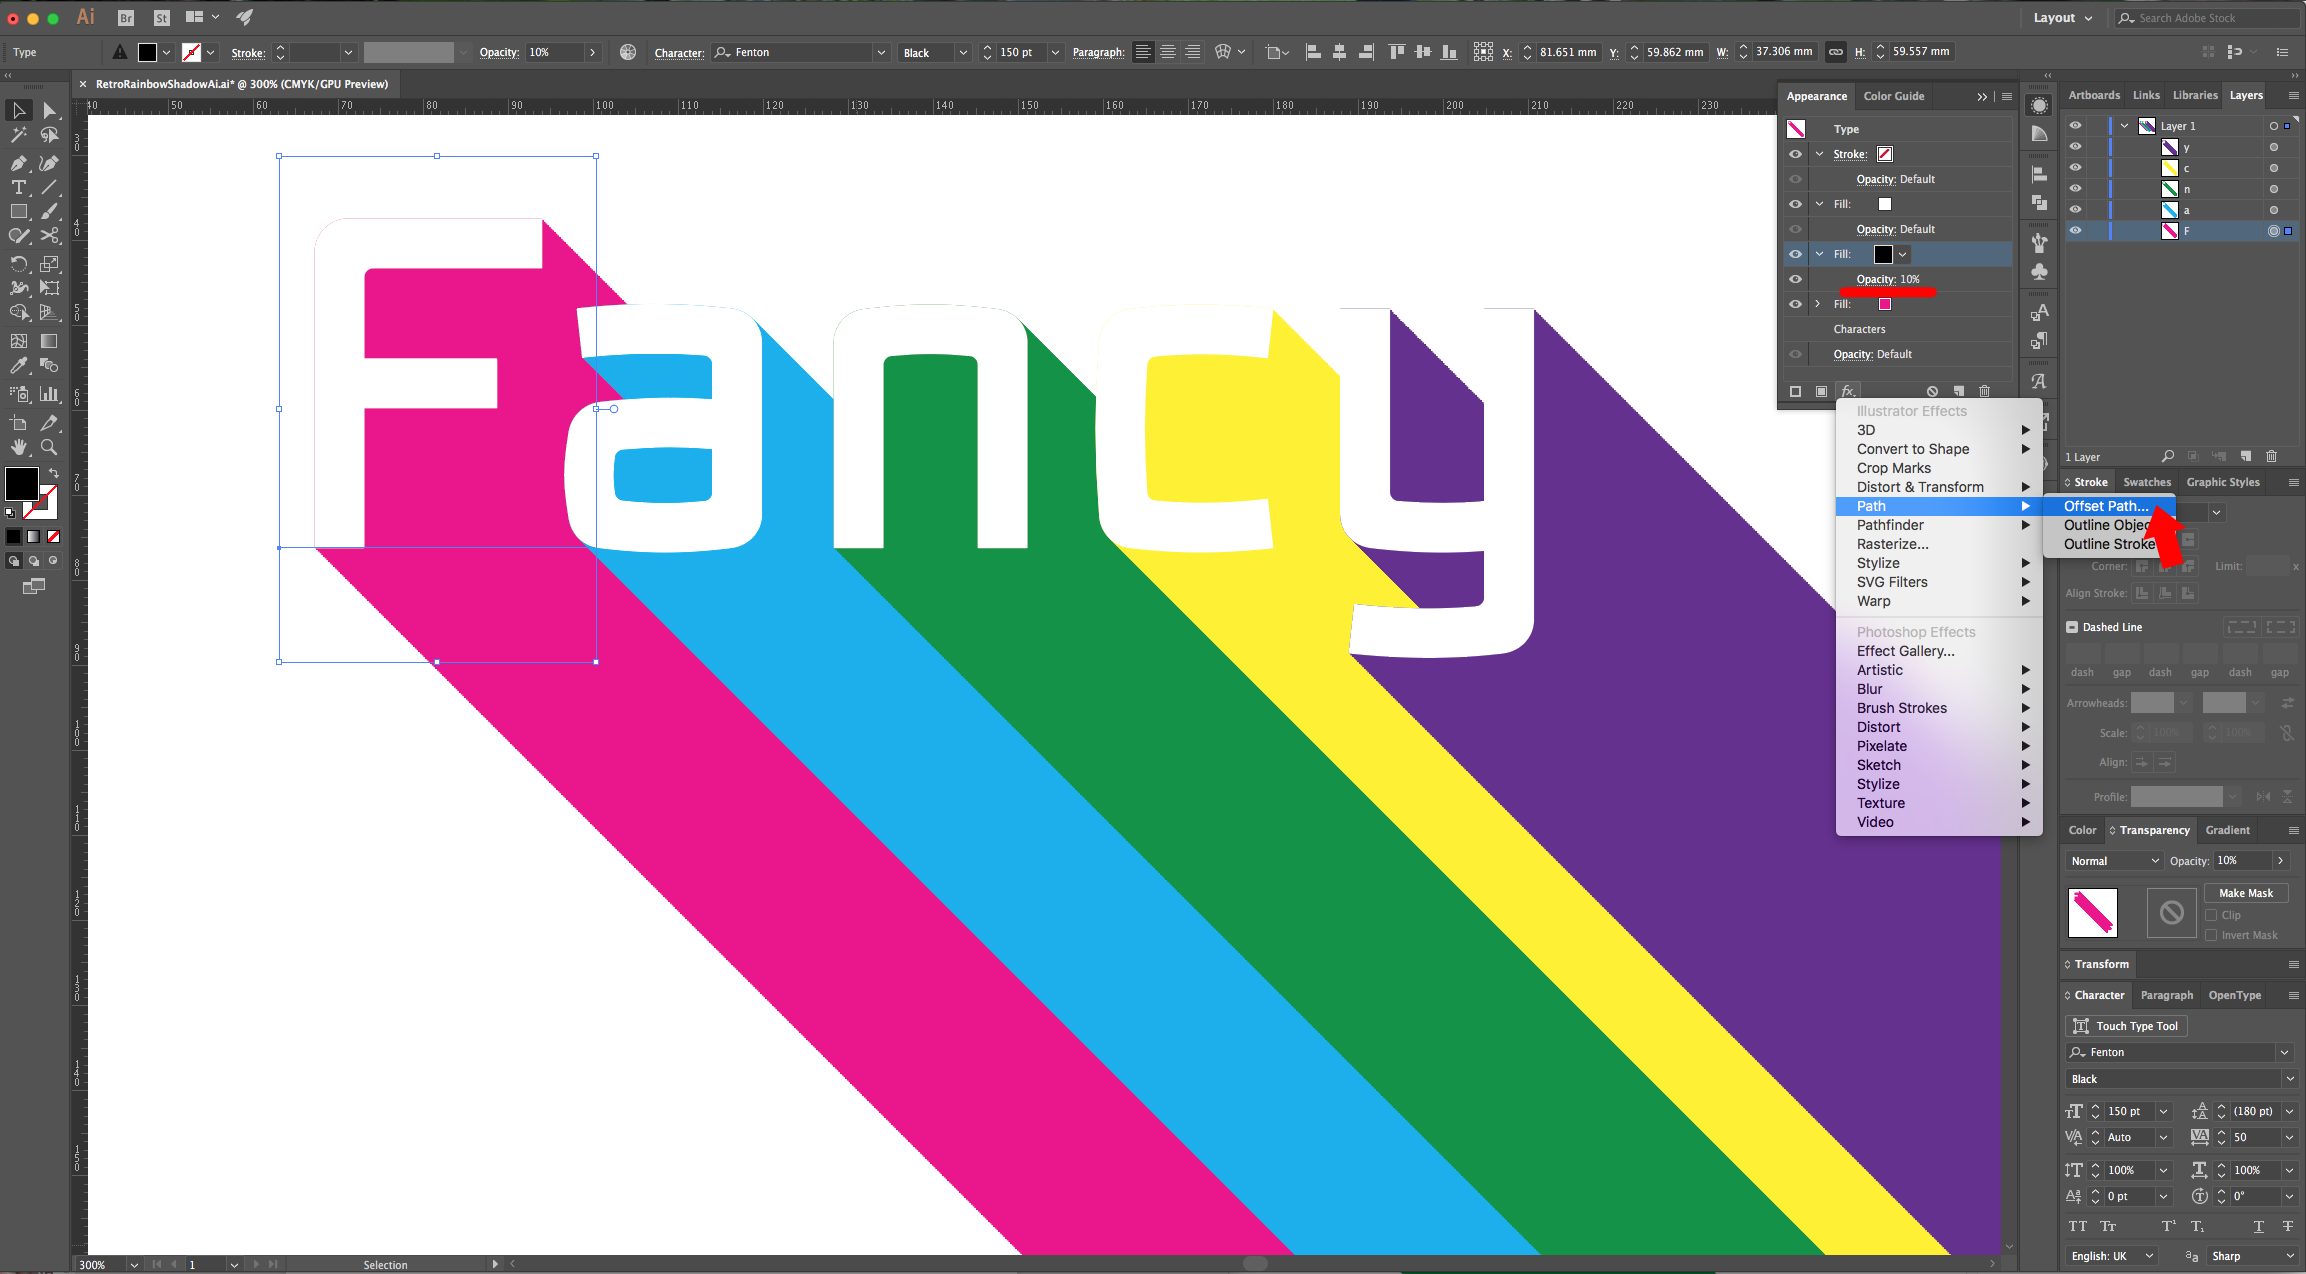
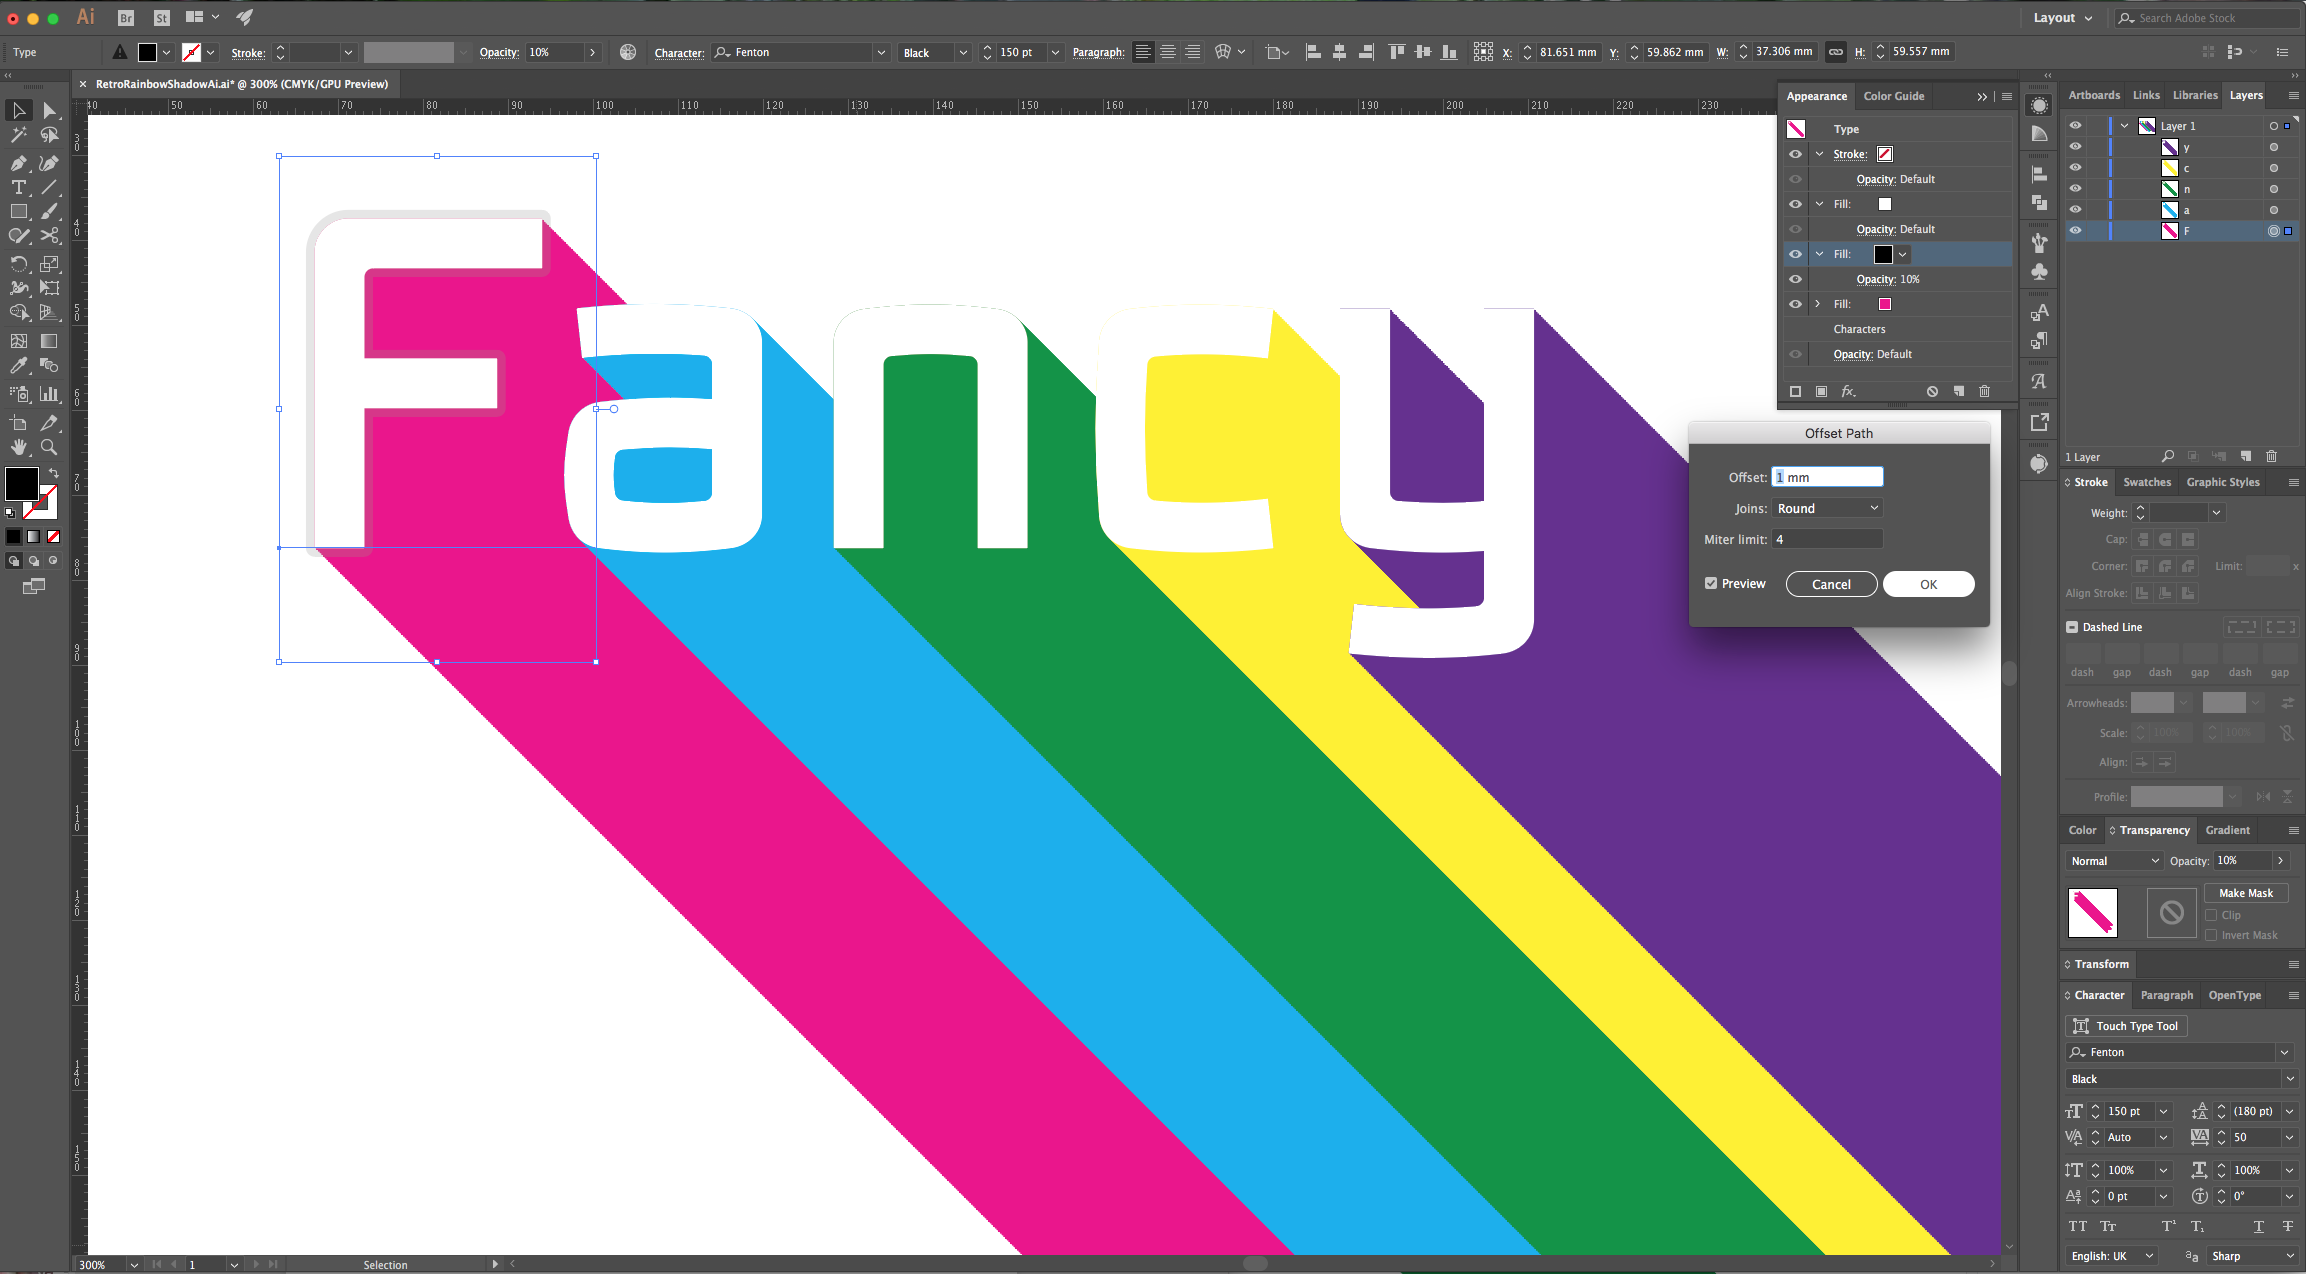
9 - Next, apply another “Effect”, go to Blur > Gaussian Blur and use these values:
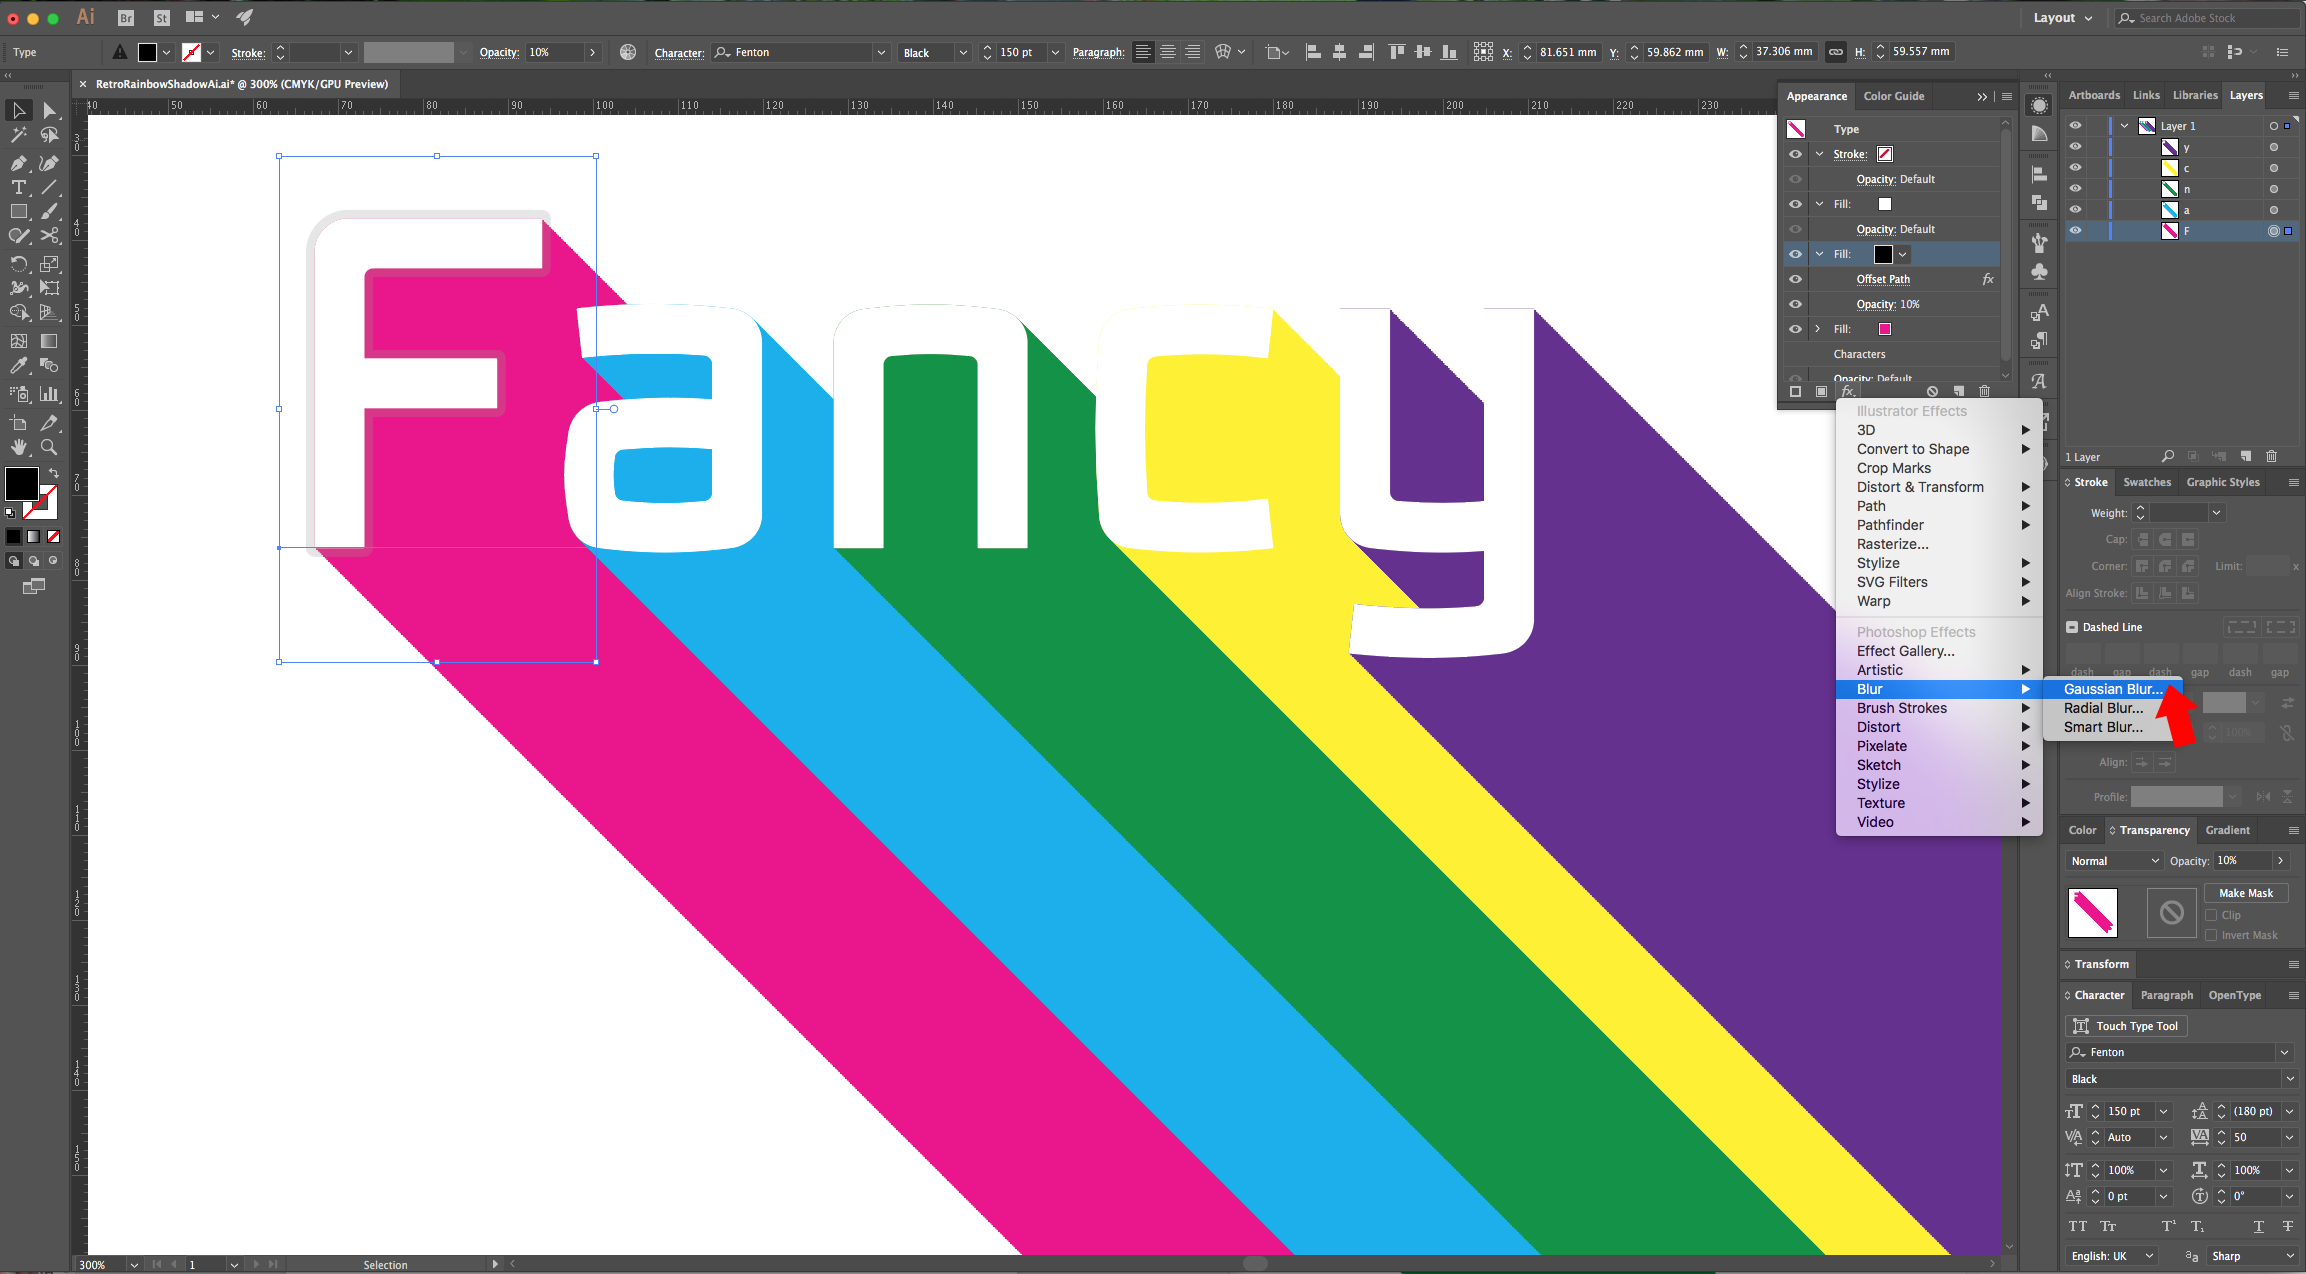
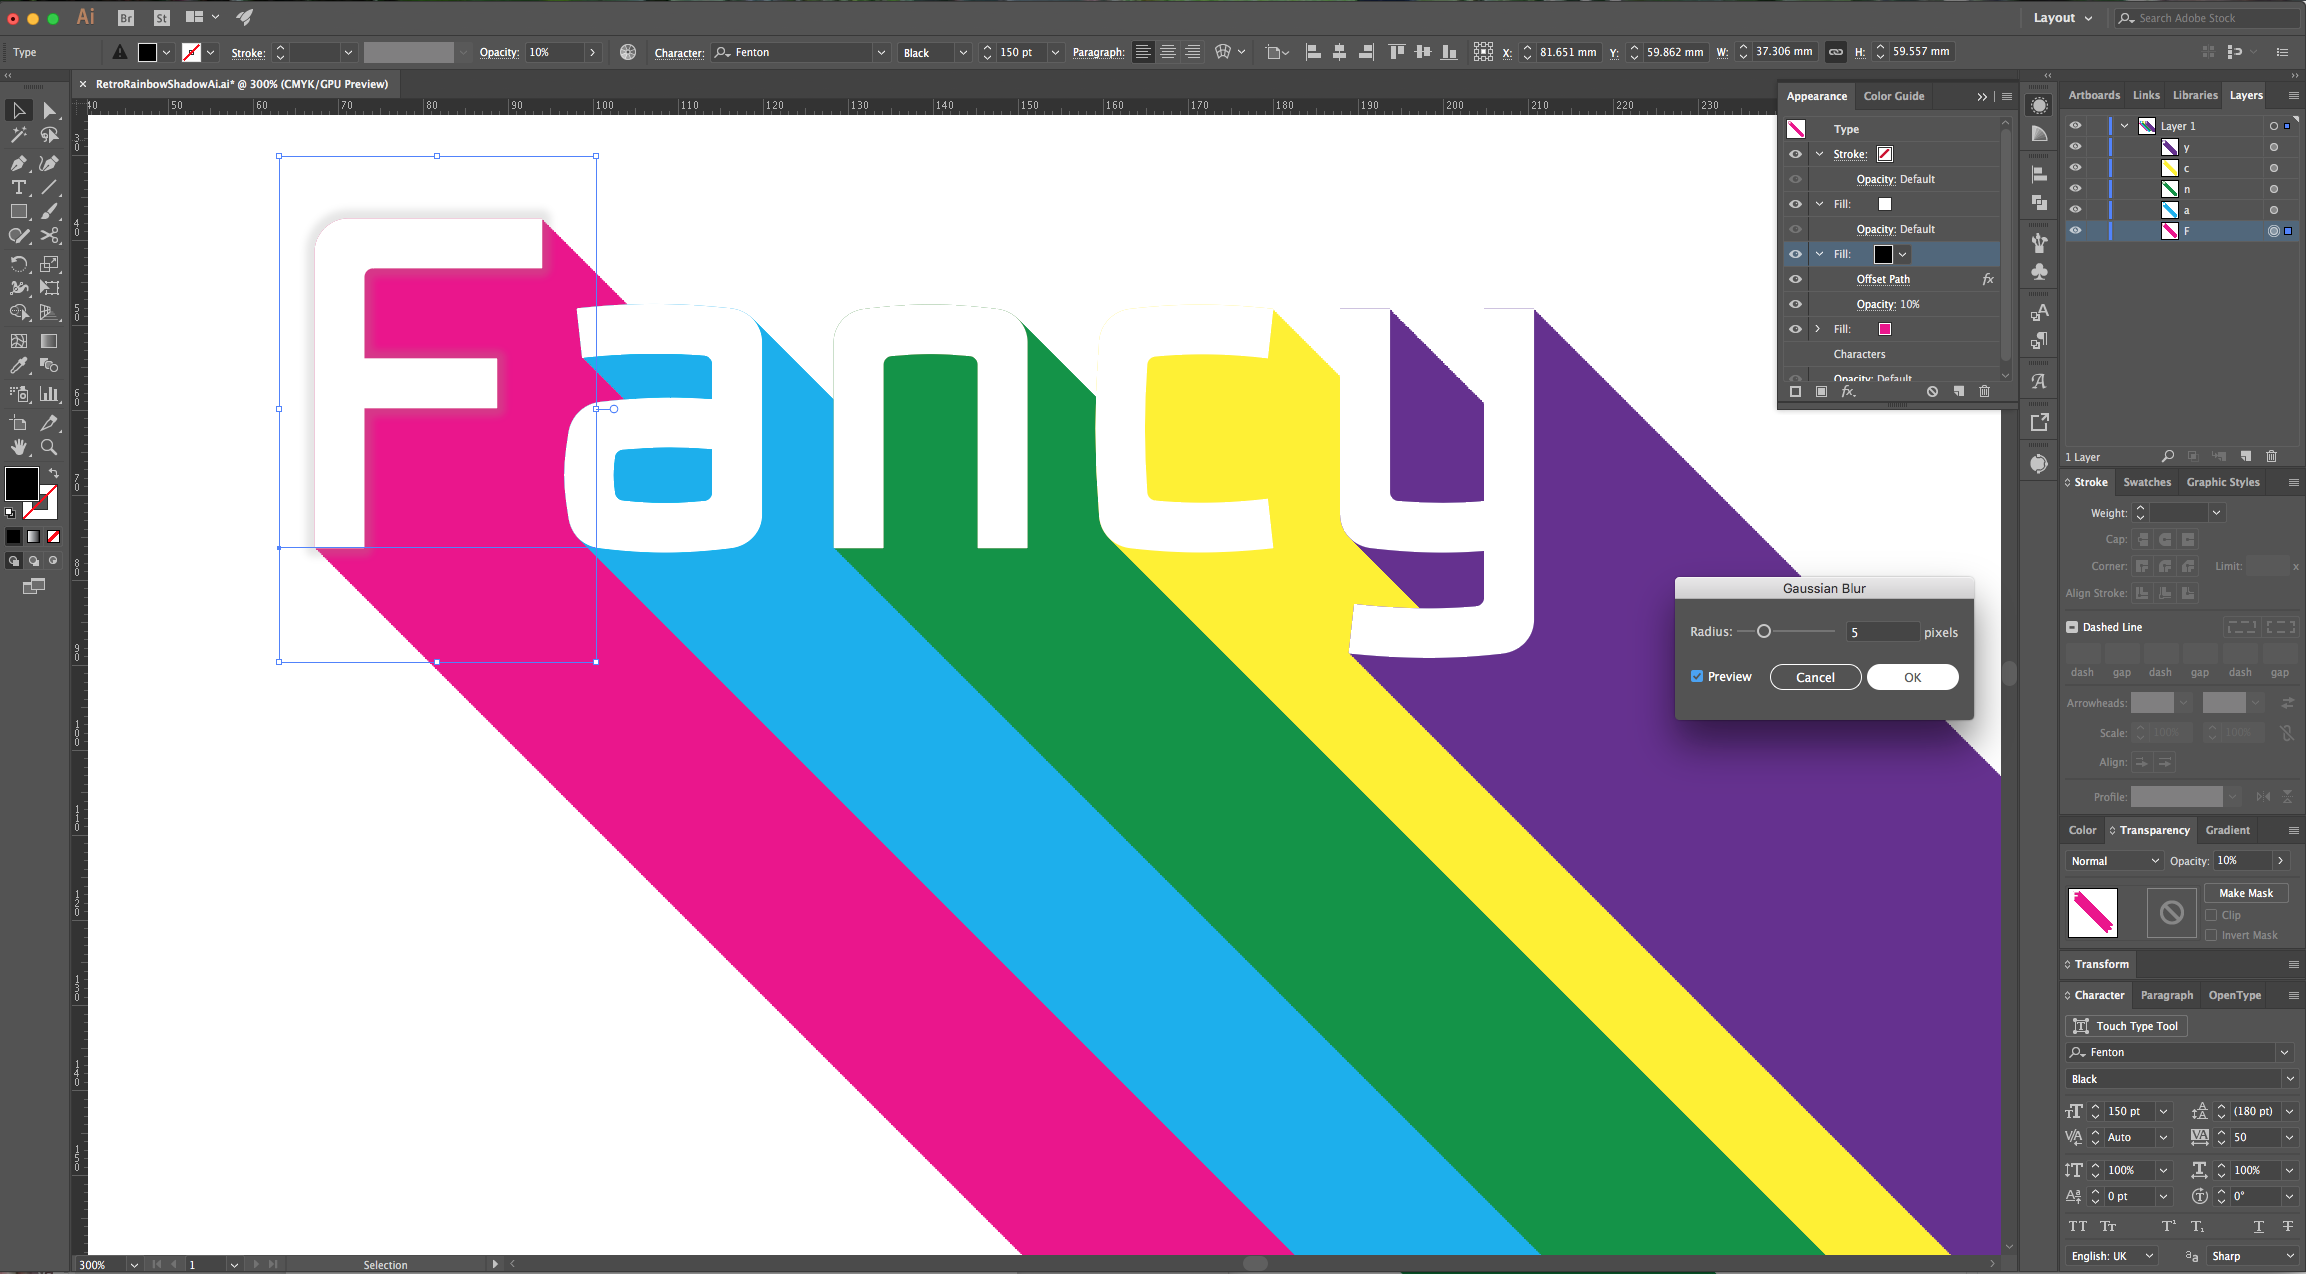
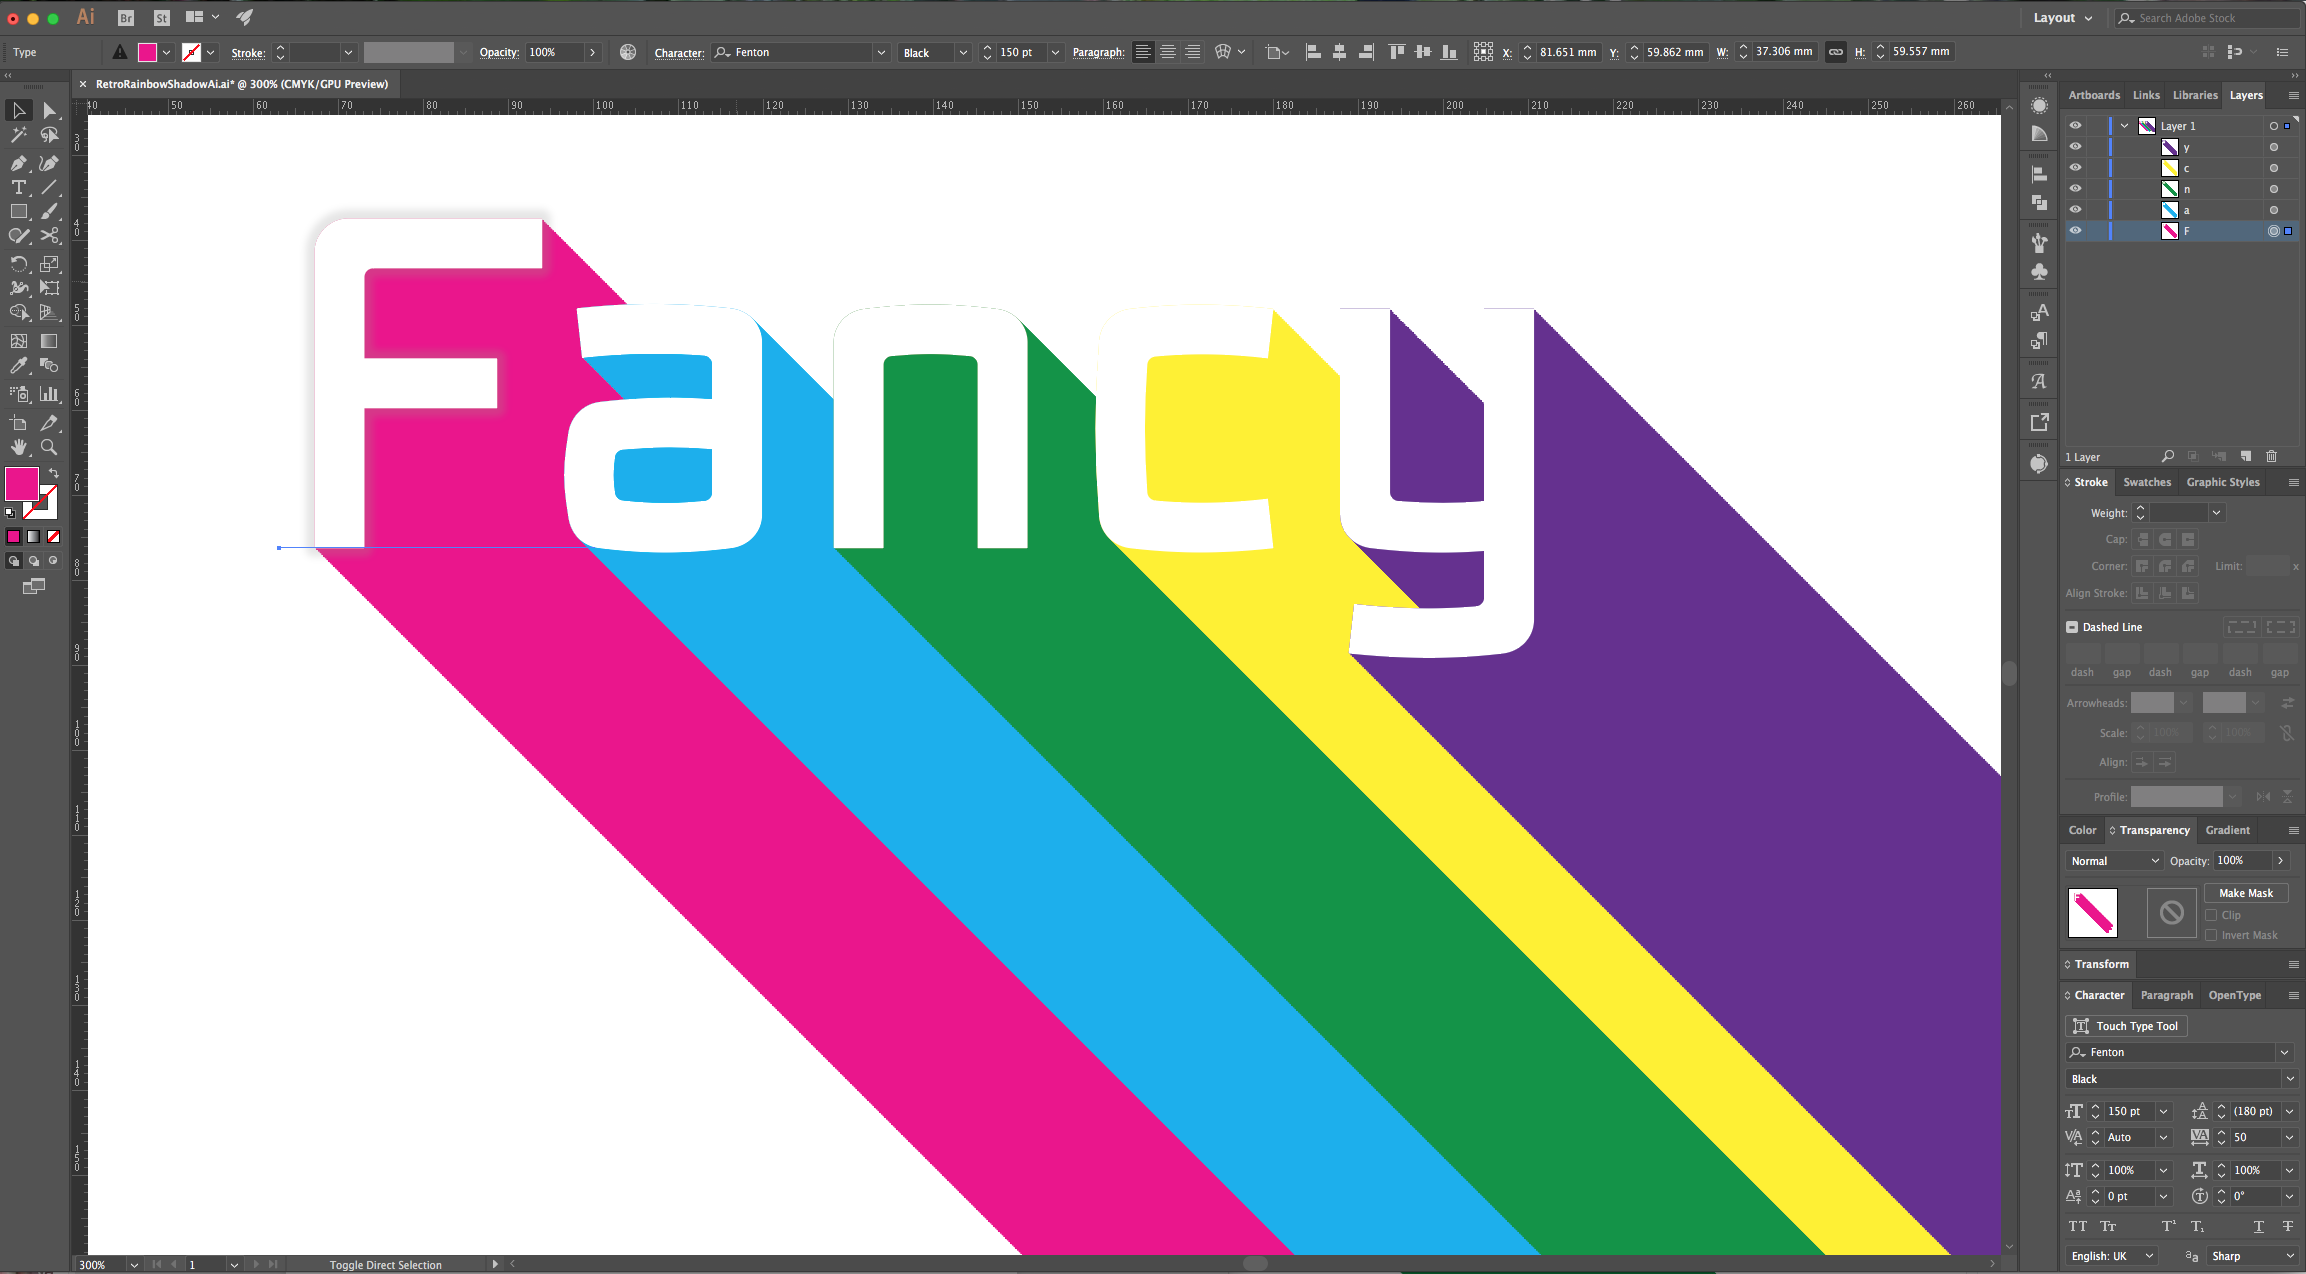
10 - Do the same to the rest of your letters.
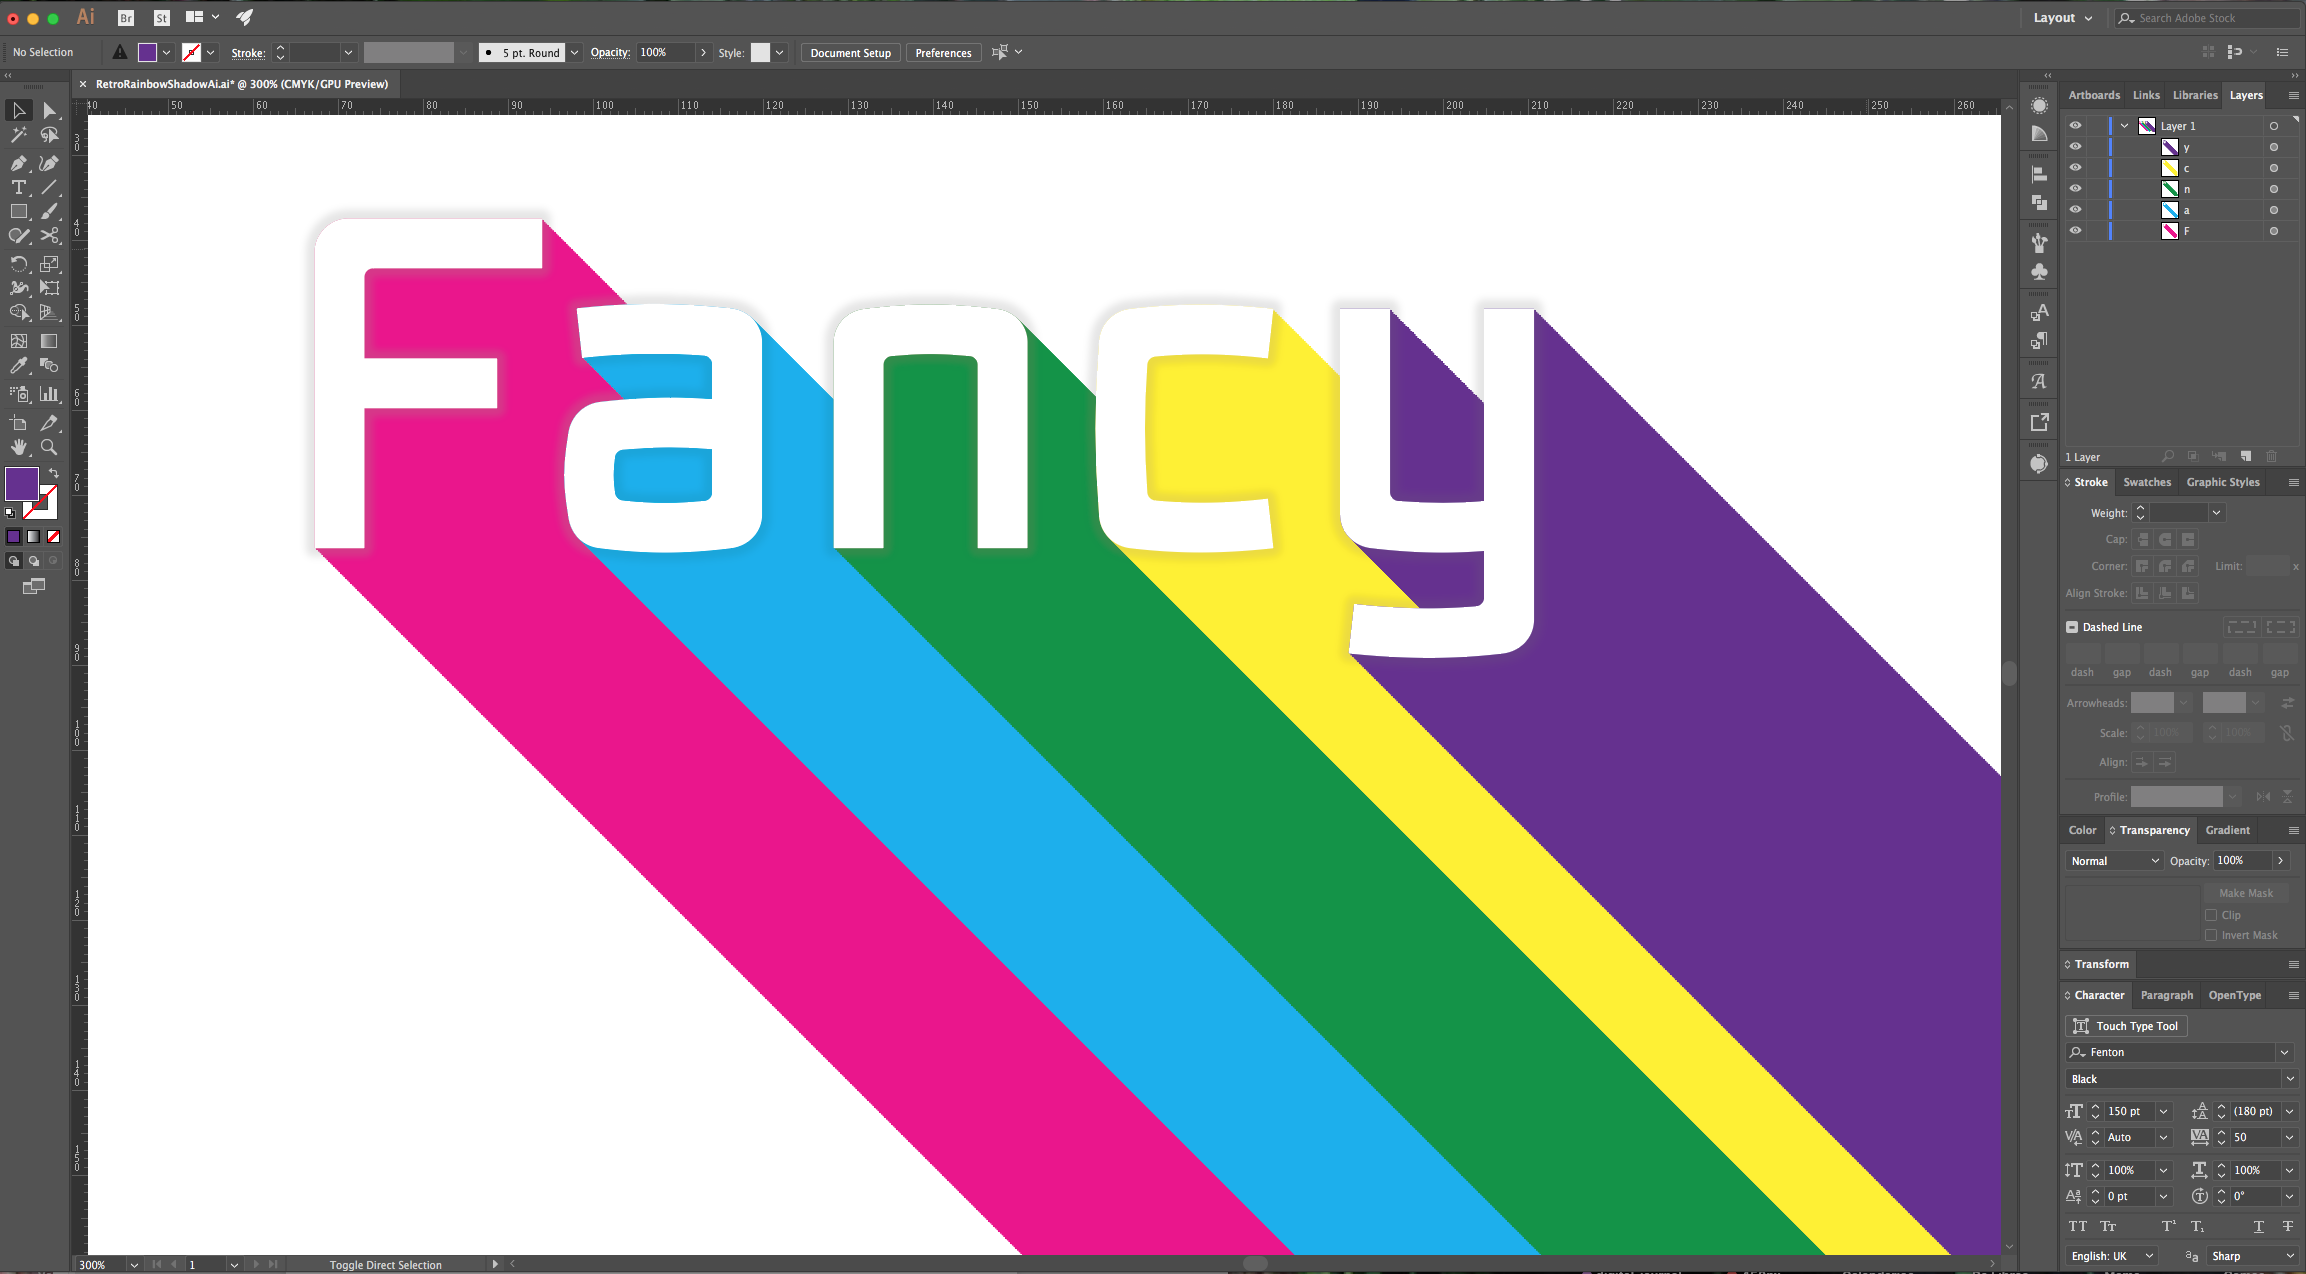
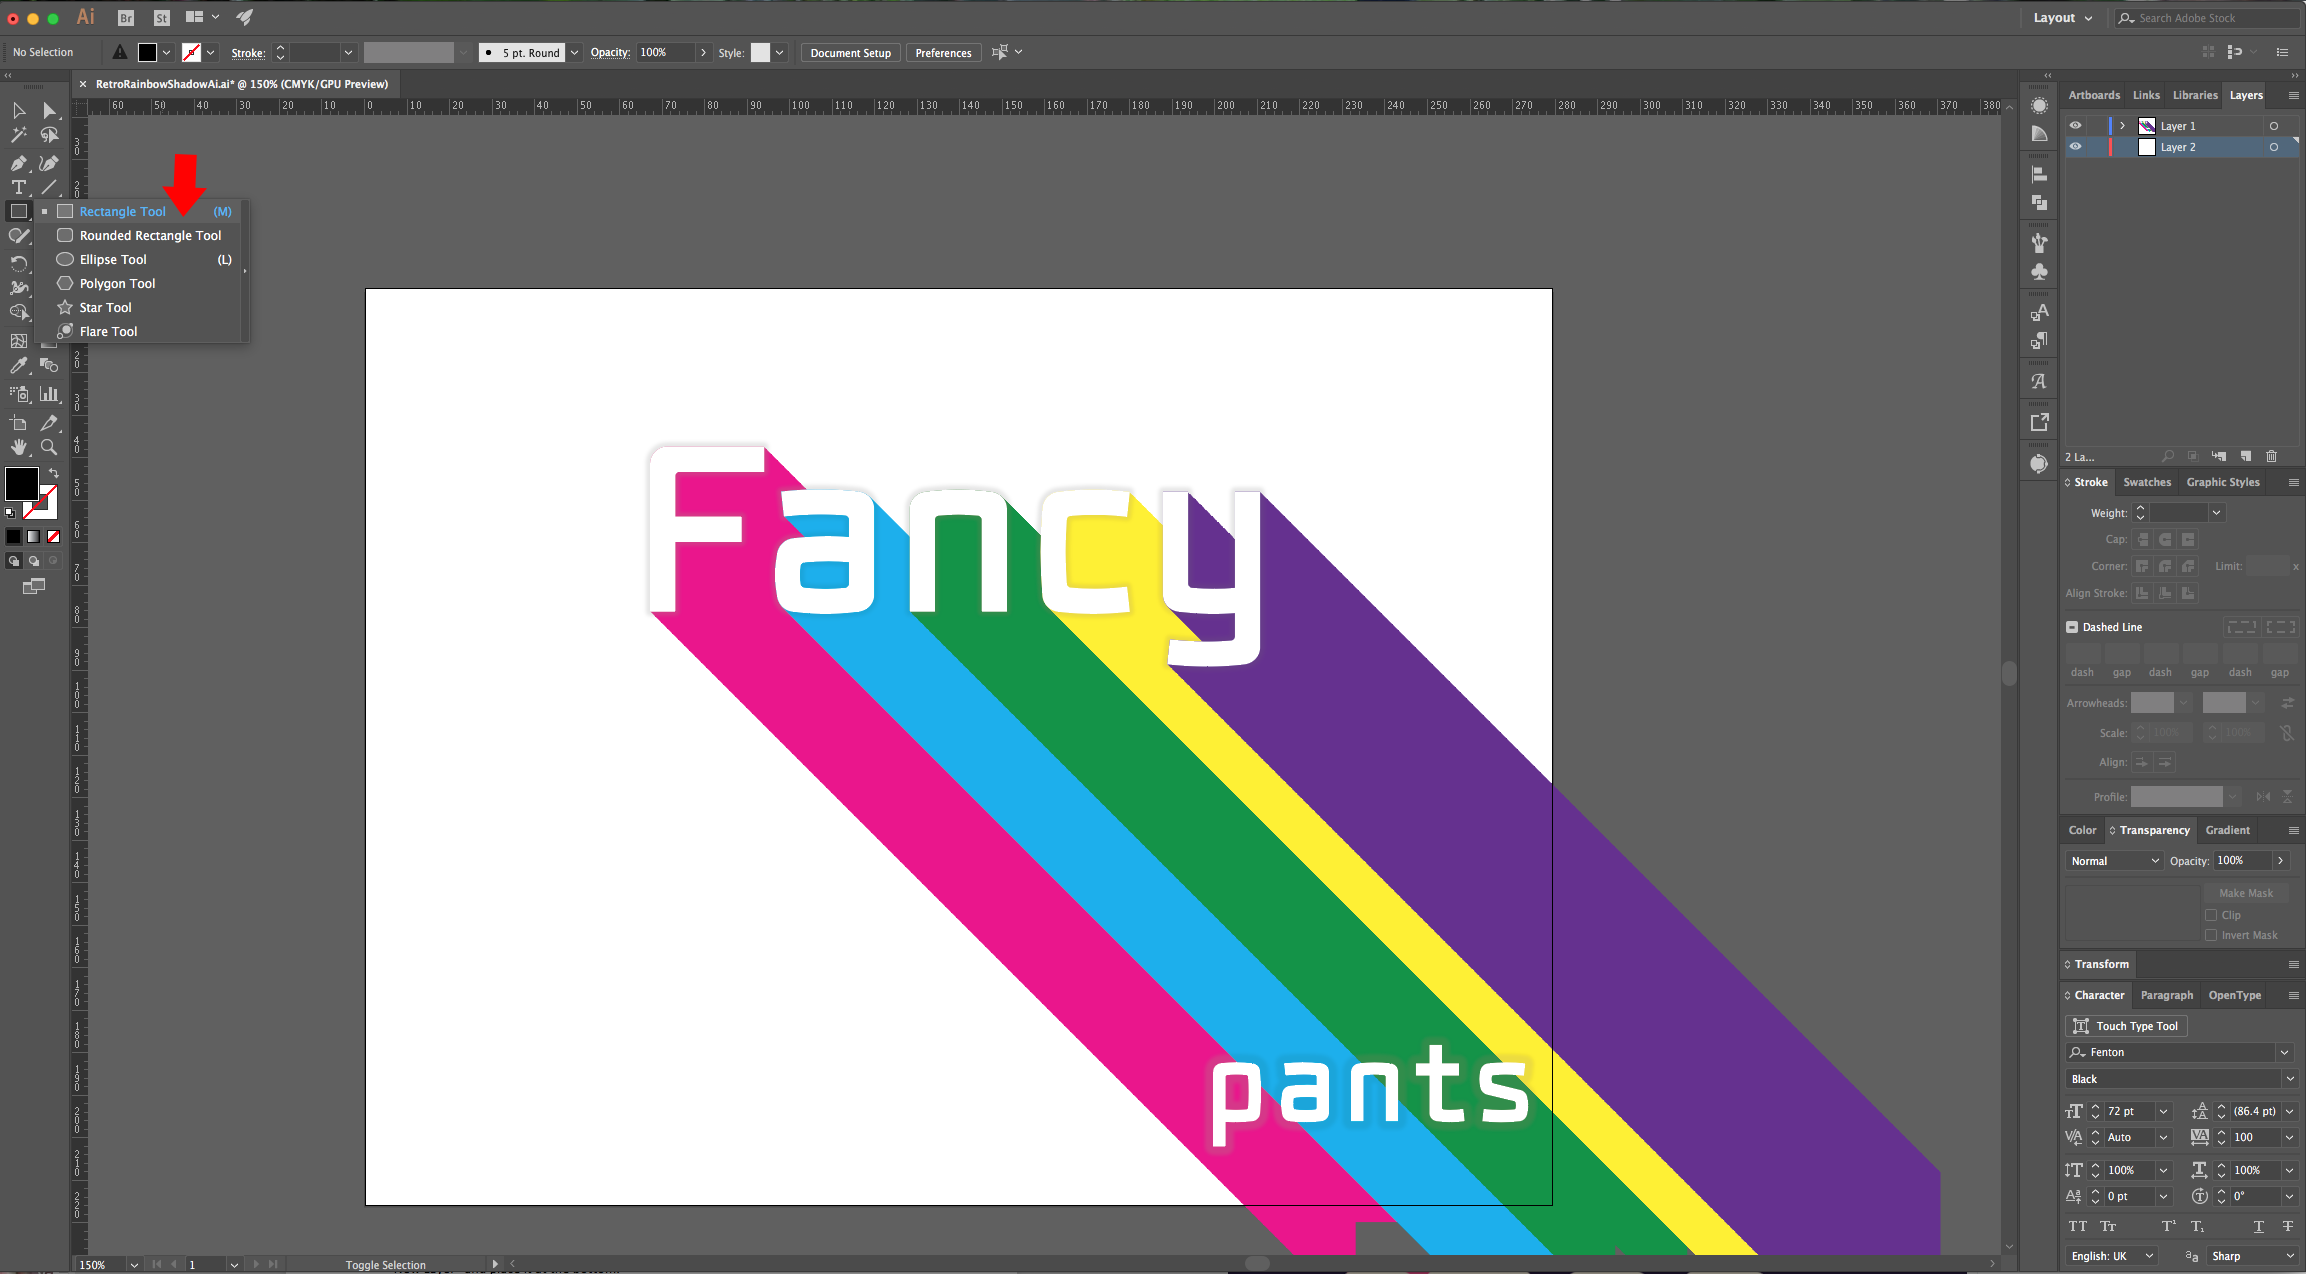
11 - You can add some more text and apply some of the effects to them. Then, create a “New Layer” and place it at the bottom.
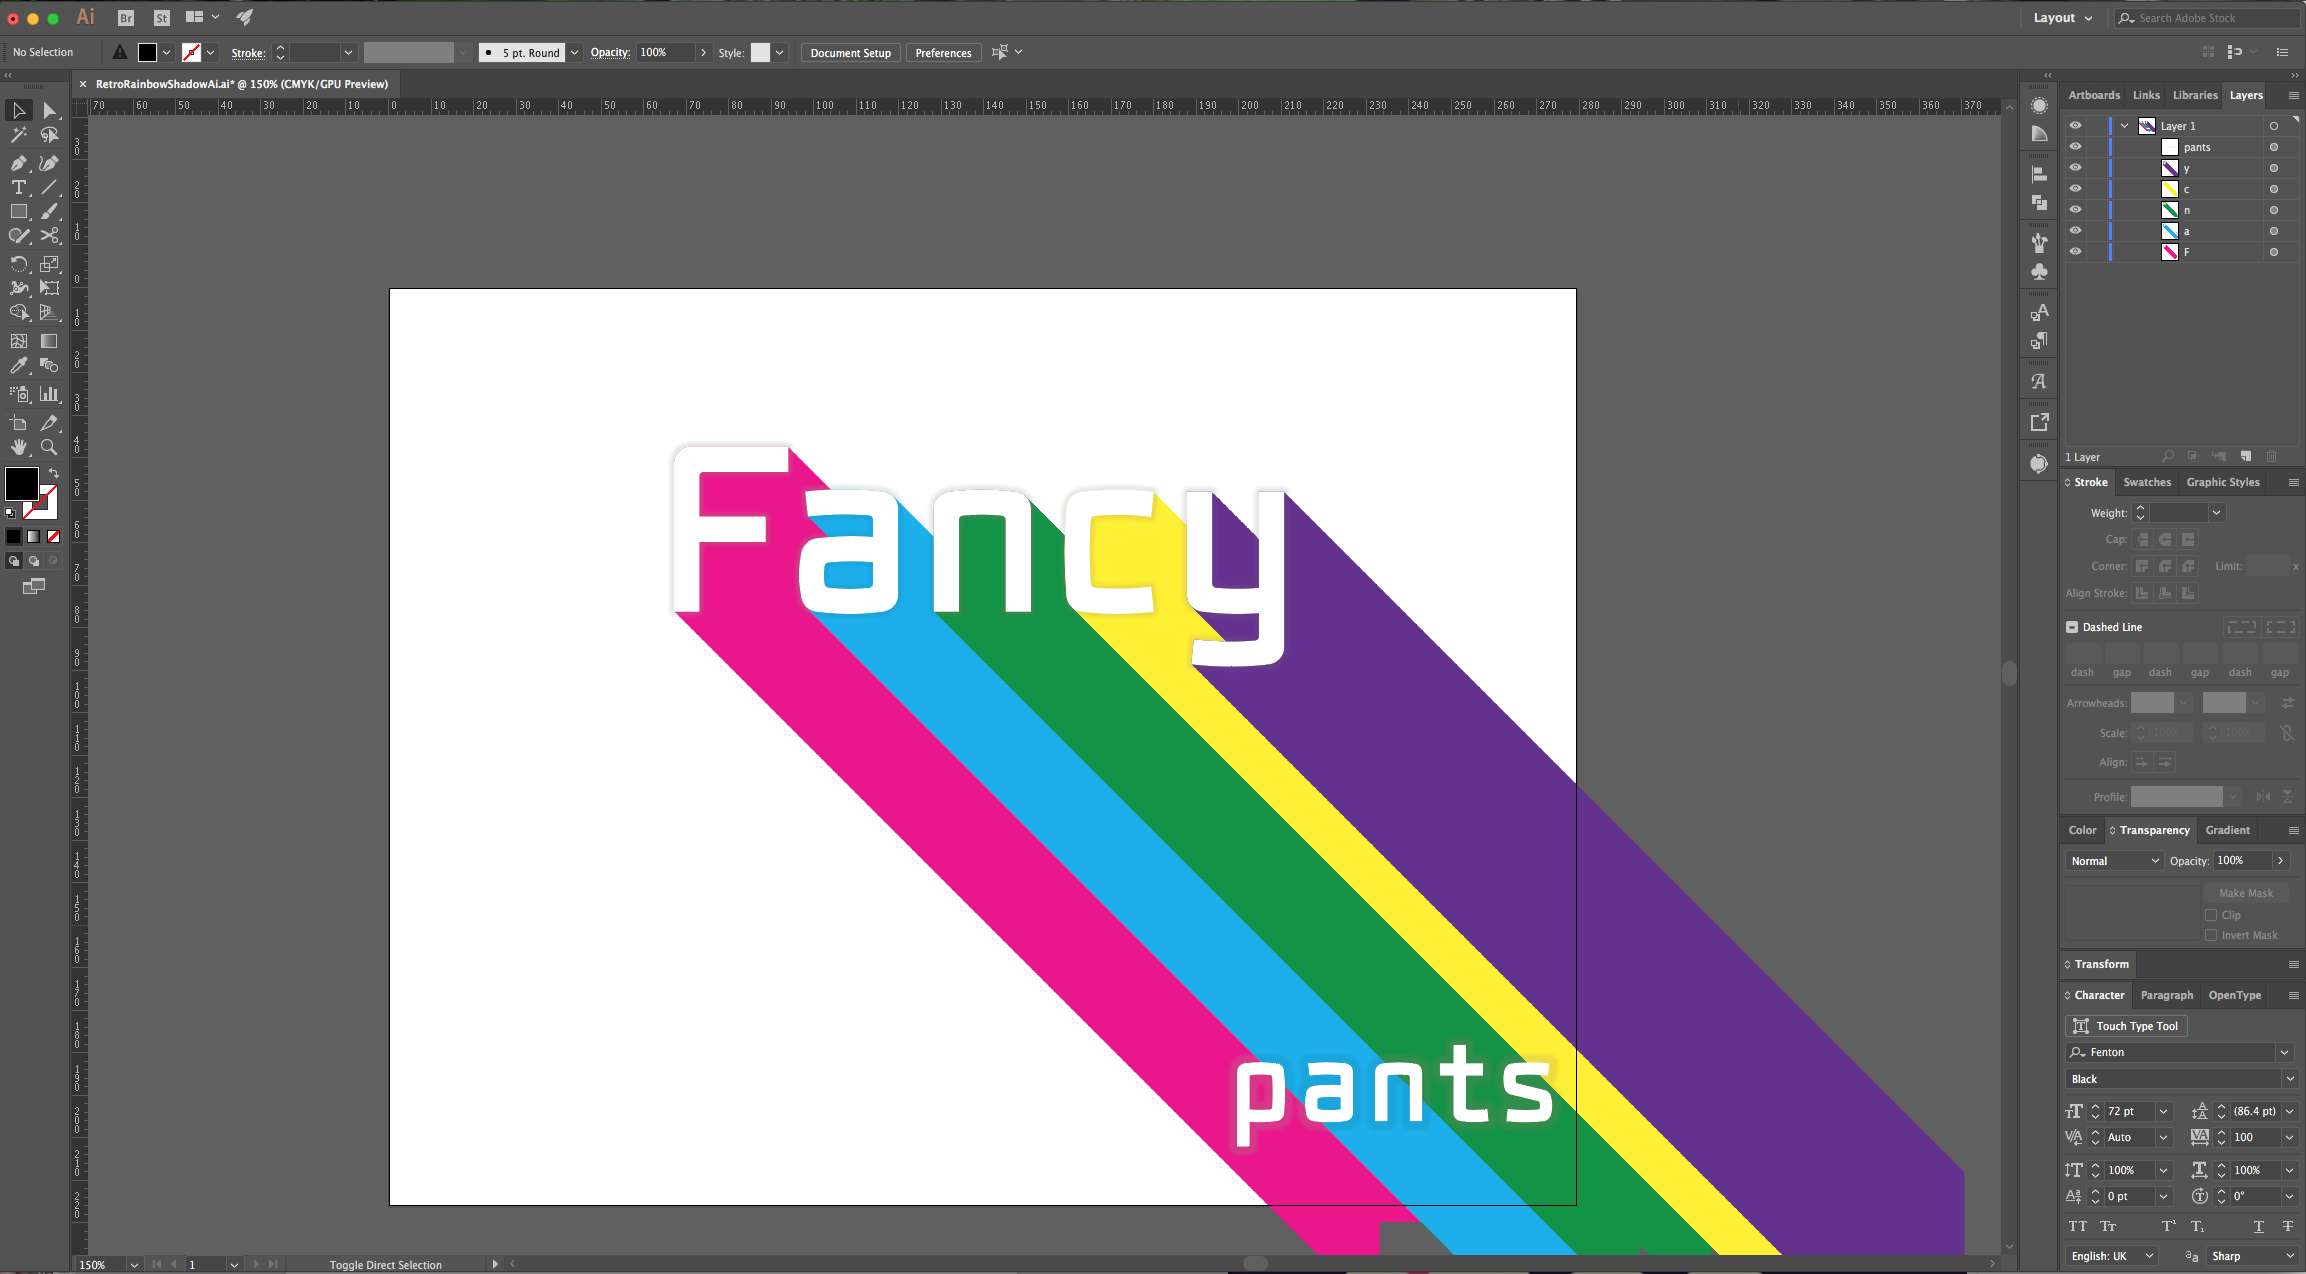
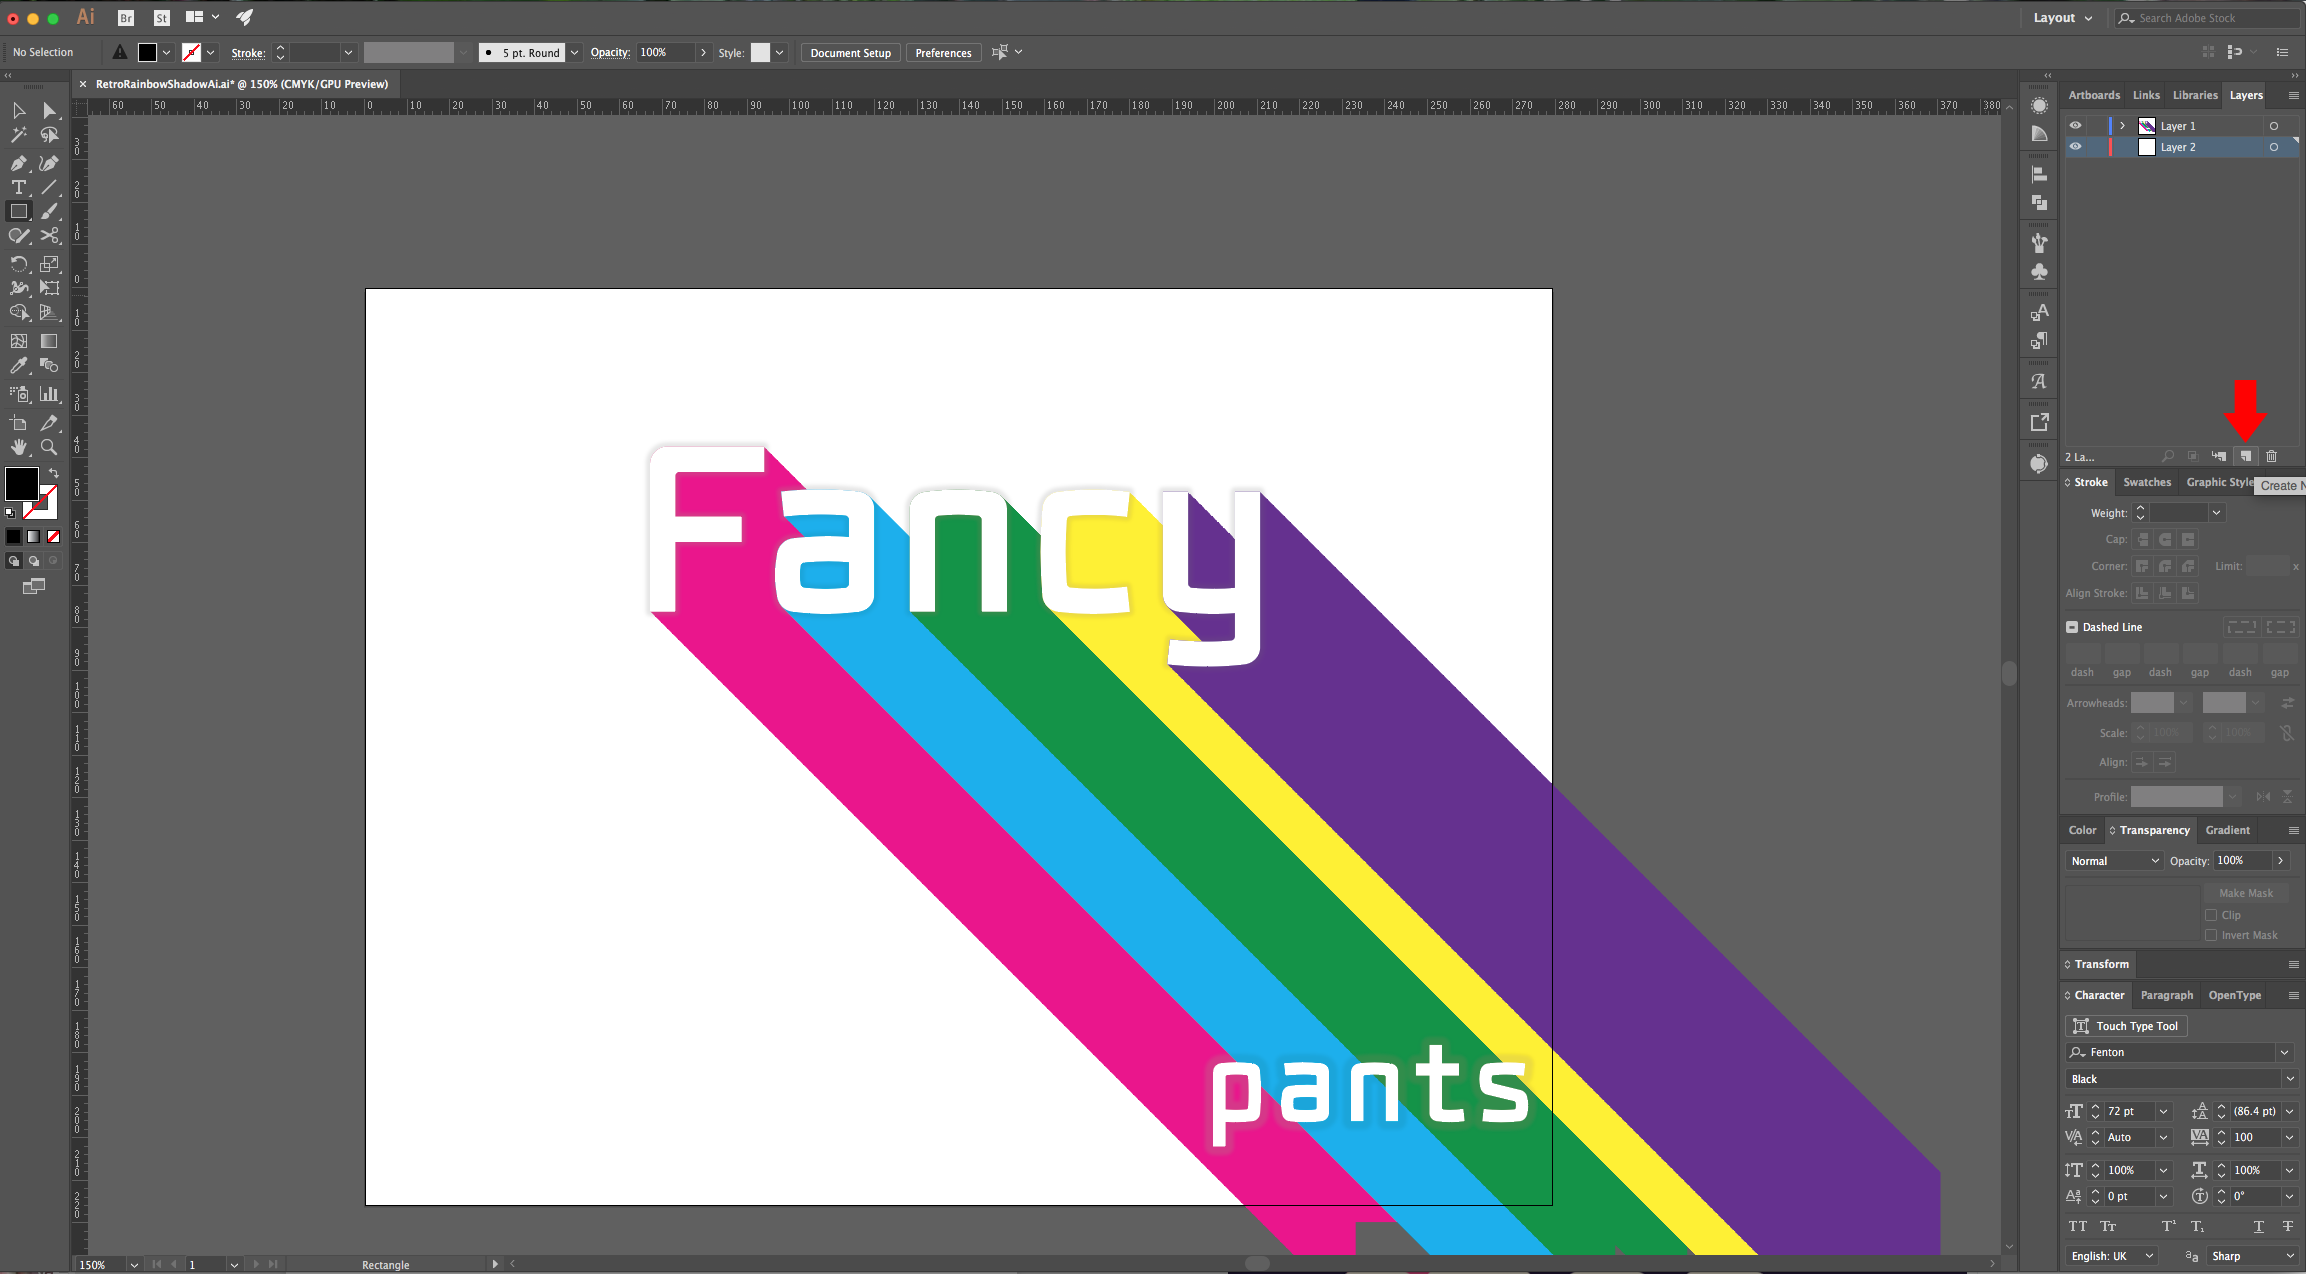
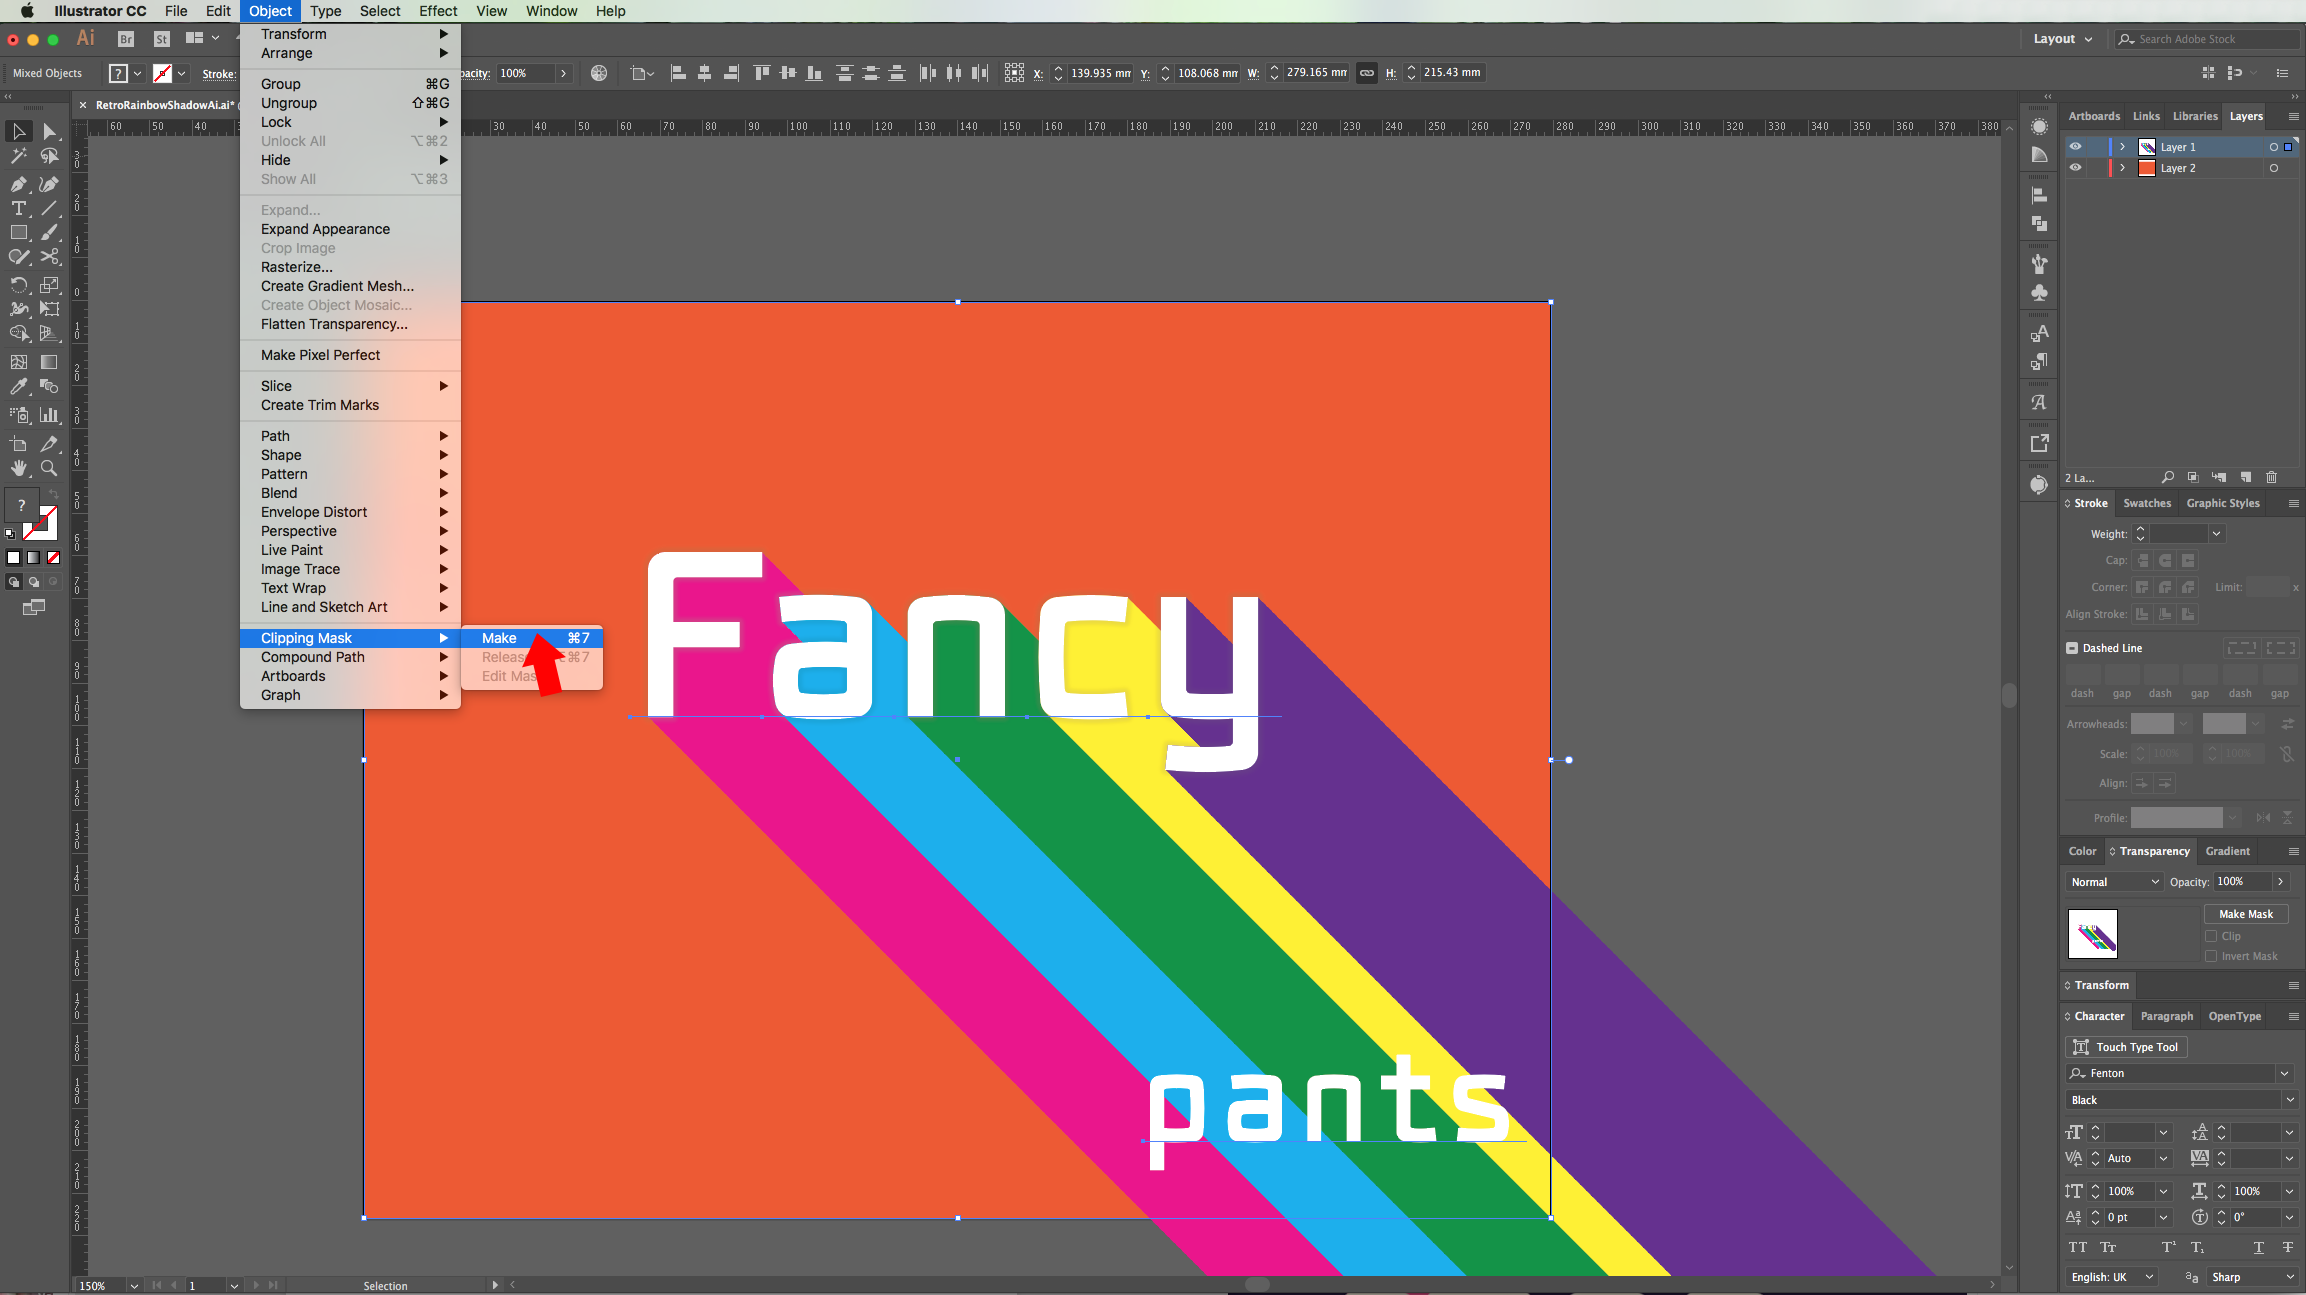
12 - Select the “Rectangle Tool” (M) and make a rectangle that covers all your document. Fill it with a color that complements the ones used in your text. Position your text where you want it to be in the document, create another rectangle with NO “Fill” and “Stroke” on top of your text. Select your “Rainbow” text and the “Colorless Rectangle” and go to Object > Clipping Mask > Make (Command/Control + 7).
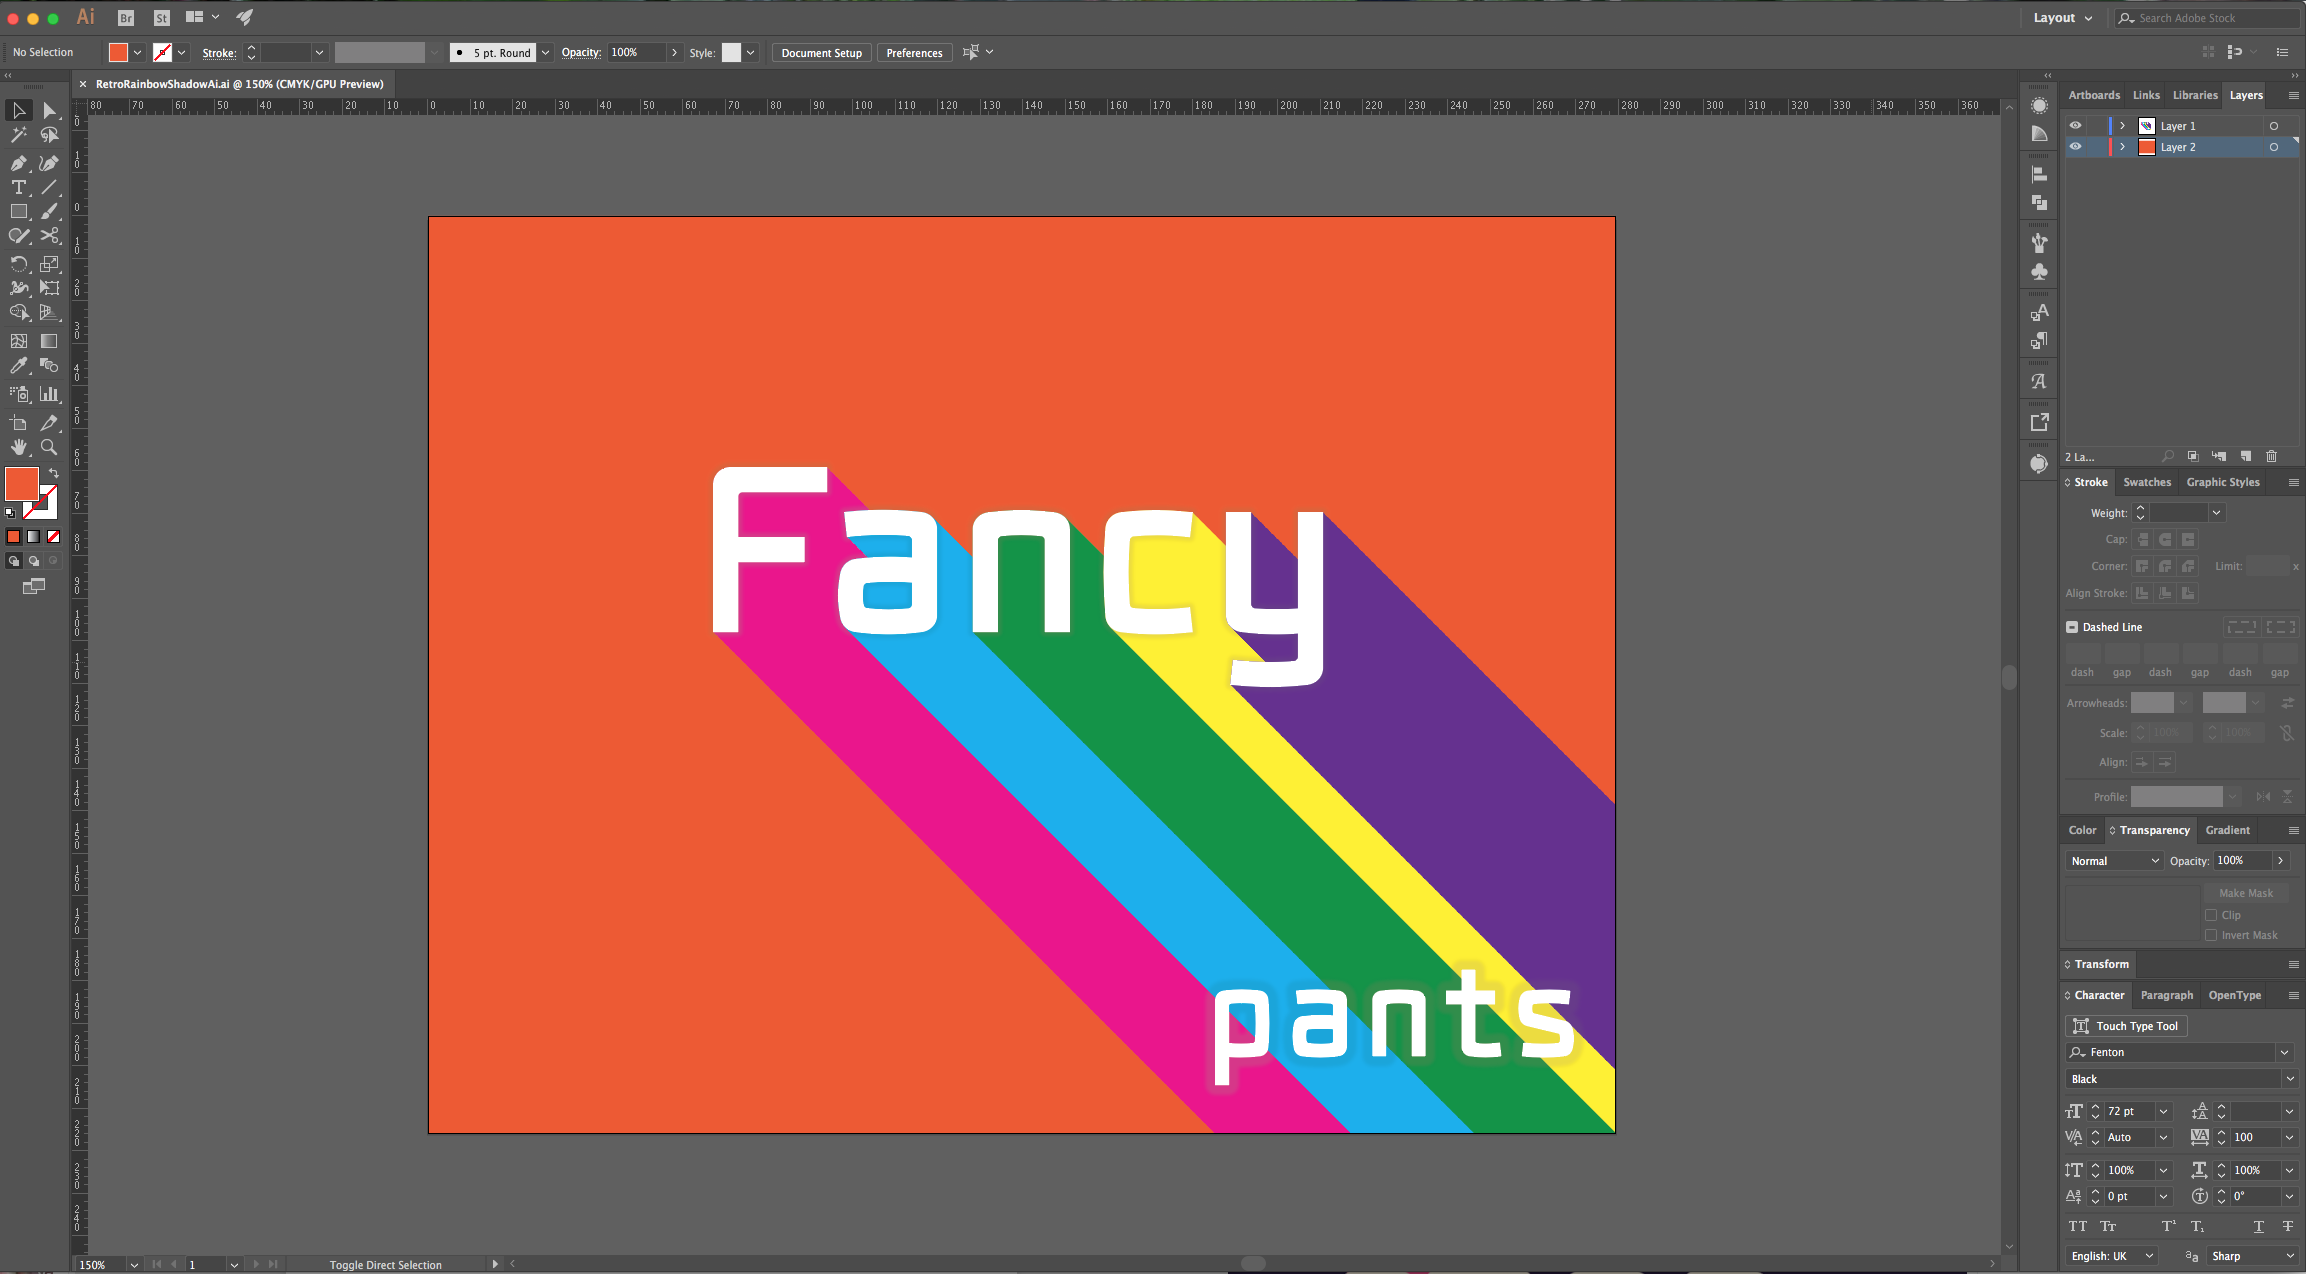
13 - Check it out.
1 - In Illustrator, create a “New Document”.
2 - Select the “Type Tool” (T), choose your font and type your text, use Black as “Fill” color and “Align” it “Left”. In the “Character Panel” set the “Tracking” to 50.
3 - “Copy” (Command/Control + C) and “Paste in Front” (Command/Control + F) your text. Change the color and erase the last letters leaving just the first one. Re-type all the other letters, change their “Fill” color and place them on top of the marker Black text. Once you are finished, you can delete the Black text.
4 - Select your first letter, make the Fill “None”. Then, go to the “Appearance Panel” click the “Add New Fill” button on the bottom-left and use “White”. Add another “Fill” color and this time “Fill” it with the “Rainbow” shade you wish to use (it should be placed under the “White”).
5 - Click on the “Effects Menu” at the bottom of the “Appearance Panel”, choose Distort & Transform > Transform and apply the following values:
6 - Repeat with the rest of your letter remembering to change the color of your bottom “Fill”. For the “Transform Effect” go to Effect > Apply Transform (Shift + Command/Control + E) to use the same filter.
7 - Select your first letter again, add another “Fill” and this time “Fill” it with the “Black”. Drag it in between your two other “Fills”, click on “Opacity” under its thumbnail and lower it to 10%.
8 - Without deselecting it, go to the “Effects Menu” and choose Path > Offset Path and use the following values.
9 - Next, apply another “Effect”, go to Blur > Gaussian Blur and use these values:
10 - Do the same to the rest of your letters.
11 - You can add some more text and apply some of the effects to them. Then, create a “New Layer” and place it at the bottom.
12 - Select the “Rectangle Tool” (M) and make a rectangle that covers all your document. Fill it with a color that complements the ones used in your text. Position your text where you want it to be in the document, create another rectangle with NO “Fill” and “Stroke” on top of your text. Select your “Rainbow” text and the “Colorless Rectangle” and go to Object > Clipping Mask > Make (Command/Control + 7).
13 - Check it out.
by @lornacane
Related Tutorials
Illustrator Tutorials
Long Shadow Effect in Illustrator
Inkscape Tutorials
How to Make a Long Shadow in Inkscape
Illustrator Tutorials
Curved Shadow in Illustrator
Learn how to make a curved shadow with this step by step Adobe Illustrator tutorial. Easy to follow!
Illustrator Tutorials
How to Create a Drop Shadow in Illustrator
In this tutorial, learn how to easily add a Drop Shadow in Illustrator.
Illustrator Tutorials
Rainbow Text in Illustrator
Illustrator Tutorials


