- By Design Bundles
- 5 Mins
- Illustrator Tutorials
Long Shadow Effect in Illustrator
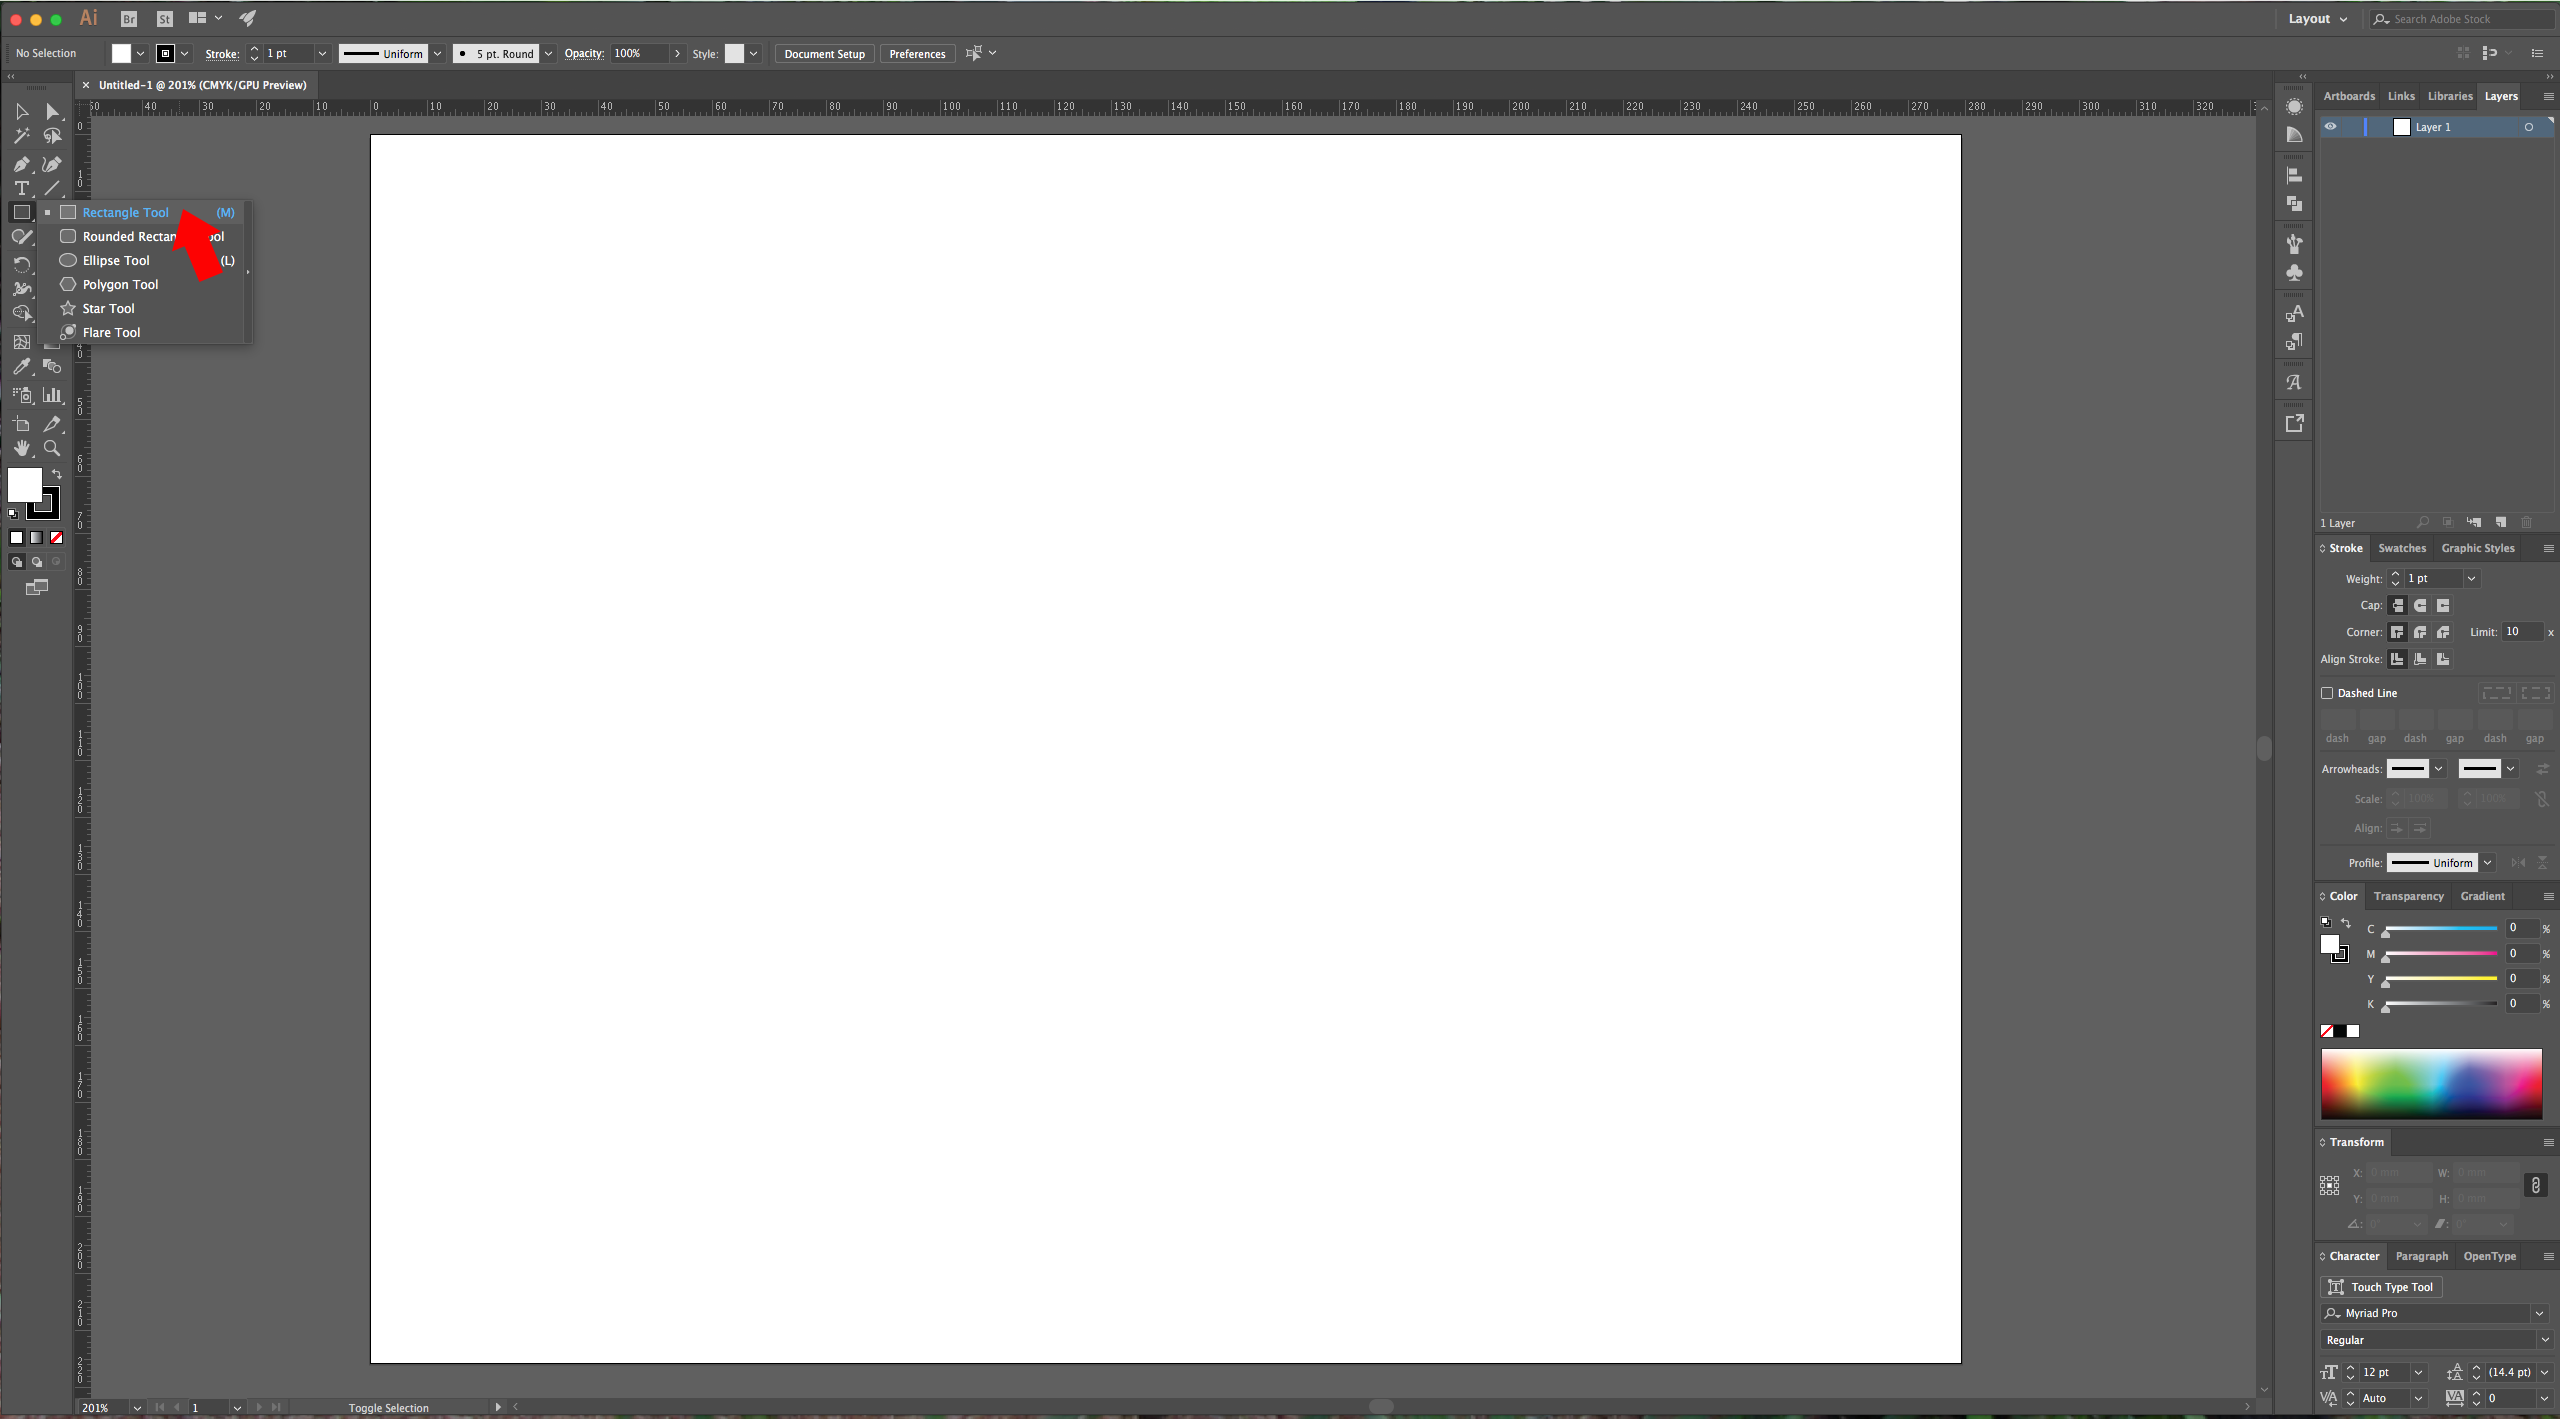
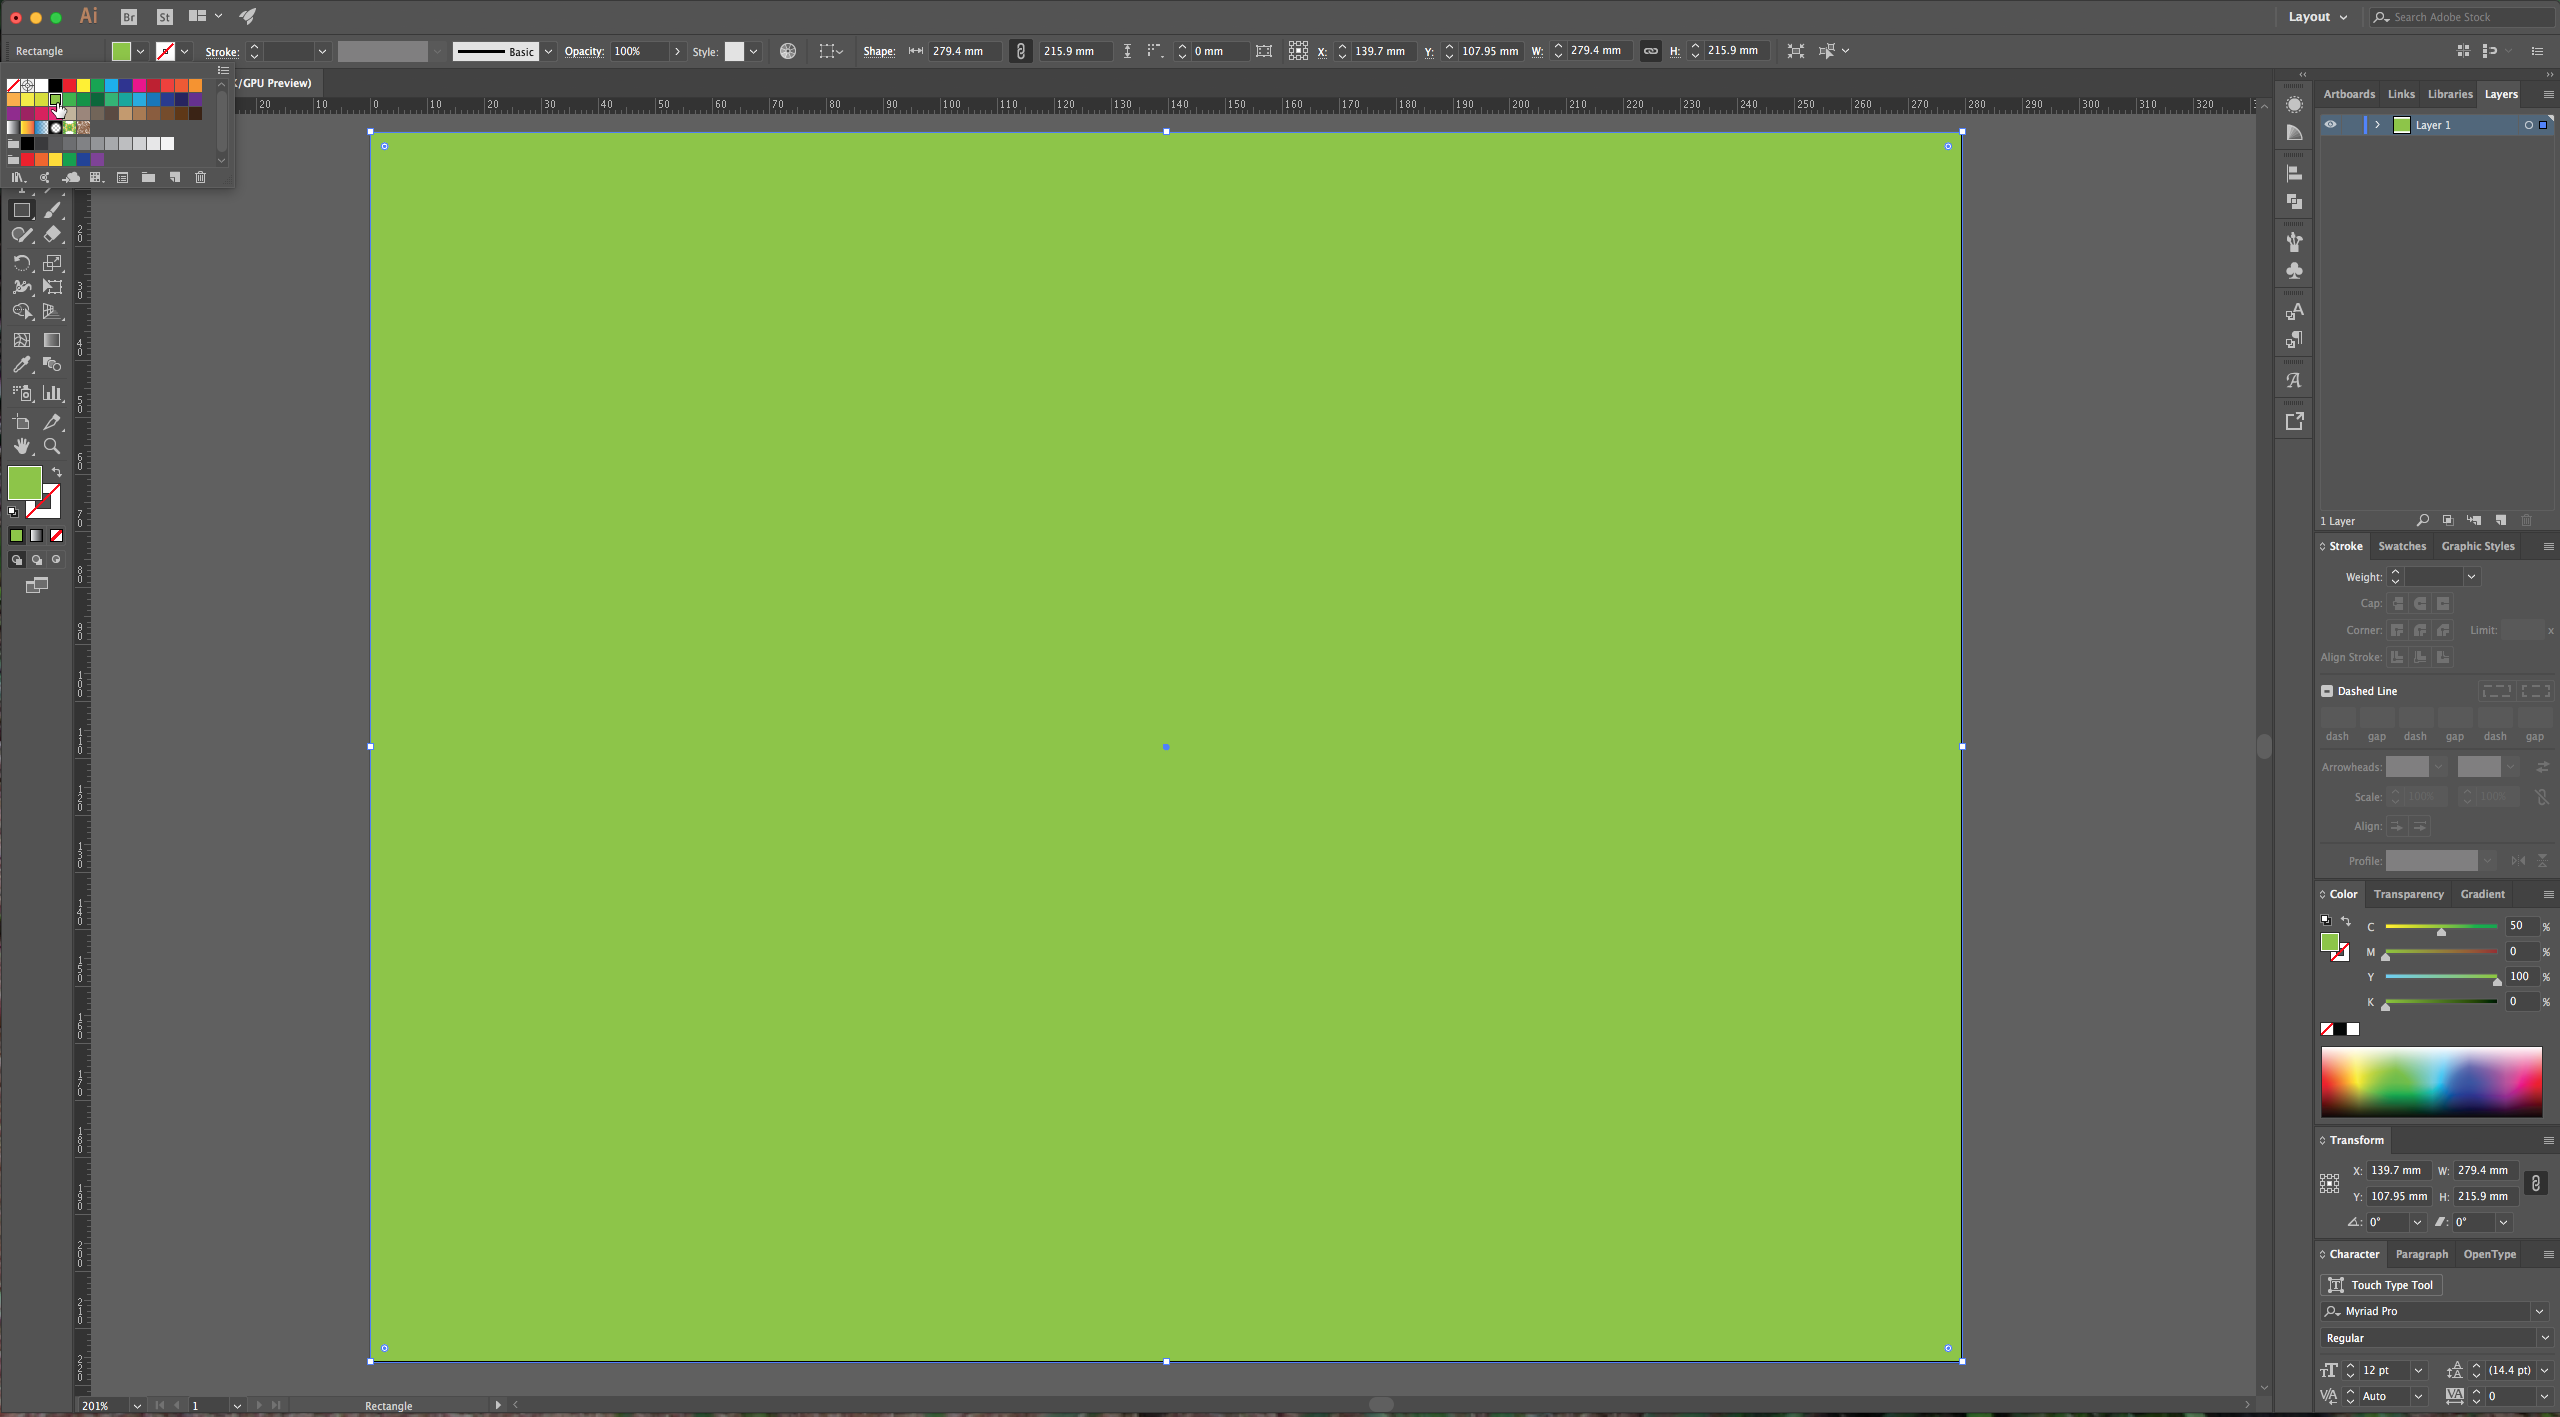
1 – In Illustrator, create a New Document and then using your “Rectangle Tool” (M) give your document a nice background color (you can use a gradient if you prefer).
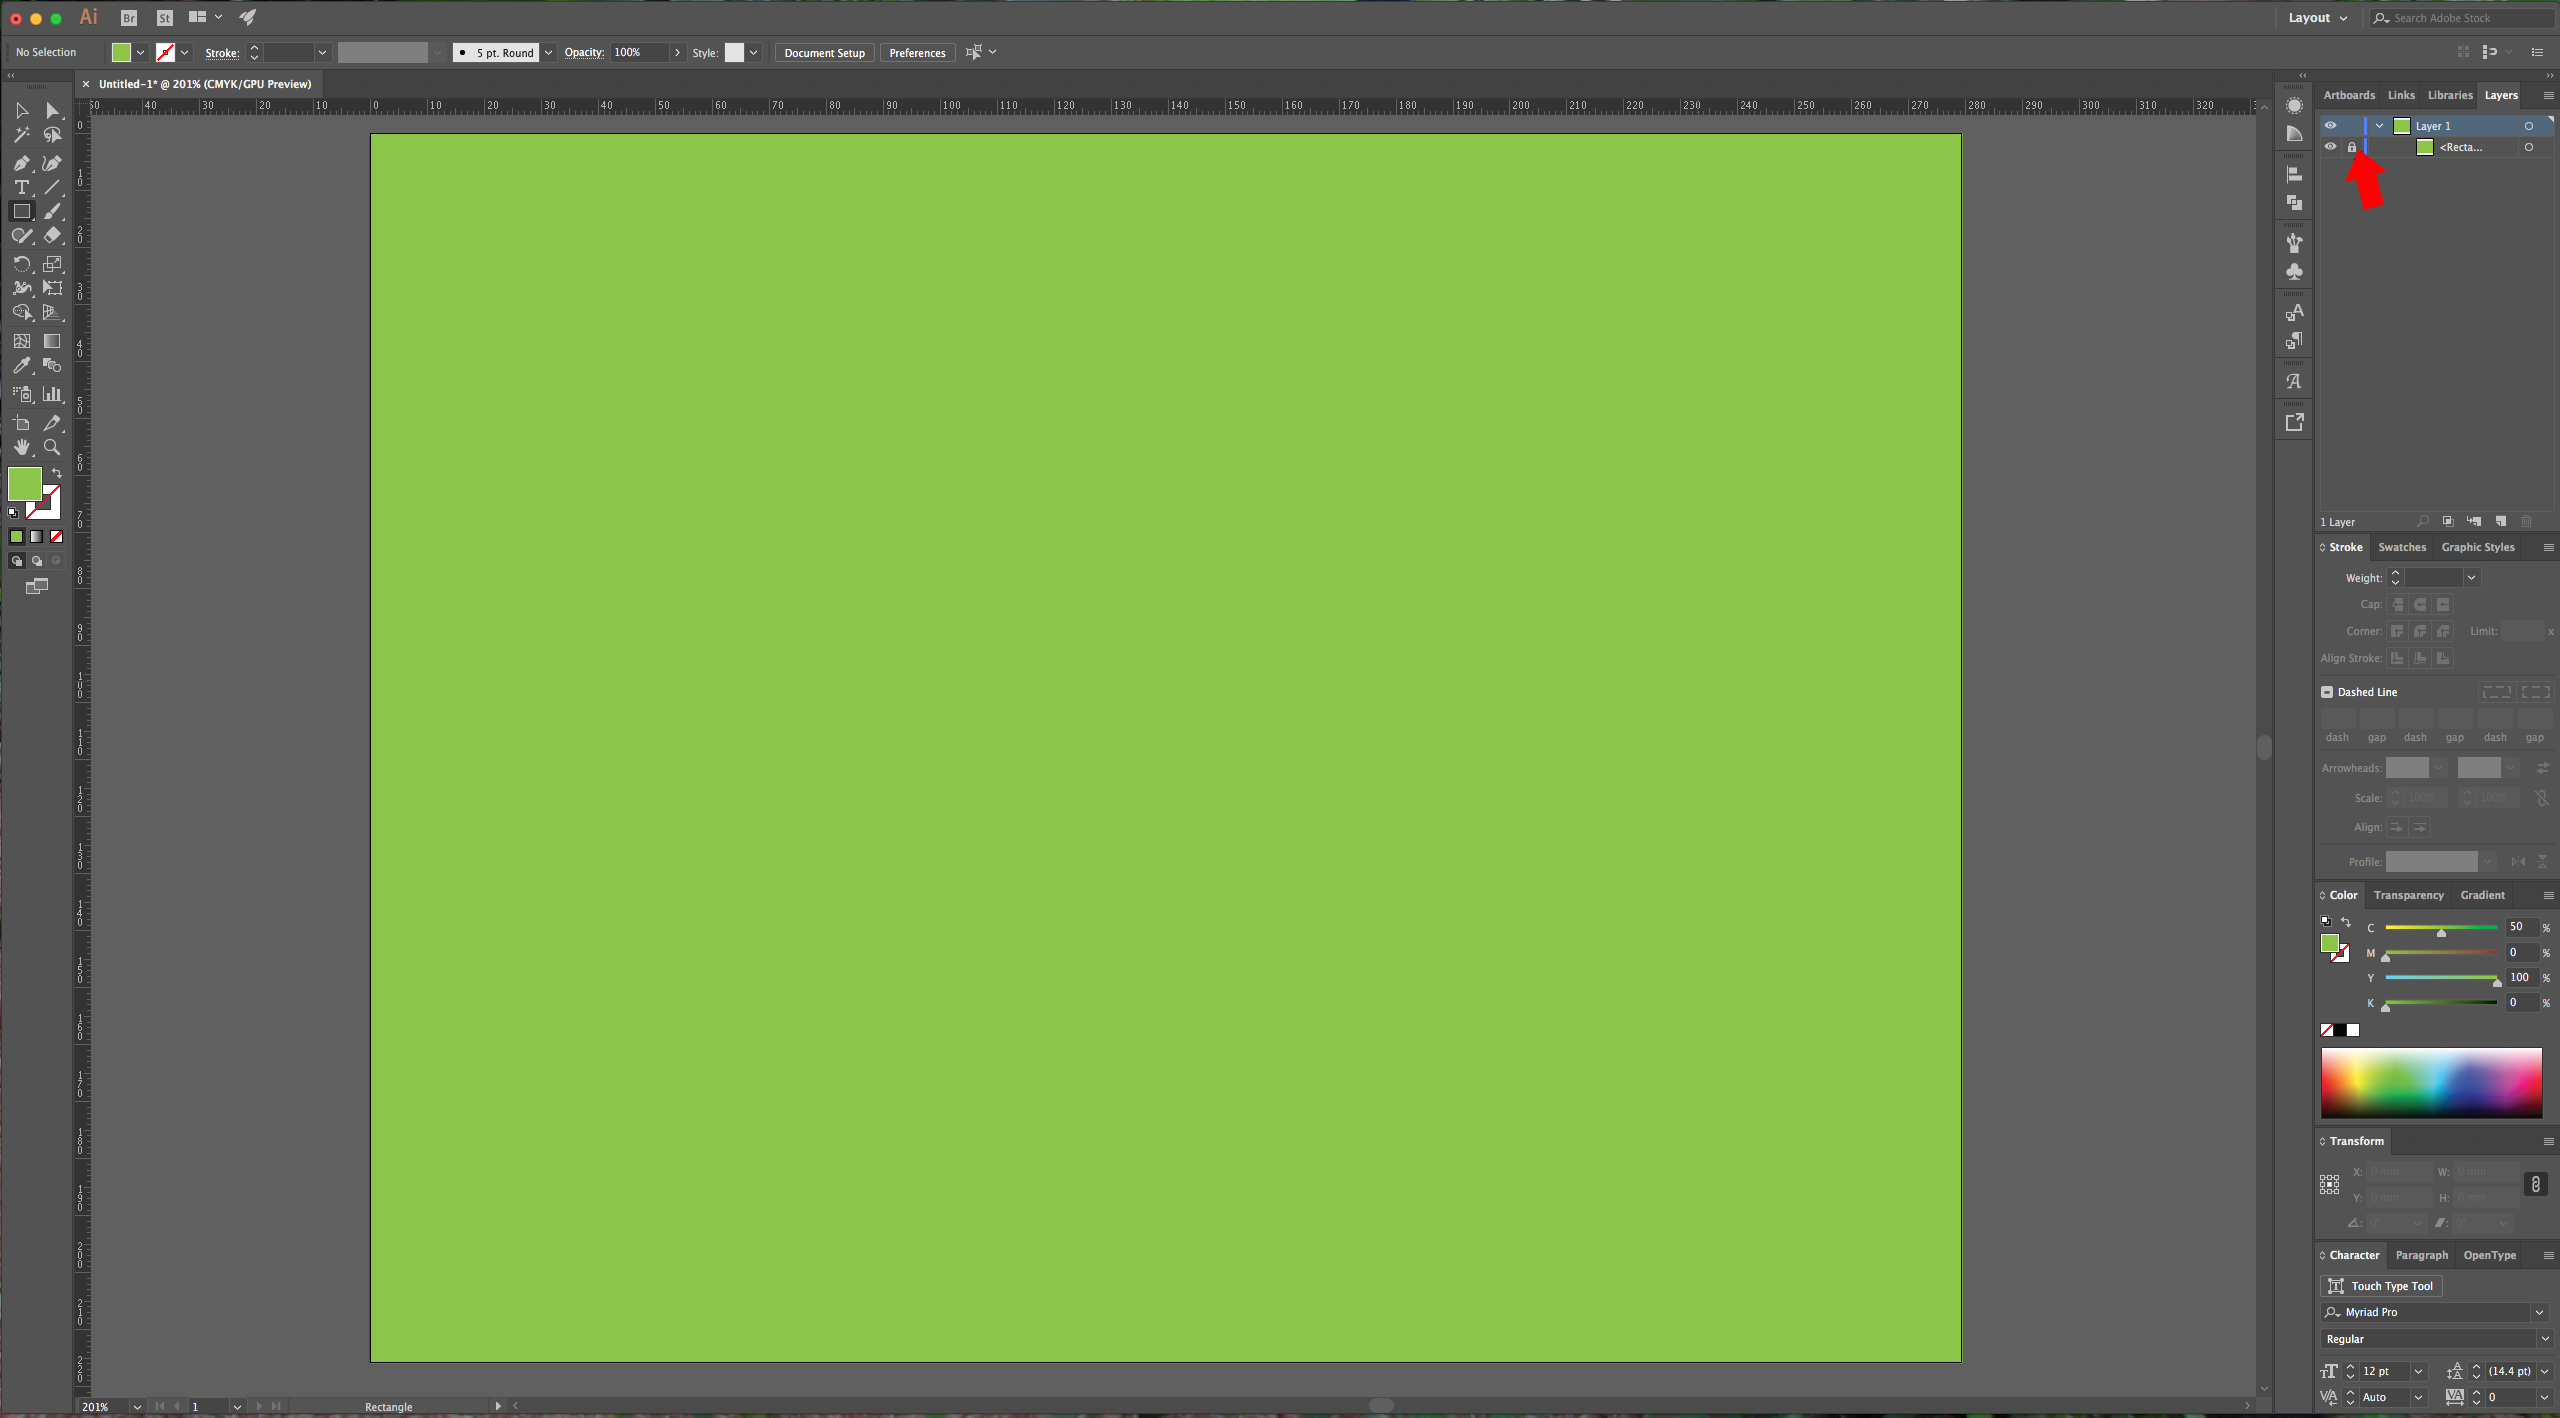
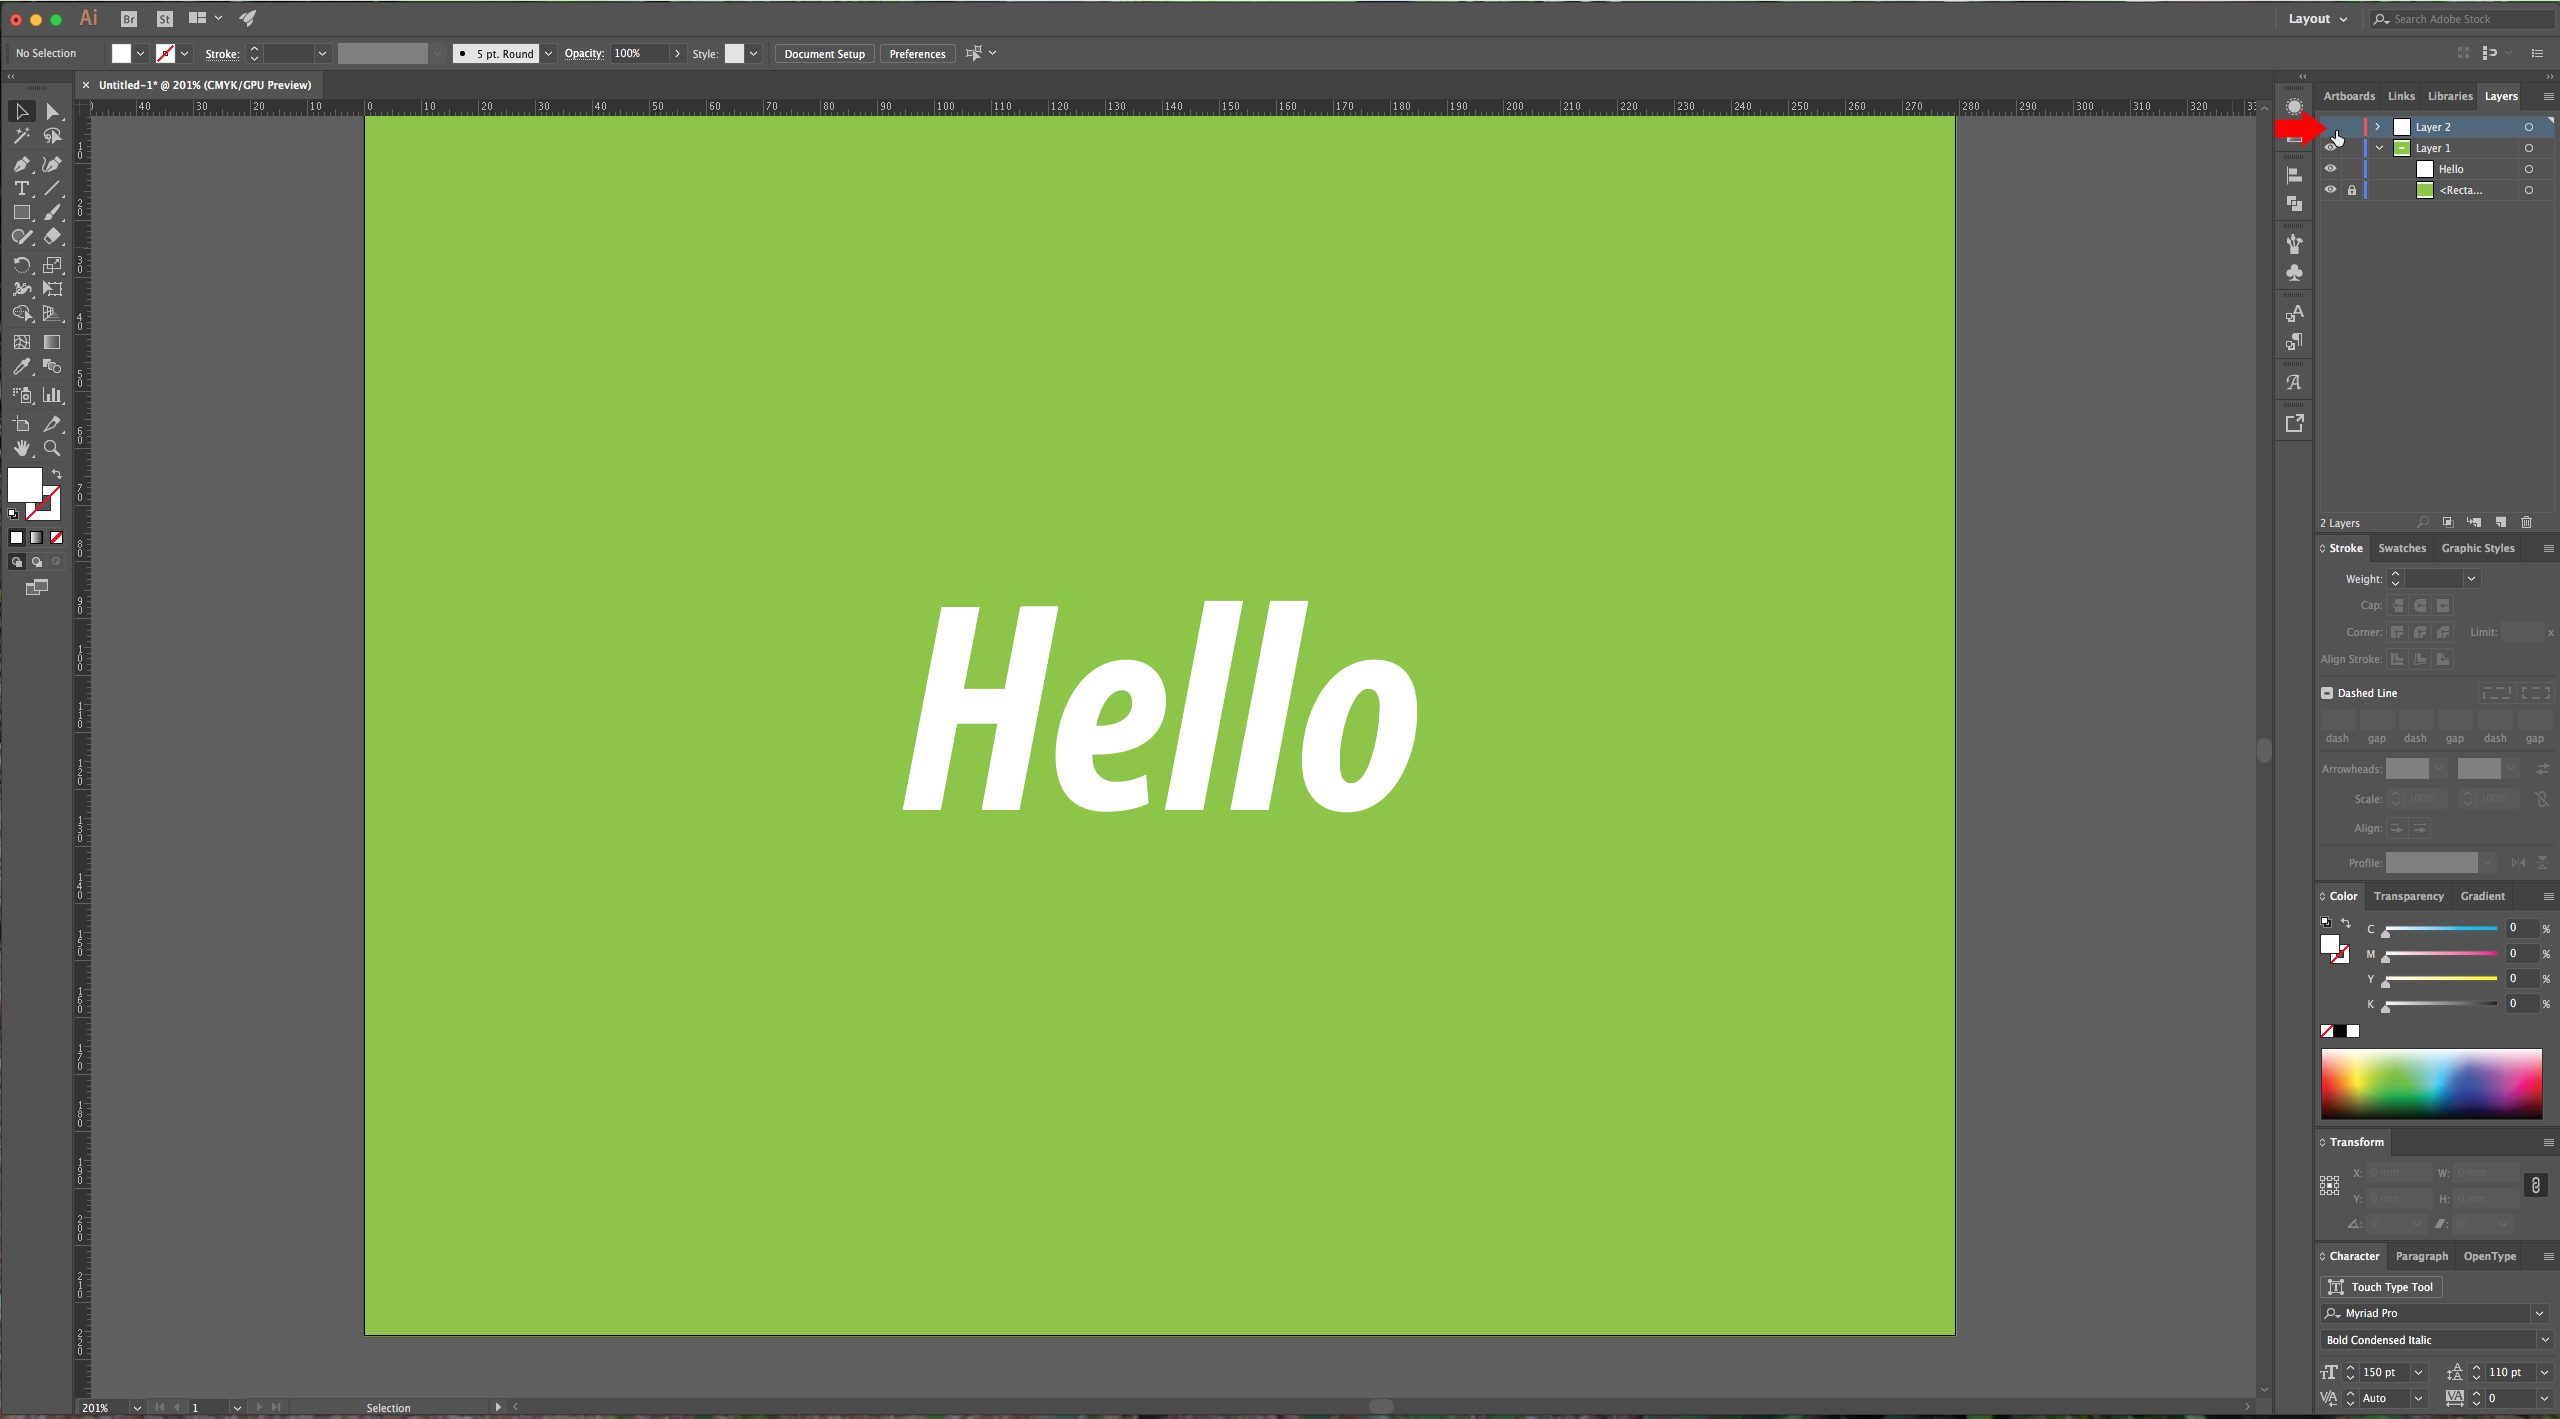
2 – Go to the “Layers” Panel and lock it by clicking on the little square to the right of the eye icon. (You can lock the entire Layer and create a new one, or just lock the “Rectangle” and keep working on that layer.
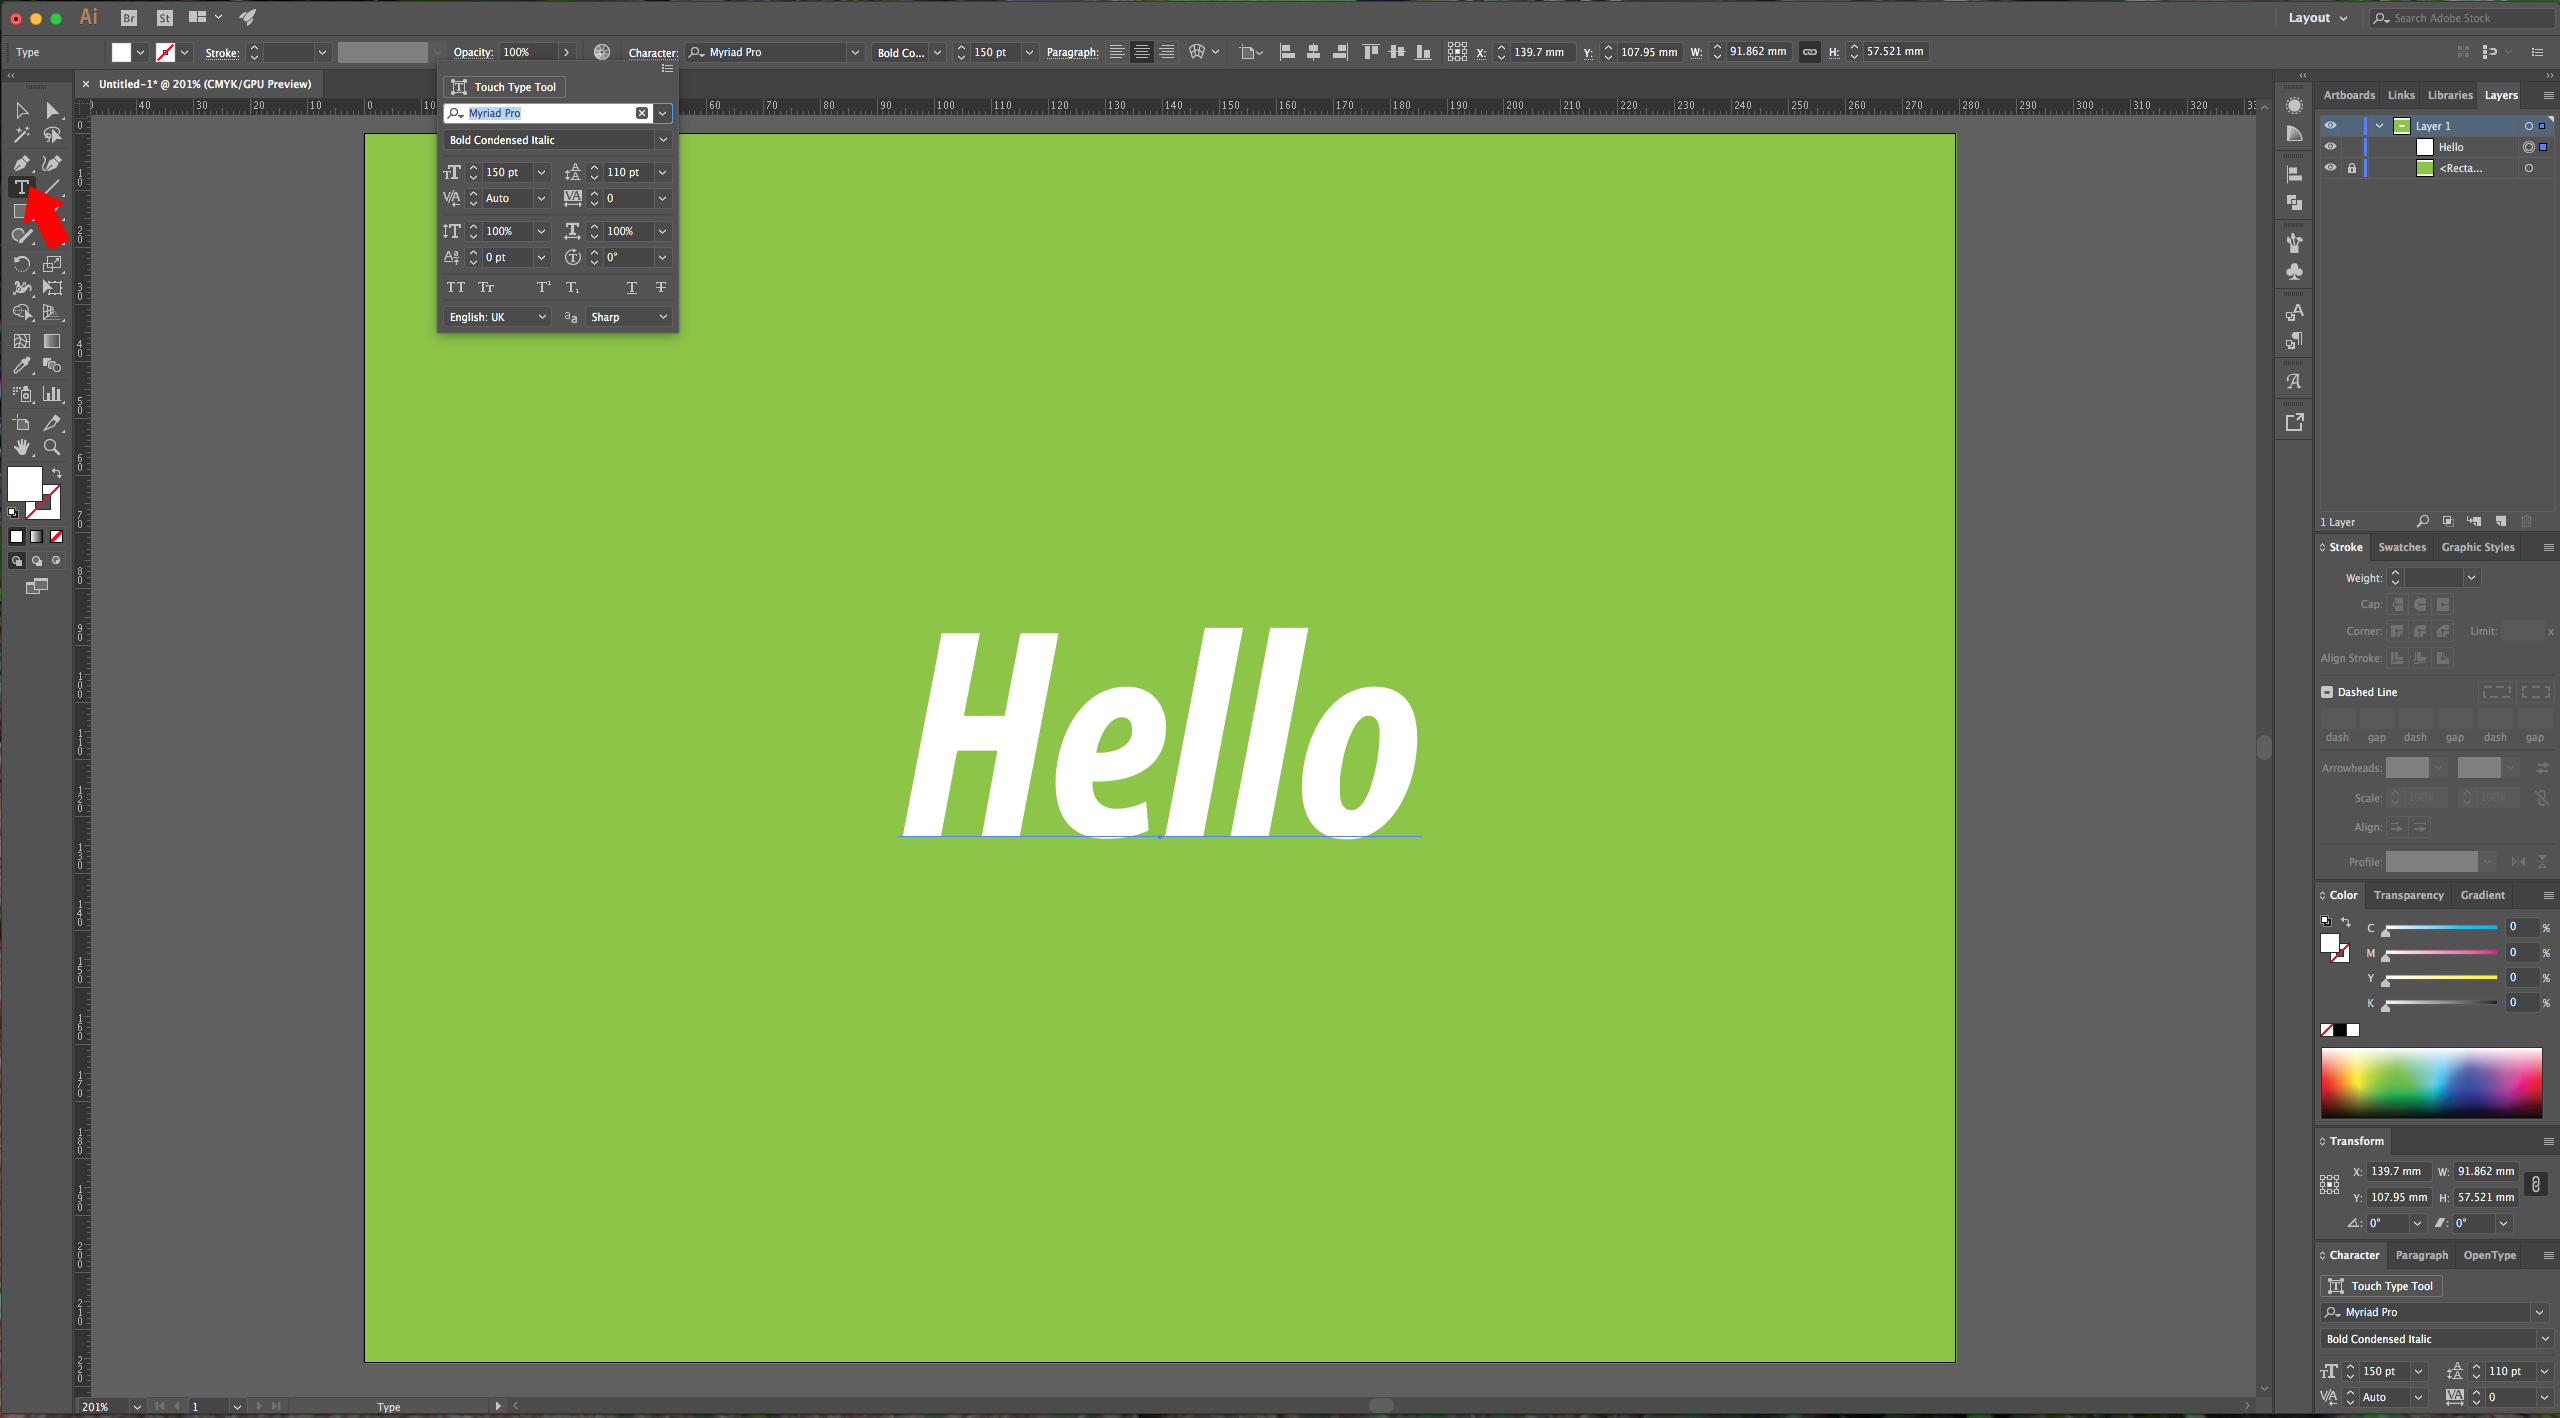
3 – Type your text or use the design you want. It is better to use a font on the heavier side, but you can use whatever you like.
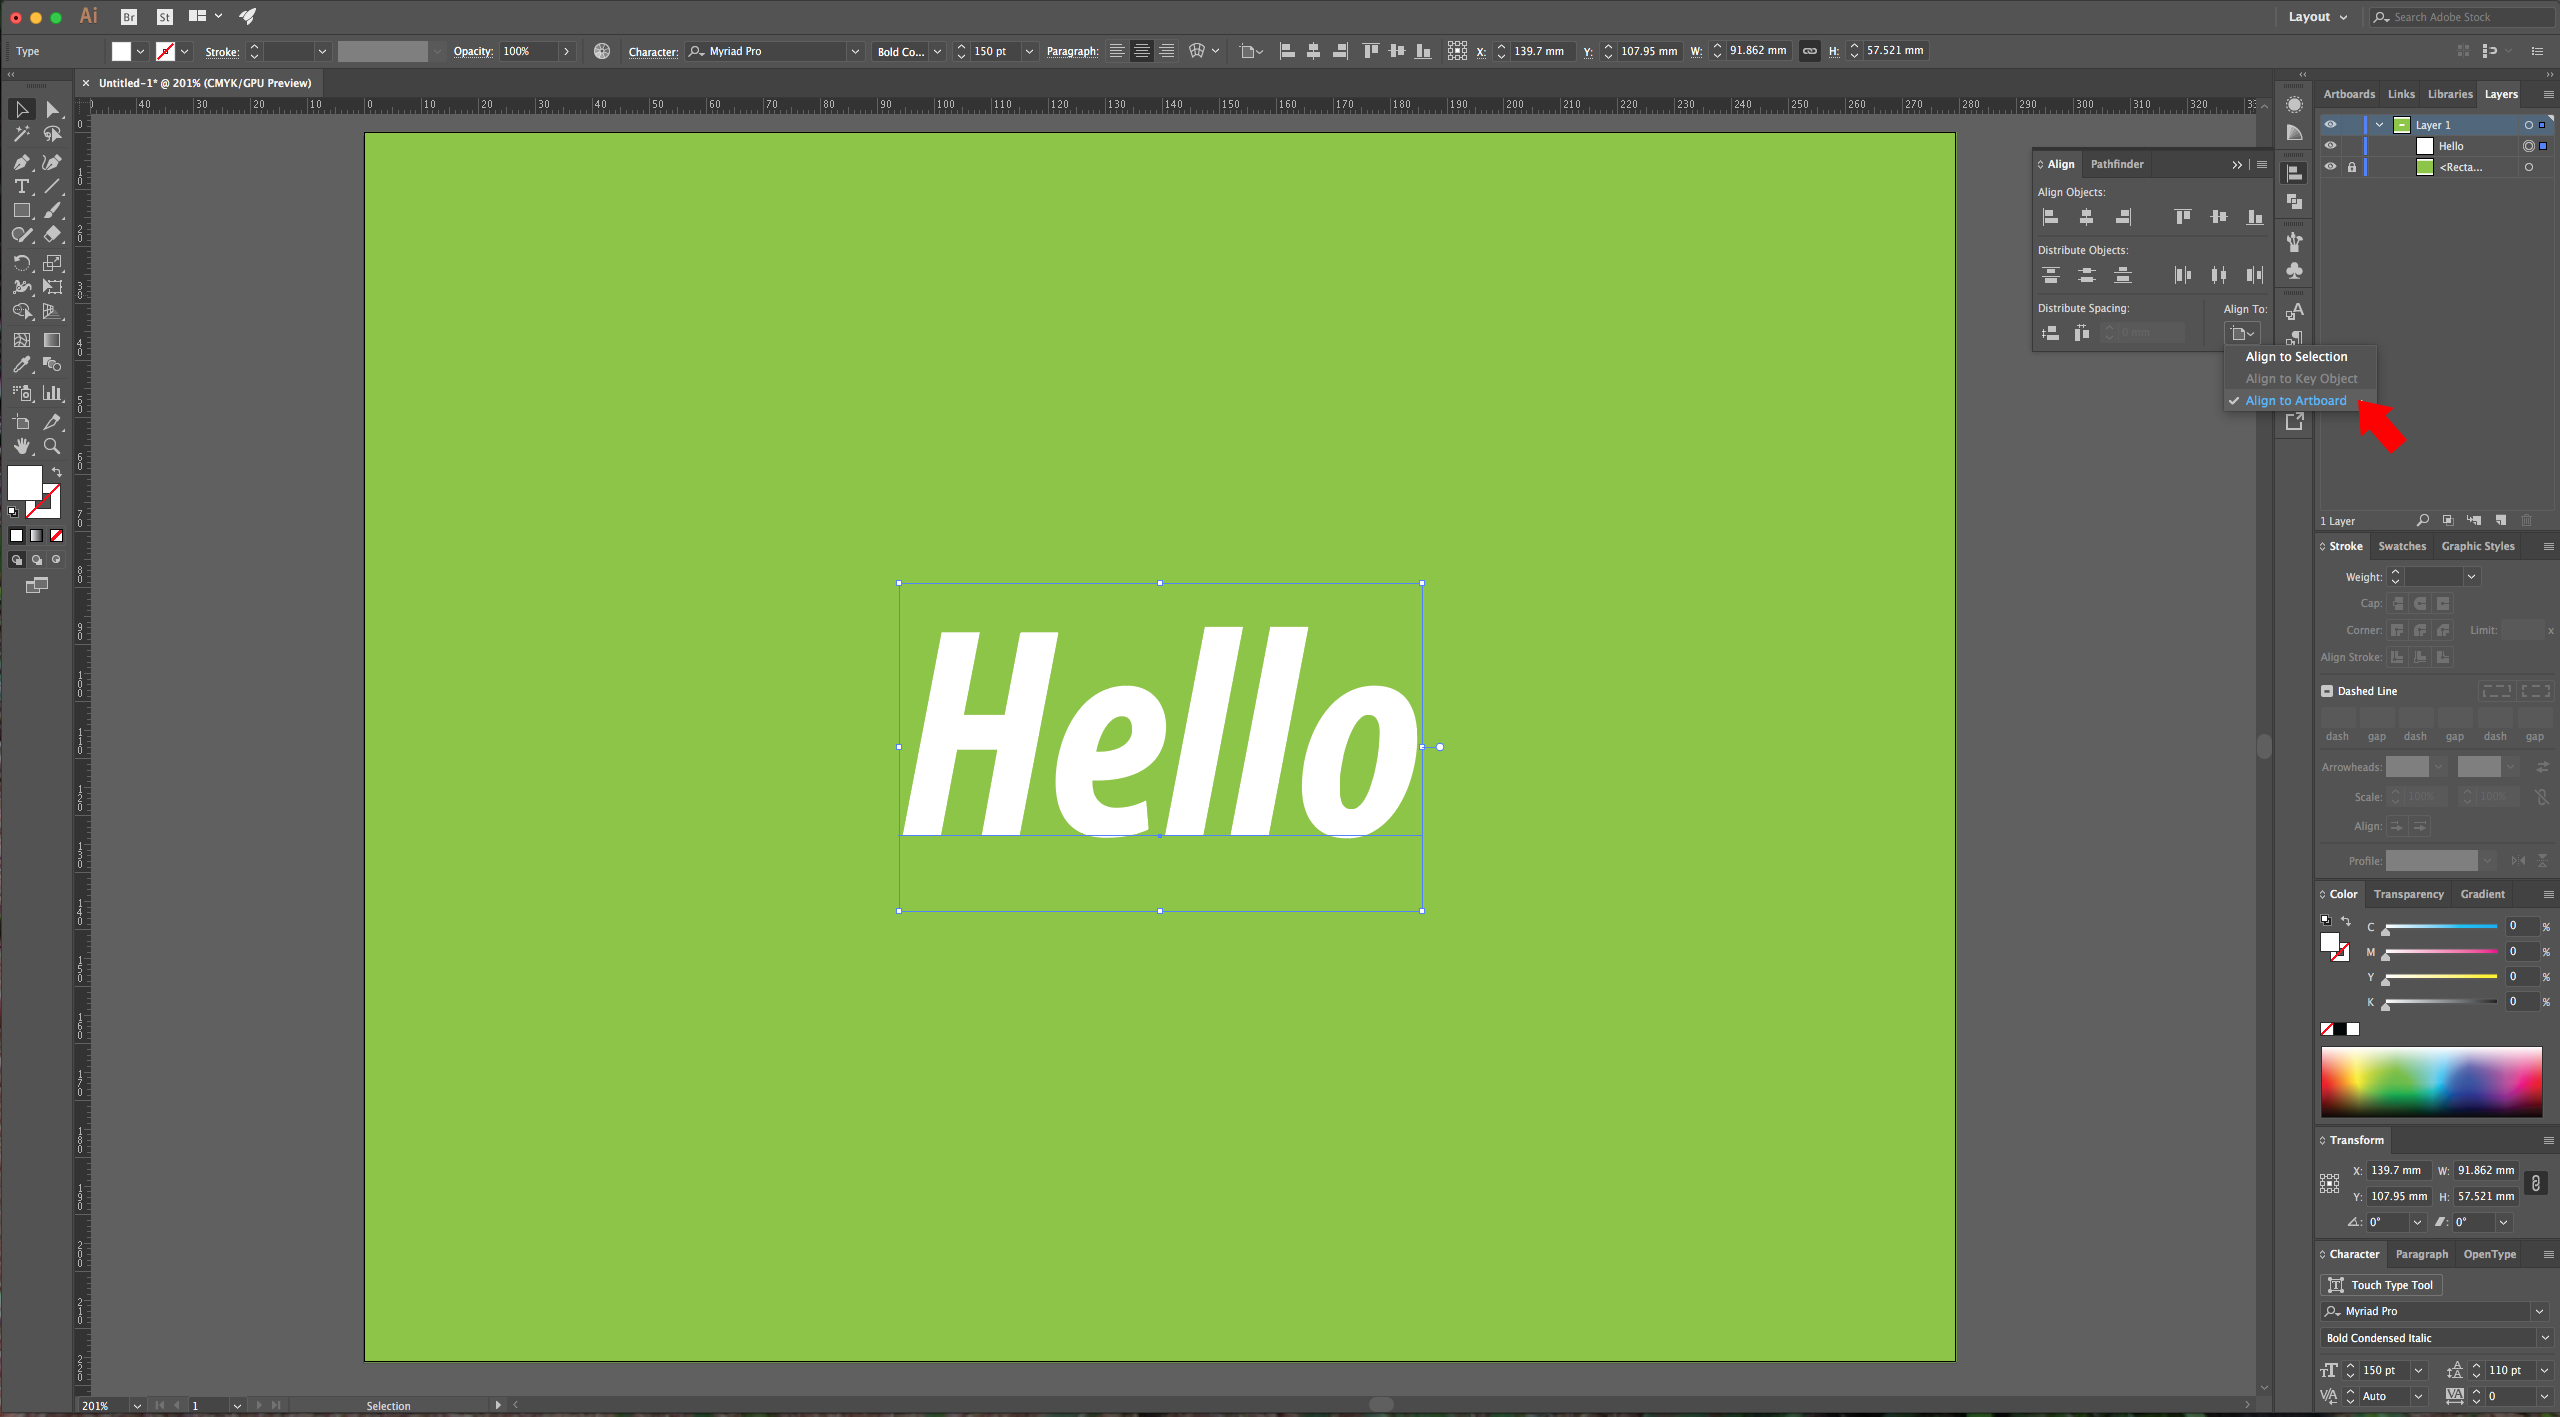
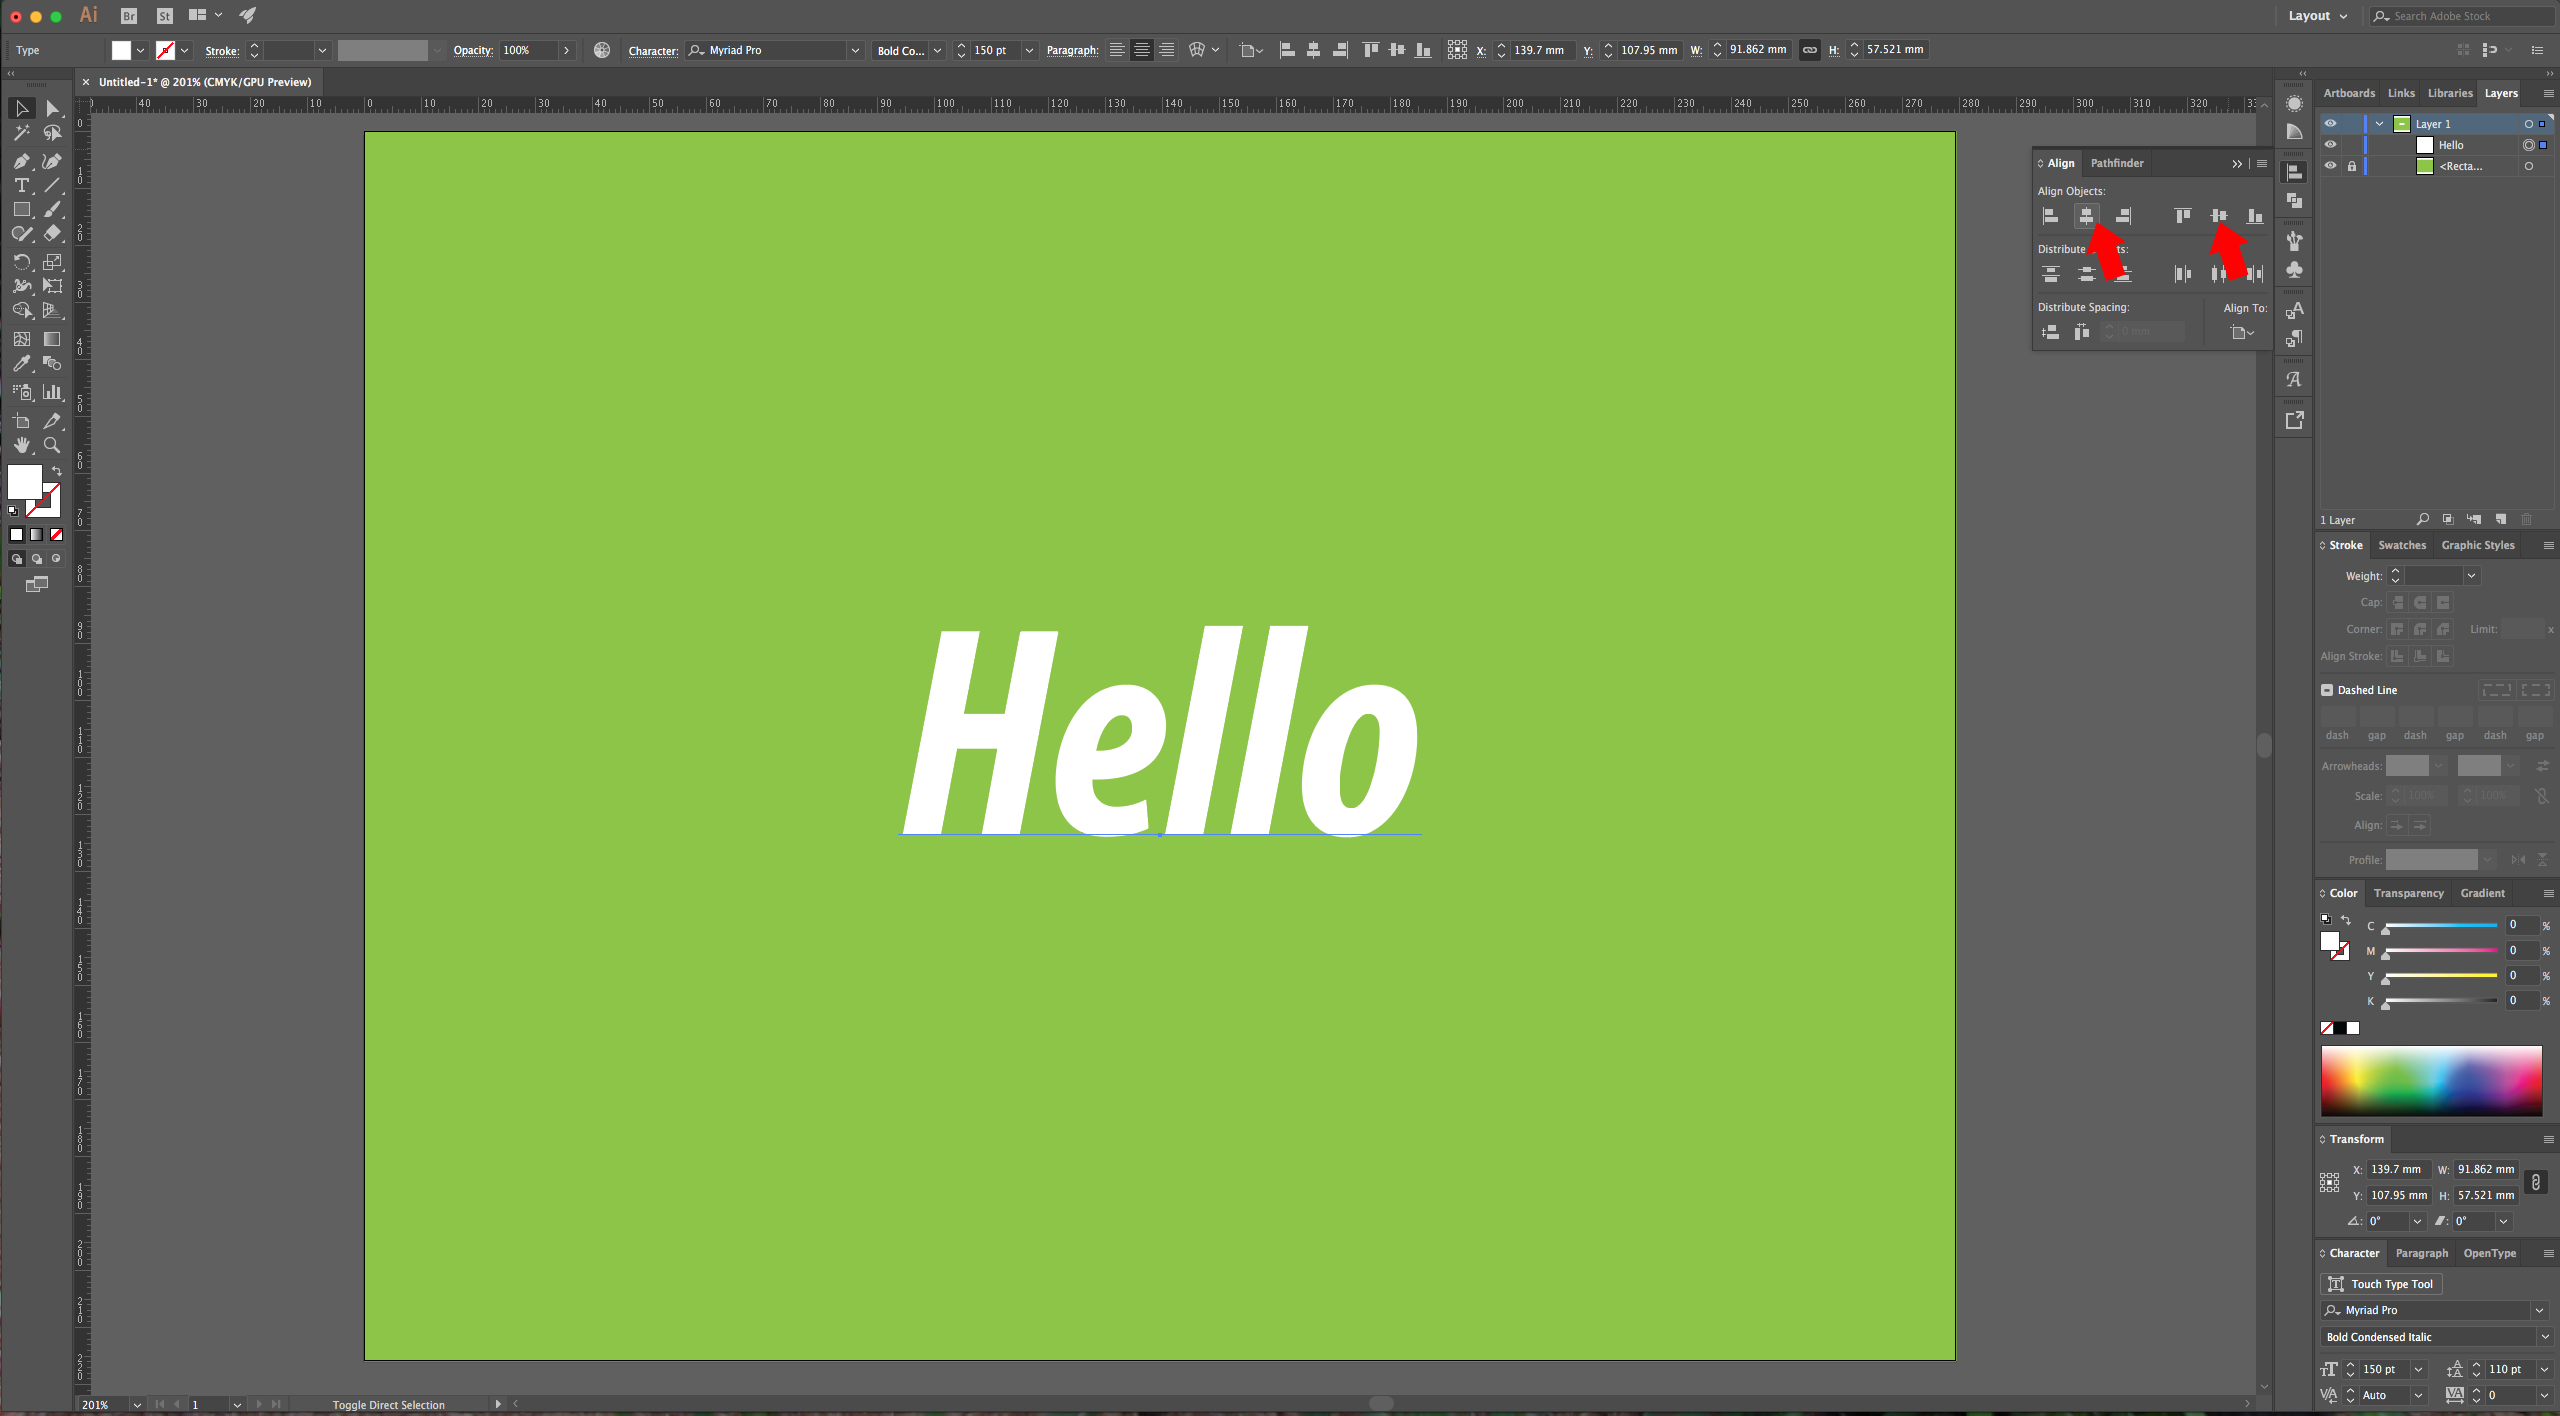
4 – To center your text, select it and go to the “Align” Panel (Window > Align), make sure you have “Align to Artboard” selected and click the “Align Object” vertical and horizontal “Center” buttons. Make a copy of your text (Command/Control + C) and paste it in place (Shift + Command/Control + V) it in another layer, then hide that layer (by clicking on the little eye icon in the “Layers” Panel) for now.
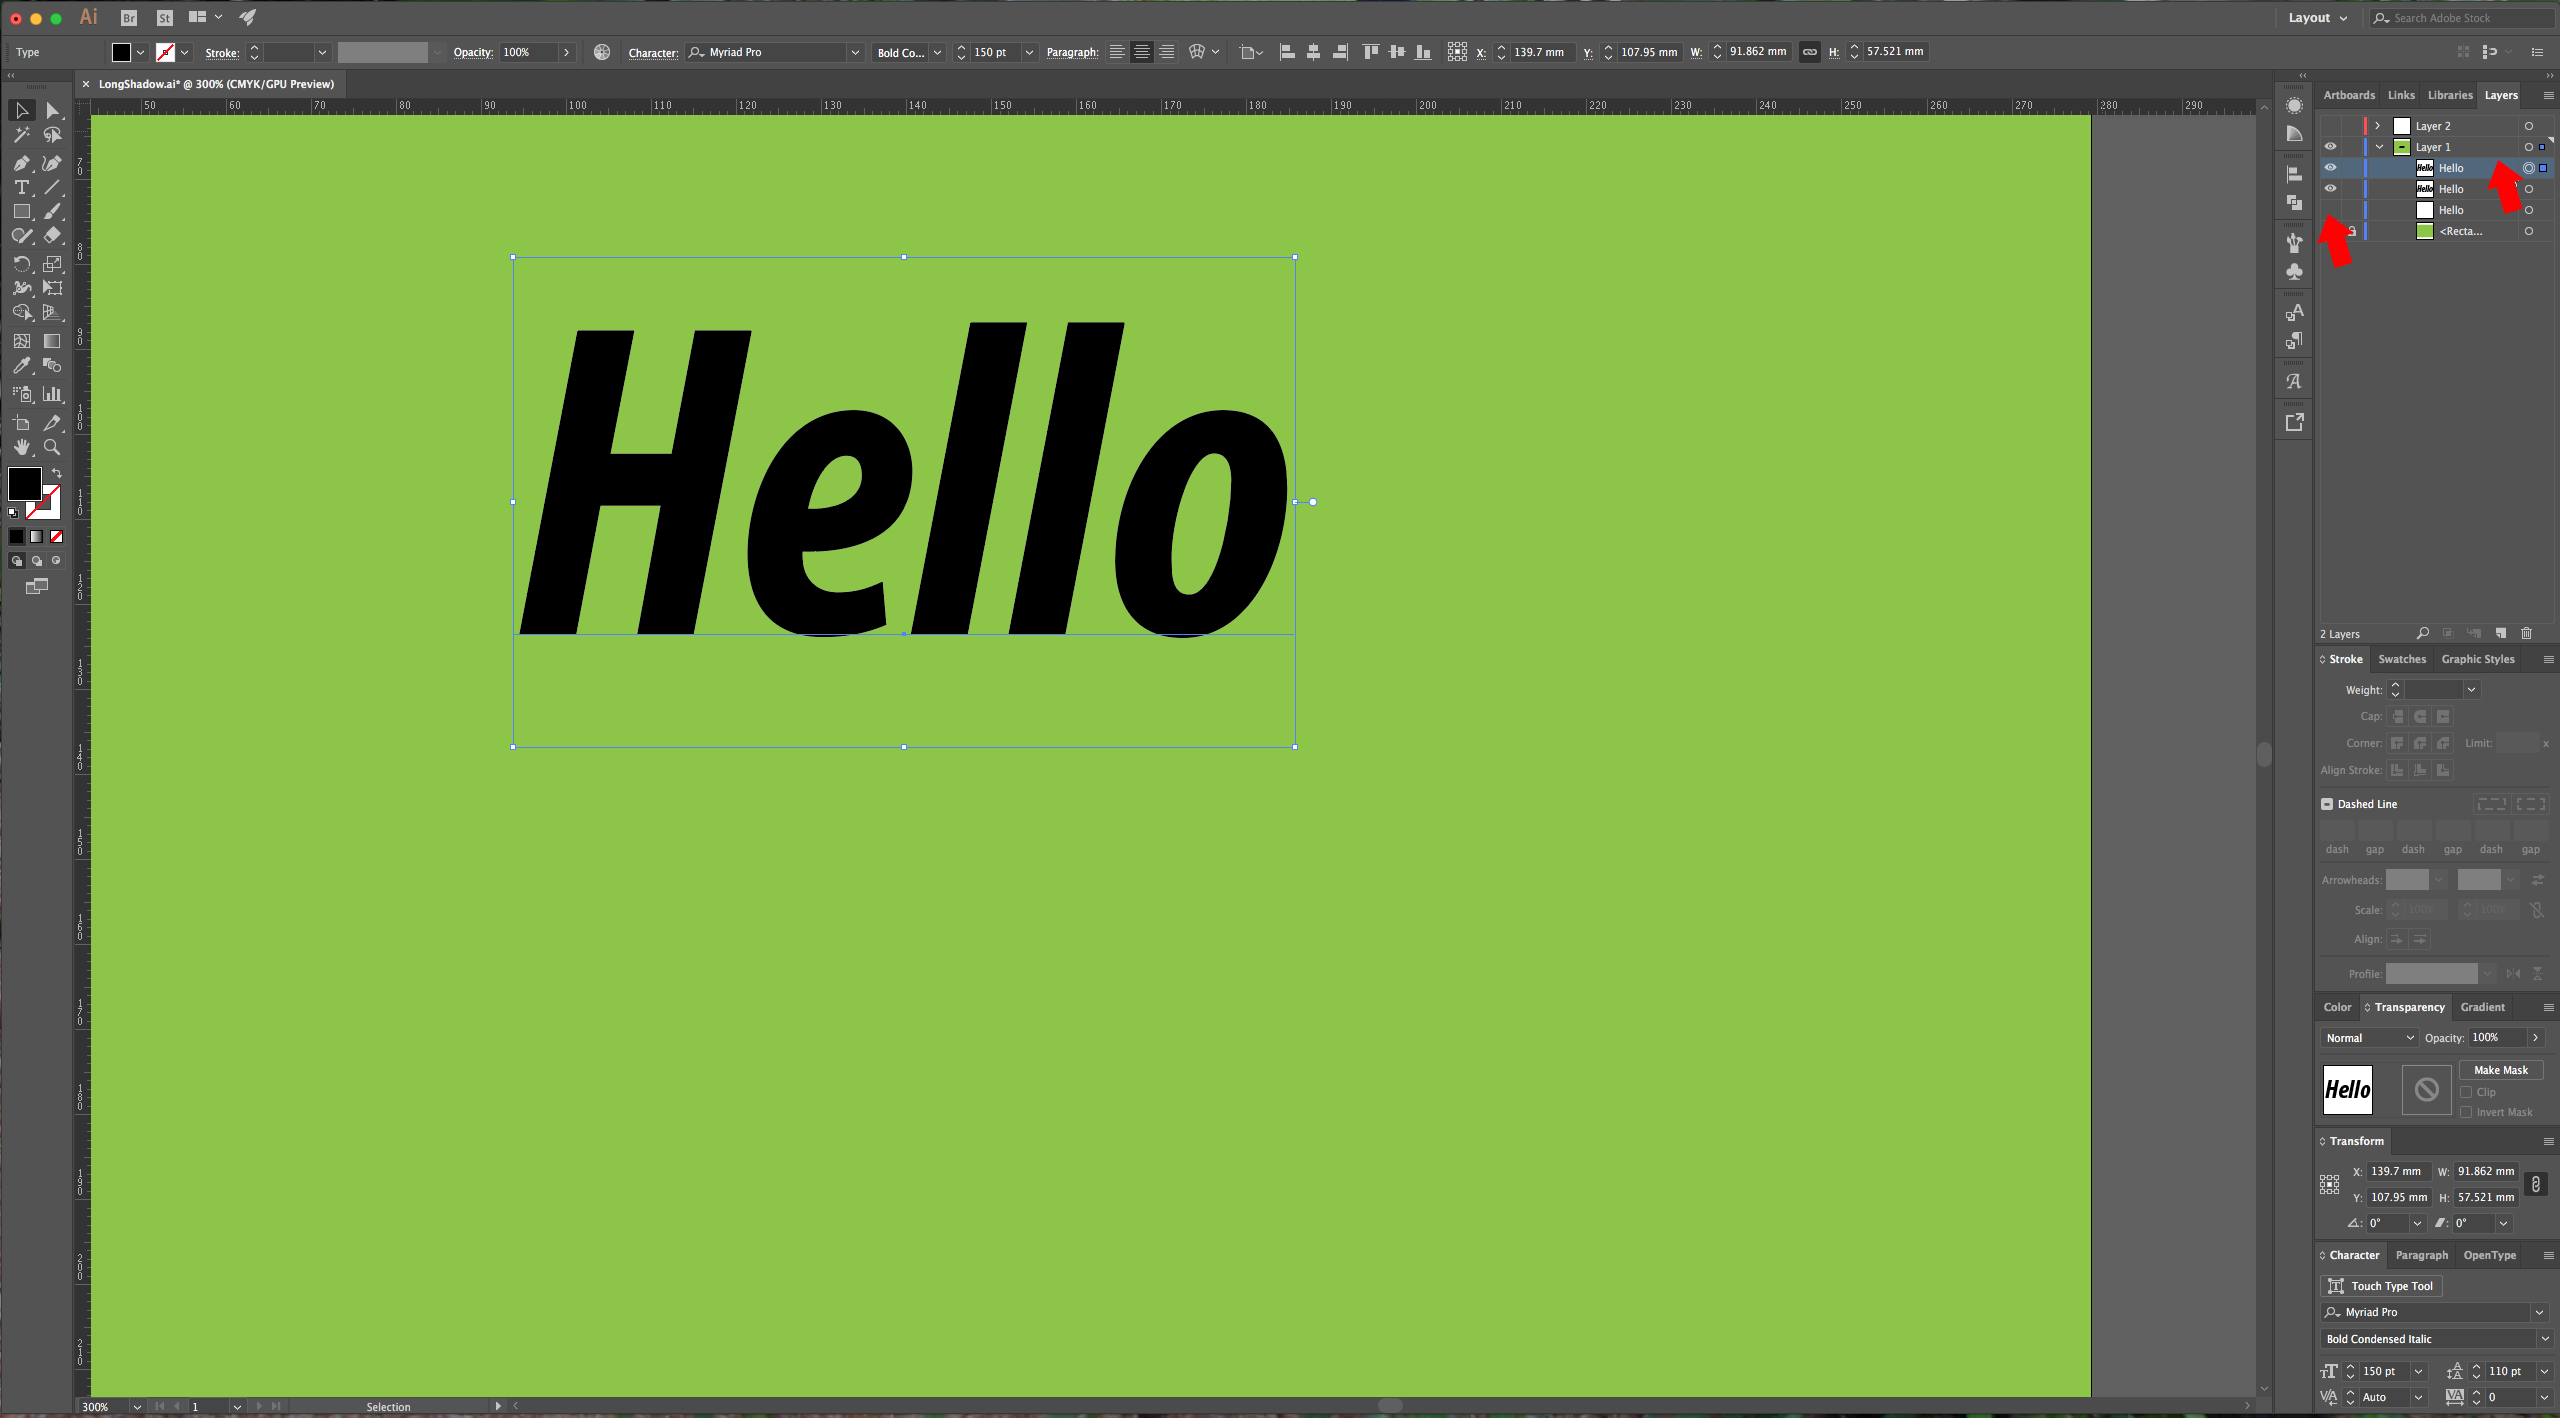
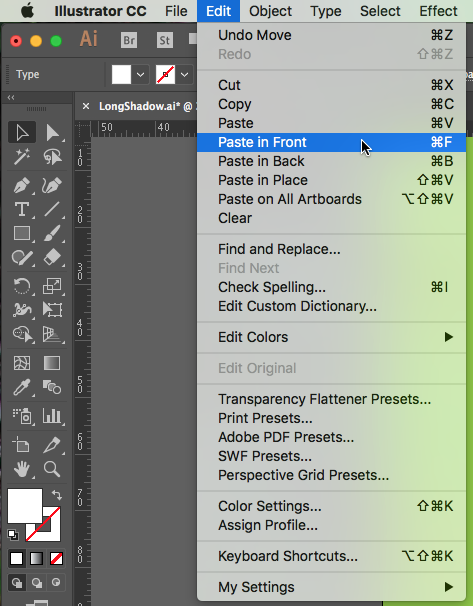
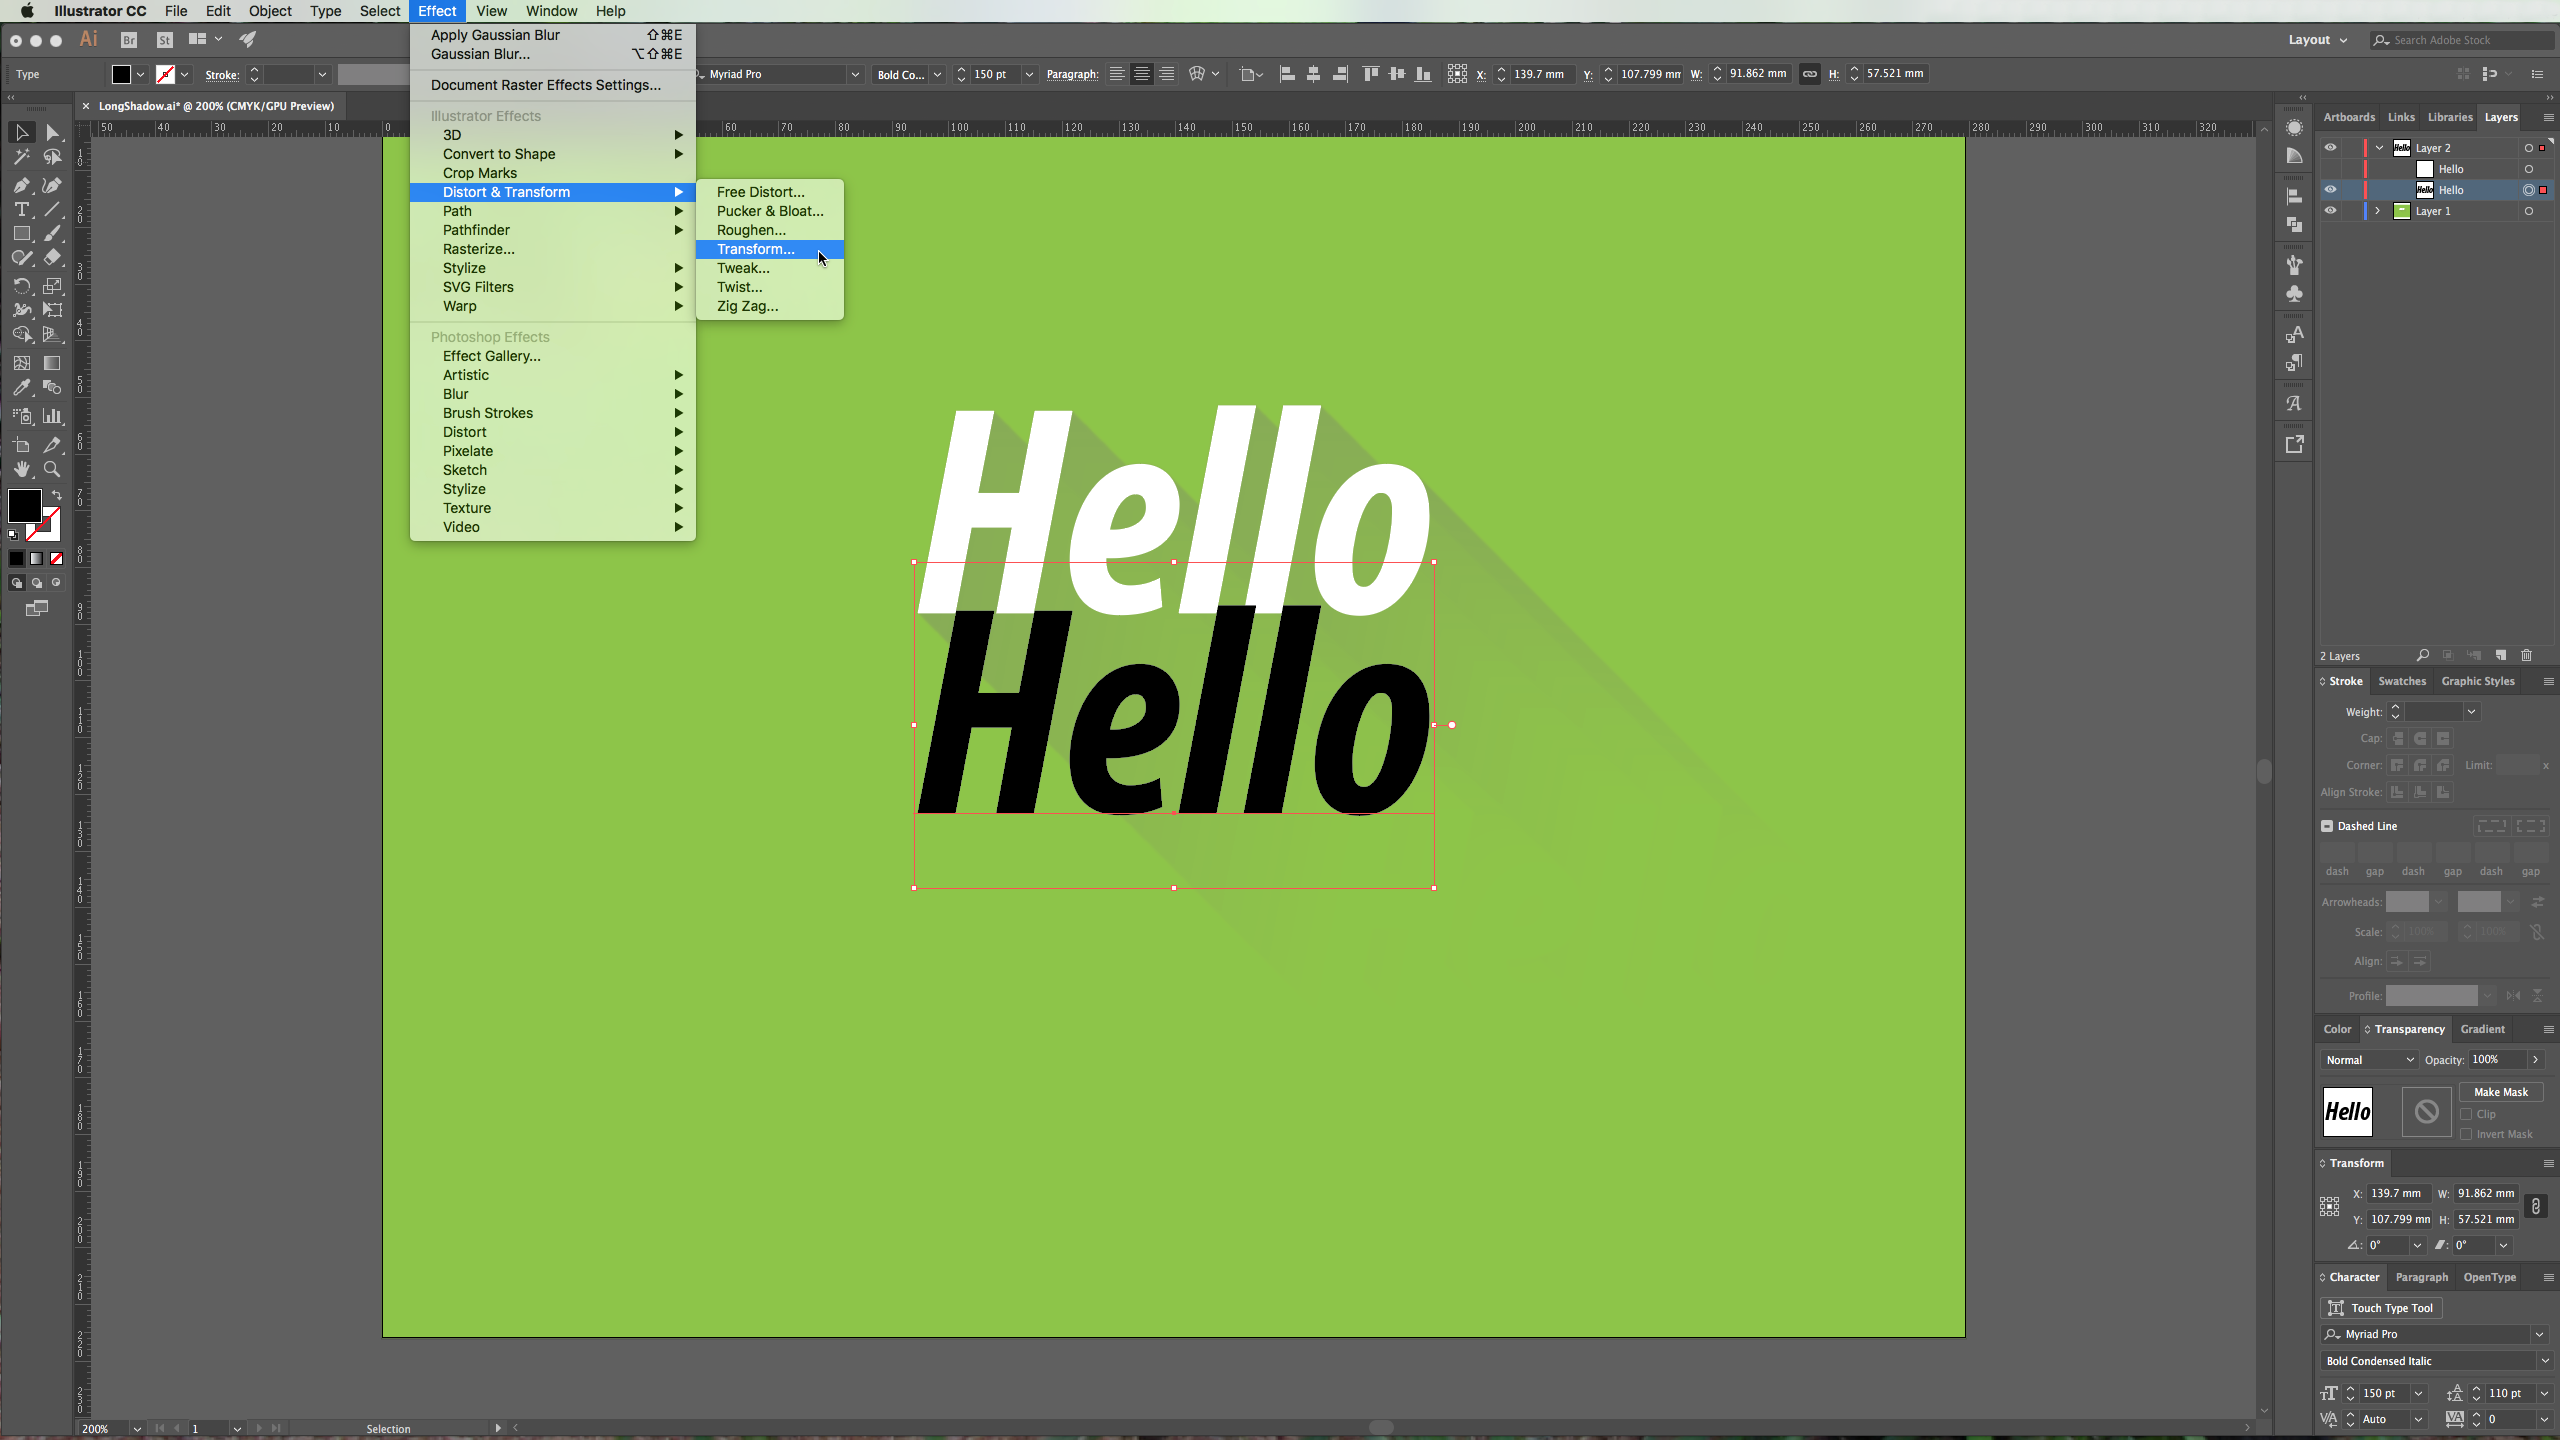
5 – For the first method we are using the “Blend Tool”. Copy your text again and “Paste it in Front” (Command/Control + F) two times. Hide the original one, make the color of your text copies black, and with the one on top selected right-click, choose Transform > Move (Shift + Command/Control + M), and use the following values:
Angle: - 45°
Distance: 100 mm
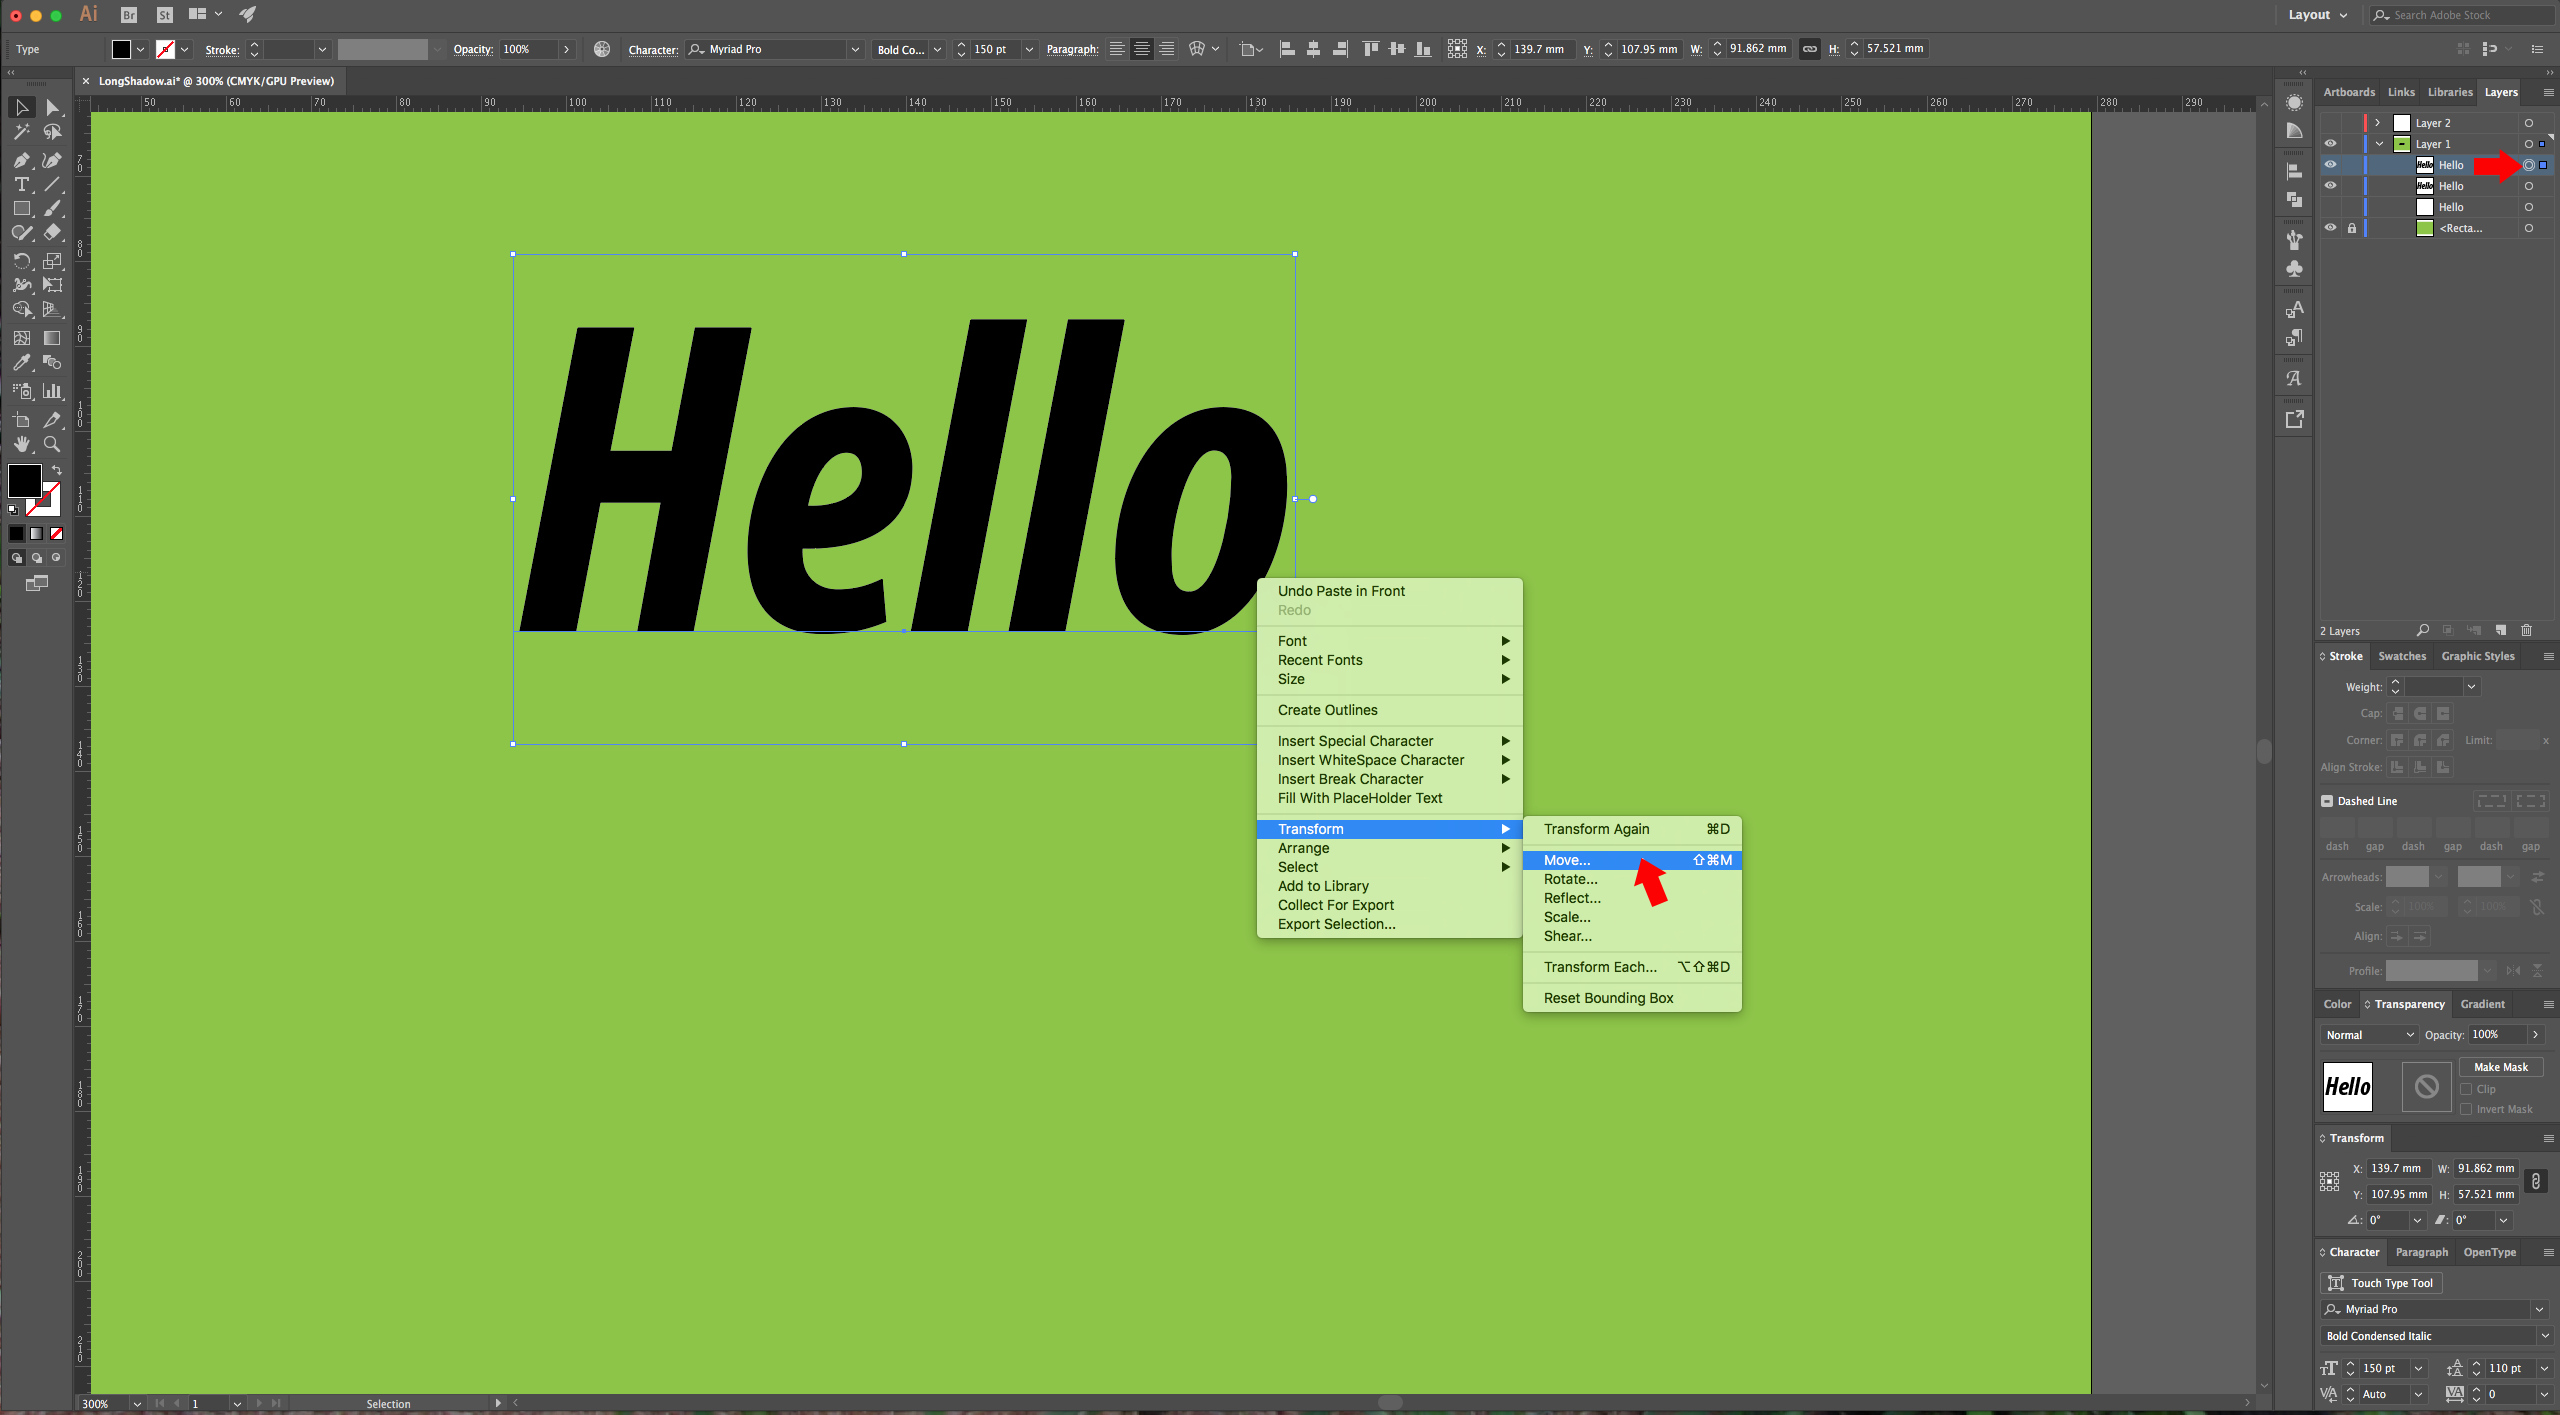
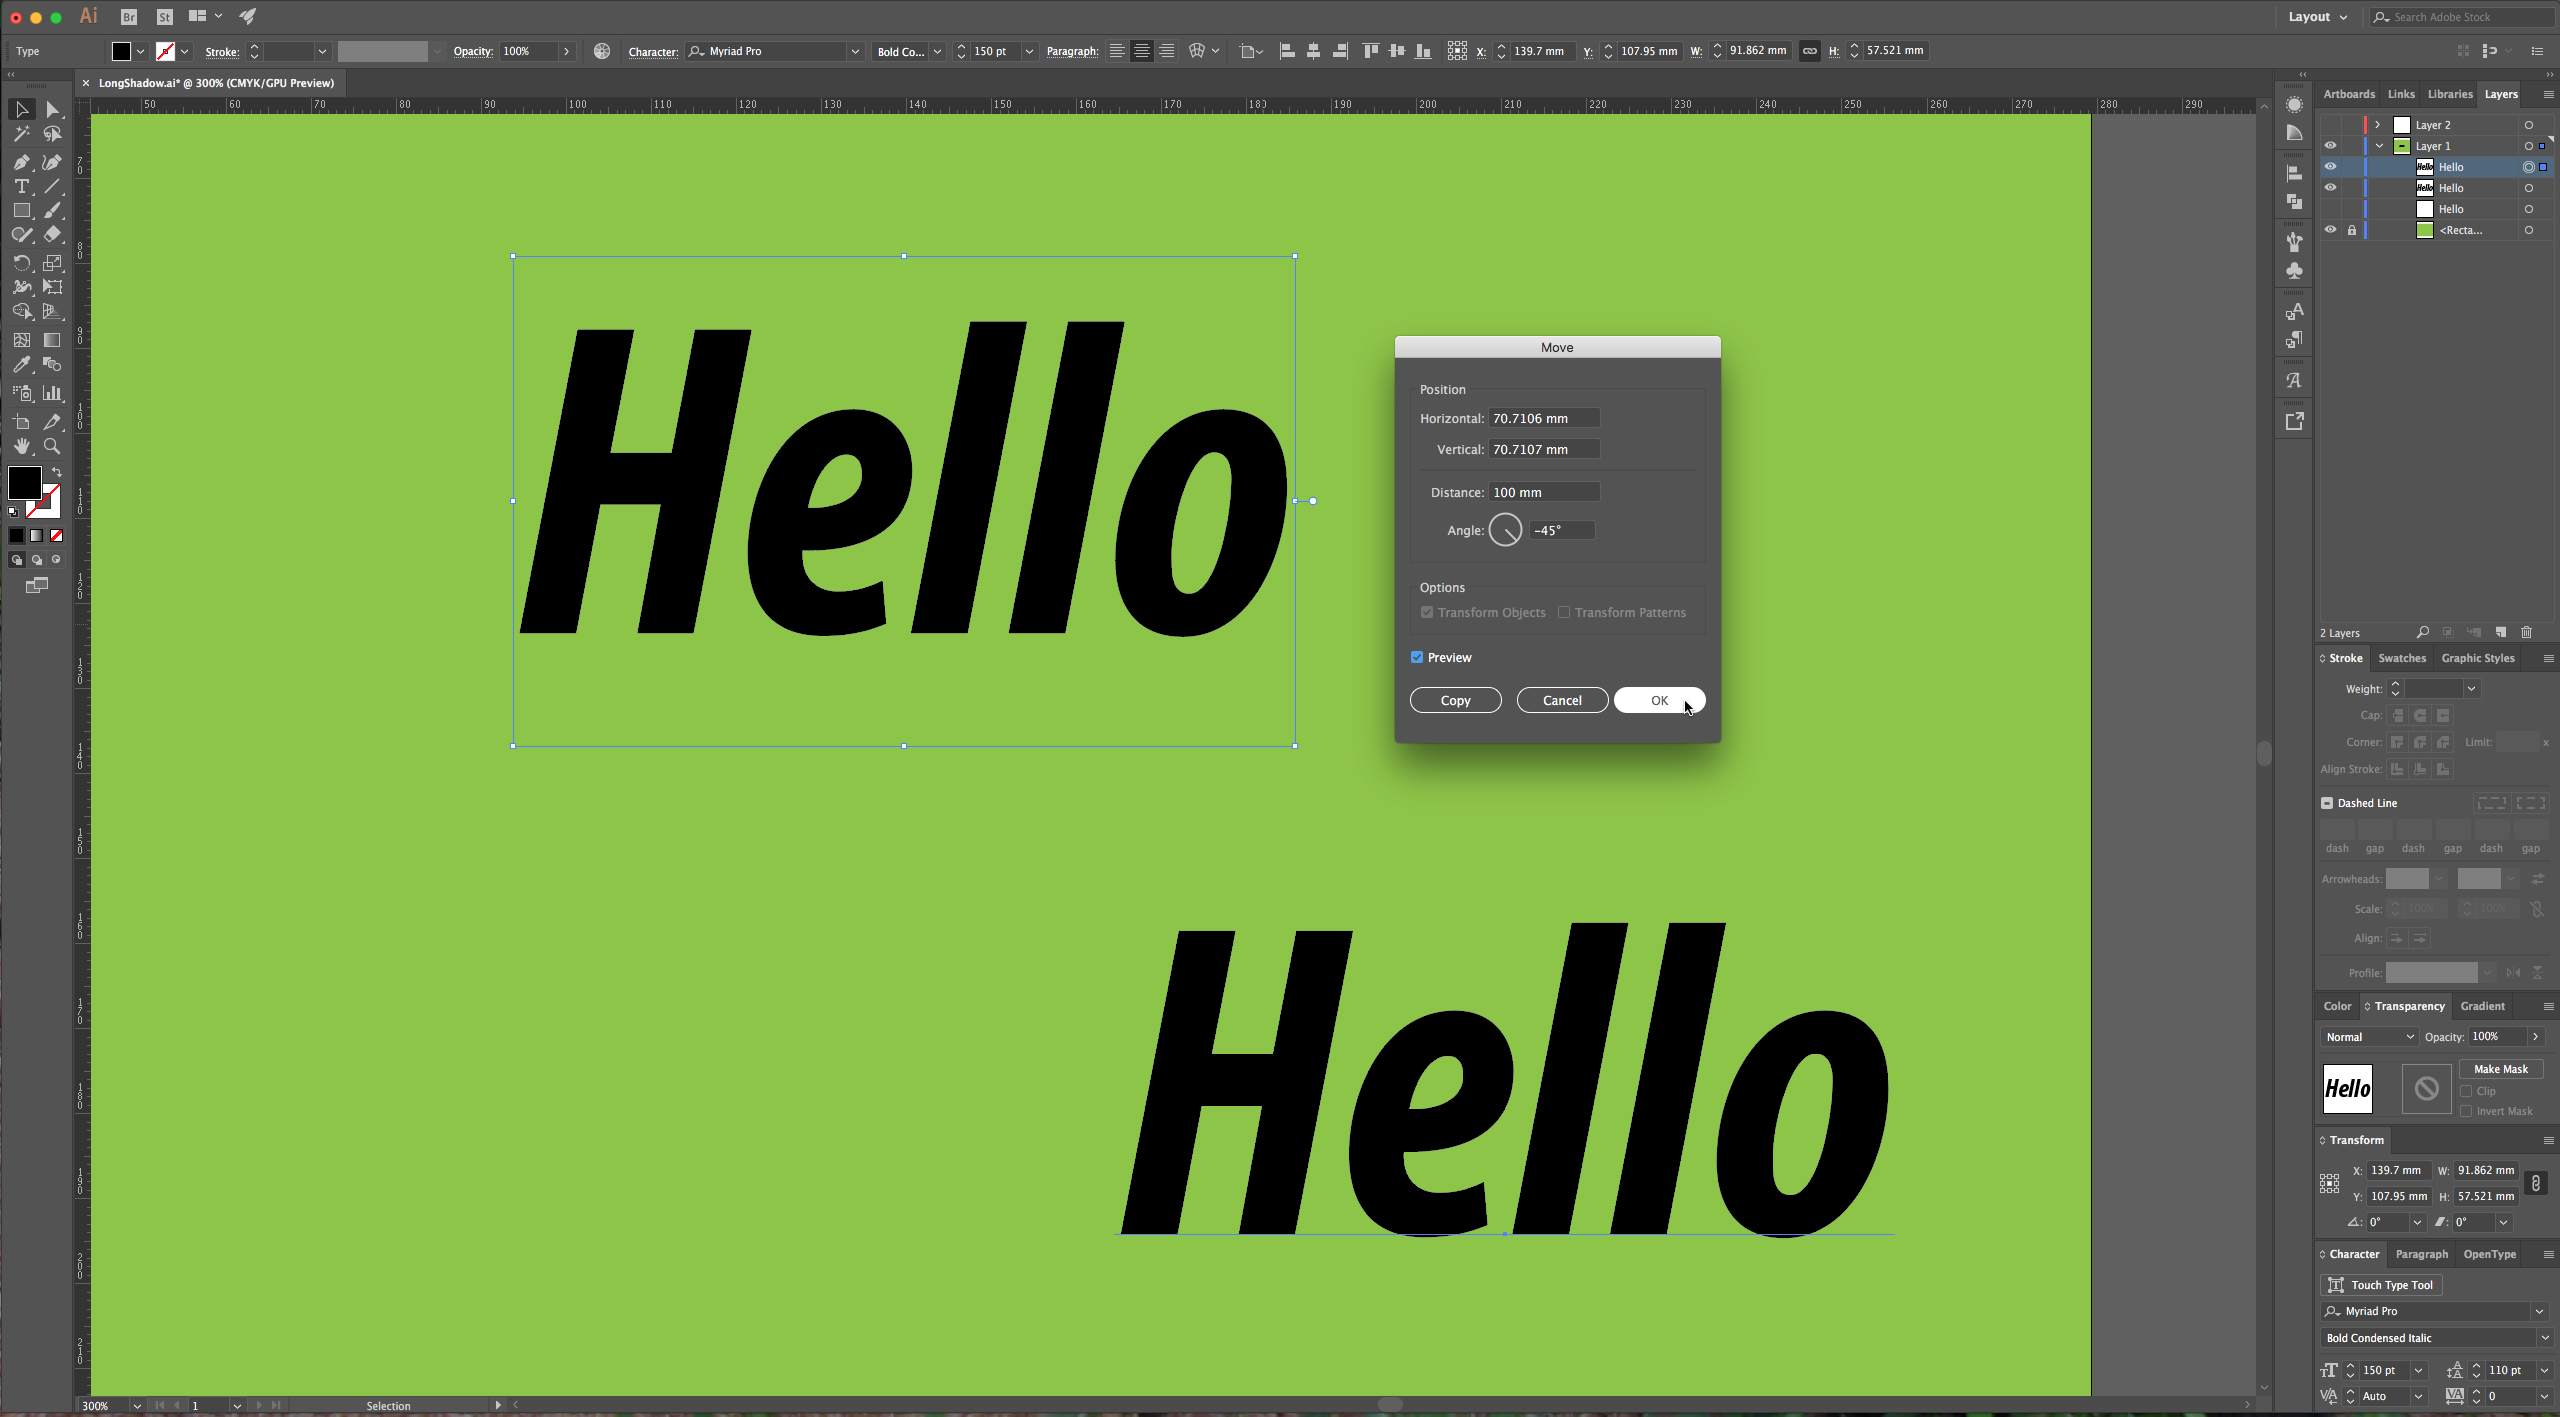
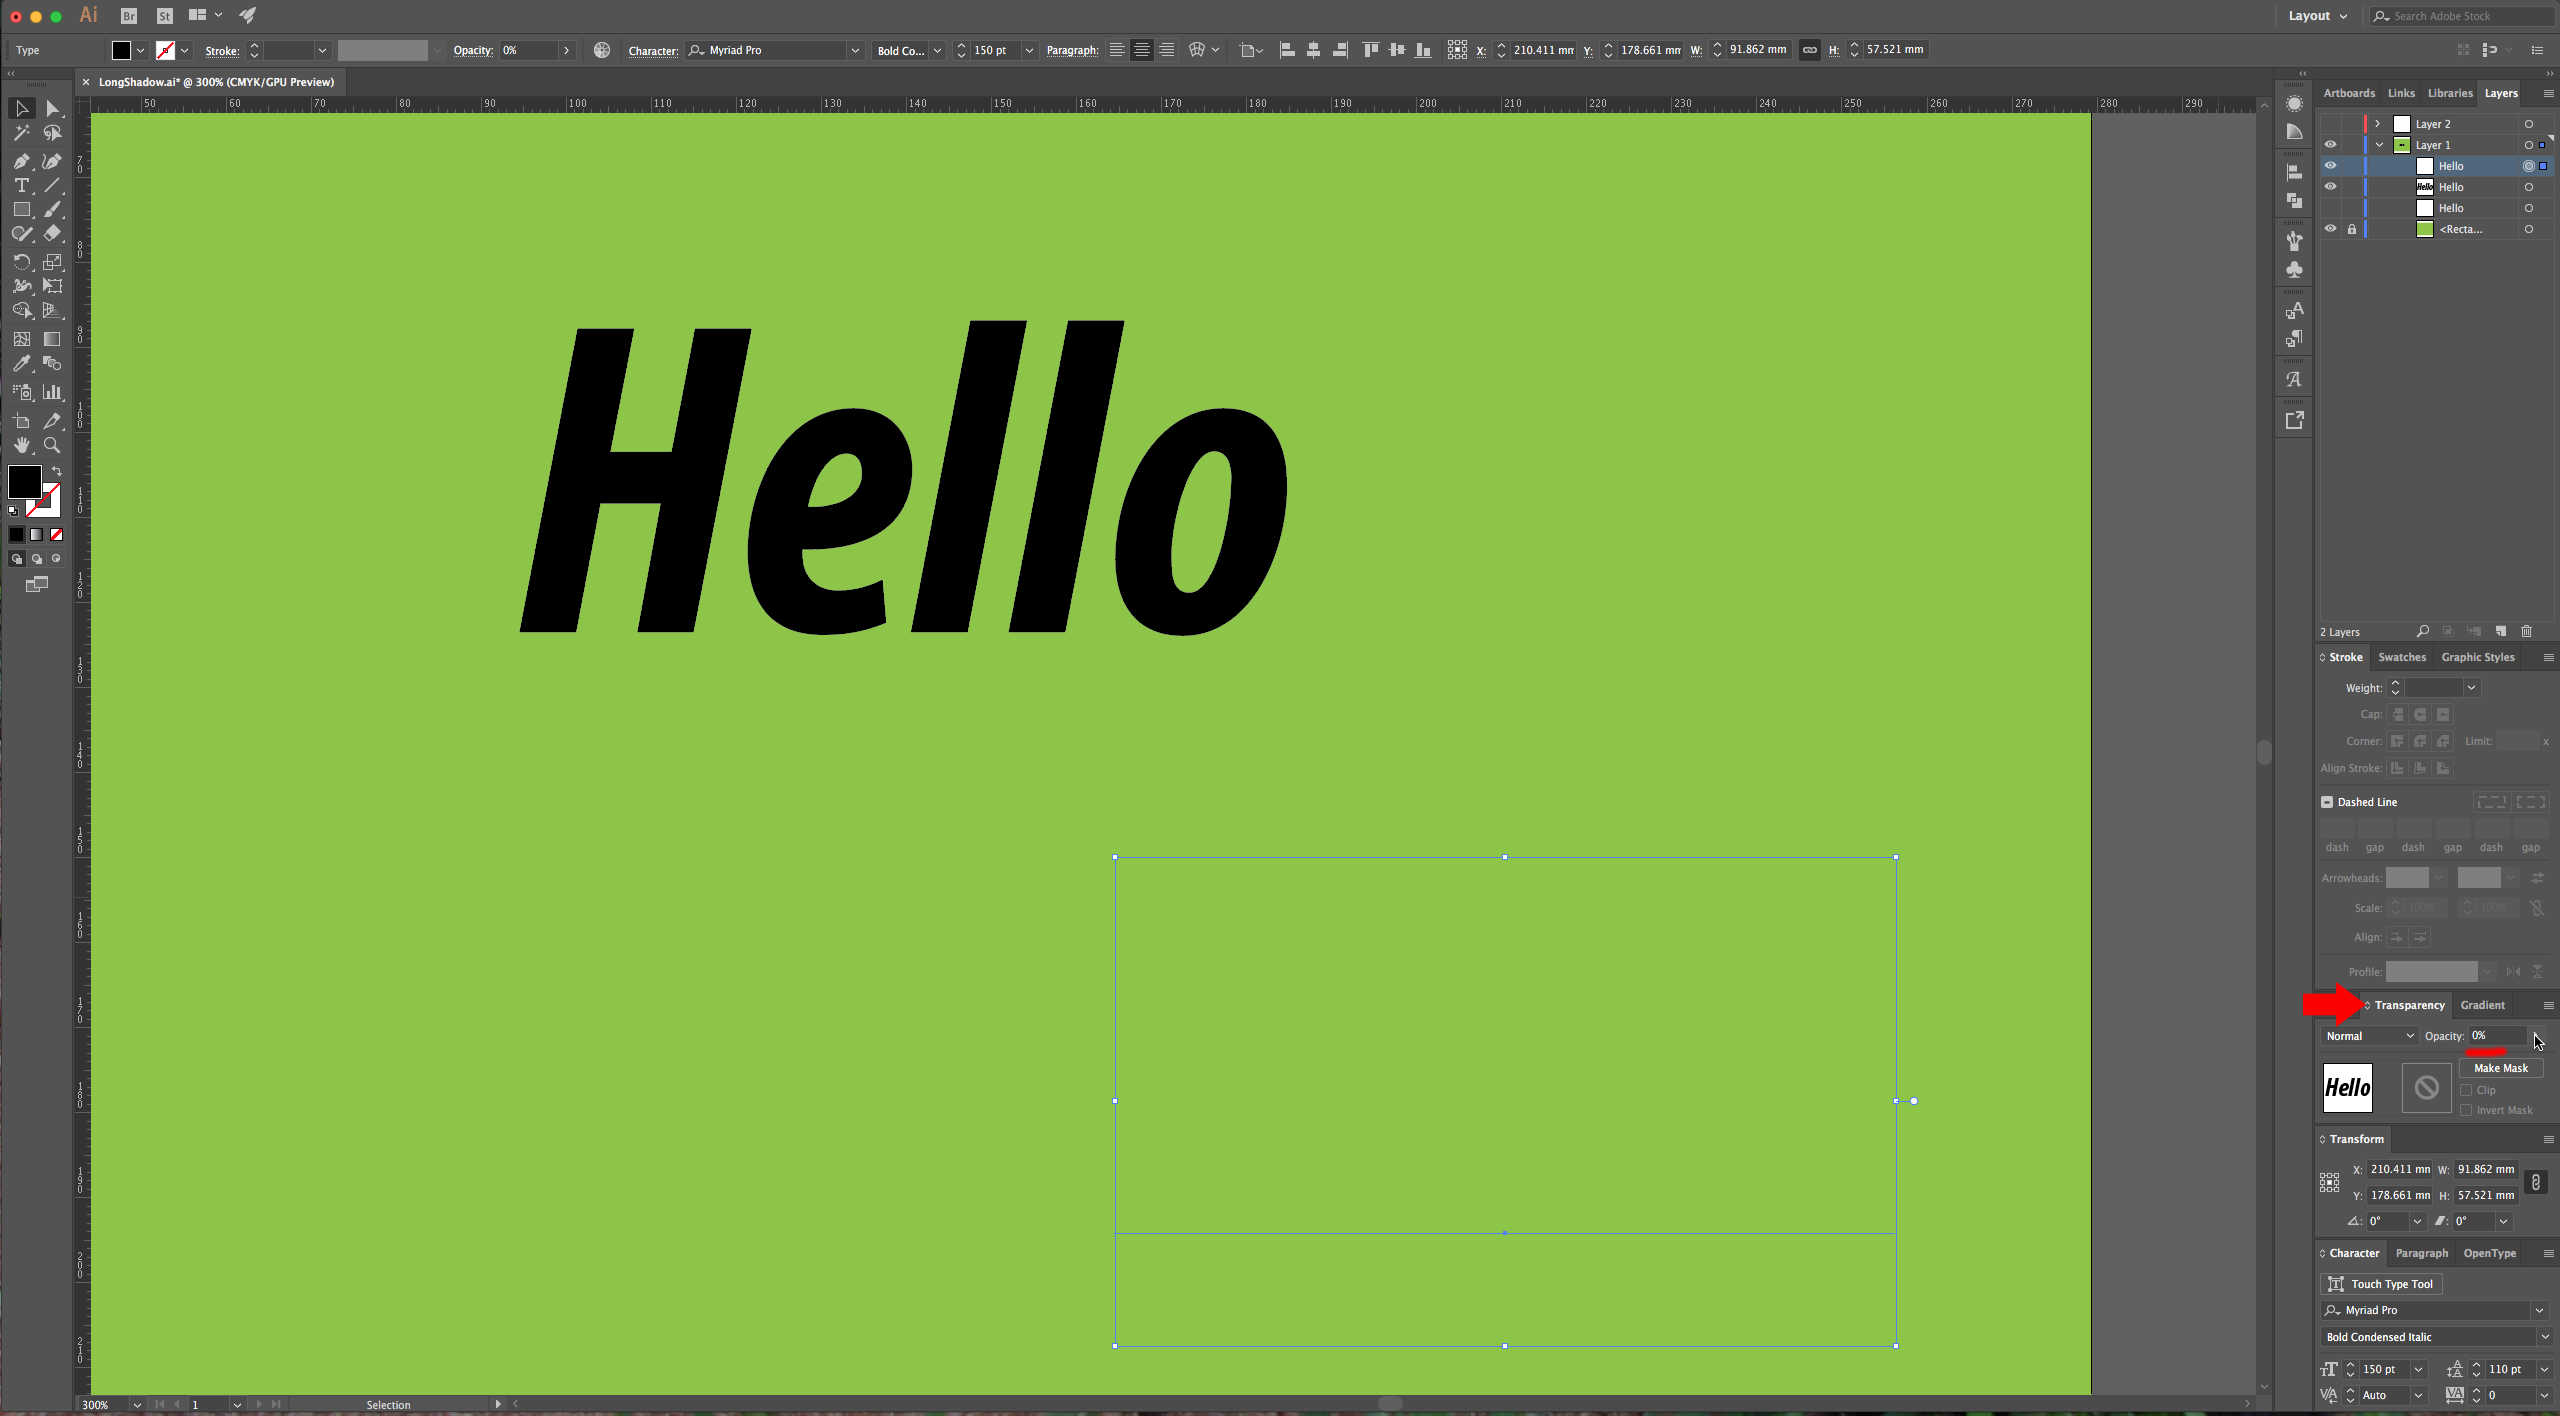
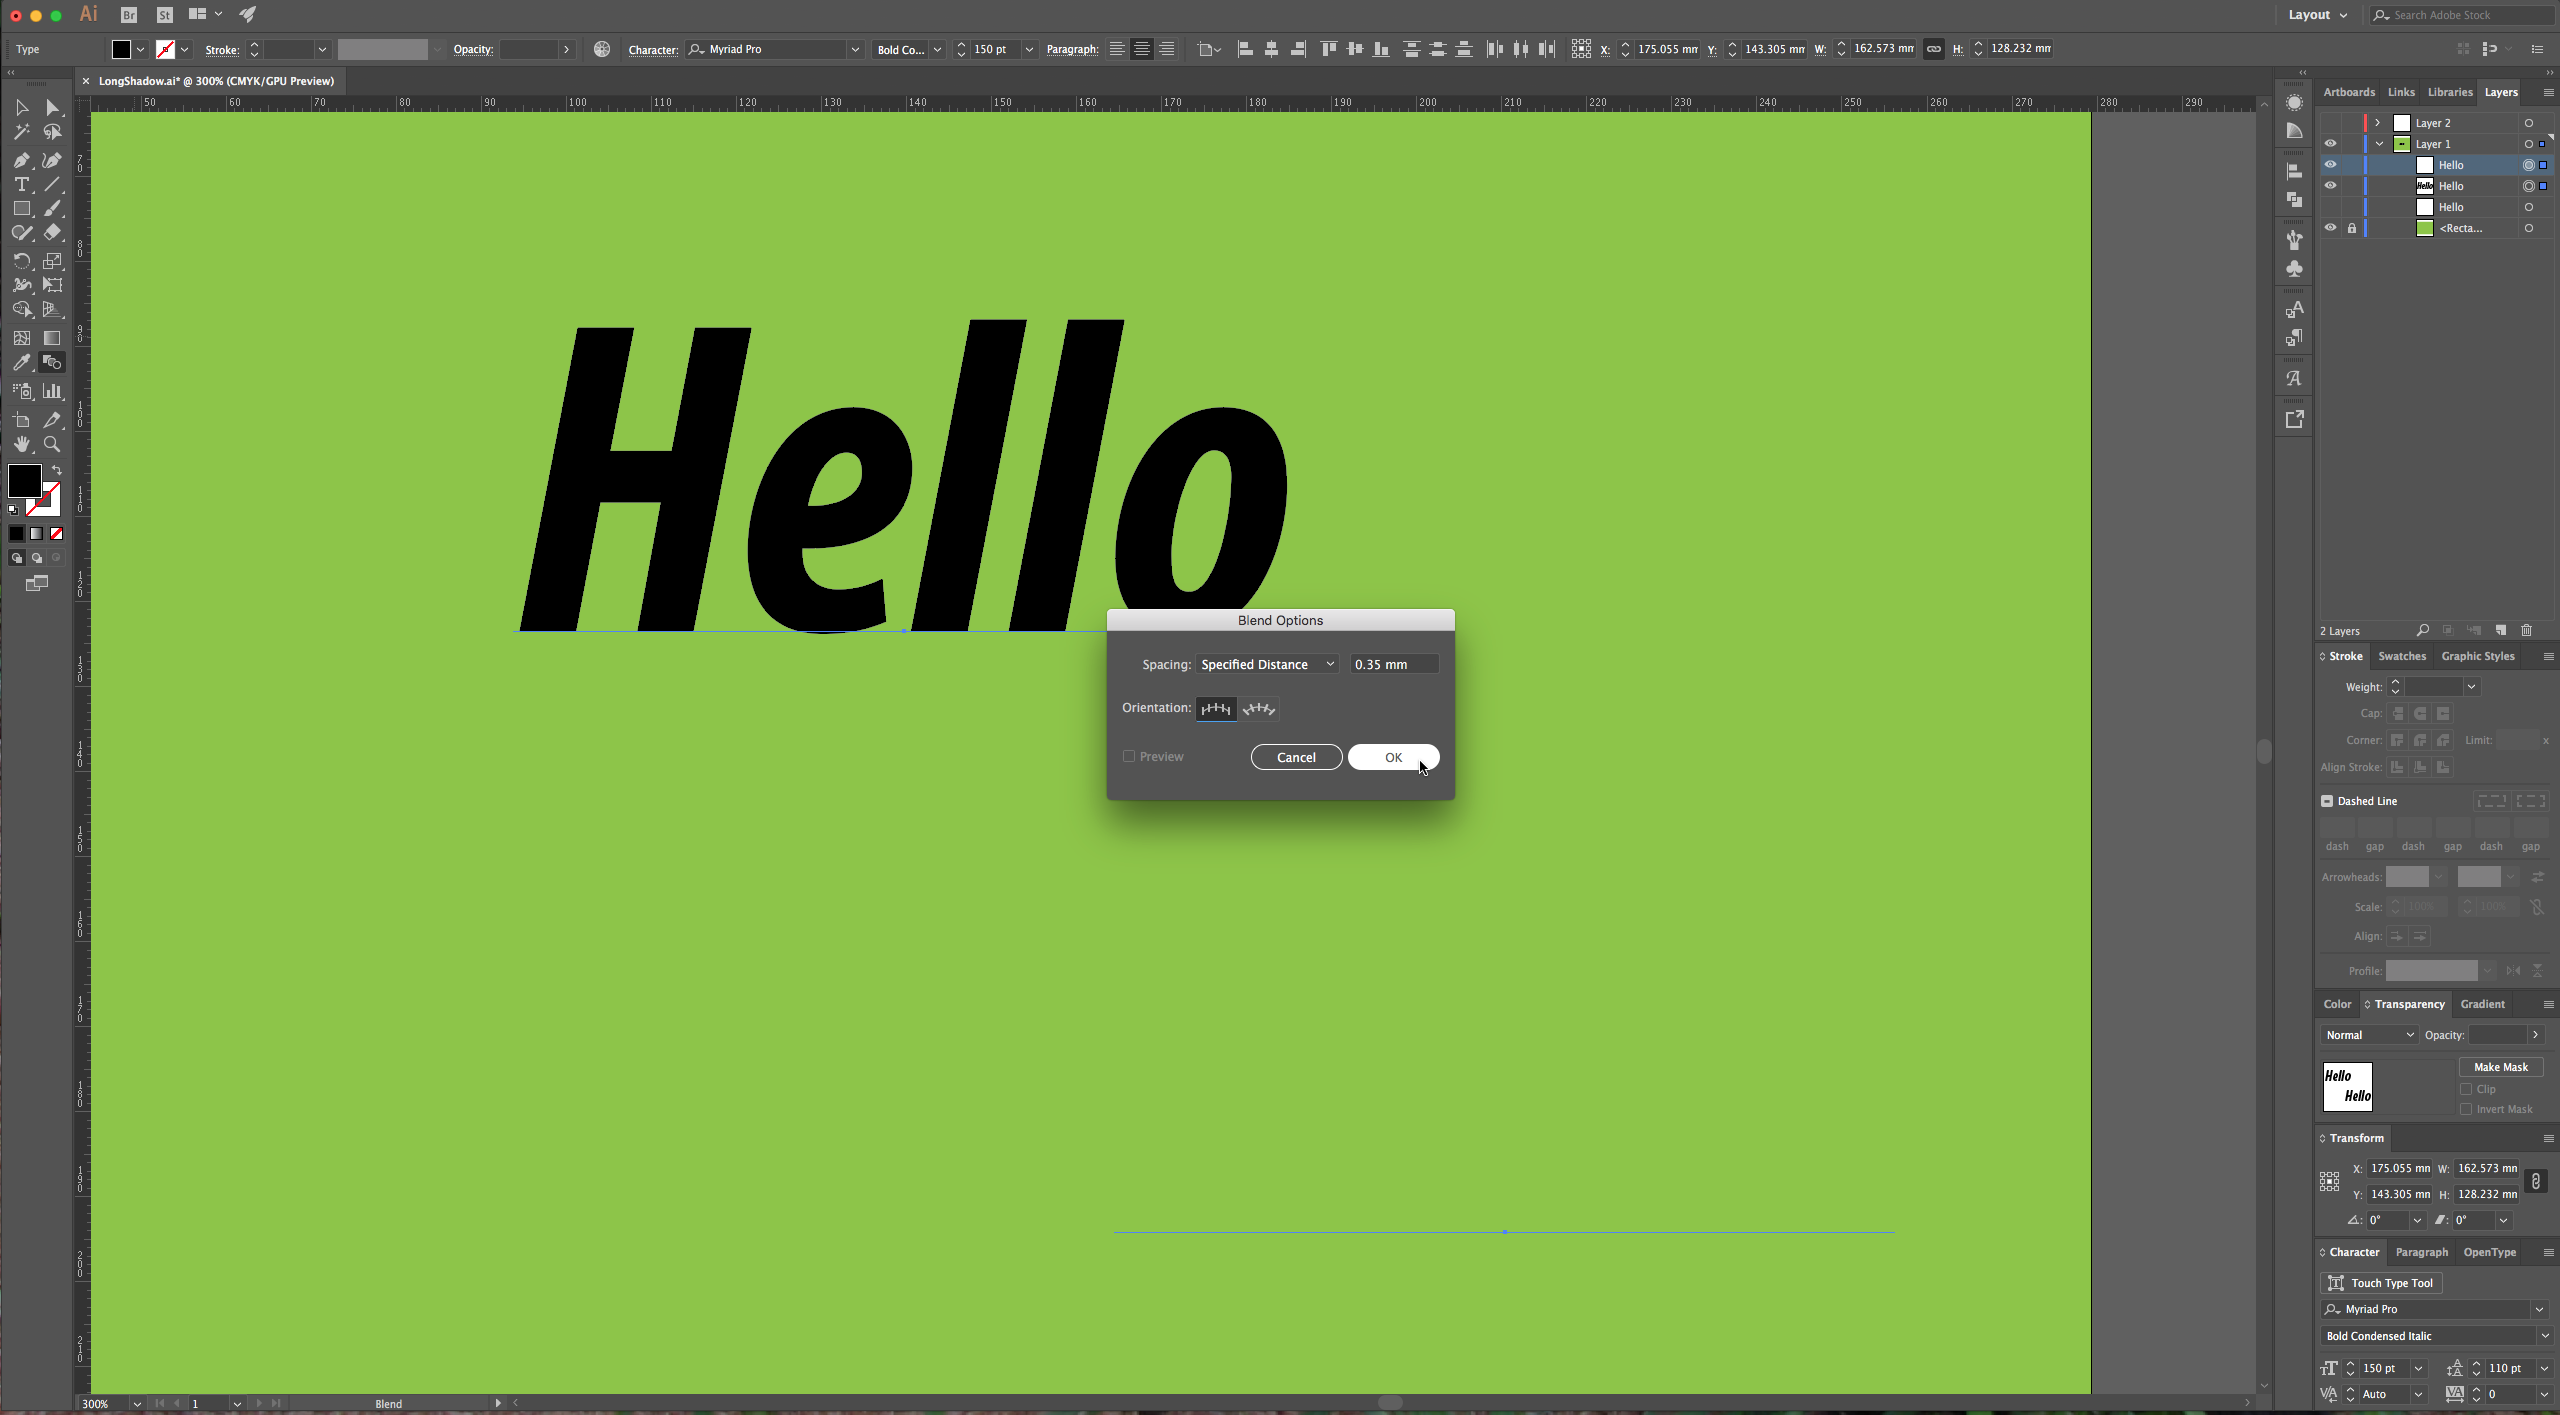
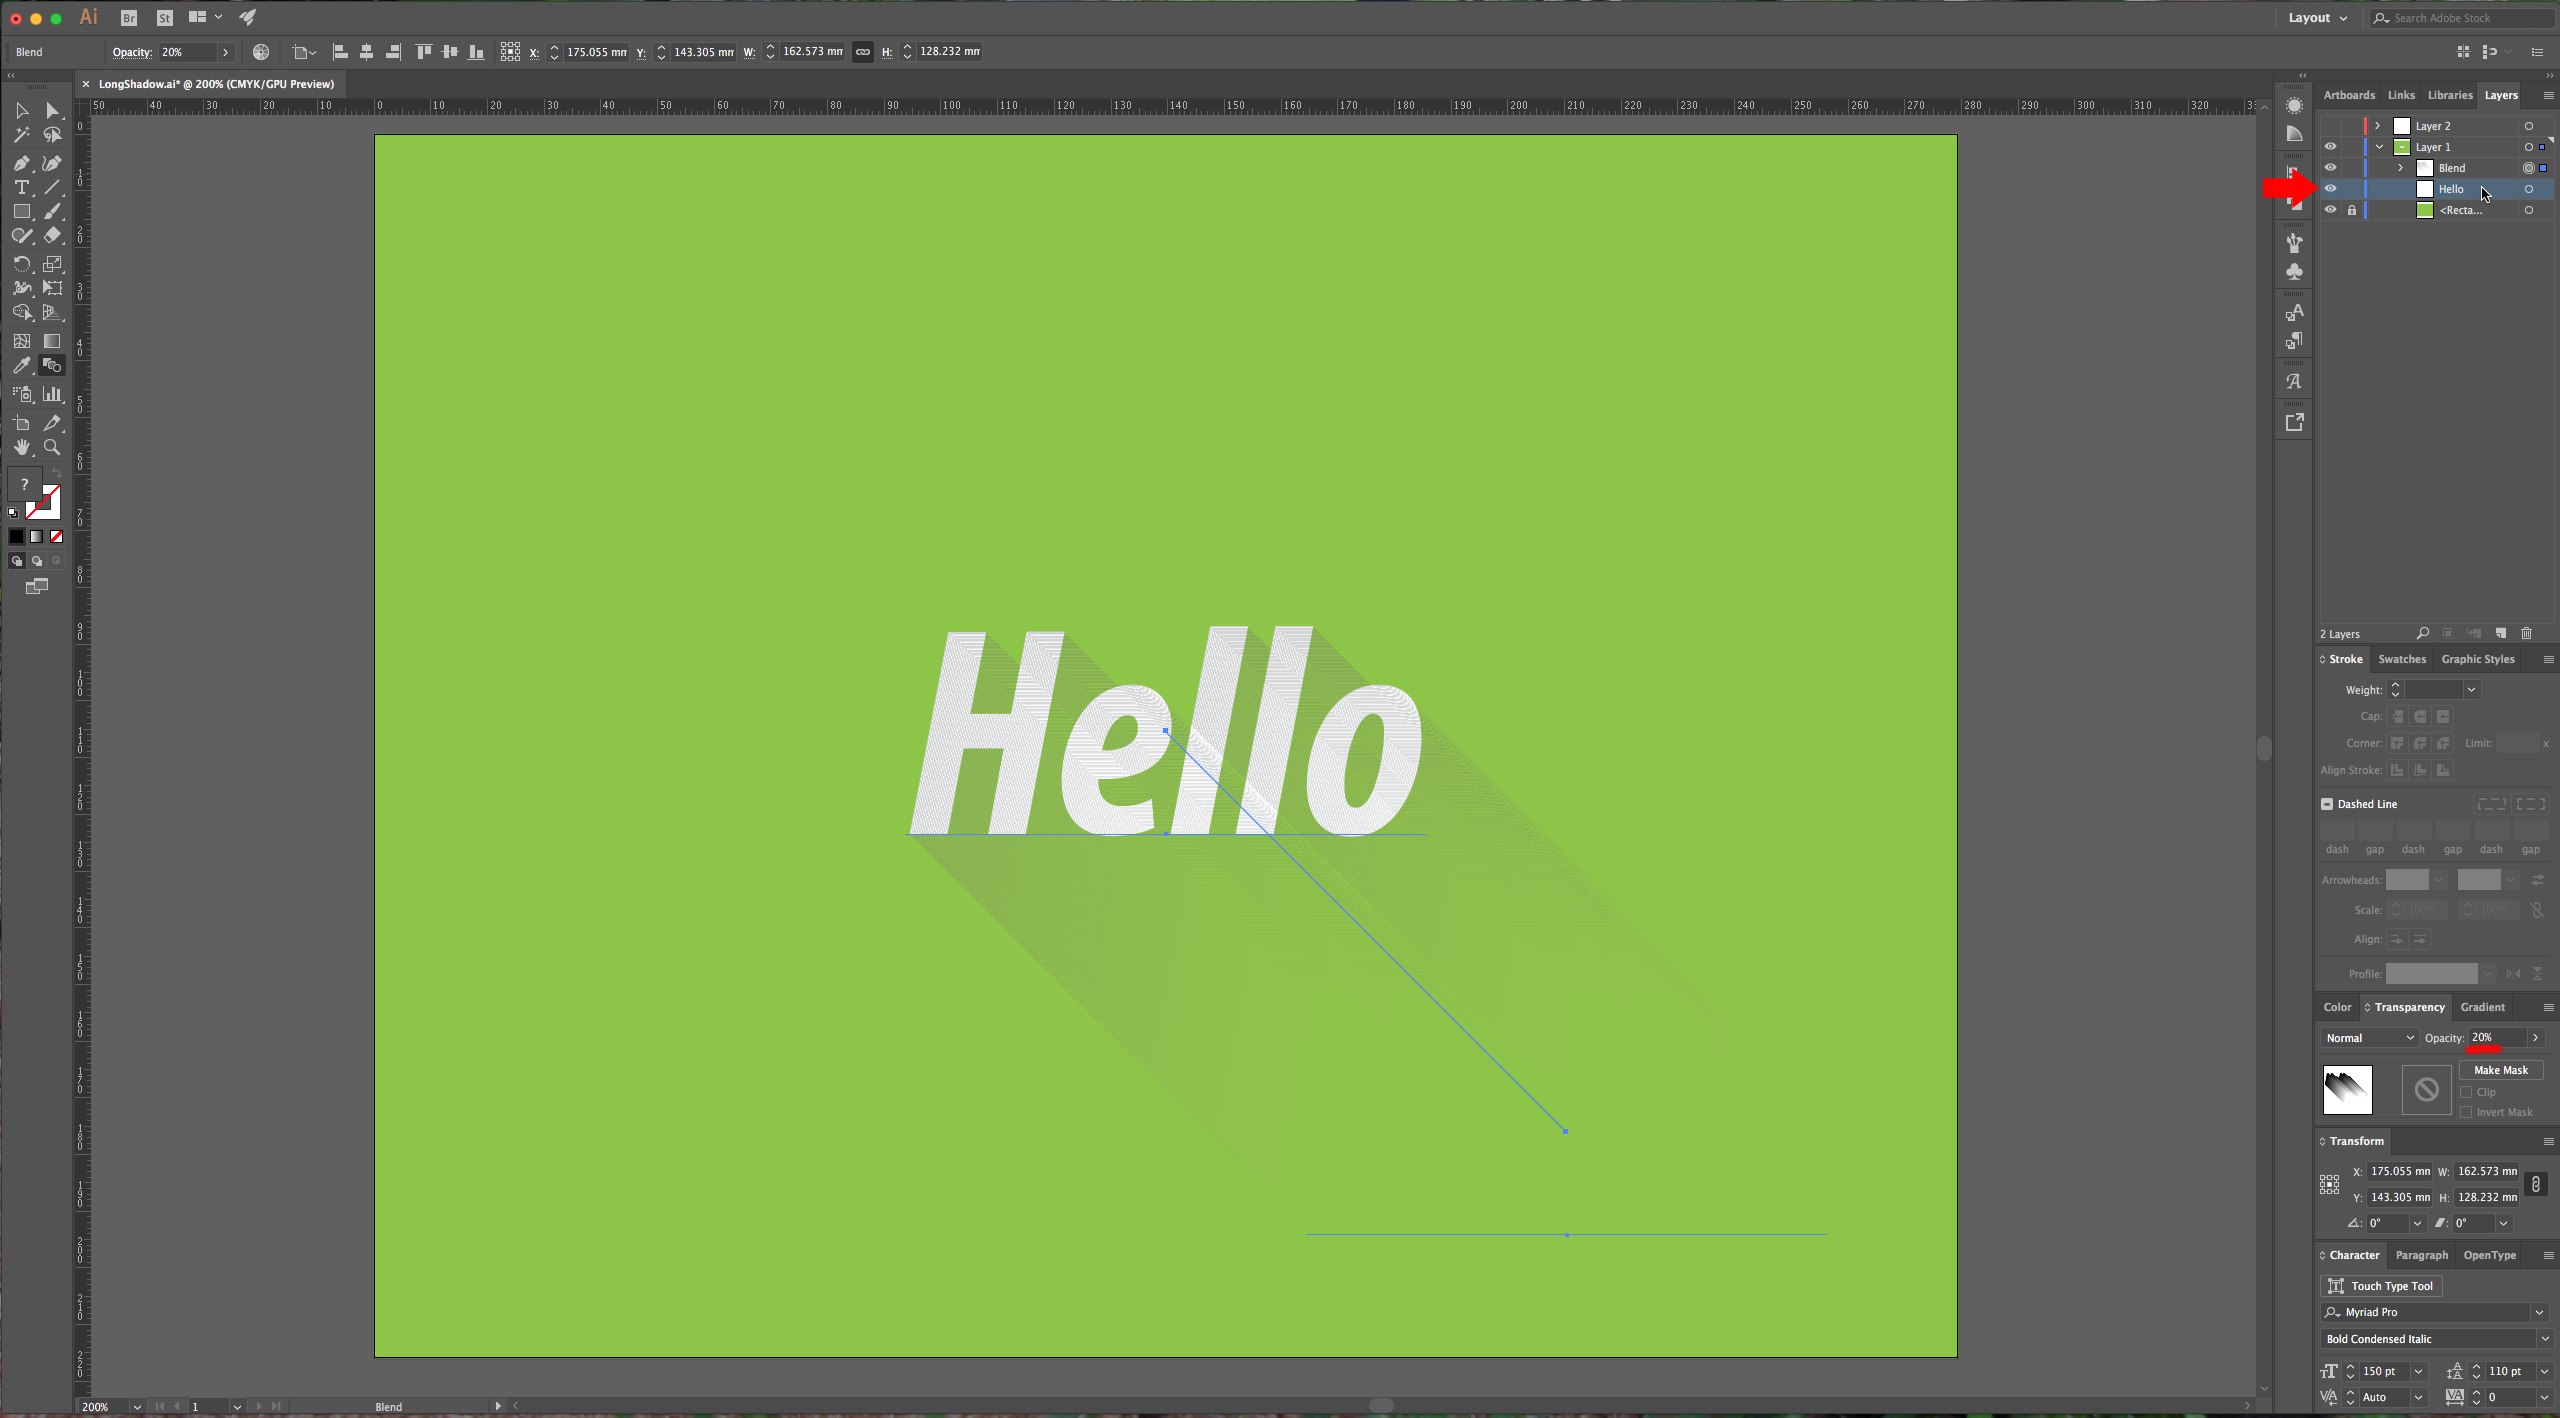
6 – Select the bottom text and in the “Transparency” Panel change the “Opacity” to 0%. Select both instances of your text, double-click on the “Blend Tool” and use “Specified Distance” for “Spacing” and a value of 0.35 mm (about 1 pixel). Then go to Object > Blend > Make, then change the “Opacity” to about 20% and make your top text visible again and move it on top of your other text.
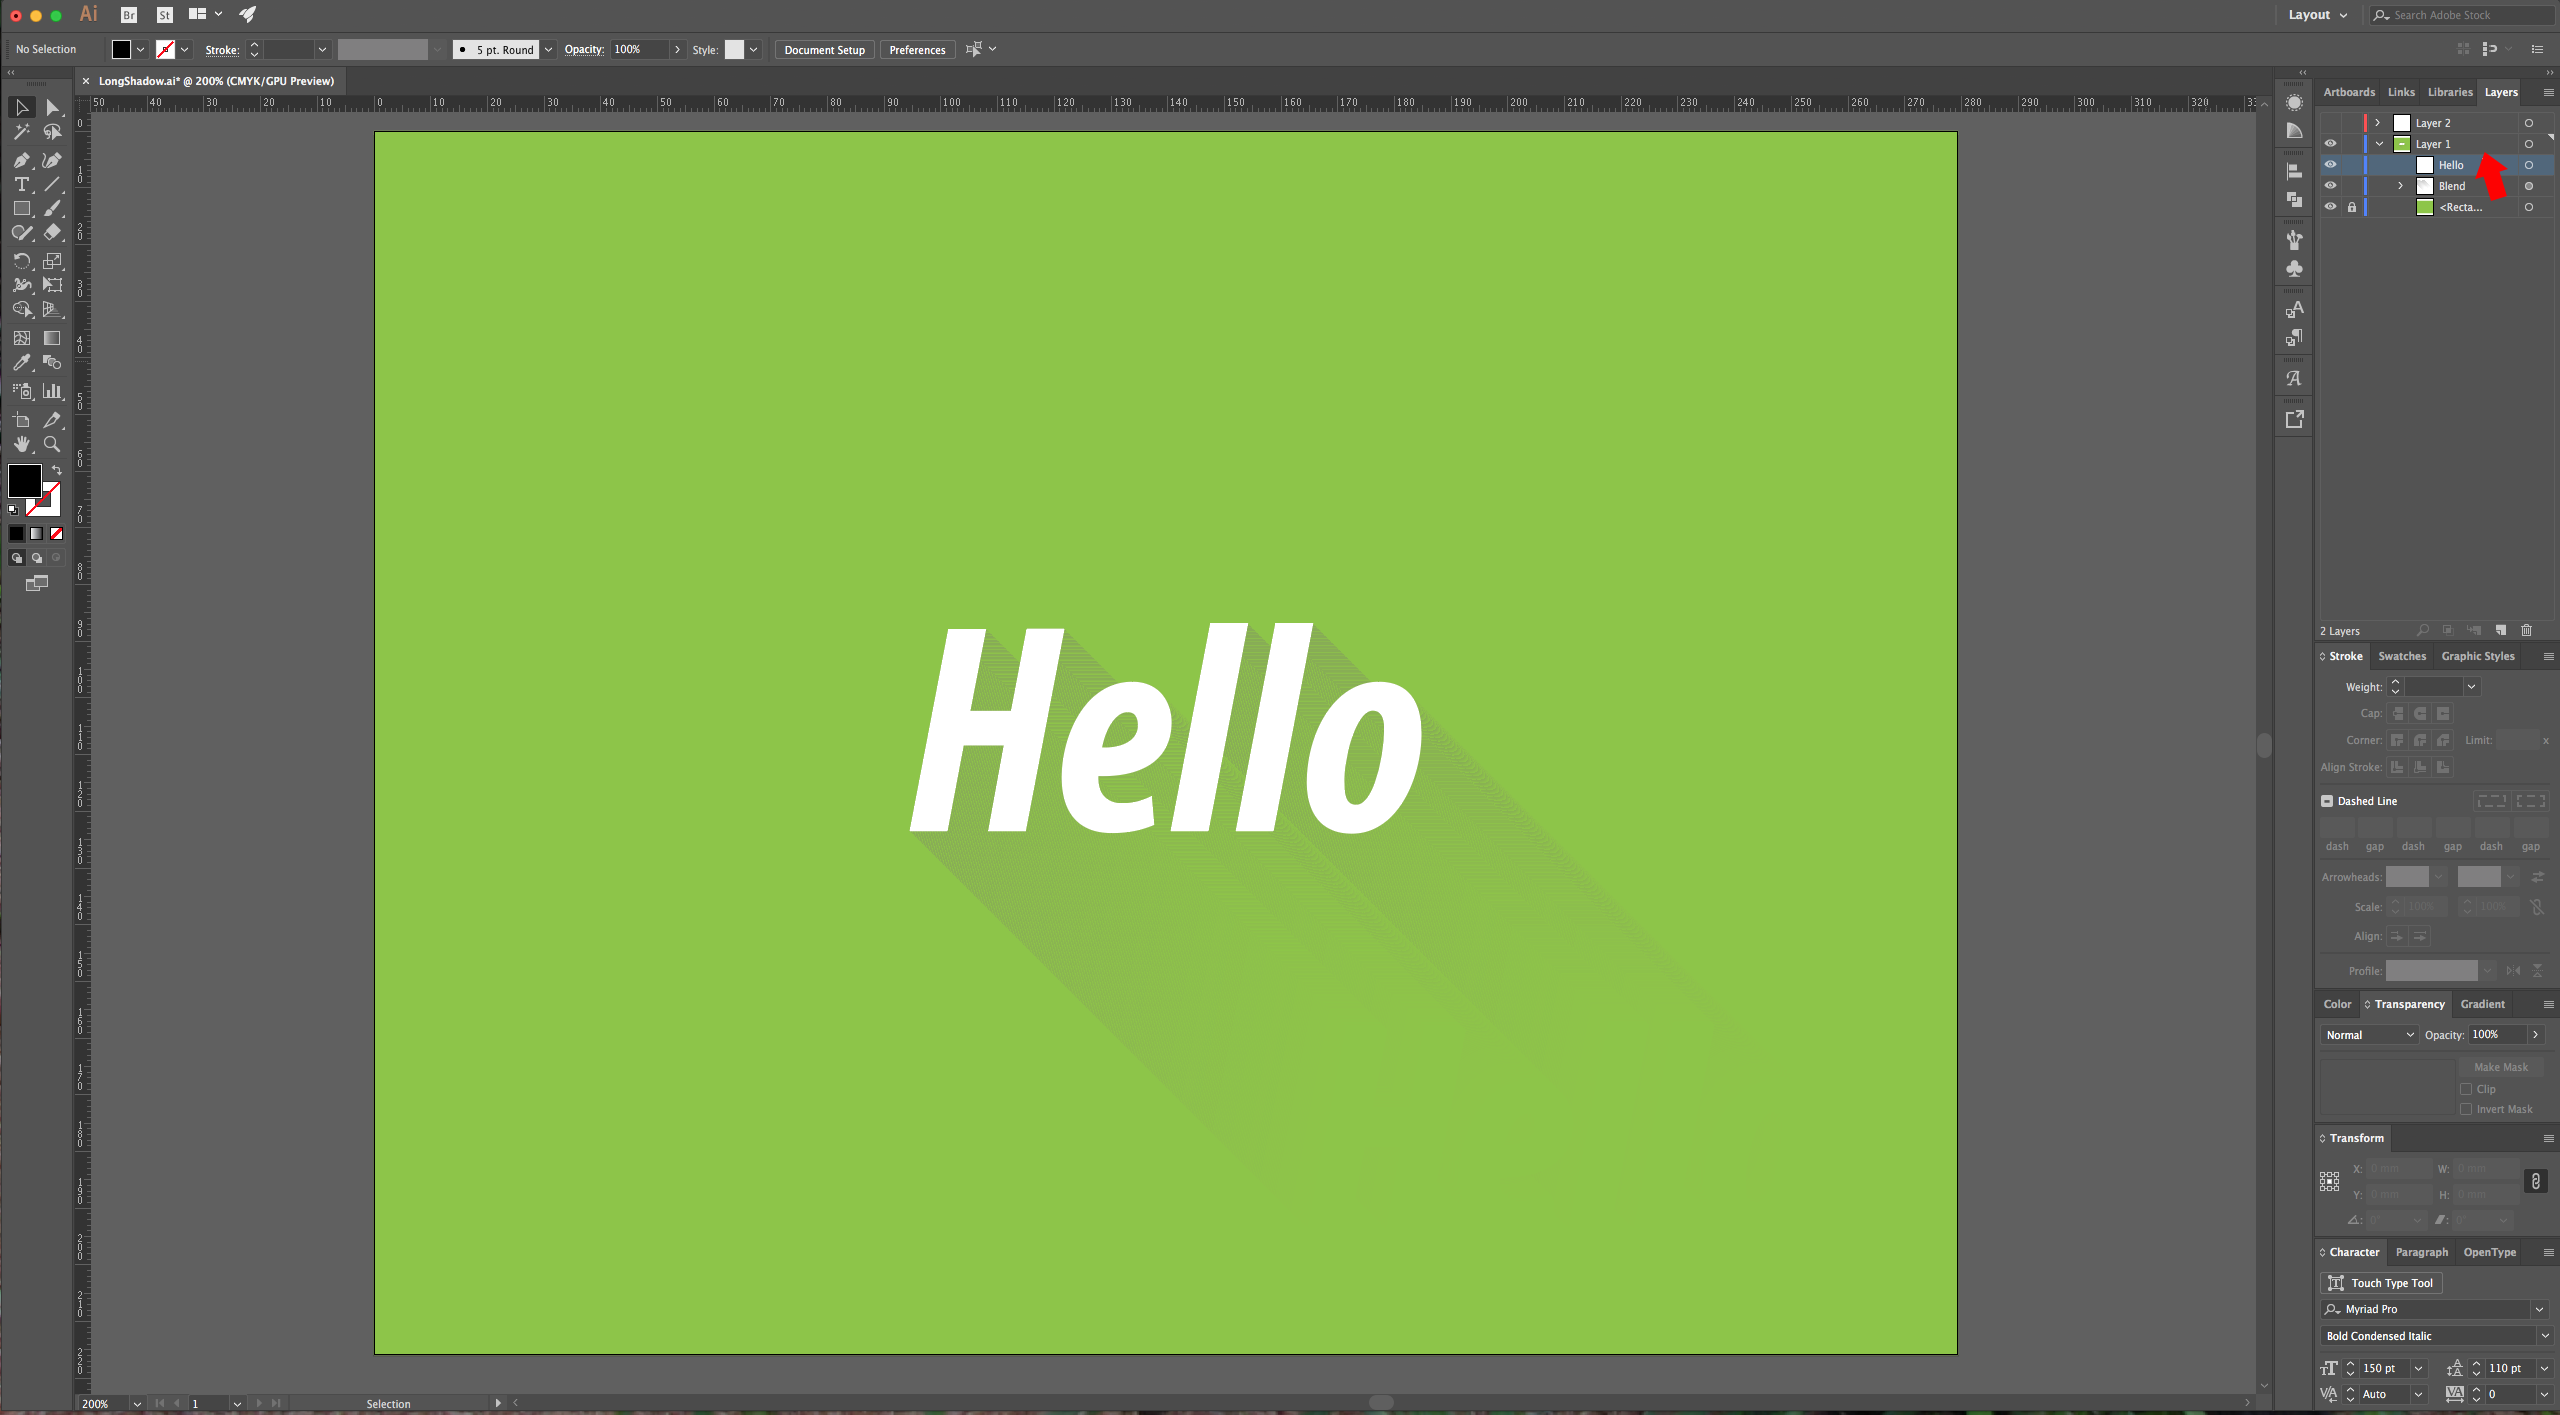
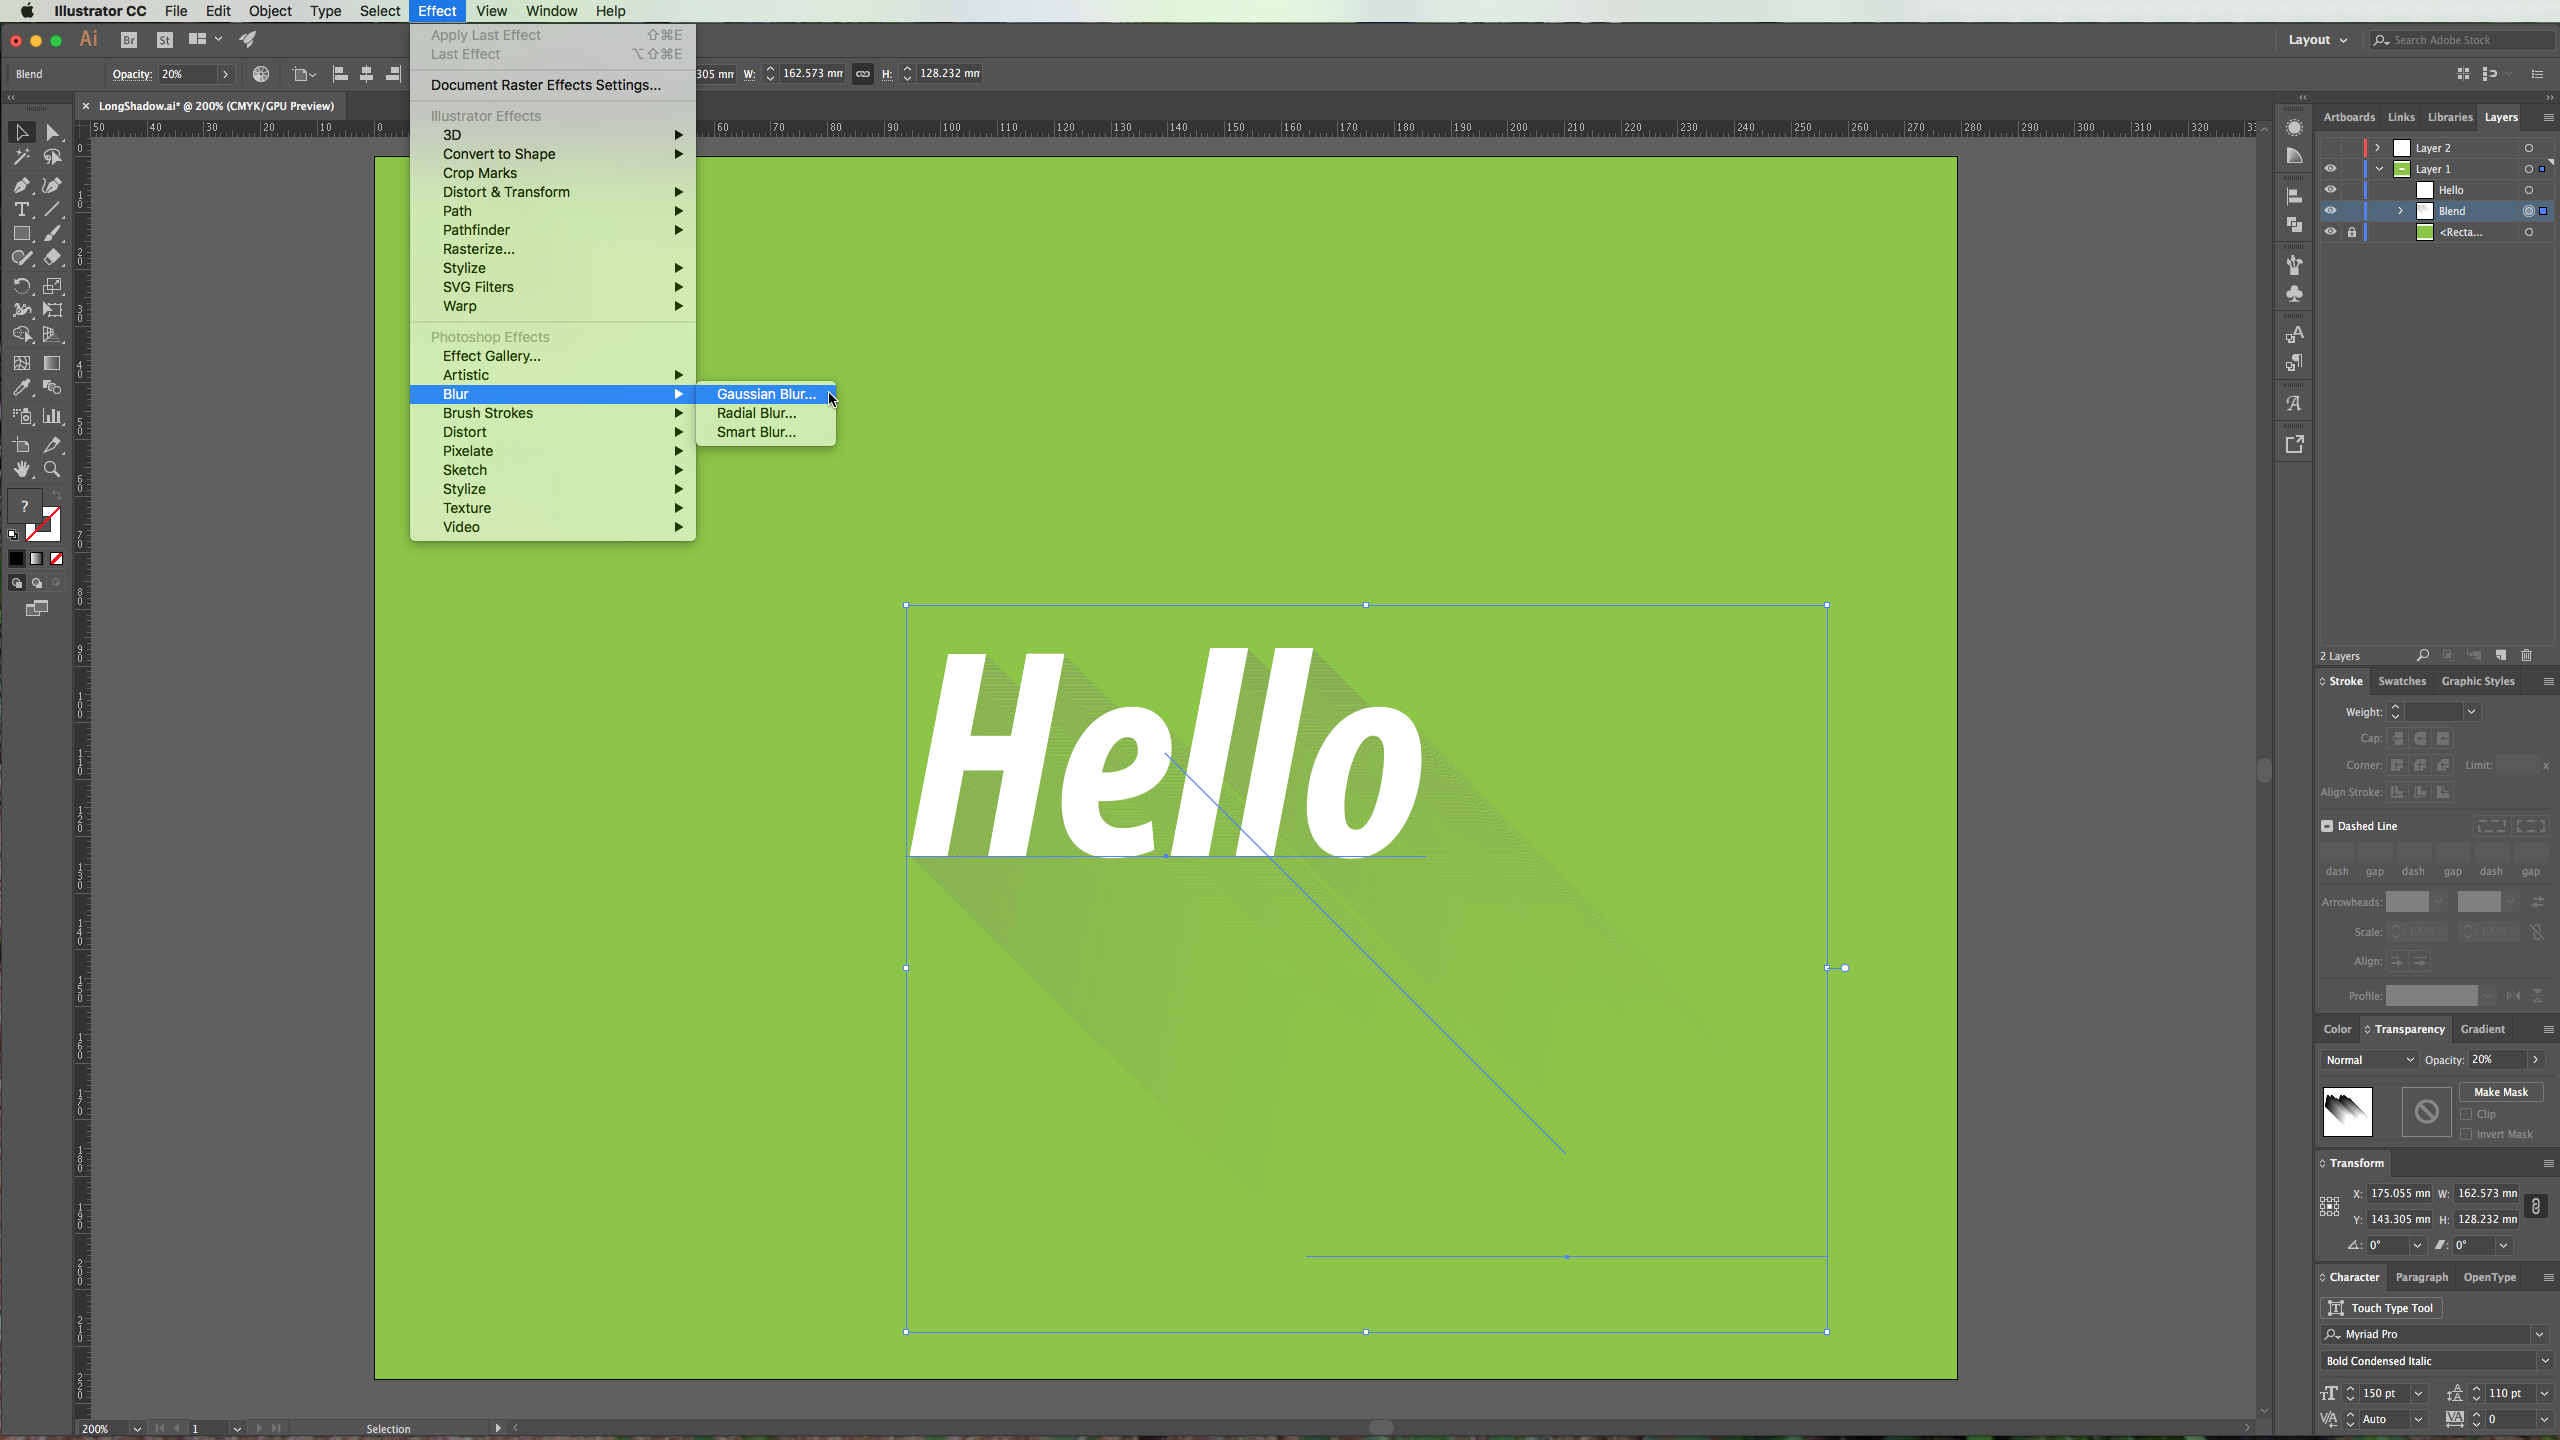
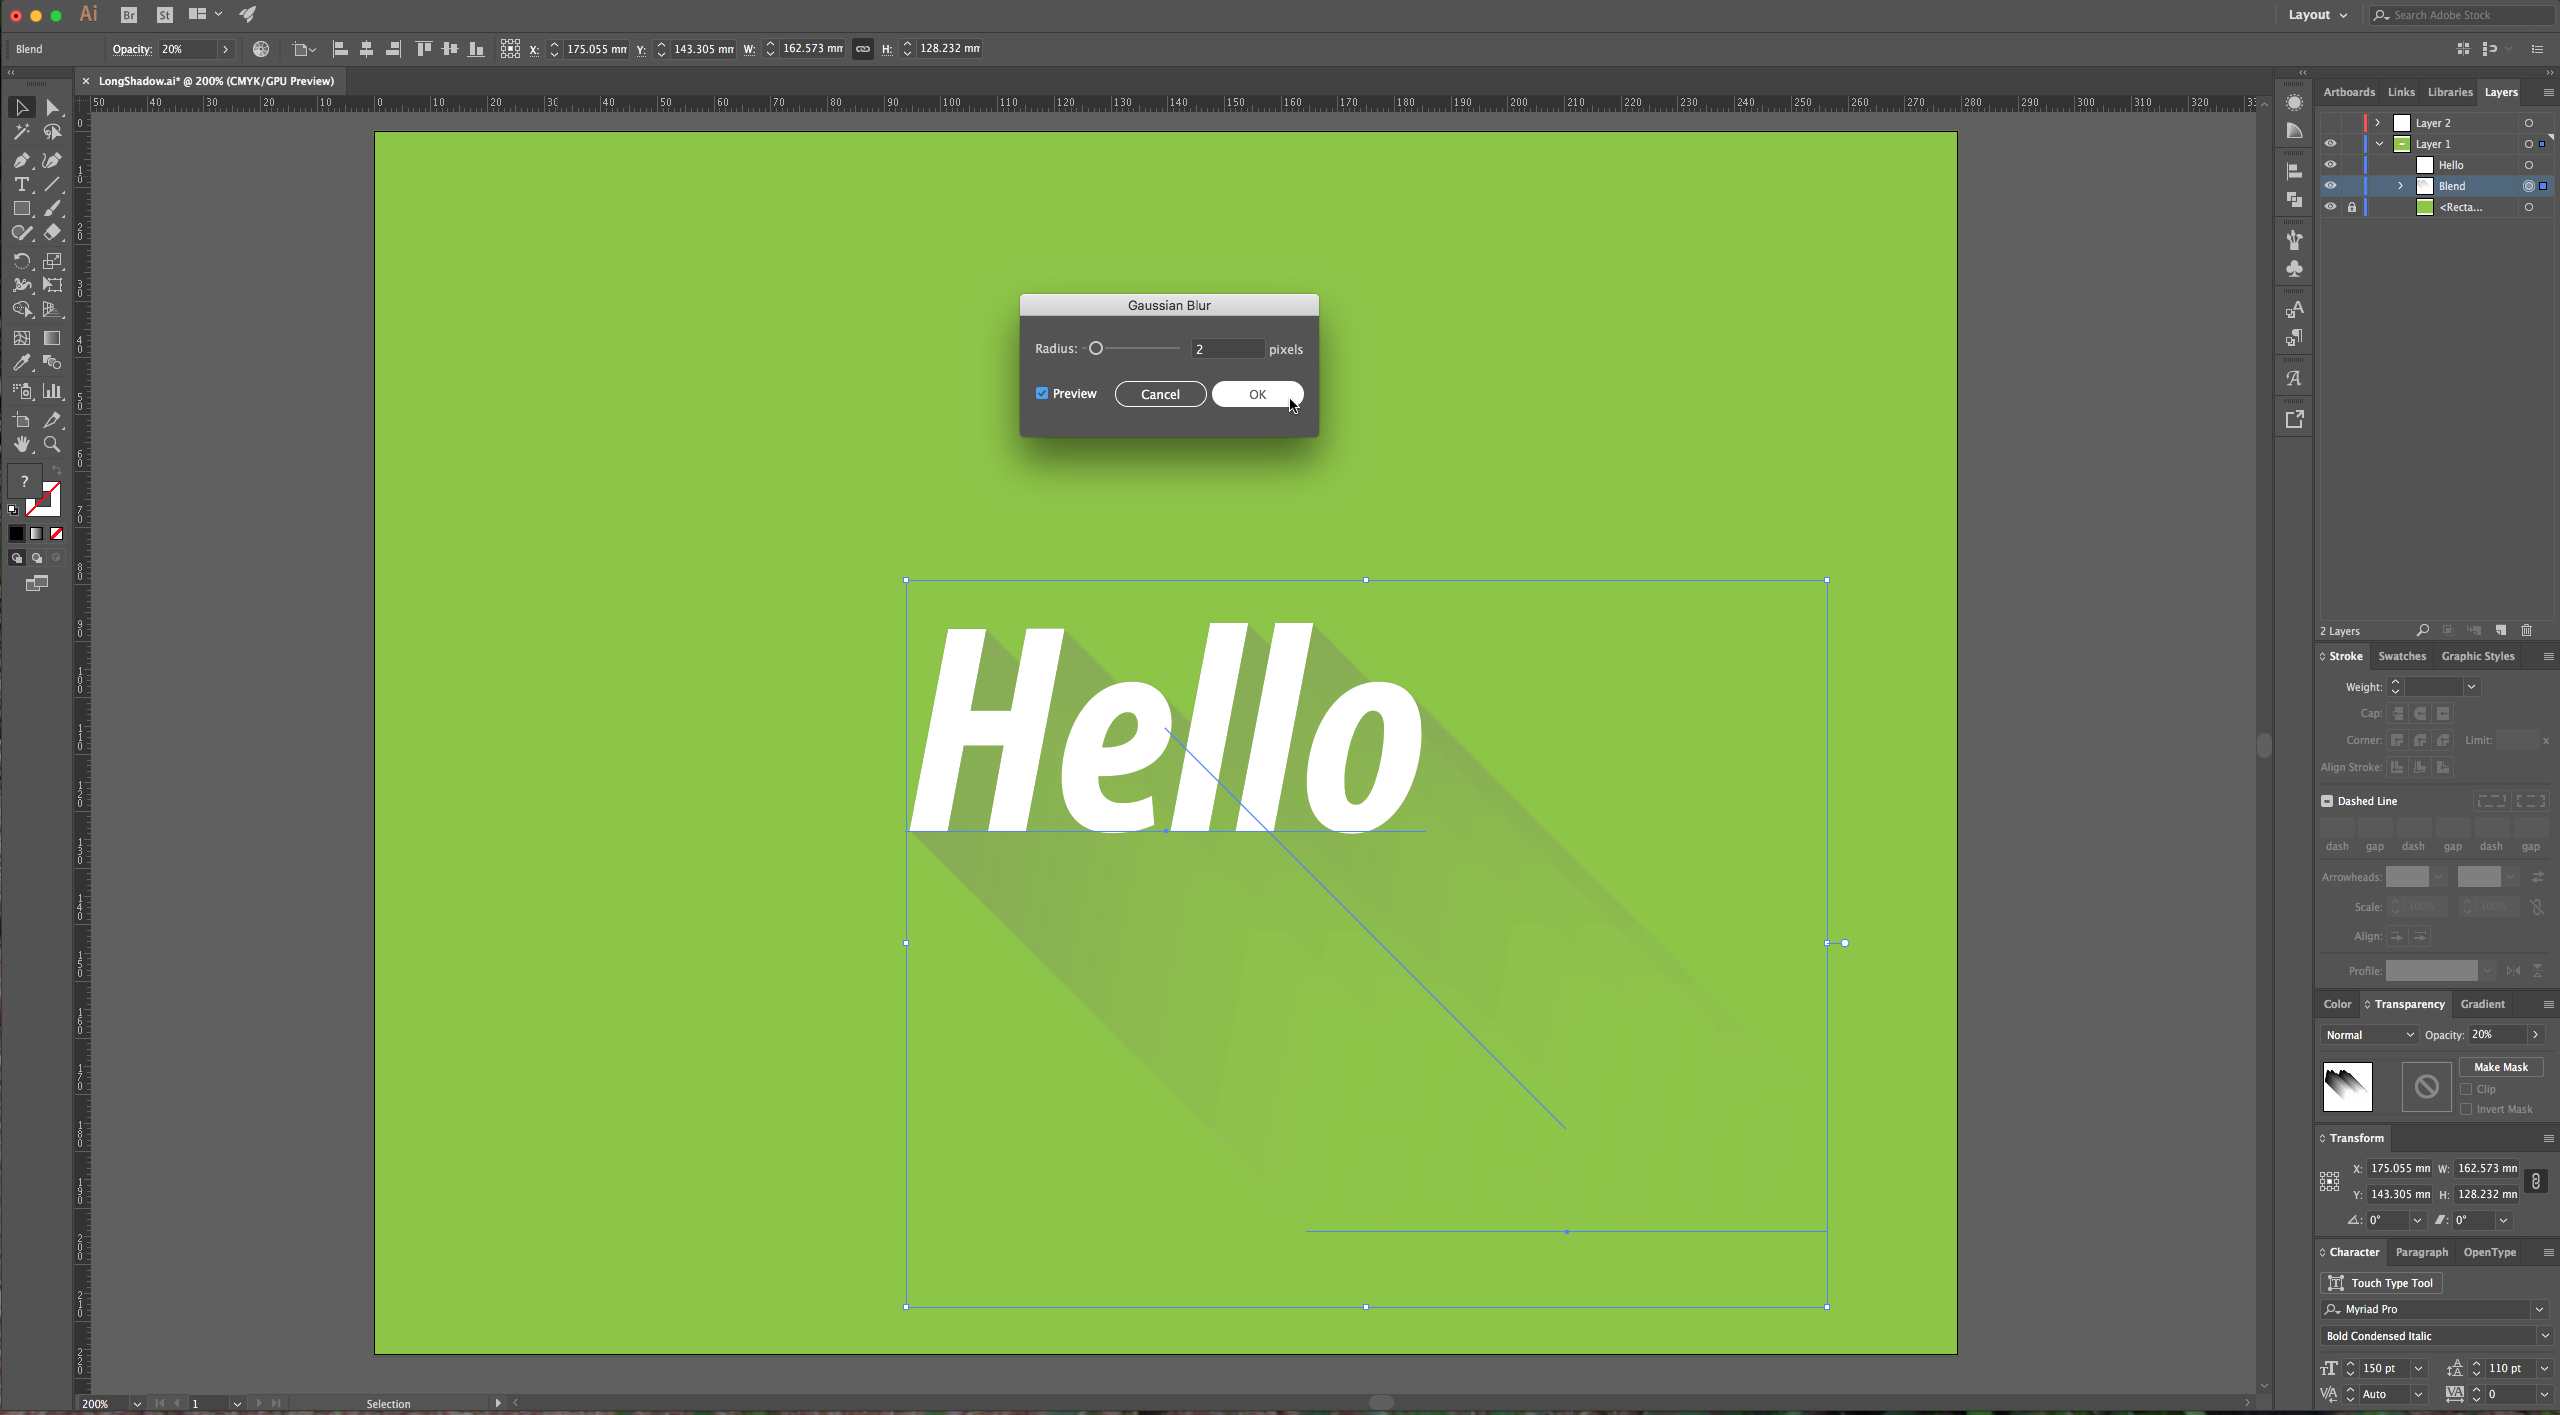
7 – If your shadow is not smooth enough, select it and go to Effects > Blur > Gaussian Blur and give the “Radius” a value of about 2 pixels.
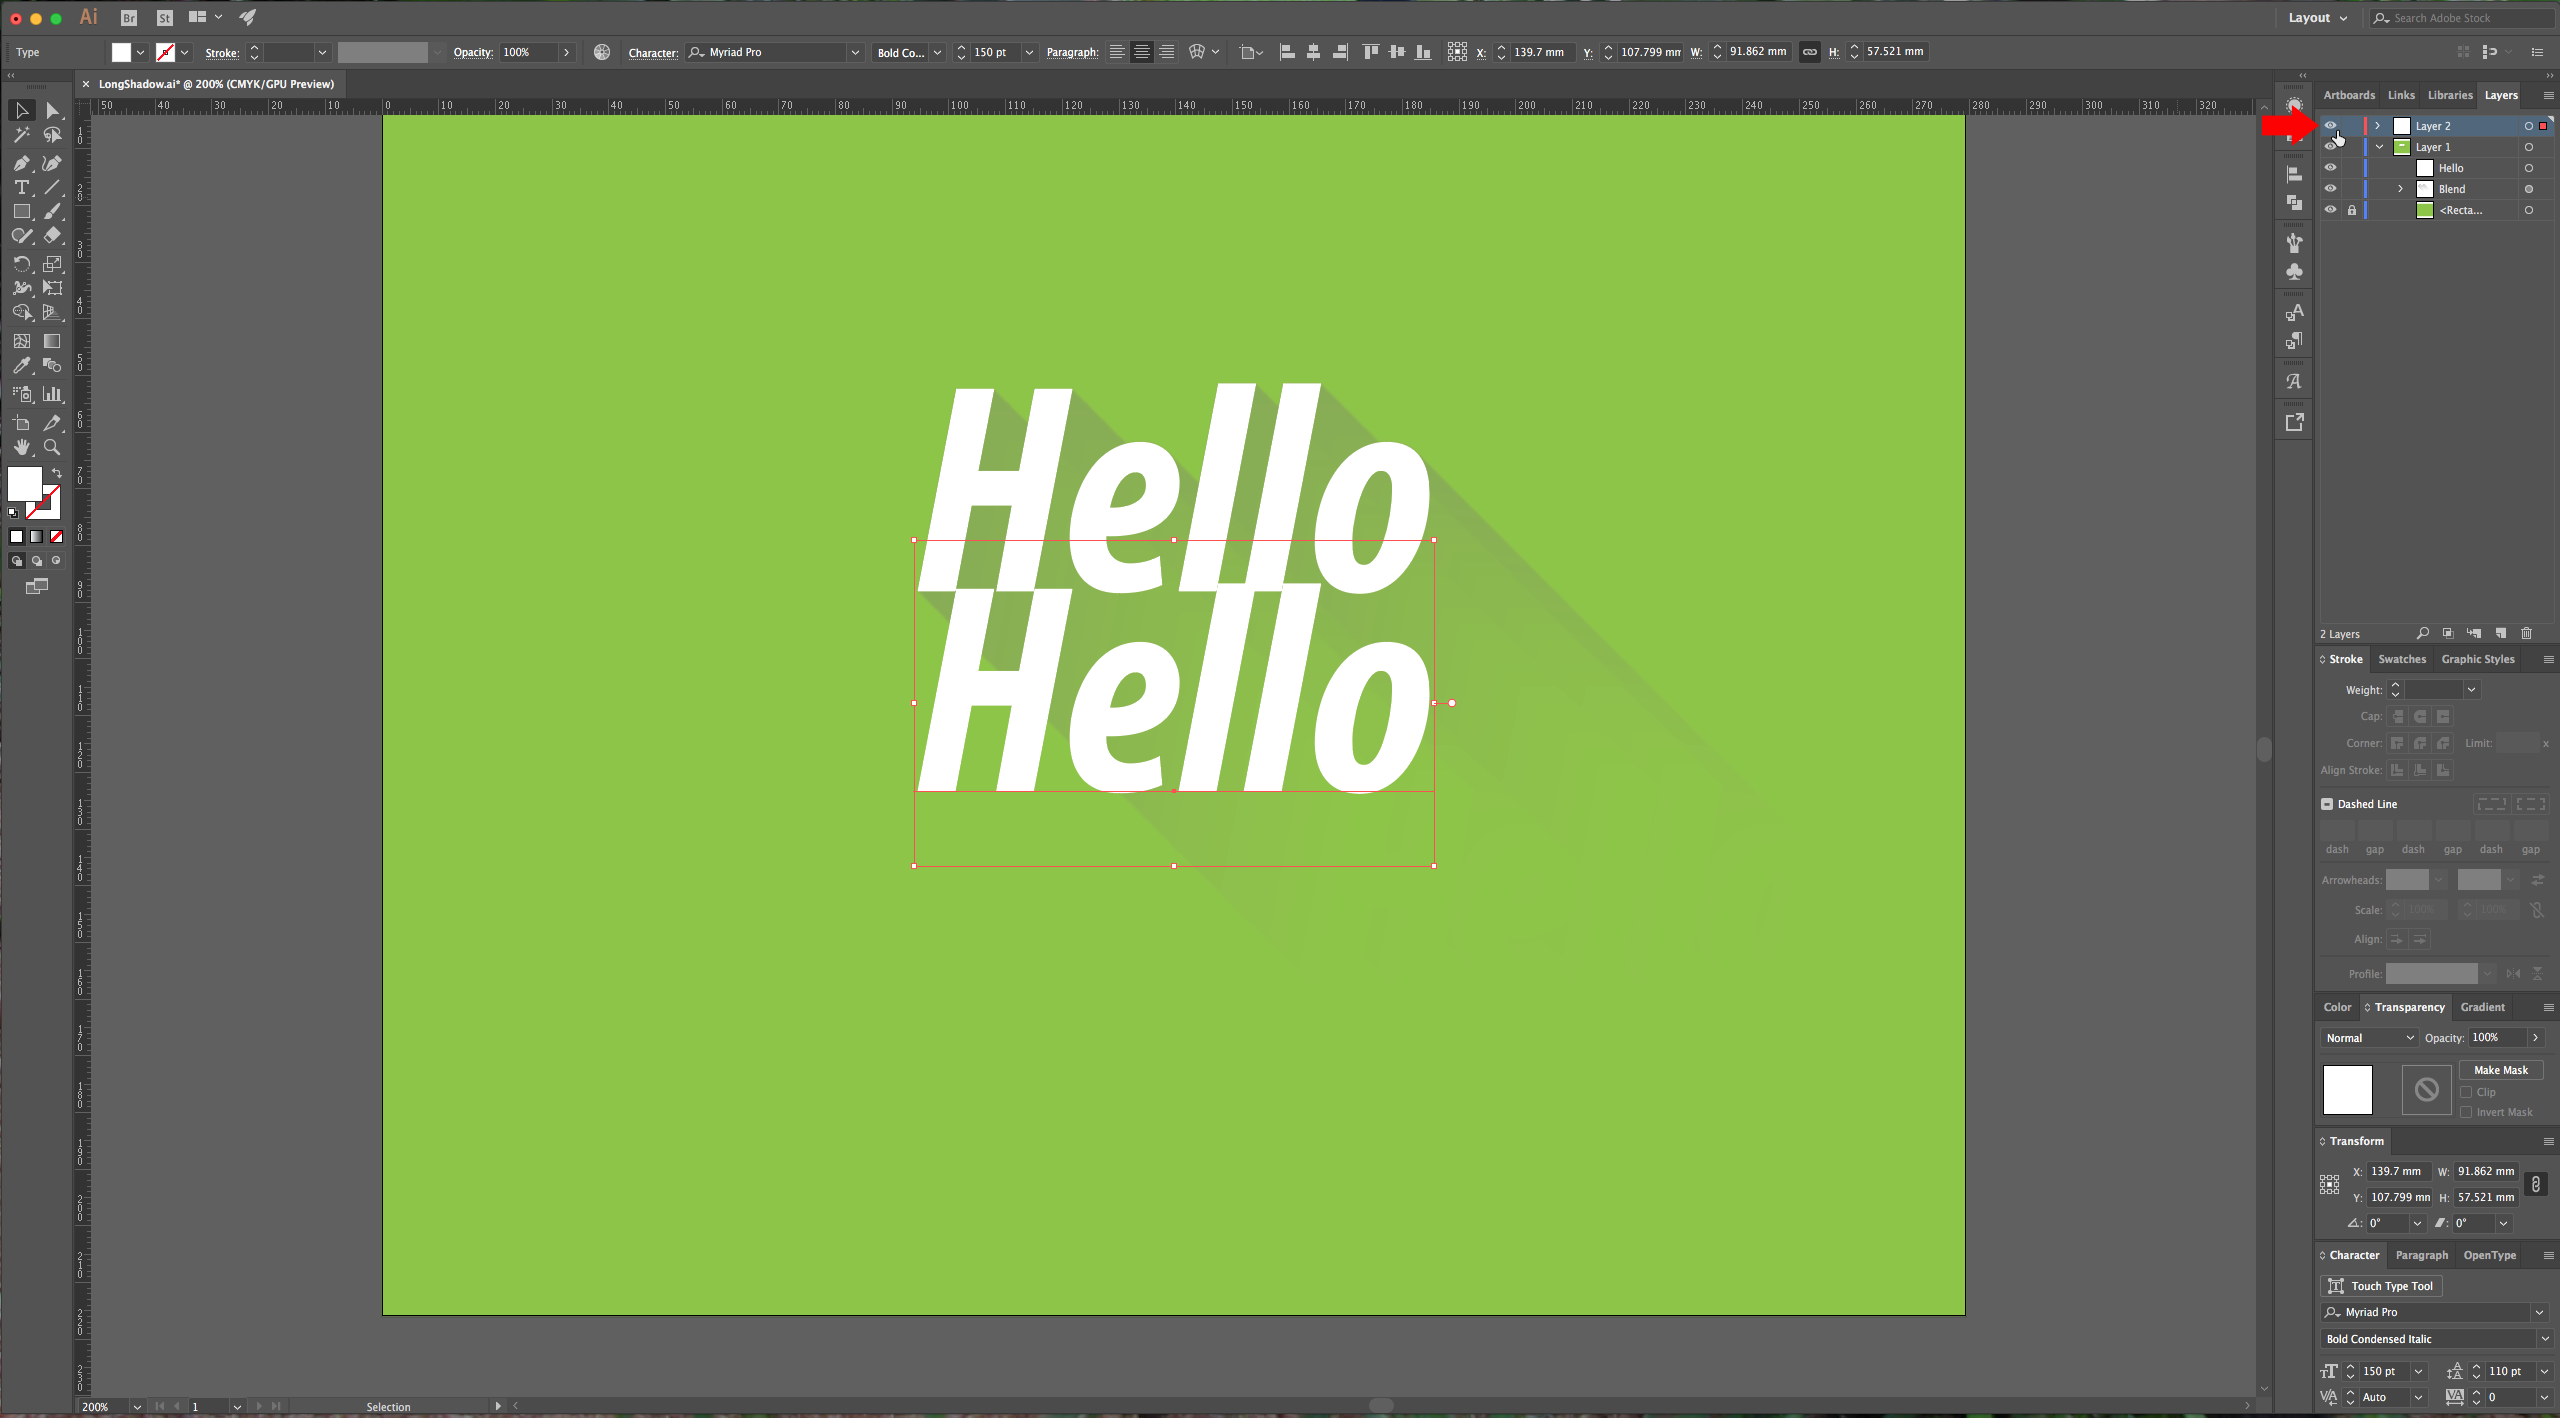
8 – For the second method, we are going to use the “Transform Effect”. Turn on the visibility of your second layer and arrange your text.
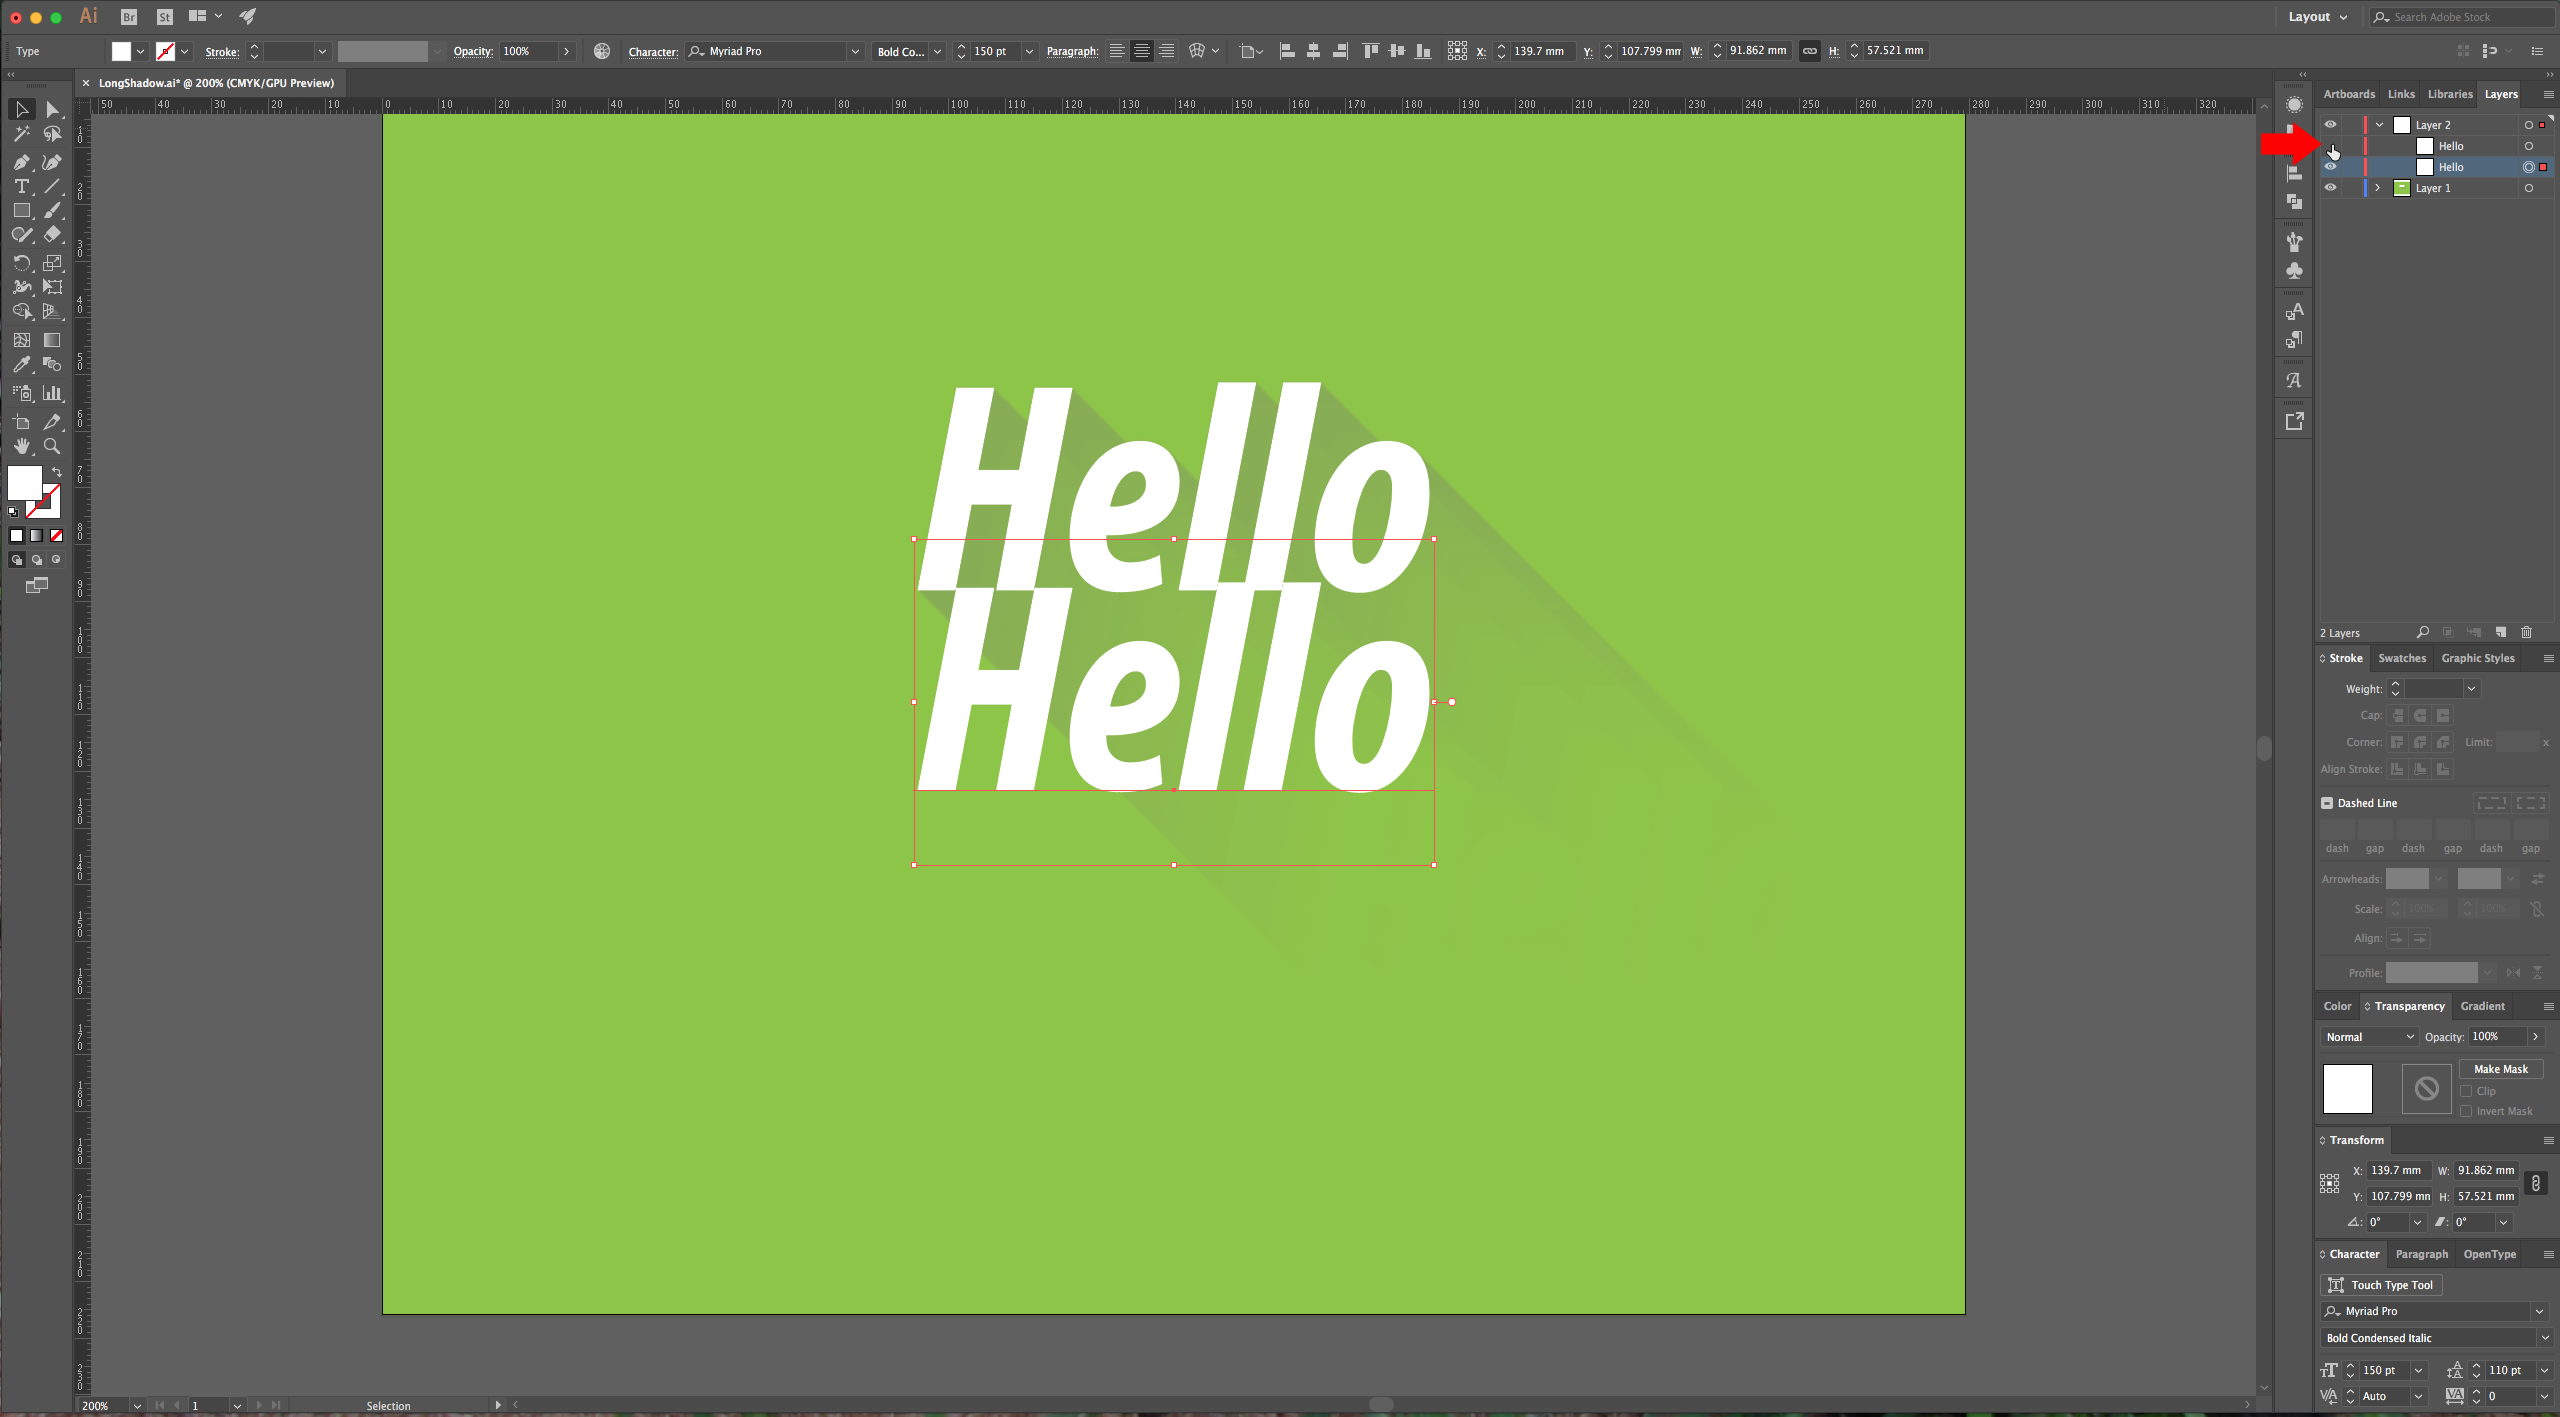
9 - Make a Copy of your text, paste it in front and hide it. Change the color of your selected text to black and then go to Effect > Distort & Transform > Transform, give “Horizontal” and “Vertical” Move a value of 0.35 mm (about 1 pixel) and in “Copies” choose a value of about 250.
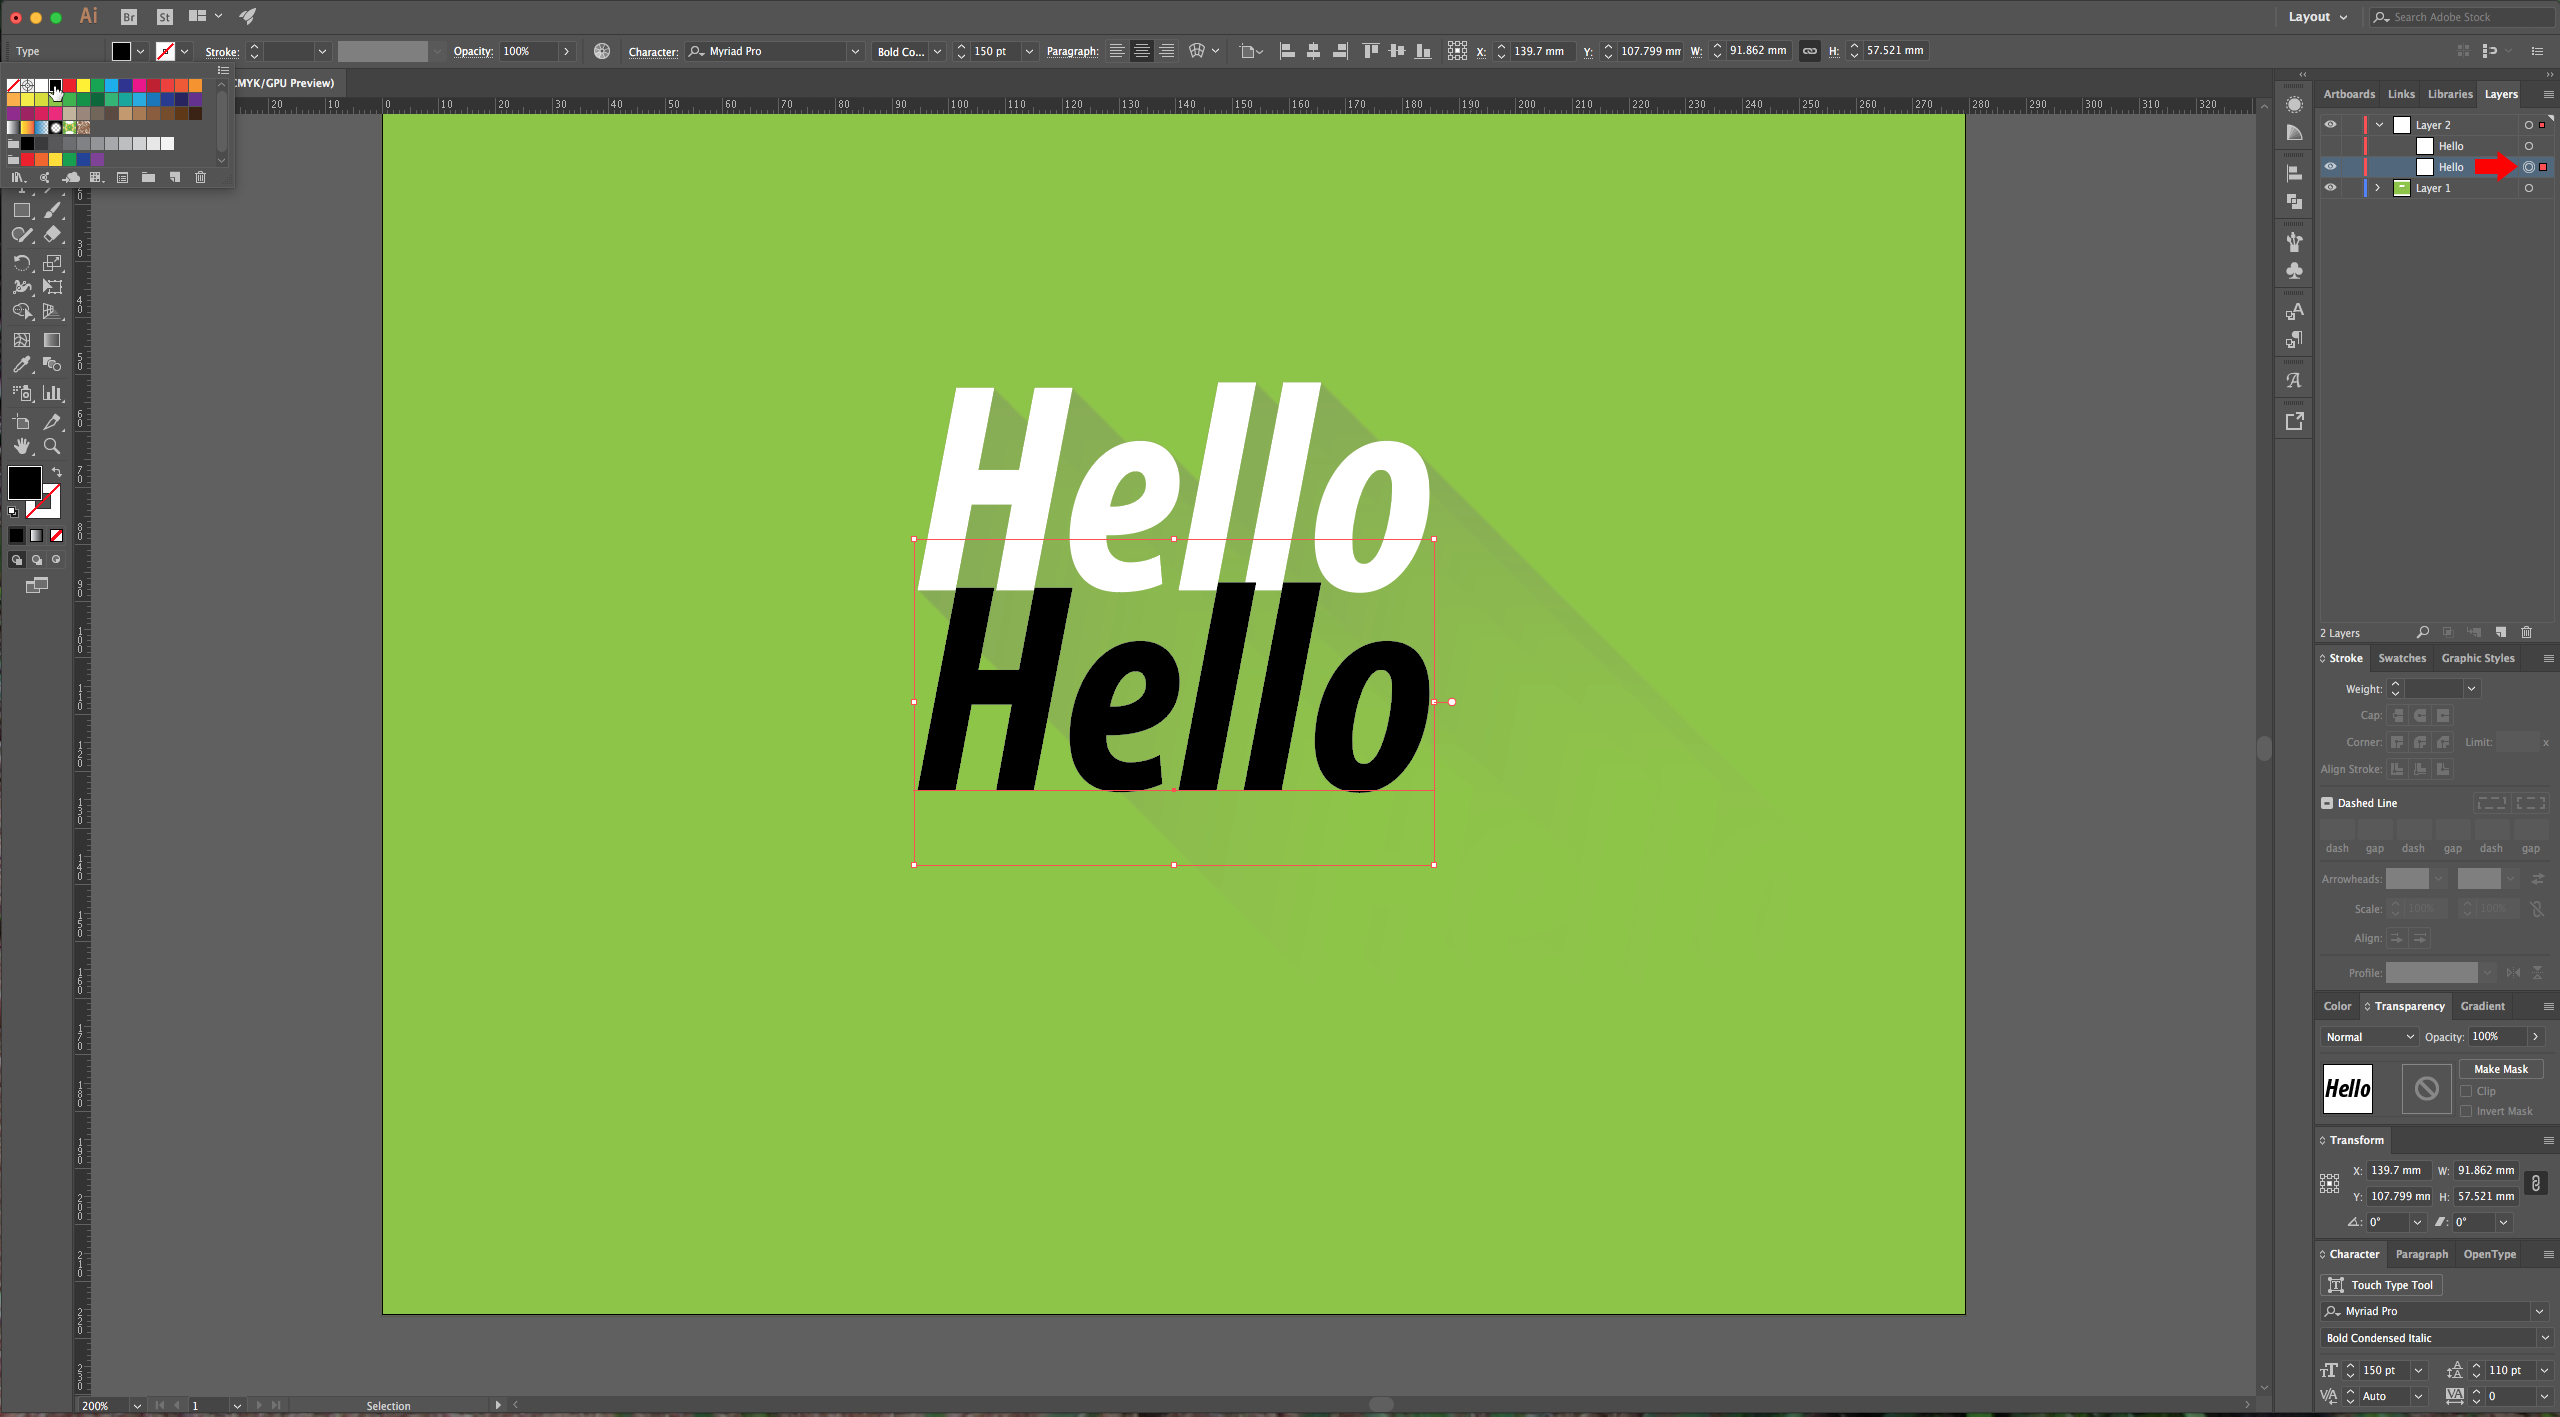
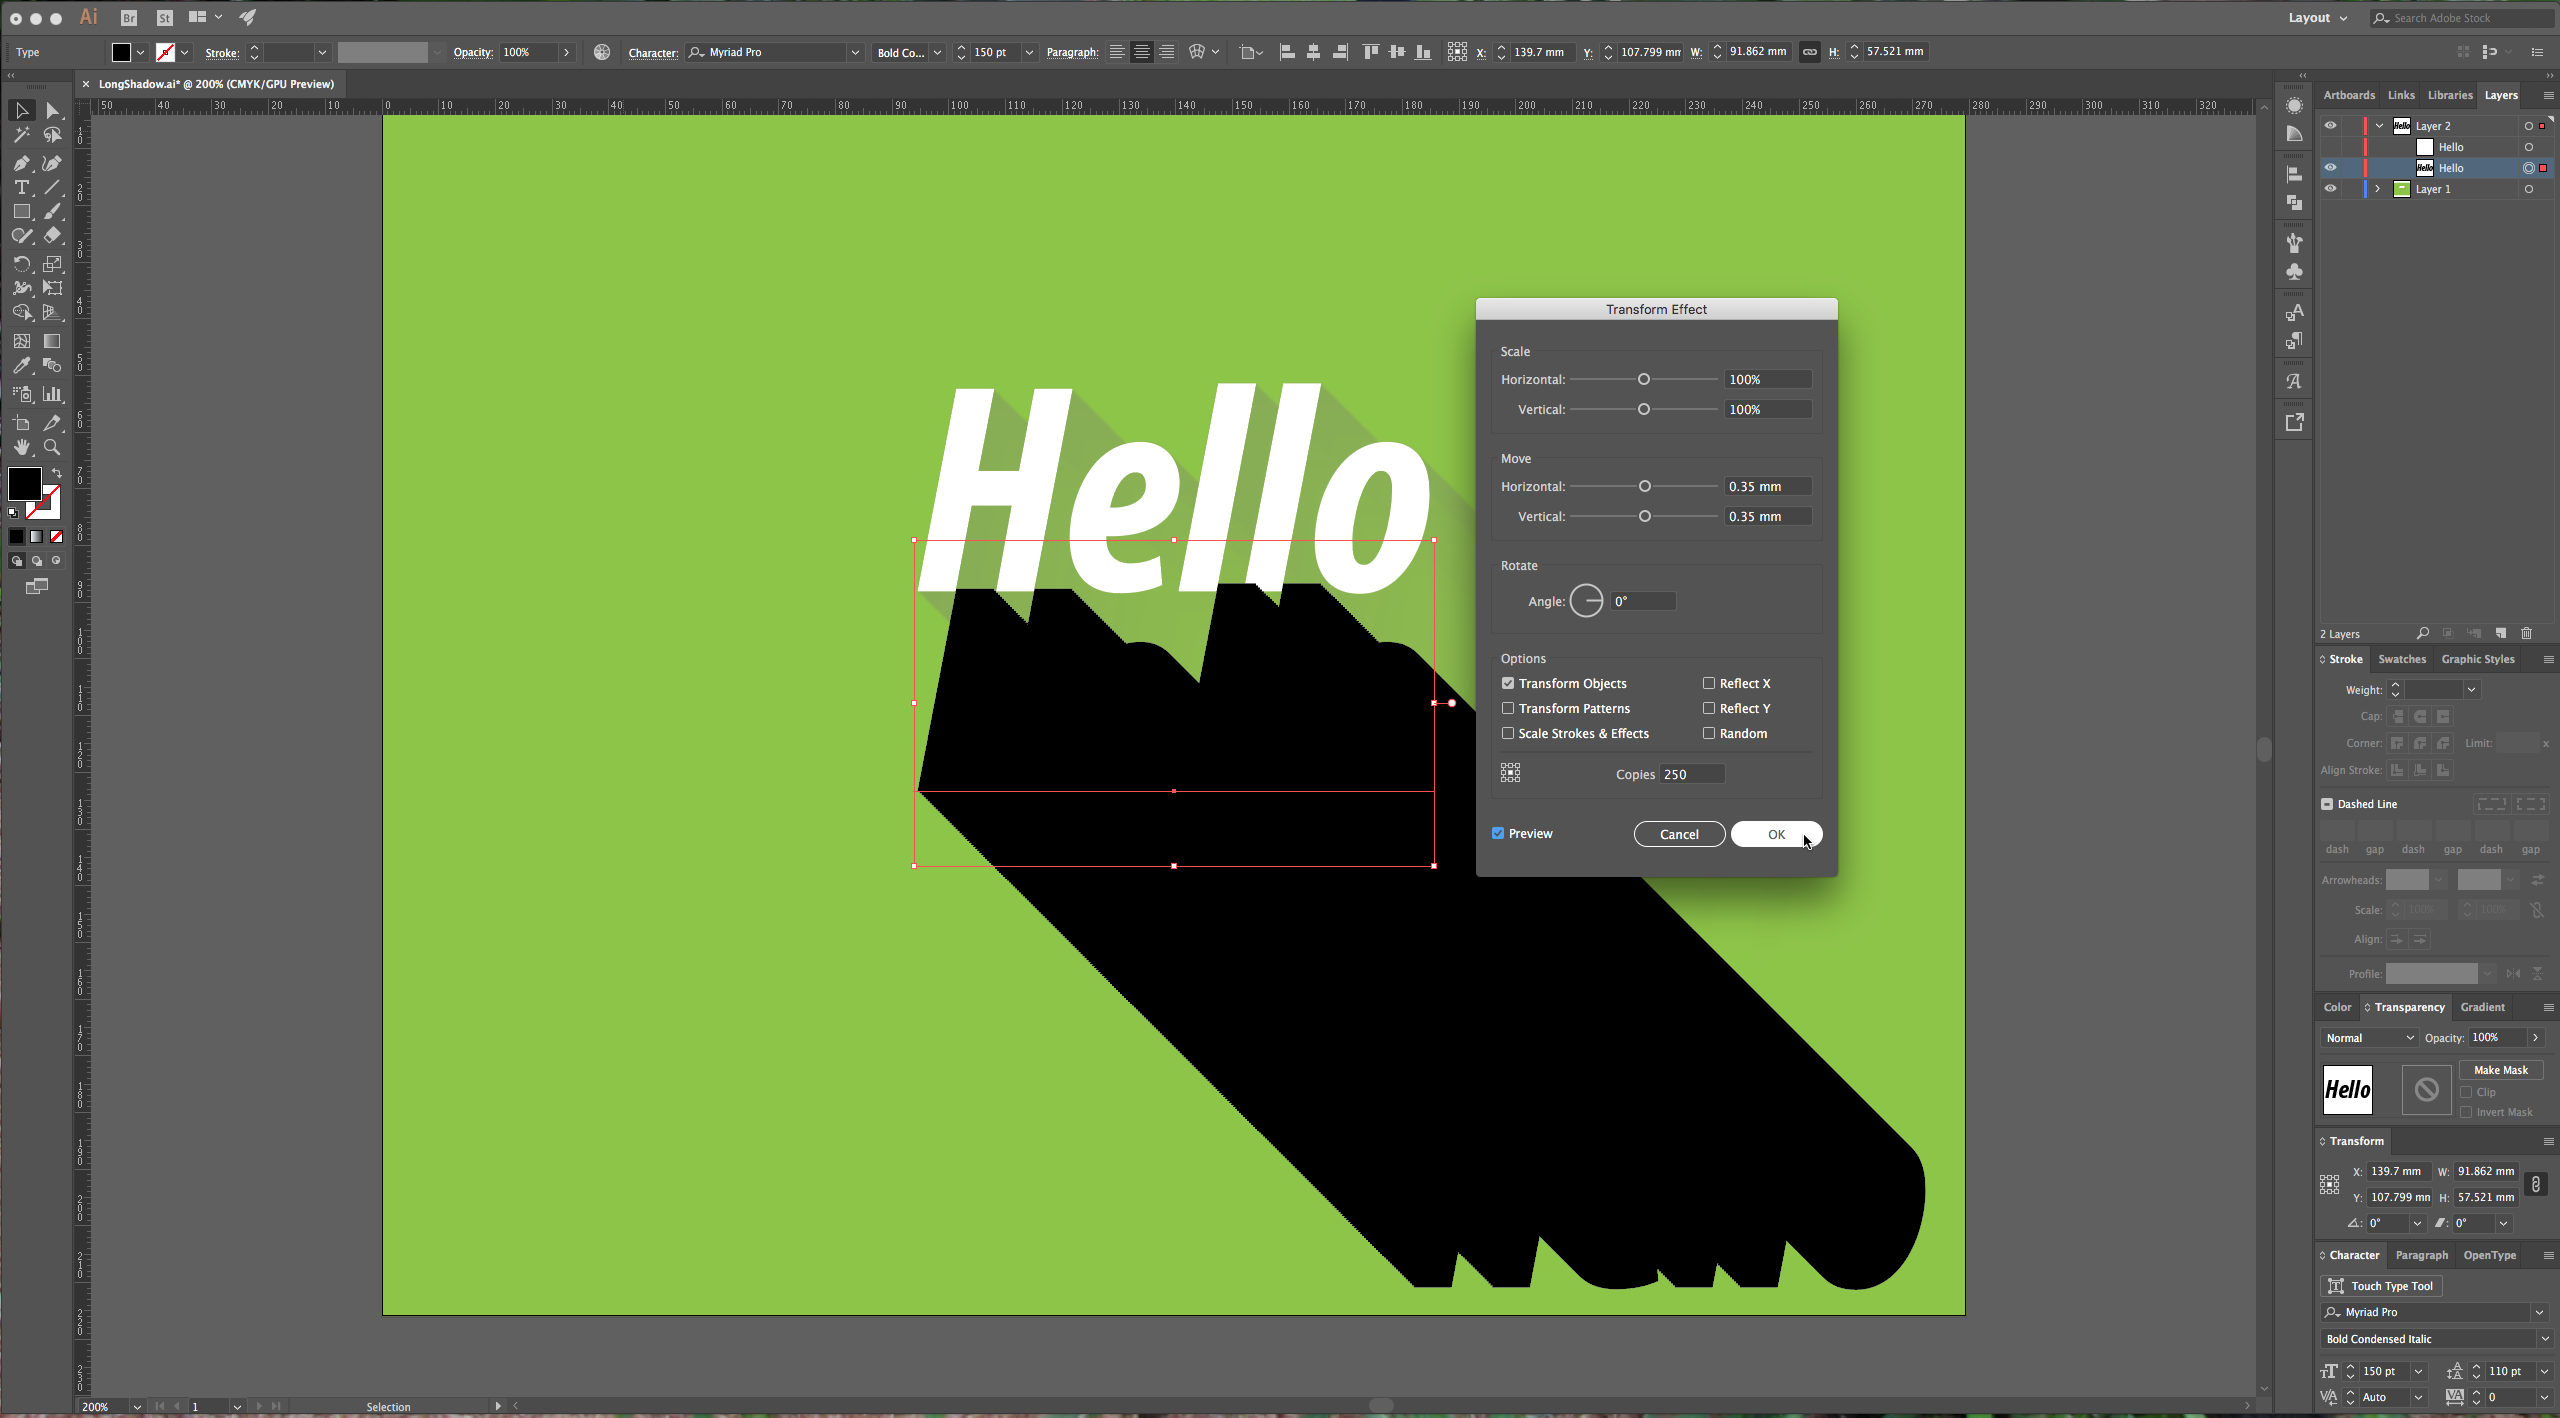
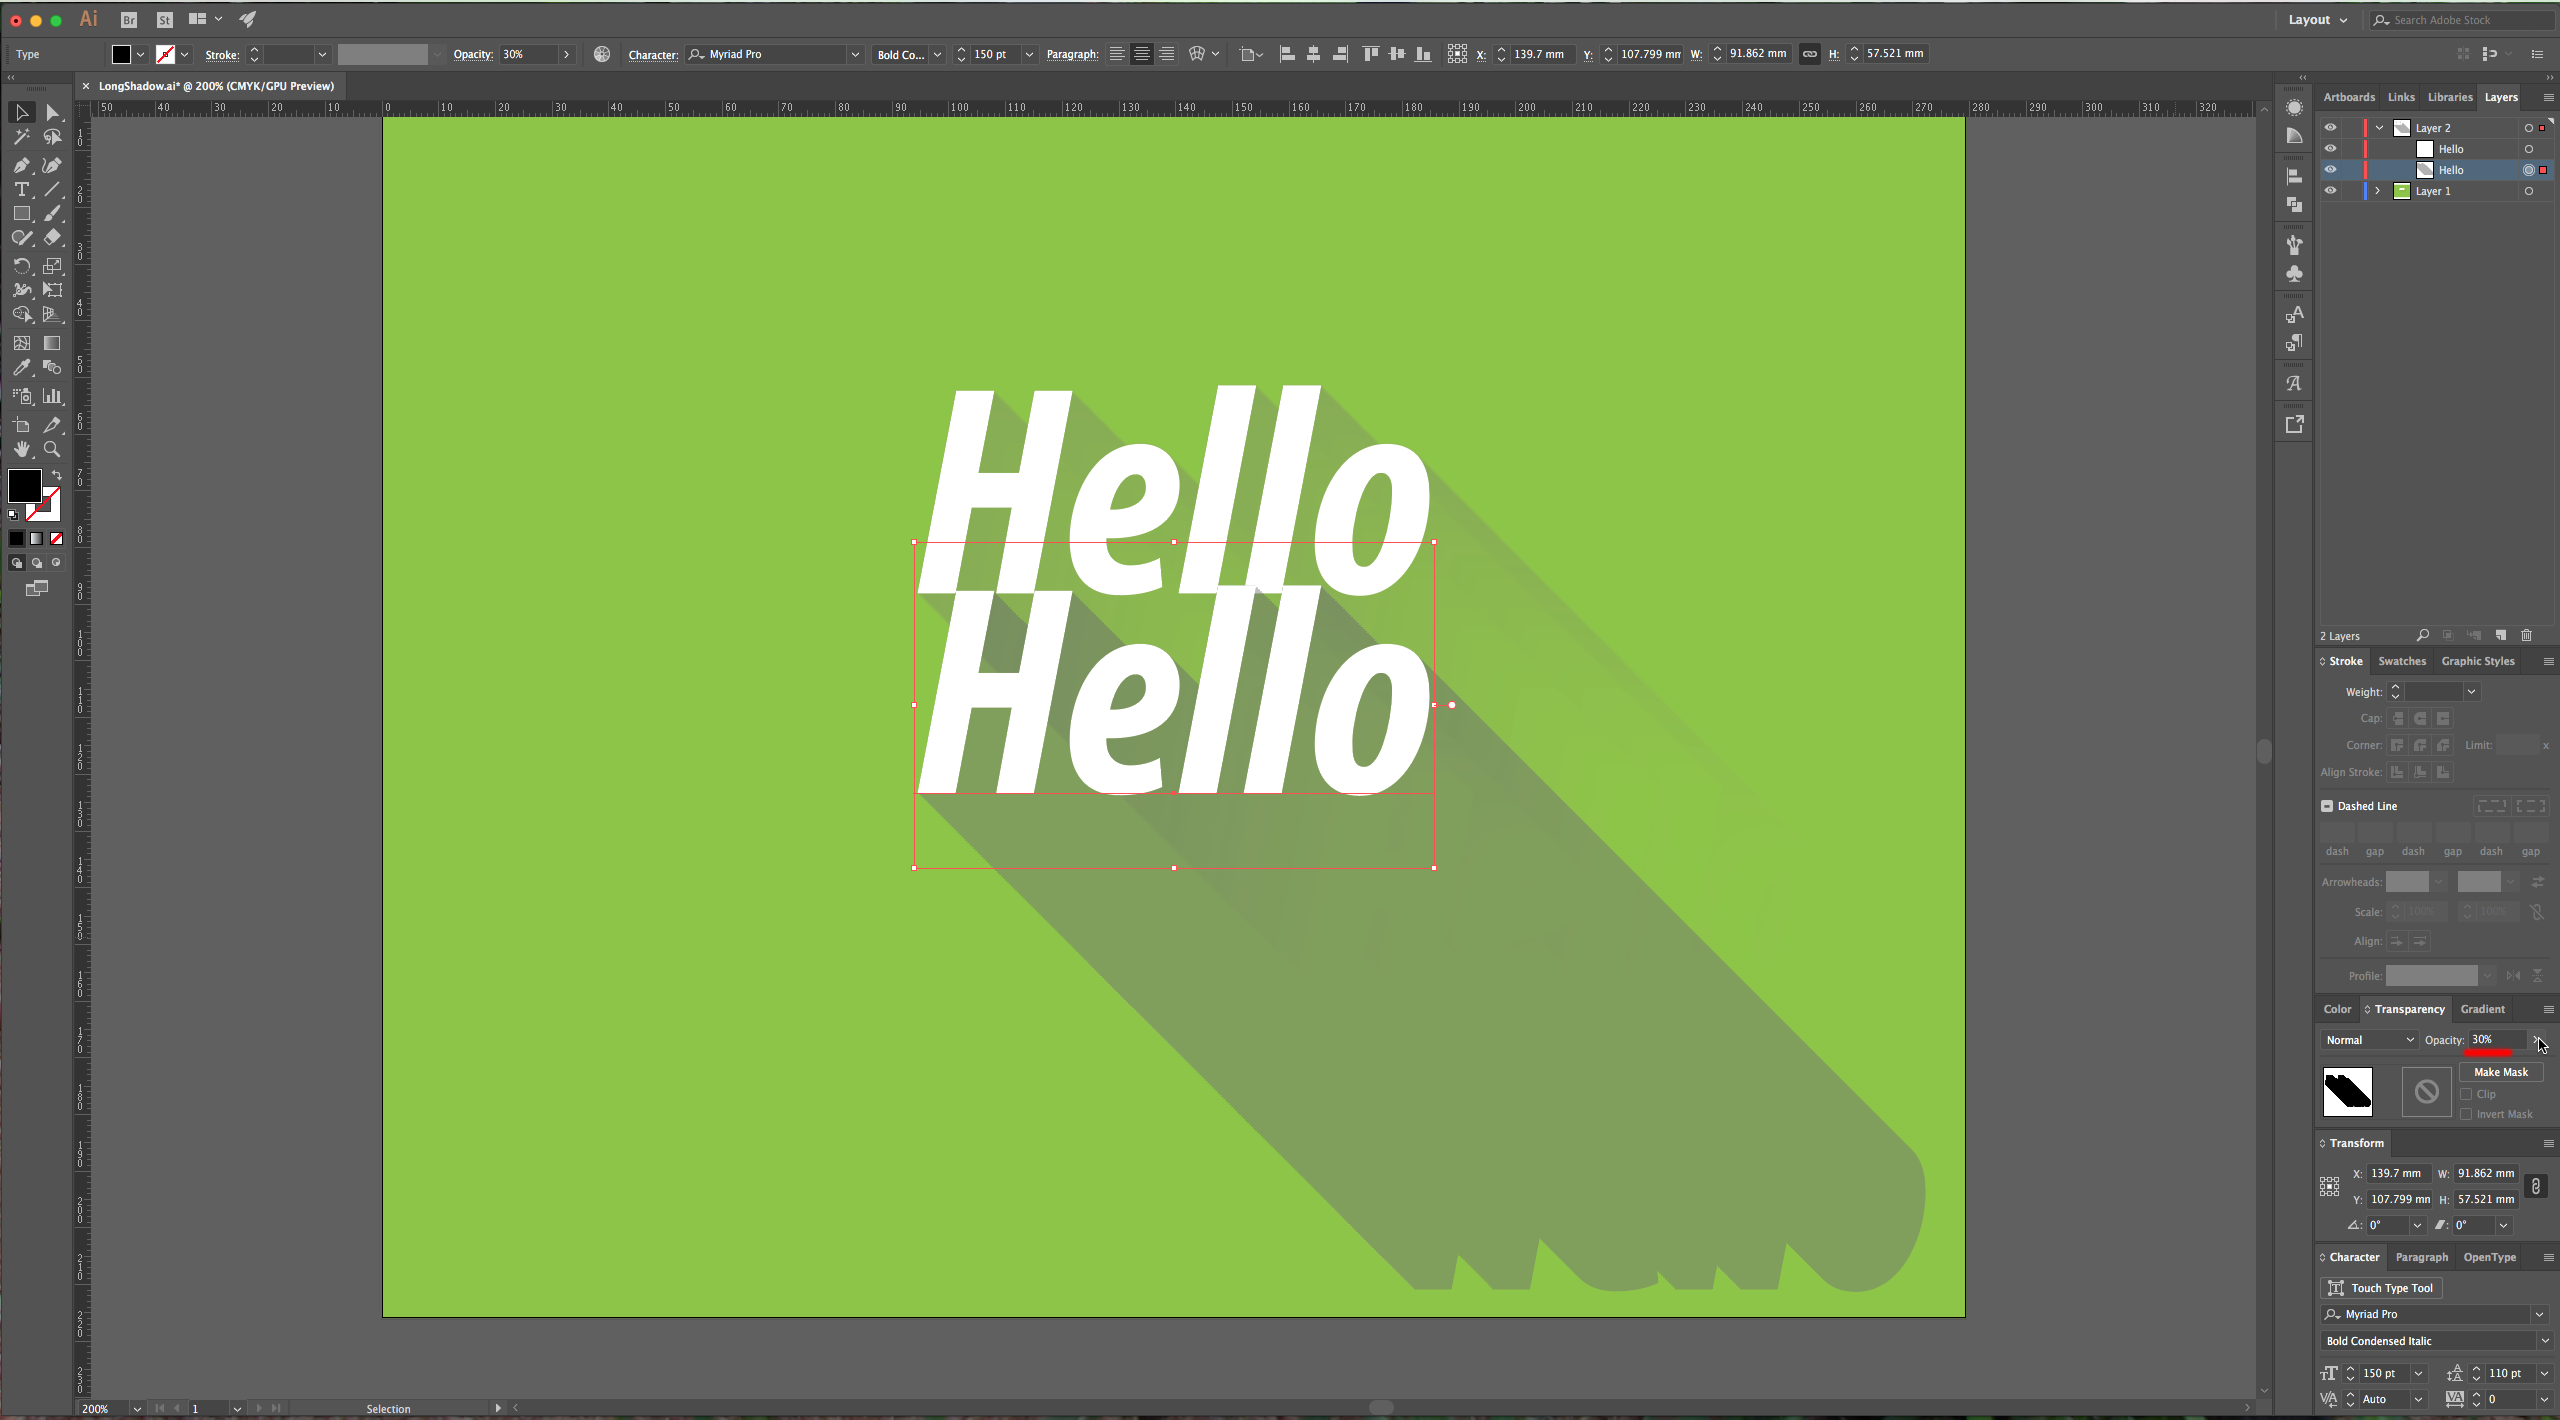
10 – Change the “Opacity” to about 30% and turn on your other text layer.
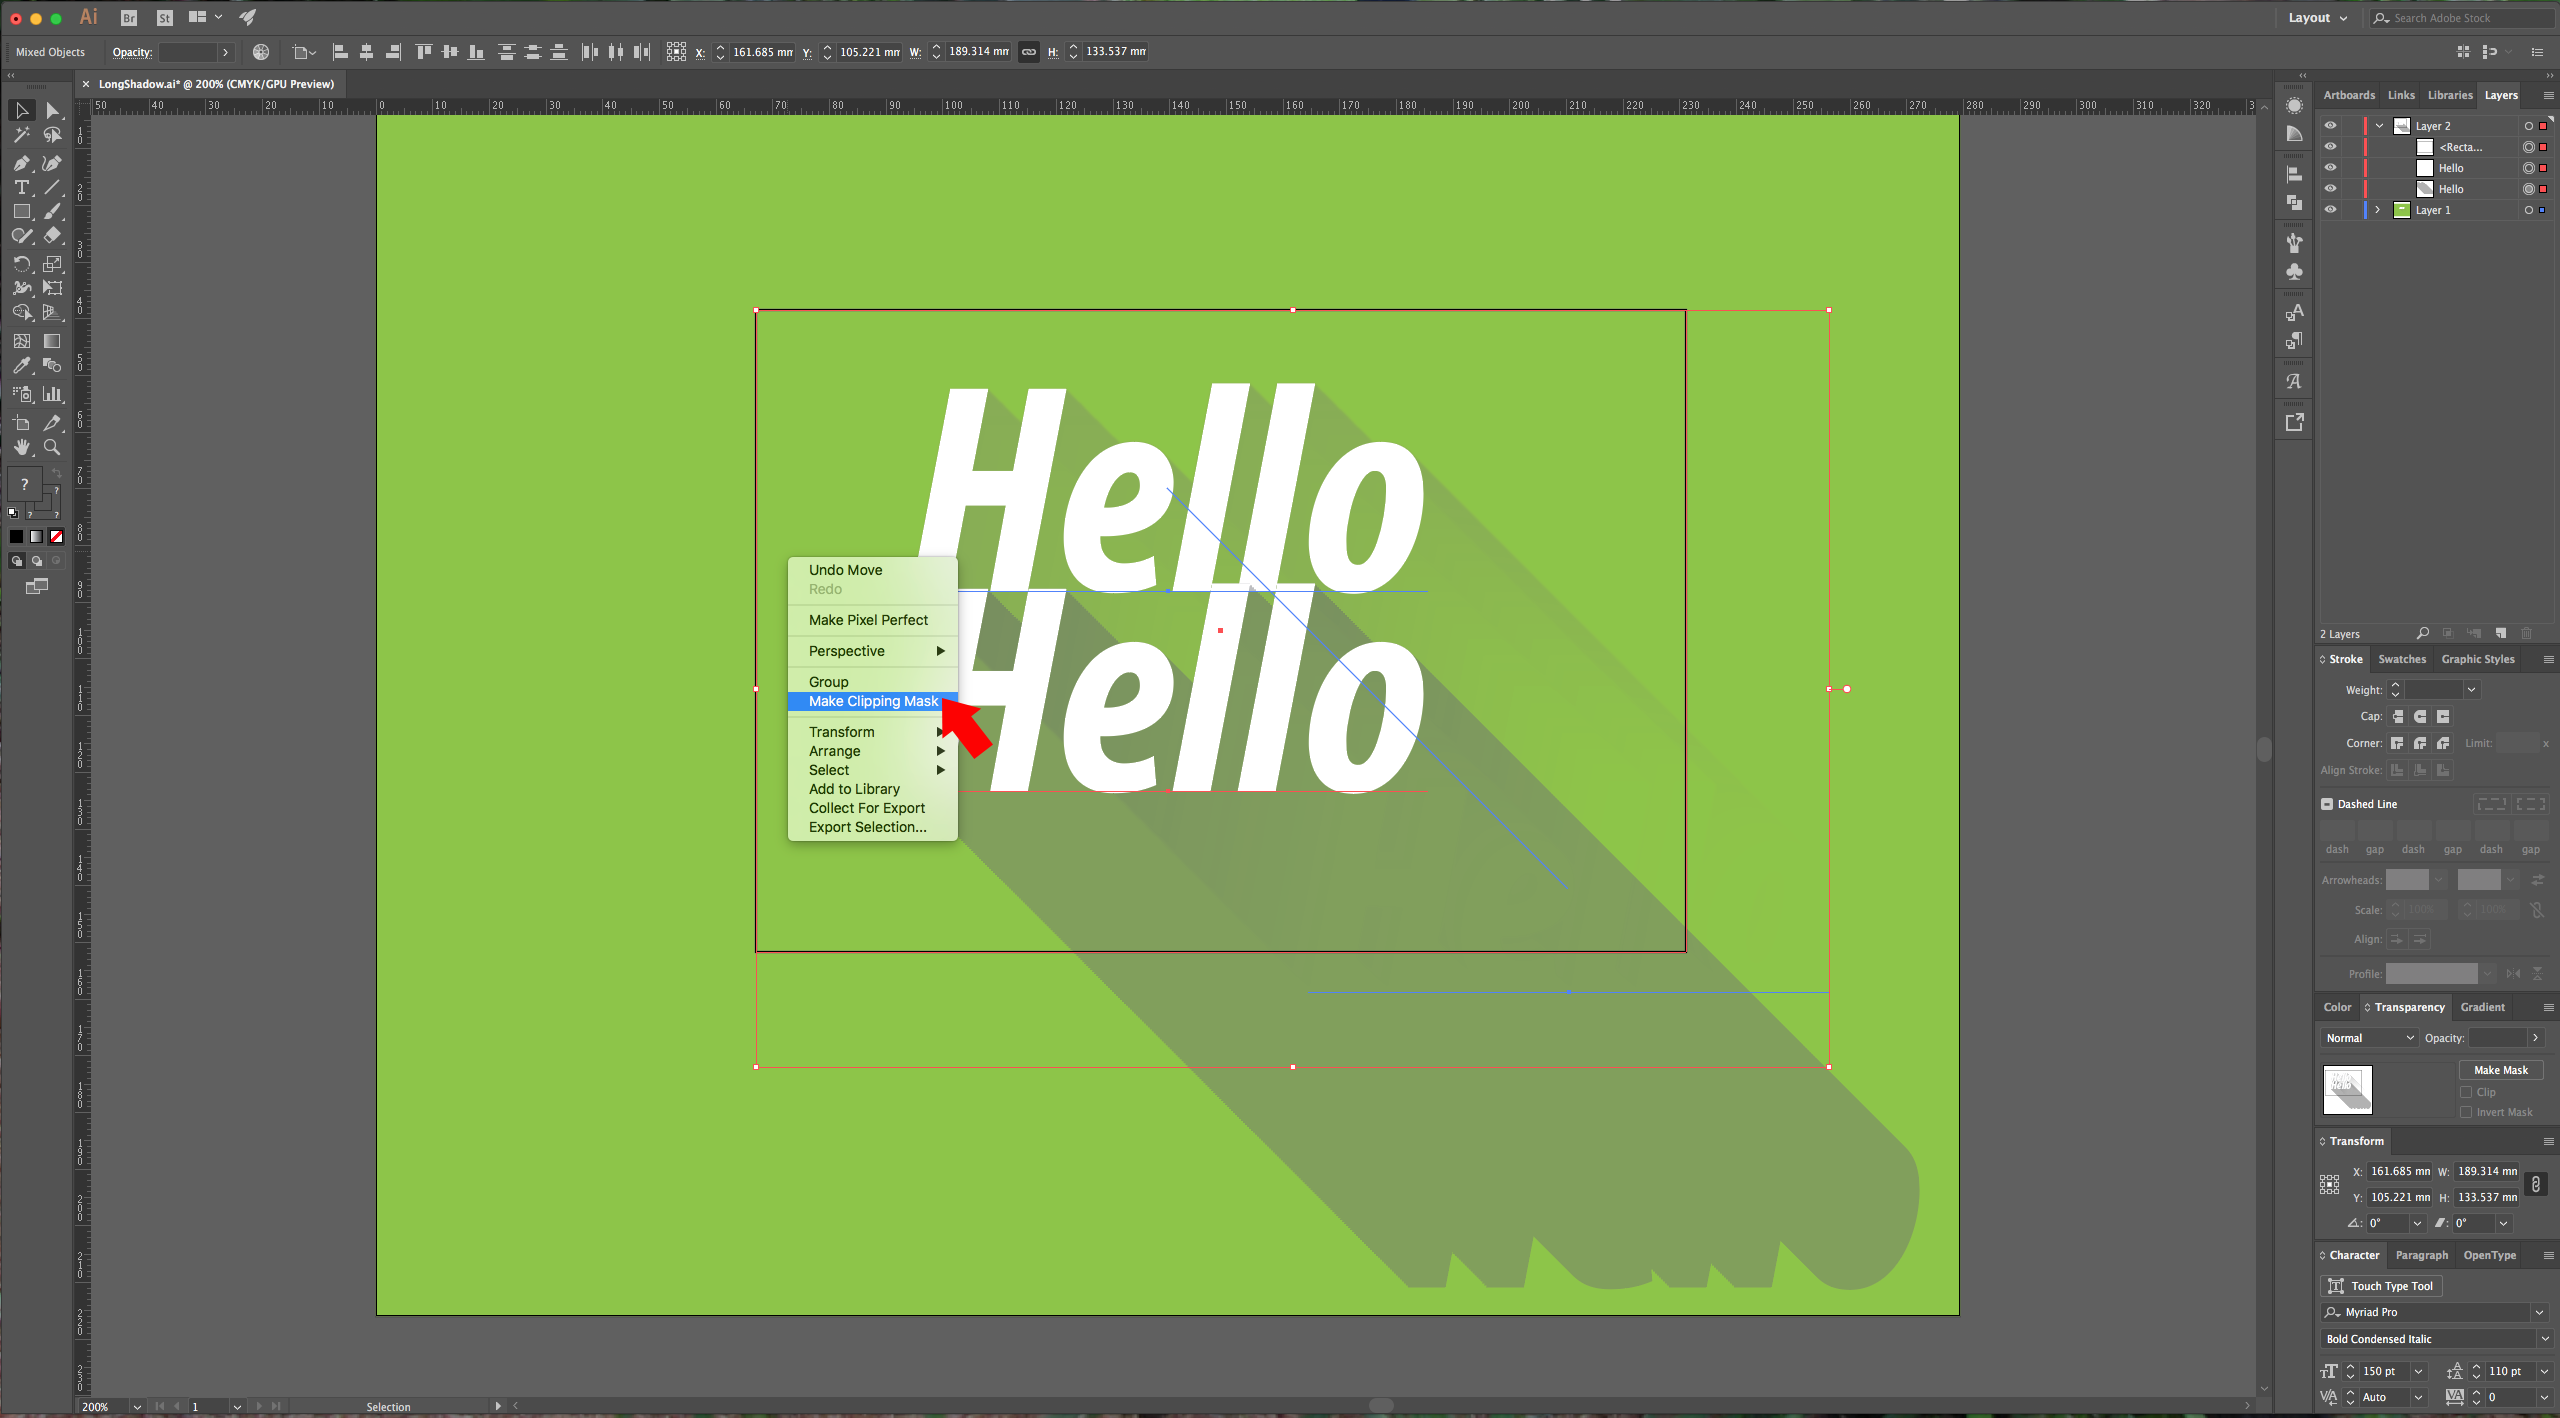
11 – To “cut” the shadow, make a rectangle using your “Rectangle Tool” (M) and place it where you want your boundaries to be. Select it together whit your text, right-click on top of your selection and choose “Make Clipping Mask” (you need to make sure that the rectangle is on top of everything).
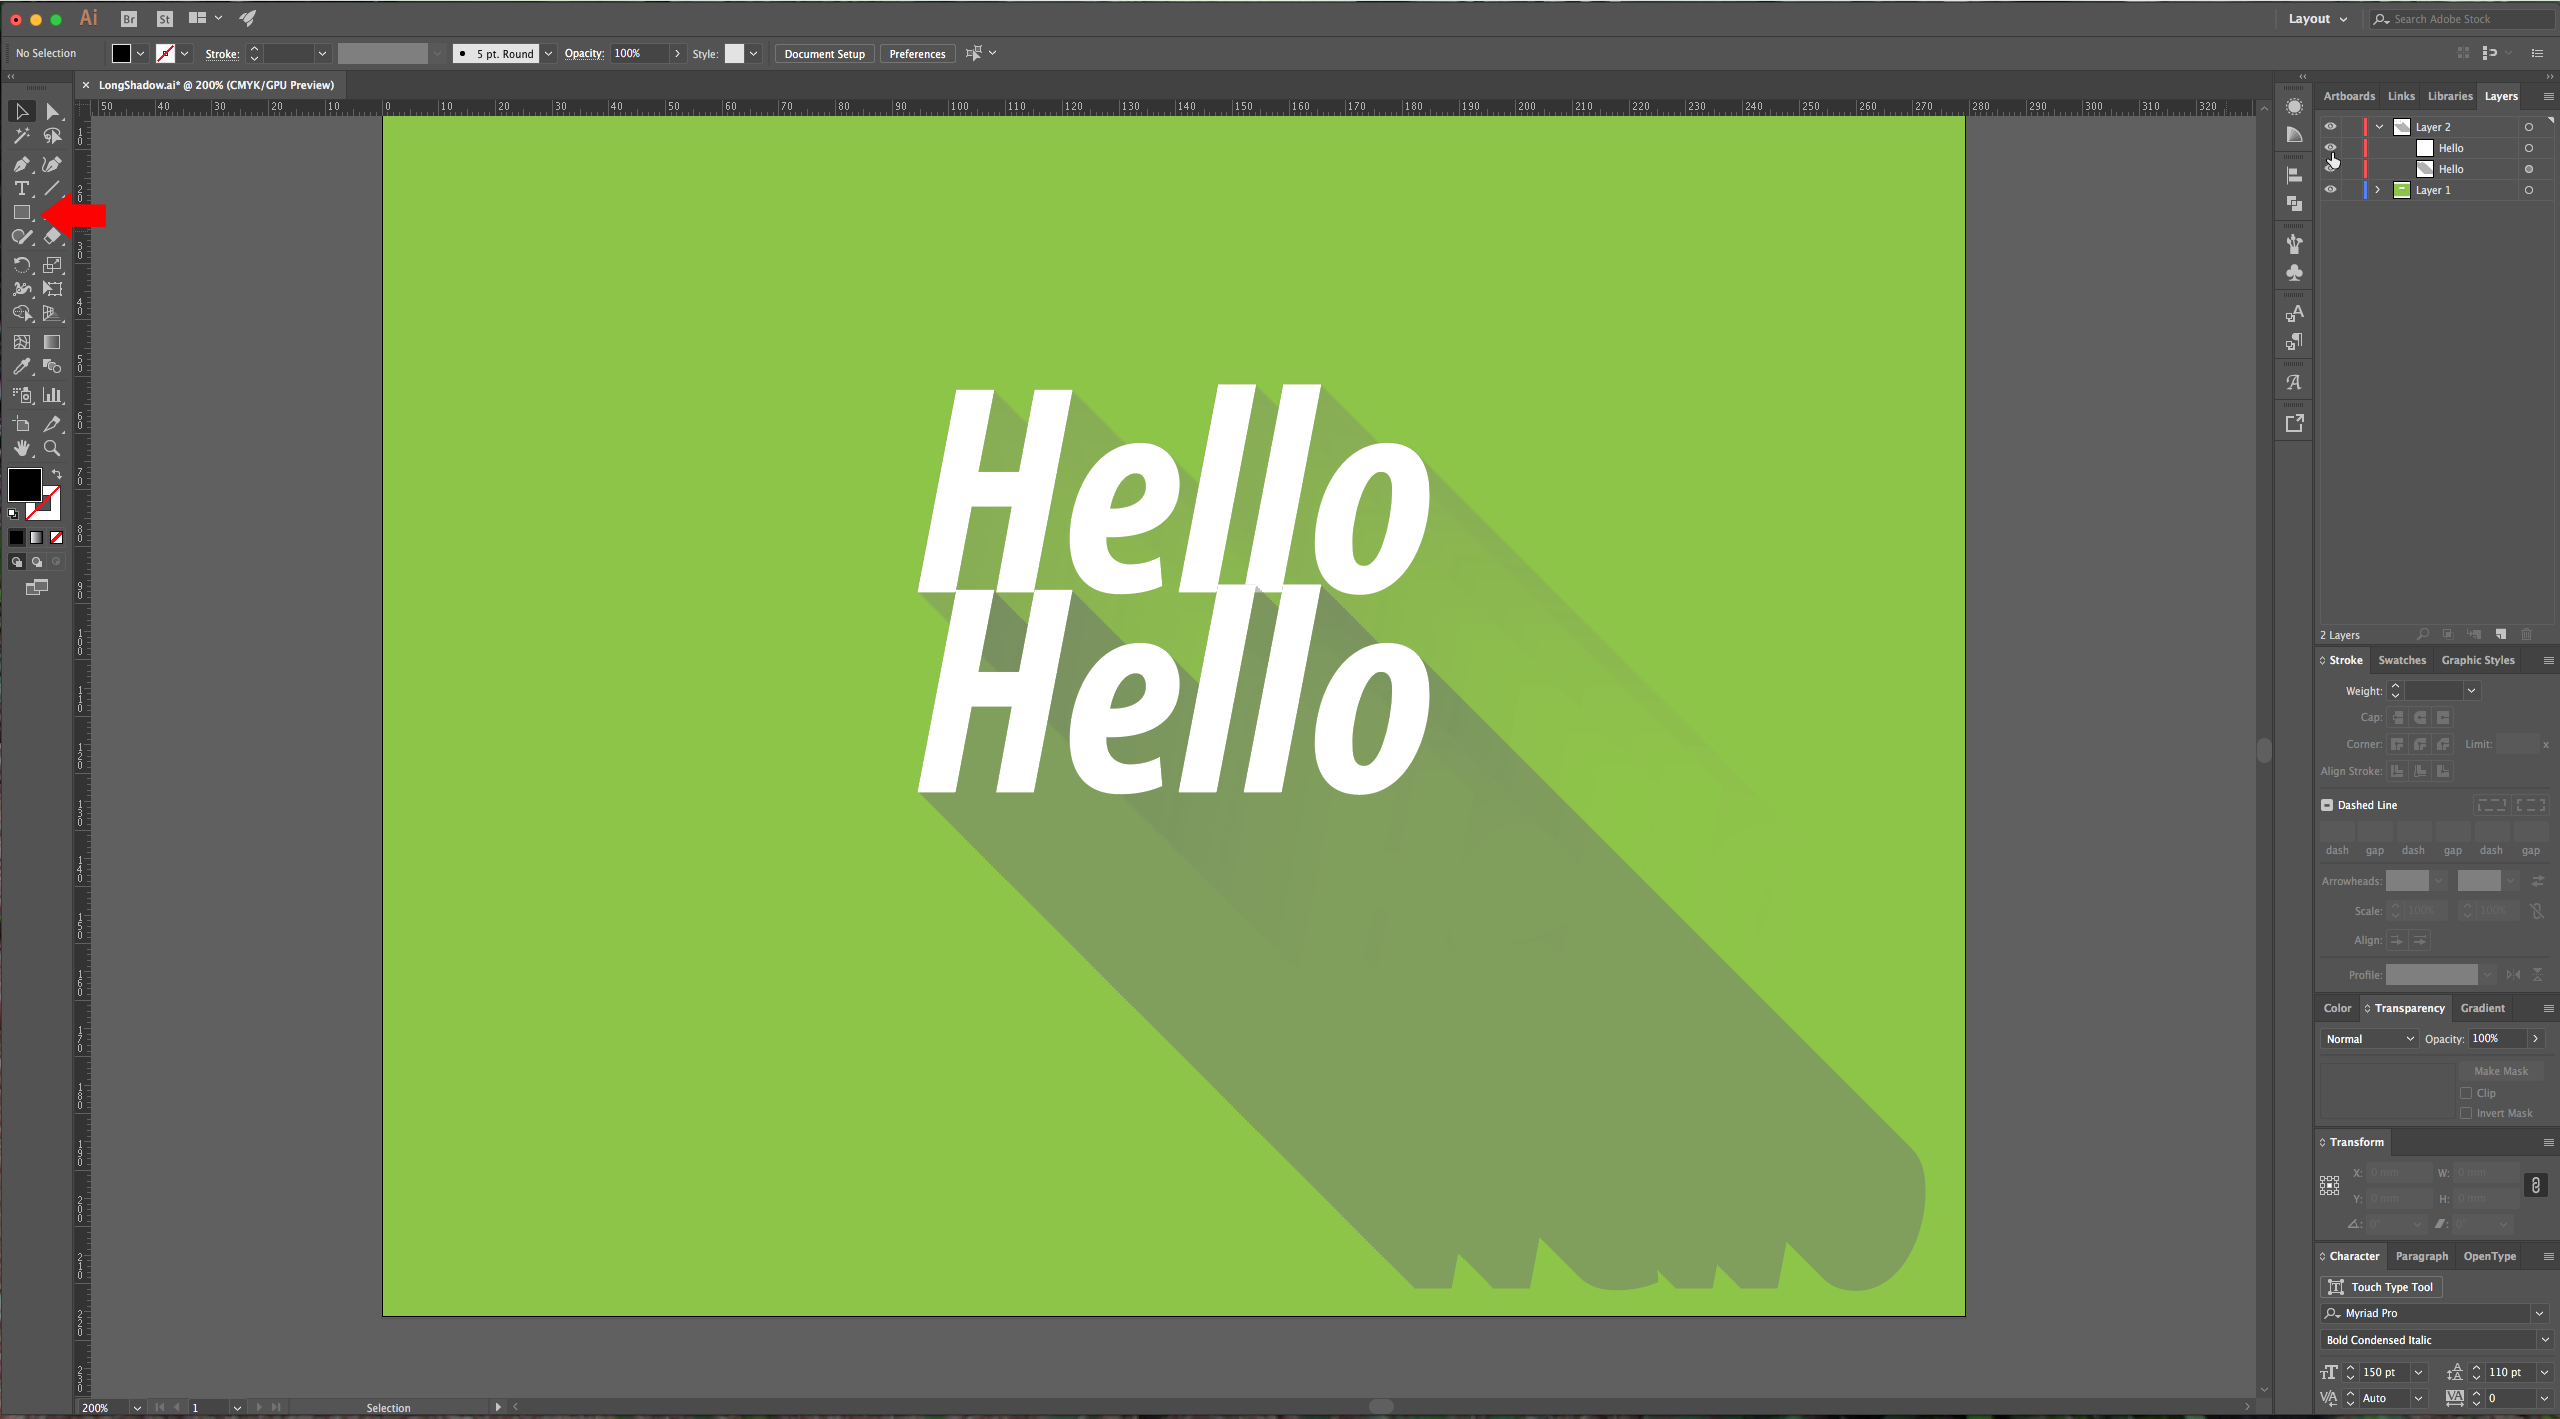
12 – Check your work.
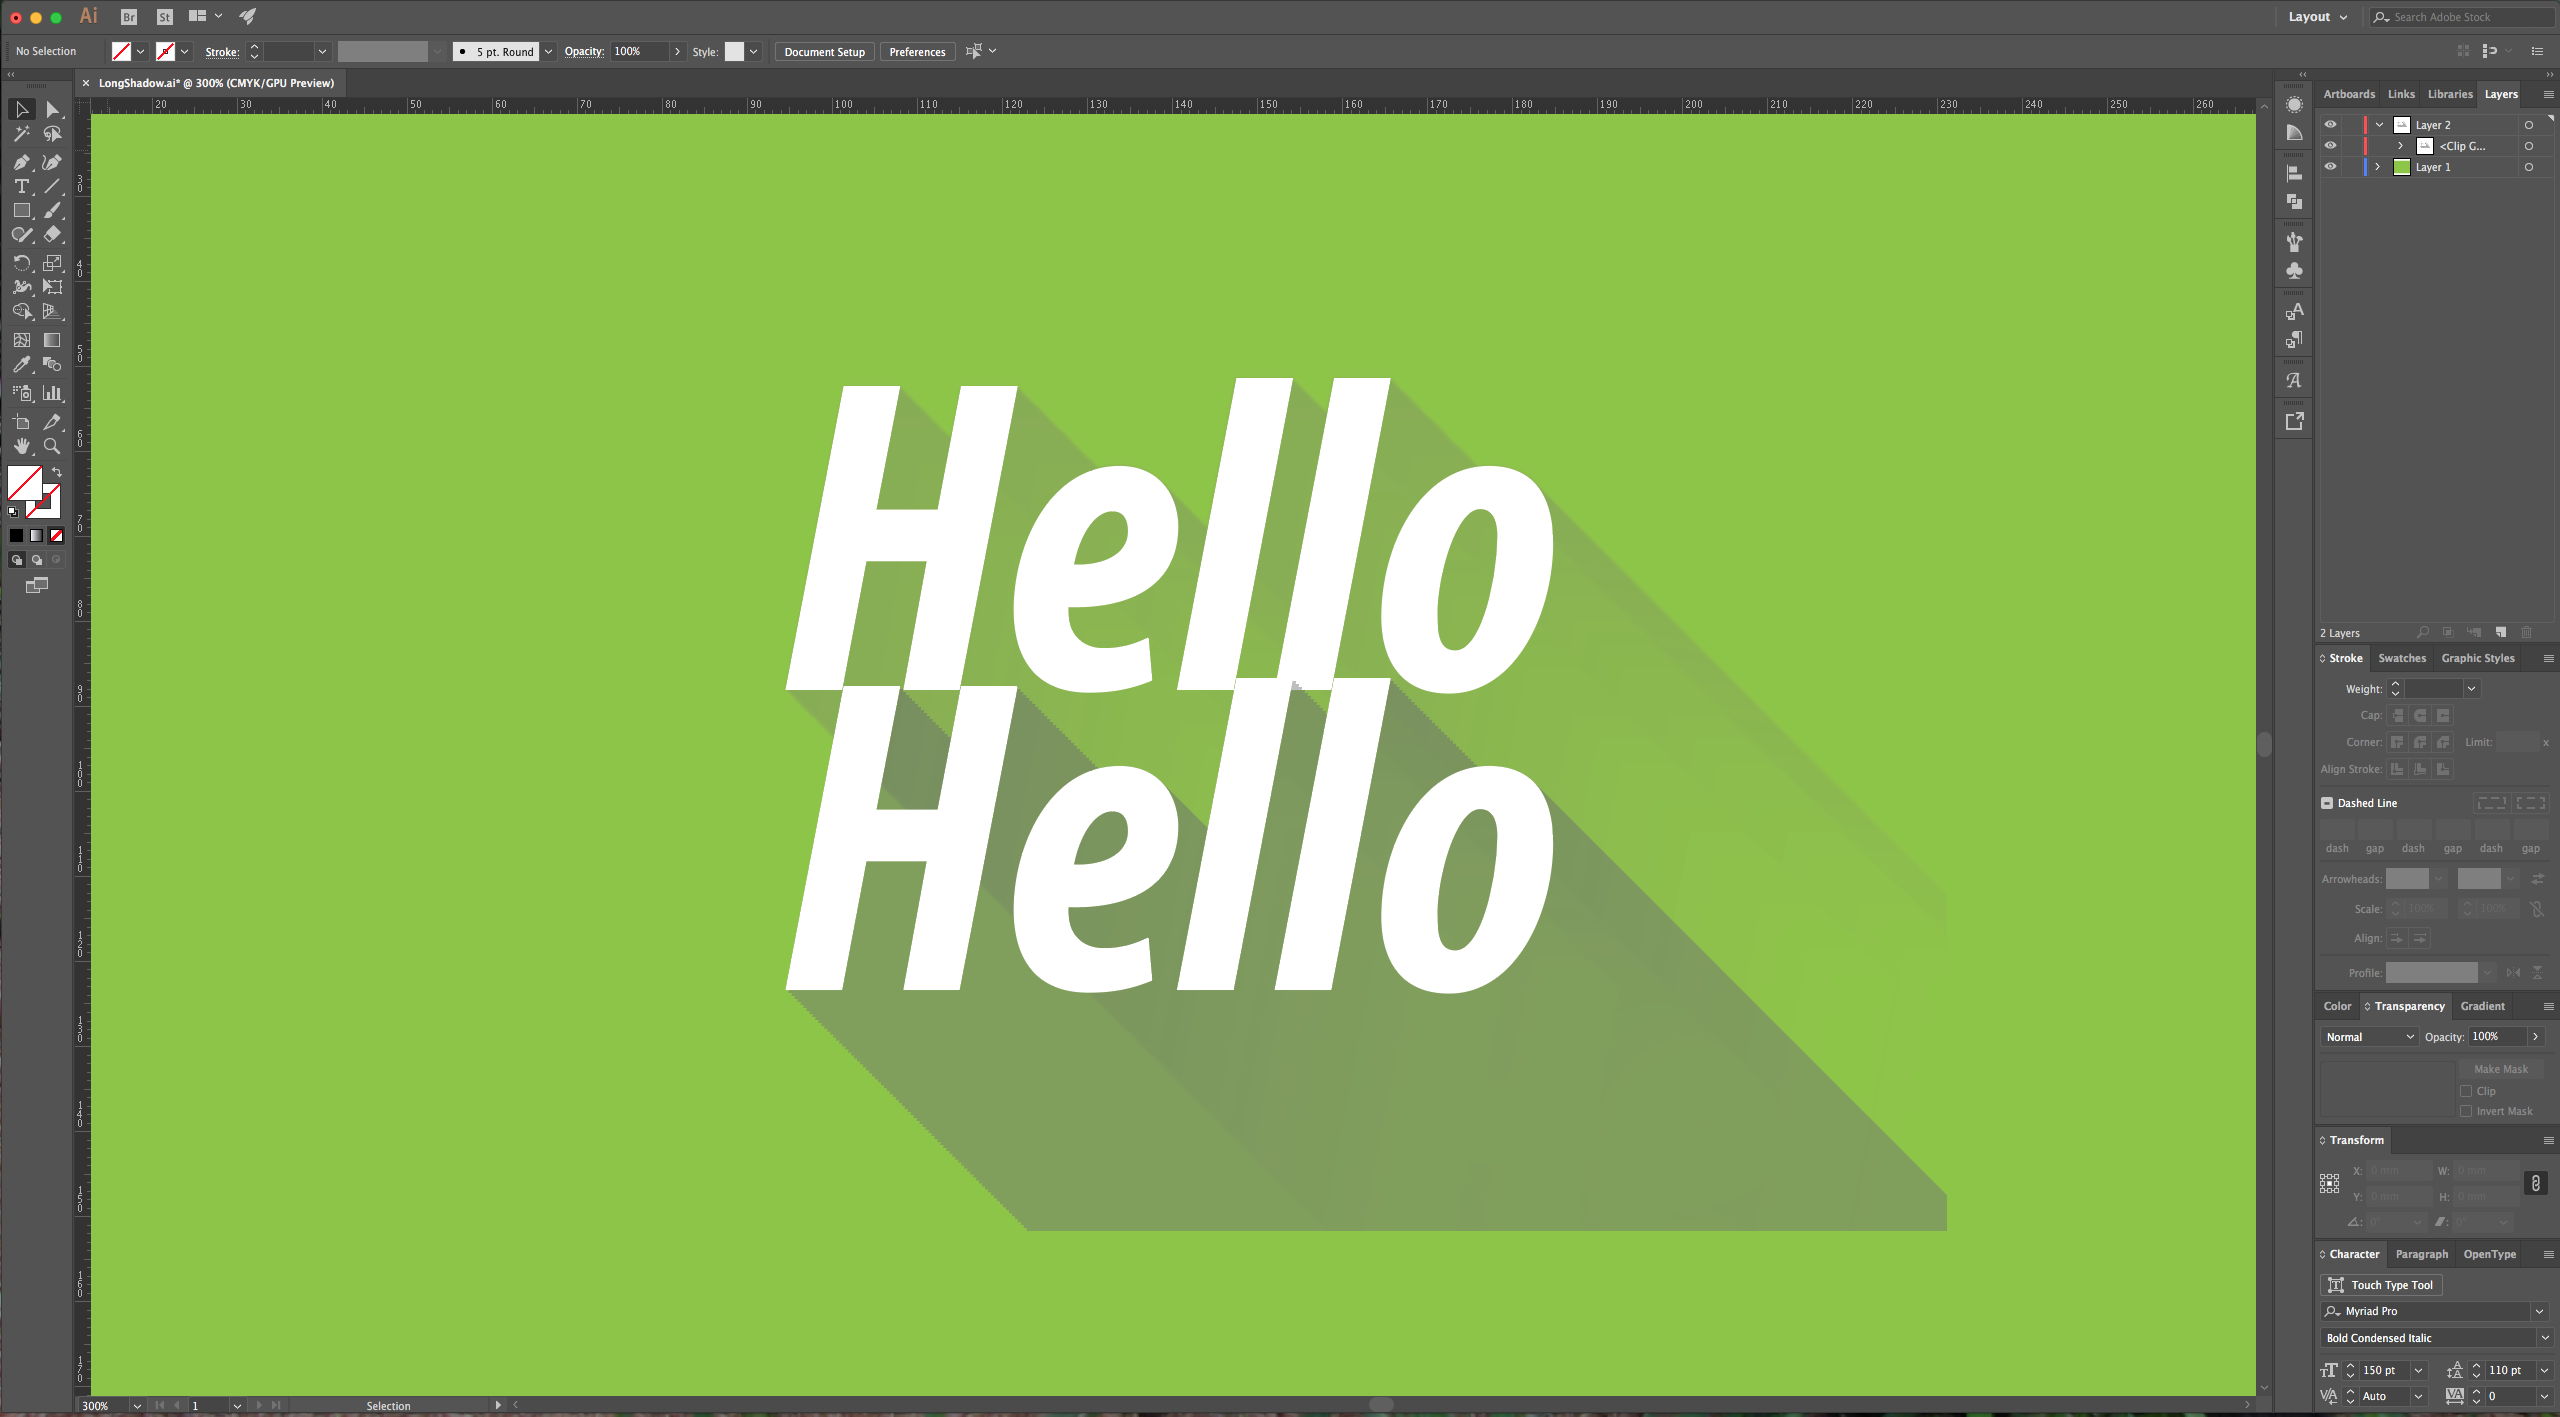
by @lornacane
6 Related Illustrator Tutorials
You can create many great design effects in DesignScape, such as a long shadow effect. You can make some awesome stickers using this effect, or maybe you'd like to create a sublimation design using text that has a long shadow.If you don’t have a Gold Plus membership and ...
1- Open Photoshop.2- Create a new document.3- Select your text tool and type your text. Select the font you would like.4- Select the shape tool and draw a rectangle around your text.This effect is a good way to create icons.5- In the Layers panel, click ...
1 – In Illustrator create a new document or open an existing one you wish to modify and type your text. For this tutorial we used “The Witch” from Fontbundles.net https://fontbundles.net/paperwitch/1356-the-witch-typeface.2 – Select your text and increase the “Tracking” to 25 in the “Character” menu. This will give you ...
1 - Open Illustrator and create a New Document, or use an existing one.2 - Add some text using the "Type" tool from your Toolbox. Select the font you want. Change the size to your liking.3 - Choose the "Typography Workspace" from the menu and create some separation between letters by ...
For this tutorial, we will use the Free Font “Fenton Black” from Faith G¸nes.1 - In Illustrator, create a “New Document”.2 - Select the “Type Tool” (T), choose your font and type your text, use Black as “Fill” color and “Align” it “Left”. In the “Character Panel” set the “...
Long shadows are popular in logos and they are easy to make in Inkscape. In this tutorial, we will use the font Lagoon font.Step 1 - Draw a SquareUse the Create Rectangles and Squares tool to draw a square.Step 2 - Type out your word or phraseUse the Create and ...

 All your Font Needs
 All your Design Needs


