
How to Make a Stitch Effect in Procreate
Adding a stitch effect to your artwork in Procreate is loads of fun and super simple to do. You can add this effect as a key piece of your artwork or add some detailing to bring it all together. You might be thinking it’s going to be a tedious process, but you can quickly achieve a stitch effect in Procreate with the help of this Stitch Procreate Brush Bundle by Kitaleigh.
Before we get started you will need to install the KL_Stitches.brushset first, if you need help see our handy How to Install Brushes to Procreate.
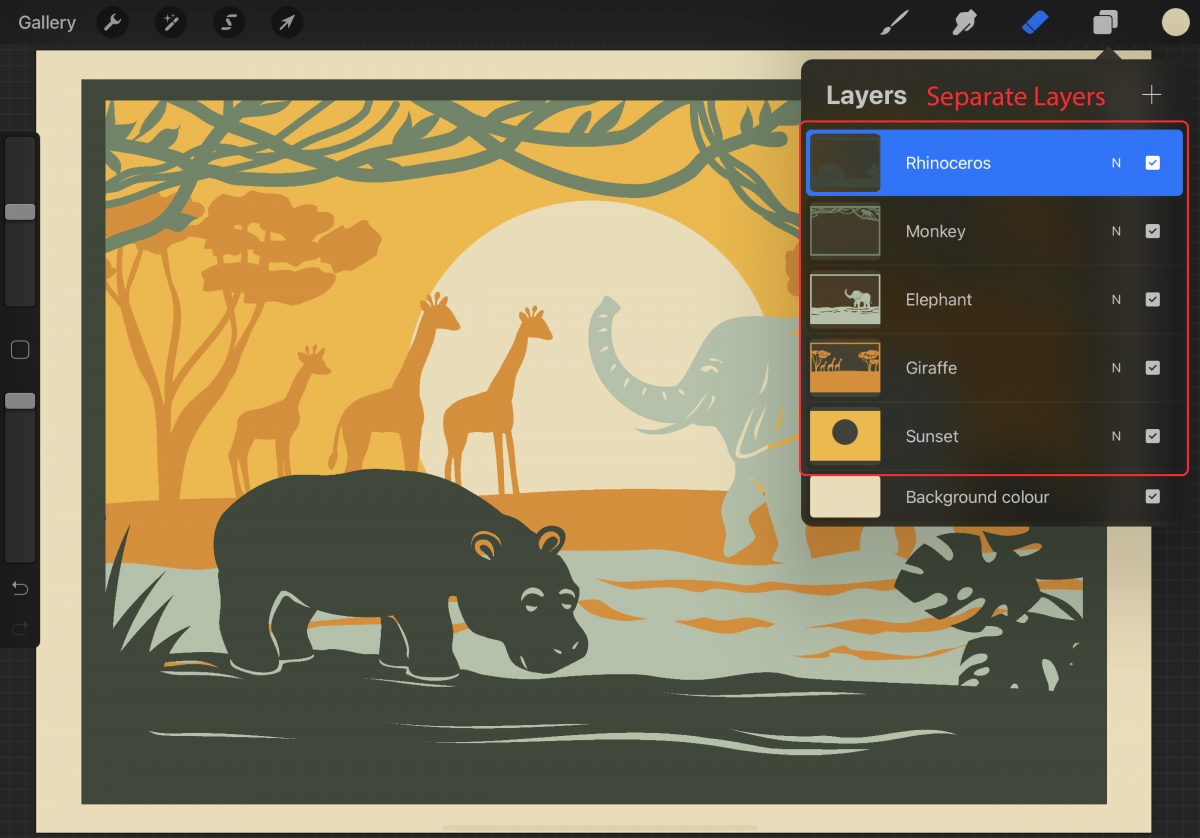
The first thing we need to do is either import our design or make our artwork on a new canvas. For this tutorial, I will be using this Layered Papercut file from the PLUS hub. I’m importing each layer into my canvas and making sure they all stay as separate layers.
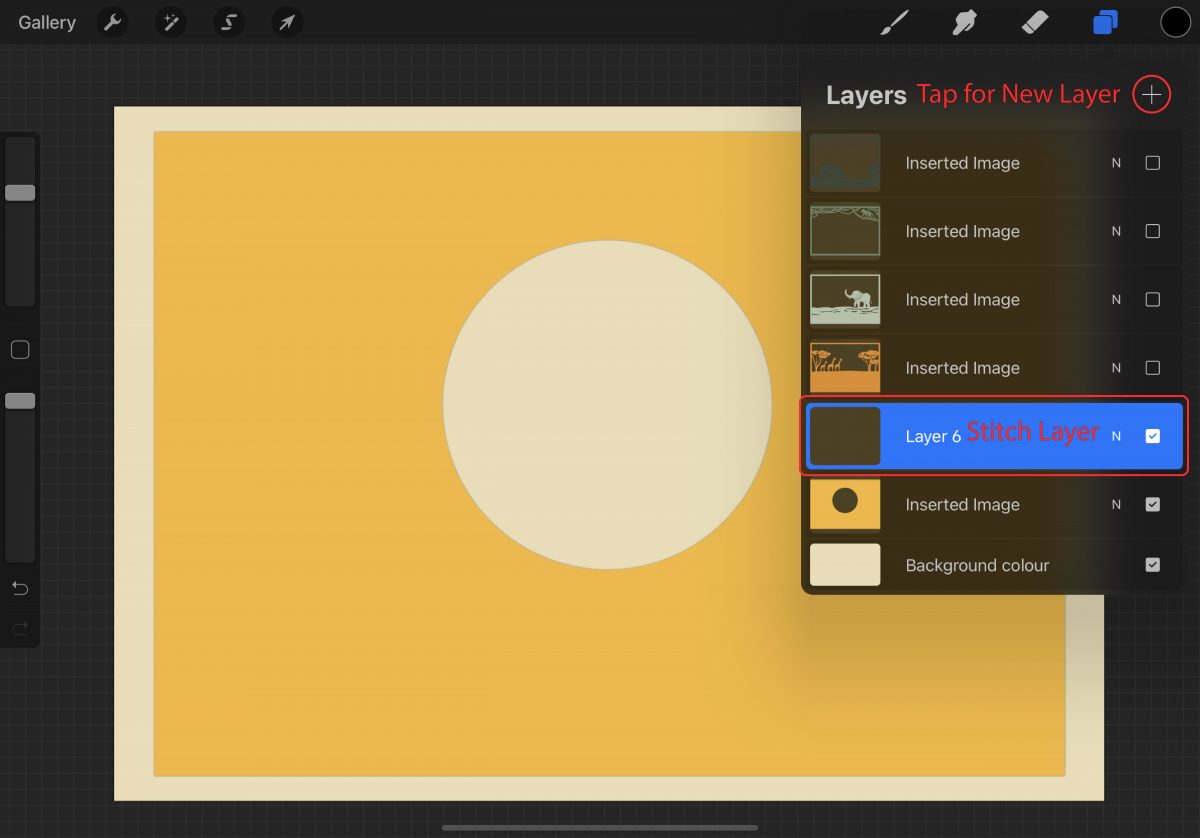
Create a new blank layer by tapping on the plus symbol on the right in your Layers panel. Move the stitch layer on top of your artwork so that if needed we can edit or erase stitches without touching your artwork. If you need to move your layer above a specific layer simply press and hold on the layer and drag it to moving it.
Go to the “Brush Library” brush icon at the top right. The stitch brushes were imported as a brush set so locate KL Stitches on the left side and tap on it. Now comes the fun part of going through all the stitch brushes and selecting one to work with. Play around with your stitch brush size and colors.
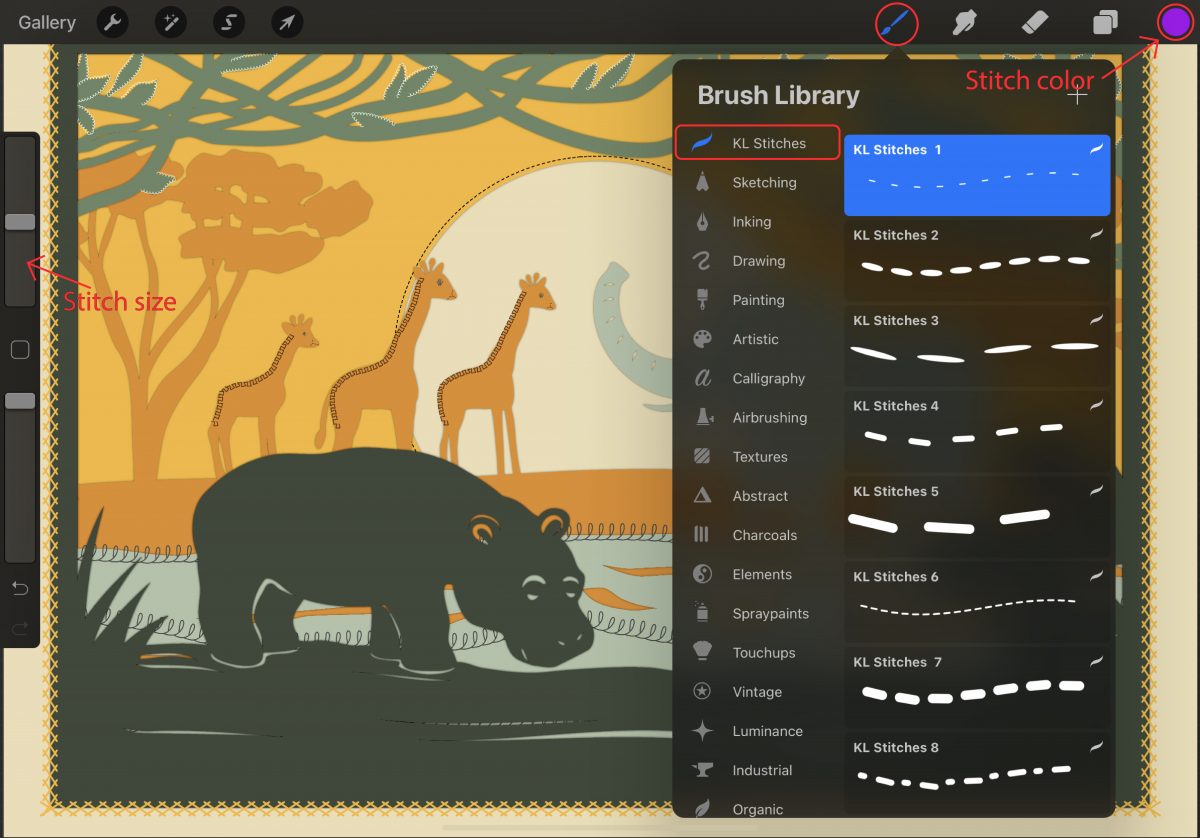
We added our stitches as detailing for our artwork, making a new blank layer on top of each section, using different stitches and colors.
Tip: If you want to recolor your stitches have a look at our tutorial on How to Use Clipping Masks in Procreate.
Before we get started you will need to install the KL_Stitches.brushset first, if you need help see our handy How to Install Brushes to Procreate.
Step 1 - Prepare your Artwork
The first thing we need to do is either import our design or make our artwork on a new canvas. For this tutorial, I will be using this Layered Papercut file from the PLUS hub. I’m importing each layer into my canvas and making sure they all stay as separate layers.
Step 2 - Add a Blank Stitch Layer
Create a new blank layer by tapping on the plus symbol on the right in your Layers panel. Move the stitch layer on top of your artwork so that if needed we can edit or erase stitches without touching your artwork. If you need to move your layer above a specific layer simply press and hold on the layer and drag it to moving it.
Step 3 - Selecting a Stitch Brush
Go to the “Brush Library” brush icon at the top right. The stitch brushes were imported as a brush set so locate KL Stitches on the left side and tap on it. Now comes the fun part of going through all the stitch brushes and selecting one to work with. Play around with your stitch brush size and colors.
We added our stitches as detailing for our artwork, making a new blank layer on top of each section, using different stitches and colors.
Tip: If you want to recolor your stitches have a look at our tutorial on How to Use Clipping Masks in Procreate.


