
How to Use a PDF File in Cricut Design Space
In this tutorial we guide you through the steps on using a PDF file in Cricut Design Space.
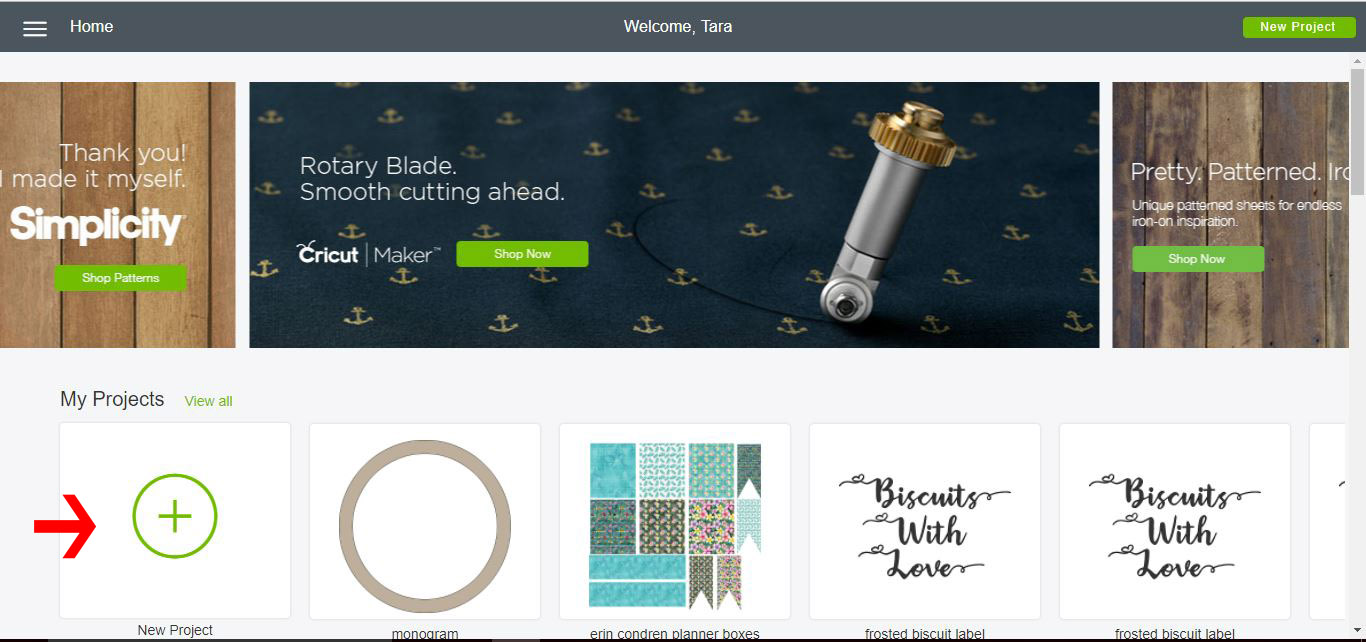
1- Open Cricut Design Space and click on New Project.
2- We need to convert the PDF to a usable file in CDS so the easiest way is to use a PDF converter.
I am using PDF converter. Click on Upload Files.

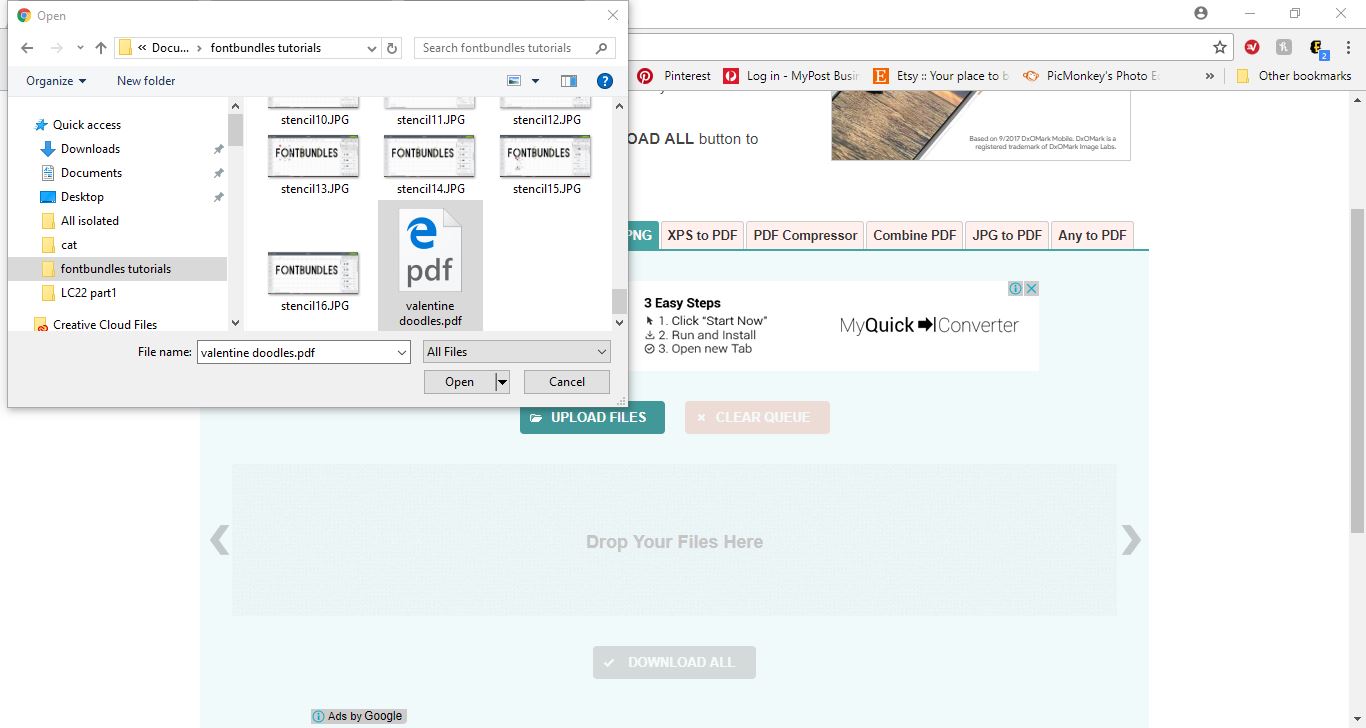
3- A new window will open. Find your PDF and click Open.
4- You will see your file getting converted.
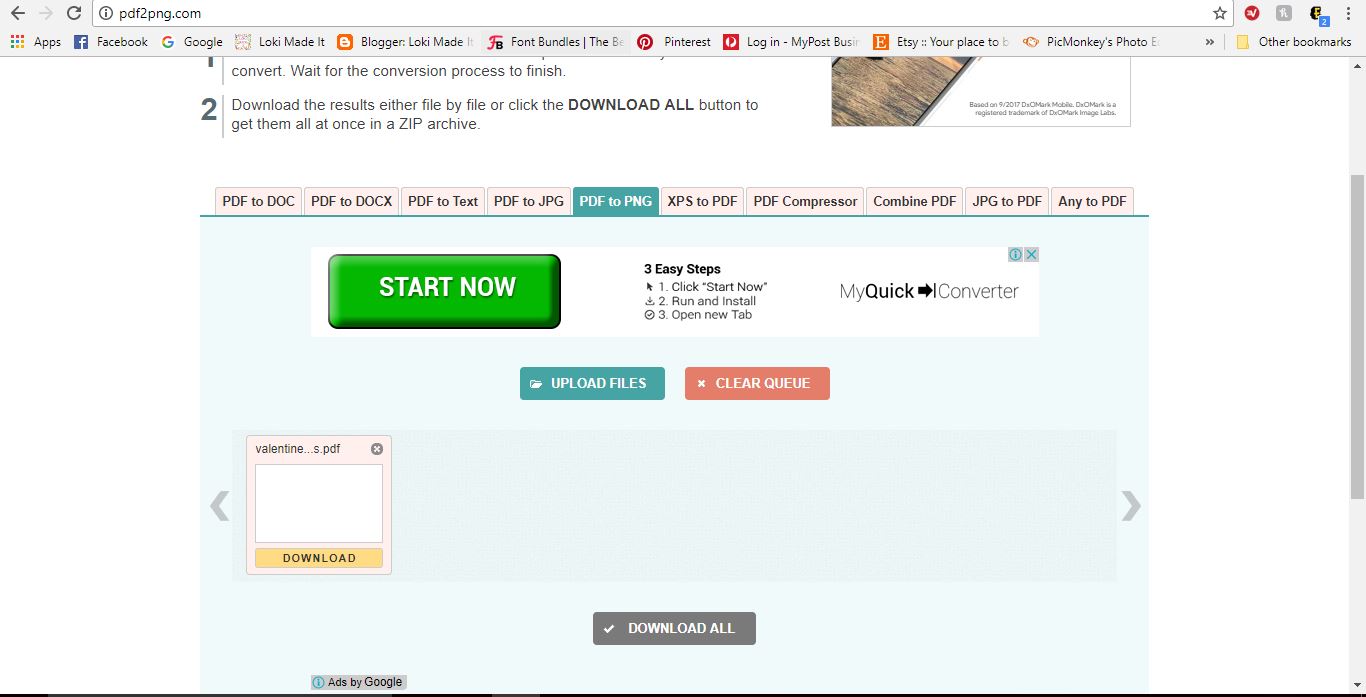
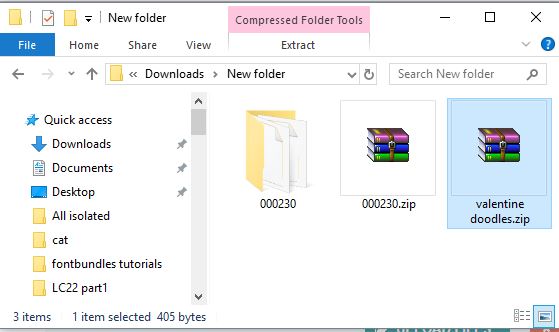
5- Download the new file. It will appear as a zipped file. Unzip the file.
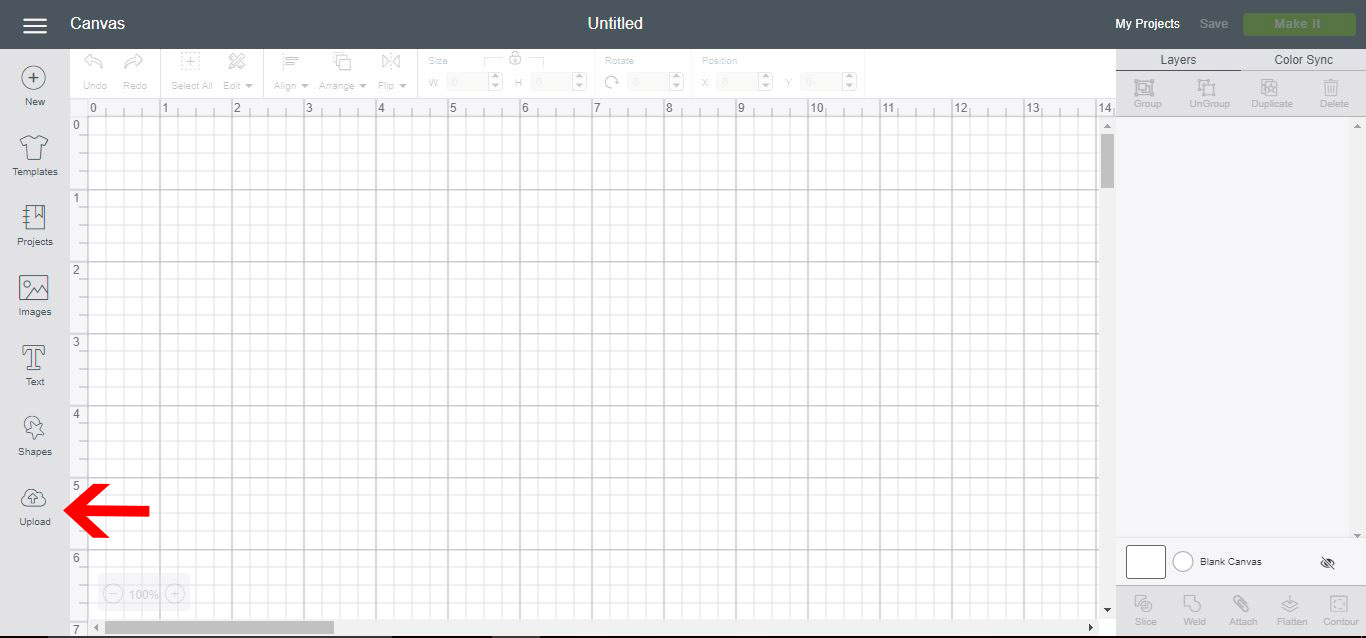
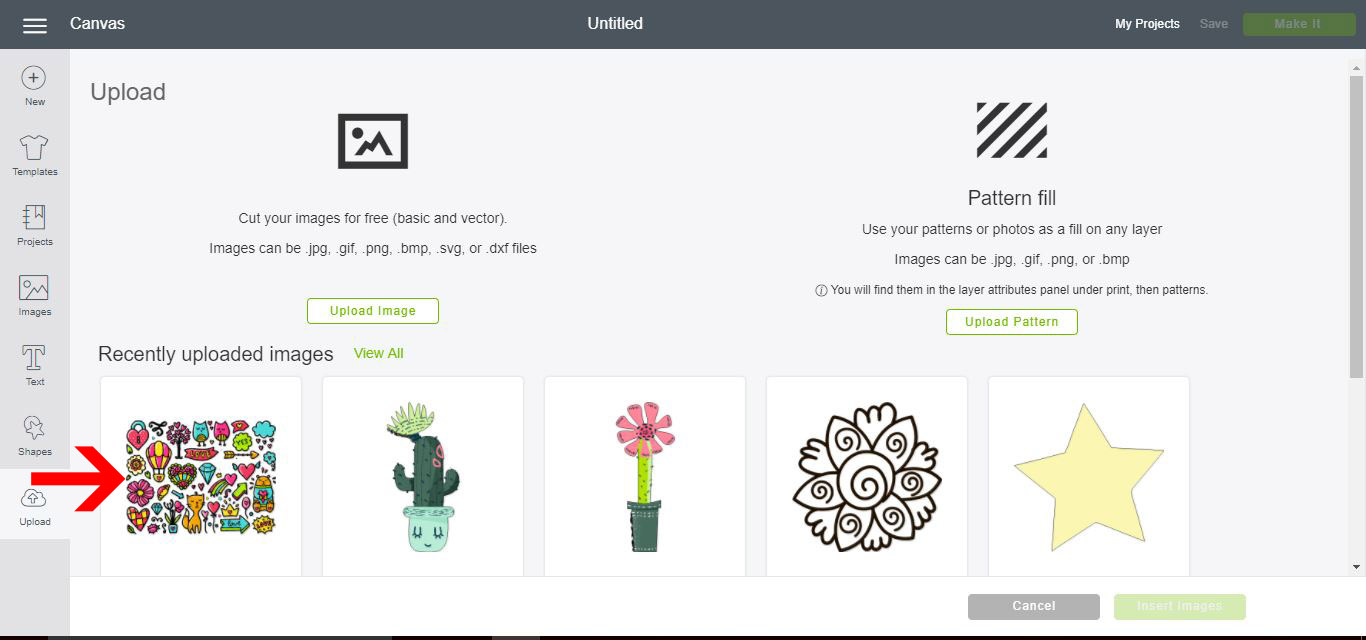
6- Go back to CDS and click on Upload.
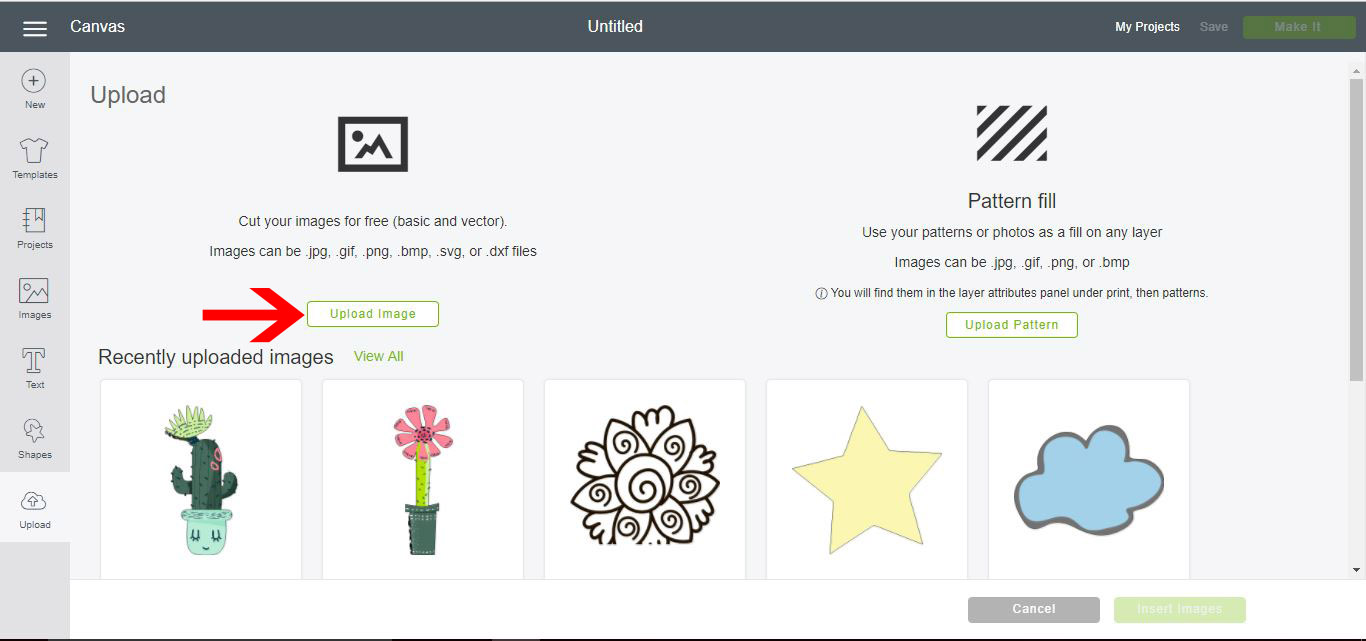
7- Click Upload Image.
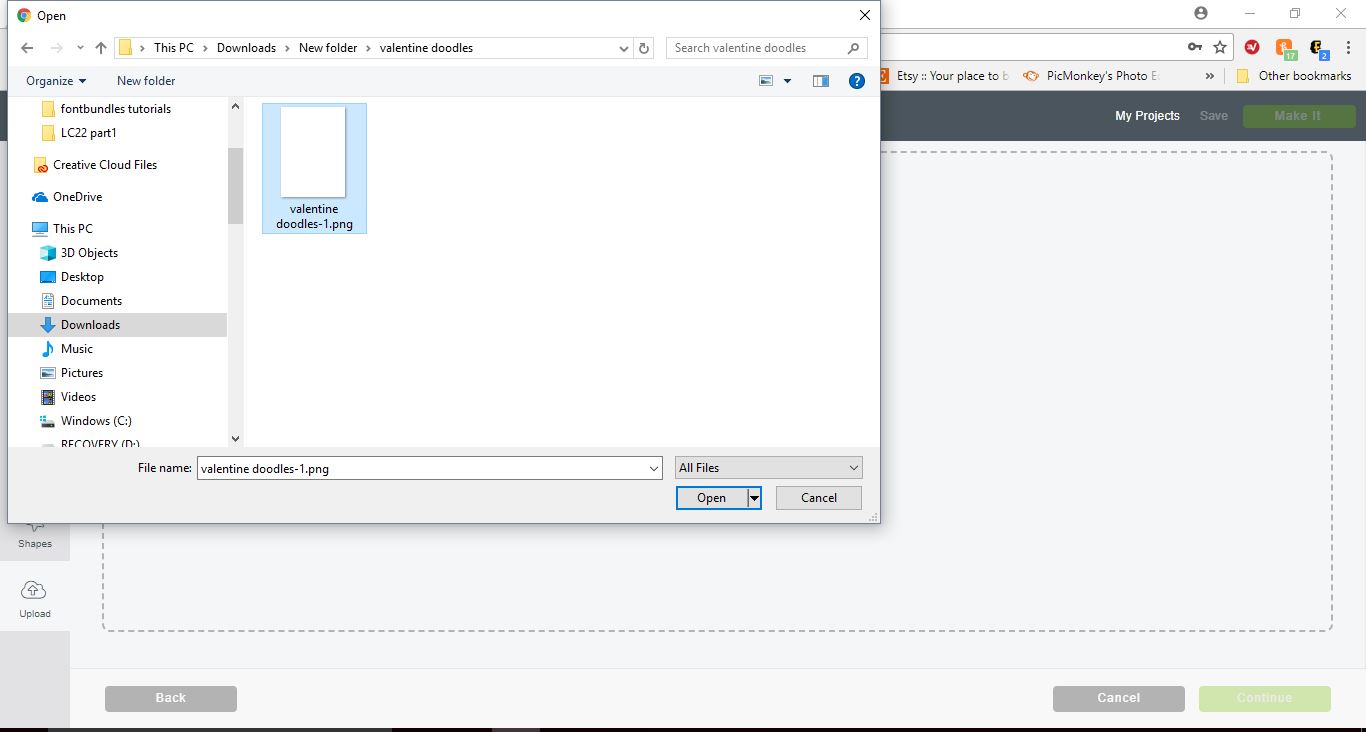
8- Click Browse.

9- Select the converted PDF.
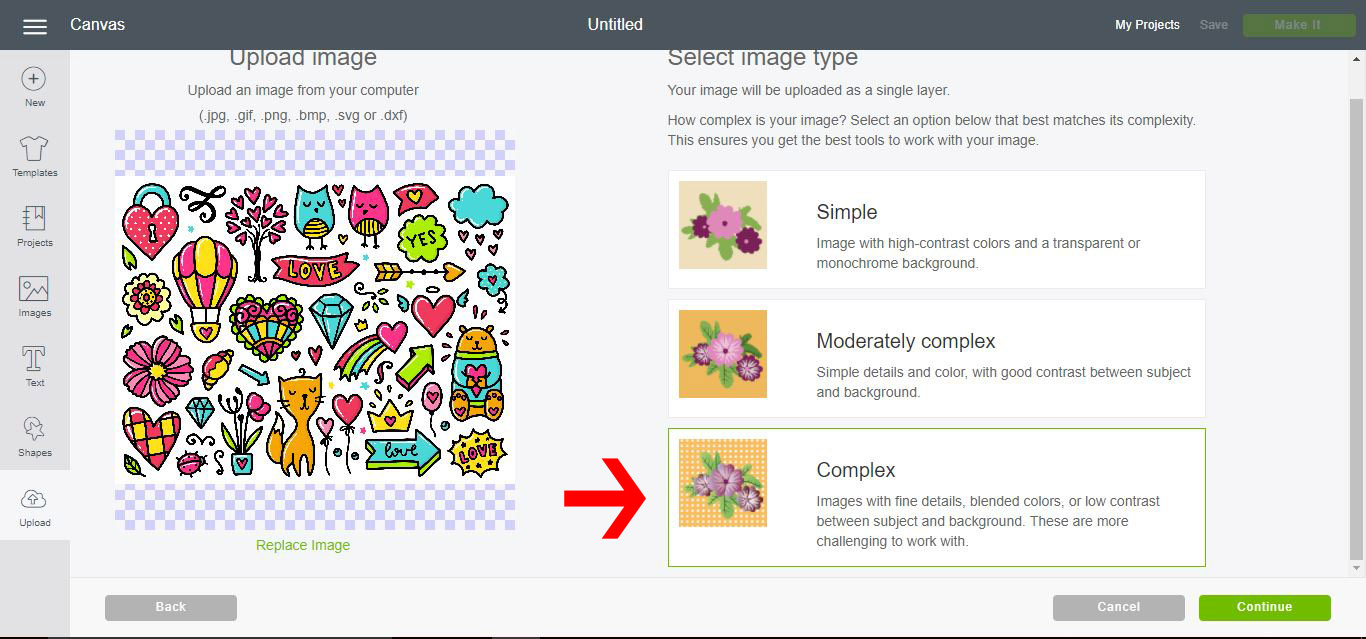
10- The file will appear on your Upload image screen. You will see that even though you have converted it to a PNG, there is still white around your images. If we cut at this point, all we would get is a large rectangle.
I am using the design, Valentine Doodle Clipart.
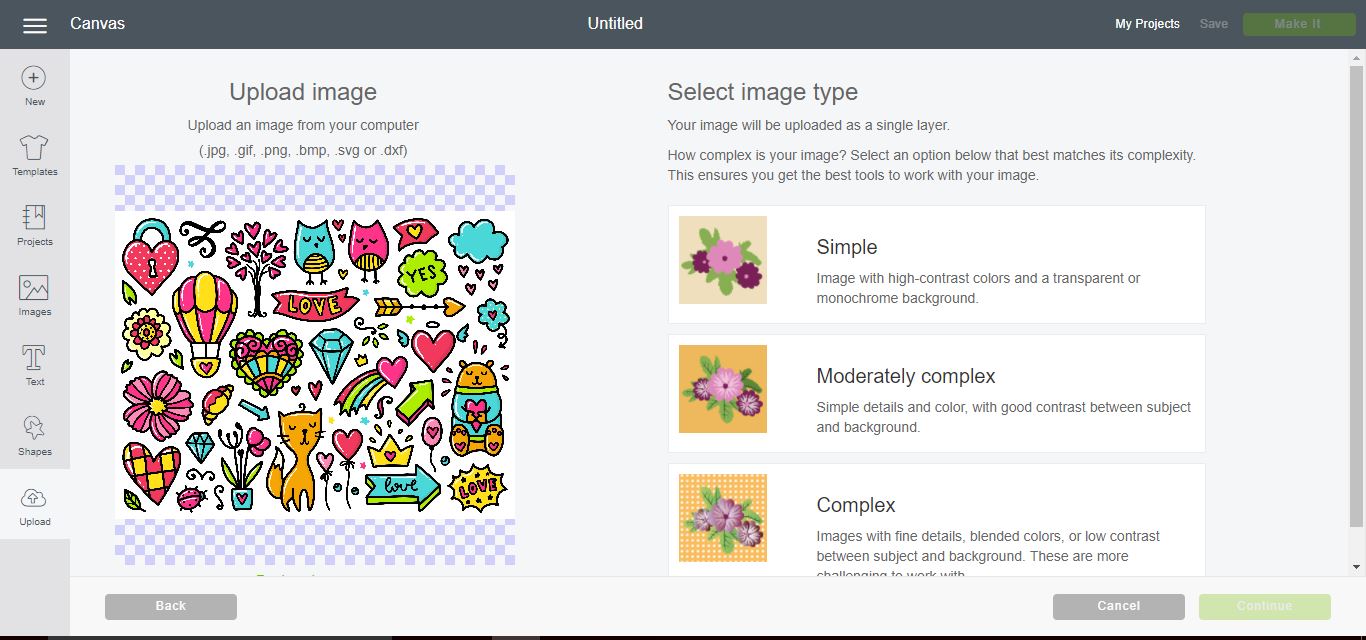
11- We need to remove the white parts. Click on Complex and then Continue.
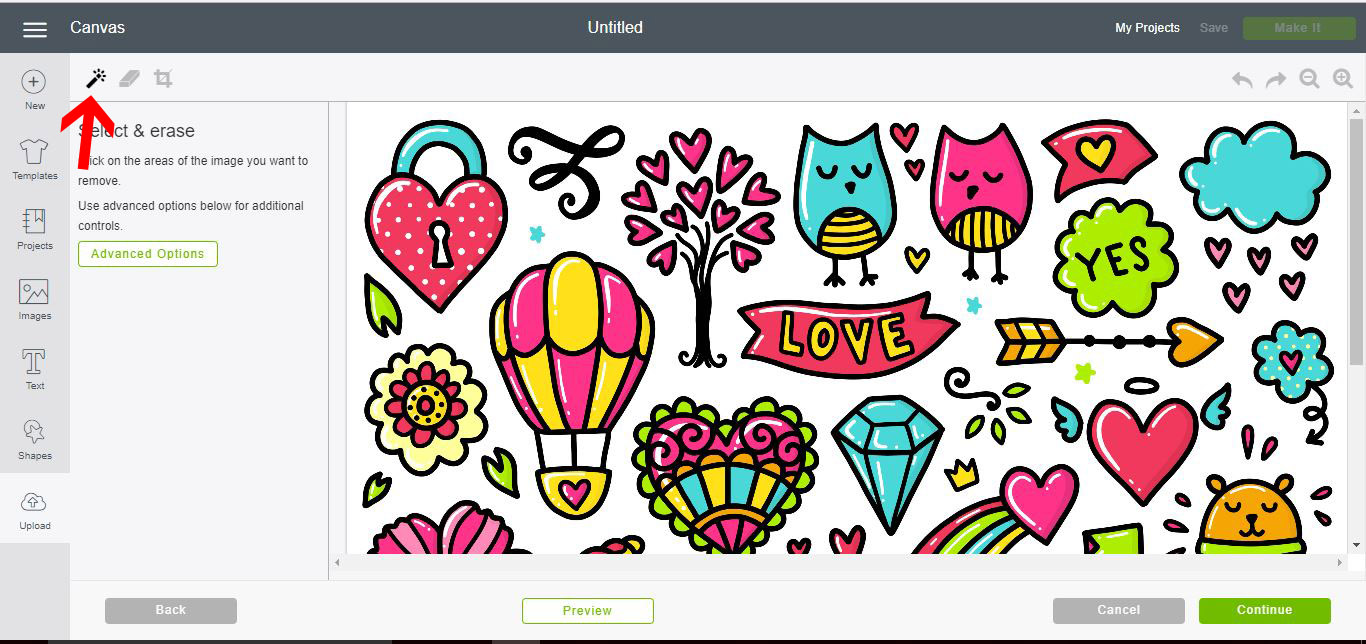
12- Click on the magic wand. Then click the white area.
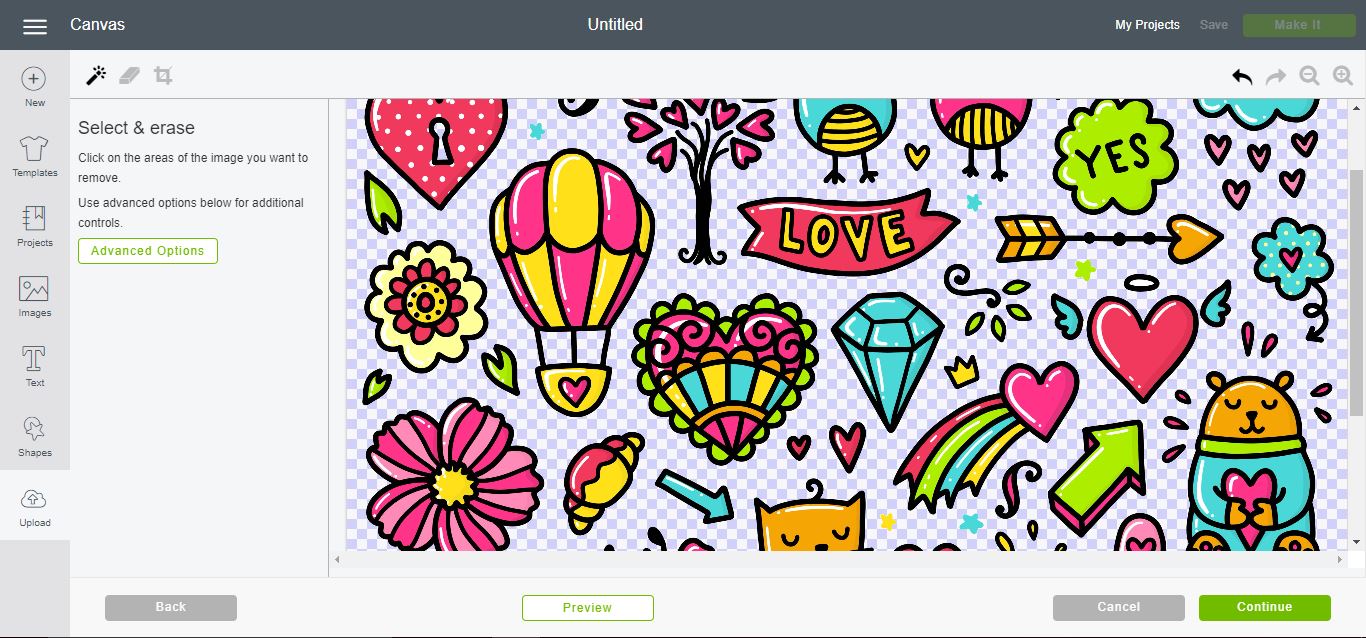
13- All the white will be removed.
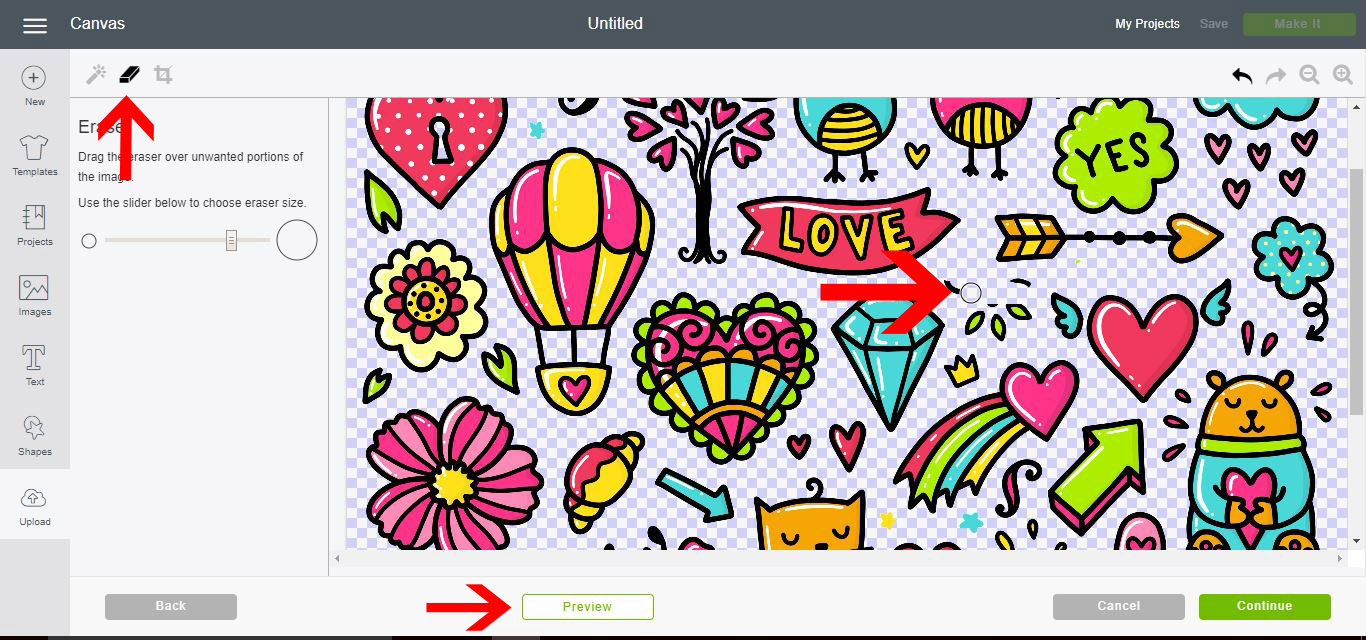
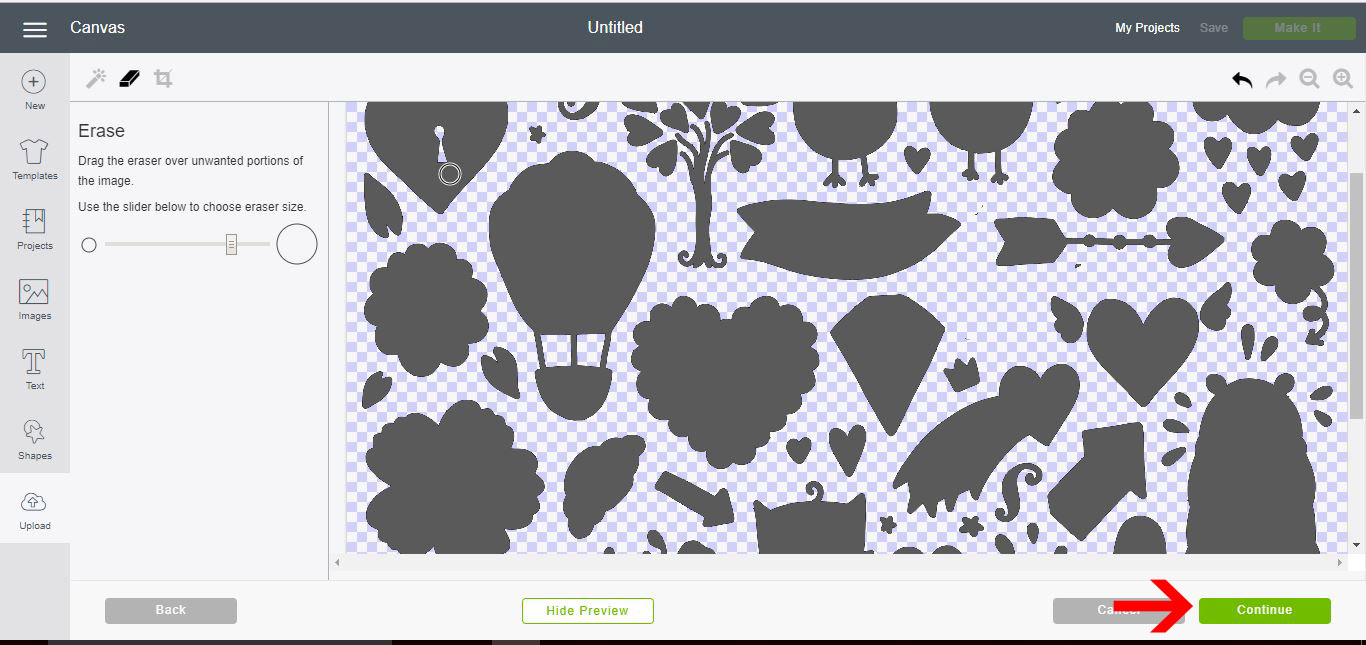
14- You can also use the eraser tool to remove any extra pieces you do not need. Once you are happy click on Preview.
15- Check the silhouettes. Each one will be a cut line. Click Continue.
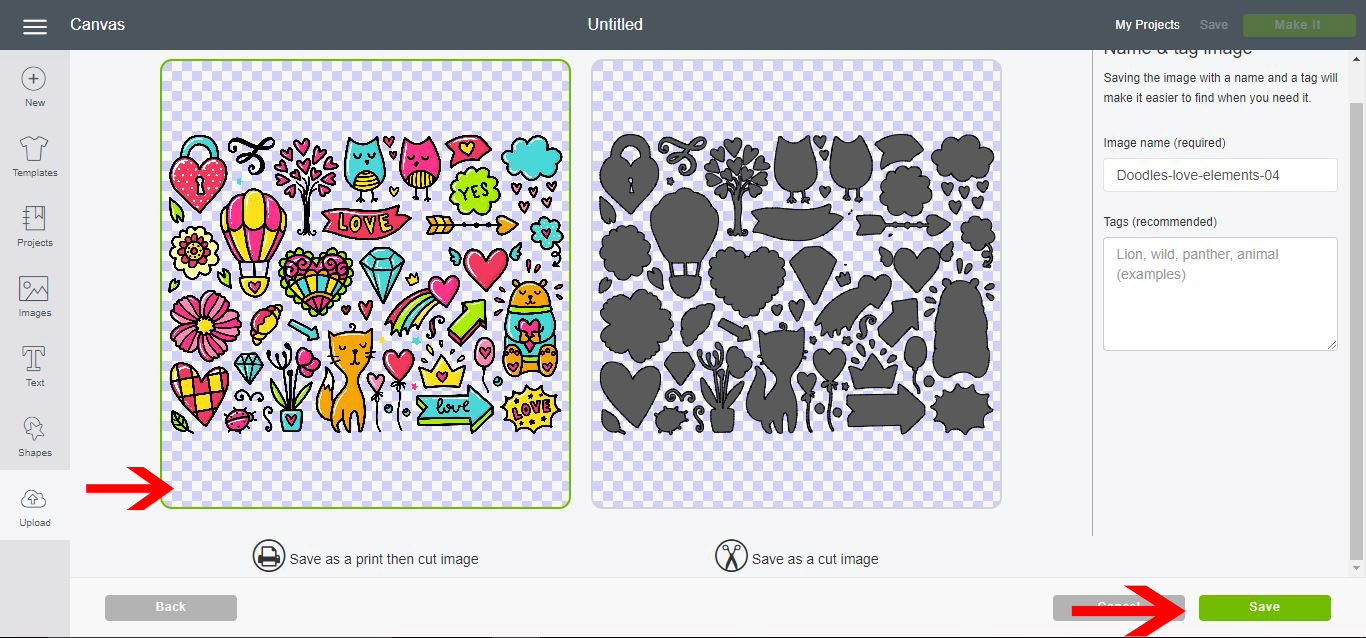
16- Select print and cut and then Save.
17- Your file will be now in your library. Select it and insert.
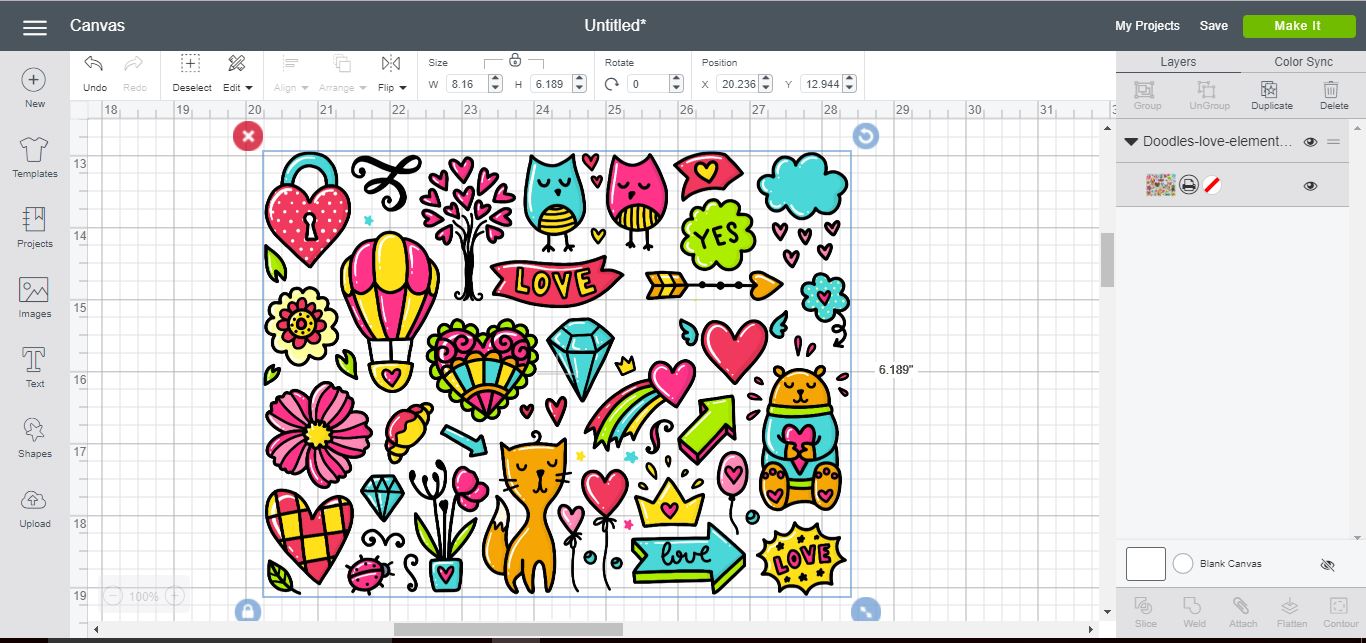
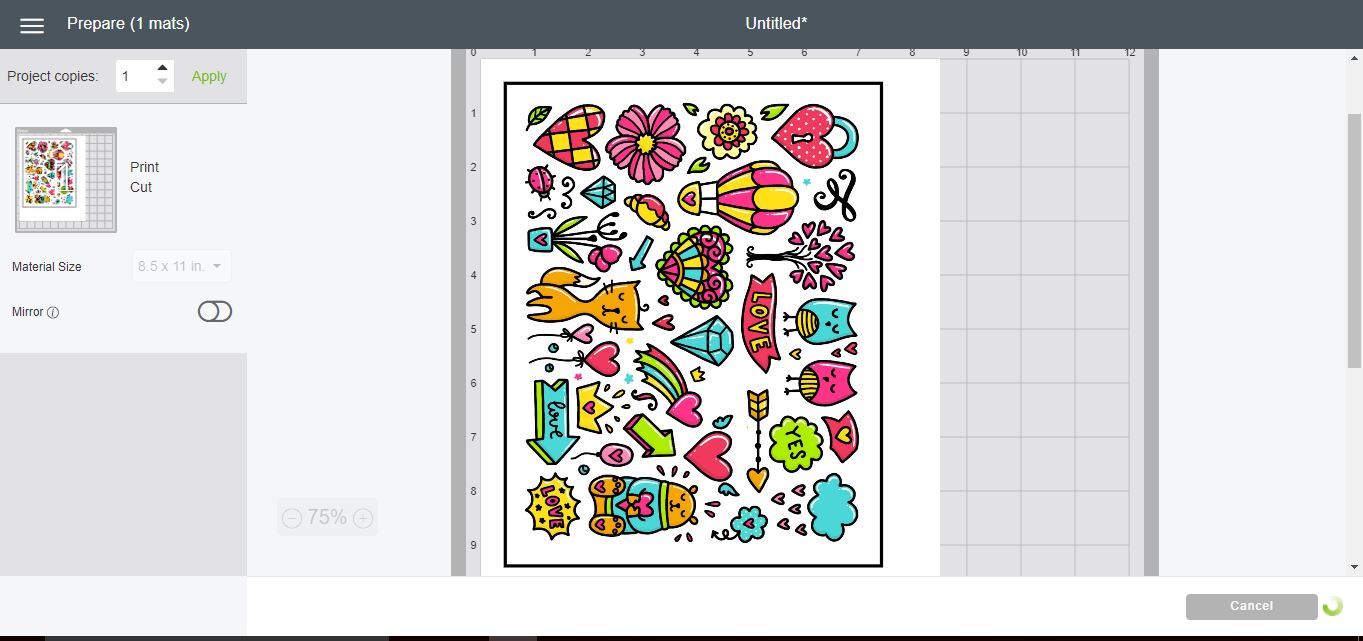
18- Your design will appear on your design area. Resize and then click Make It.
19- The print and cut lines will appear around your design. Follow the prompts to print then cut your design.
There you go, you now know how to use a PDF file in Cricut Design Space.


