Unlimited Downloads 15% off Marketplace Purchases Exclusive Software Access Unlimited Downloads
15% off Marketplace Purchases
Exclusive Software Access
Go Unlimited Maybe Later
How to Use the Clone Tool in Inkscape
  • By Design Bundles
  • 03 Apr 2017
  • 3 Mins
  • Inkscape Tutorials

How to Use the Clone Tool in Inkscape

Learn how to use the Clone Tool in Inkscape and create duplicates with the Clone Tool to save time.

We are going to guide you on how to use the clone tool in Inkscape. This is a very useful and sometimes very important tool for designers. You can quickly clone a design in the same way as duplicating. The main difference is that edits done to the original will affect all clones. It can help a great deal when editing a large number of the same design.

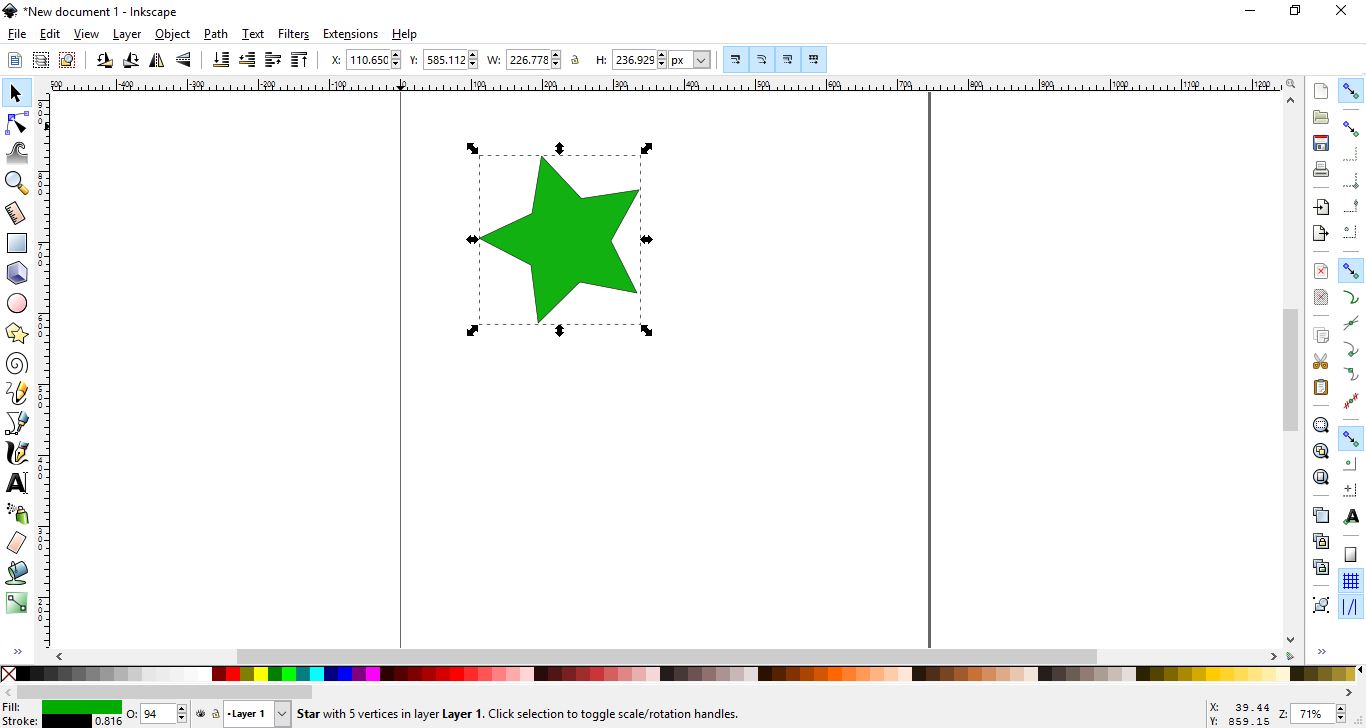
Step 1 - Import or Create Your Shape

Open Inkscape and then either import your design or use the Bezier Curve to create one. You can even use one of the shape tools on the left side. We also have a great tutorial on creating a SVG in Inkscape to get you started.

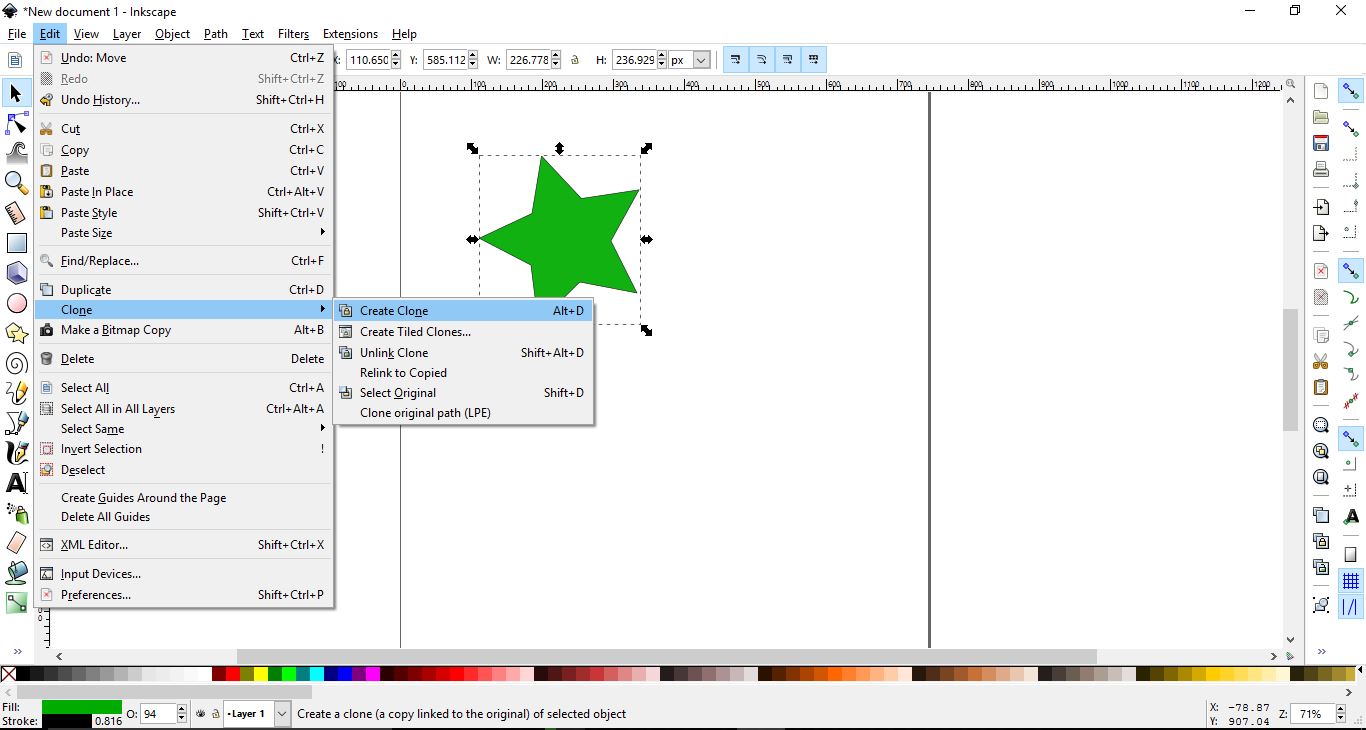
Step 2 - Create a Clone of Your Shape

Make sure that your shape or design is selected, then go to Edit > Clone > Create clone.

Your clone will be placed on top of the original shape or design. On the top left toolbar, click on the black arrow called Select and transform objects. This is essentially the Move Tool. Now, click on the clone, the top most shape. Then click + drag it to one side.

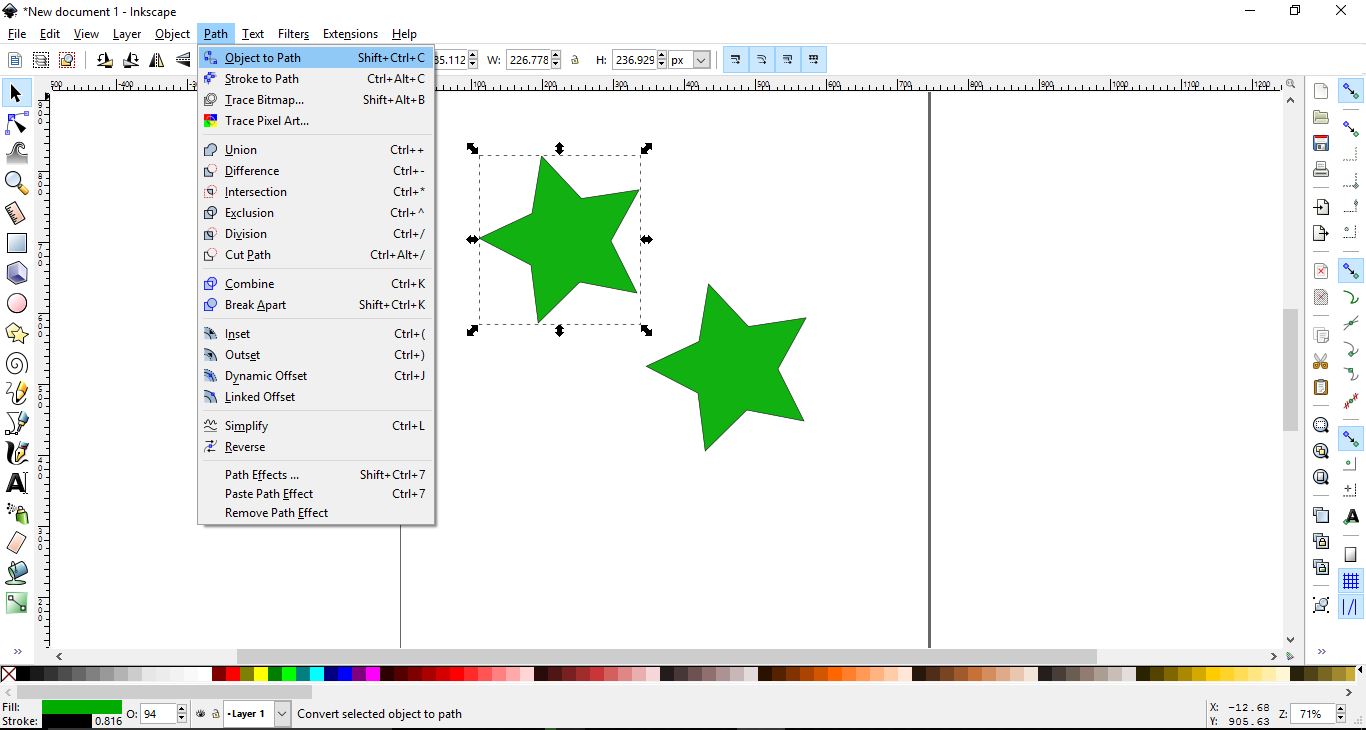
If you edit the original, the clone will be updated to look the same. However, if you want more flexibility with nodes, you need to convert the original to a path. Select the original shape or design, then go to Path > Object to path.

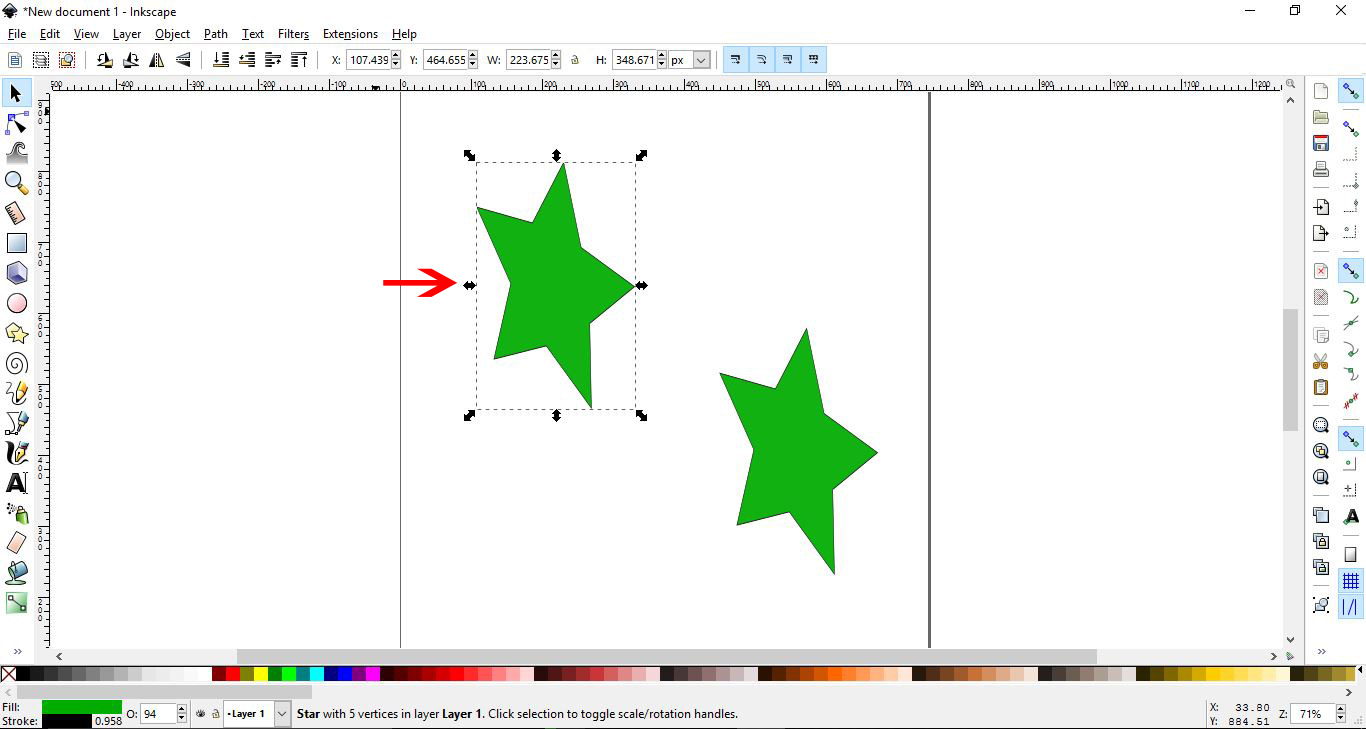
Now you can edit the original shape or design using the Edit path by nodes tool on the left just below the Move Tool. You can clone your original as many times as you like. When you adjust the original, all of the clones adjust along with it.

We hope this tutorial has been helpful in understanding how to use the clone tool in Inkscape. With this tool, you can save yourself huge amounts of time and make your workflow more efficient.


6 Related Inkscape Tutorials

The Bezier Curve Tool in Inkscape is used to create regular lines and curves. These are then edited through the use of paths and nodes. Each Node is placed with a click and adjusted for a sharp or curved point. In this tutorial you will learn how to use the ...

The Patch Tool can be used to repair a selected area with pixels from another area or a pattern. Like the Healing Brush tool, the Patch Tool matches the characteristics (texture, lighting, transparency, and shading) of the sampled pixels to the pixels being healed. You can also use the Patch ...

The Pen tool in DesignScape is not only a handy tool but also a powerful one. The Pen tool uses paths and anchor points to build up a design from scratch. You then have full flexibility when editing the smallest detail. We will guide you on how to use the ...

The shape builder tool is great for designing illustrations or icons that can be created by using various shapes, as it allows you to combine and subtract one shape from another. This tutorial is going to go through the fourways in which you can benefit from using this tool, by ...

1- Open Silhouette Studio2- Add graphic and click on the replicate panel3- To duplicate click on the image showing what you trying to do.Here is the result:3- Rows and columns will produce three or four graphics total in the direction of the image you choose.Here ...

The Subtract tool in Silhouette Studio can be found in the Modify panel on the right side menu bar. You can also access it through the Objects menu at the top and select Modify then Subtract. The tool requires two at least SVG images where any part of the top ...

You may also like

Help Center
ol image