How to Use the Shape Builder Tool in Illustrator
The Shape Builder tool lets you easily combine and subtract from multiple shapes.

The Shape Builder tool lets you easily combine and subtract from multiple shapes.
The shape builder tool is great for designing illustrations or icons that can be created by using various shapes, as it allows you to combine and subtract one shape from another. This tutorial is going to go through the fourways in which you can benefit from using this tool, by using basic shapes for ease of understanding what you can achieve.
In this tutorial we will cover the following Modes of the Shape Builder Tool:
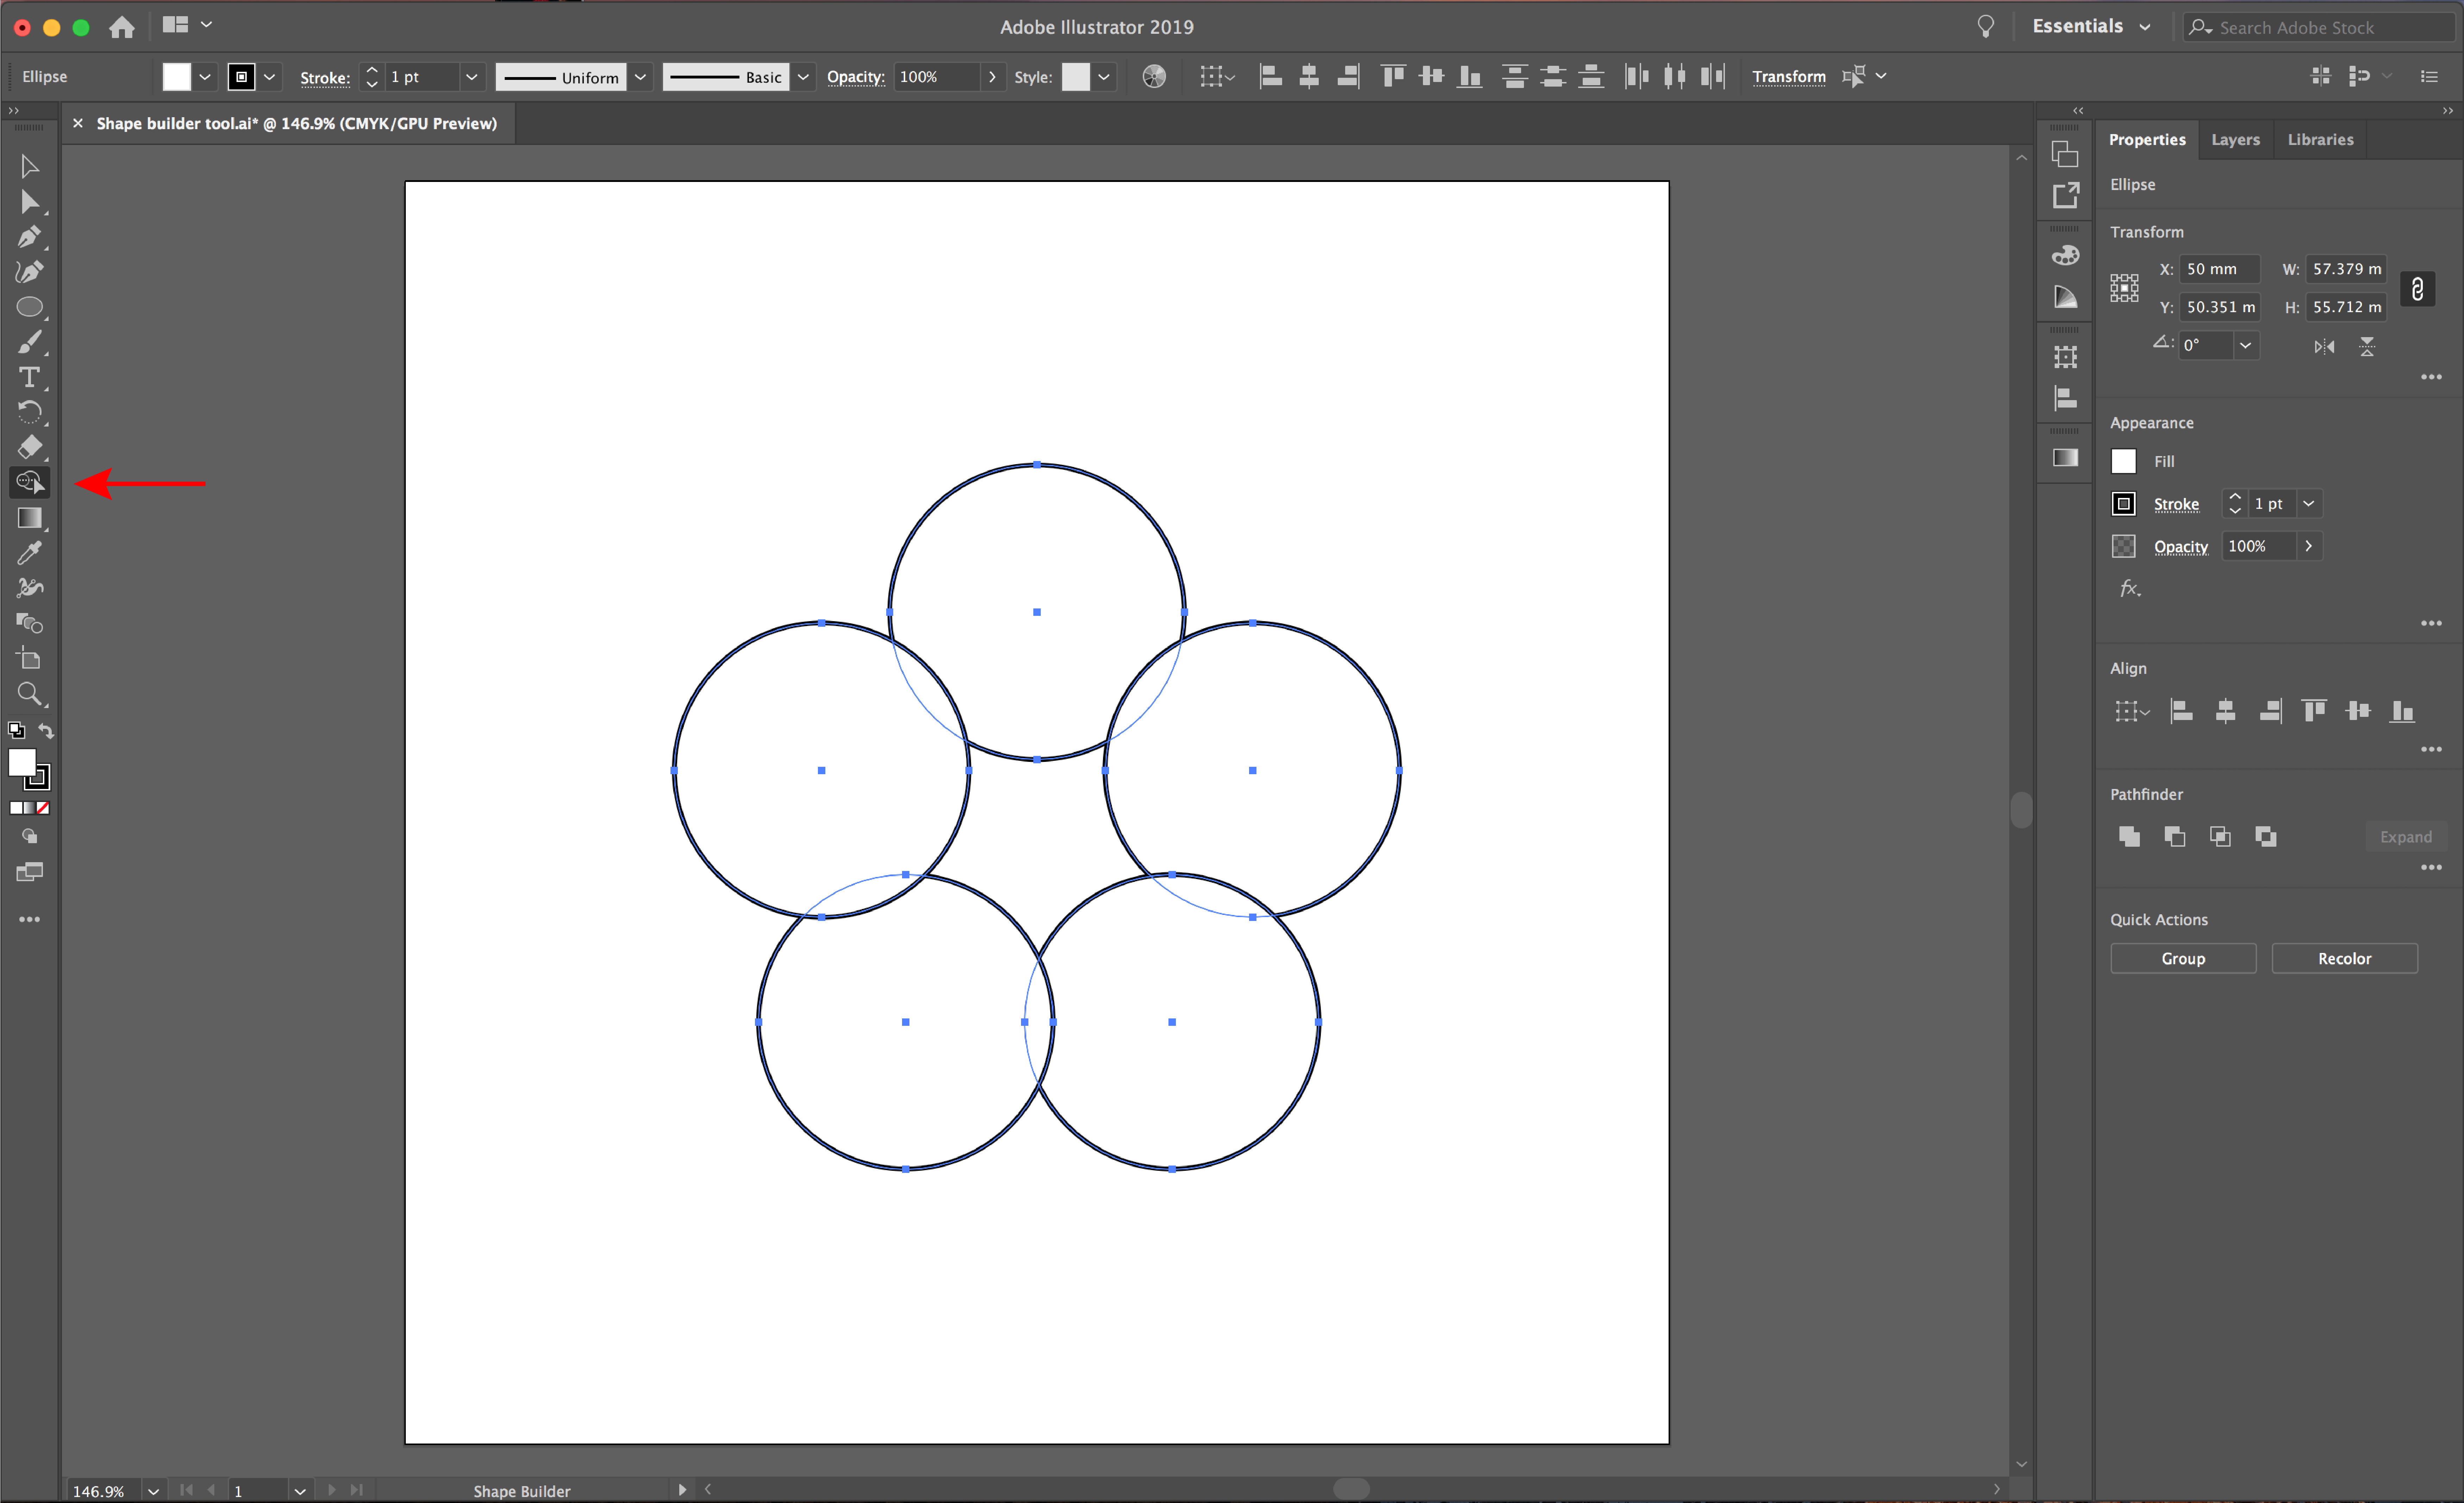
Draw and overlap various shapes, then highlight all of your shapes and select the Shape Builder Tool from the left toolbar. As you hover your cursor over the individual shapes, the shapes will turn grey.

Click into any shape and drag your cursor across all the shapes you want to merge. The red outline will depict your remaining shape when you release your cursor, so you can use this as a guide.

Your shape should look something like this.

Draw and overlap various shapes, then highlight all of your shapes and select the Shape Builder Tool from the left toolbar. Click in the shape of the overlapping shapes, then using the Selection Tool (black arrow) drag your new shape to the side.

This is the result.

Draw and overlap various shapes, then highlight all of your shapes and select the Shape Builder Tool from the left toolbar. As you drag over the shapes you want to remove, hold down Alt or Option on your keyboard, you will notice a minus symbol appear. As you release, you will be left with your new shape.

Here is the result.

Draw and overlap various shapes, then highlight all of your shapes and select the Shape Builder Tool from the left toolbar. Click in the negative space in the center of your shapes, then delete the outer shapes to reveal your new shape.

Here is the result.

Now that you know the basics of the Shape Builder Tool, you can go on to experiment with creating more complex designs. If you liked this tutorial, check out some of our other tutorials such as how to use the Pathfinder tool and how to make SVGs in Illustrator.
This tutorial is going to take you step-by-step on how to utilize the blend tool with text, this is a great technique to create ‘tube-like’ 3D text. The blend tool is a great tool to use within your designs to create unique styles and finishes. You can also find out ...
Affinity Designer offers basic geometric shape tools as a grounding for designs. The designer has the option to edit, distort and change shapes as they choose. New shapes created can then be saved as presets for later use.In this tutorial you will learn how to use the Shape Tools ...
The Puppet Warp tool allows you to distort portions of your artwork naturally and can help you create credible seamless artwork variations. This is really handy if you need to create some sort of animation or if you need to have different options for the same subject.For this tutorial, ...
The pathfinder tools are really useful to design unique and custom shapes. Within the Pathfinder Panel, you have 4 Shape Modes and 6 Pathfinders. Shape Modes will create new shapes with the selected/overlapping shapes, whereas pathfinders will break/change existing paths.In this tutorial we will cover all of the Pathfinder ...
In this tutorial, you will learn how to use the Adobe Illustrator Pen Tool. The Pen Tool is the most versatile drawing tool within Illustrator for vector illustrations. It allows you to create unique shapes by adding curves and corners. When using the Pen Tool, the shapes are built up ...
The width tool in Illustrator allows you to create varied widths on one single line. This is usually drawn with the Pen Tool. The option allows you to add depth to your designs, quickly and easily. We will show you how to use the Width tool in Illustrator.Step 1 - ...
By using our website you consent to all cookies in accordance with our cookie policy.


