
How to Use the Corner Tool in Affinity Designer
Discover how to use the Corner Tool in Affinity Designer to round off corners.
The Corner tool in Affinity Designer allows you to individually round the corners of shapes or curves. Creating rounded corners can change a basic shape or font into something more complex. In this tutorial you will learn how to use the corner tool in Affinity Designer.
For our one example we will be using a serif typeface font called Black Velvet 2.
Step 1 - Access the Corner Tool
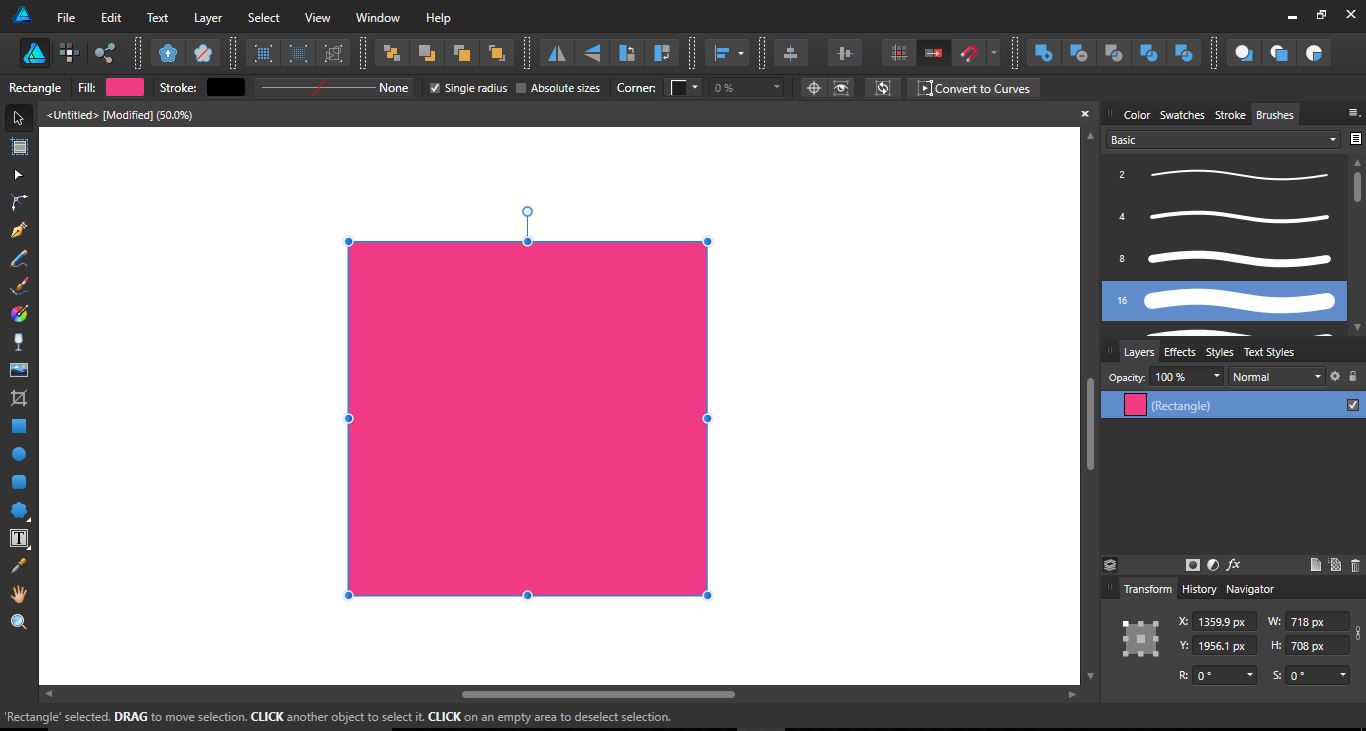
Open Affinity Designer and create a new document. During this tutorial we will be using the Rectangle Tool from the Shape Tools selection. You can also use the Pen Tool to create your design.
Here we have already created our square design.
The Corner Tool can be accessed from the left toolbar. Select the shape then click on the Corner Tool.
![]()
Step 2 - Use the Corner Tool
You will see squares on one each corner of the design as shown below. Place your cursor over one corner and it will change into an arrow with a curved line.
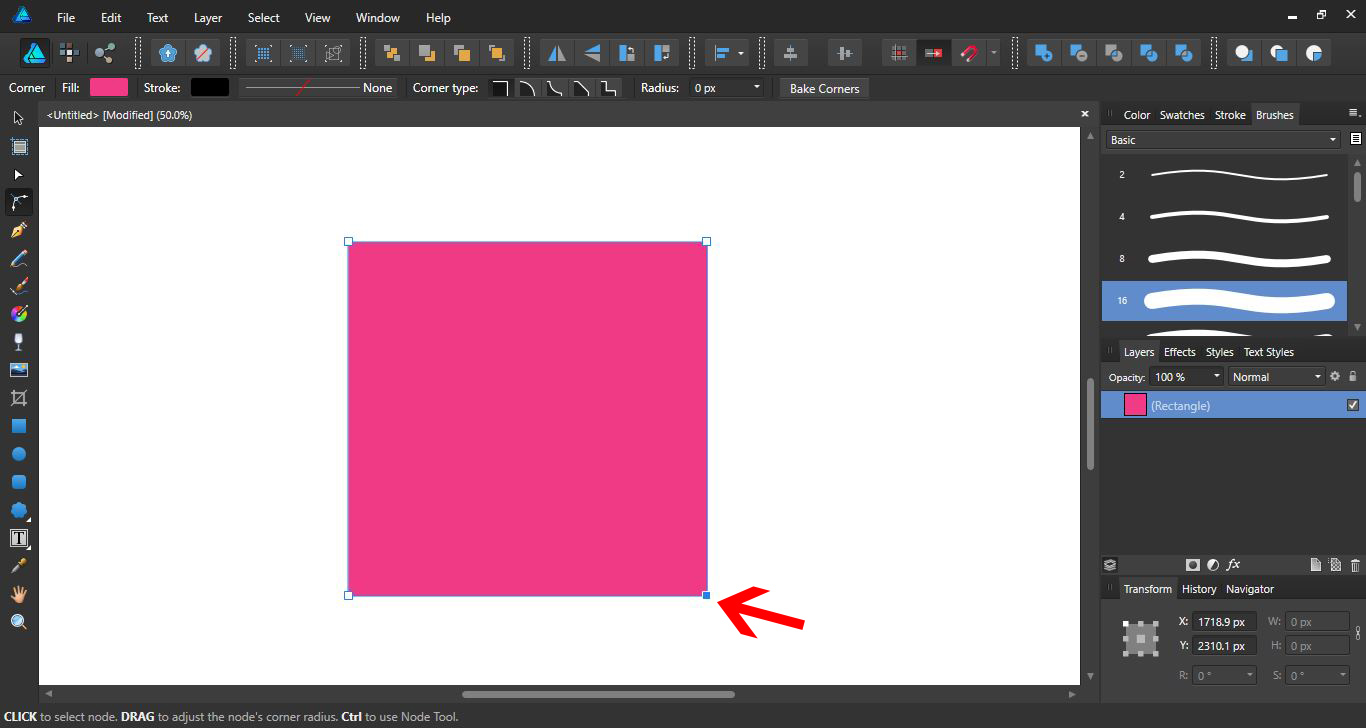
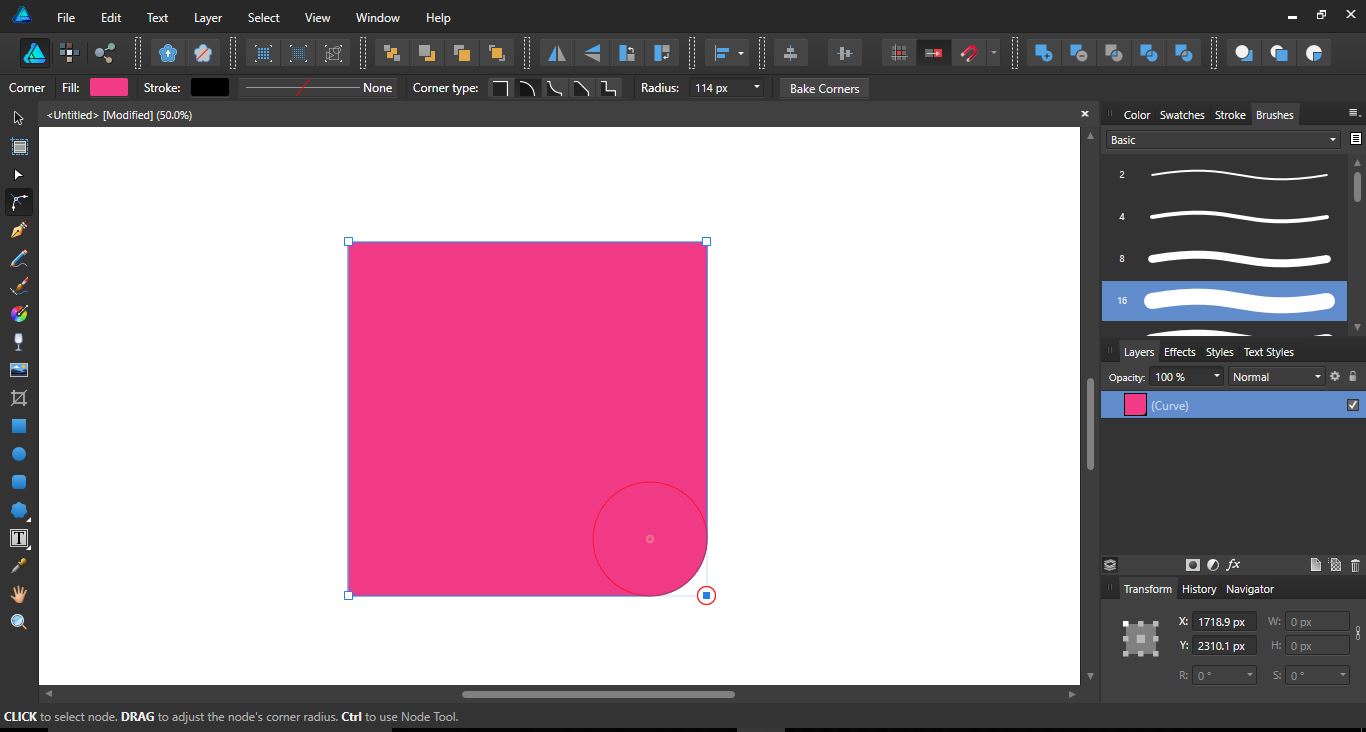
Now click + drag the corner inward. A red circle will appear, showing you the curve of your corner. As you drag inward, the circle will increase and create a bigger curved corner. If you click + drag outwards, the circle will decrease and so will the curve of the corner.
Step 3 - Edit the Curve of the Corner
When accessing the Corner Tool, you will see some editing options appear in the top toolbar. Here you can also adjust the size of the circle via the Radius option. This allows you to use exact measurements or you can use the slider bar.
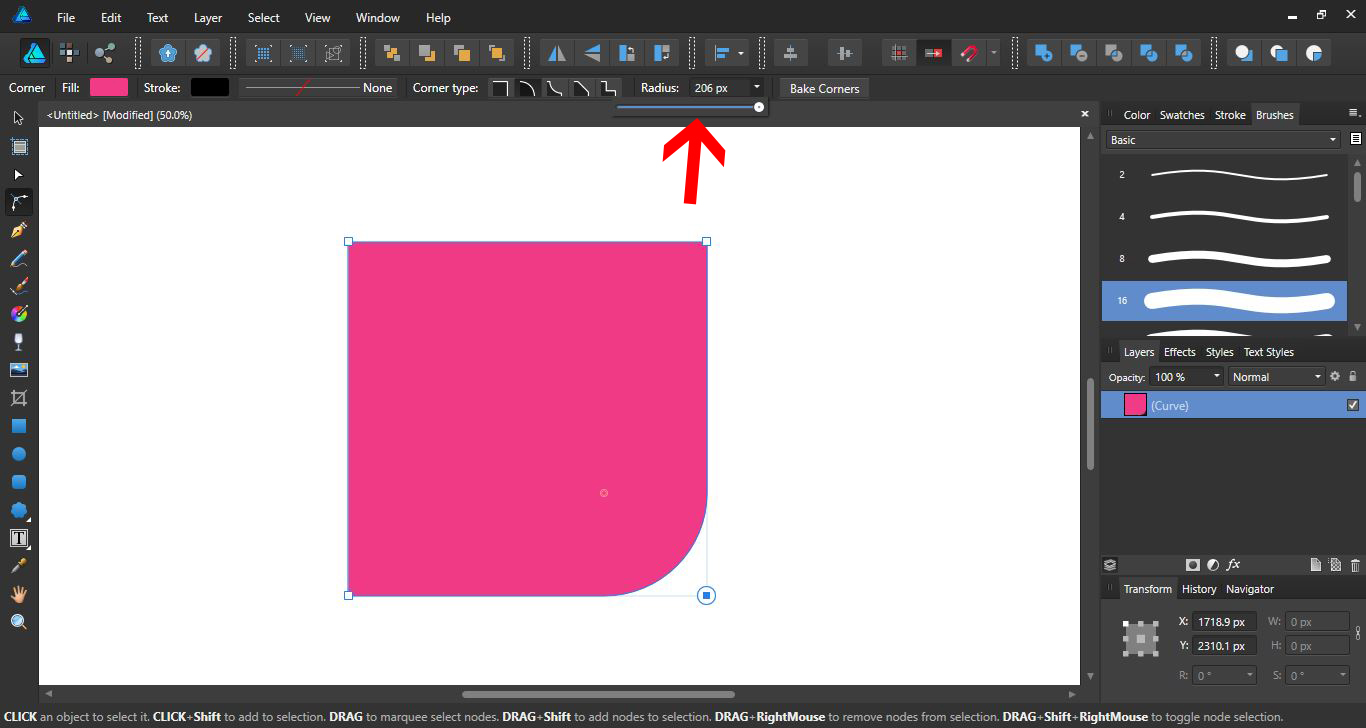
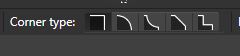
There is also the option to change the Corner type to another curve. You can extend the creativity of the curve here.
The Corner Tool also allows you to alter several shapes at the same time. To do this, select
all of the shapes you would like to change at once. In the image below we created petal shapes then selected all of them using the Move Tool from the left side toolbar.
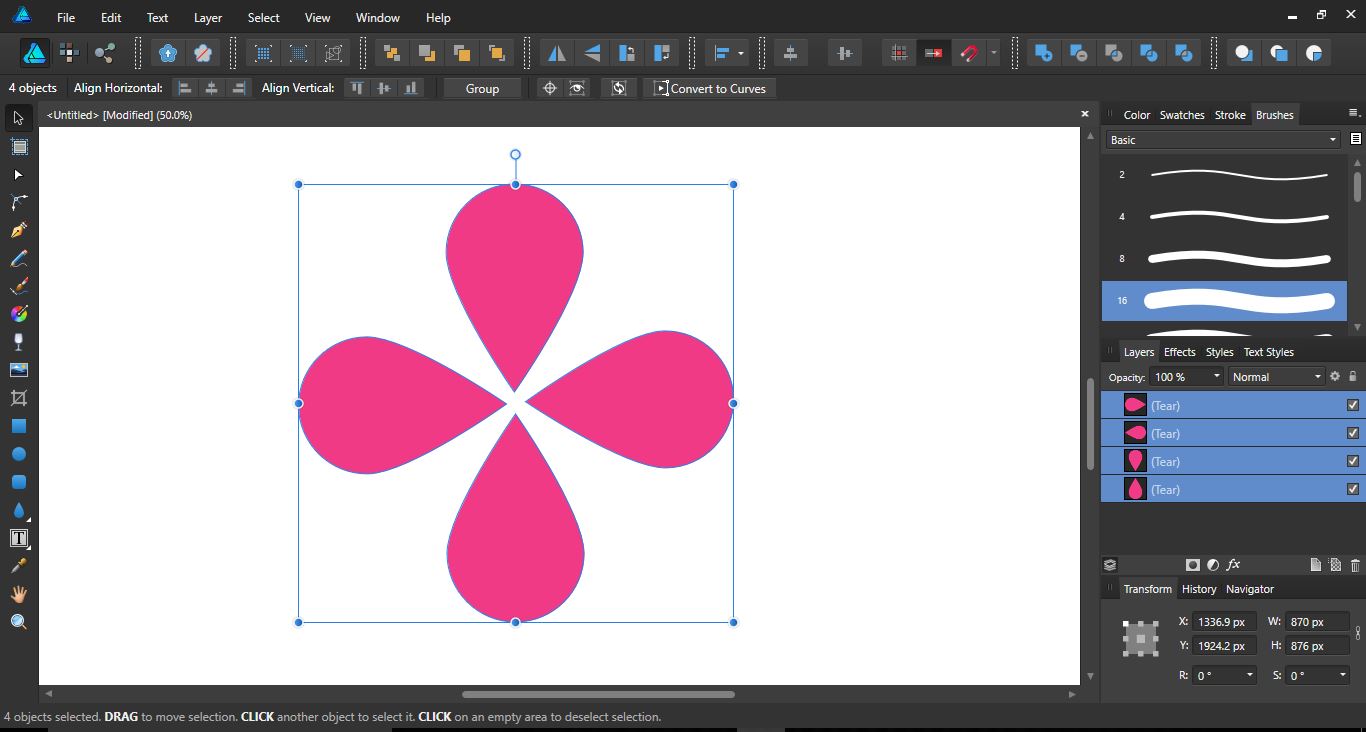
Select the Corner Tool from the left toolbar. You can click + drag over the corner points you want to change to select them. Alternatively, hold Shift + click to select your individual points.

With the points selected, you only need to adjust one for the rest to be adjusted as well.
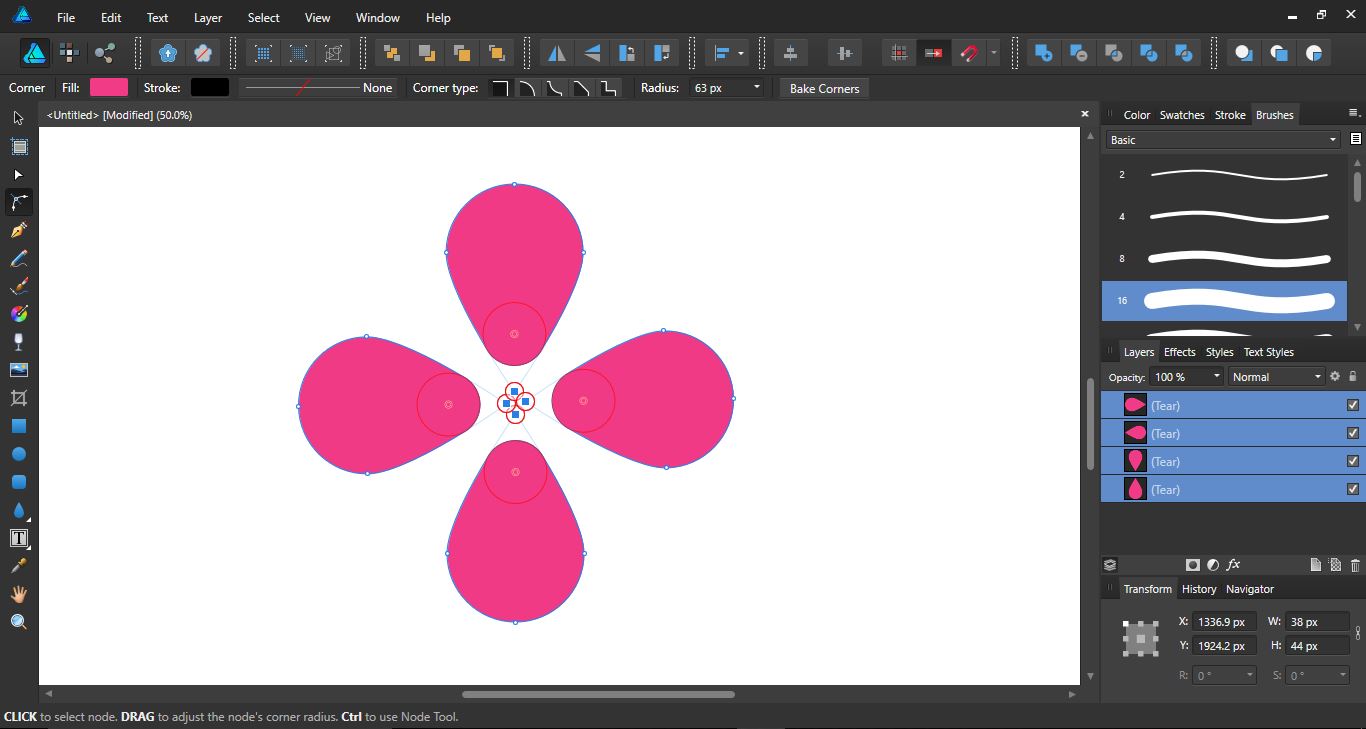
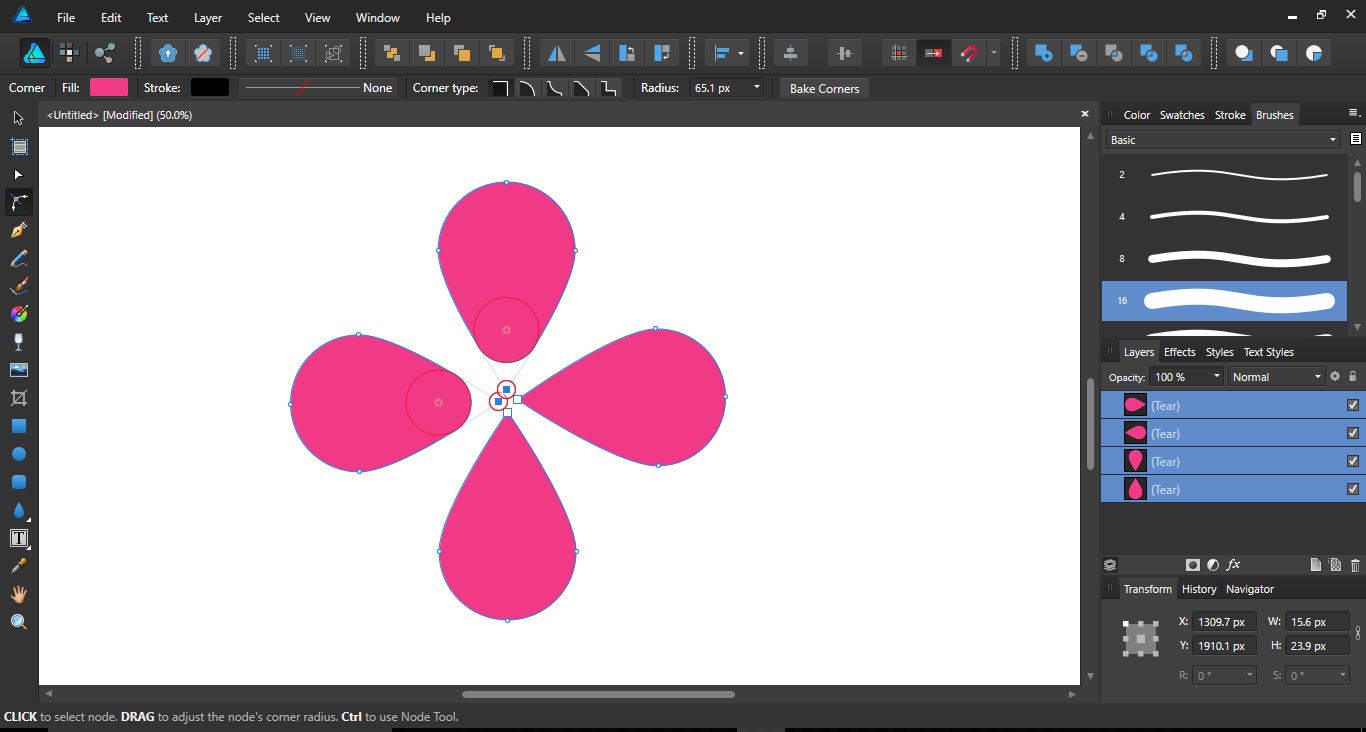
By individually selecting points, you can edit specific parts of the design. In our example below, we selected two points. When editing the one, the second is also adjusted but the rest of the design is left untouched. As long as the required points are selected with the Corner Tool, they will all adjust at the same time.
Step 4 - Use the Corner Tool with Fonts
Did you know that the Corner Tool can also be used with fonts? In order for this to work we need to convert the text to a path in Affinity Designer.
When converted, the letters will be placed onto individual layers and grouped. We need to ungroup this layer. Right click the grouped layer under the Layers Panel and select Ungroup.
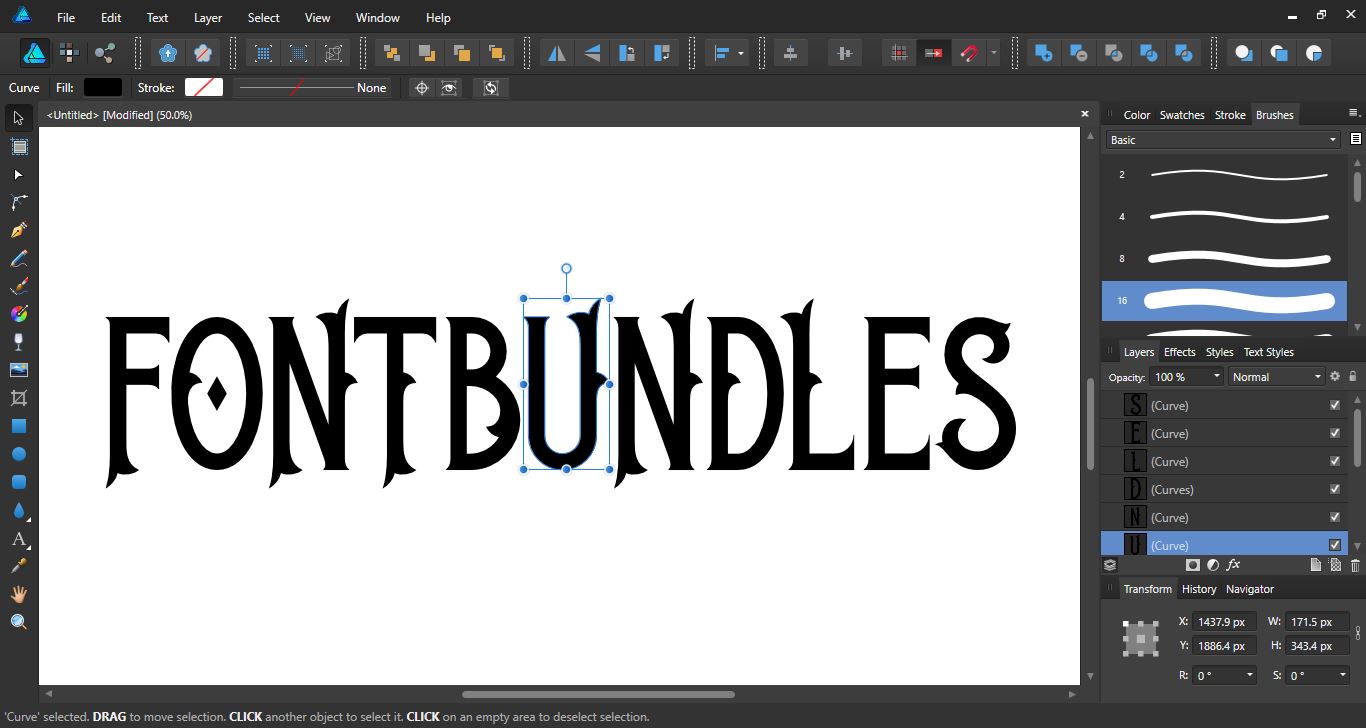
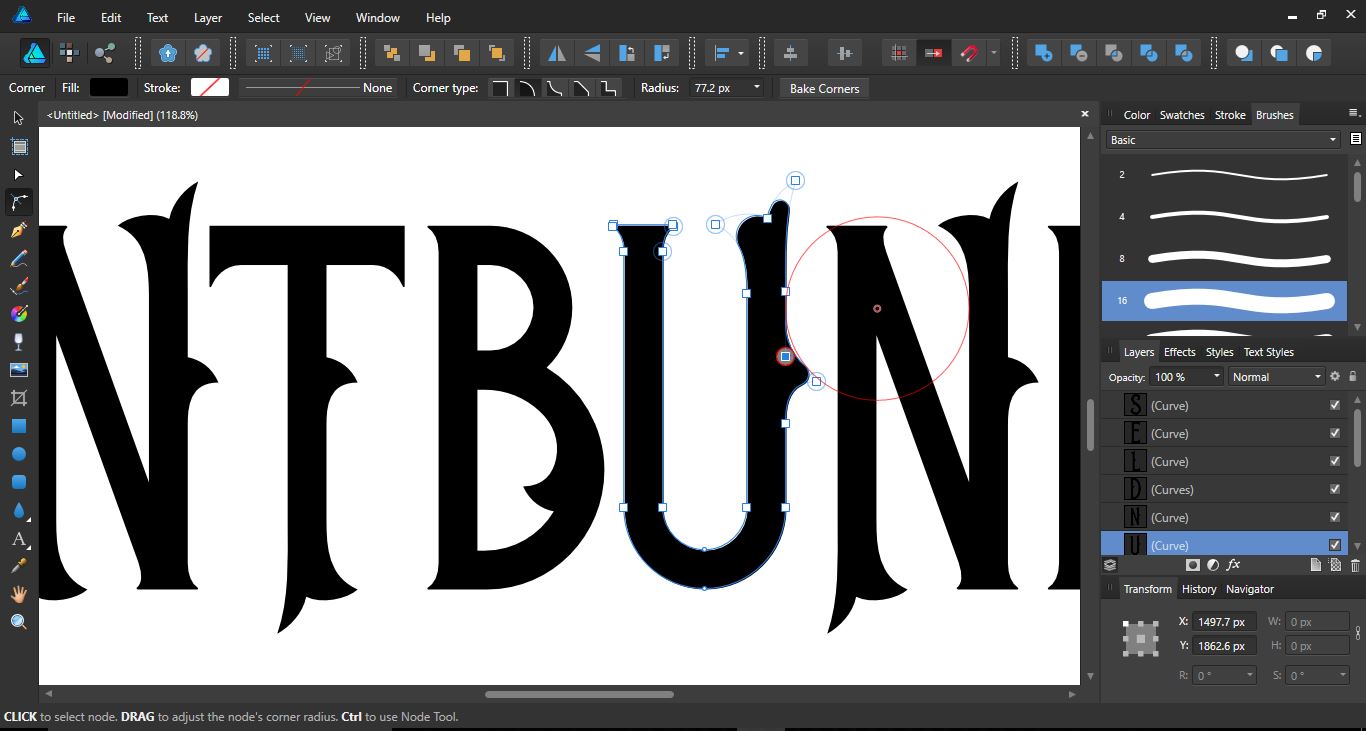
Under the Layers Panel click on the letter layer that you want to adjust. Next, select the Corner Tool. You will see the corner points appear as before and can now adjust as needed.

Select a corner point, then click + drag inward to curve the corner. Clicking + dragging the corner point outwards will reverse the curve.
We hope that you found this tutorial on how to use the Corner Tool in Affinity Designer informative. With this tool, designs can be created from the most basic of shapes and fonts adjusted. You can also use the Corner Tool to quickly edit multiple areas of shapes and designs.


