Light burst text effect in Photoshop
1- Open Photoshop.
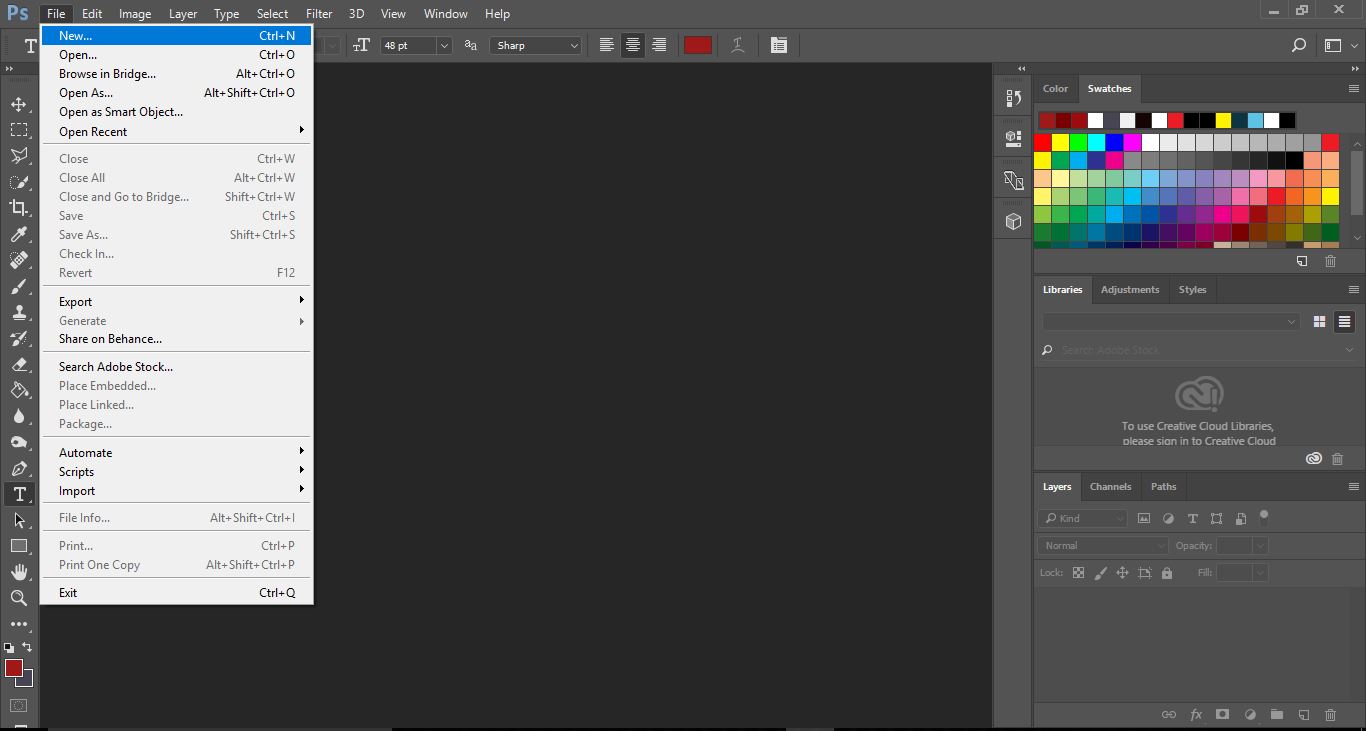
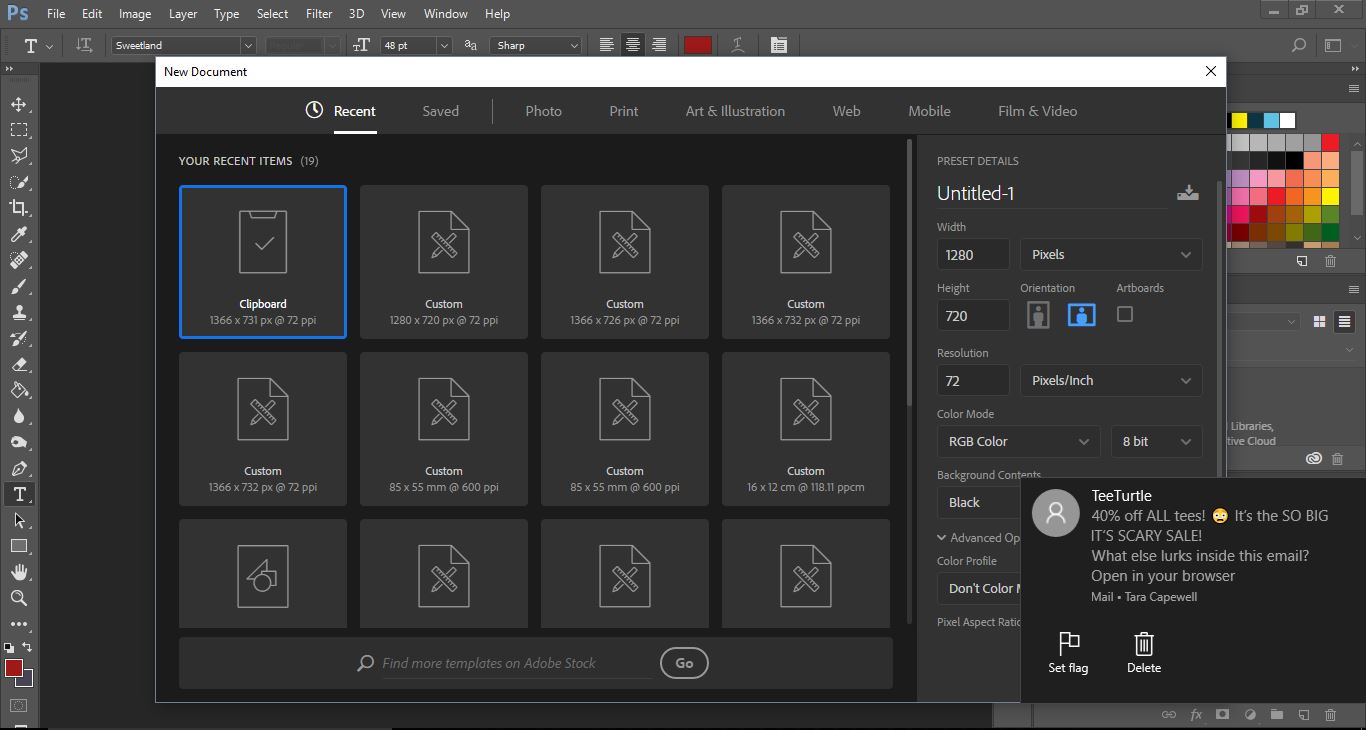
2- Create a new file. File > New.
3- When creating the new file ensure that the background colour is set on black.
4- Select the text tool.Then select your font. I am usingFresh squeezed duofromFont Bundles. Change your text size to suit your needs, make sure Sharp is selected and them change the text colour to white. Click on OK.

5- Type your text.
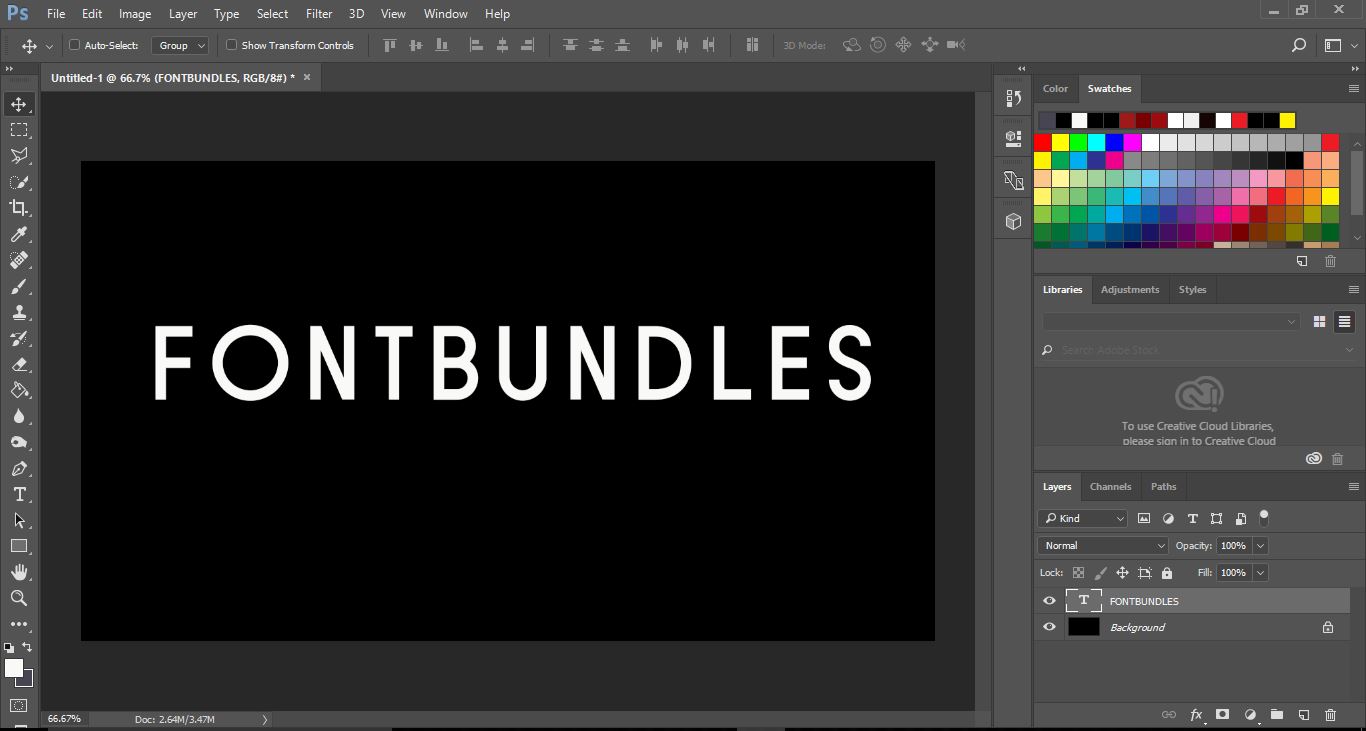
6- Deslect the text (esc) and check the move too to adjust where you want the text on your screen.
then click on the FX icon and select the blending options.
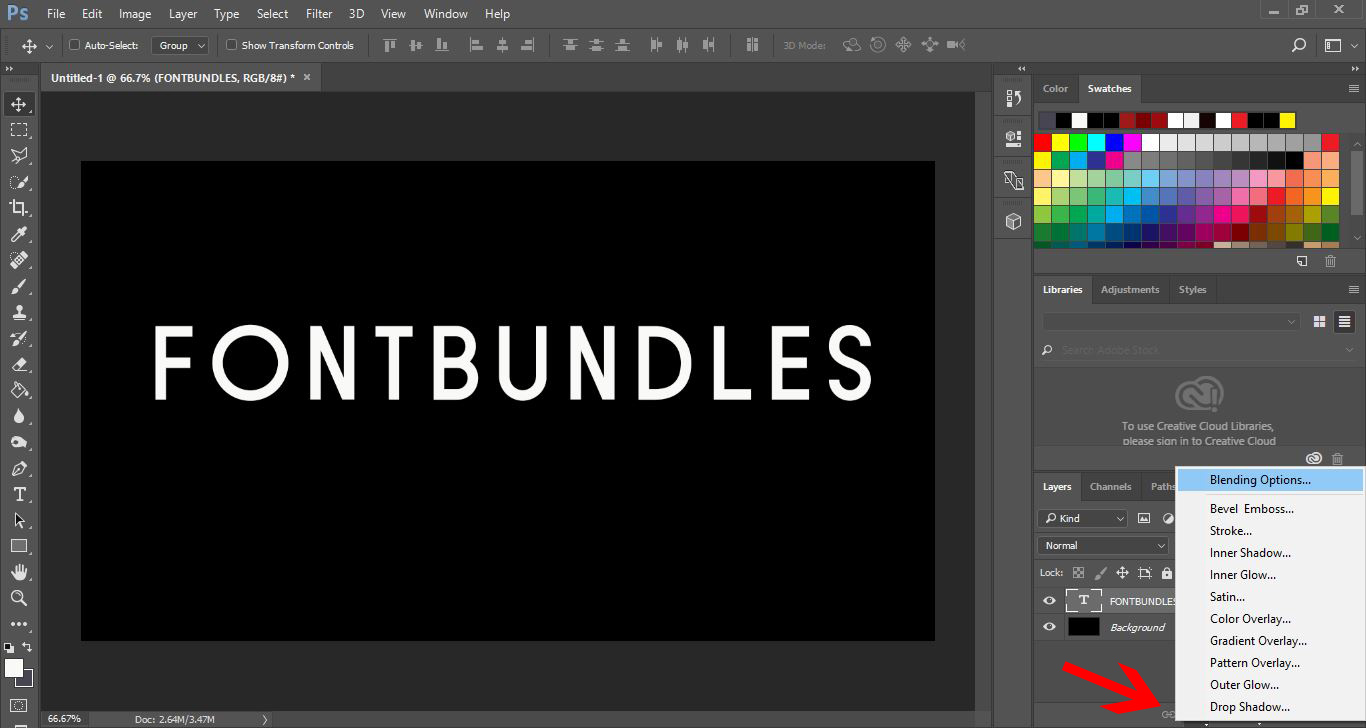
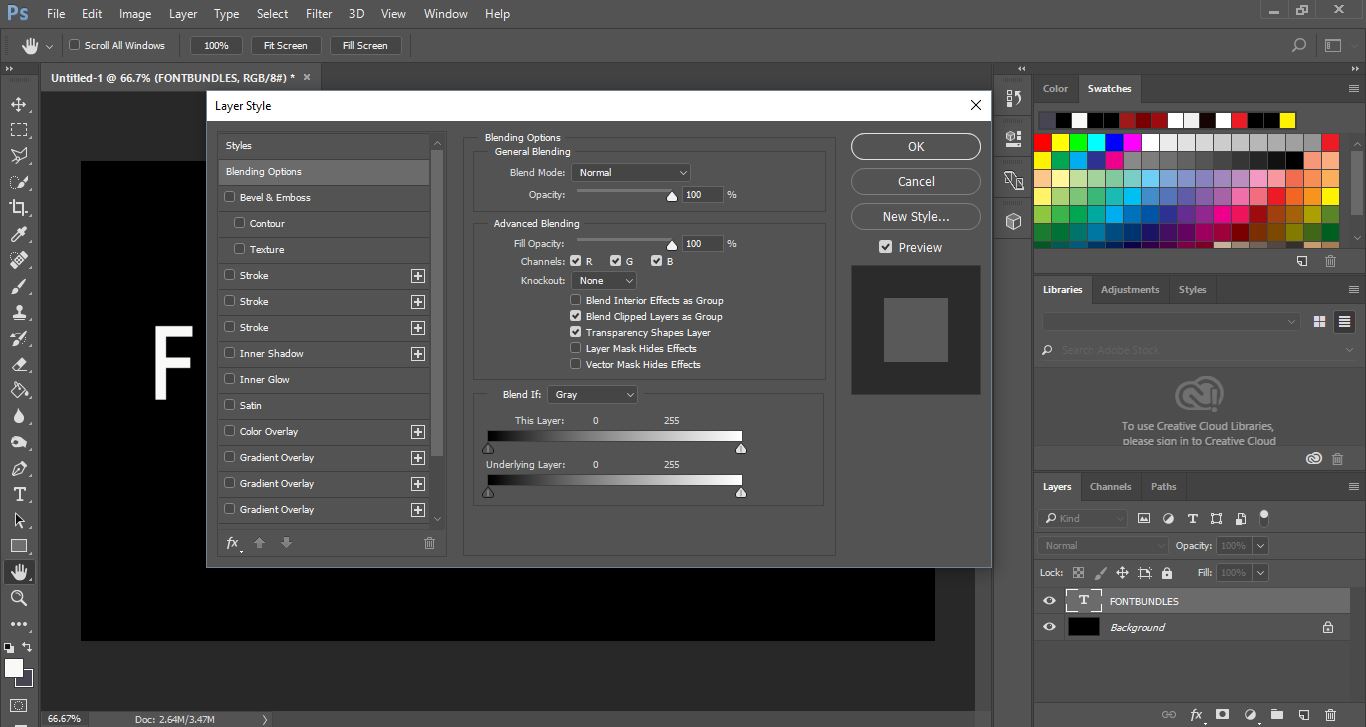
7- A new window will appear.
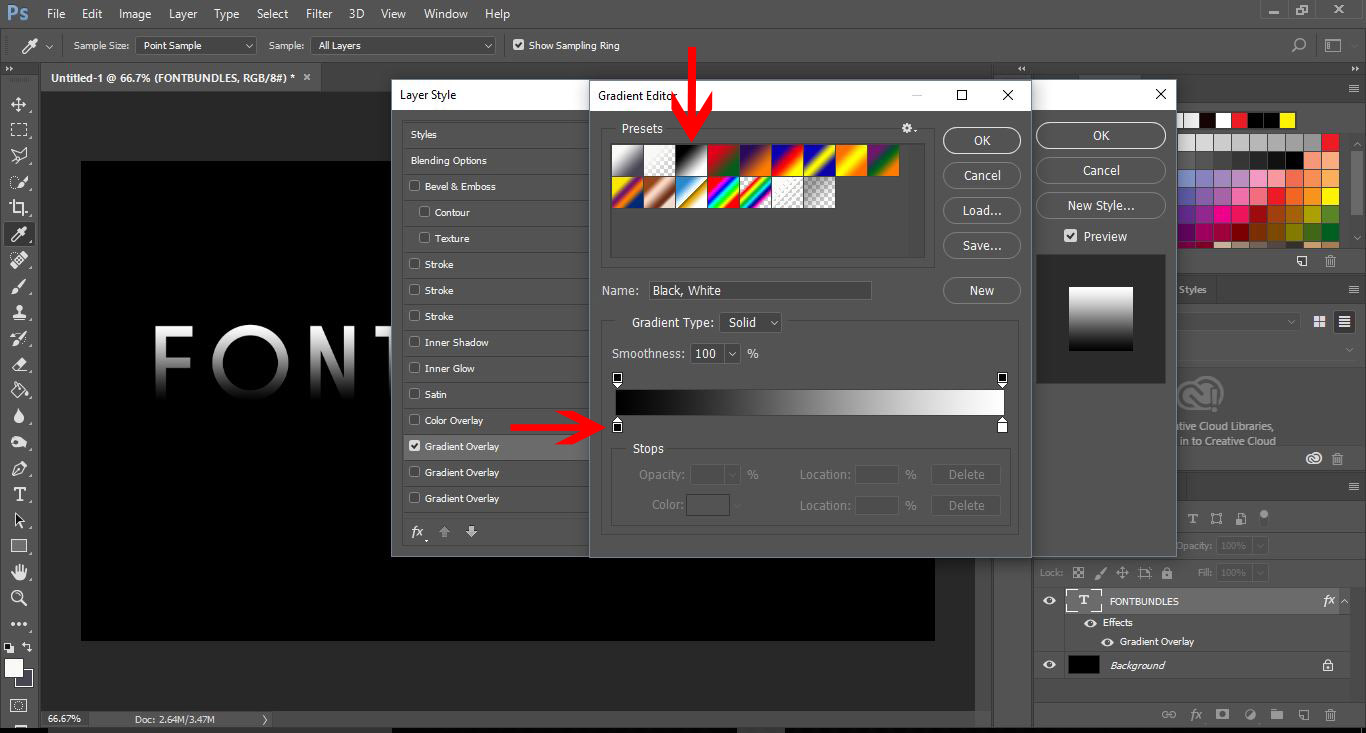
8- Select gradient overlay, then click on the gradient bar.
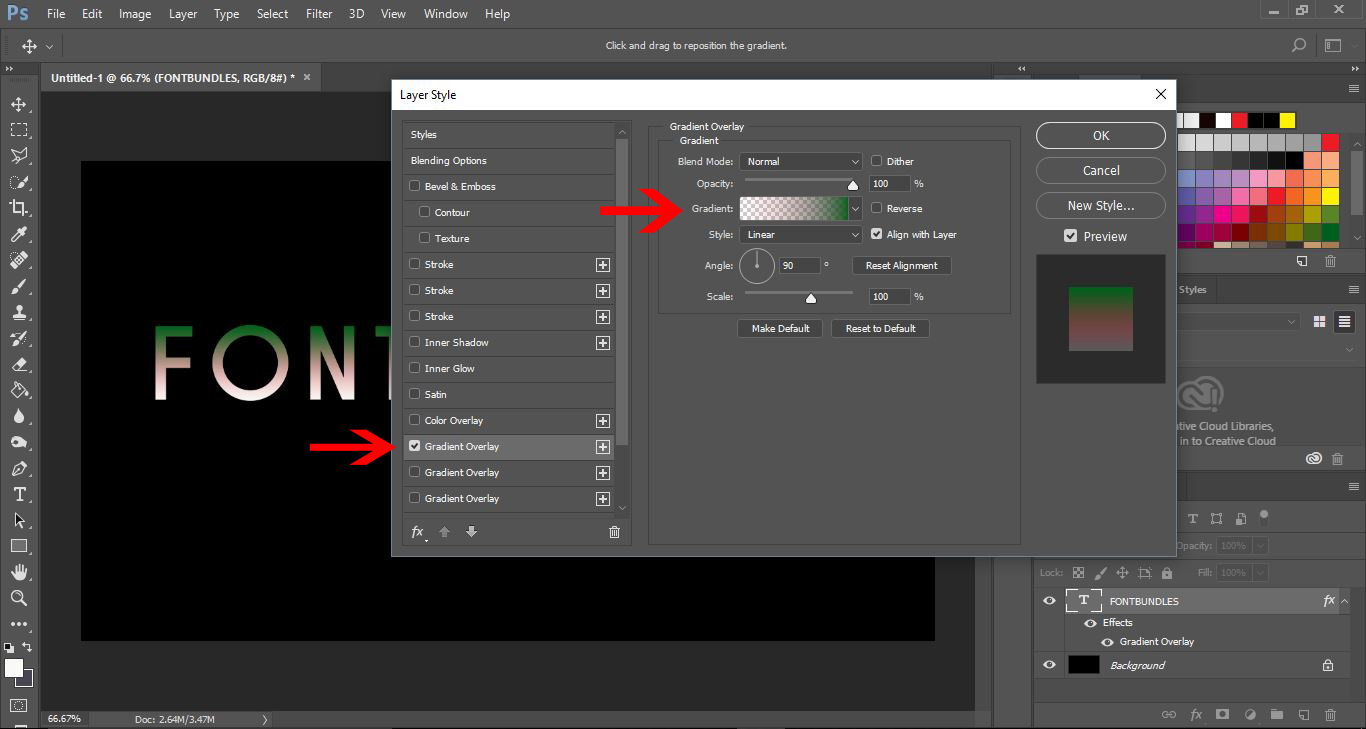
9-A second window will pop up. Select the 3rd gradient, then click on the bottom left node on the gradient slider.
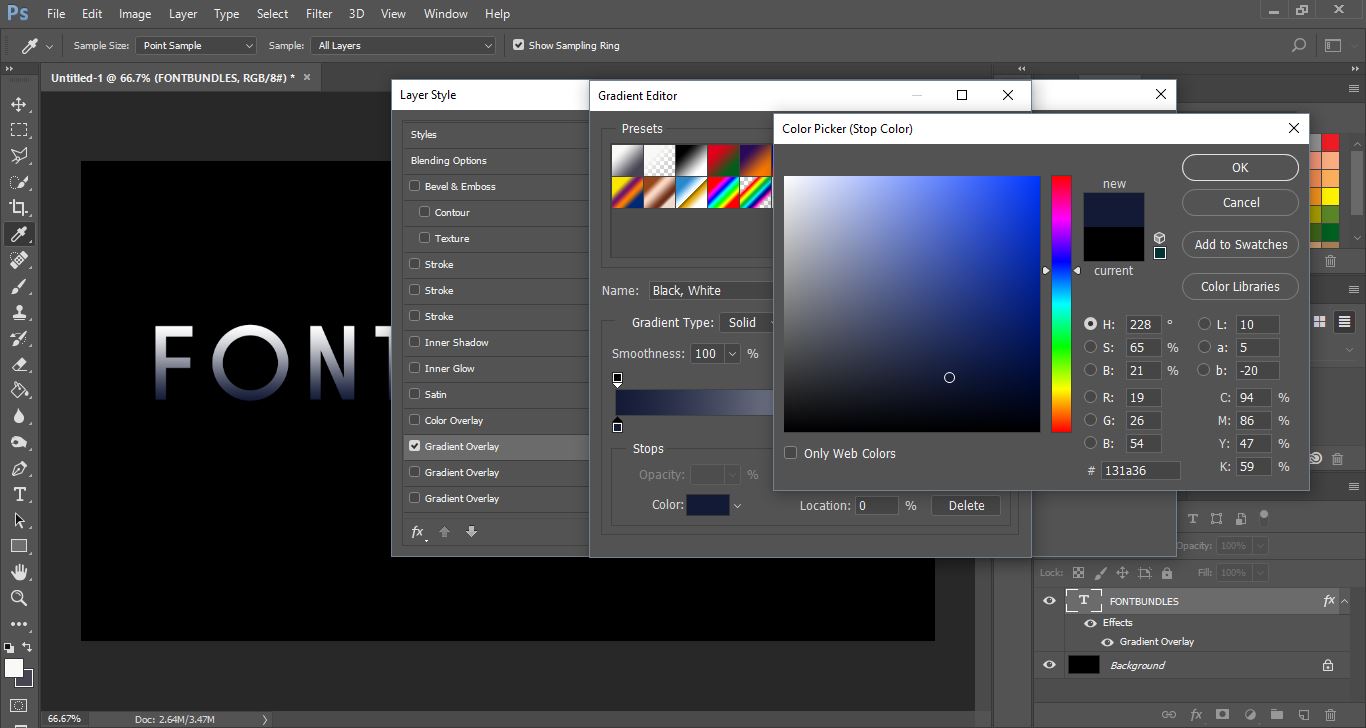
10- A 3rd window will appear. select your first colour on the colour picker. Make sure it is a dark colour. I have picked a navy blue.Click OK.
11- Now click on the bottom right node on the gradient slider.
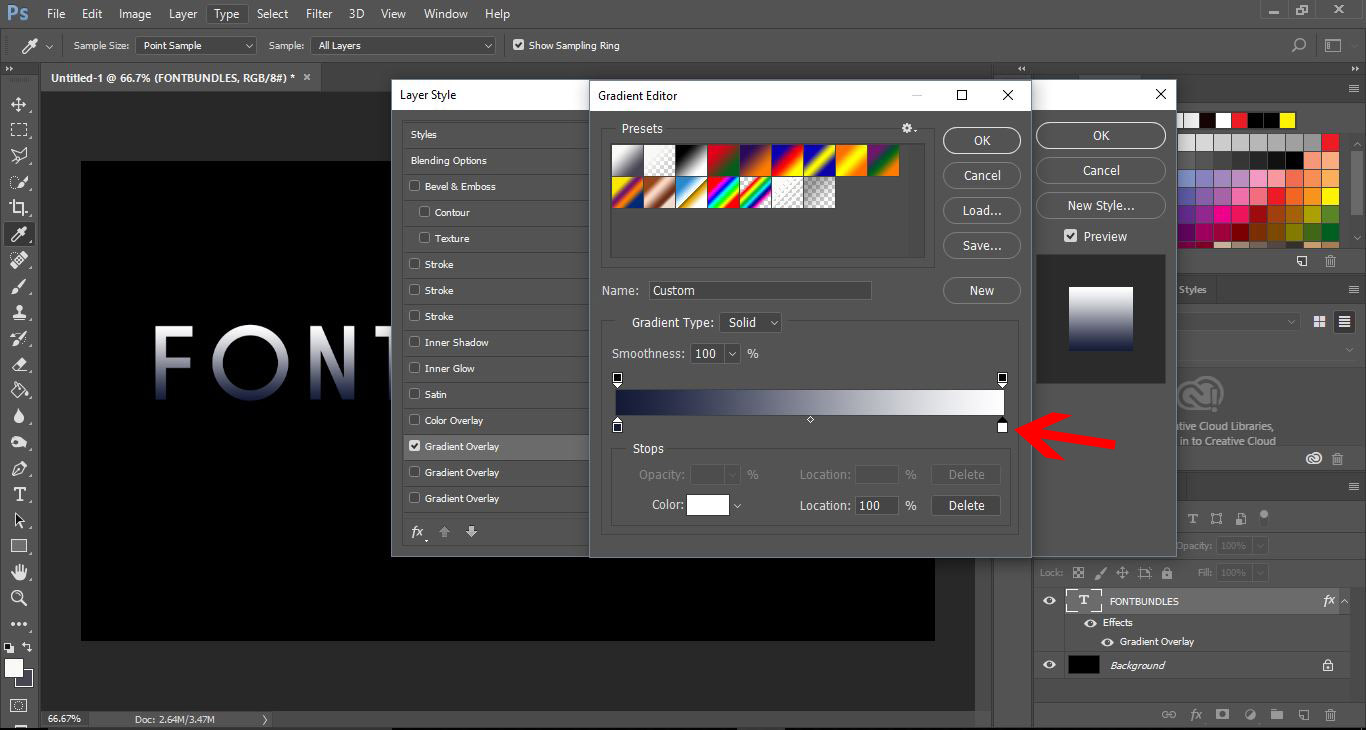
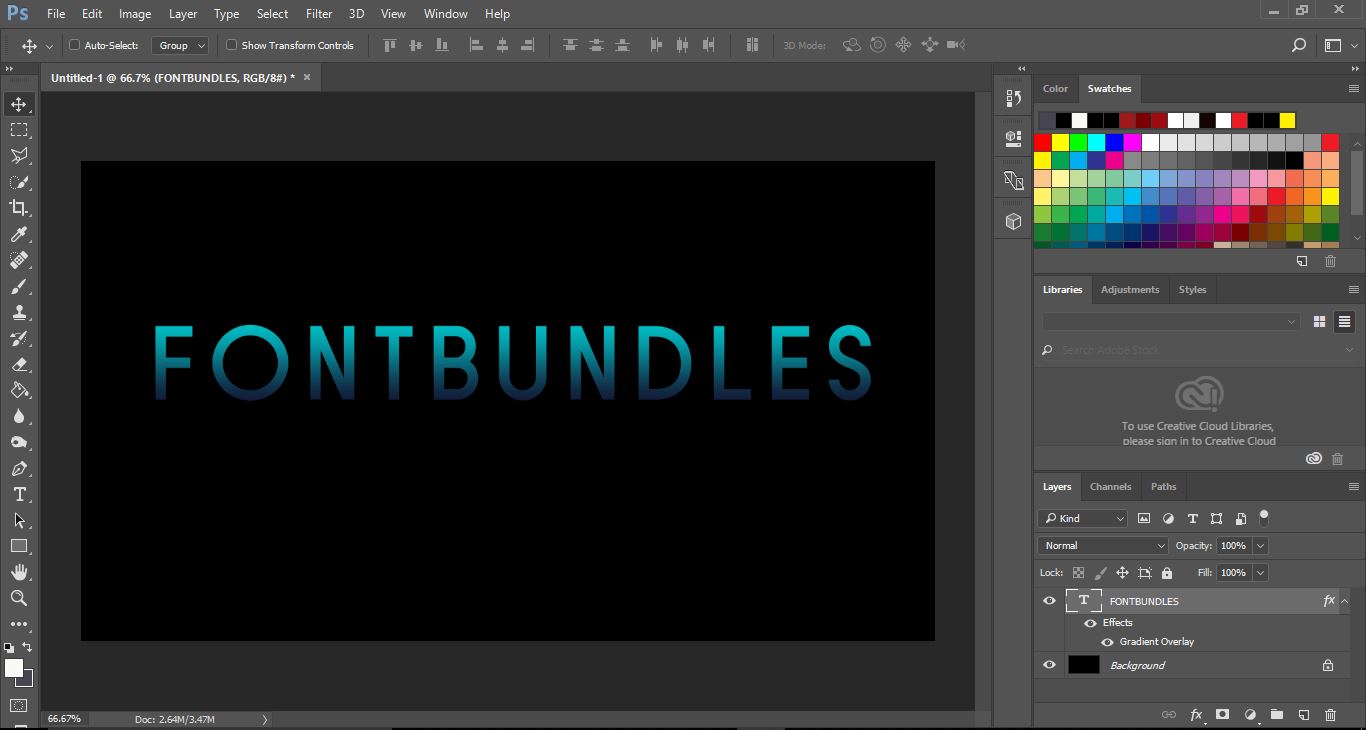
12- the colour picker window will reappear. This time pick the same colour hue but in a lighter shade. I picked a light blue. Click OK.
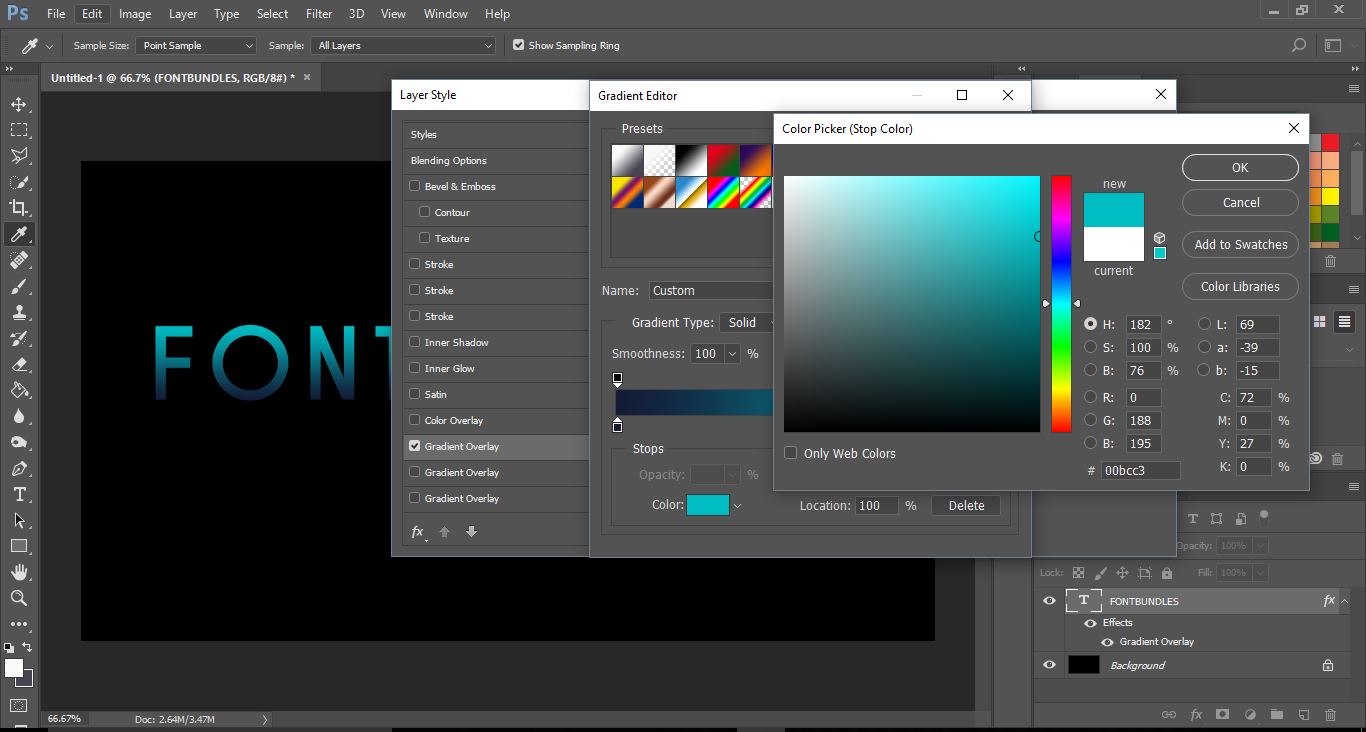
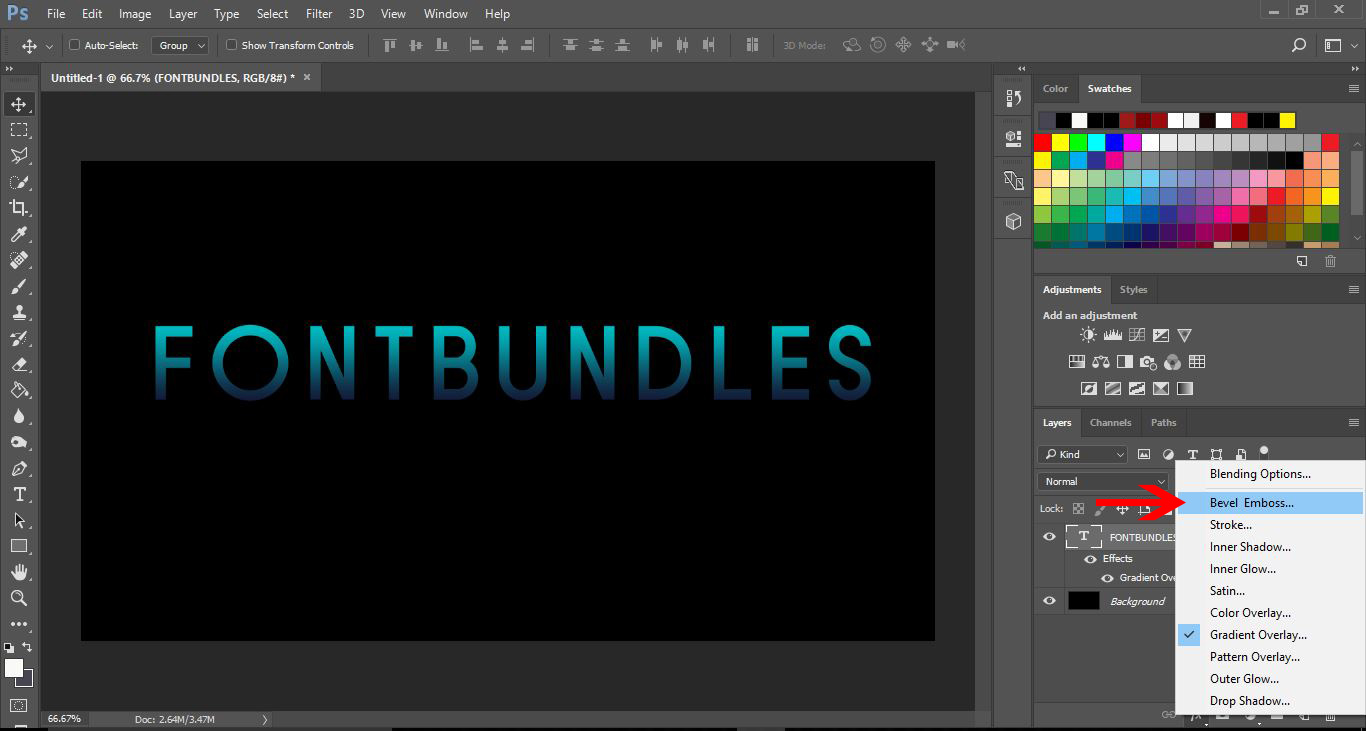
13- Your text has a coloured gradient in it.
14- Click on the FX icon and select bevel emboss.
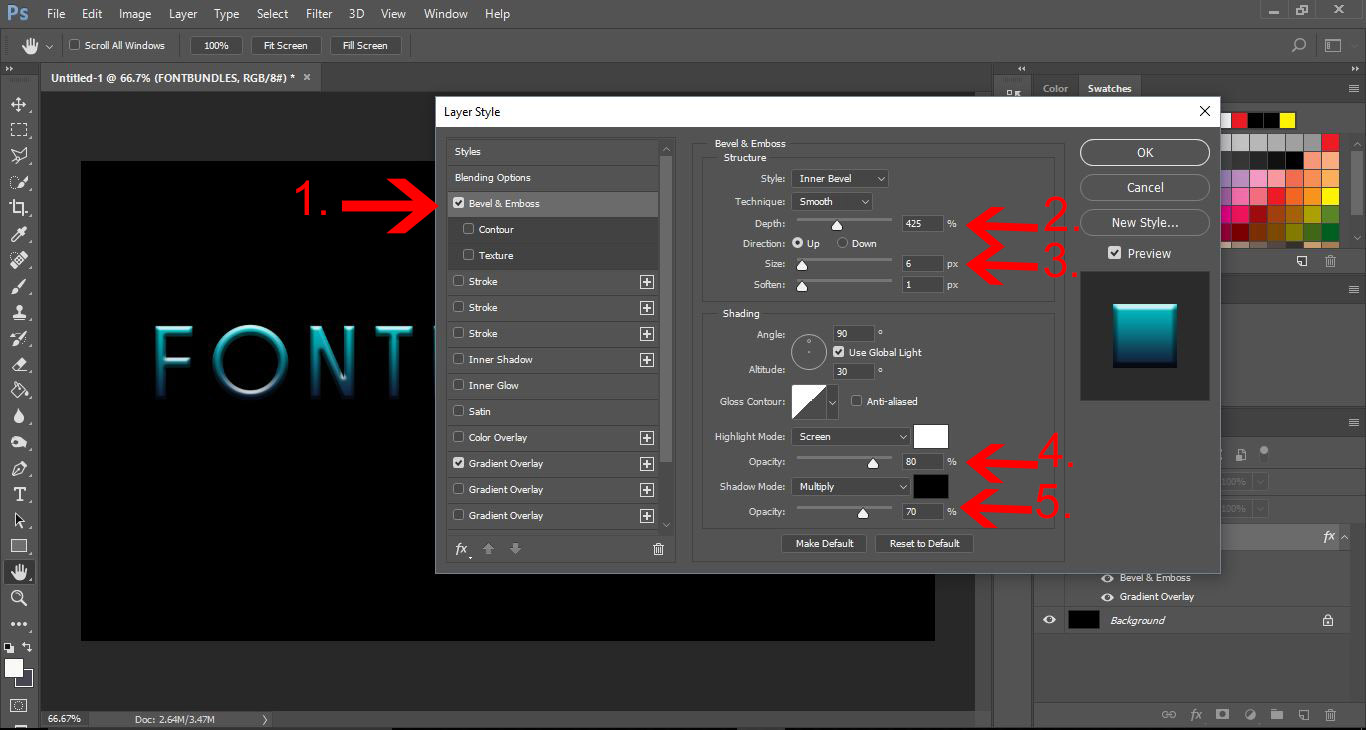
15- A new window will appear. Select bevel emboss (1). We now need to change a few settings. We need to change the depth to at least 425% (2). Next increase the size to 6 px (3), then change the highlight mode opacity to 80% (4) and finally chnge the shadow mode to approx 70% (5).
Click OK.
16- Duplicate the top layer 3 times.
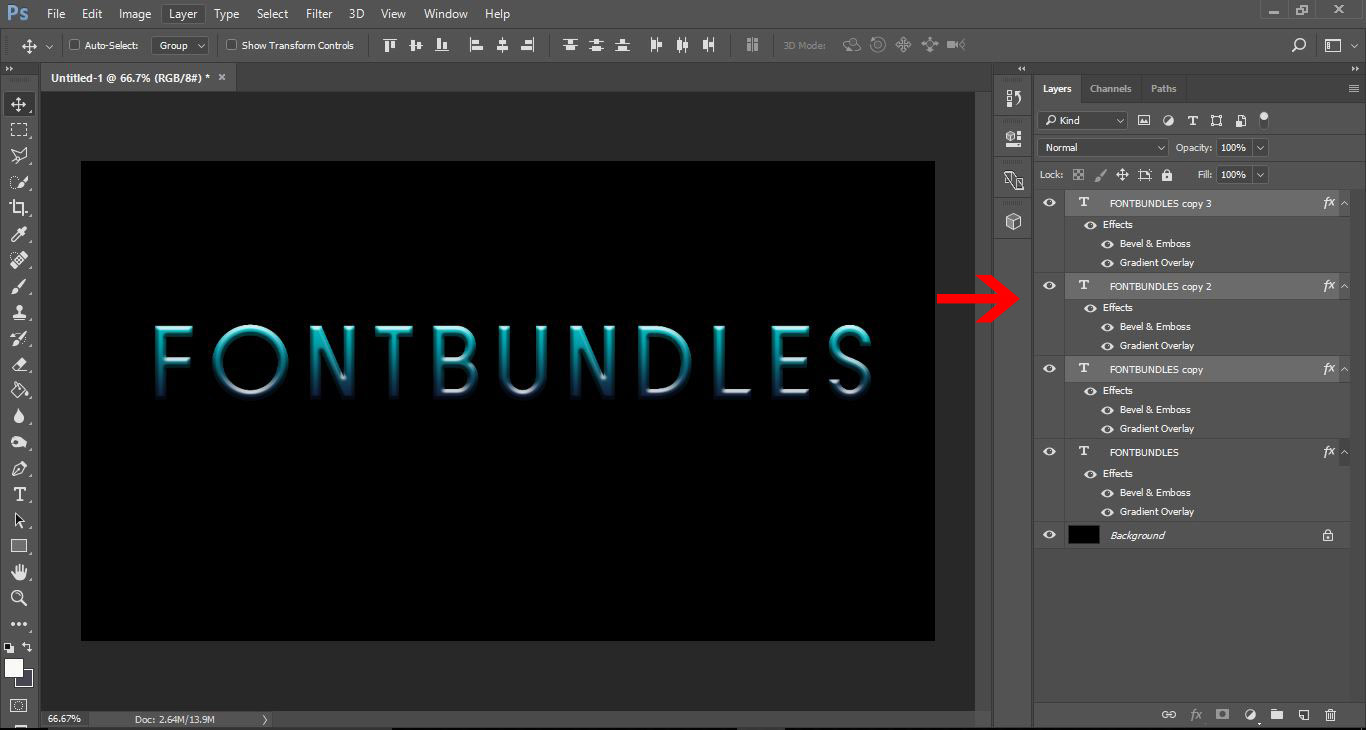
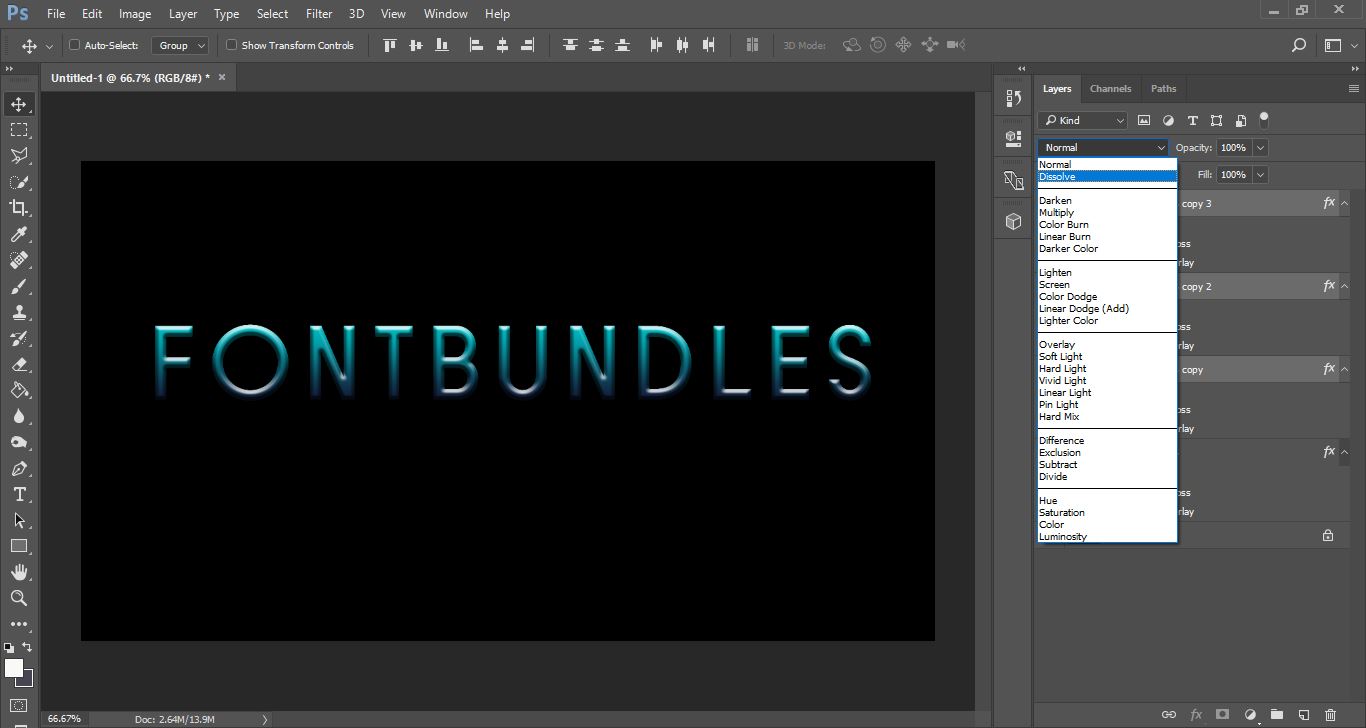
17- With all 3 layers you duplicated, change the blend mode to dissolve.
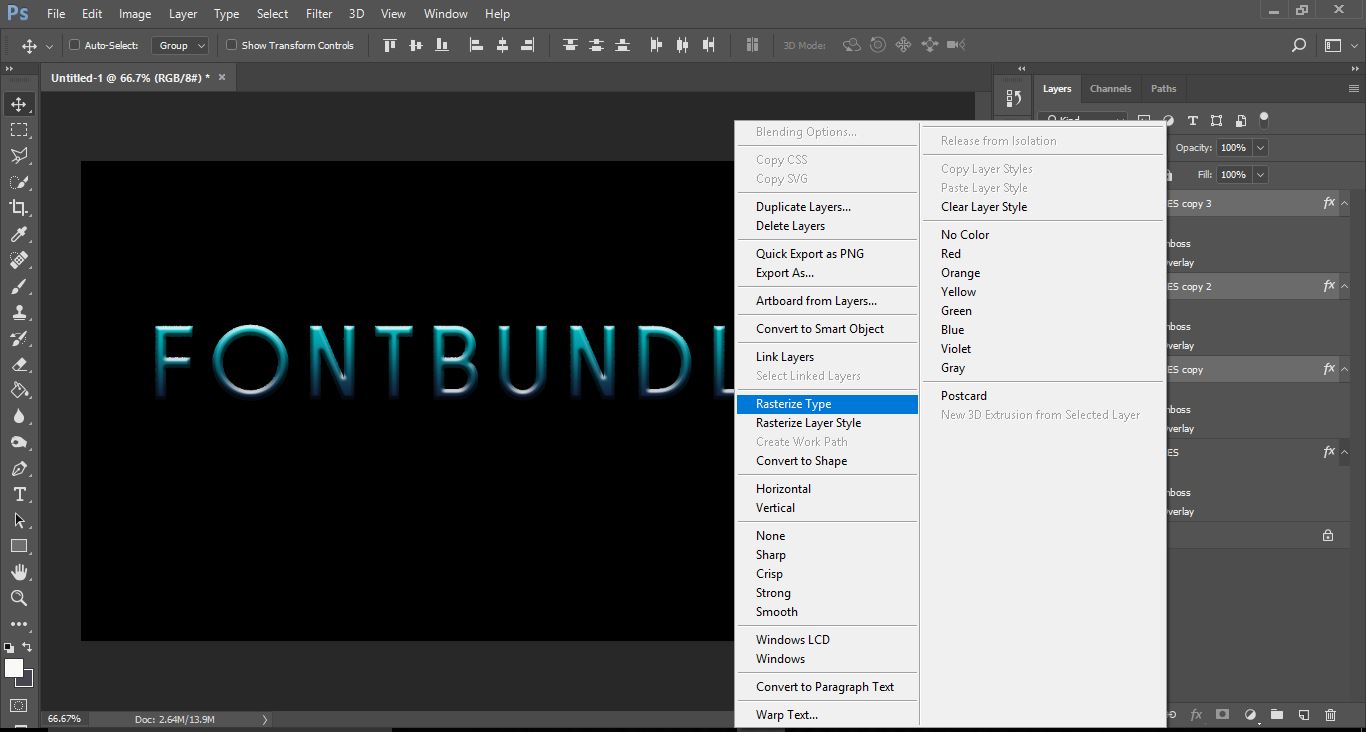
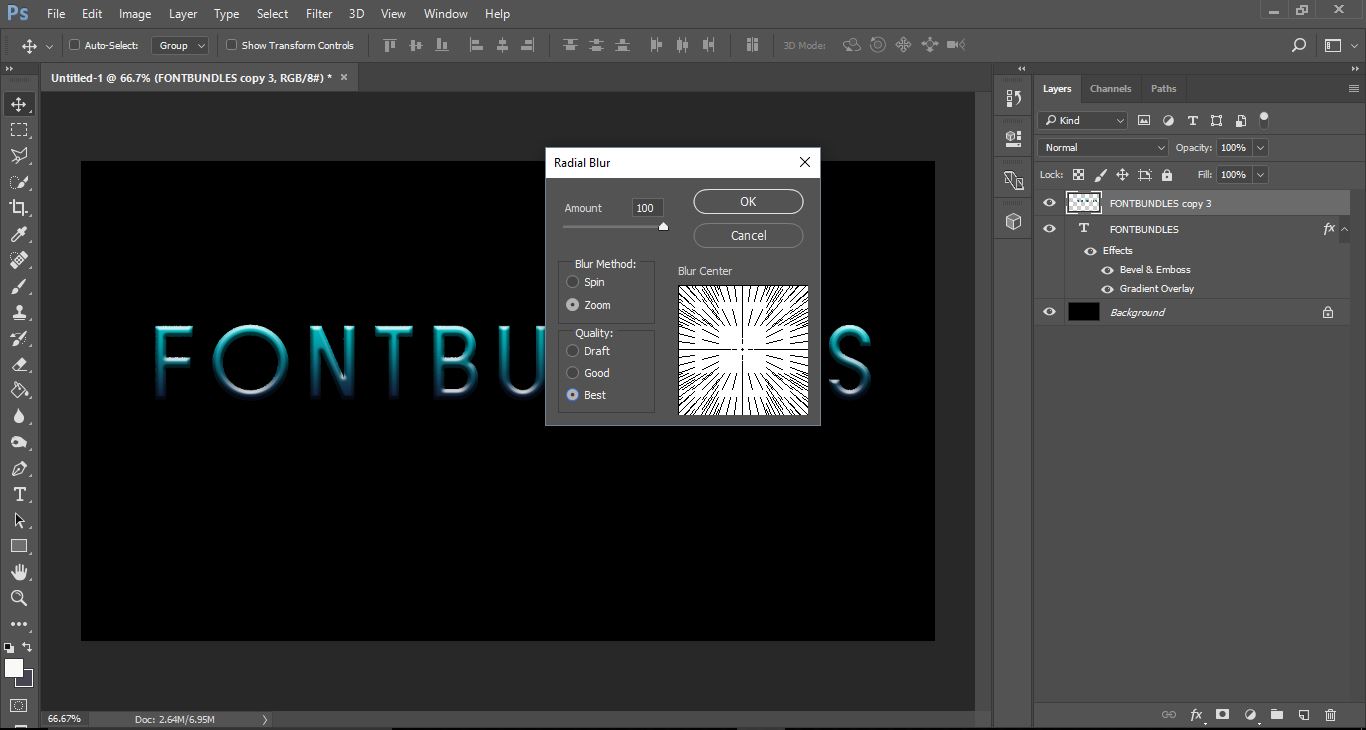
18- Right click the top layer of the 3 selected and then select rasterize type.
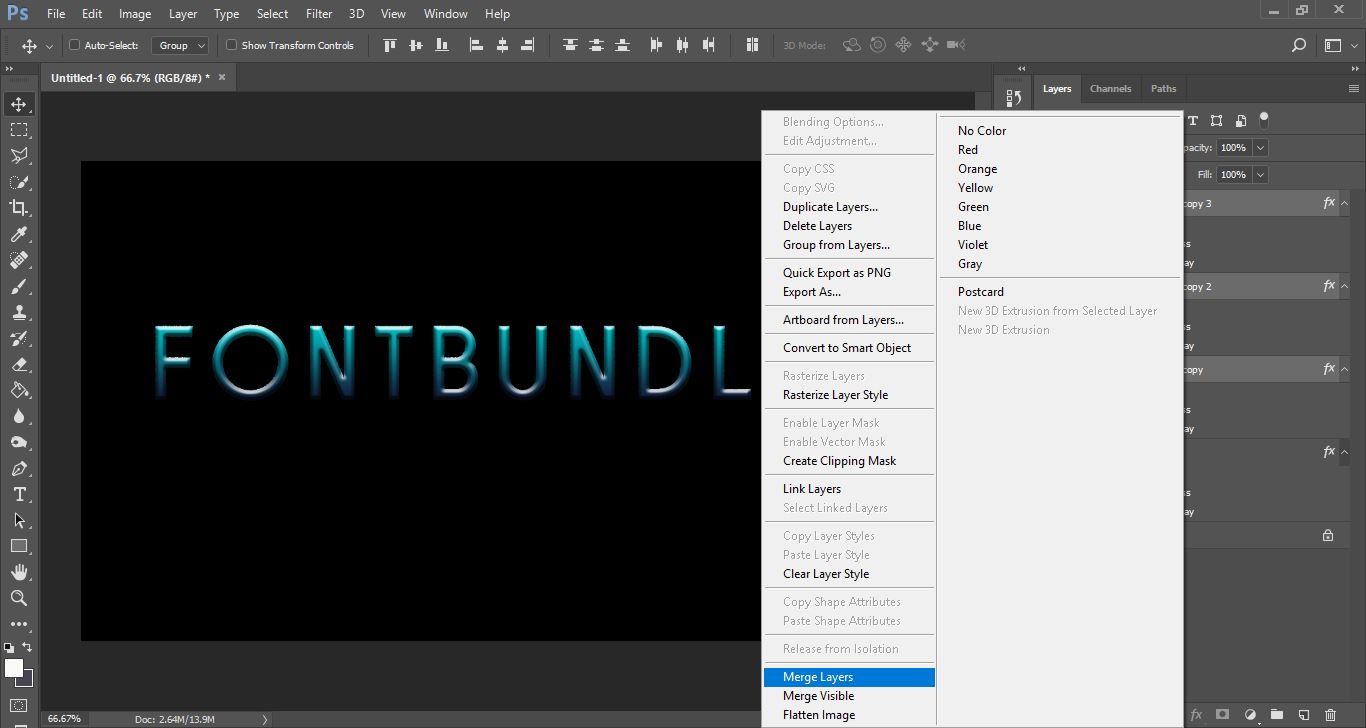
19- Right click again and this time select merge layers.
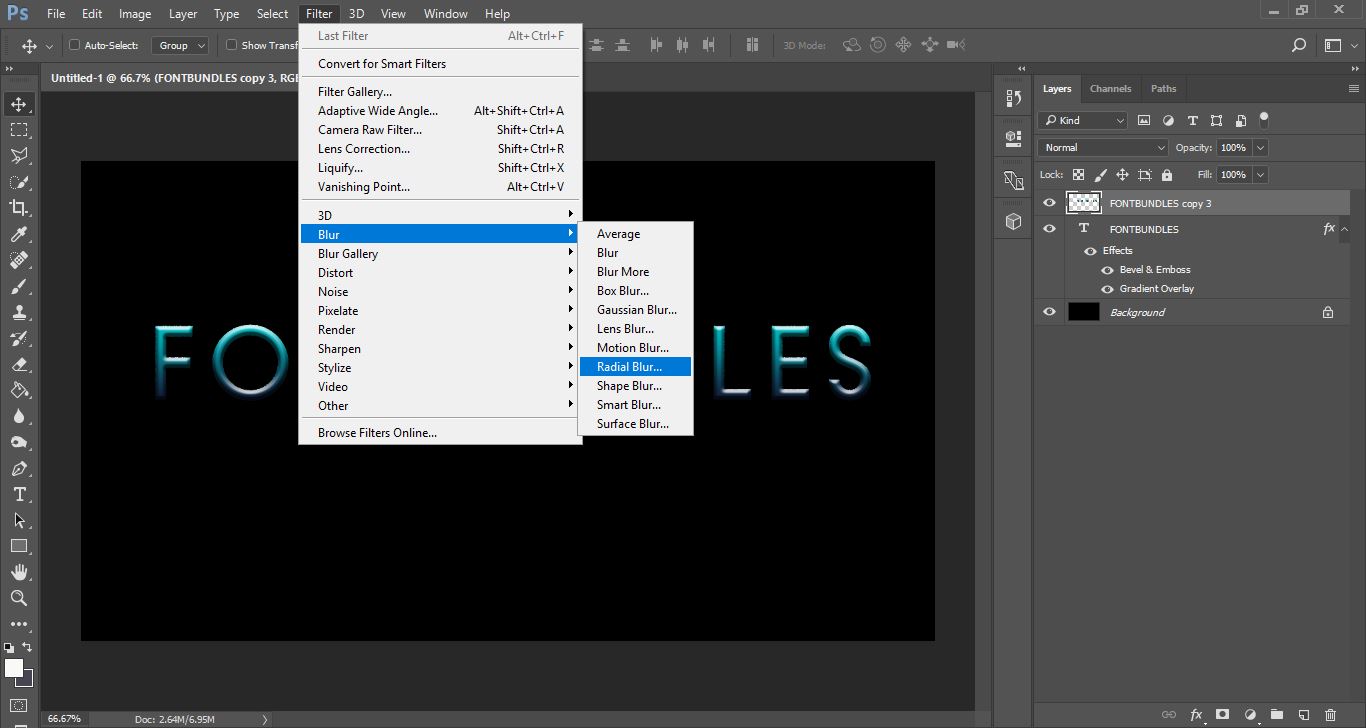
20- With the merged layers selected click on filter > blur > radial blur.
21- In the new window change the blur method to zoom and 100%, then change the quality to best.Click OK.
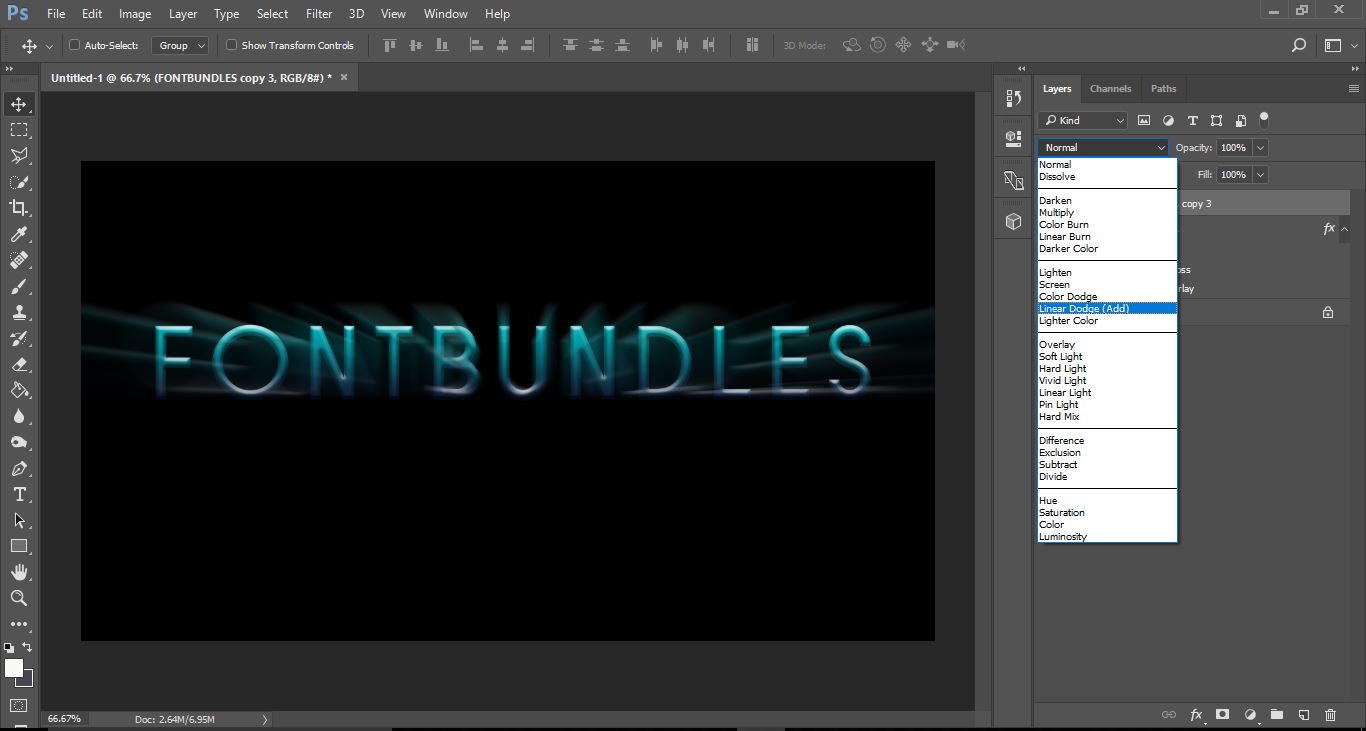
22- With the merge layers still selected change the blend mode to dodge(ADD).
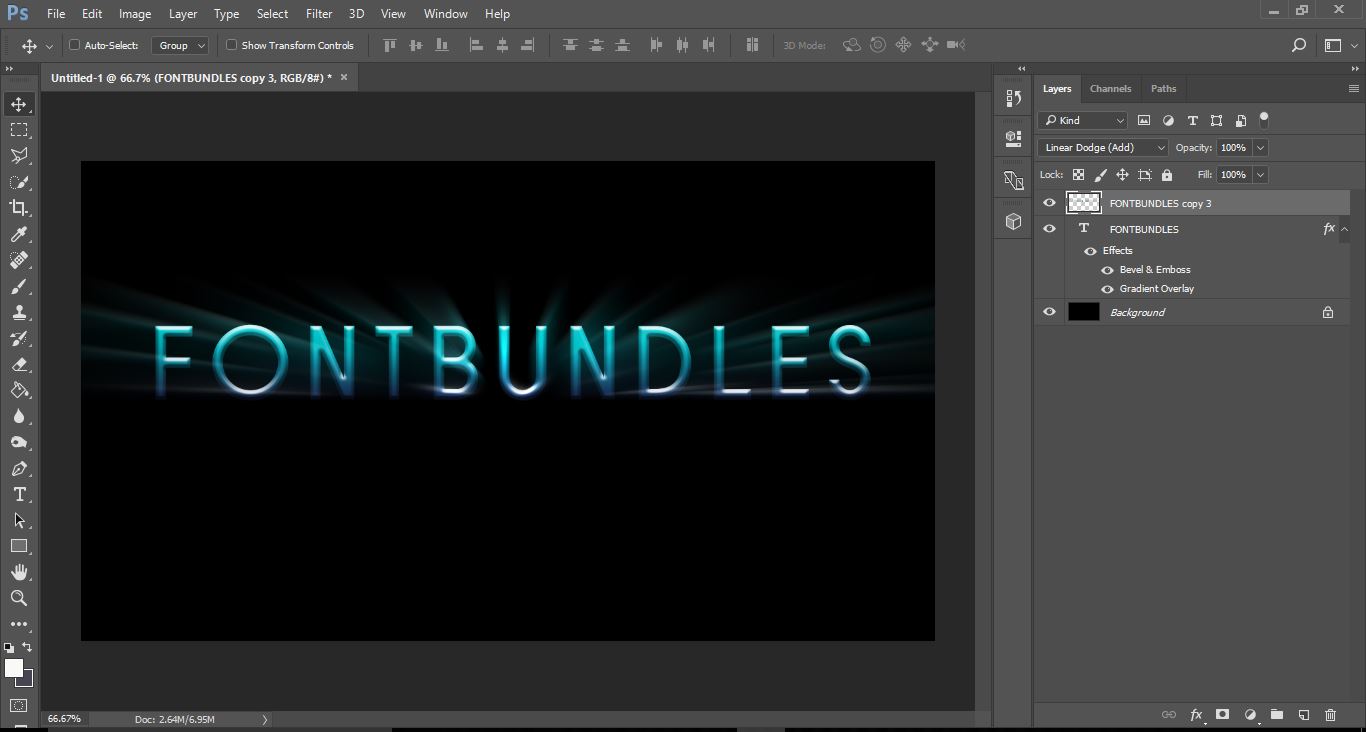
23- To sharpen and intensify the effect more, go to filter > blur > radial blur.
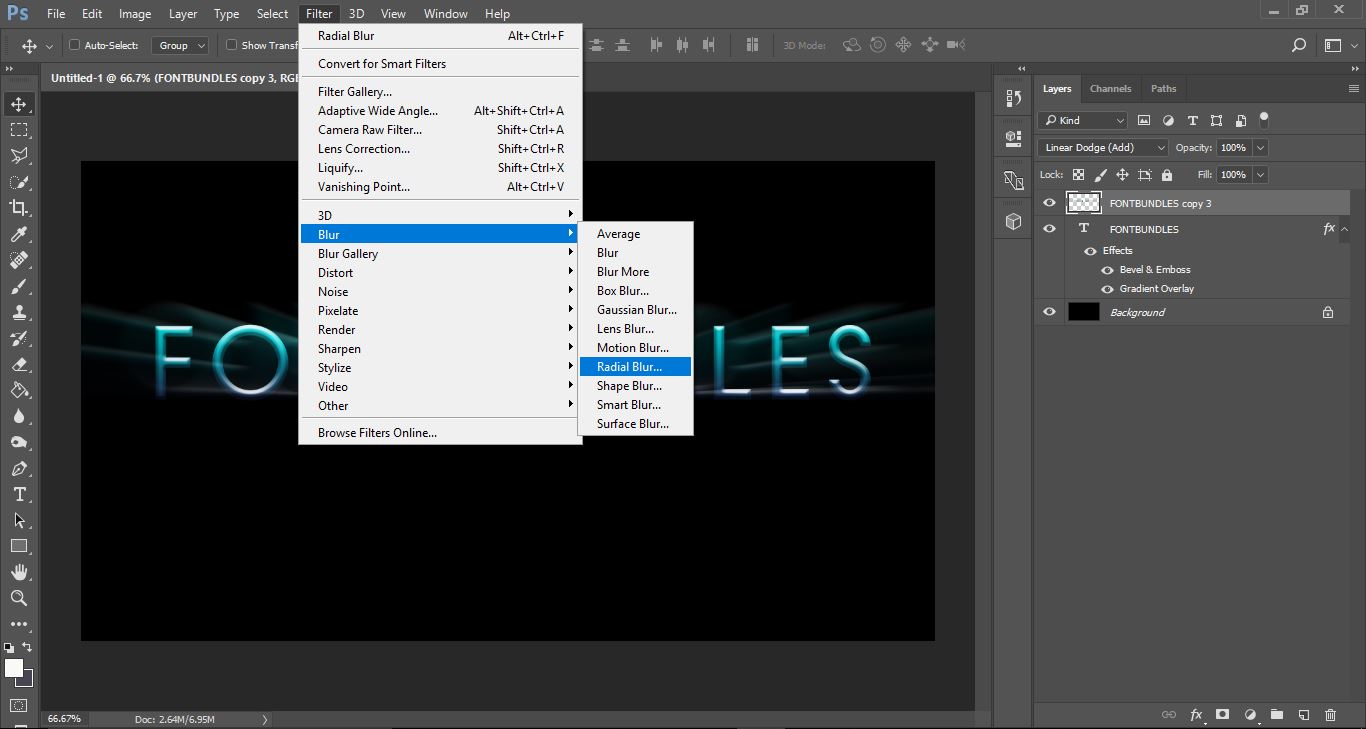
24- Leave the settings the same and click OK.
25- Your light burst effect is now finished.