Potato Chips Text Effect in Photoshop
For this tutorial, we are going to use some “Potato Chips Textures” and a nice image to use as “Background”. You can download some free ones from the internet or create your own. We will also use the Free Font “Fat Love”.
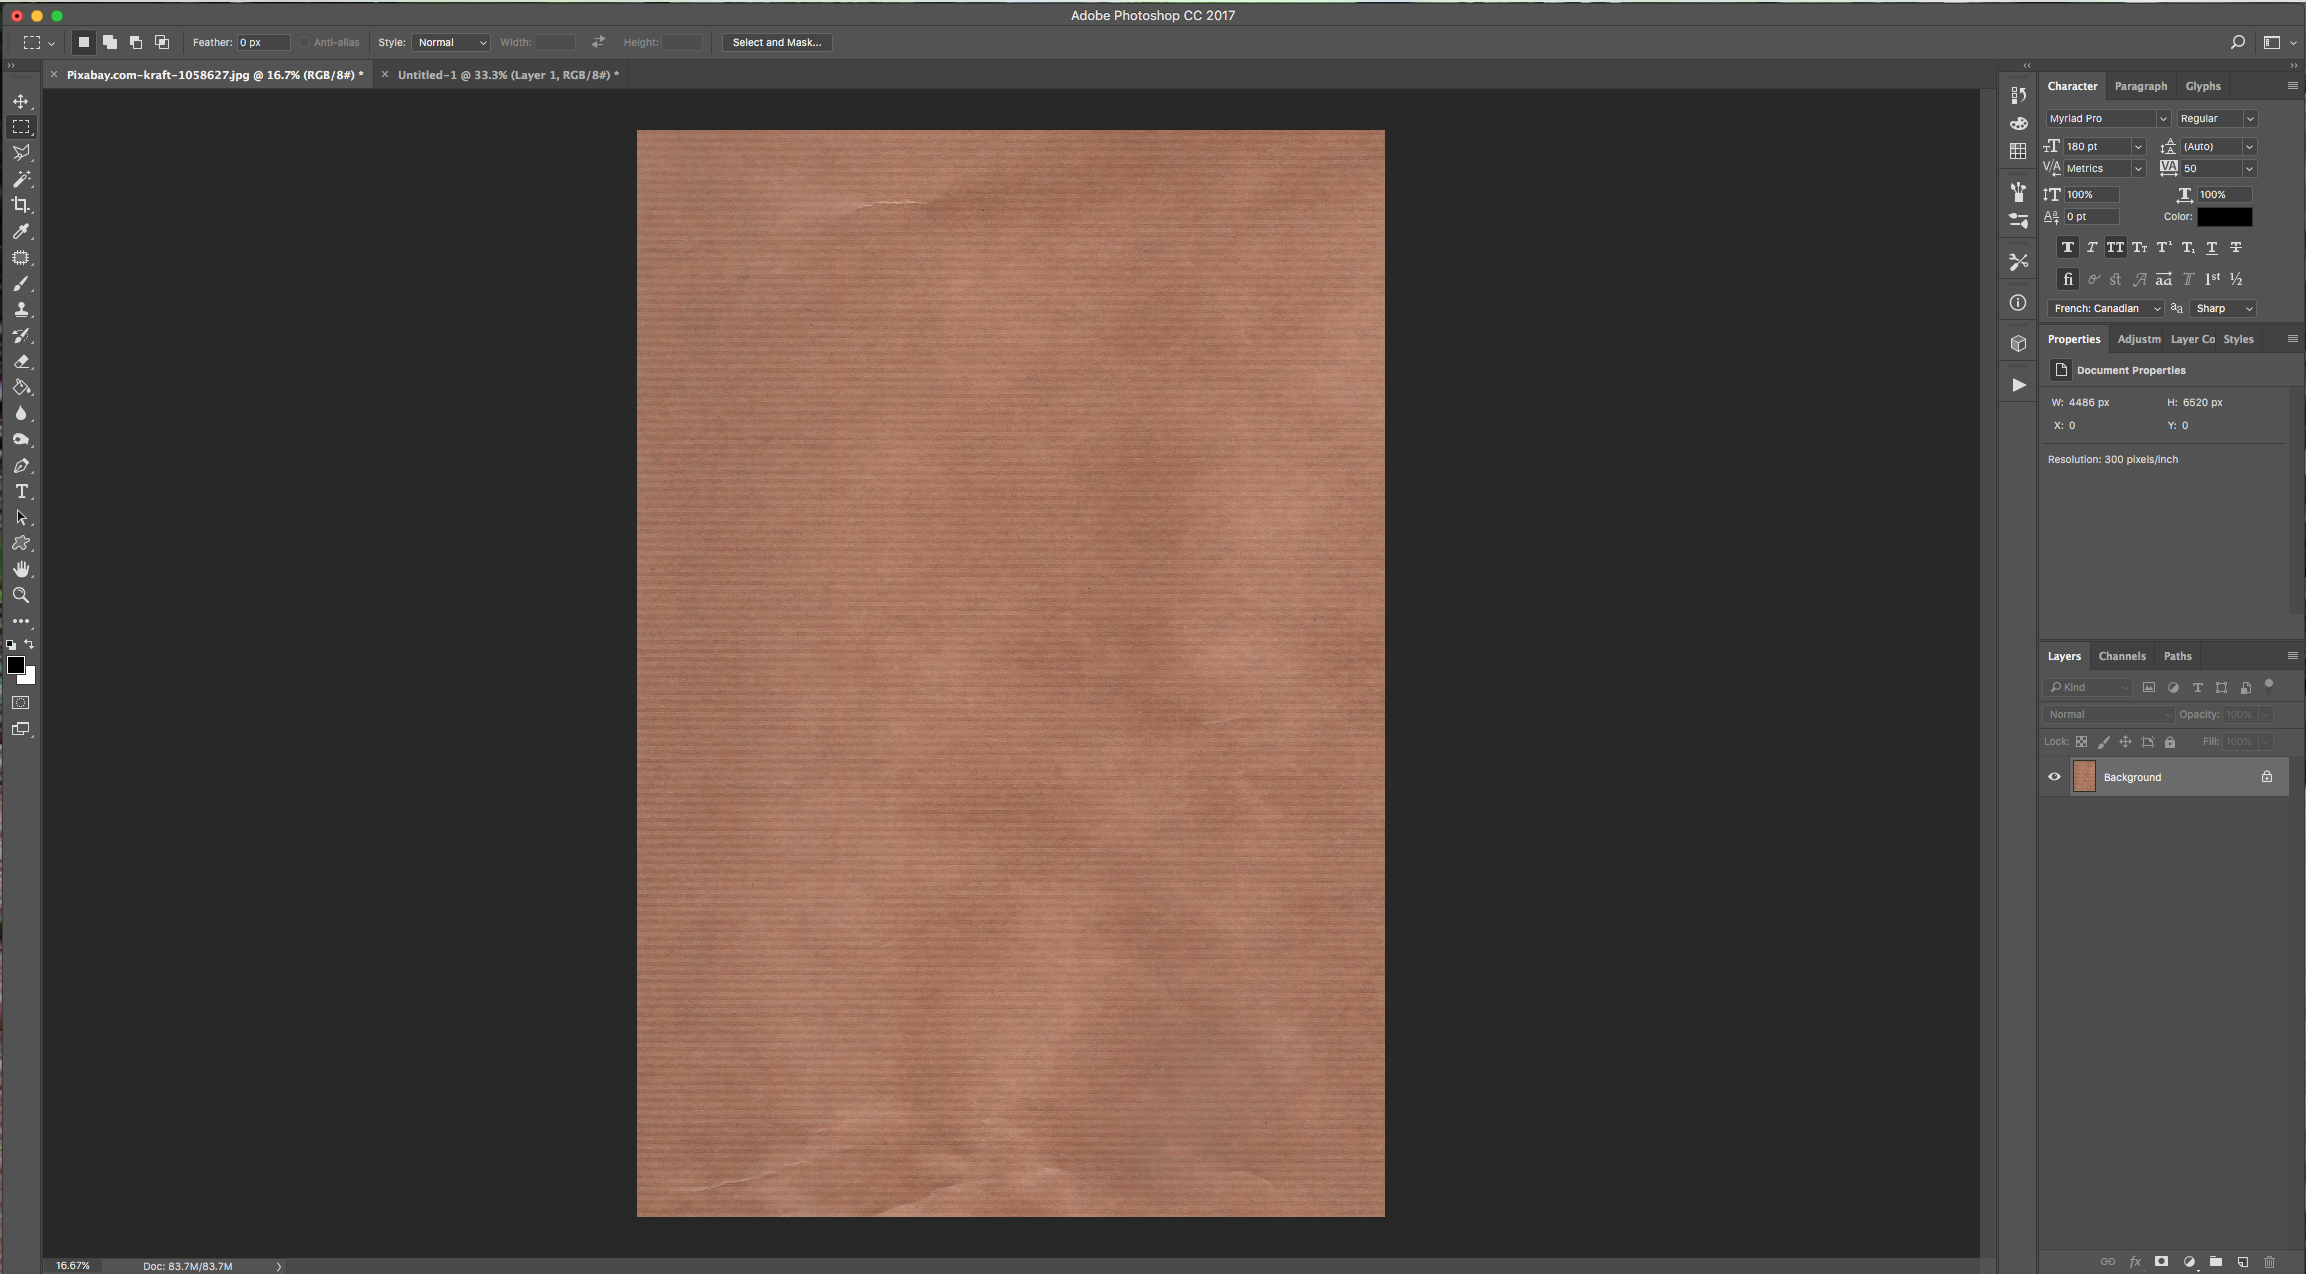
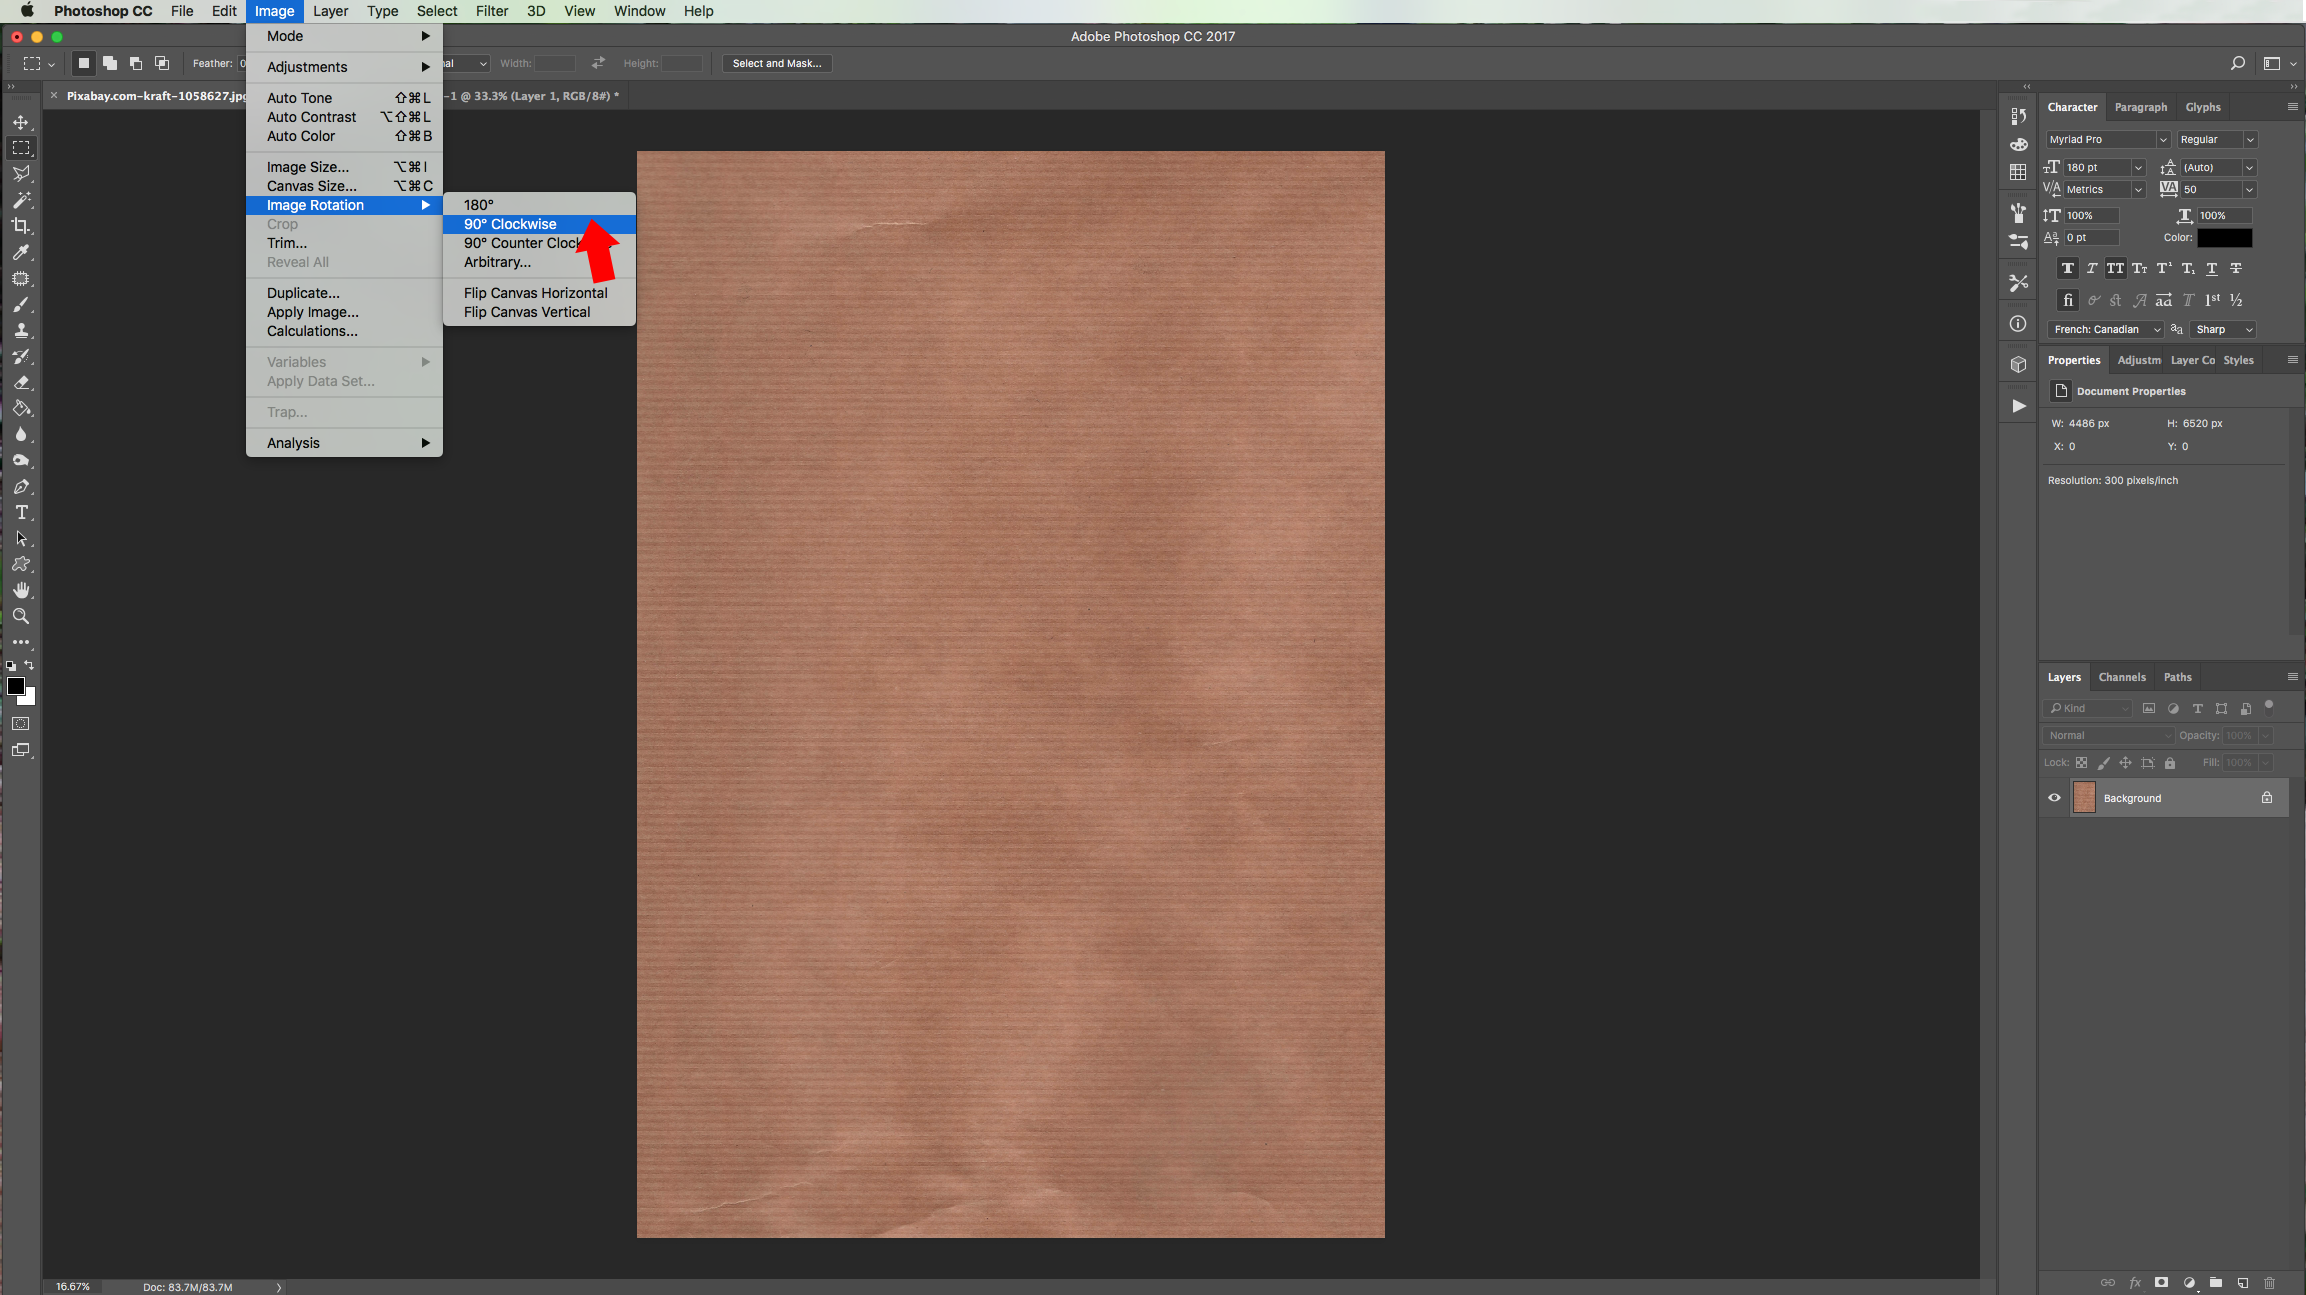
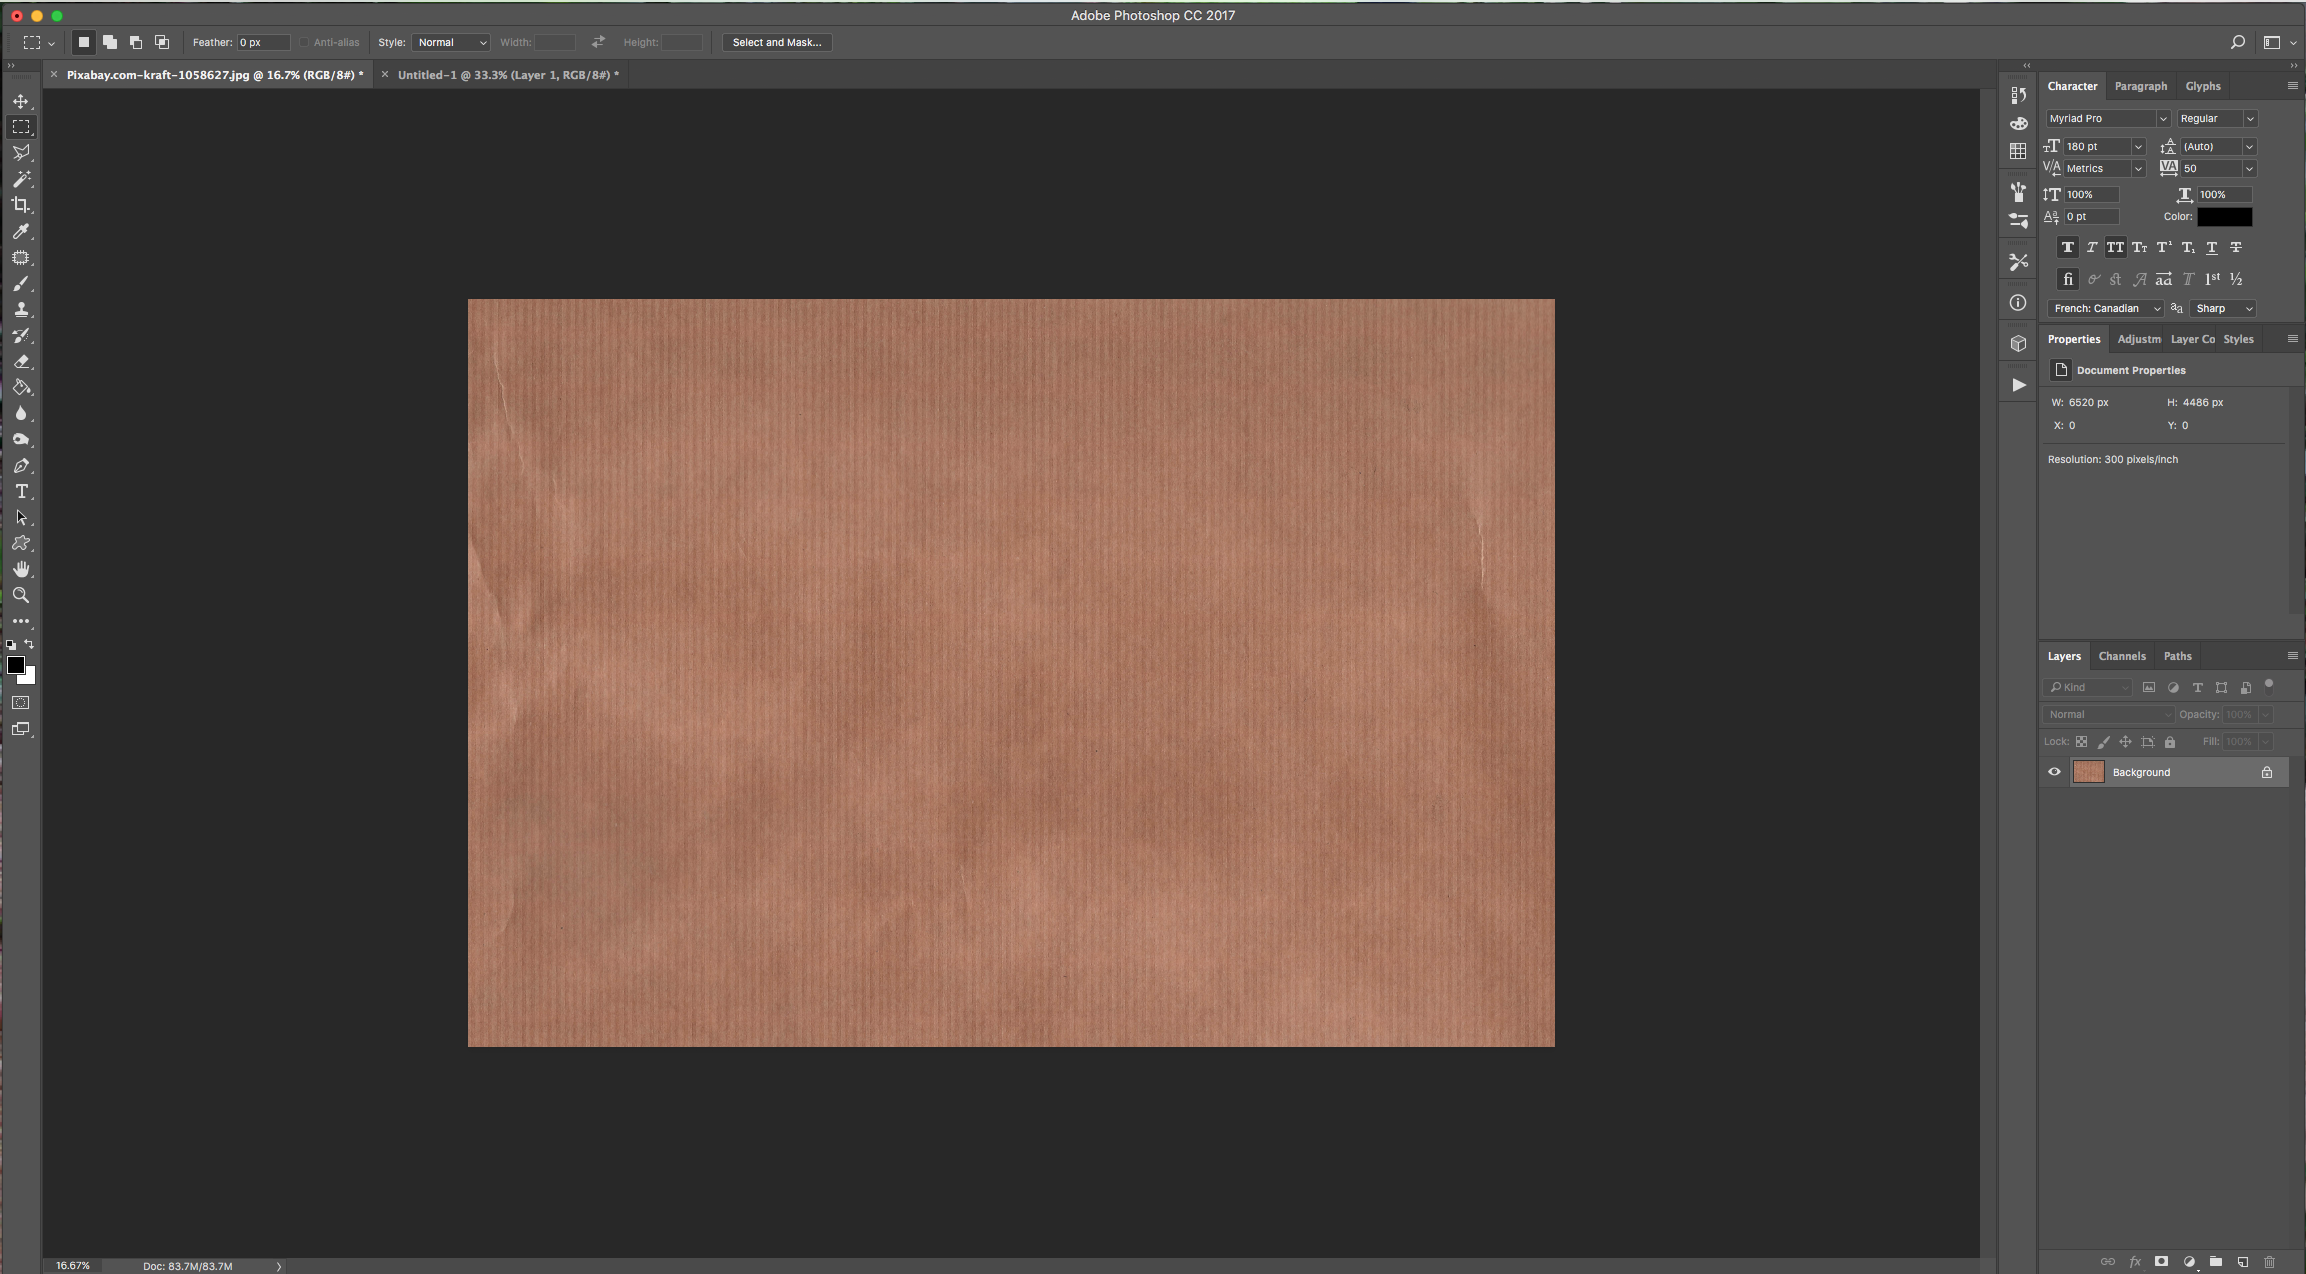
1 - In Photoshop open the image you chose as “Background”. Ours was vertical so we applied a “90° Clockwise Image Rotation” from the “Image” Menu.
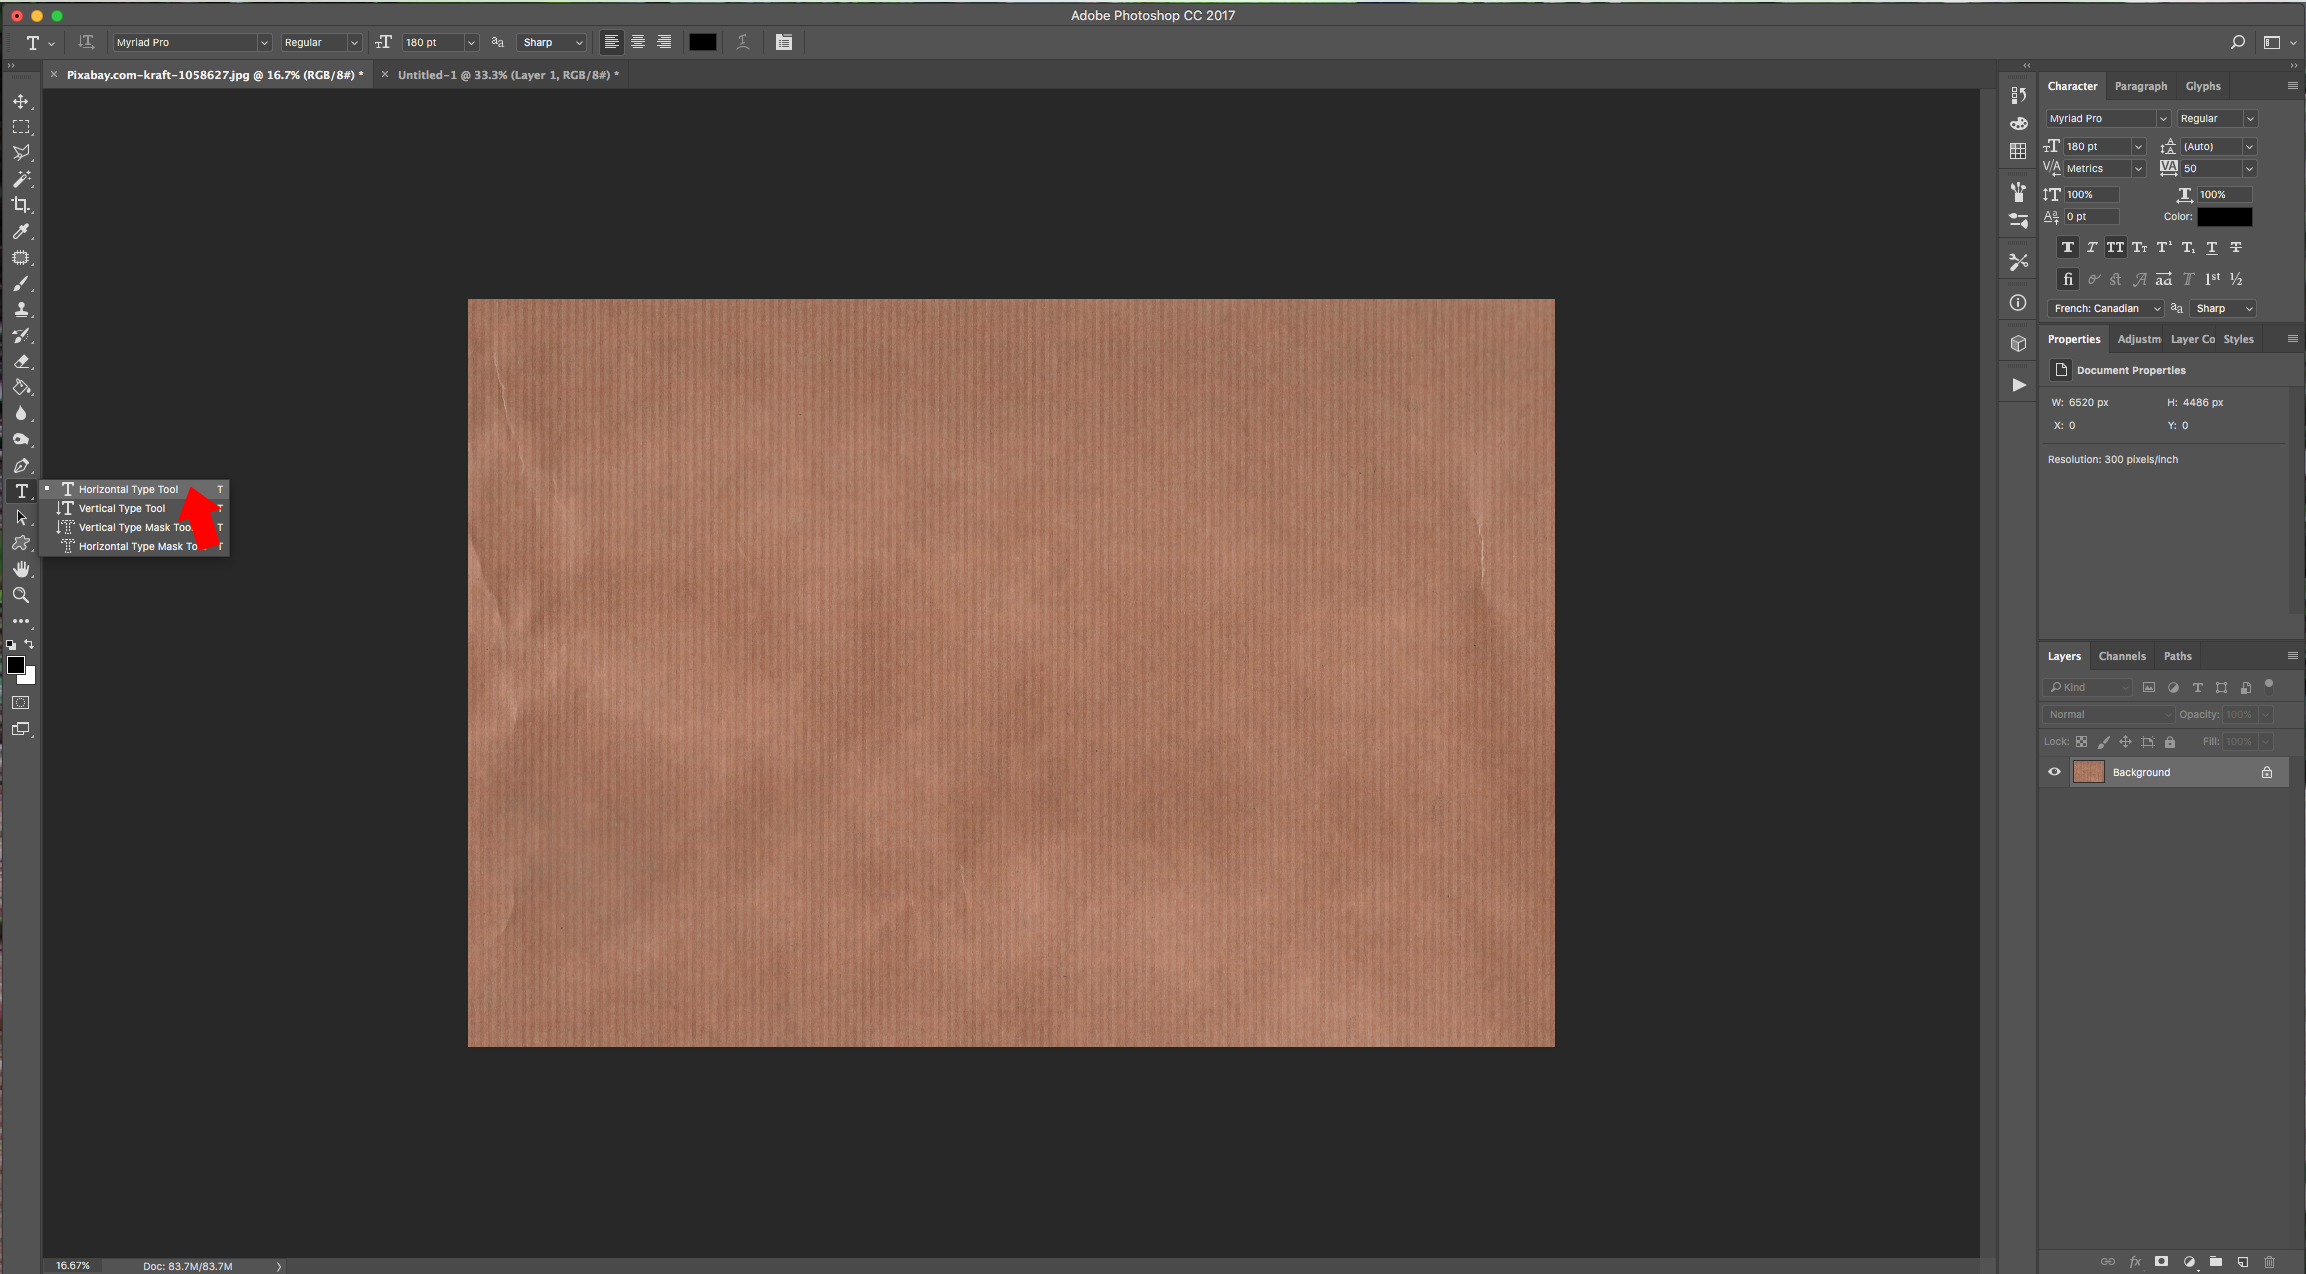
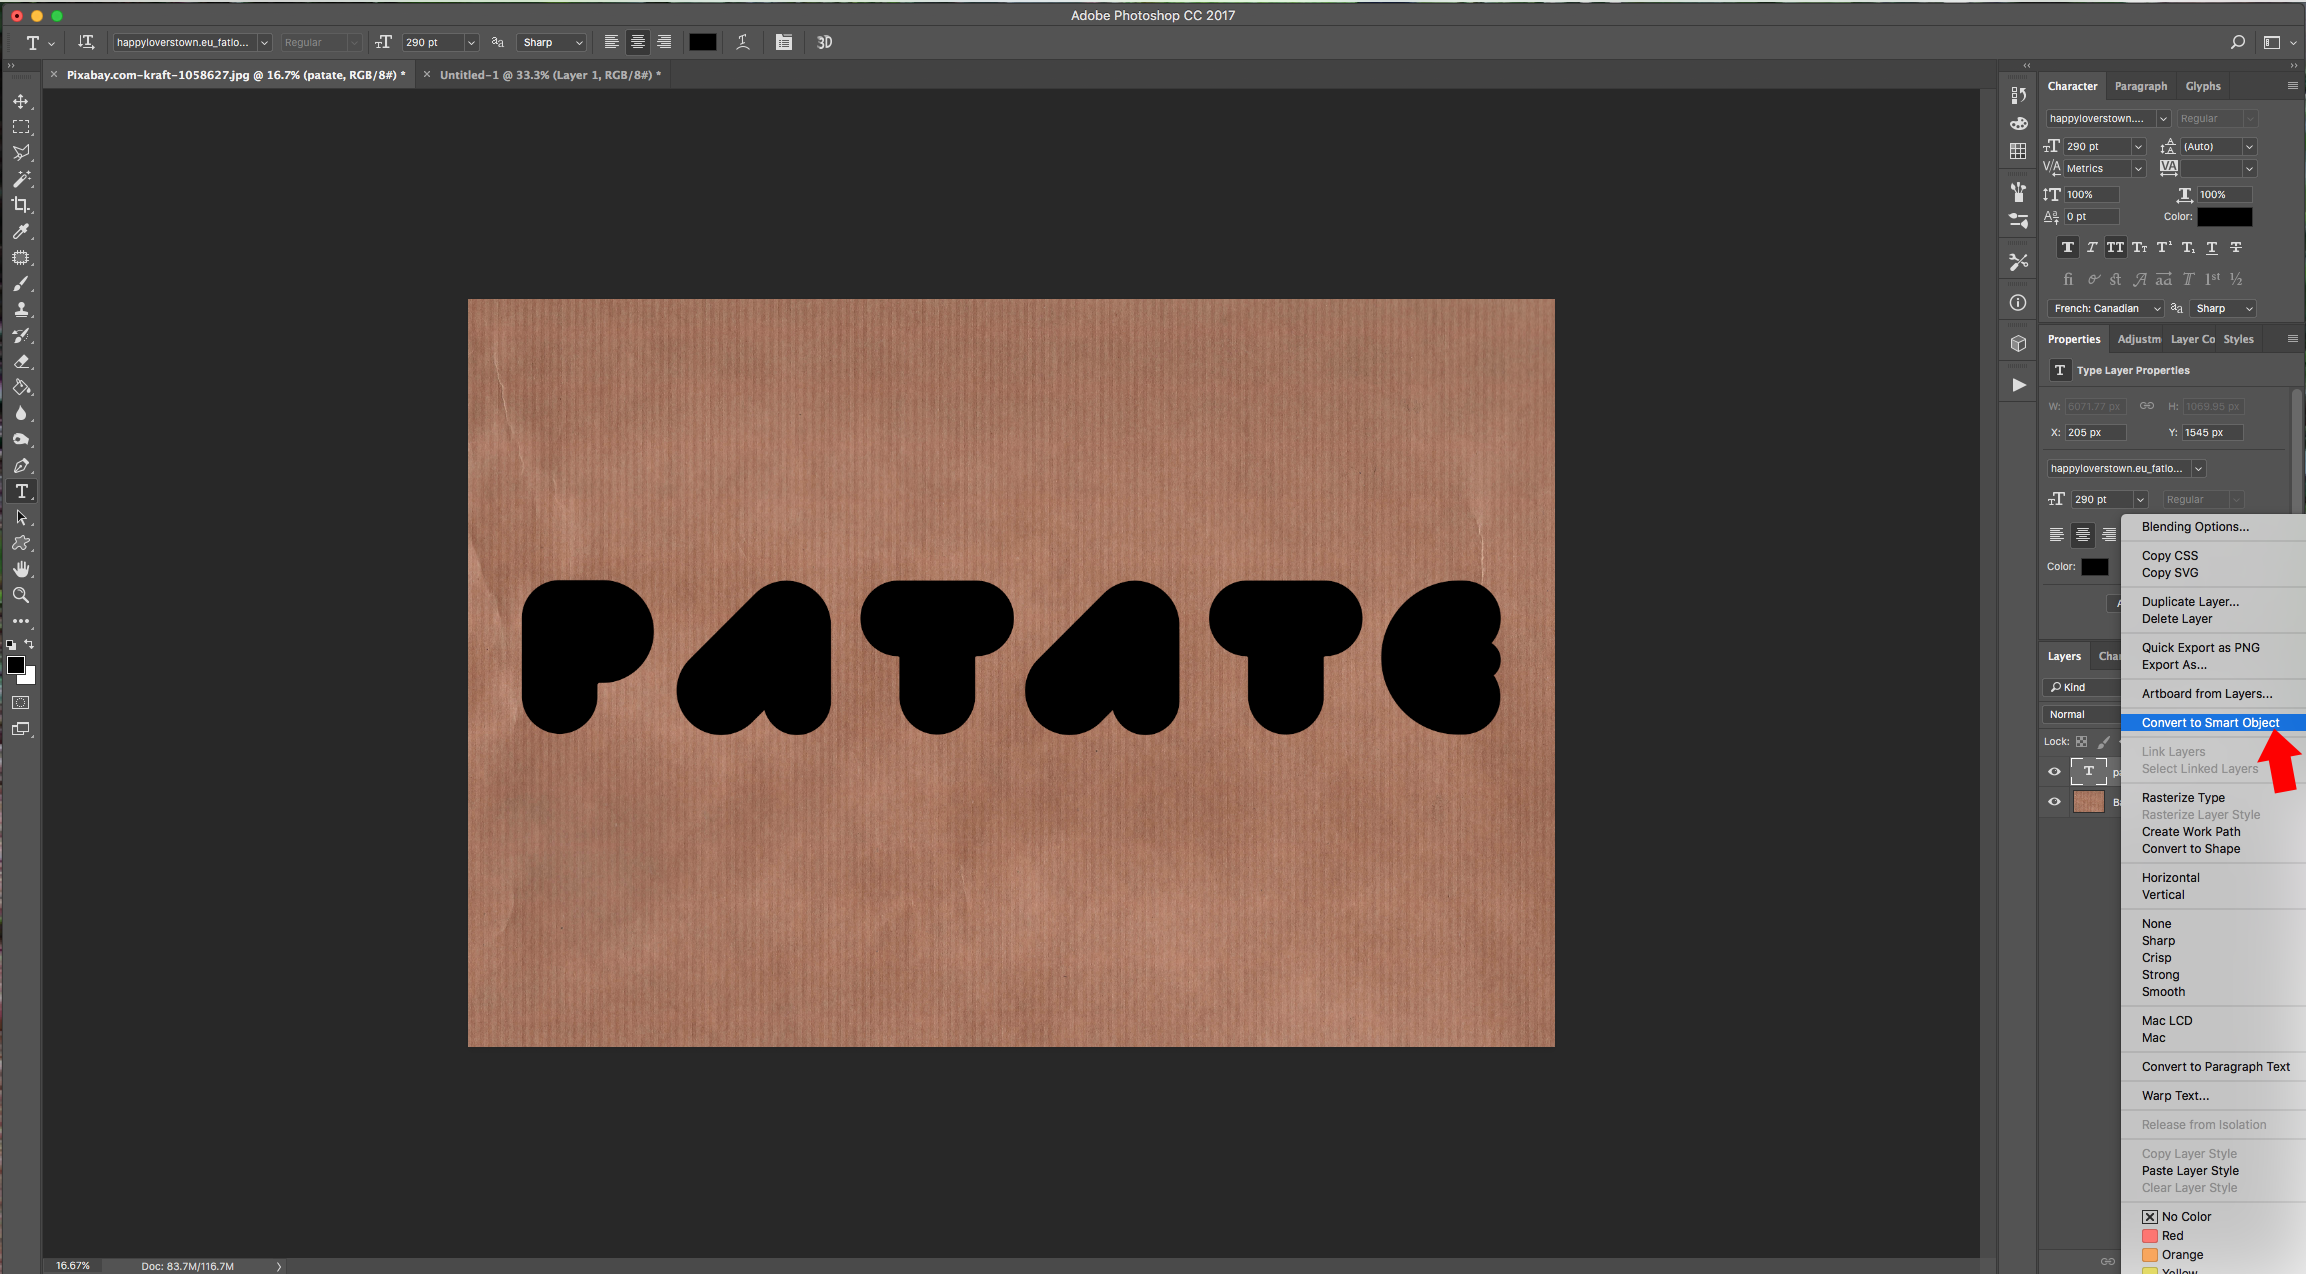
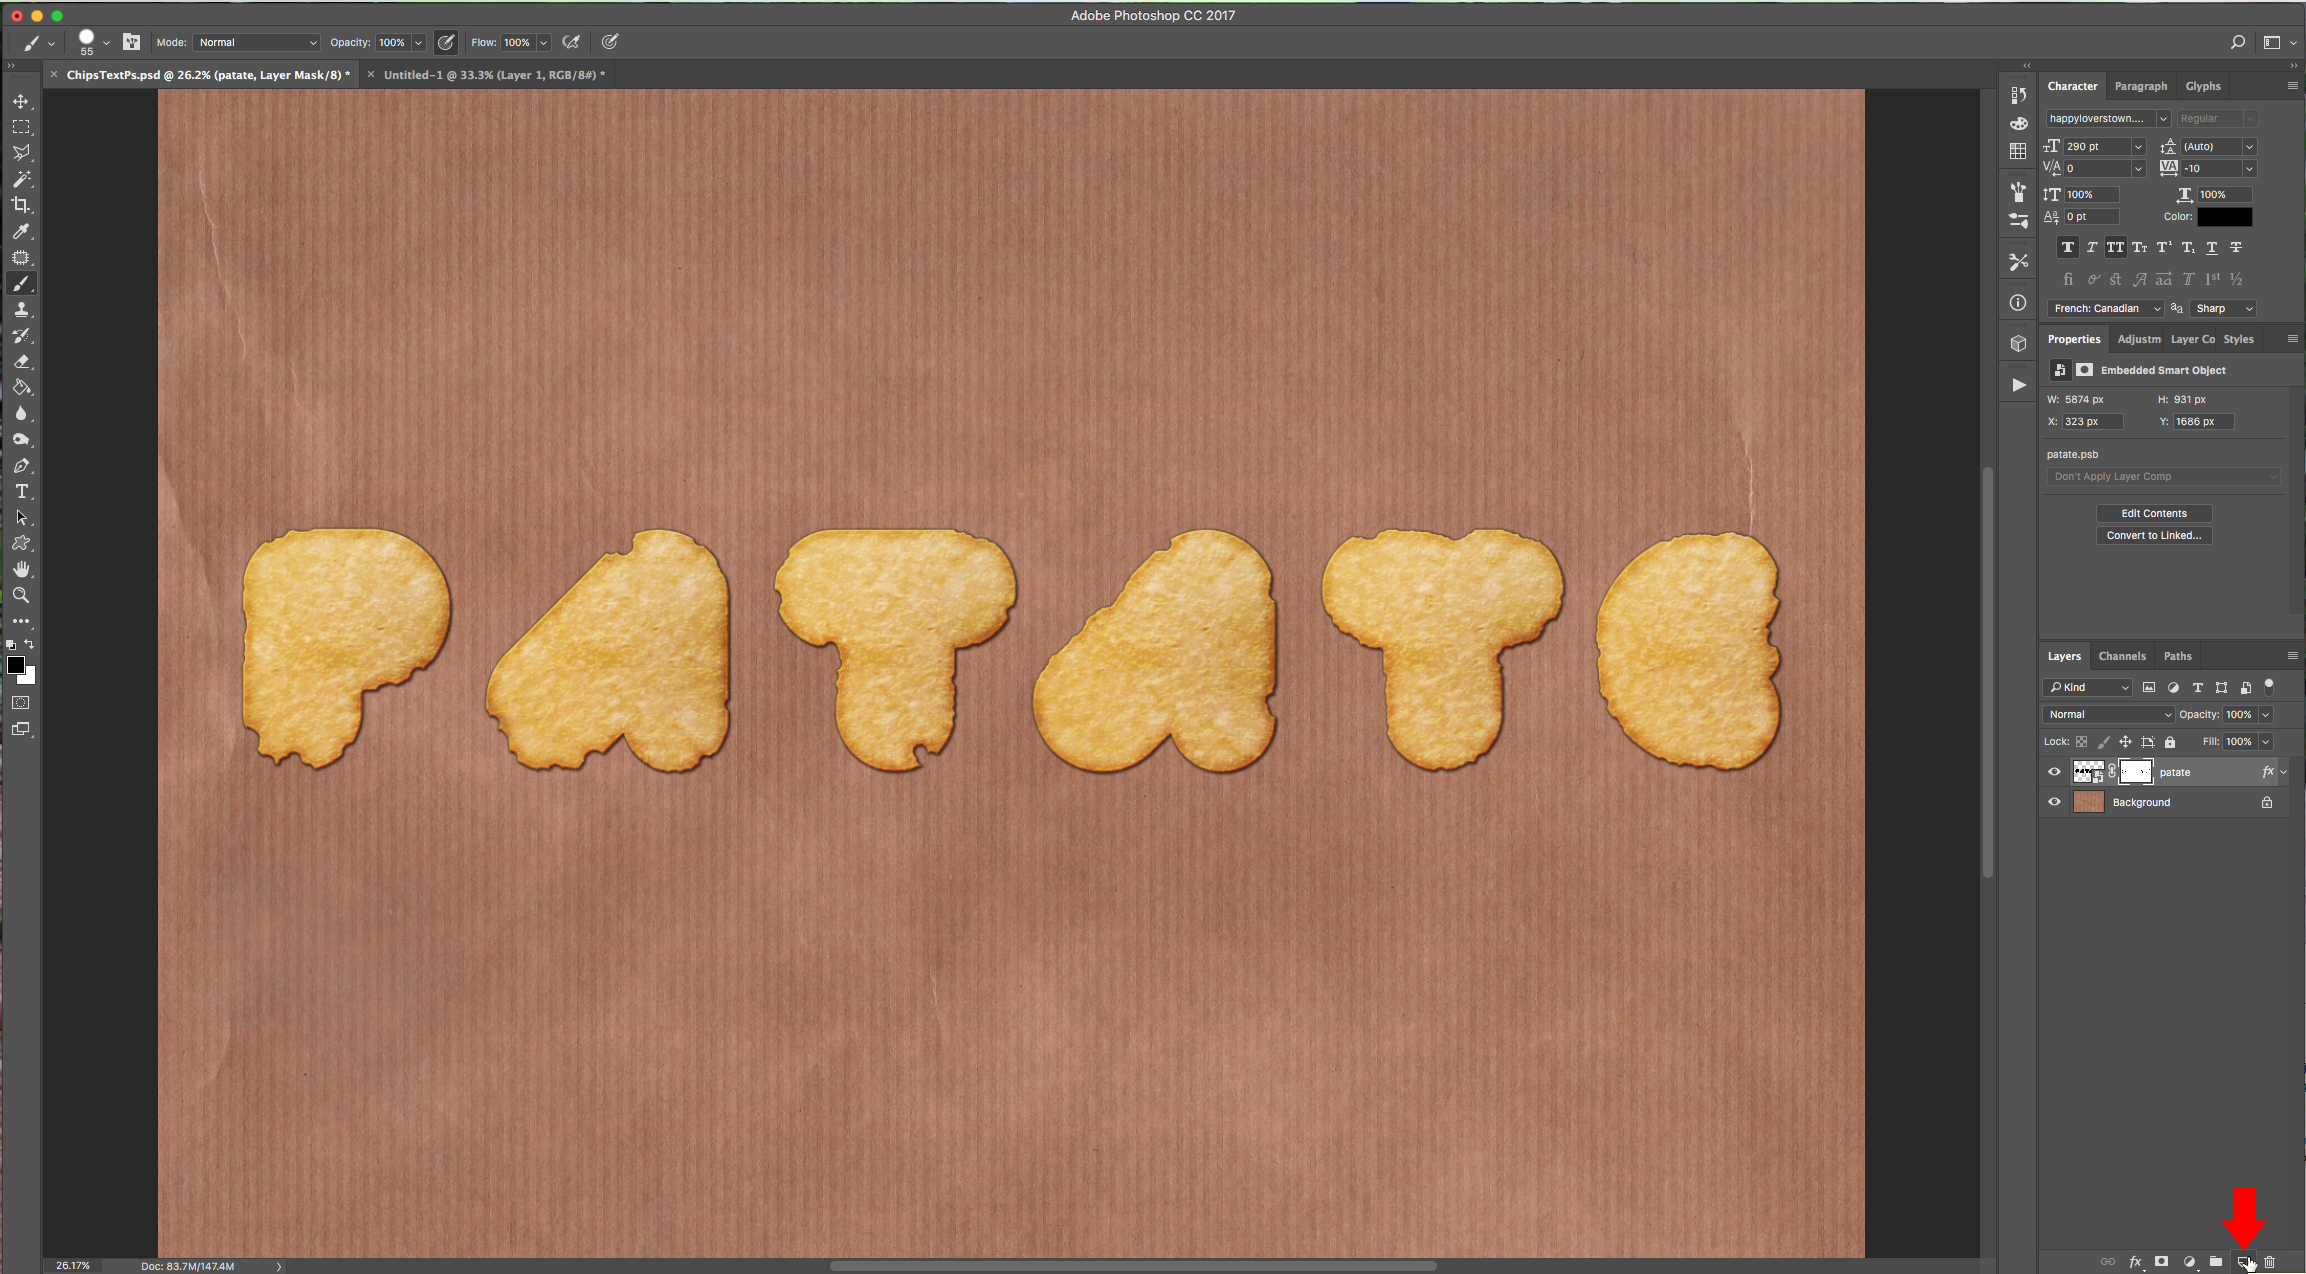
2 - Select the “Type Tool” (T), choose the font you like and write your text. Center it in your image the, right-click on top of its Thumbnail and choose “Convert to Smart Object”.

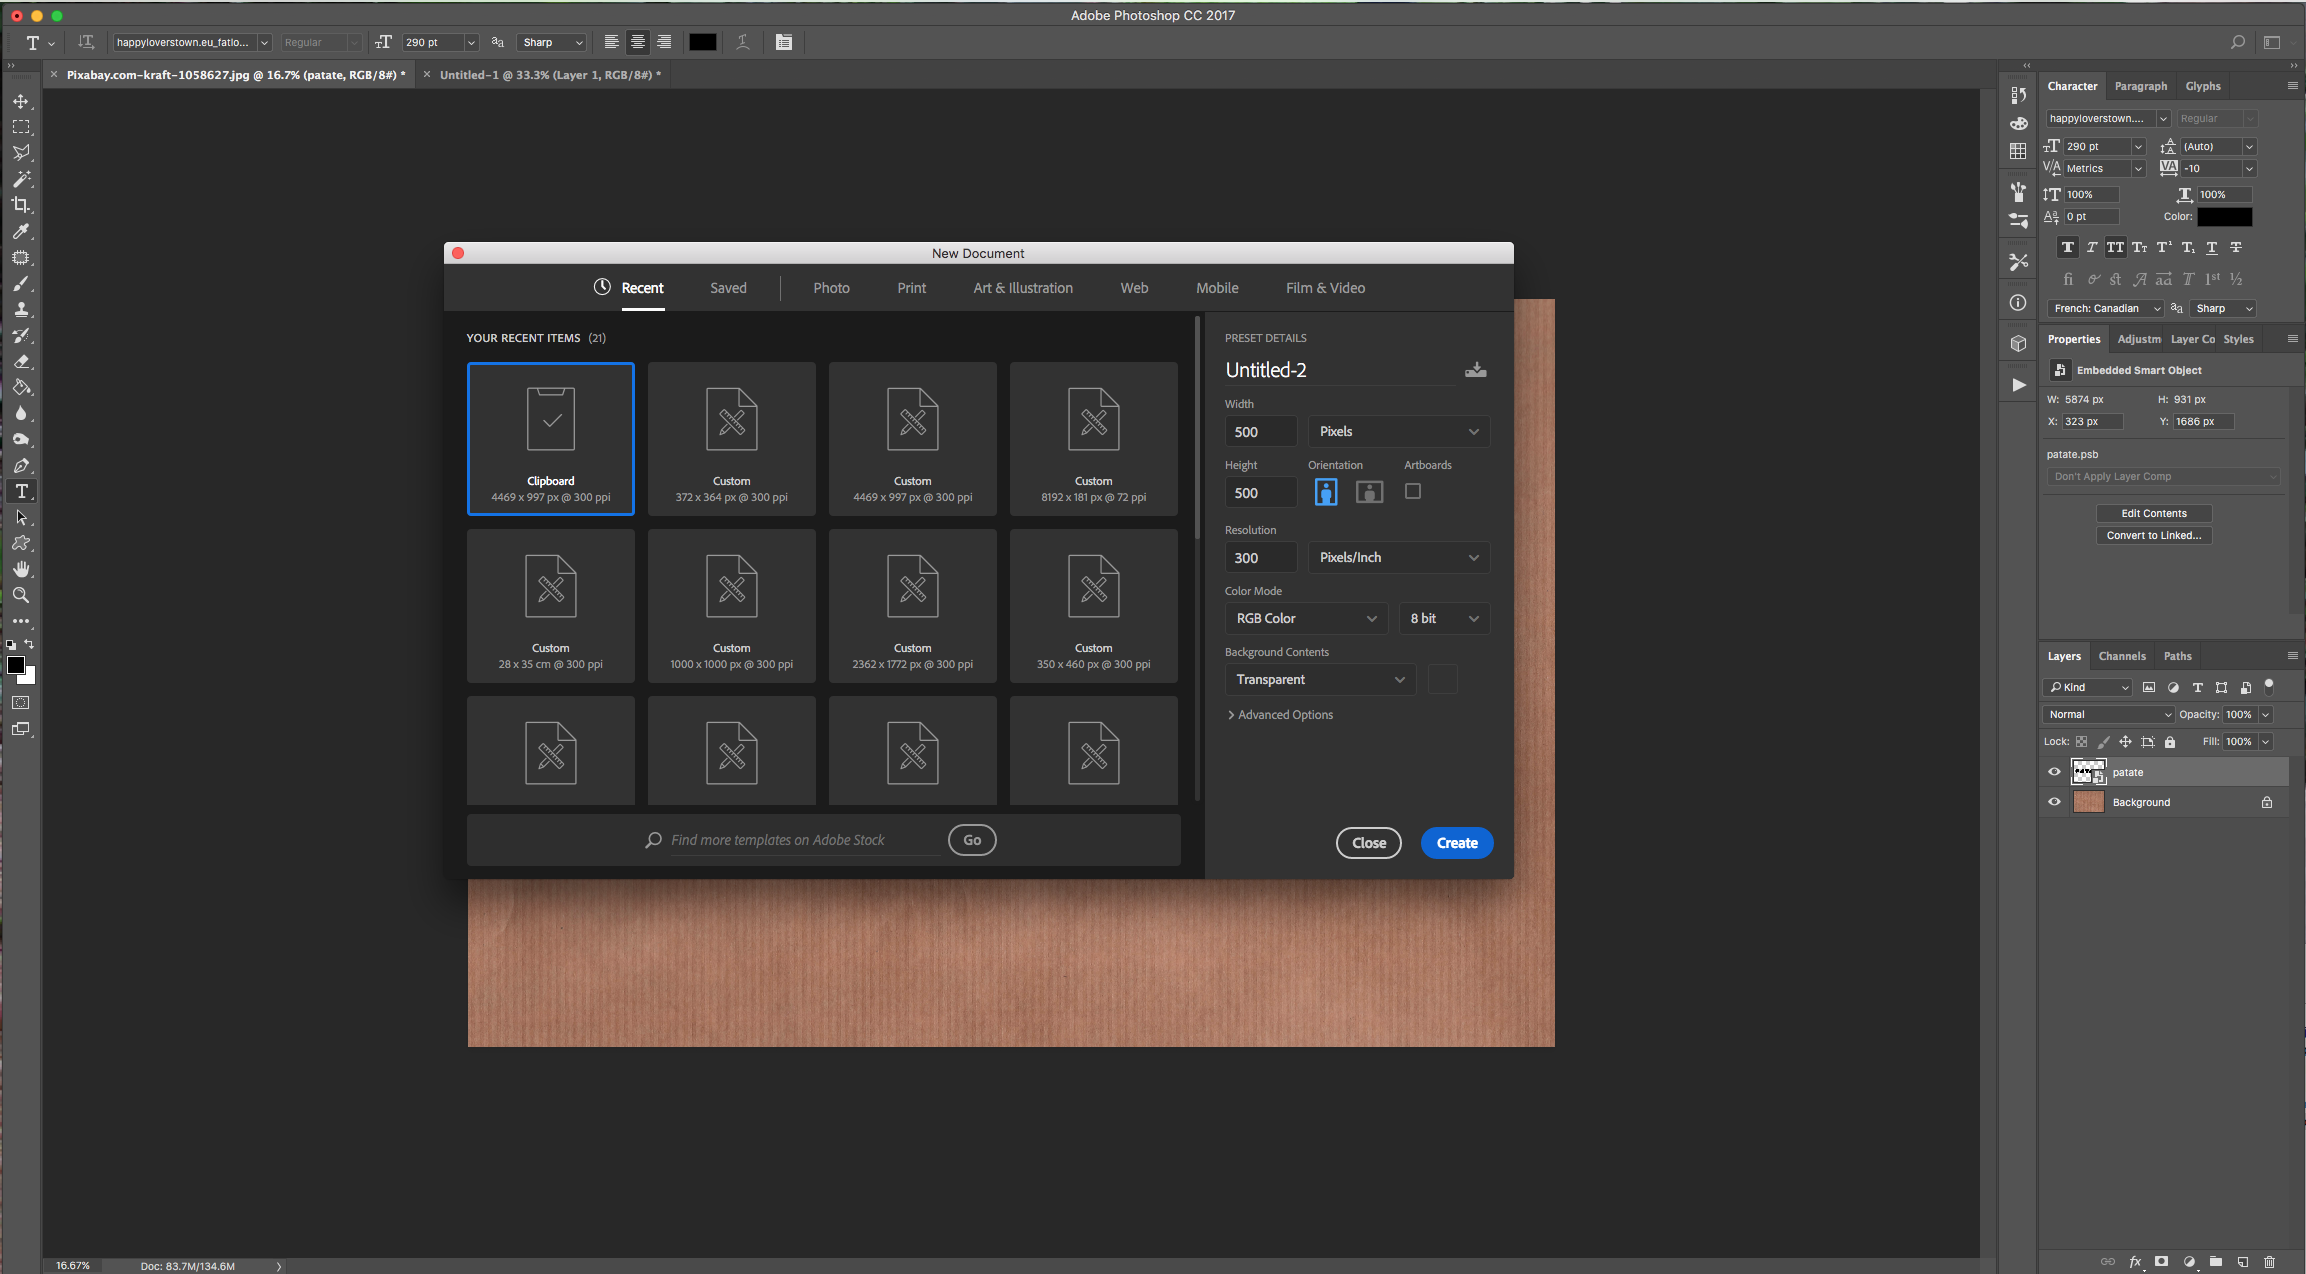
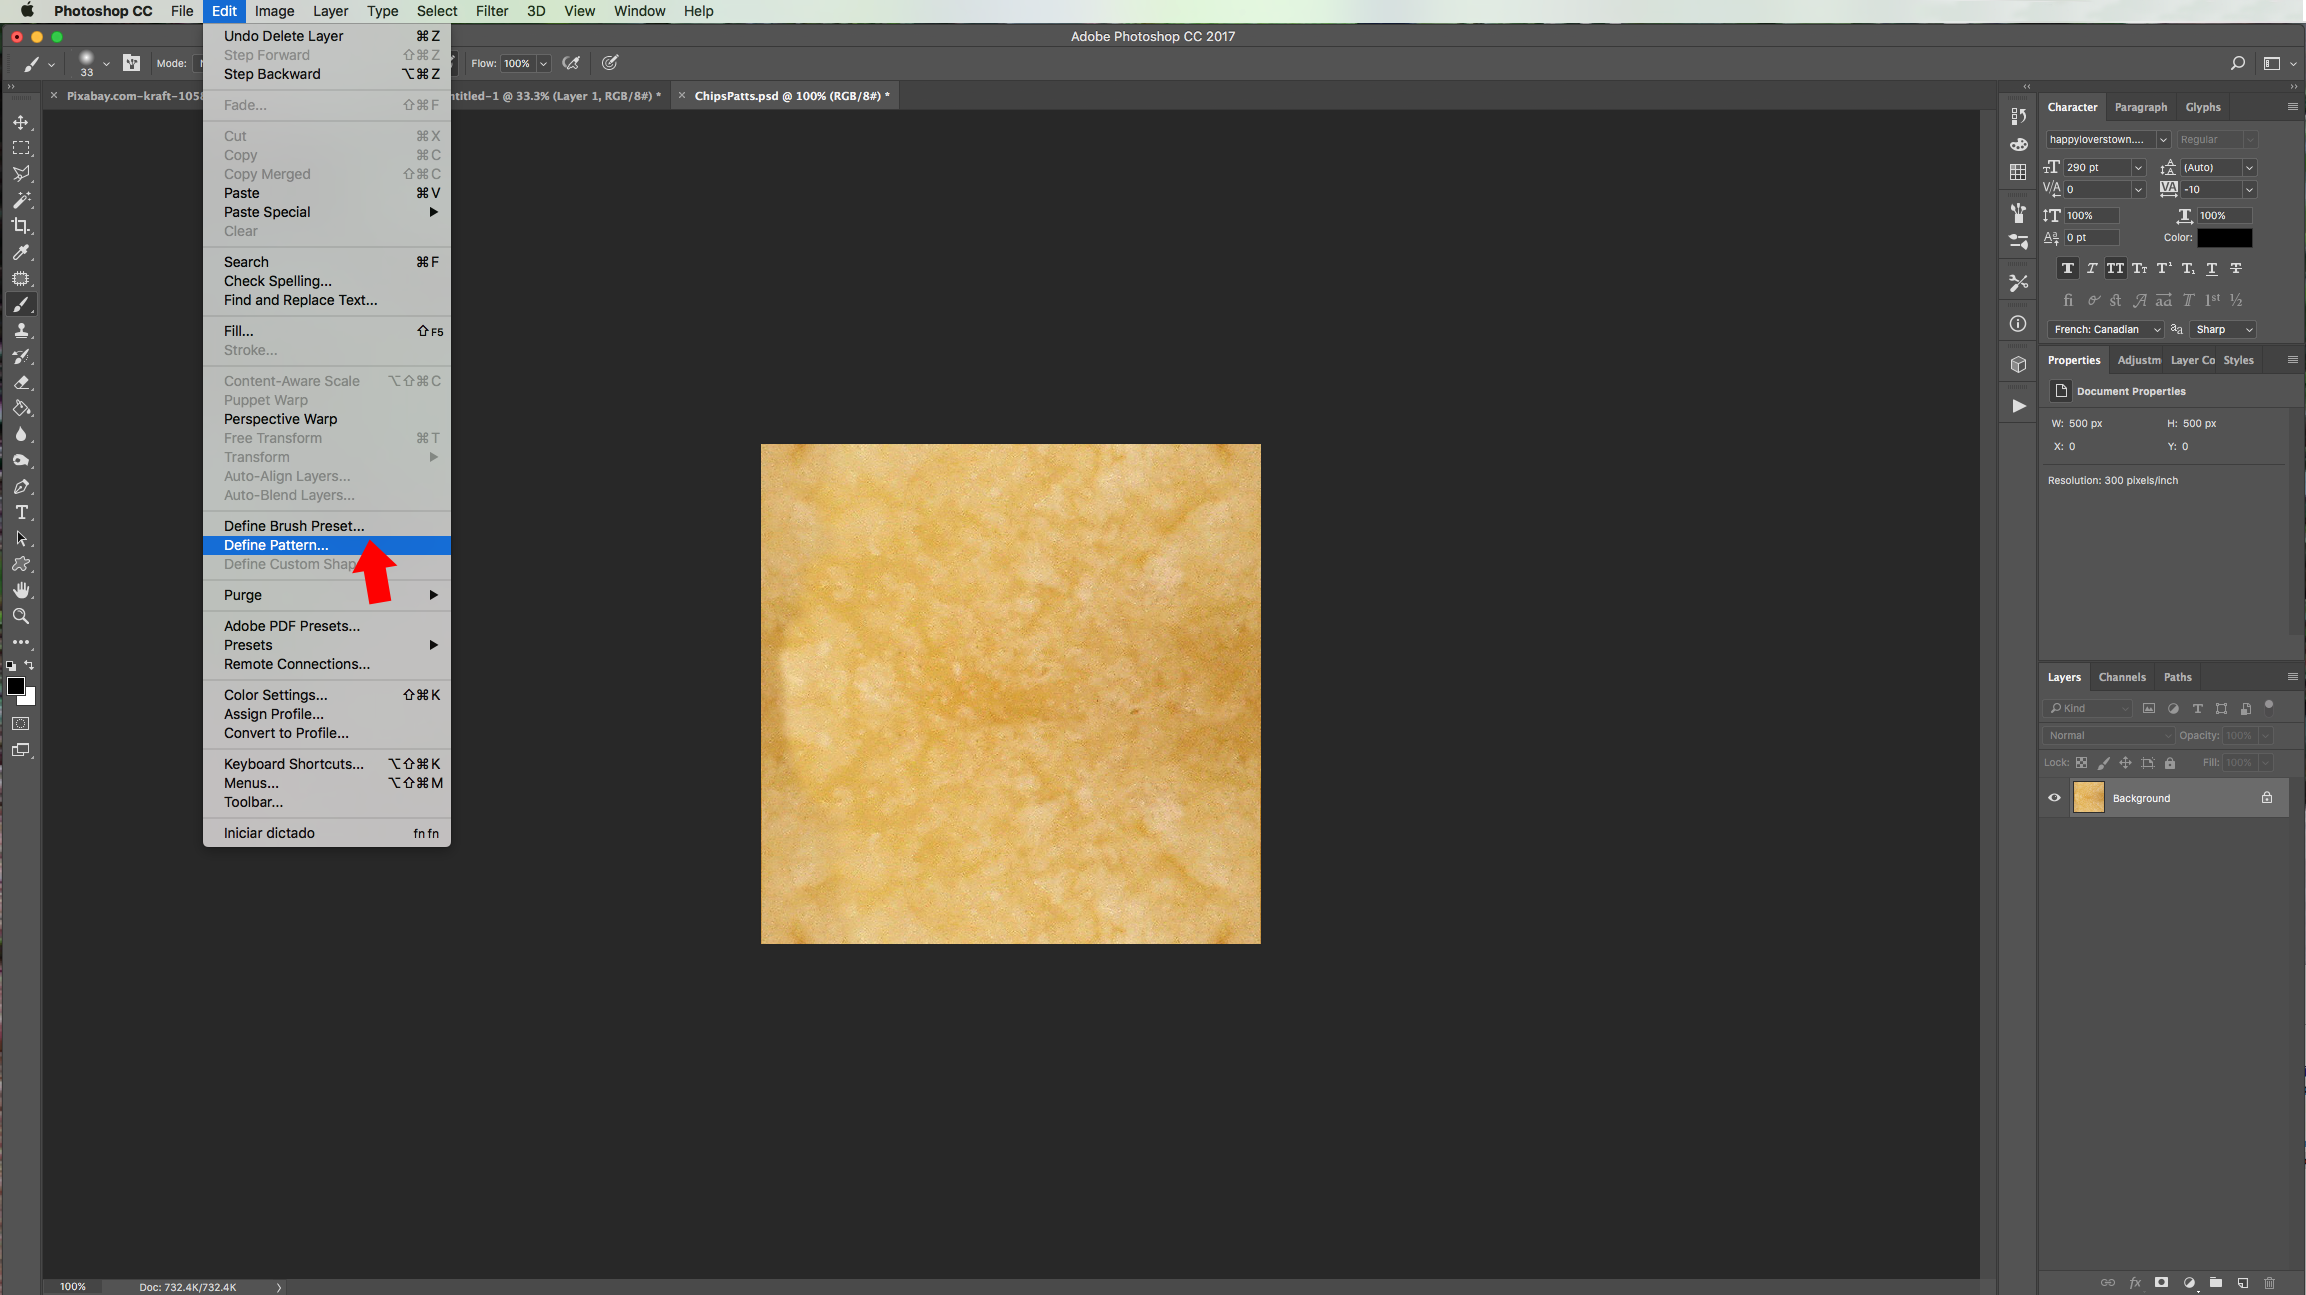
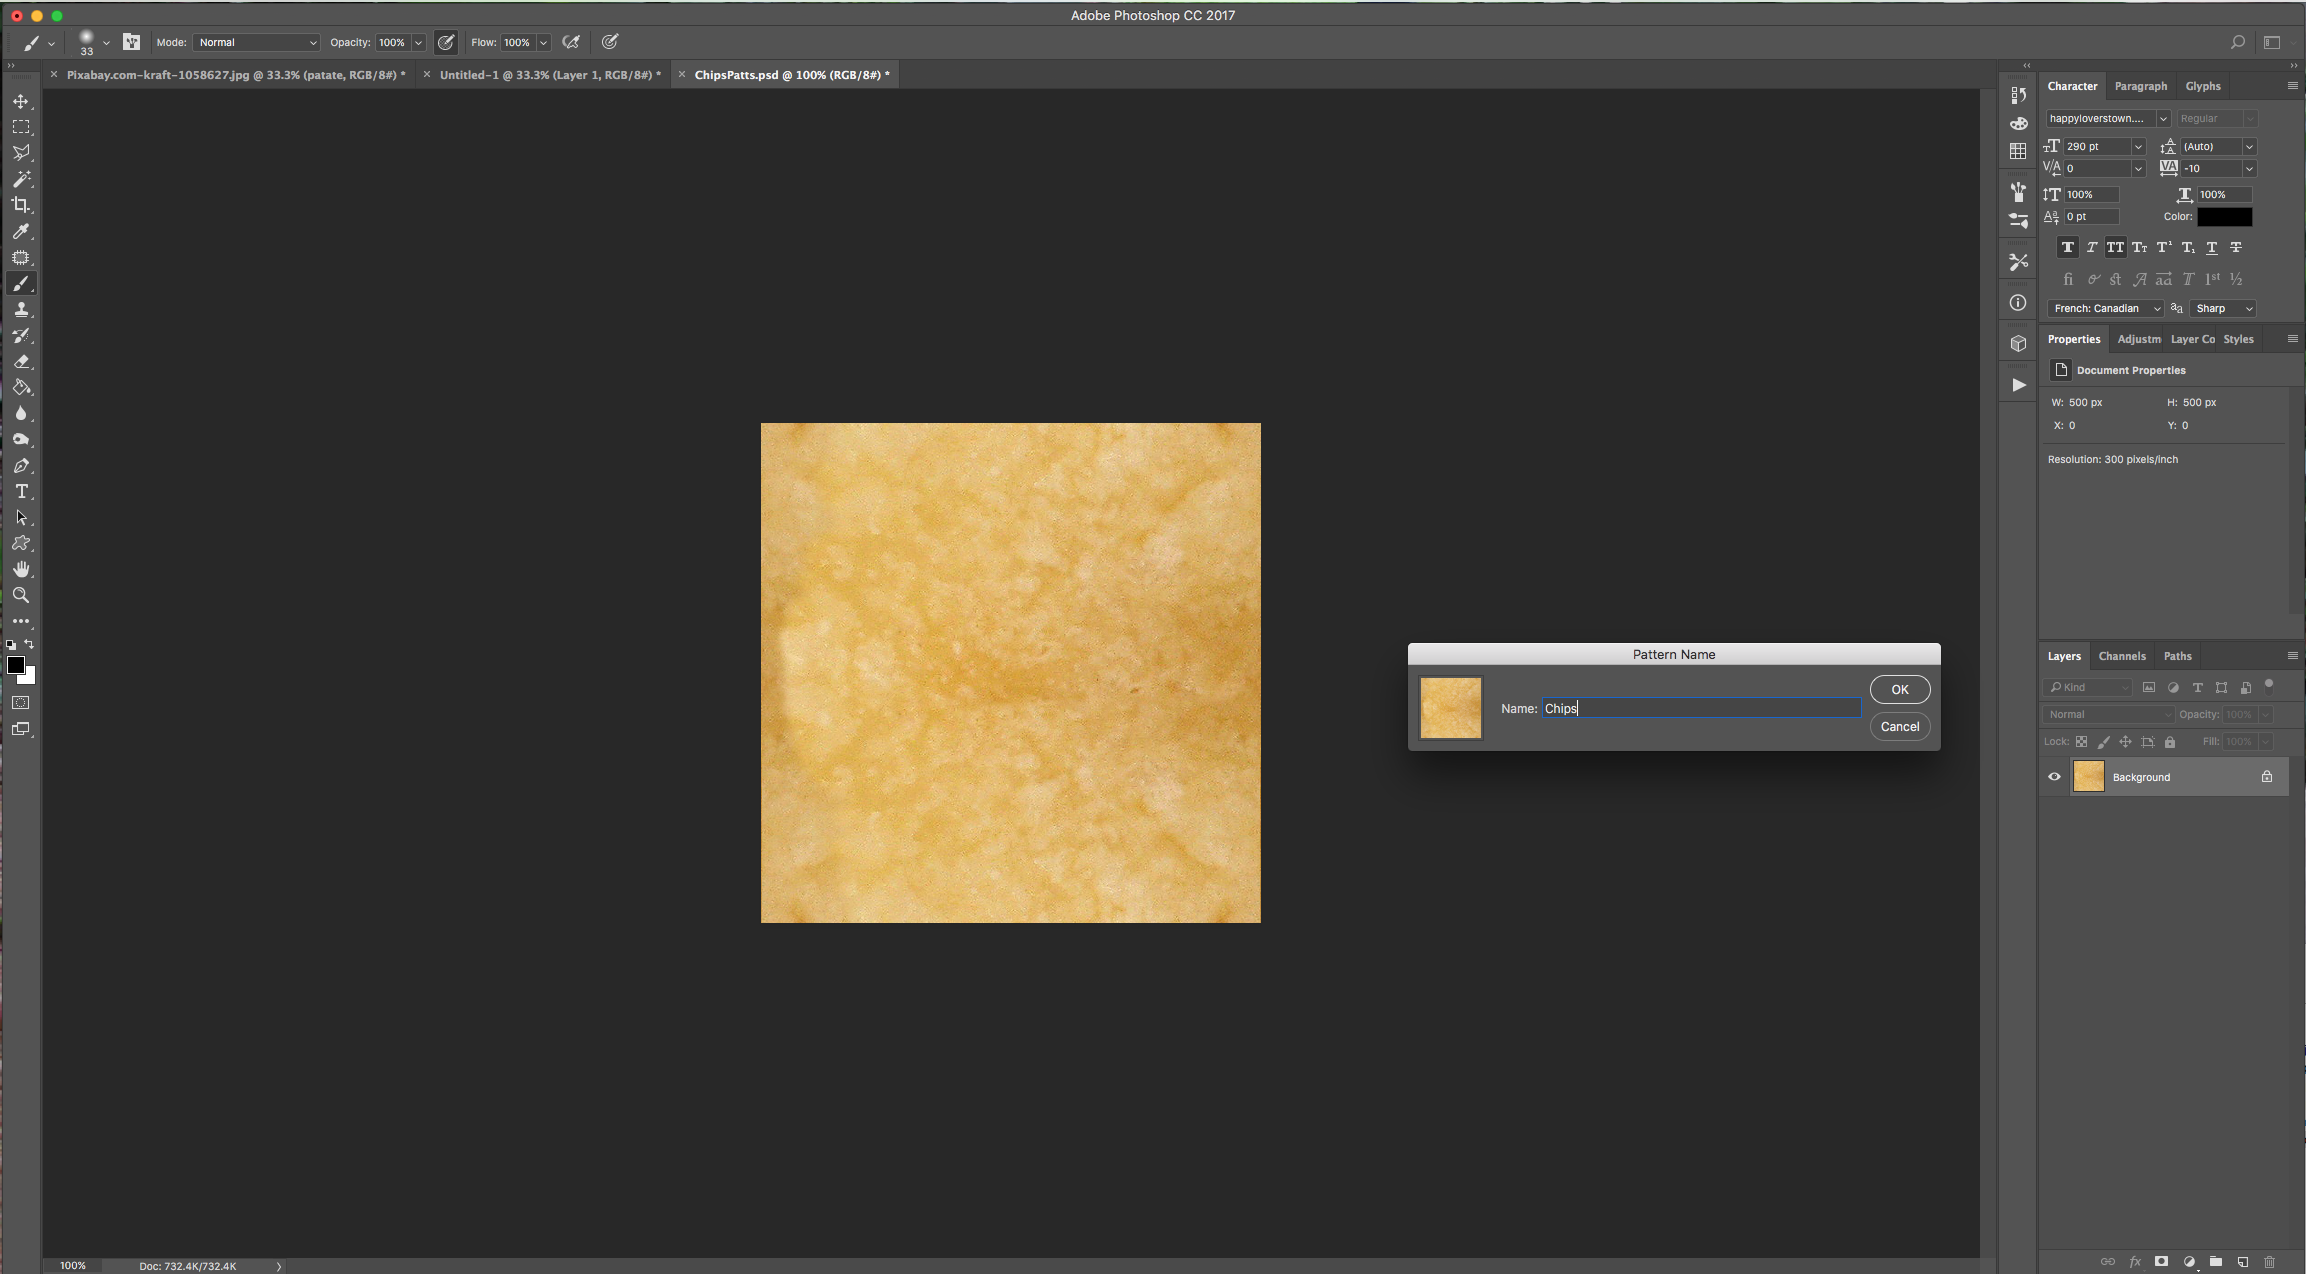
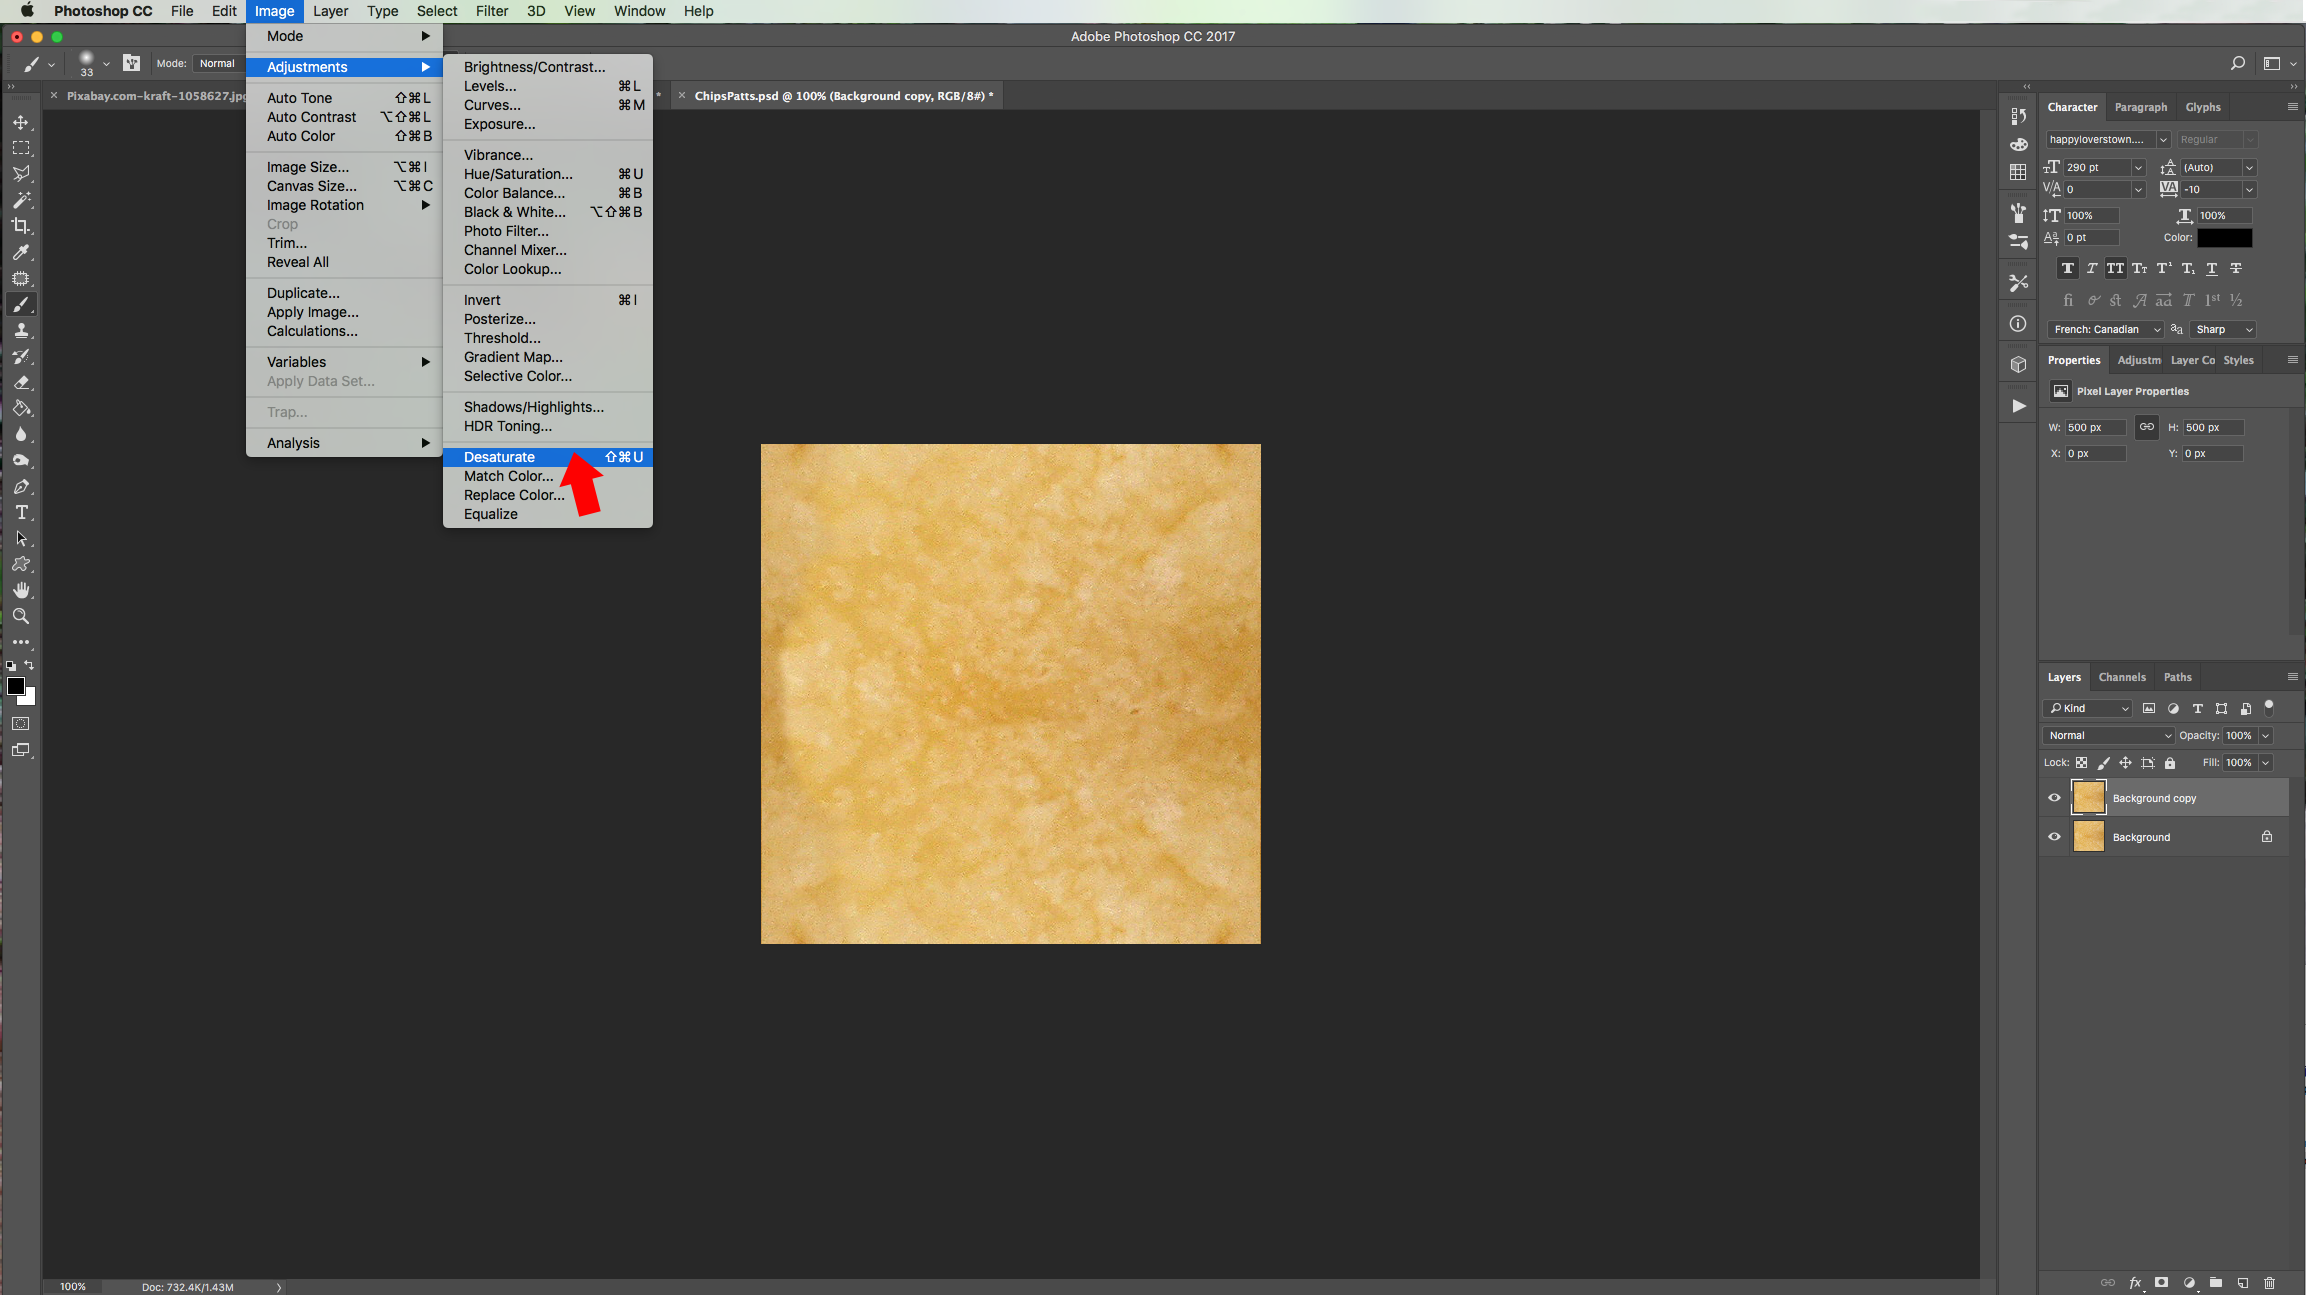
3 - Create a “New Document” (Command/Control + N). Make it 500 x 500 Pixels @300 Dpi and “Place” or “Paste” the (If you downloaded some ready-made Textures just load them). Make sure that the “Sides” (left/right and up/down) coincide so you end up with a “Seamless Pattern”. Go to Edit > Define Pattern, give it a name and click “OK”.

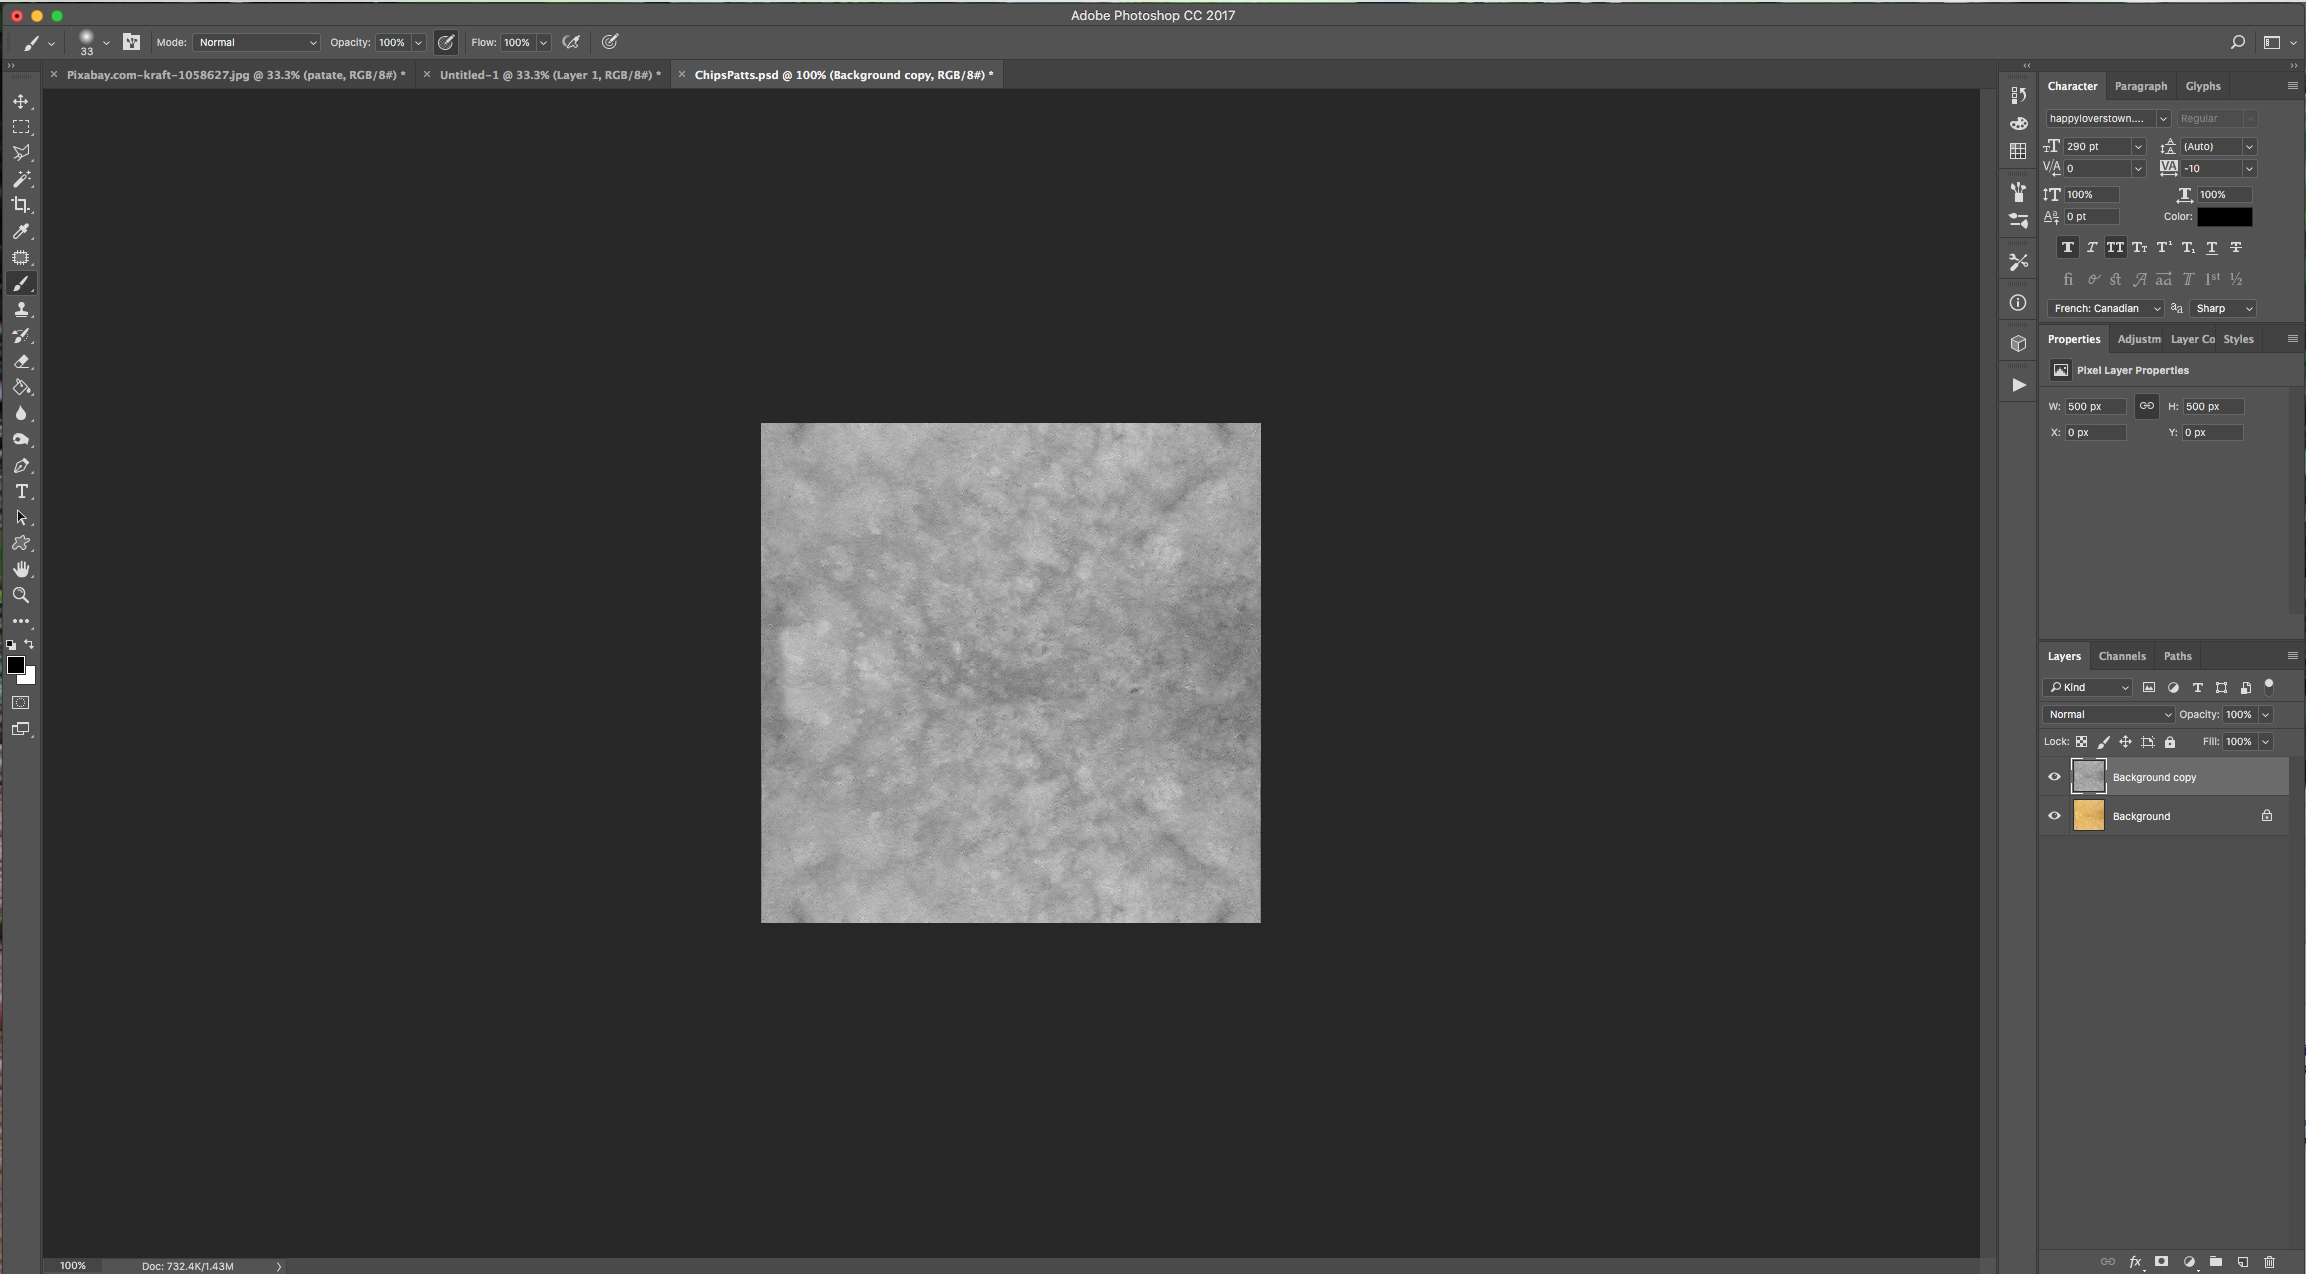
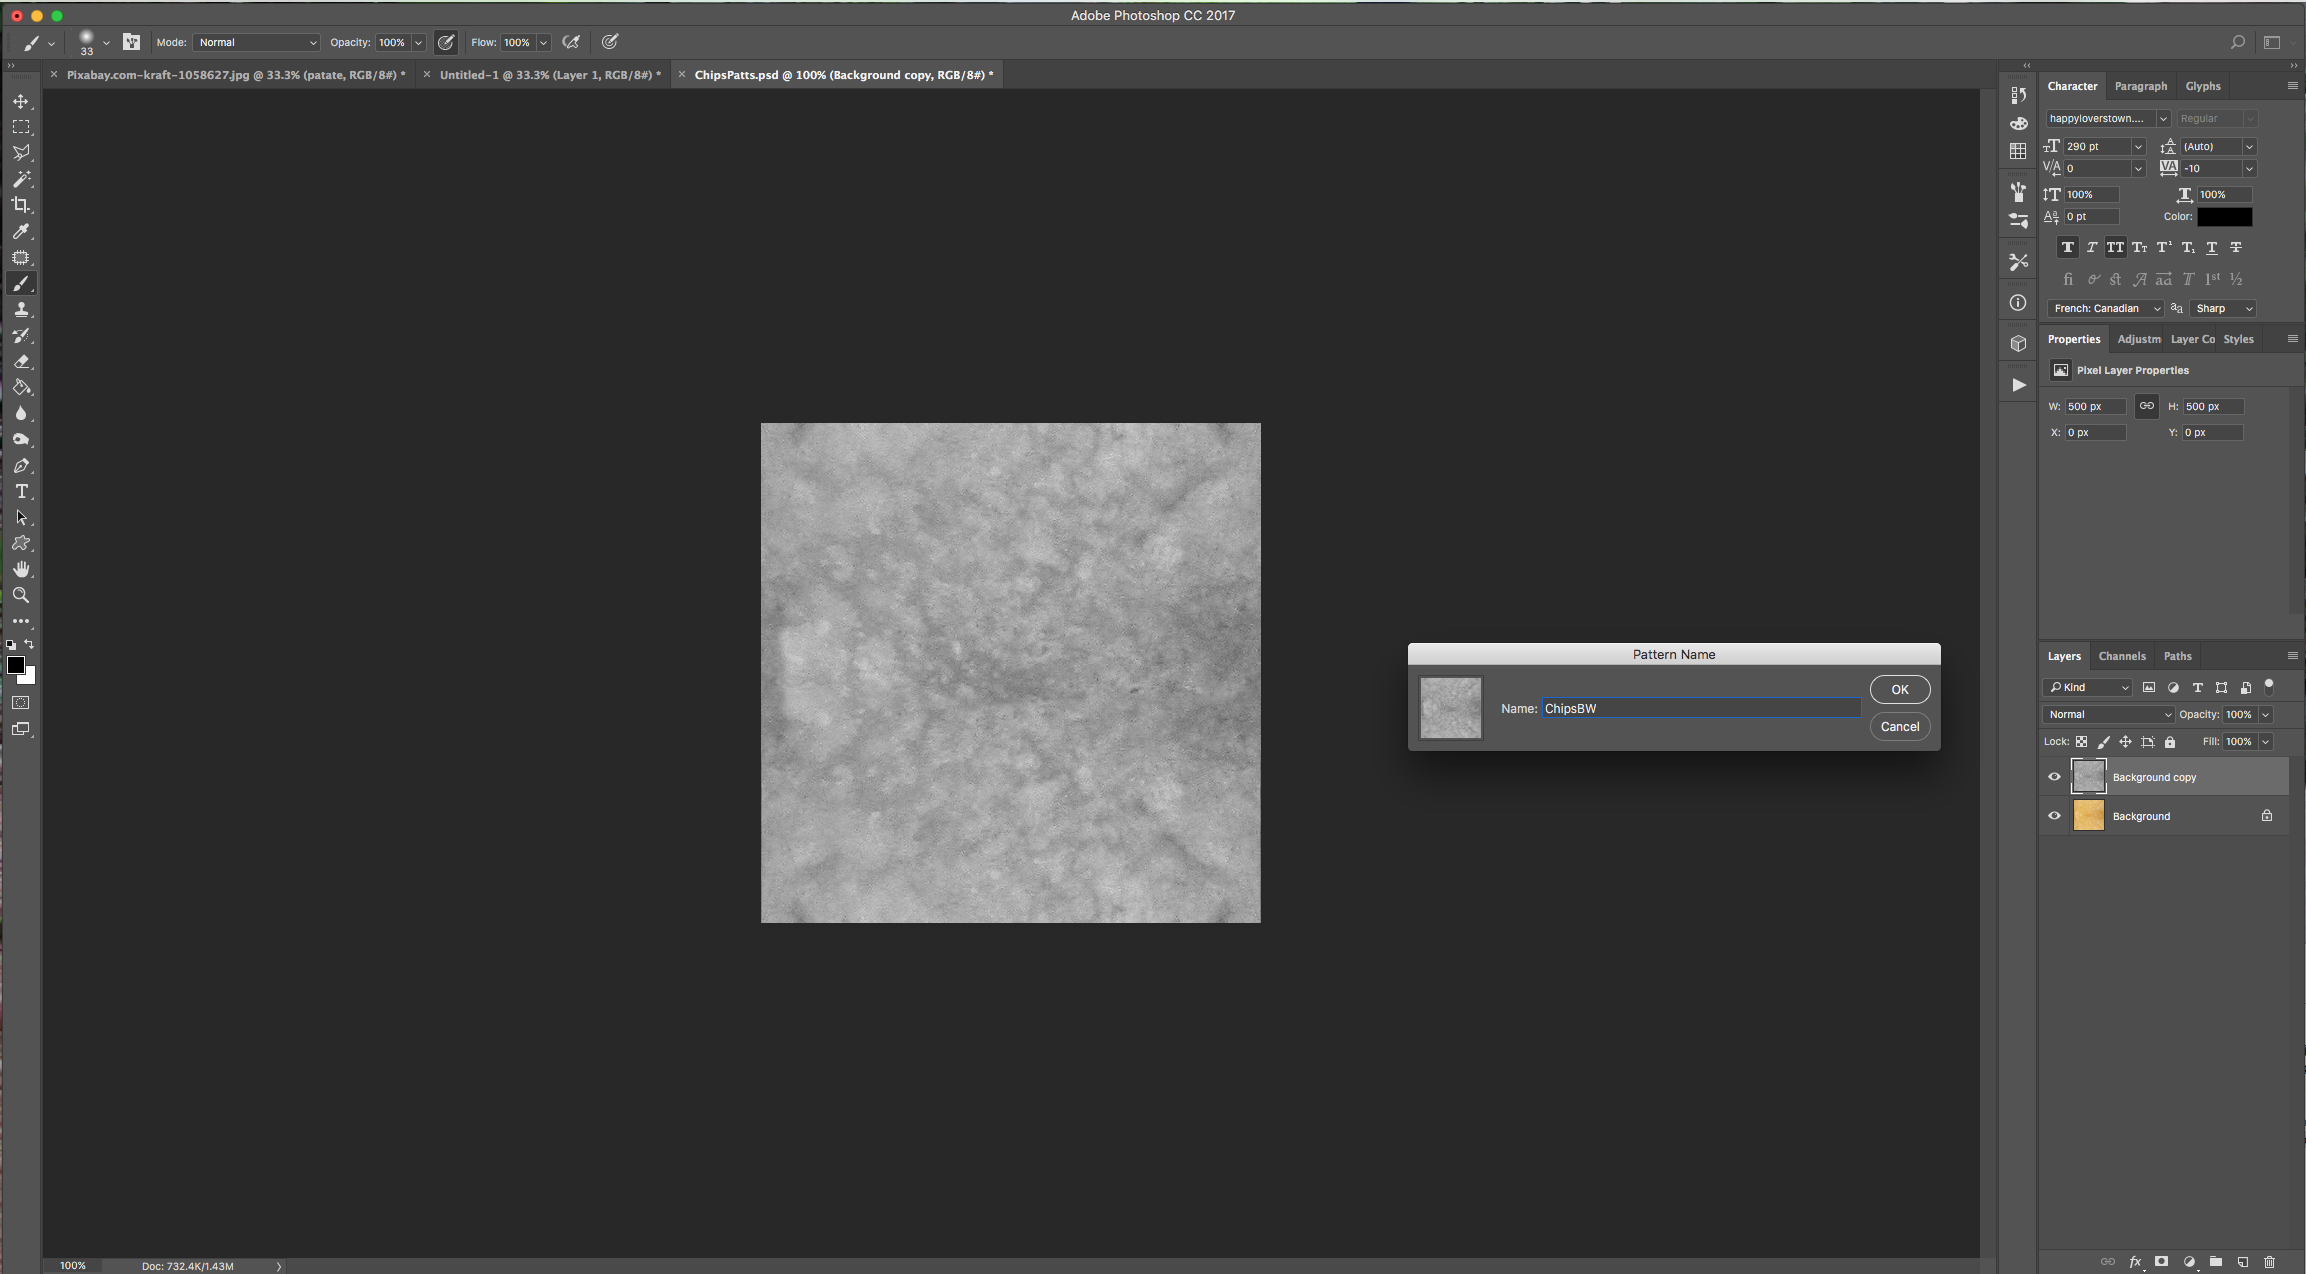
4 - Duplicate your Layer, go to Image > Adjustments > Desaturate (Shift + Command/Control + U) to get a Greyscale version of your “Pattern” and “Define Pattern” again with another name. You can Delete or Save the Pattern document now.
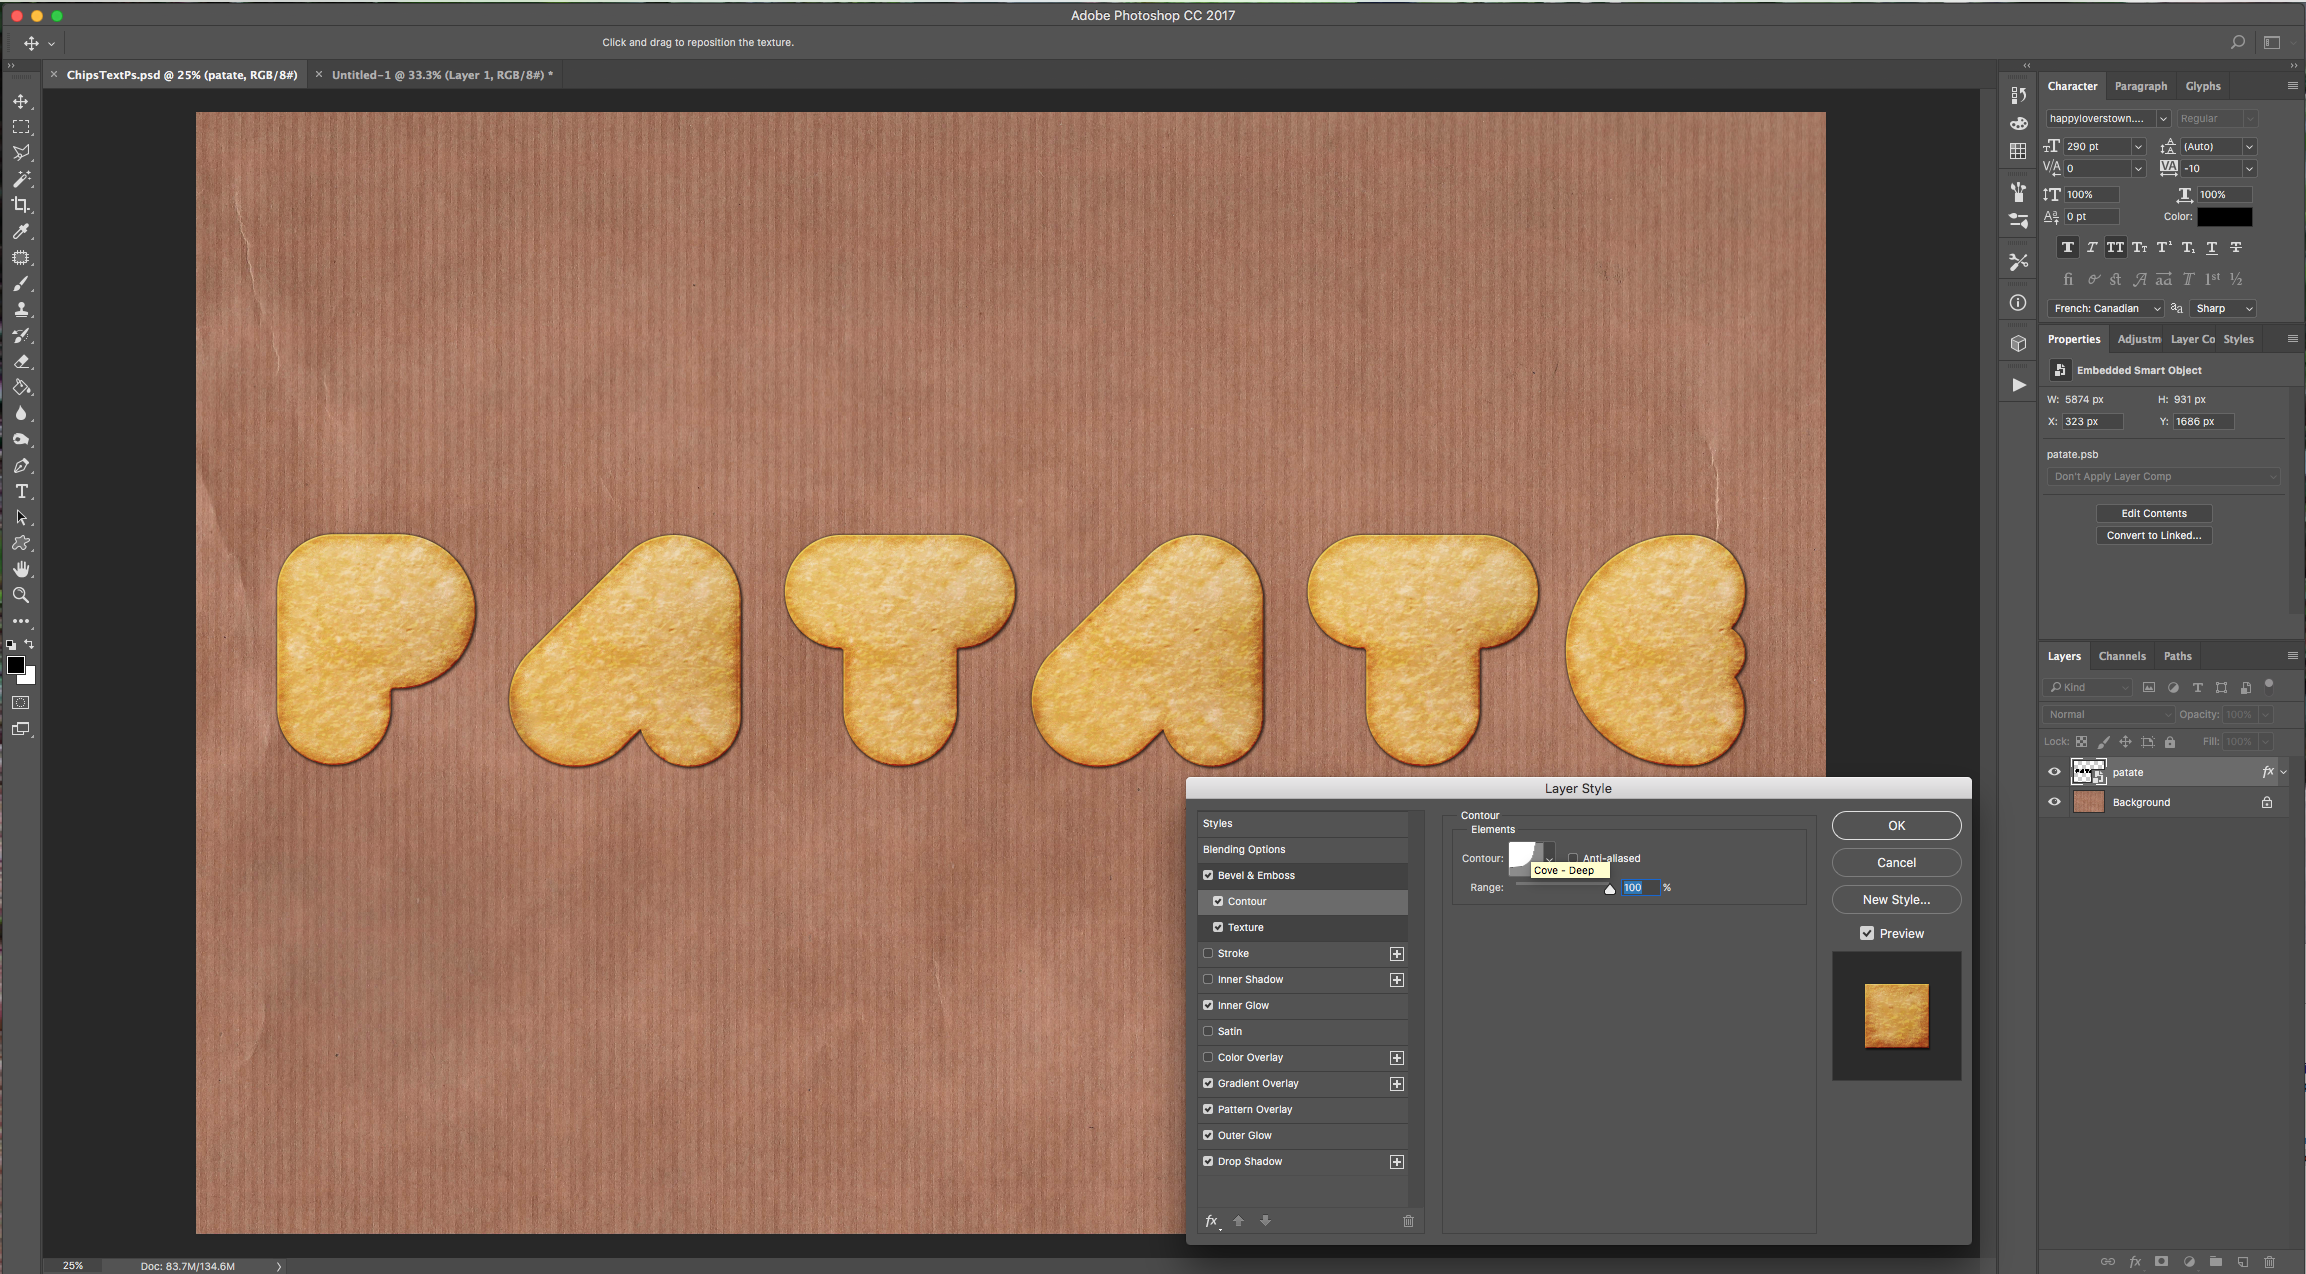
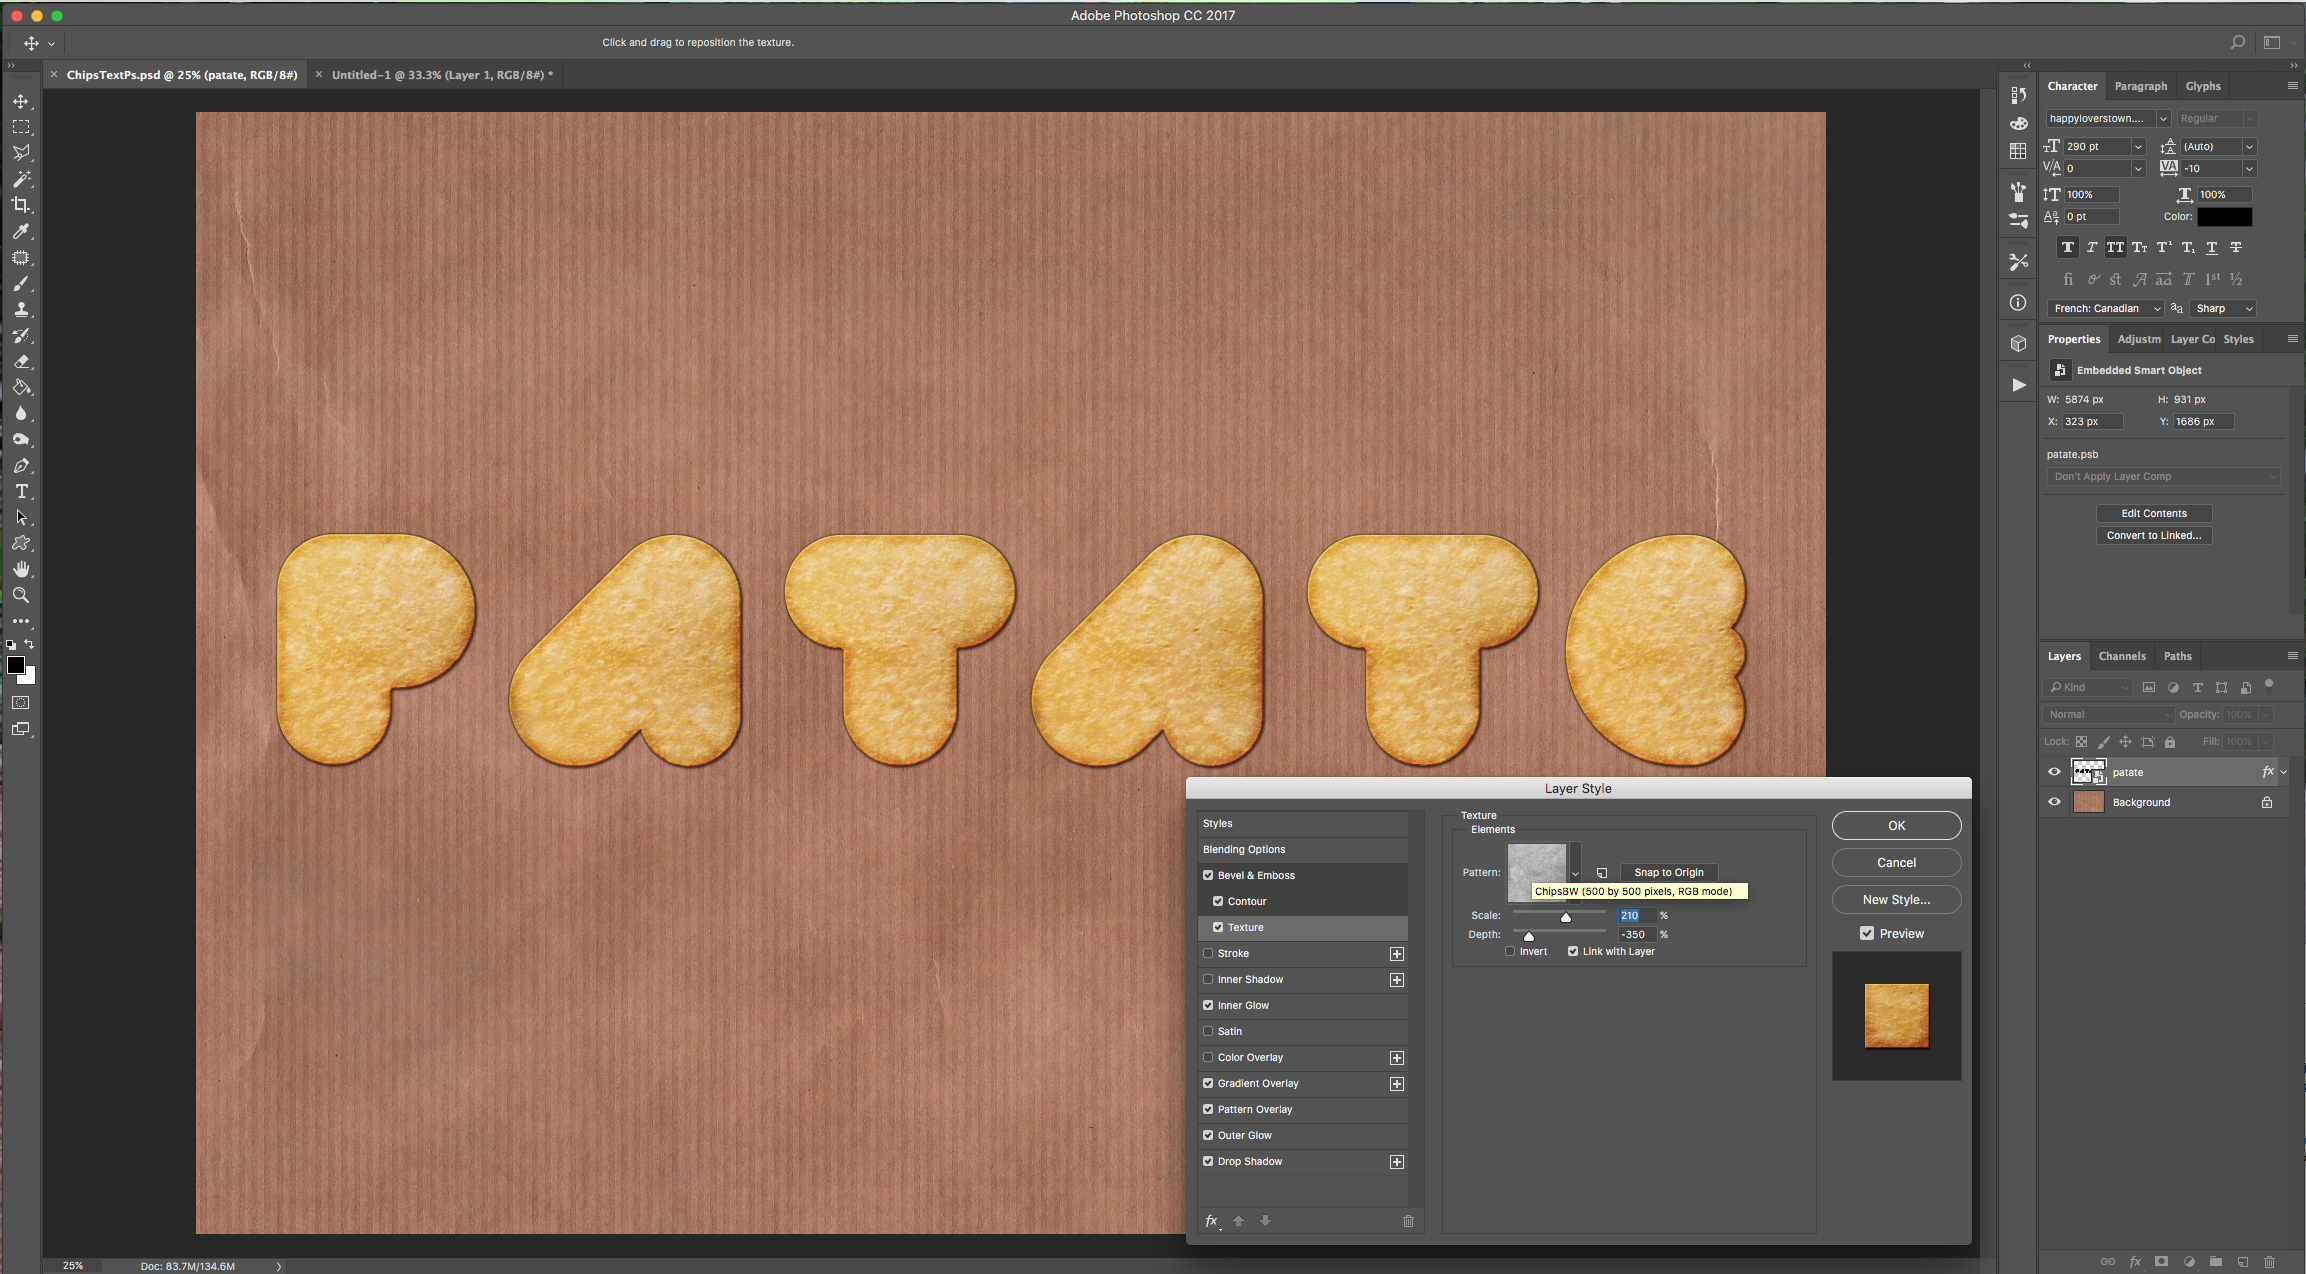
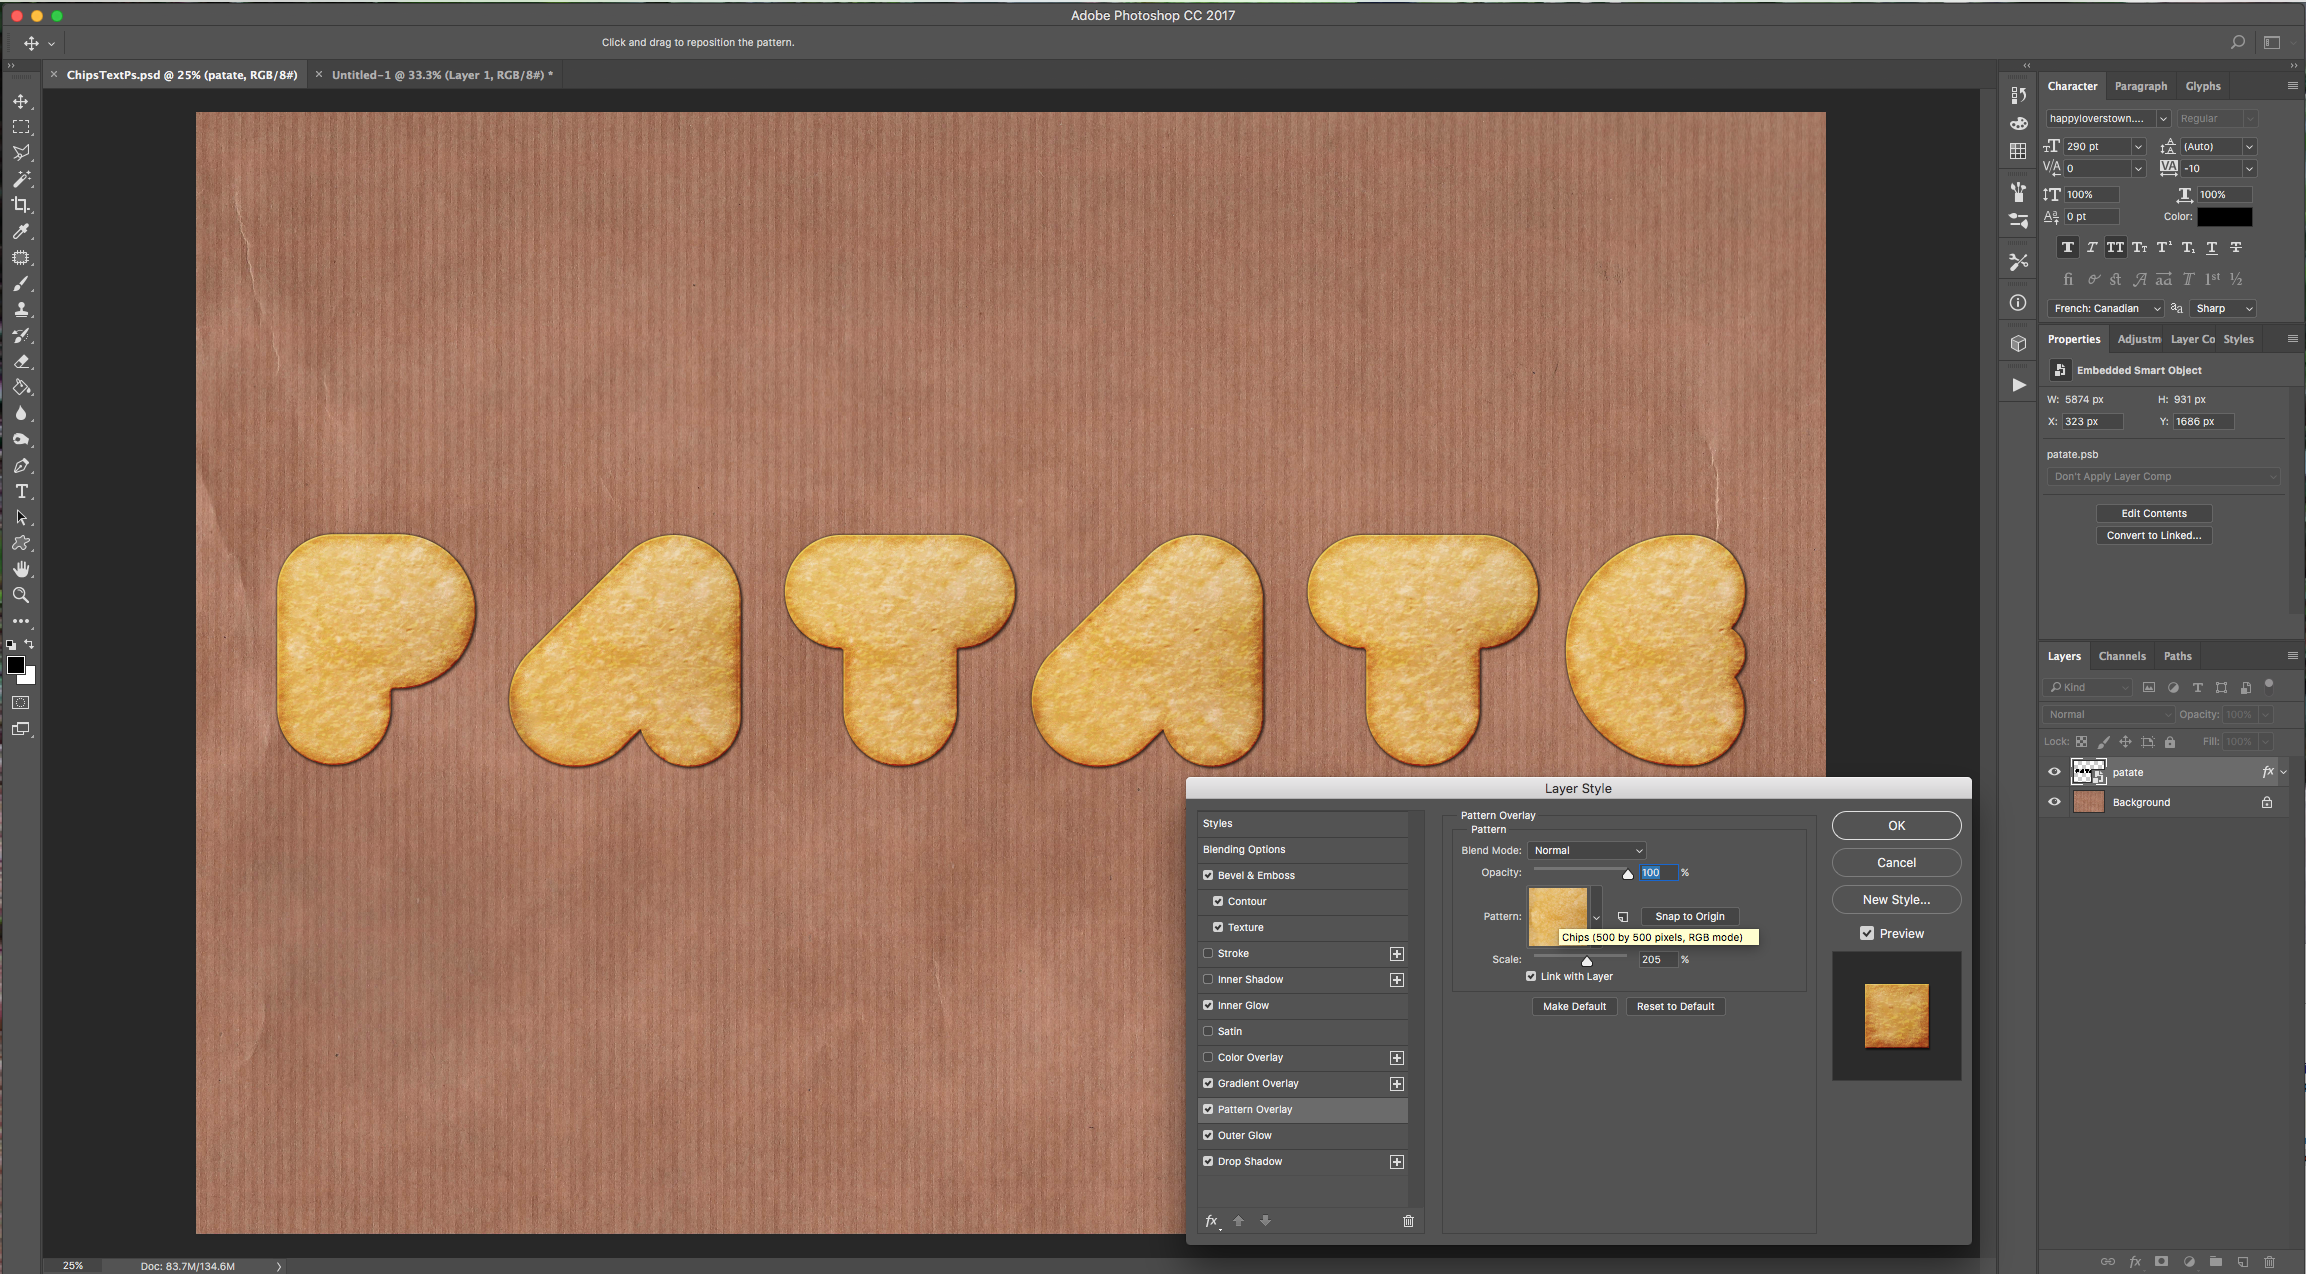
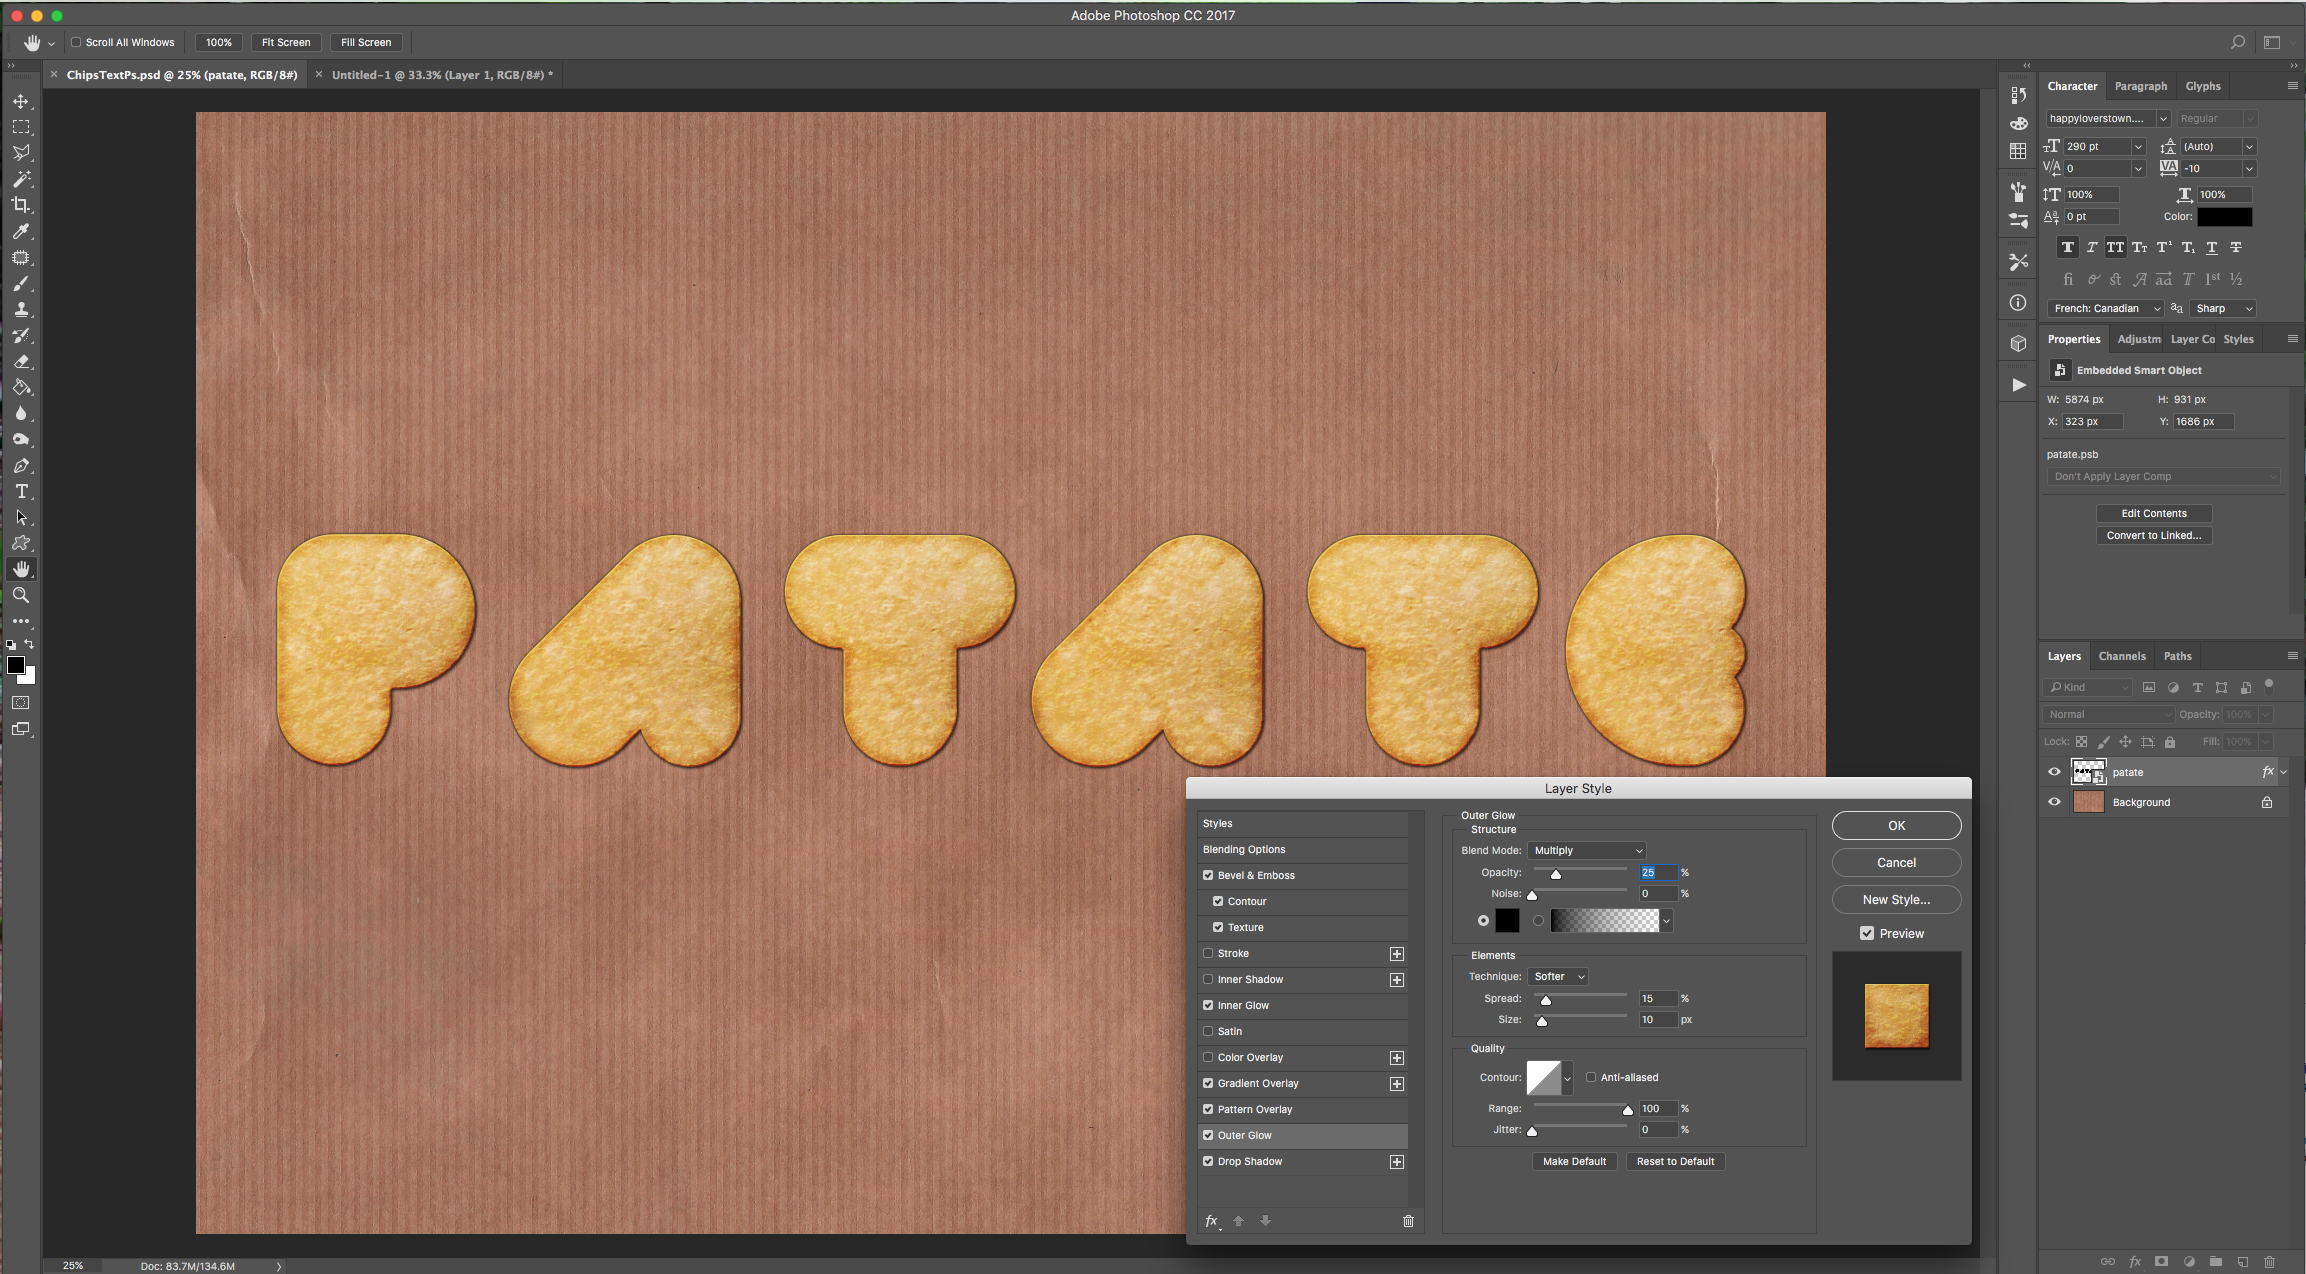
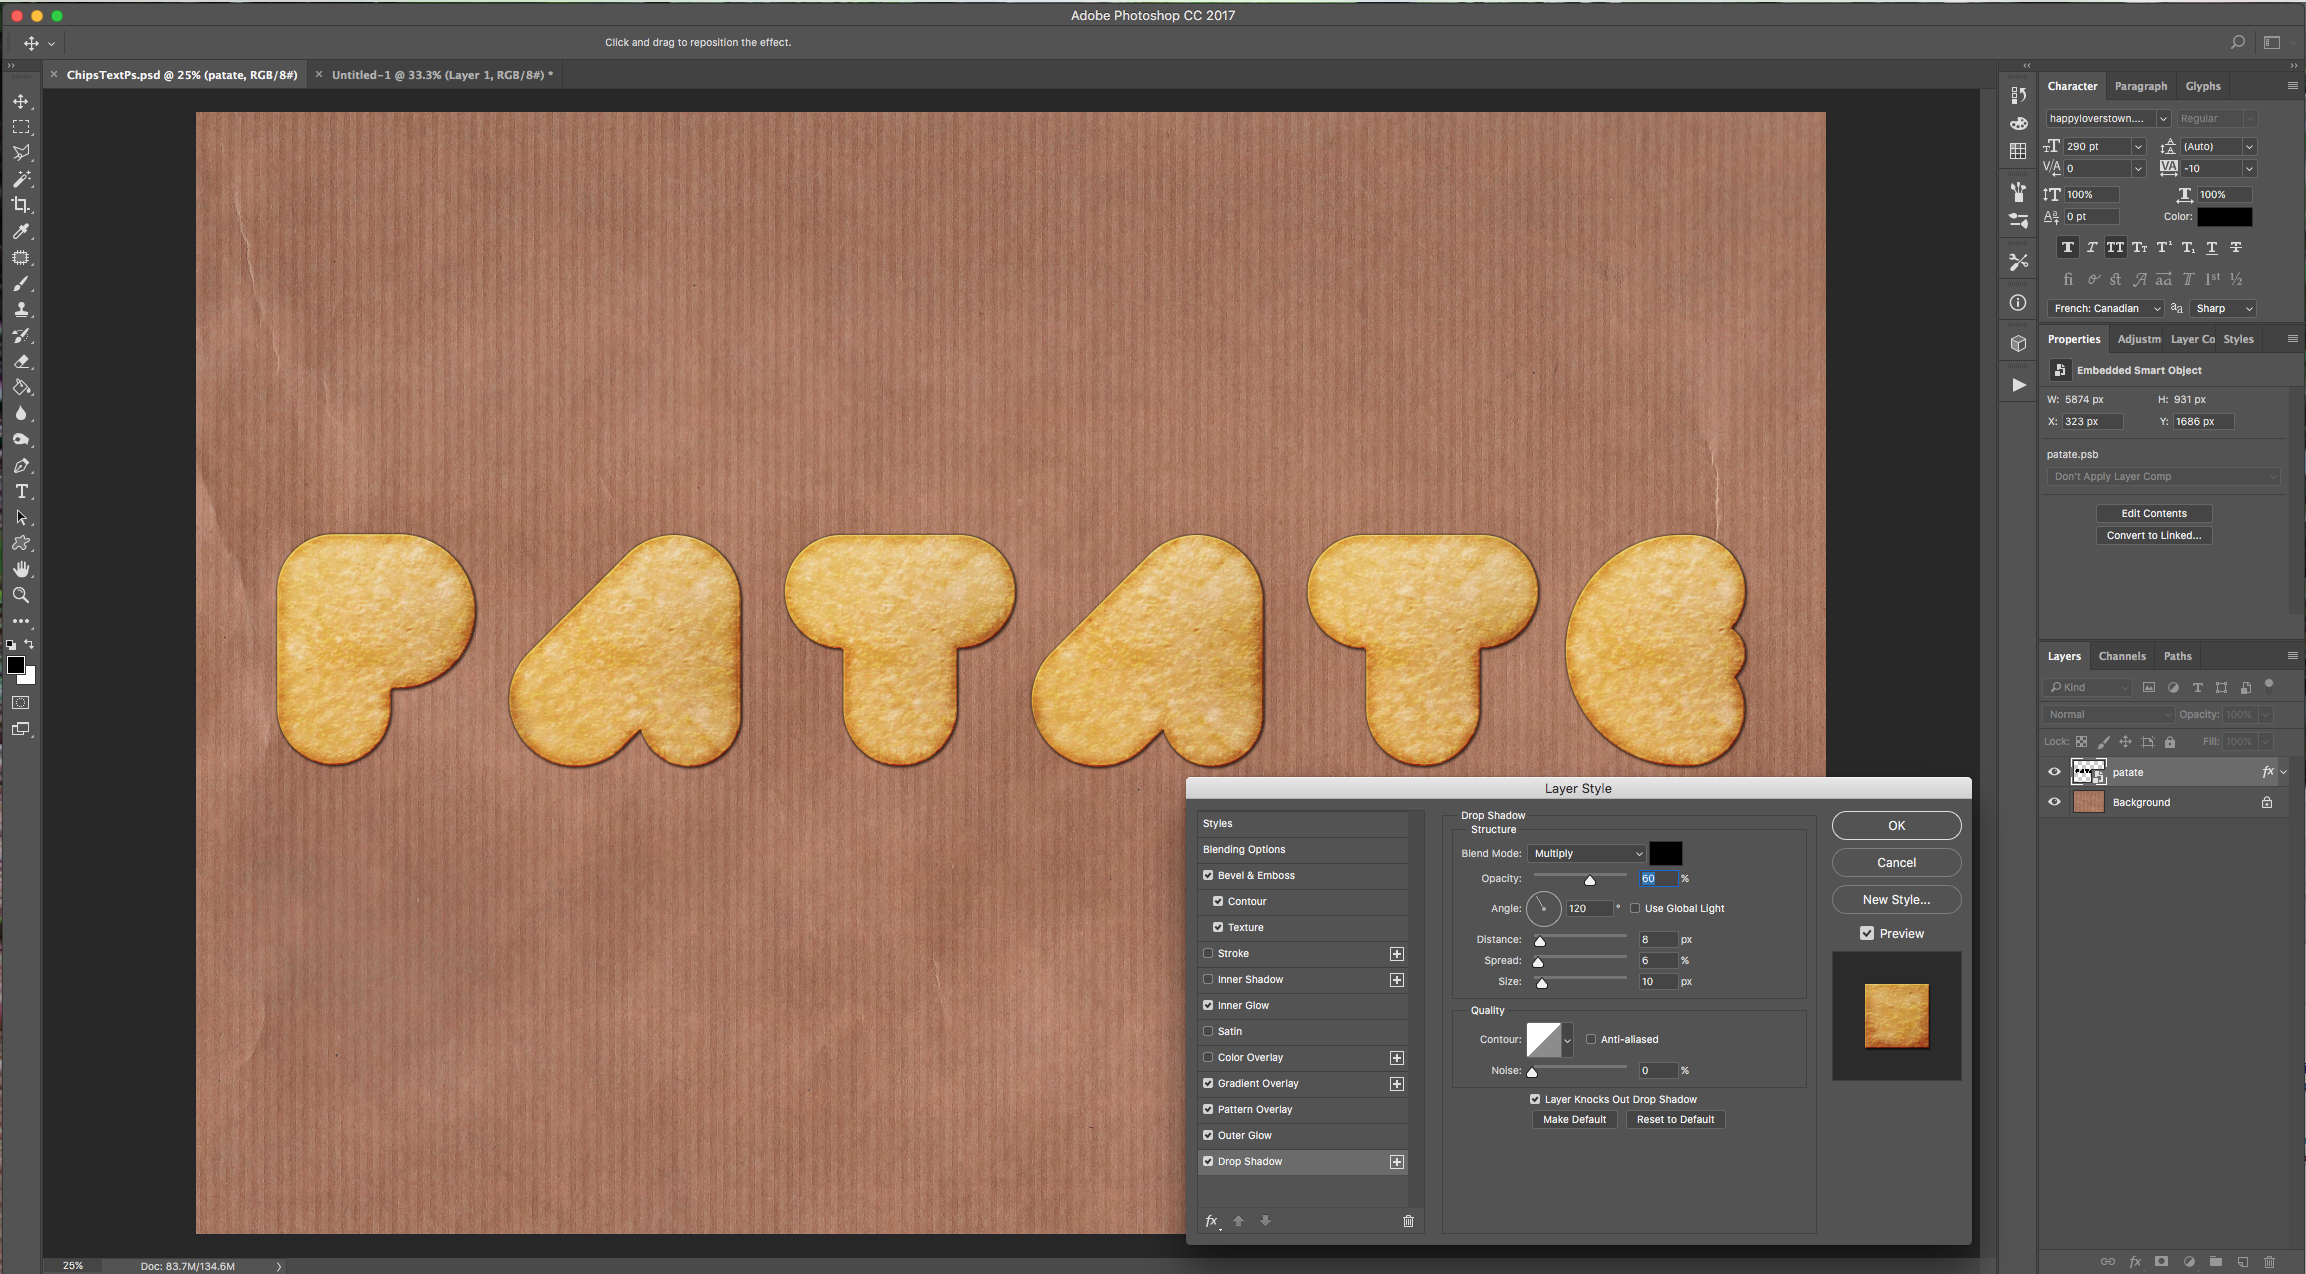
5 - Back in your original document, double-click on the “Smart Object” Thumbnail to apply the following “Layer Styles”:
Bevel & Emboss:
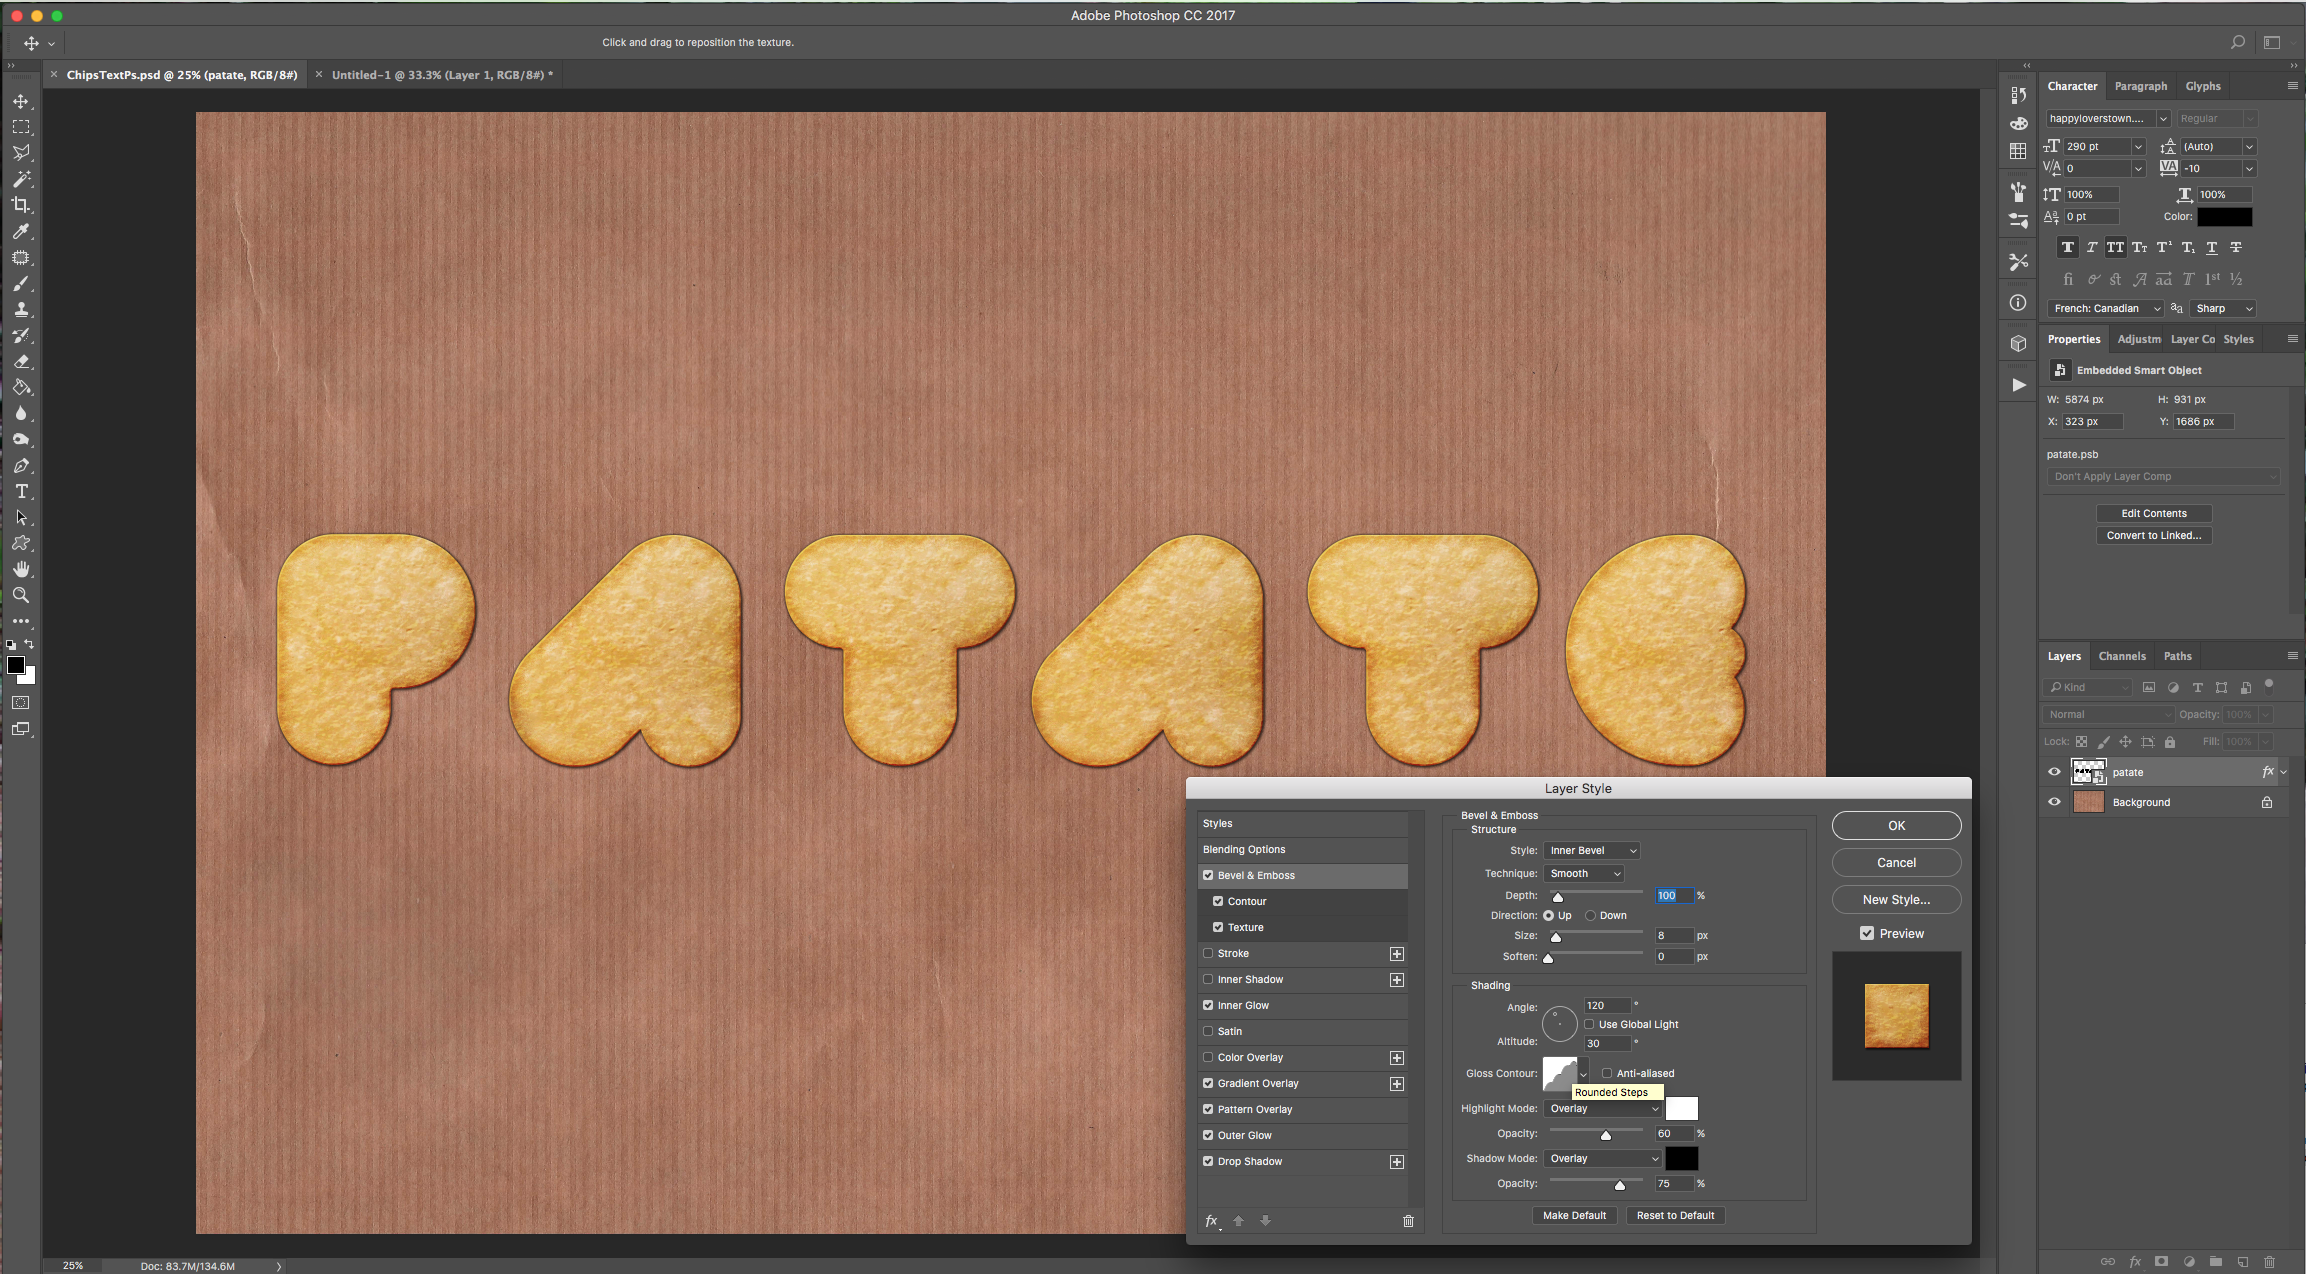
Contour:
Texture:
Inner Glow:

Gradient Overlay:

Pattern Overlay:
Outer Glow:
Drop Shadow:
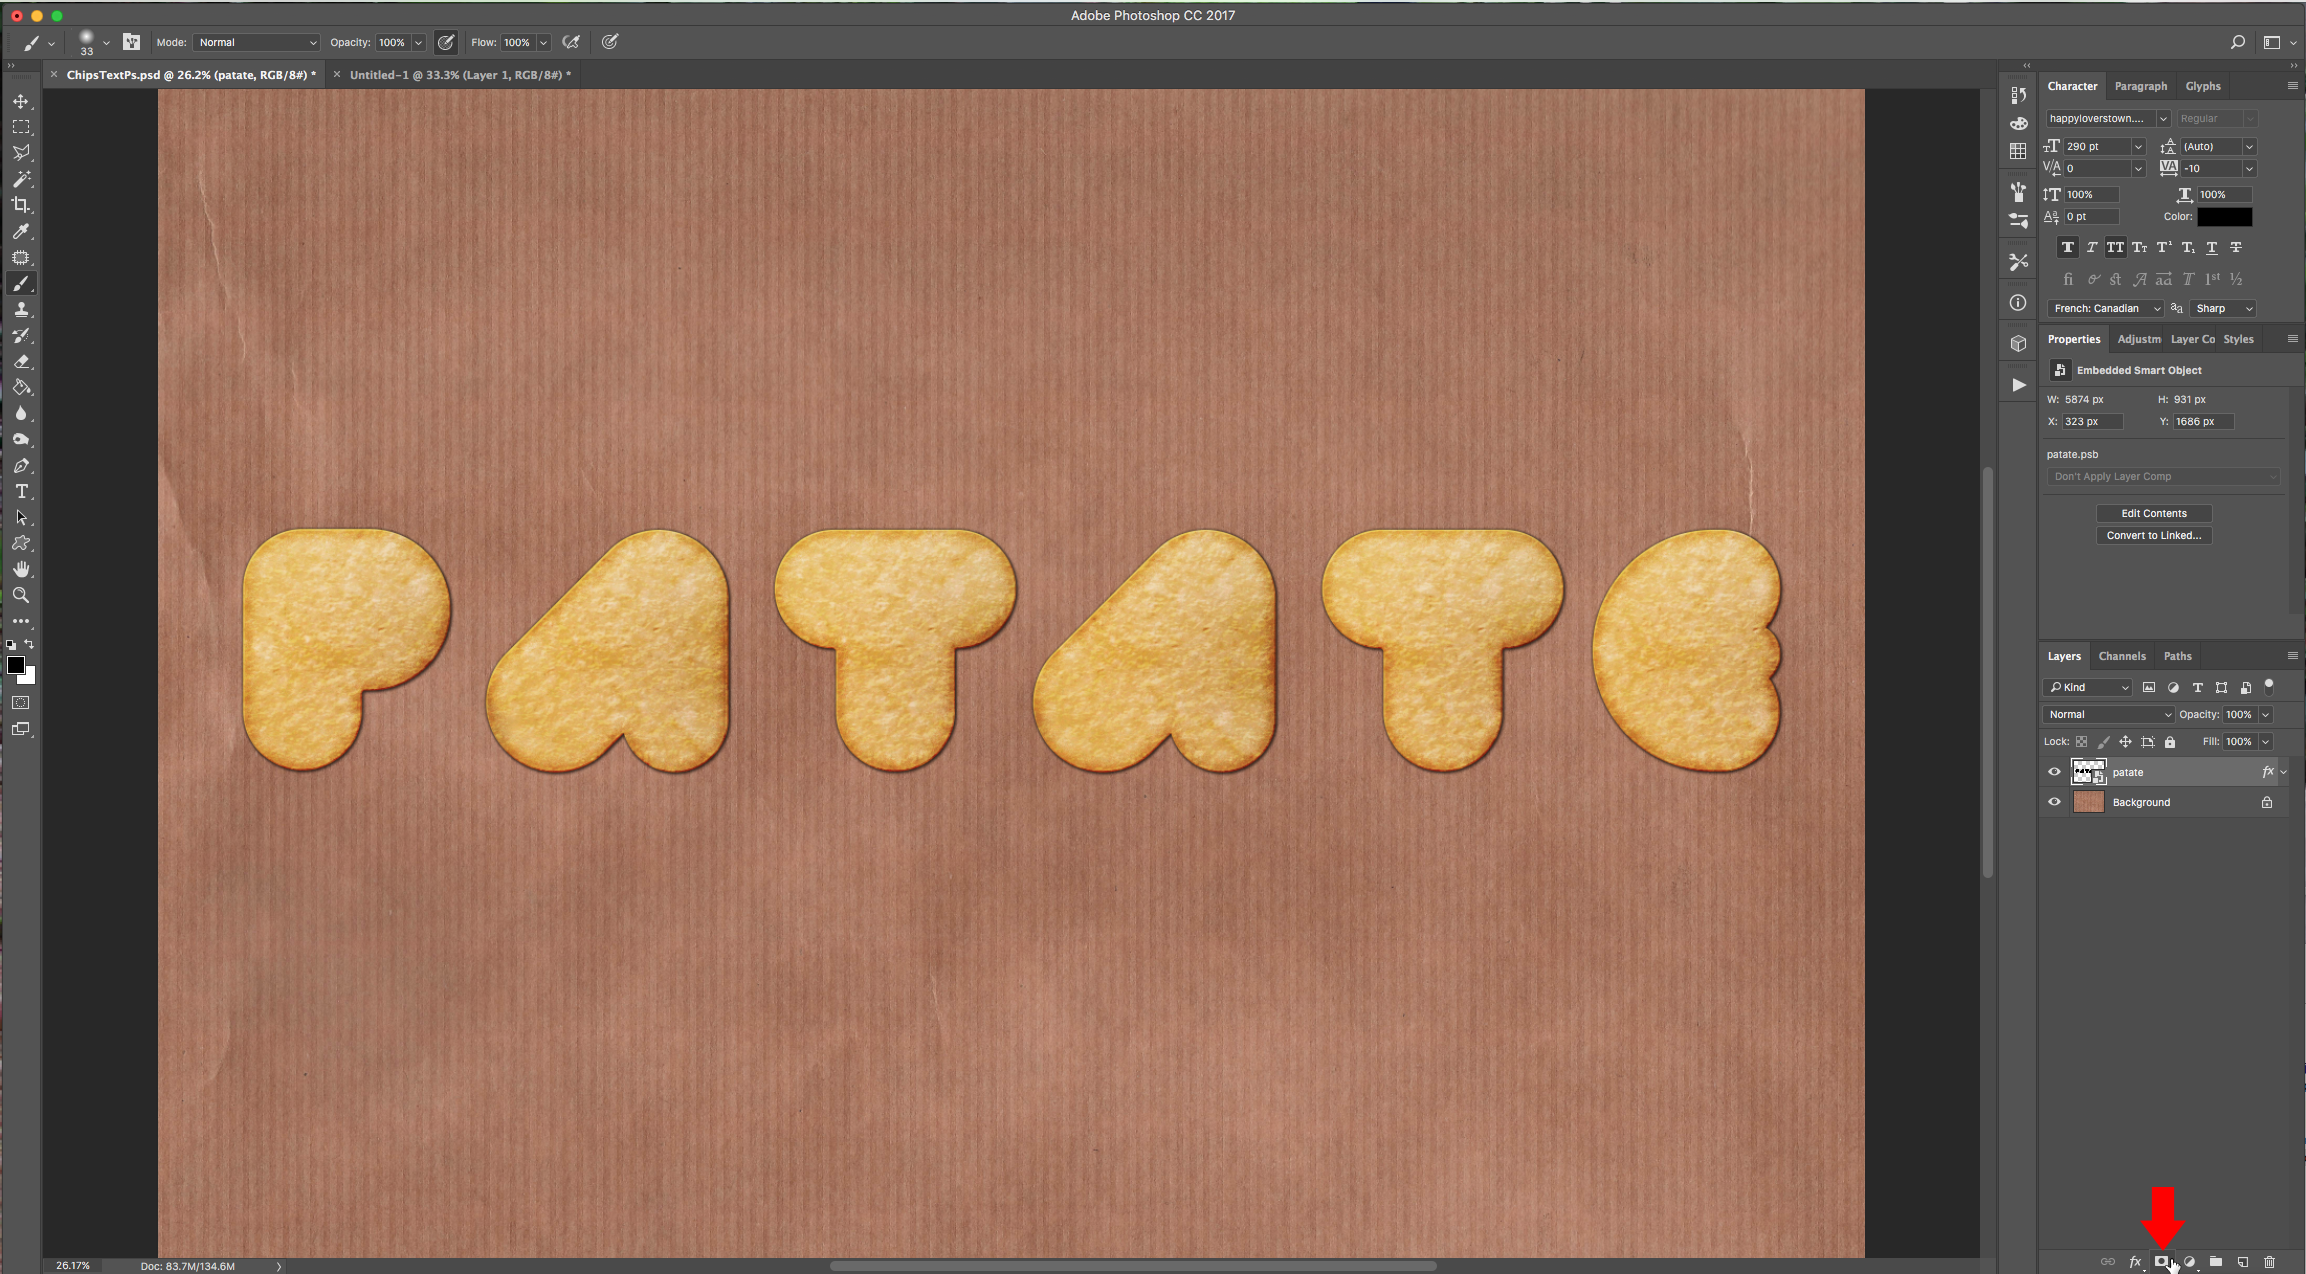
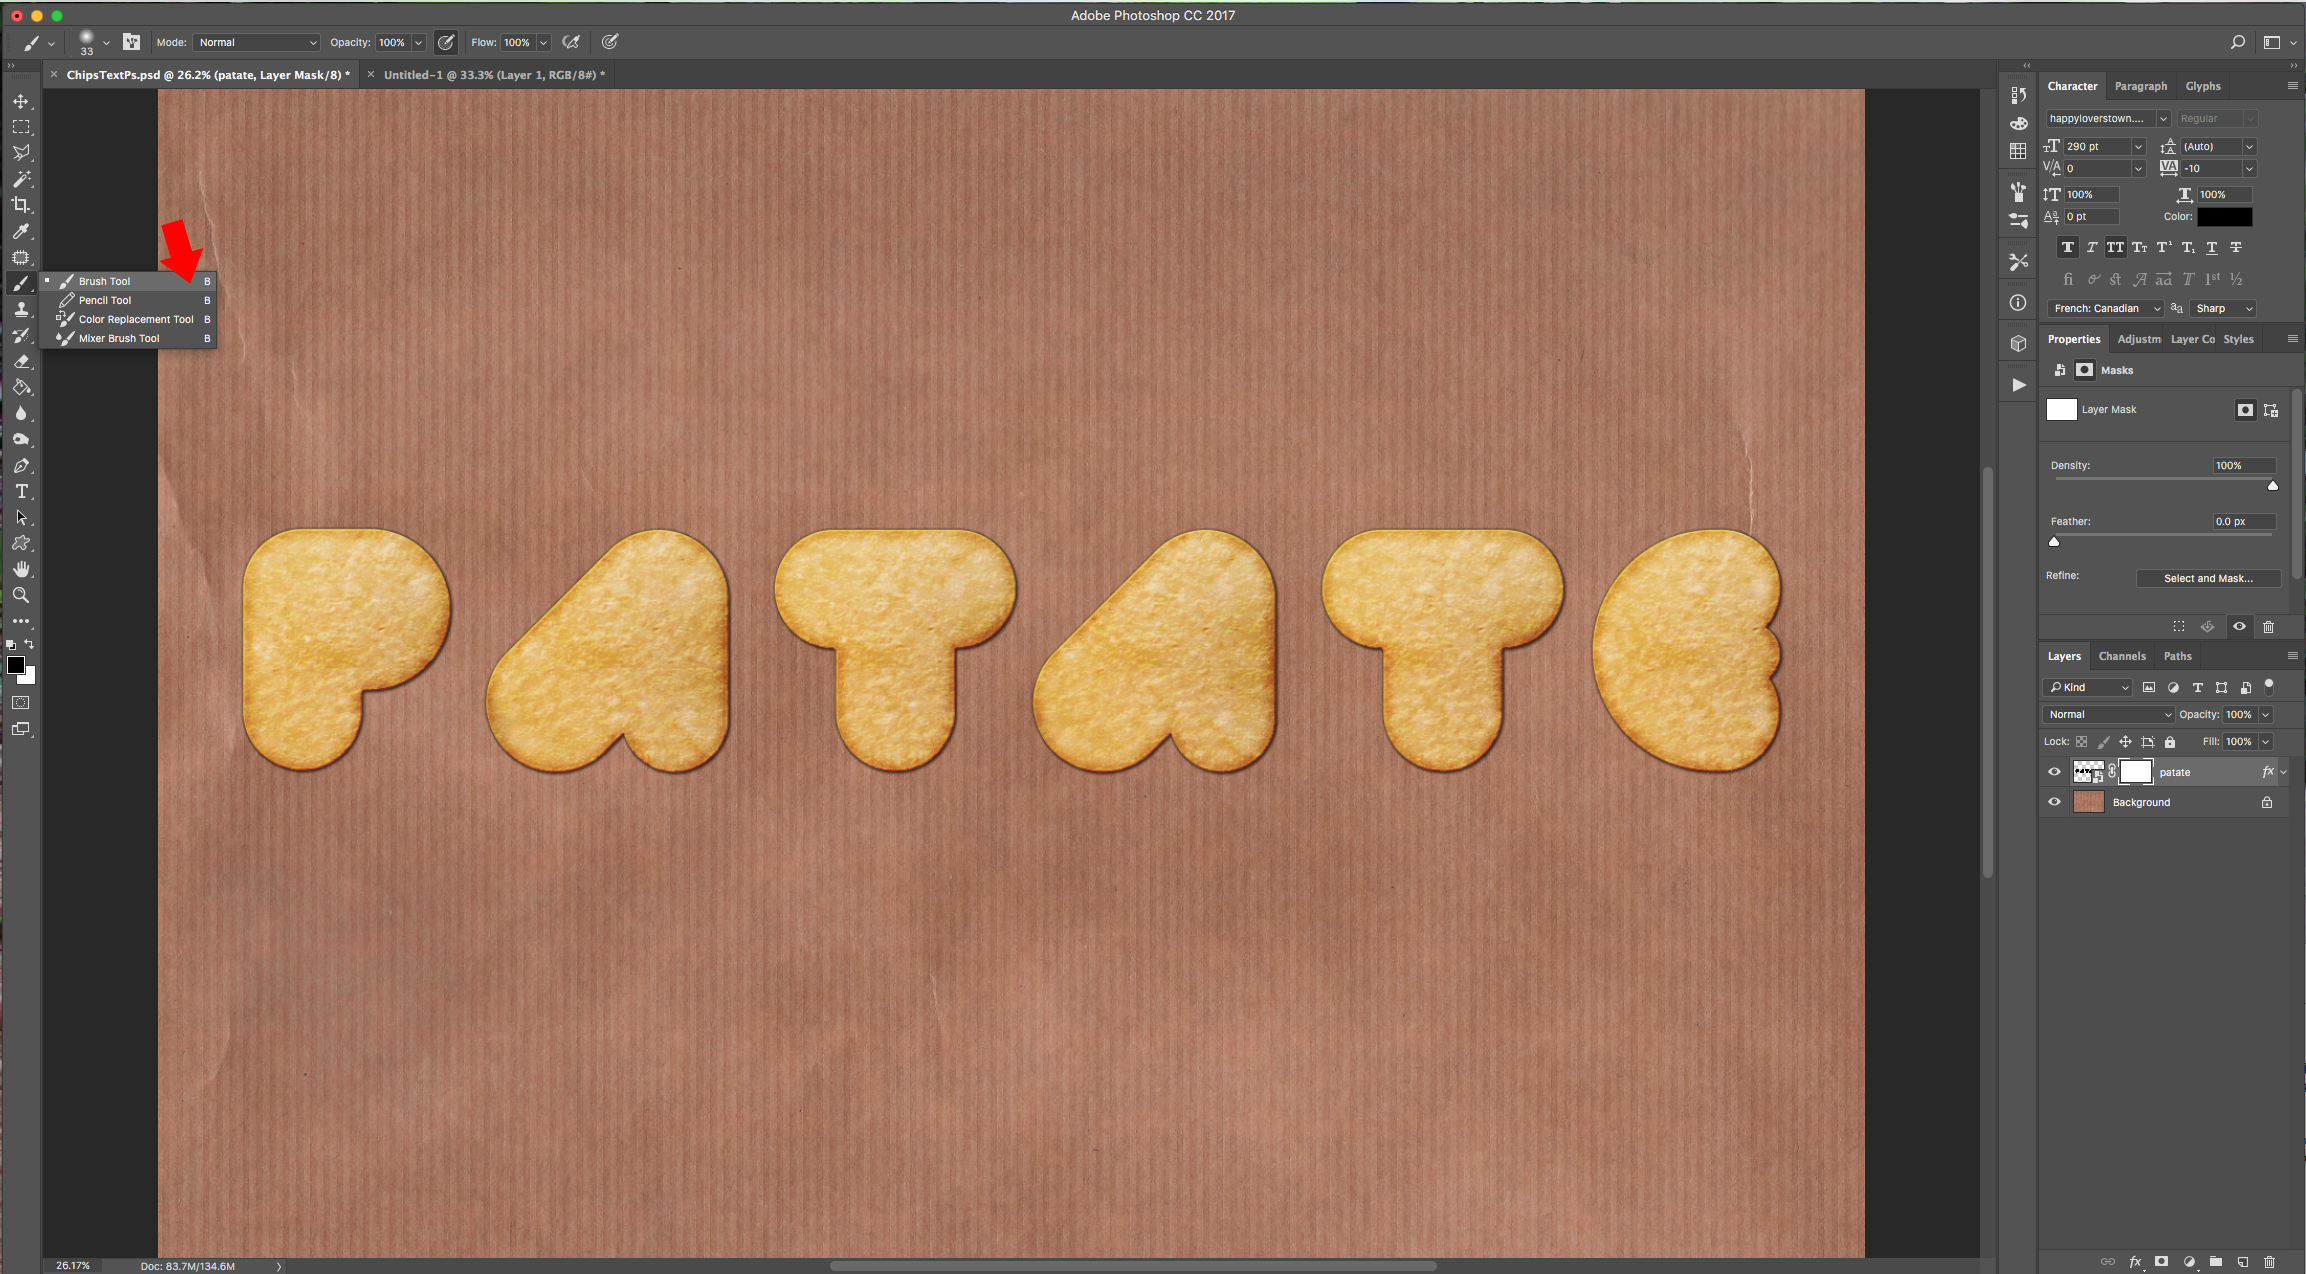
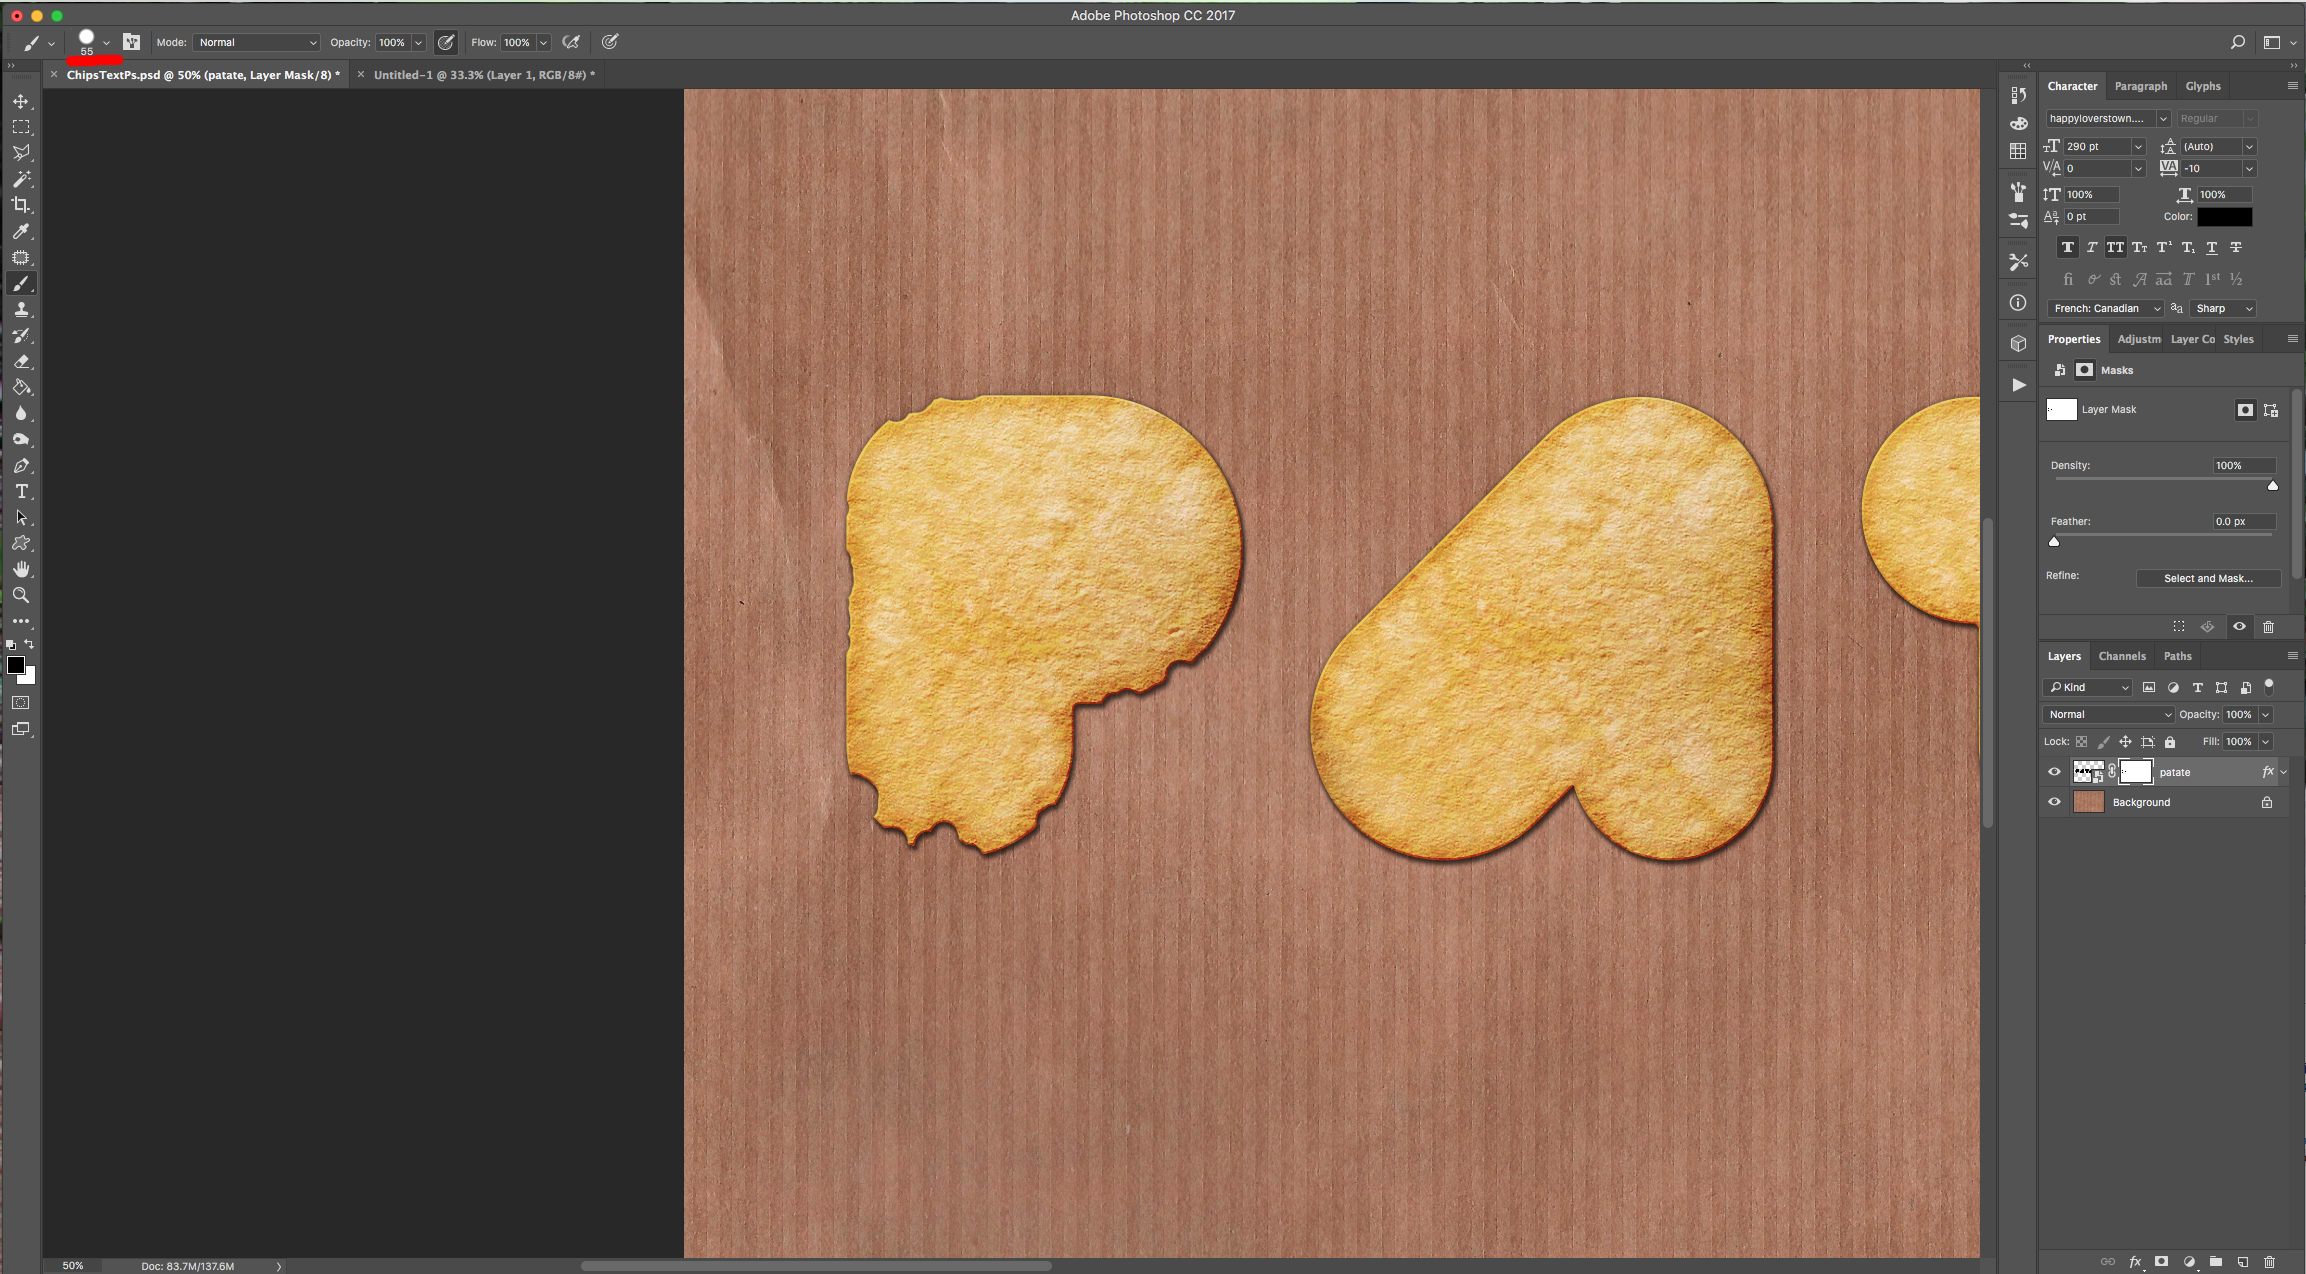
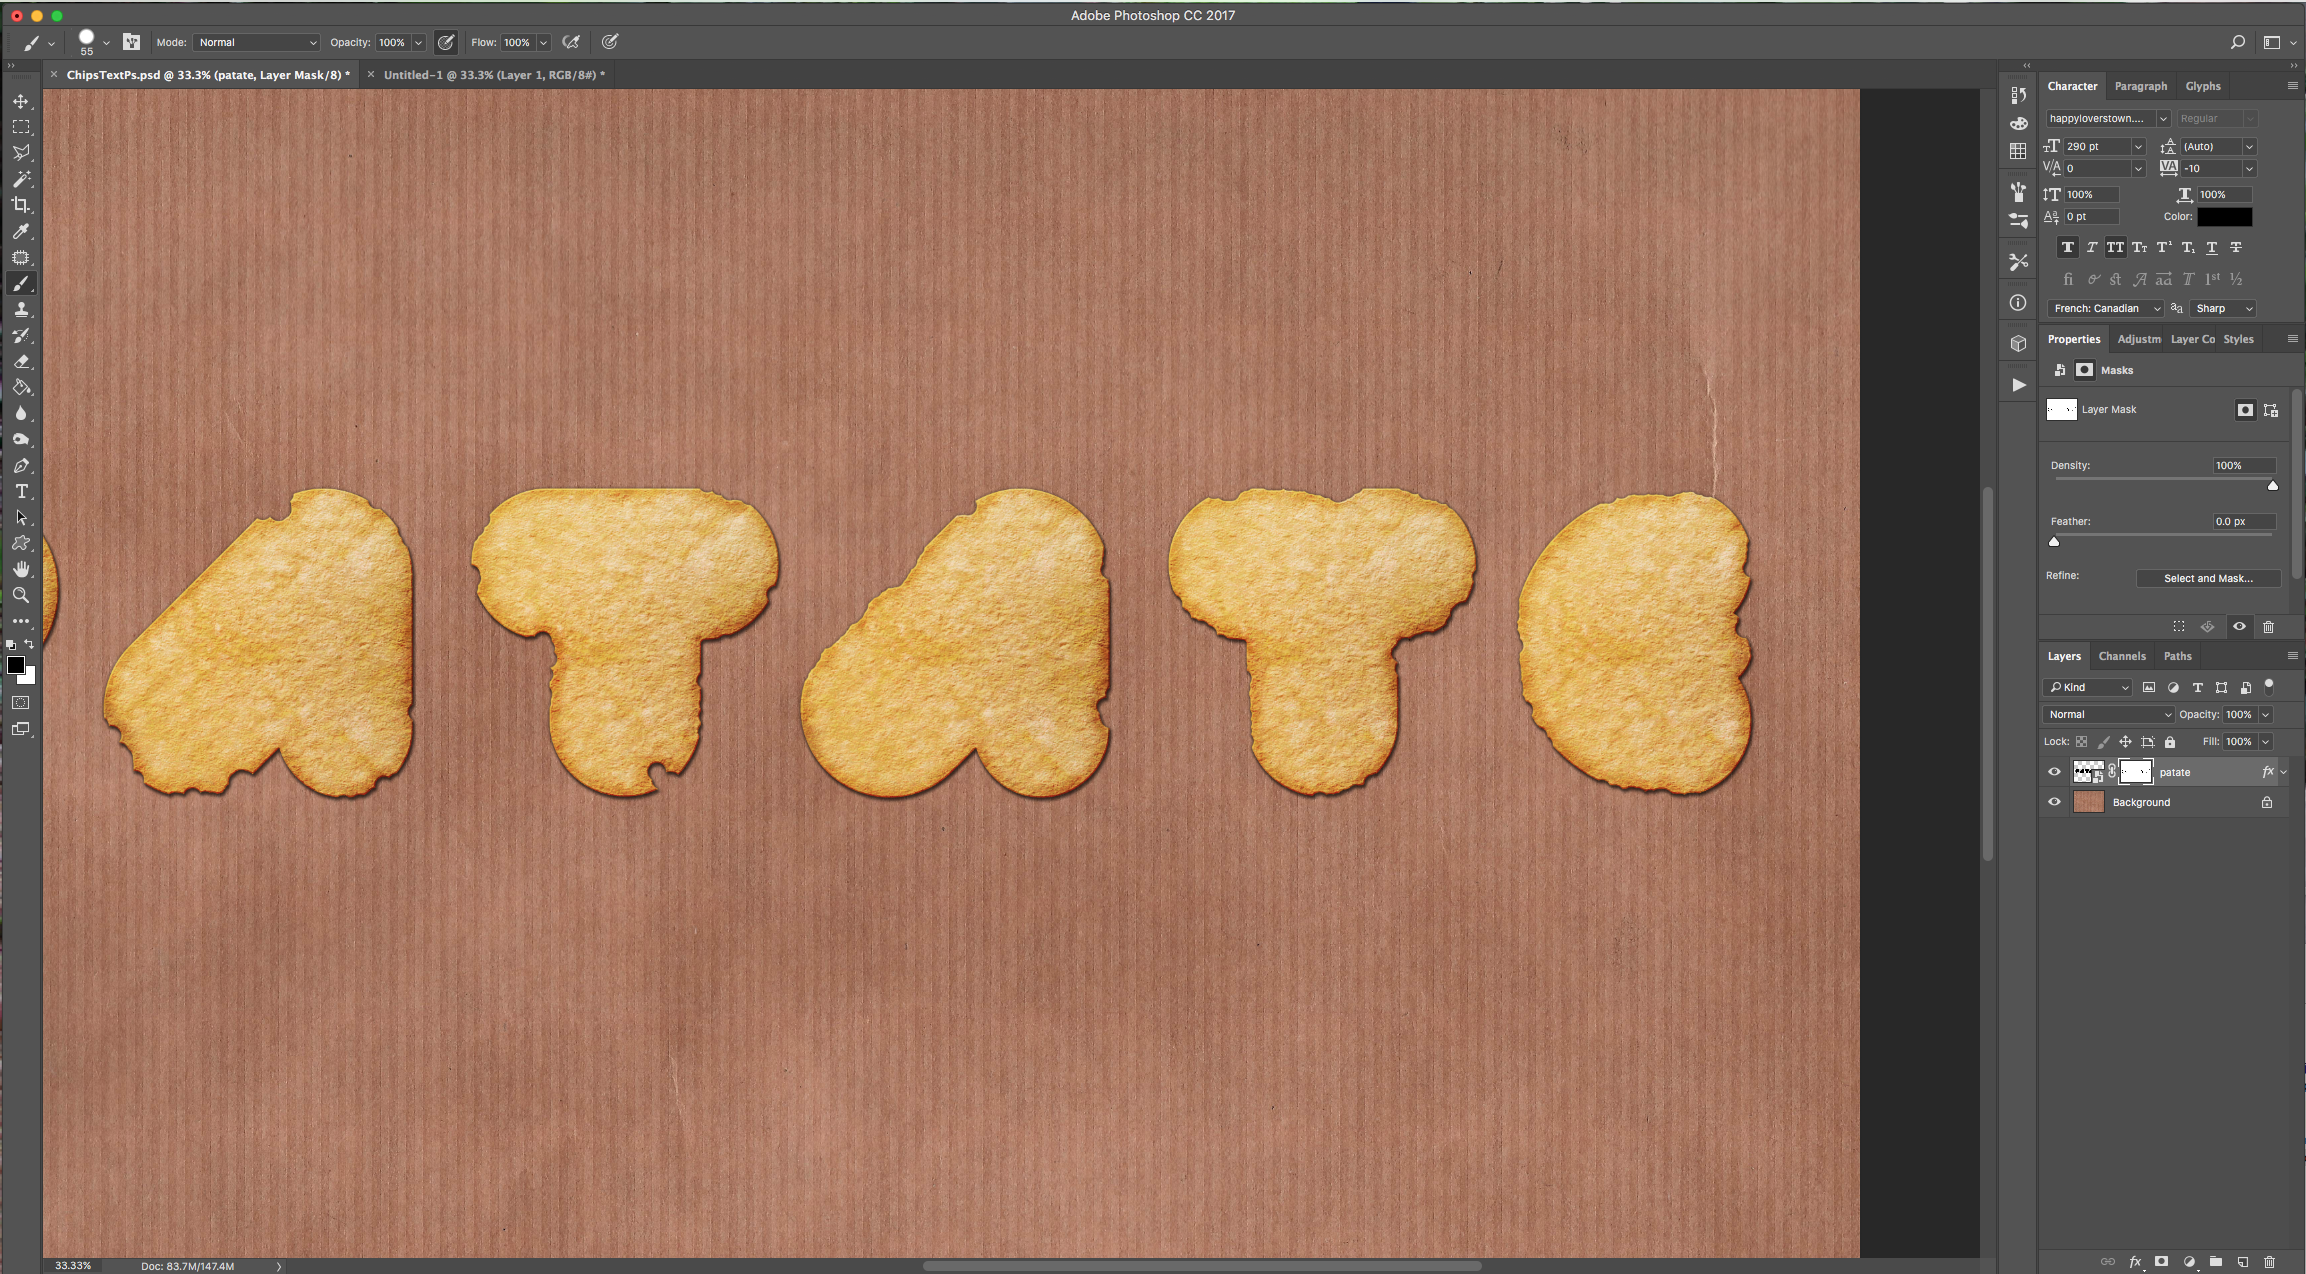
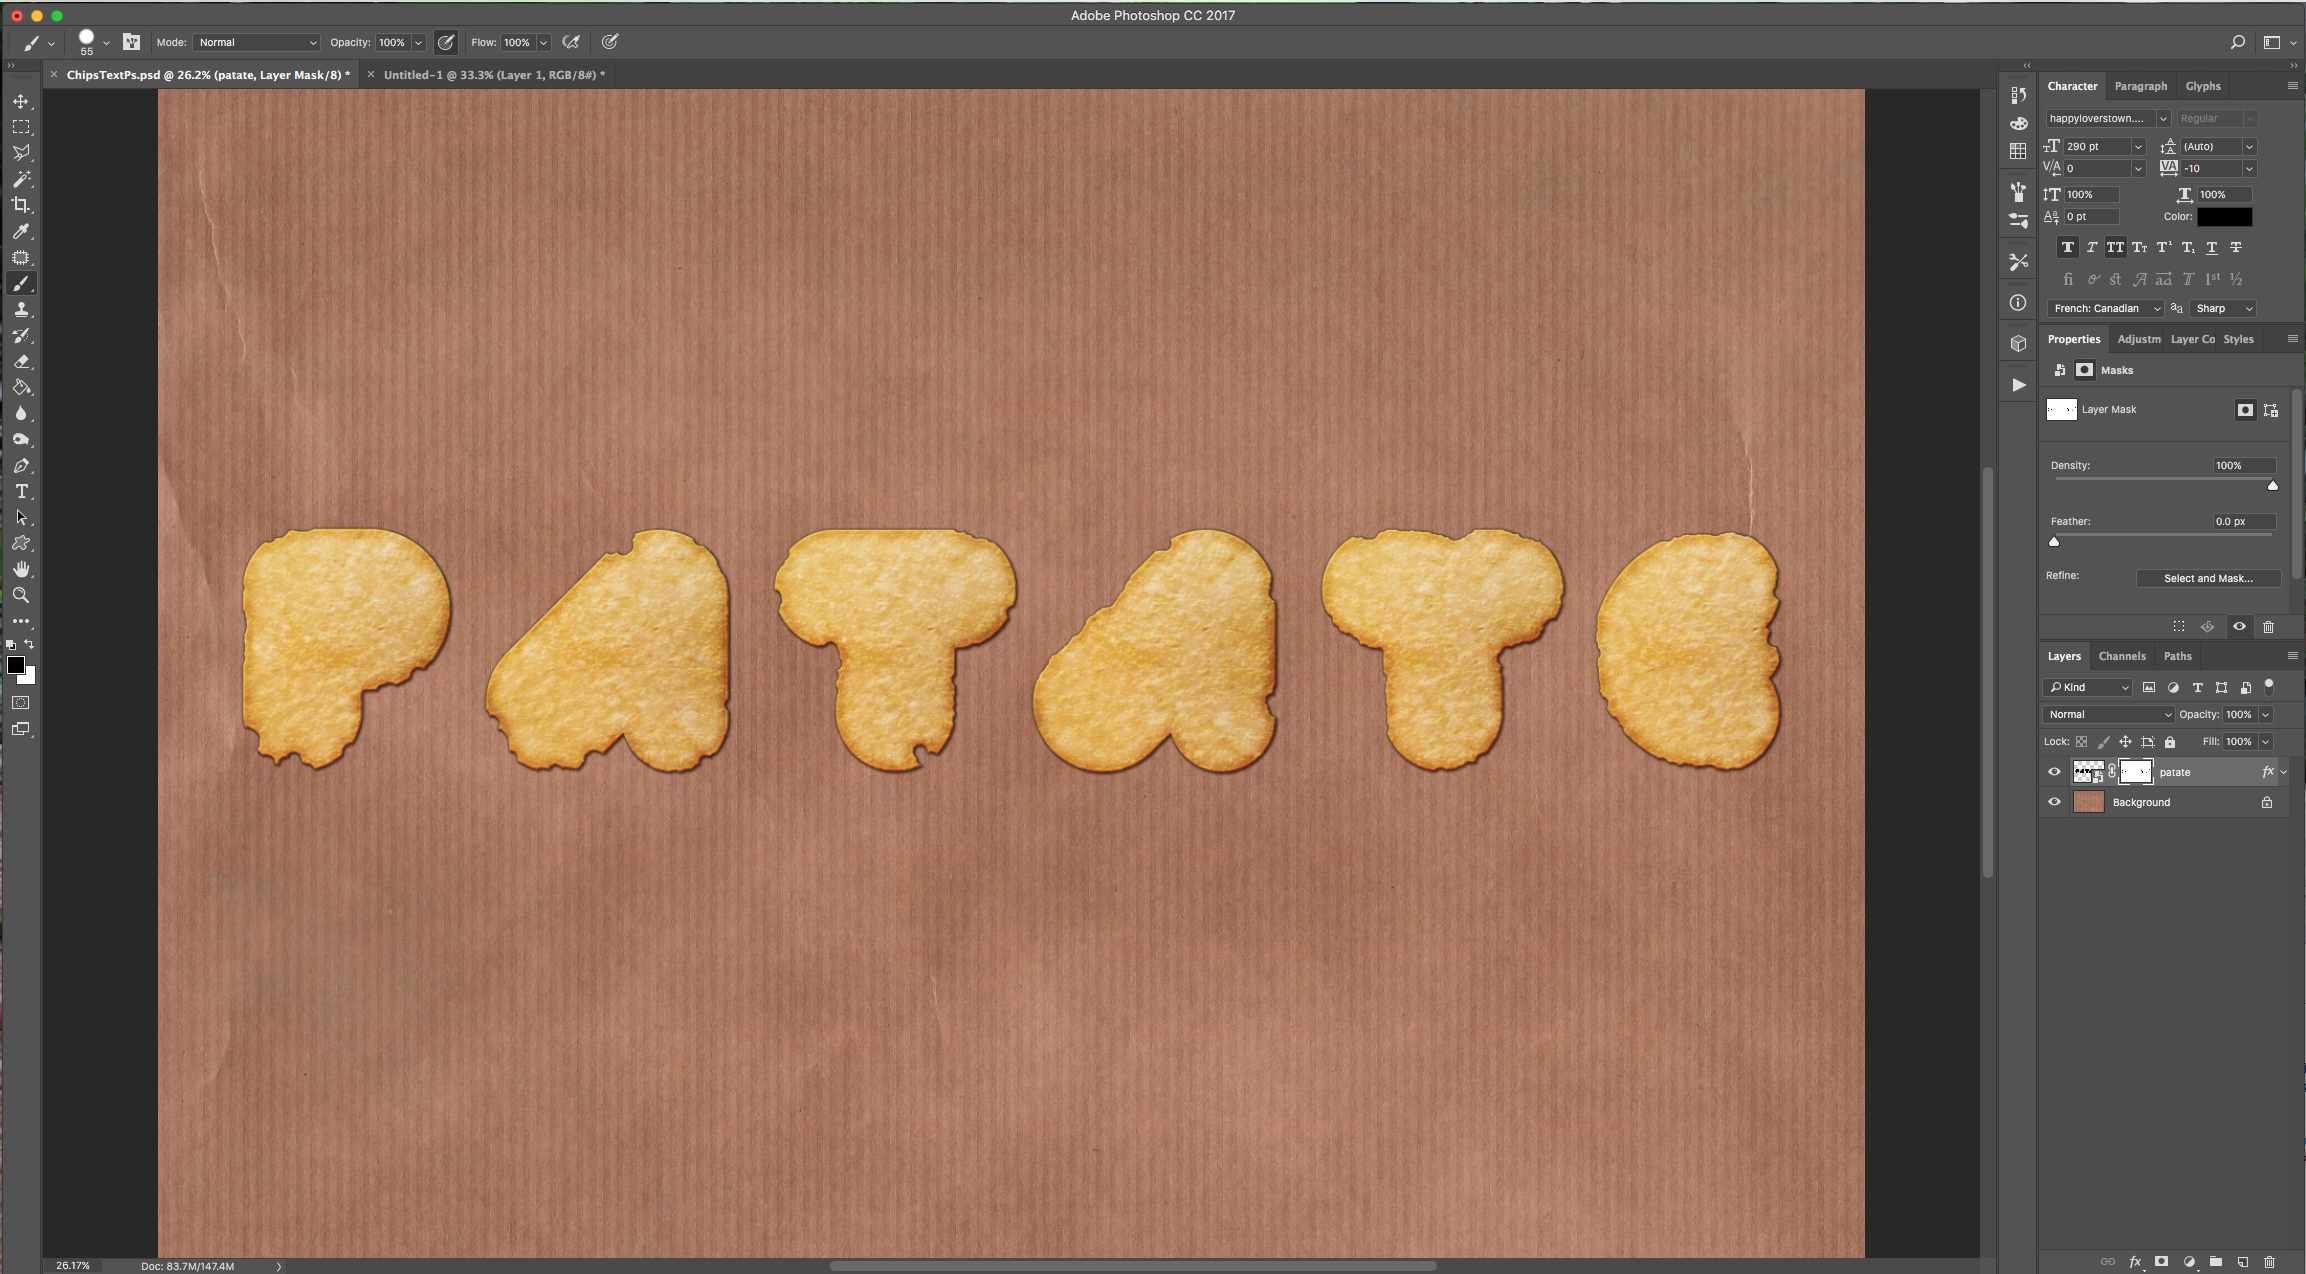
6 - Create a “Layer Mask” by clicking on the small button at the bottom of the “Layers Panel”, select the “Brush Tool” (B) and with a Medium-sized Hard Brush (we used 55 pt @ 100% Hardness) erase some portions on your Text. Make sure you are working on the “Layer Mask” and using Black as “Foreground” color. Do this in all your letters and if you want to bring back something, just change the “Foreground” color to White.
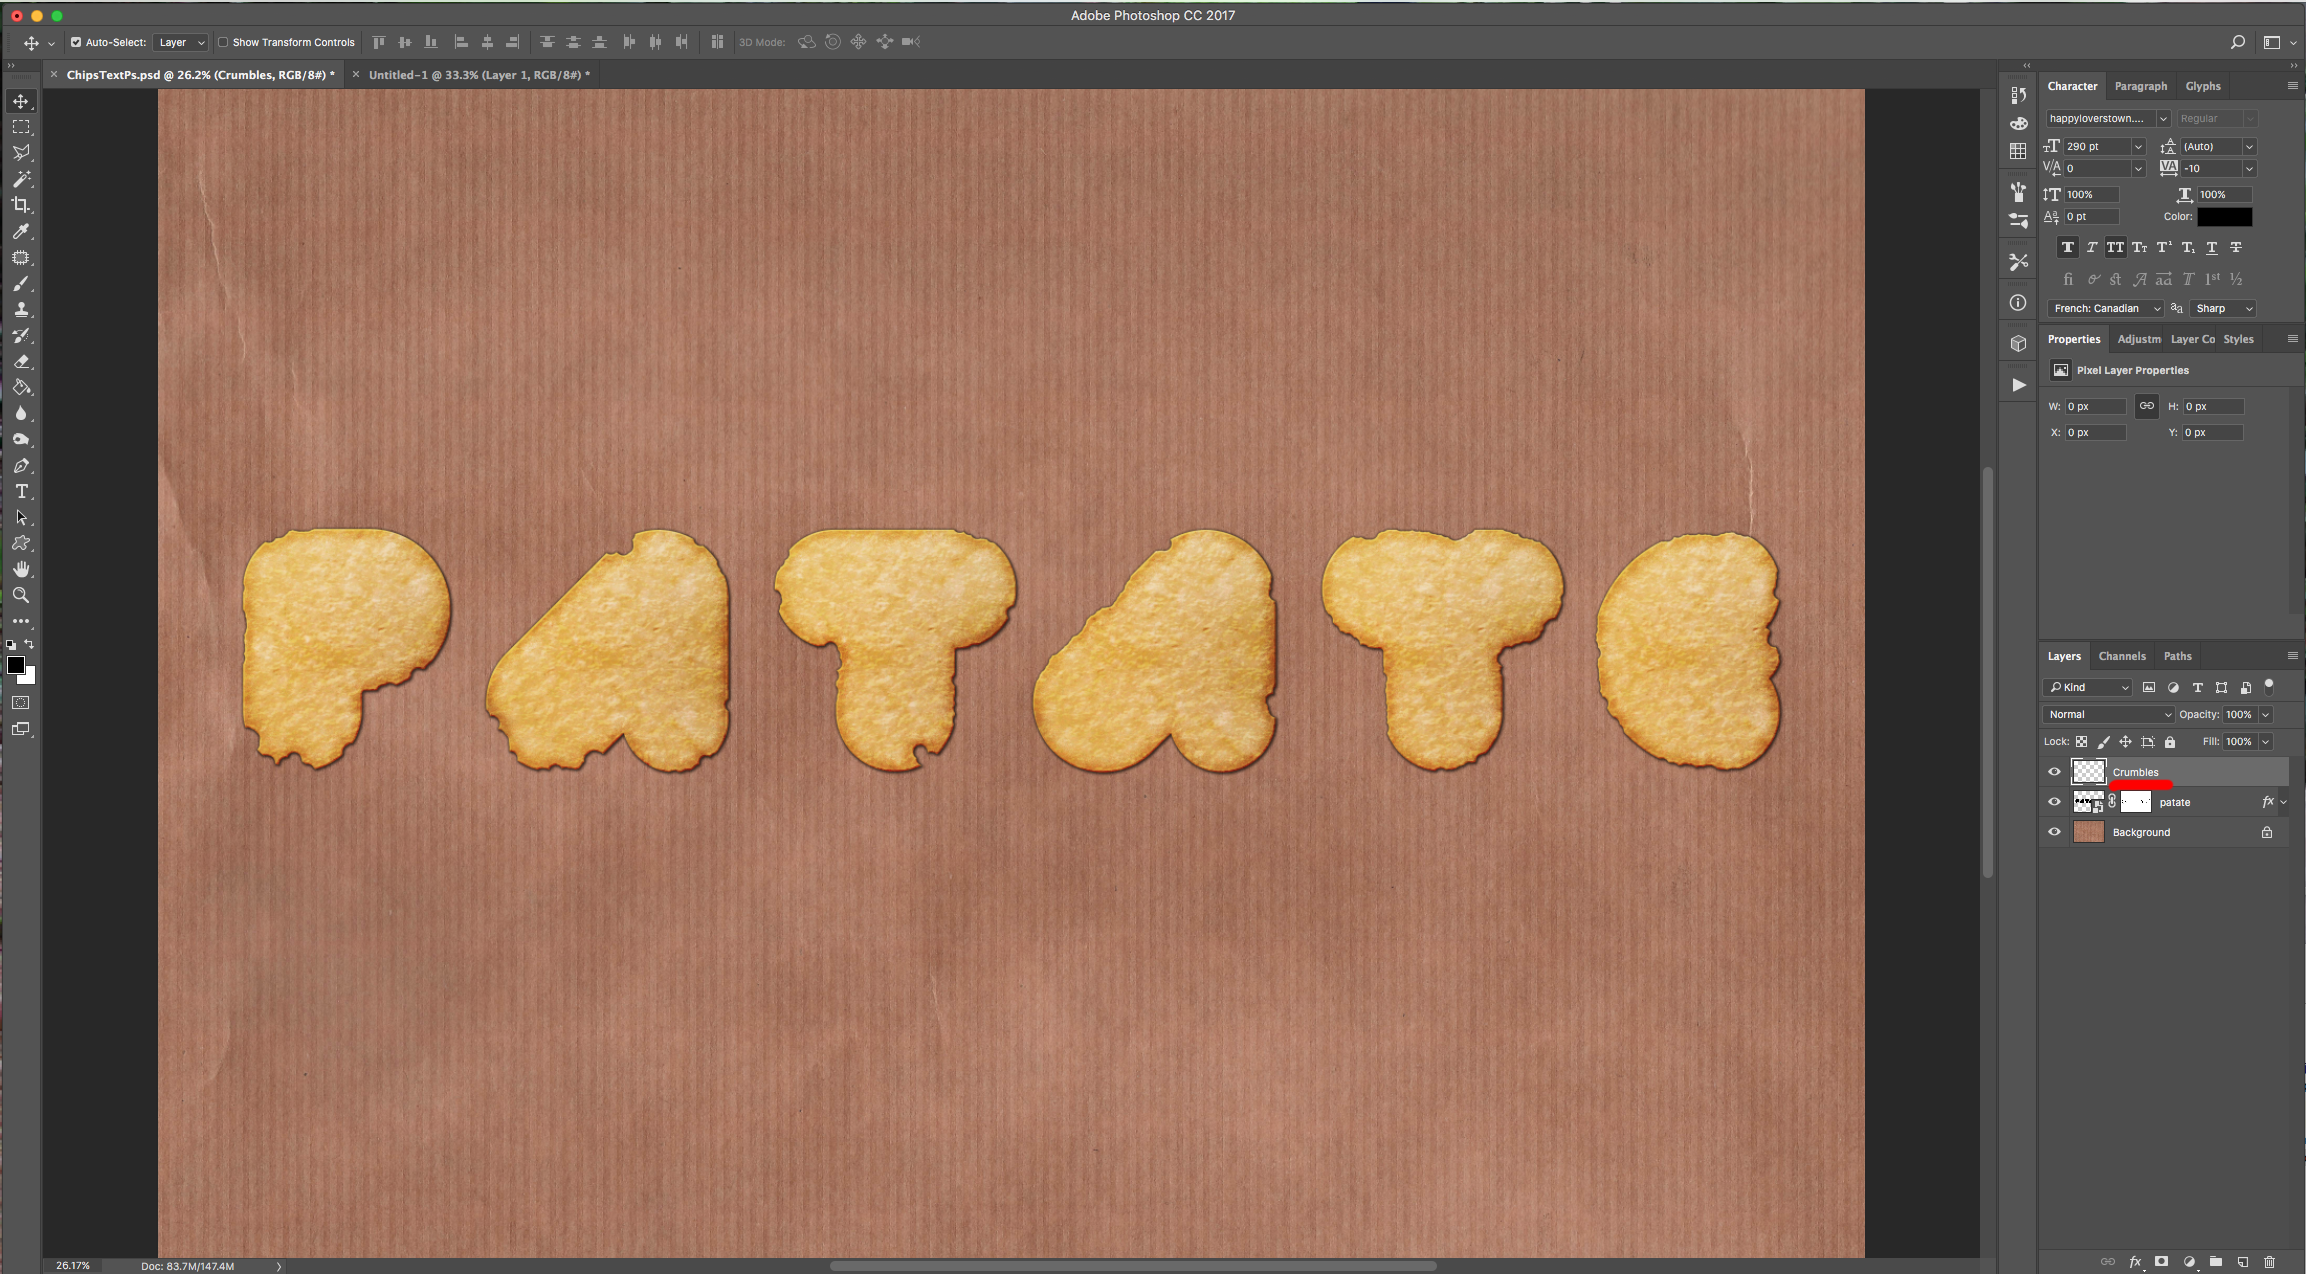
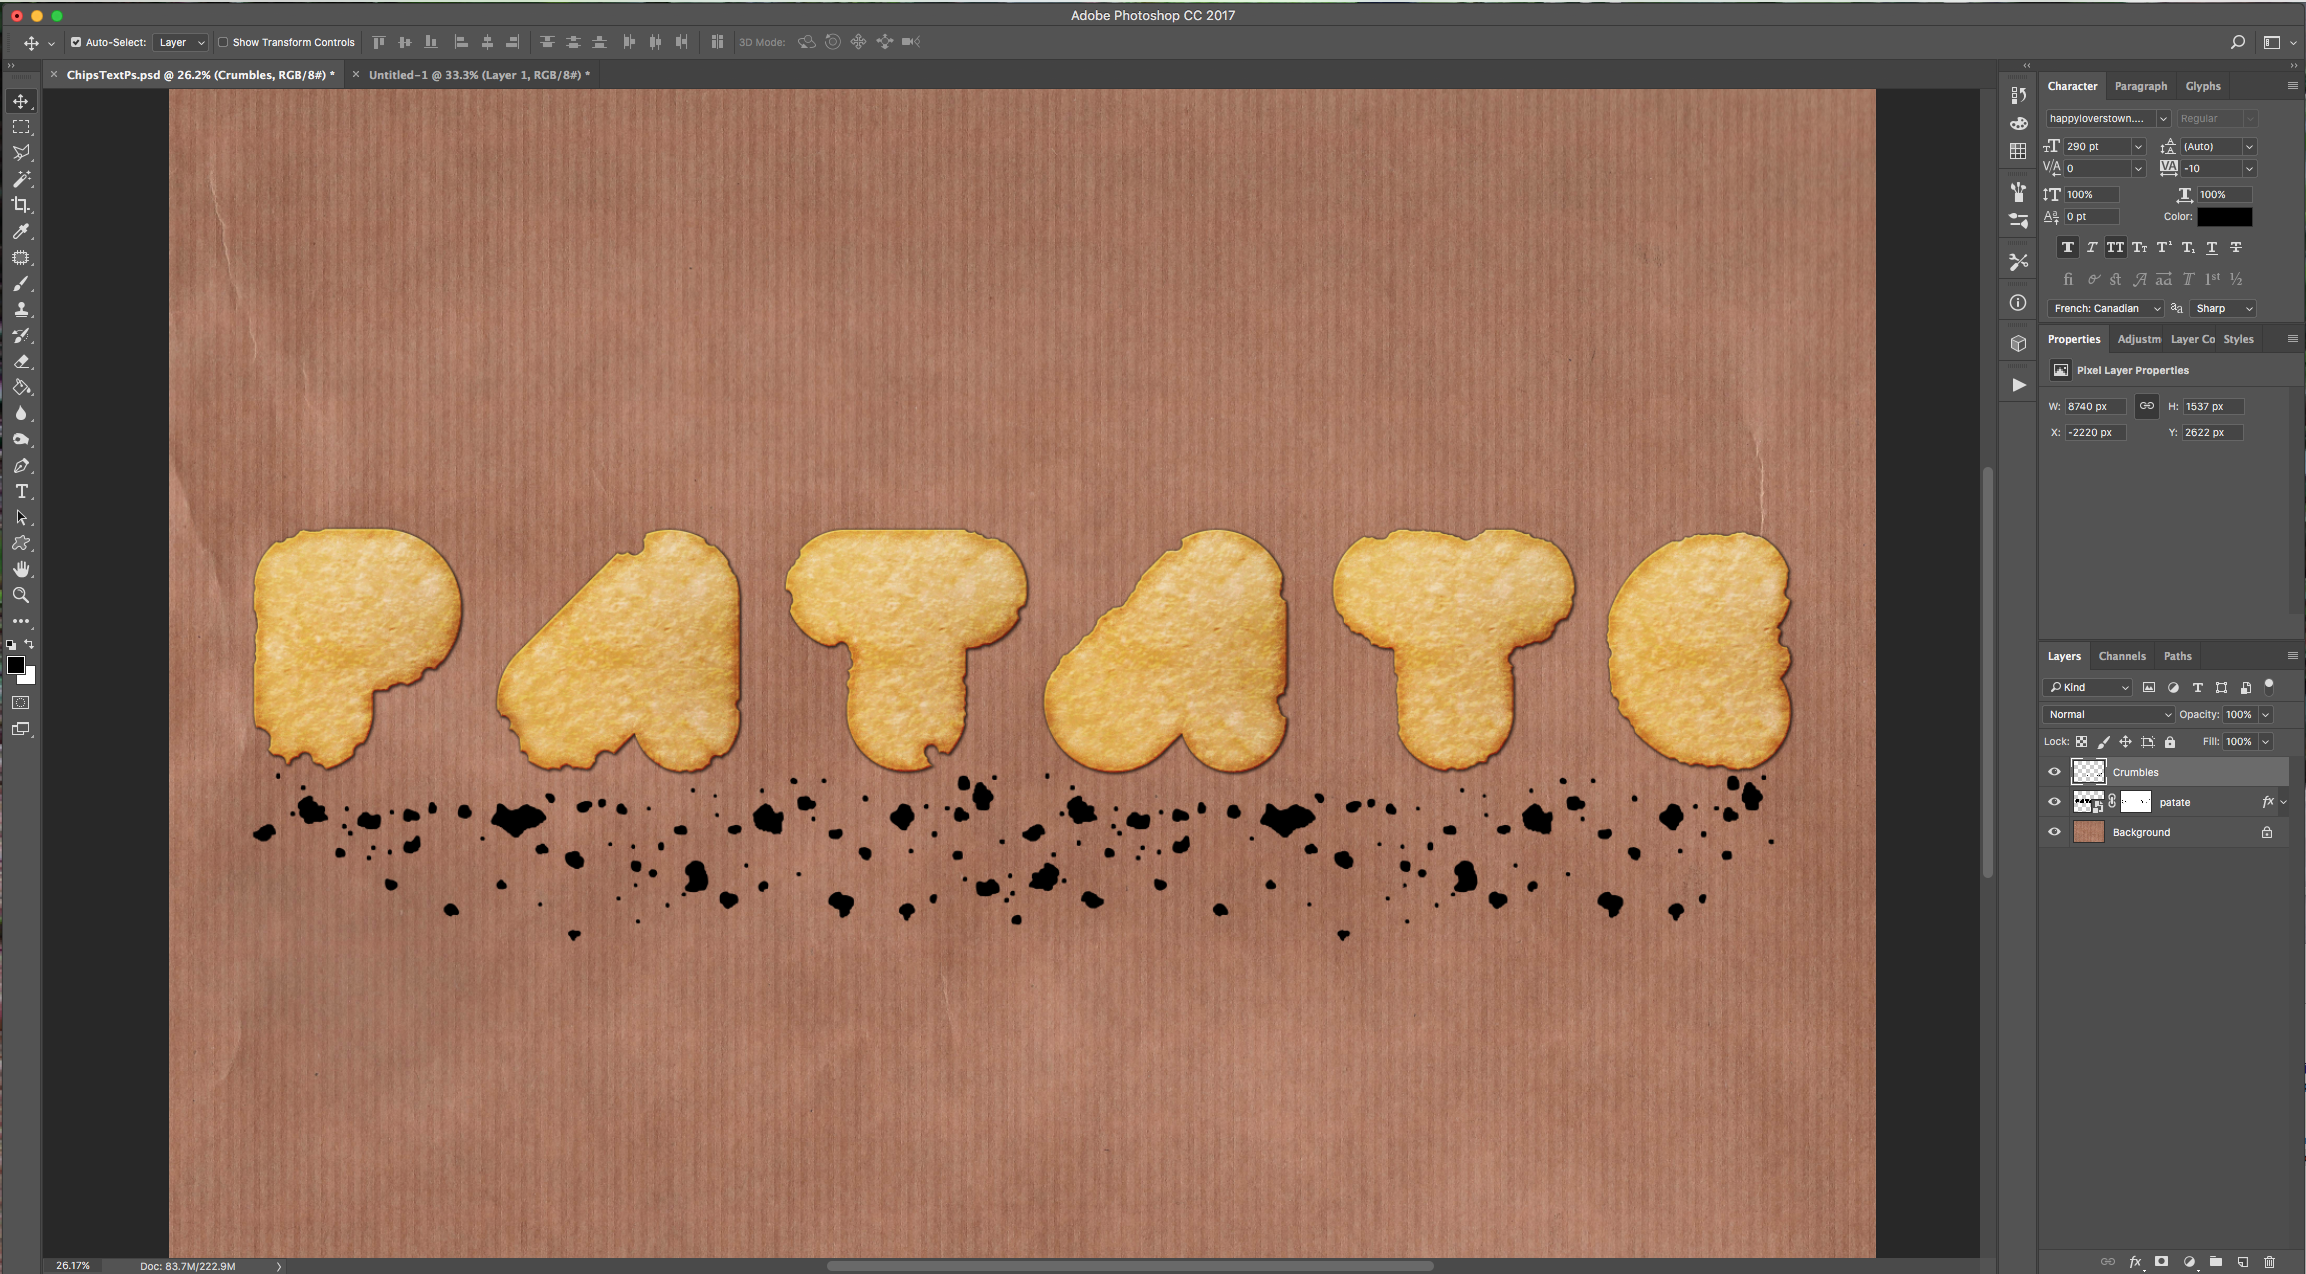
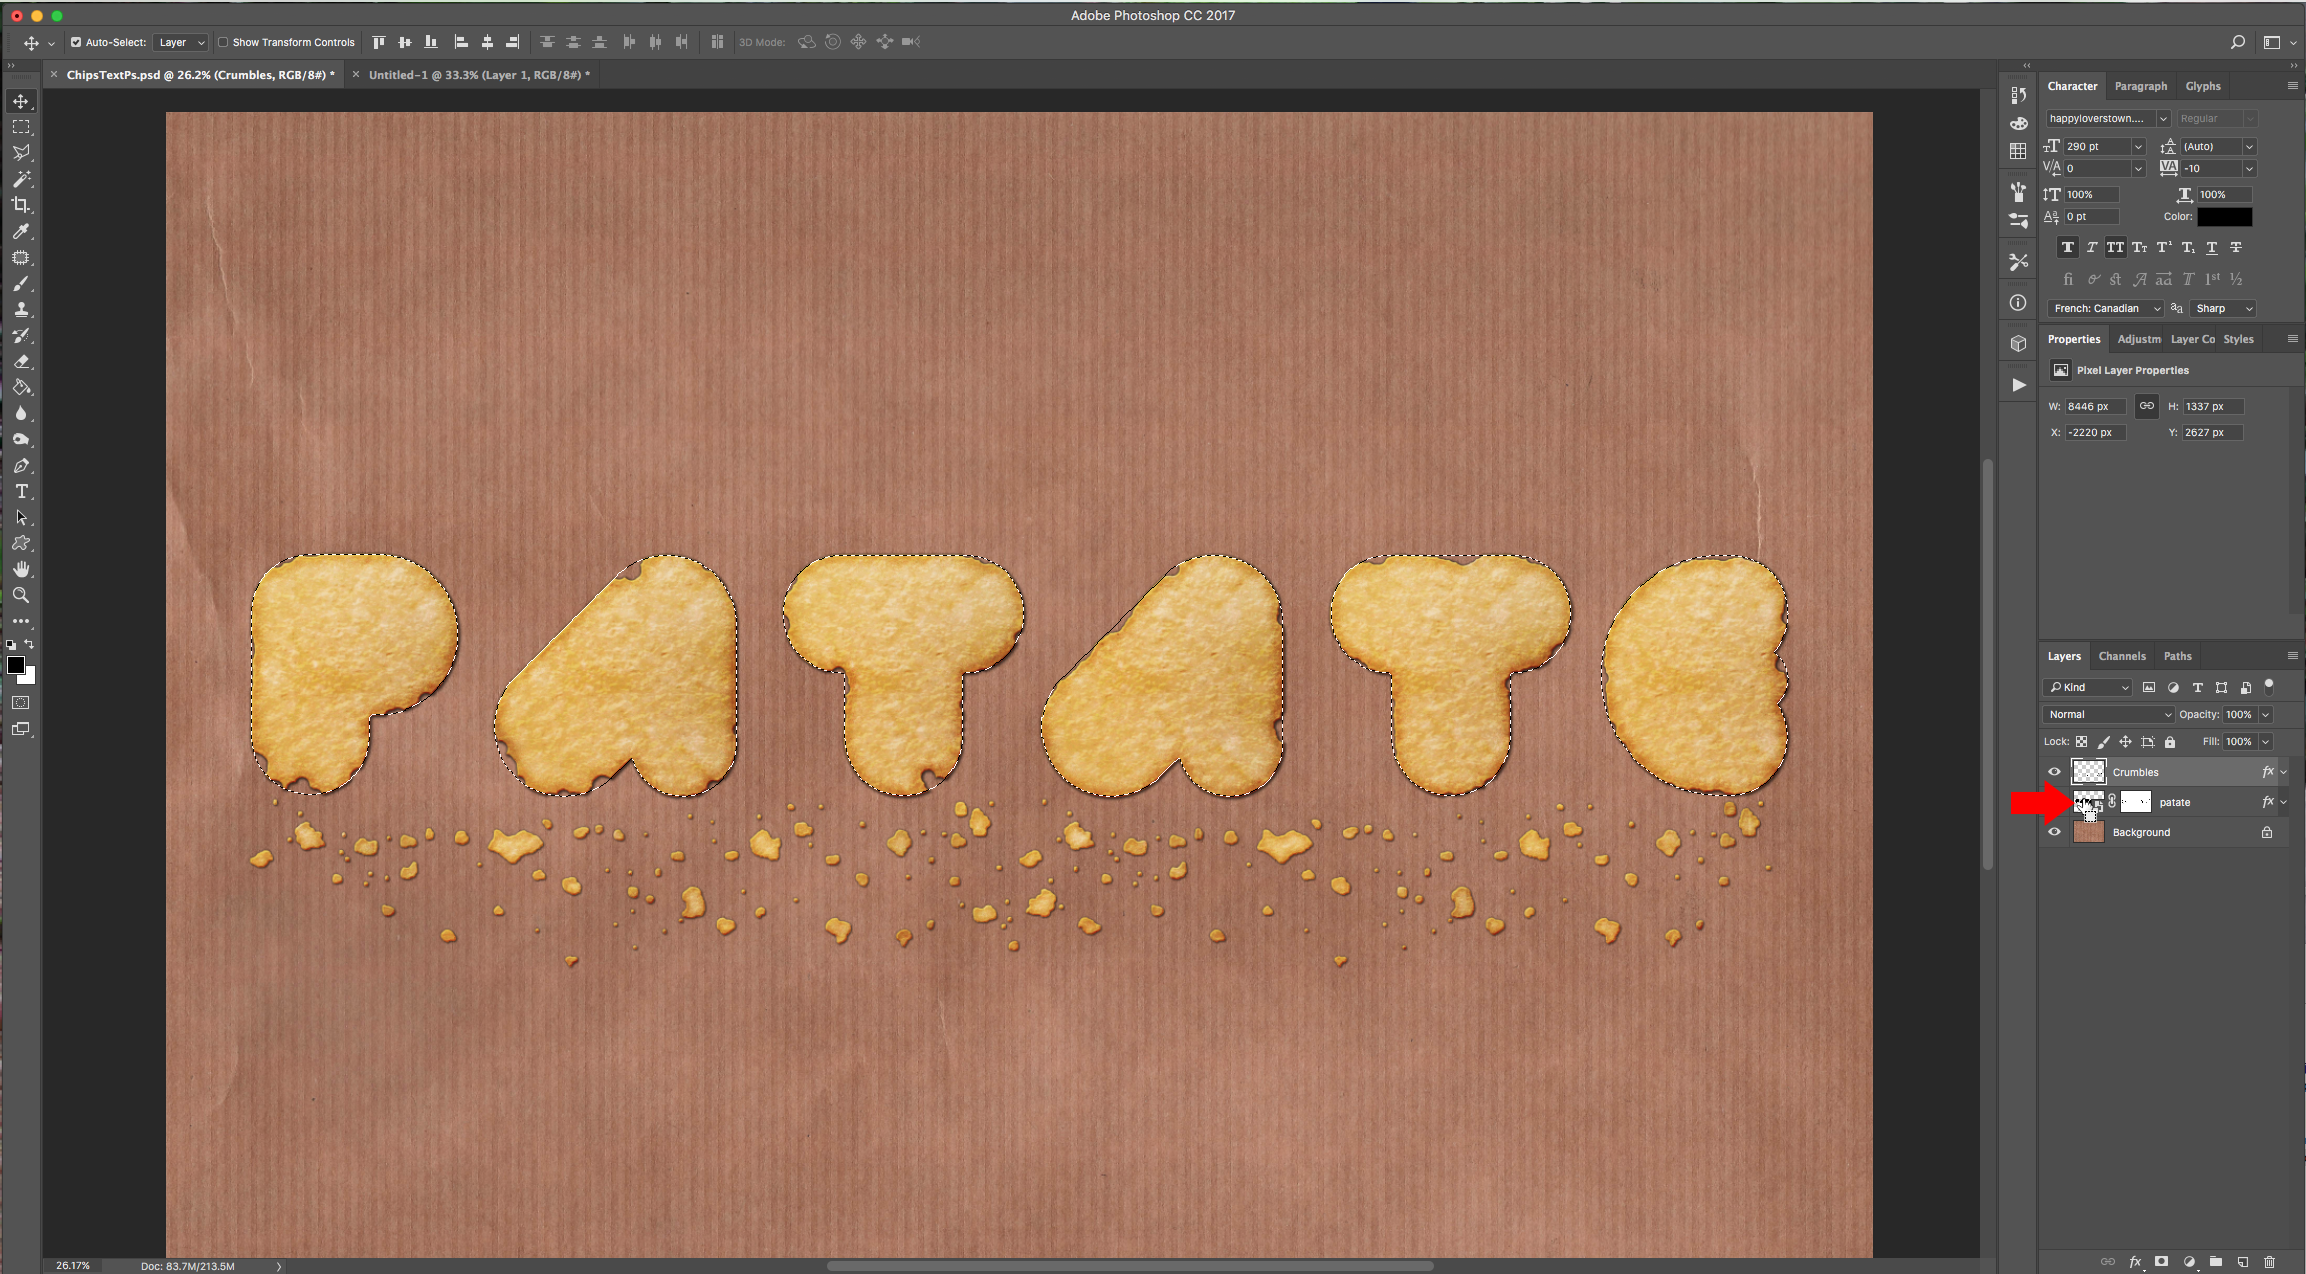
7 - Create a “New Layer” by clicking on the small button at the bottom of the “Layers Panel”, name it “Crumbs” and draw or paste some small dots to mimic “Crumbs”. Place them under the text to make it look like they fell from the Chips.
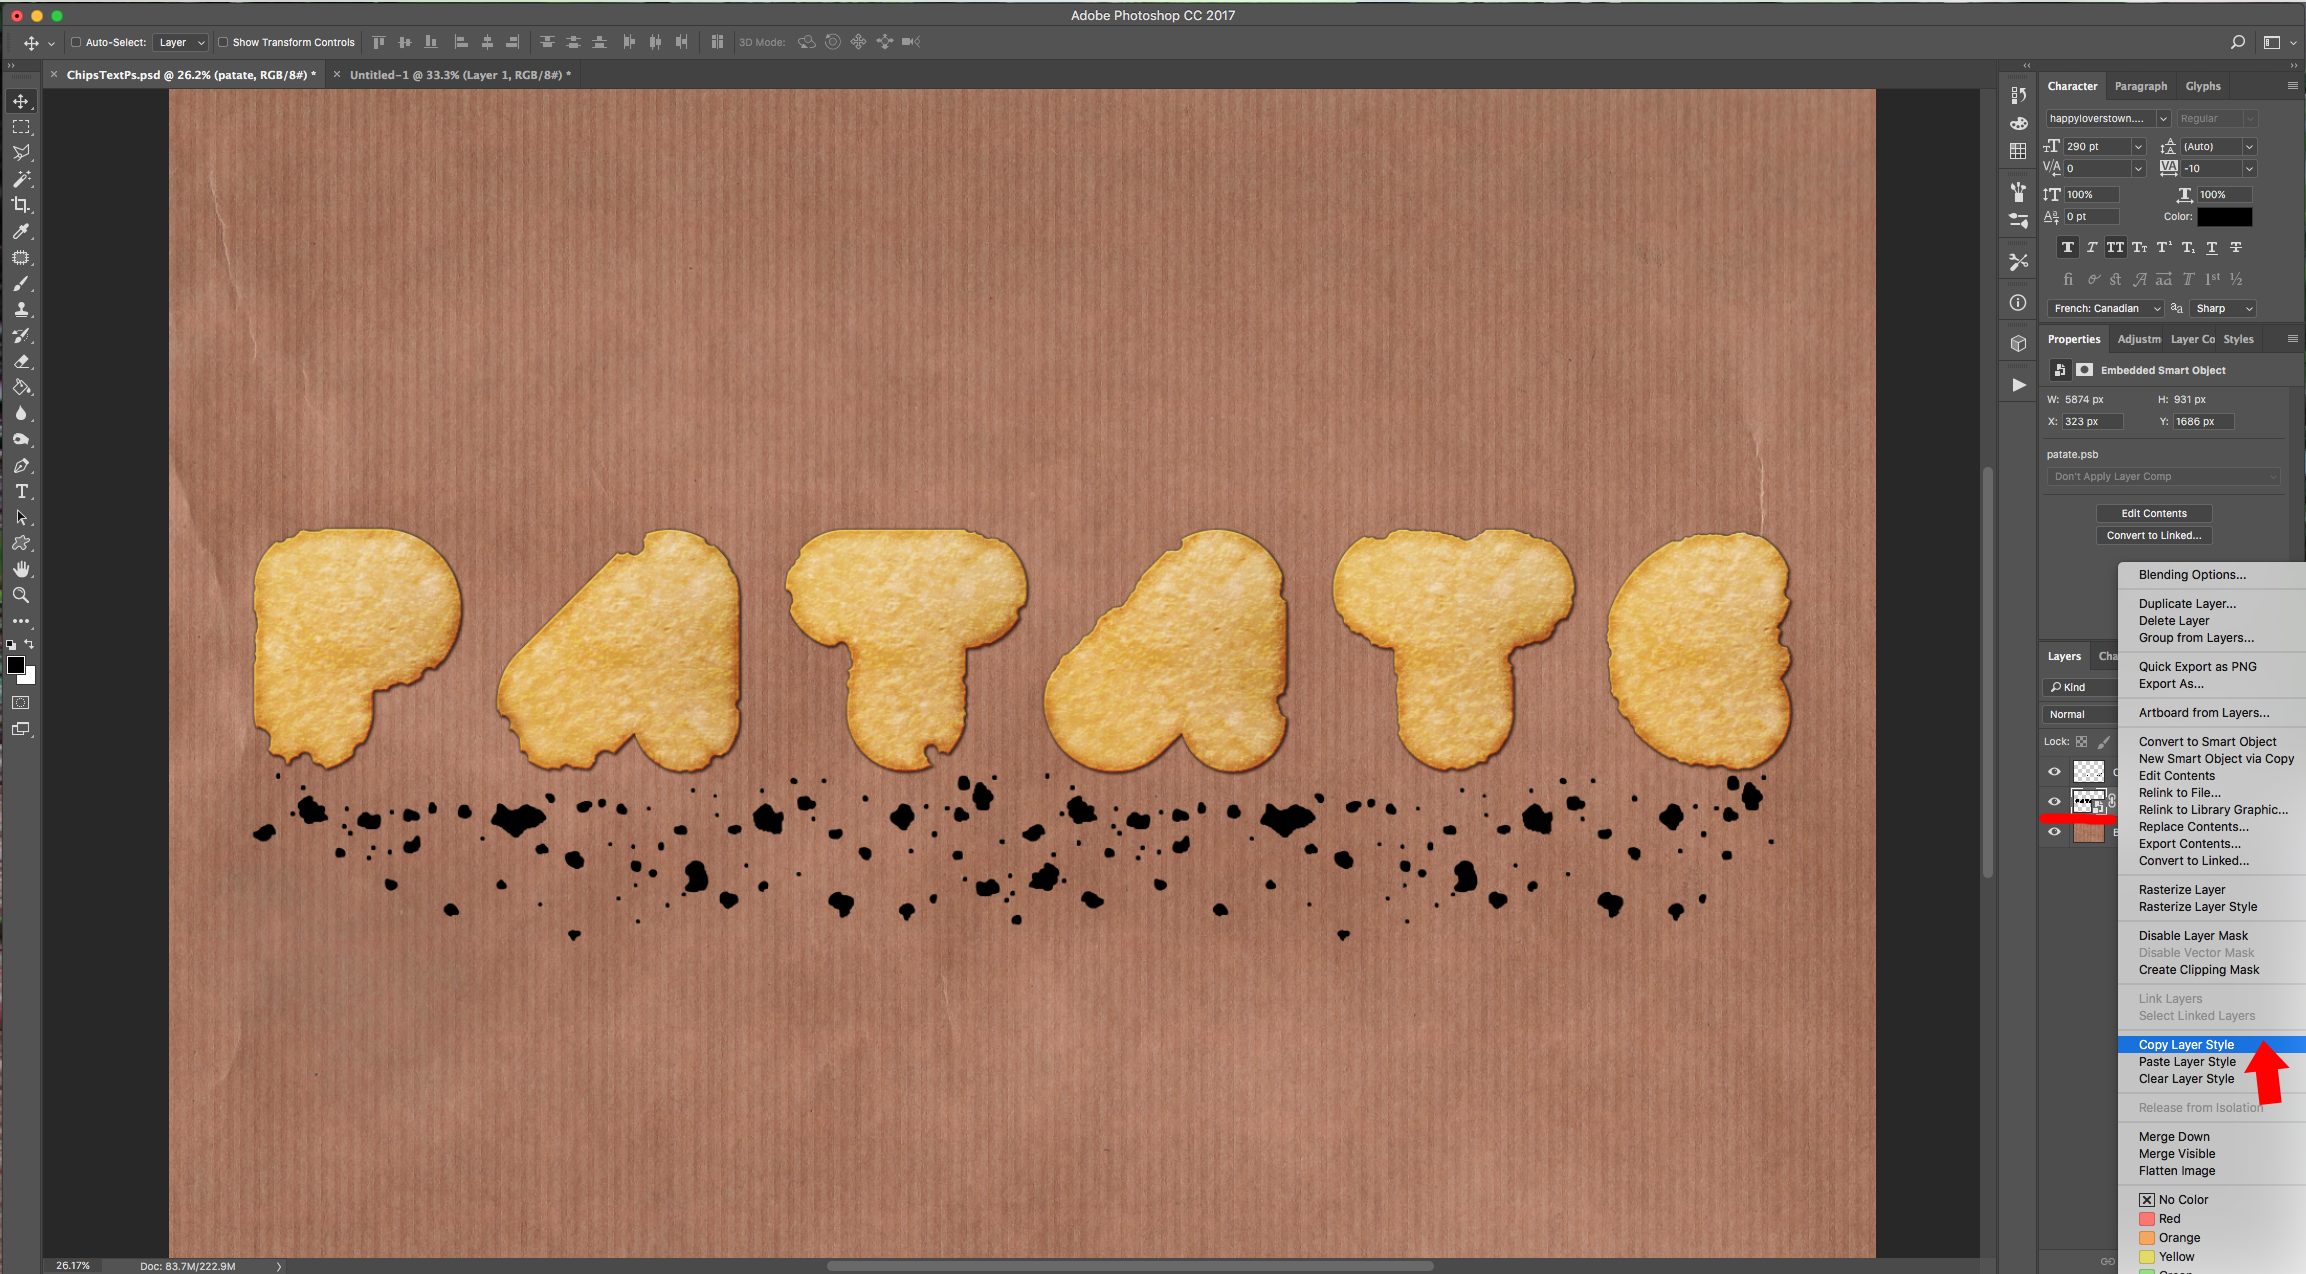
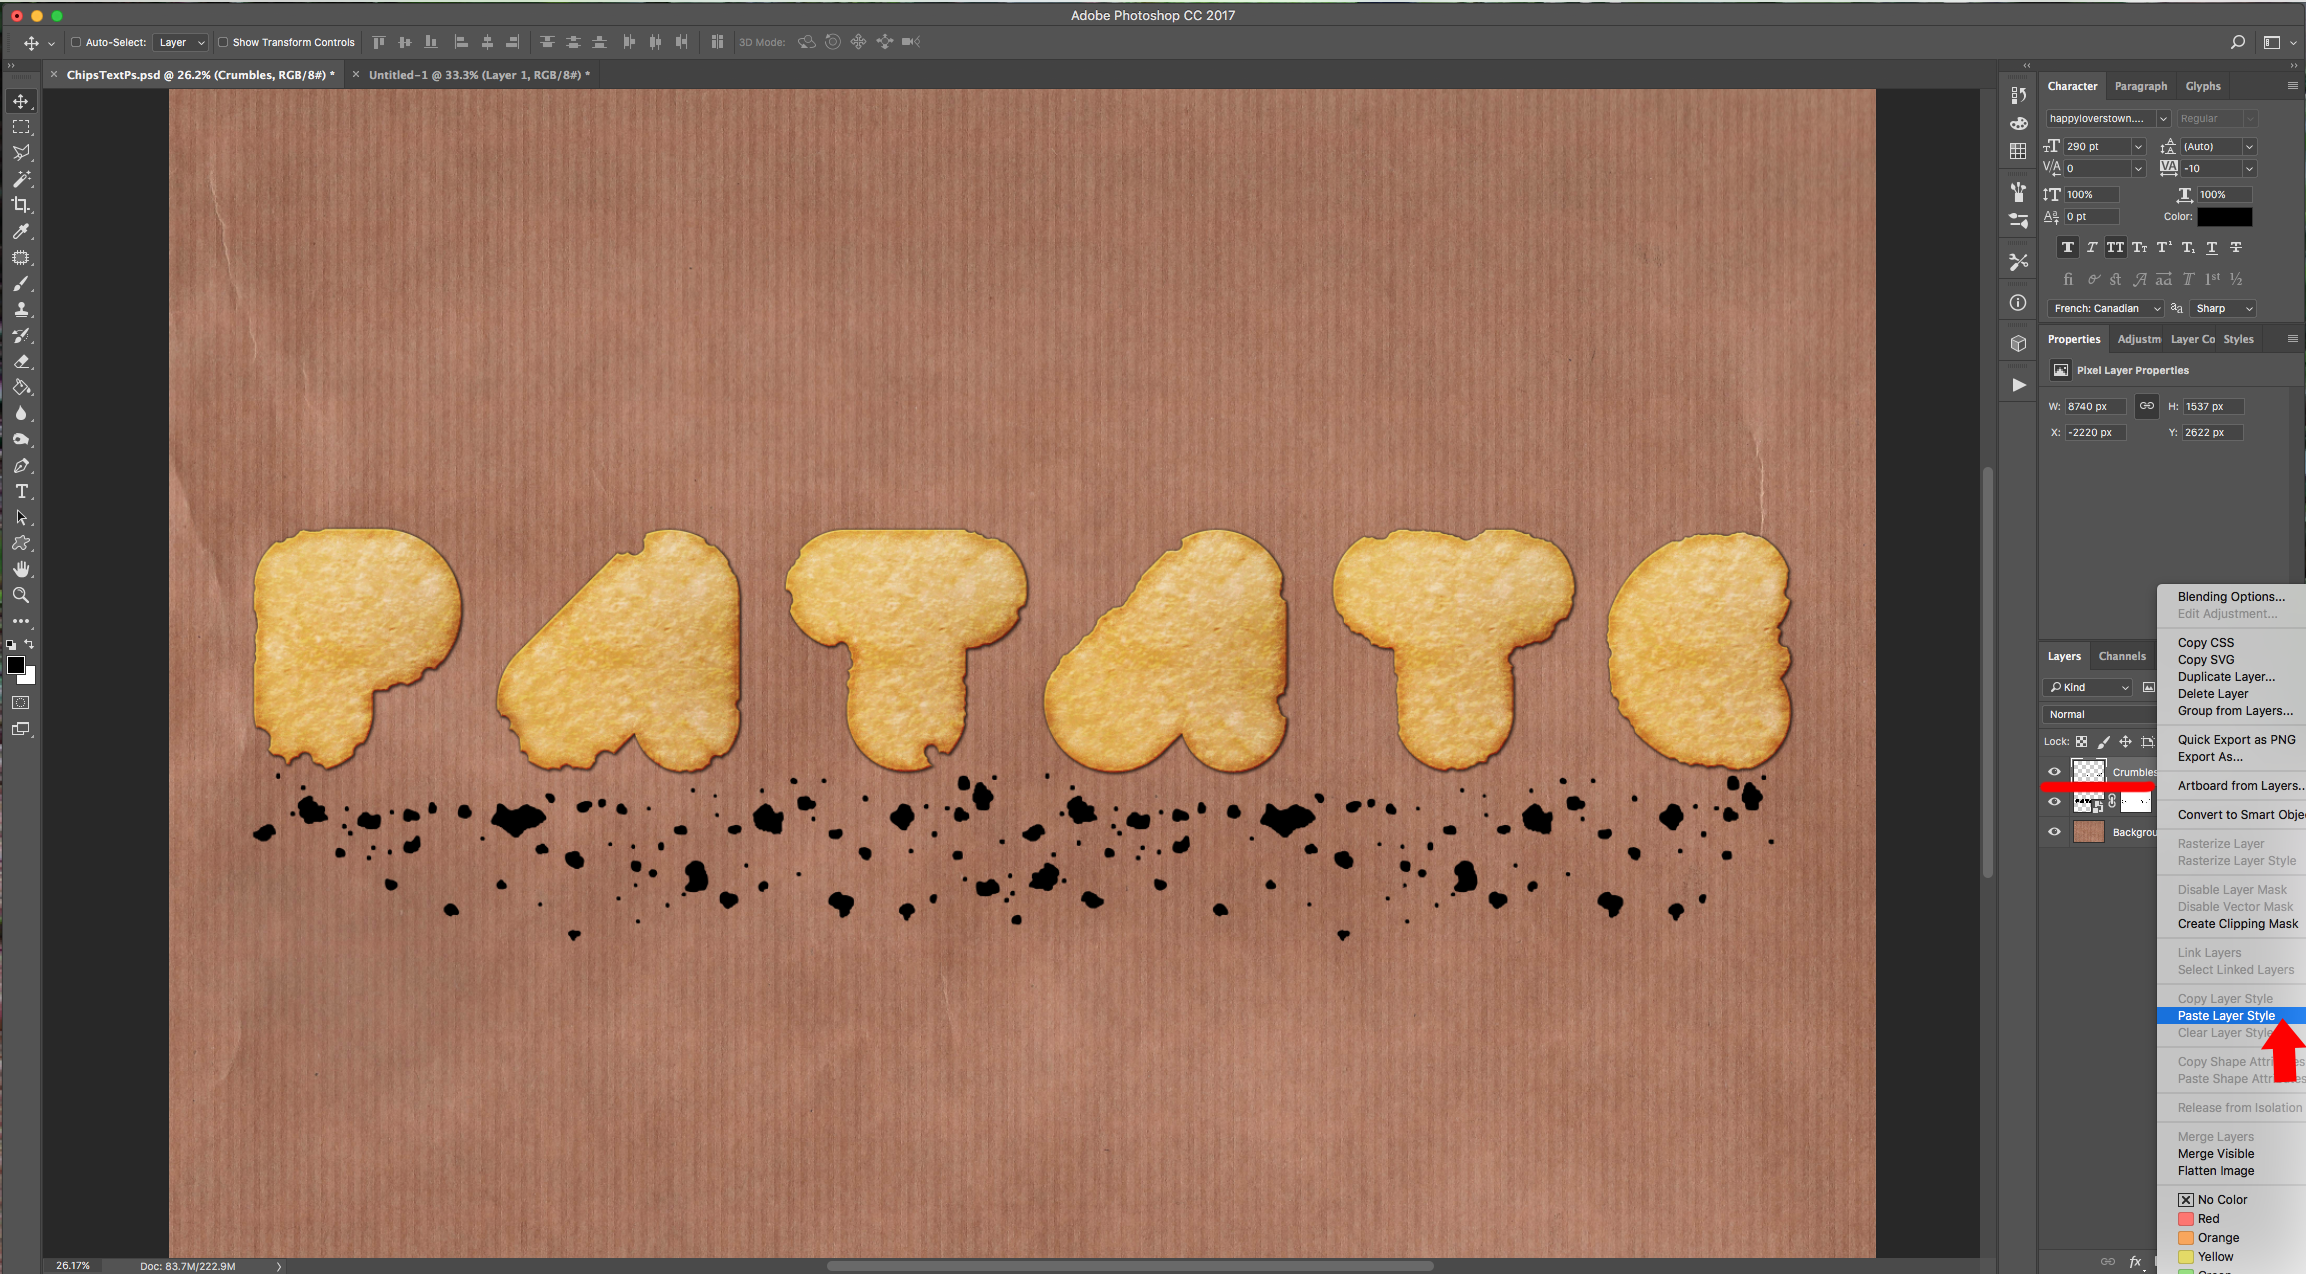
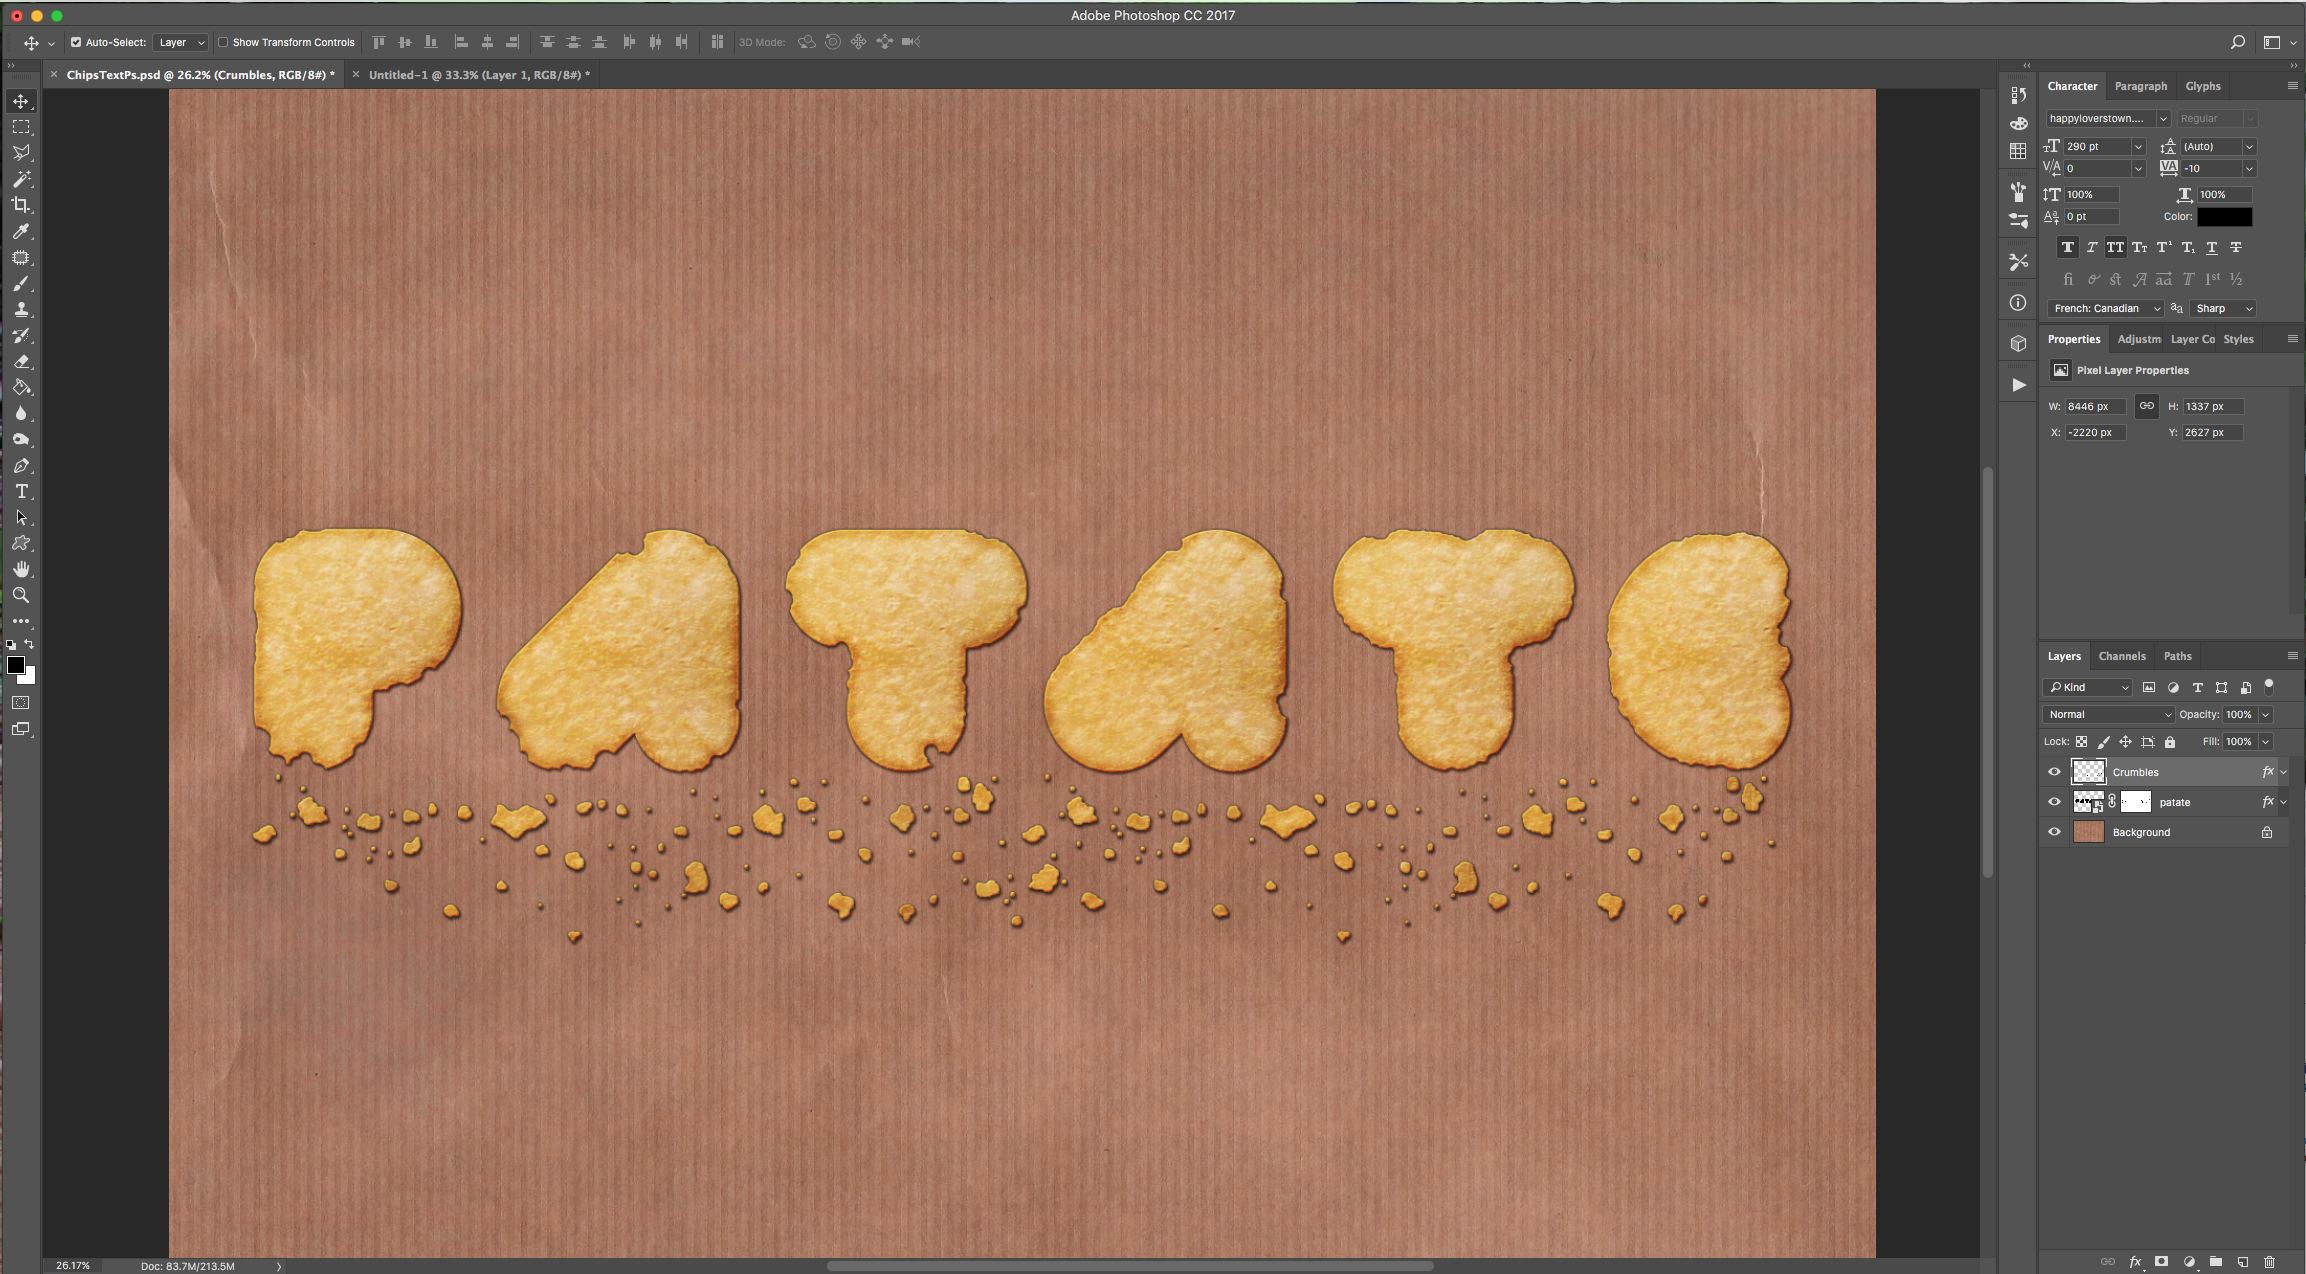
8 - Right-click on top of your Text’s Thumbnail and choose “Copy layer Style”, then right-click on top of the “Crumbs” Thumbnail and “Paste Layer Style” (you may need to tweak some values on the “Layer Styles” to since they are smaller than the text to make it look more realistic).
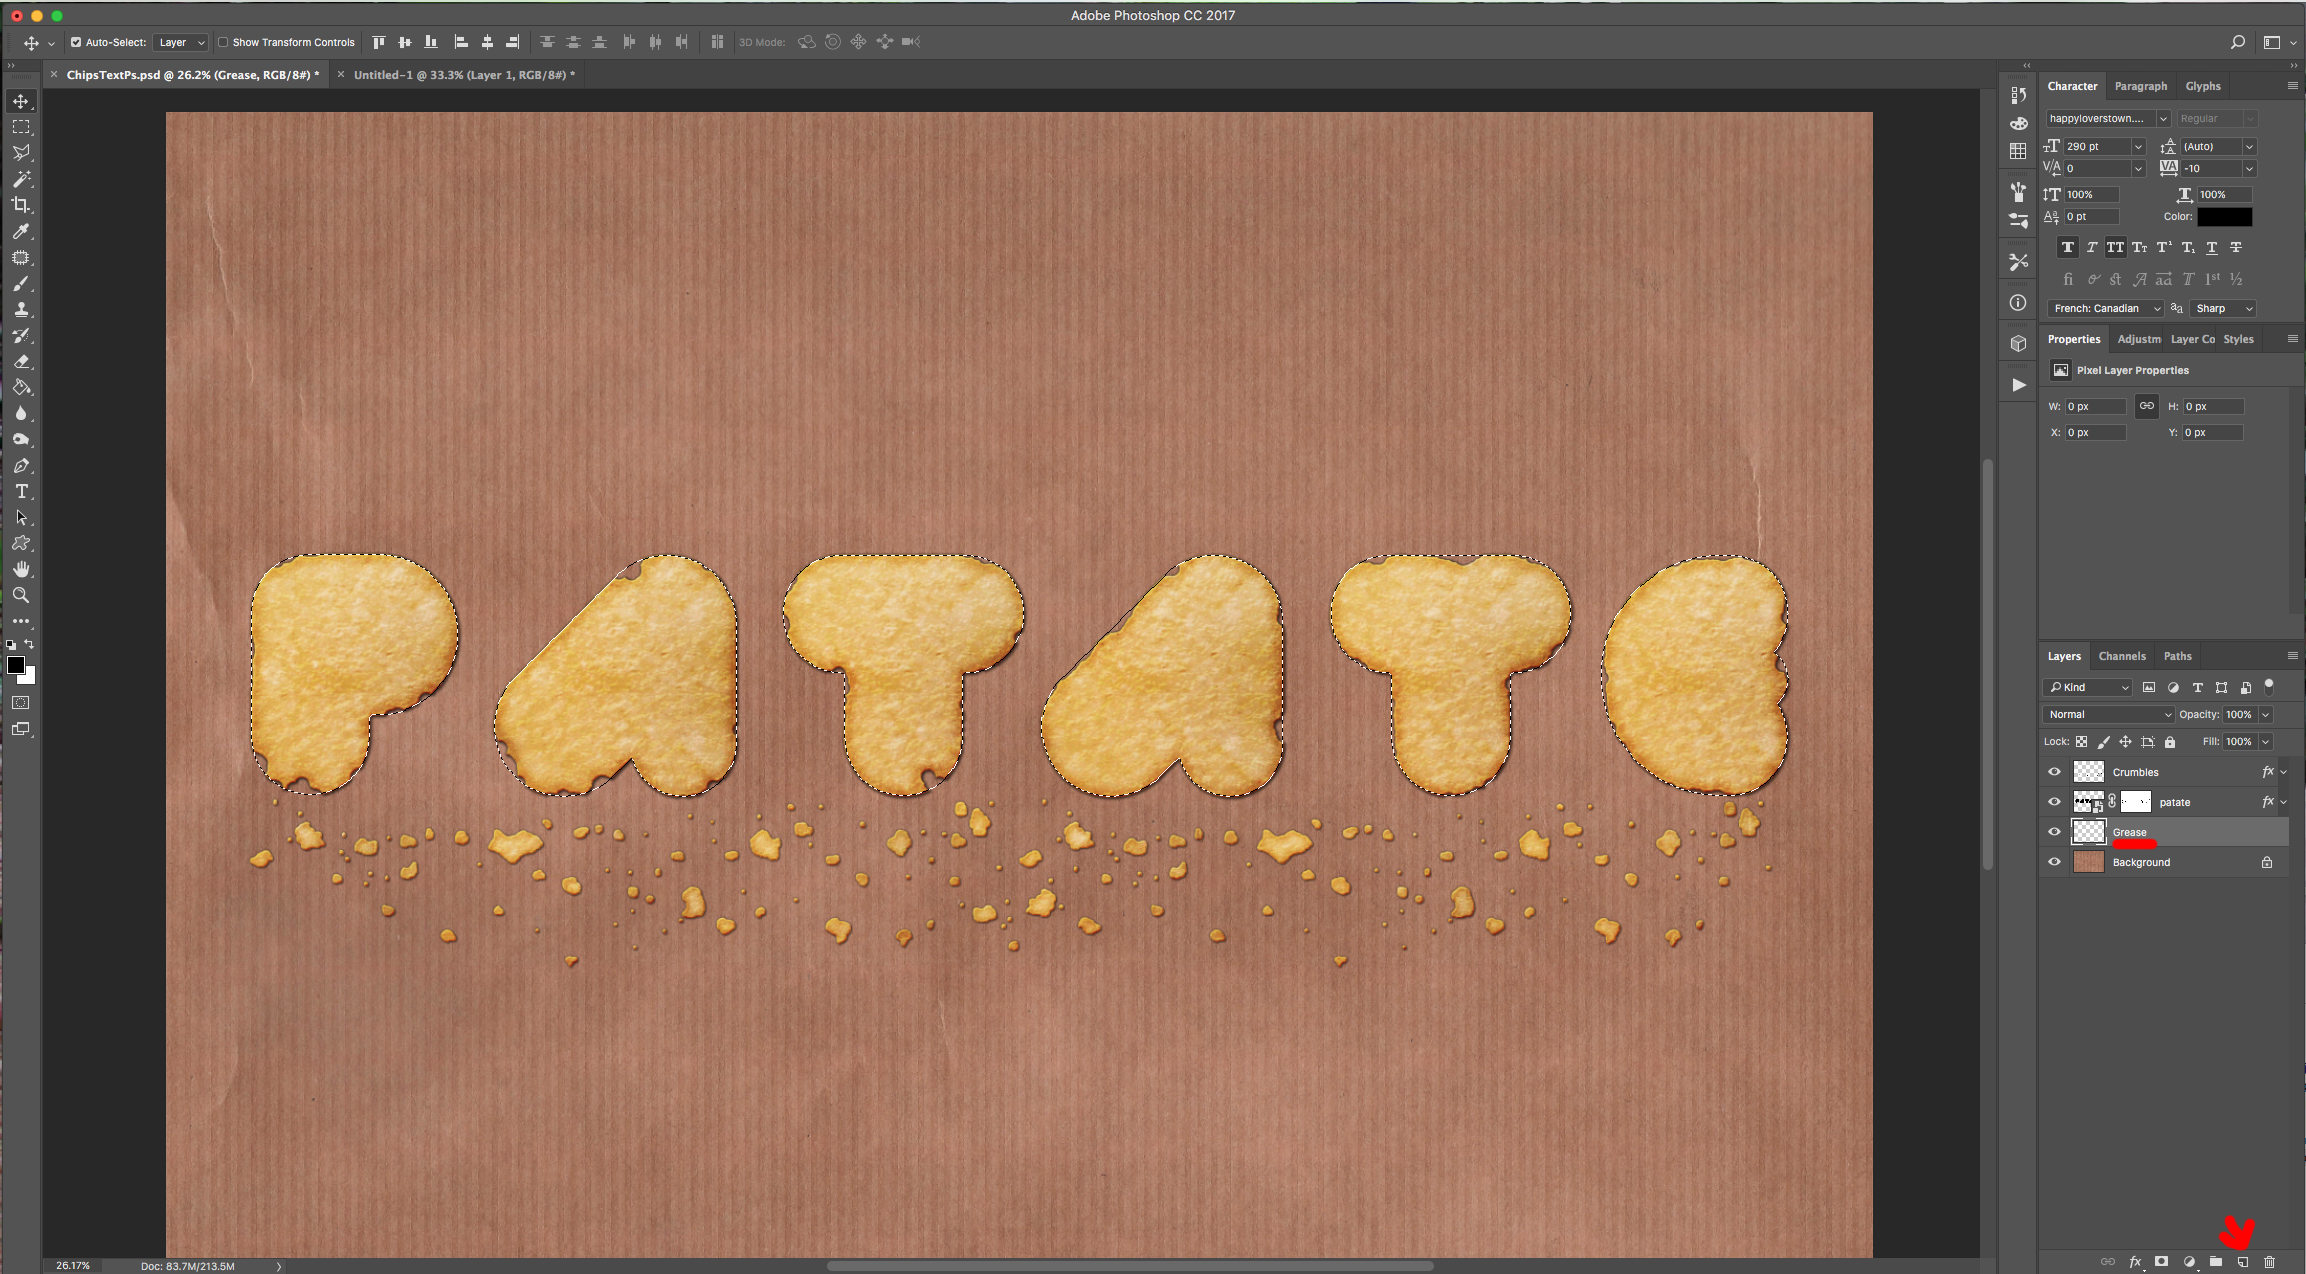
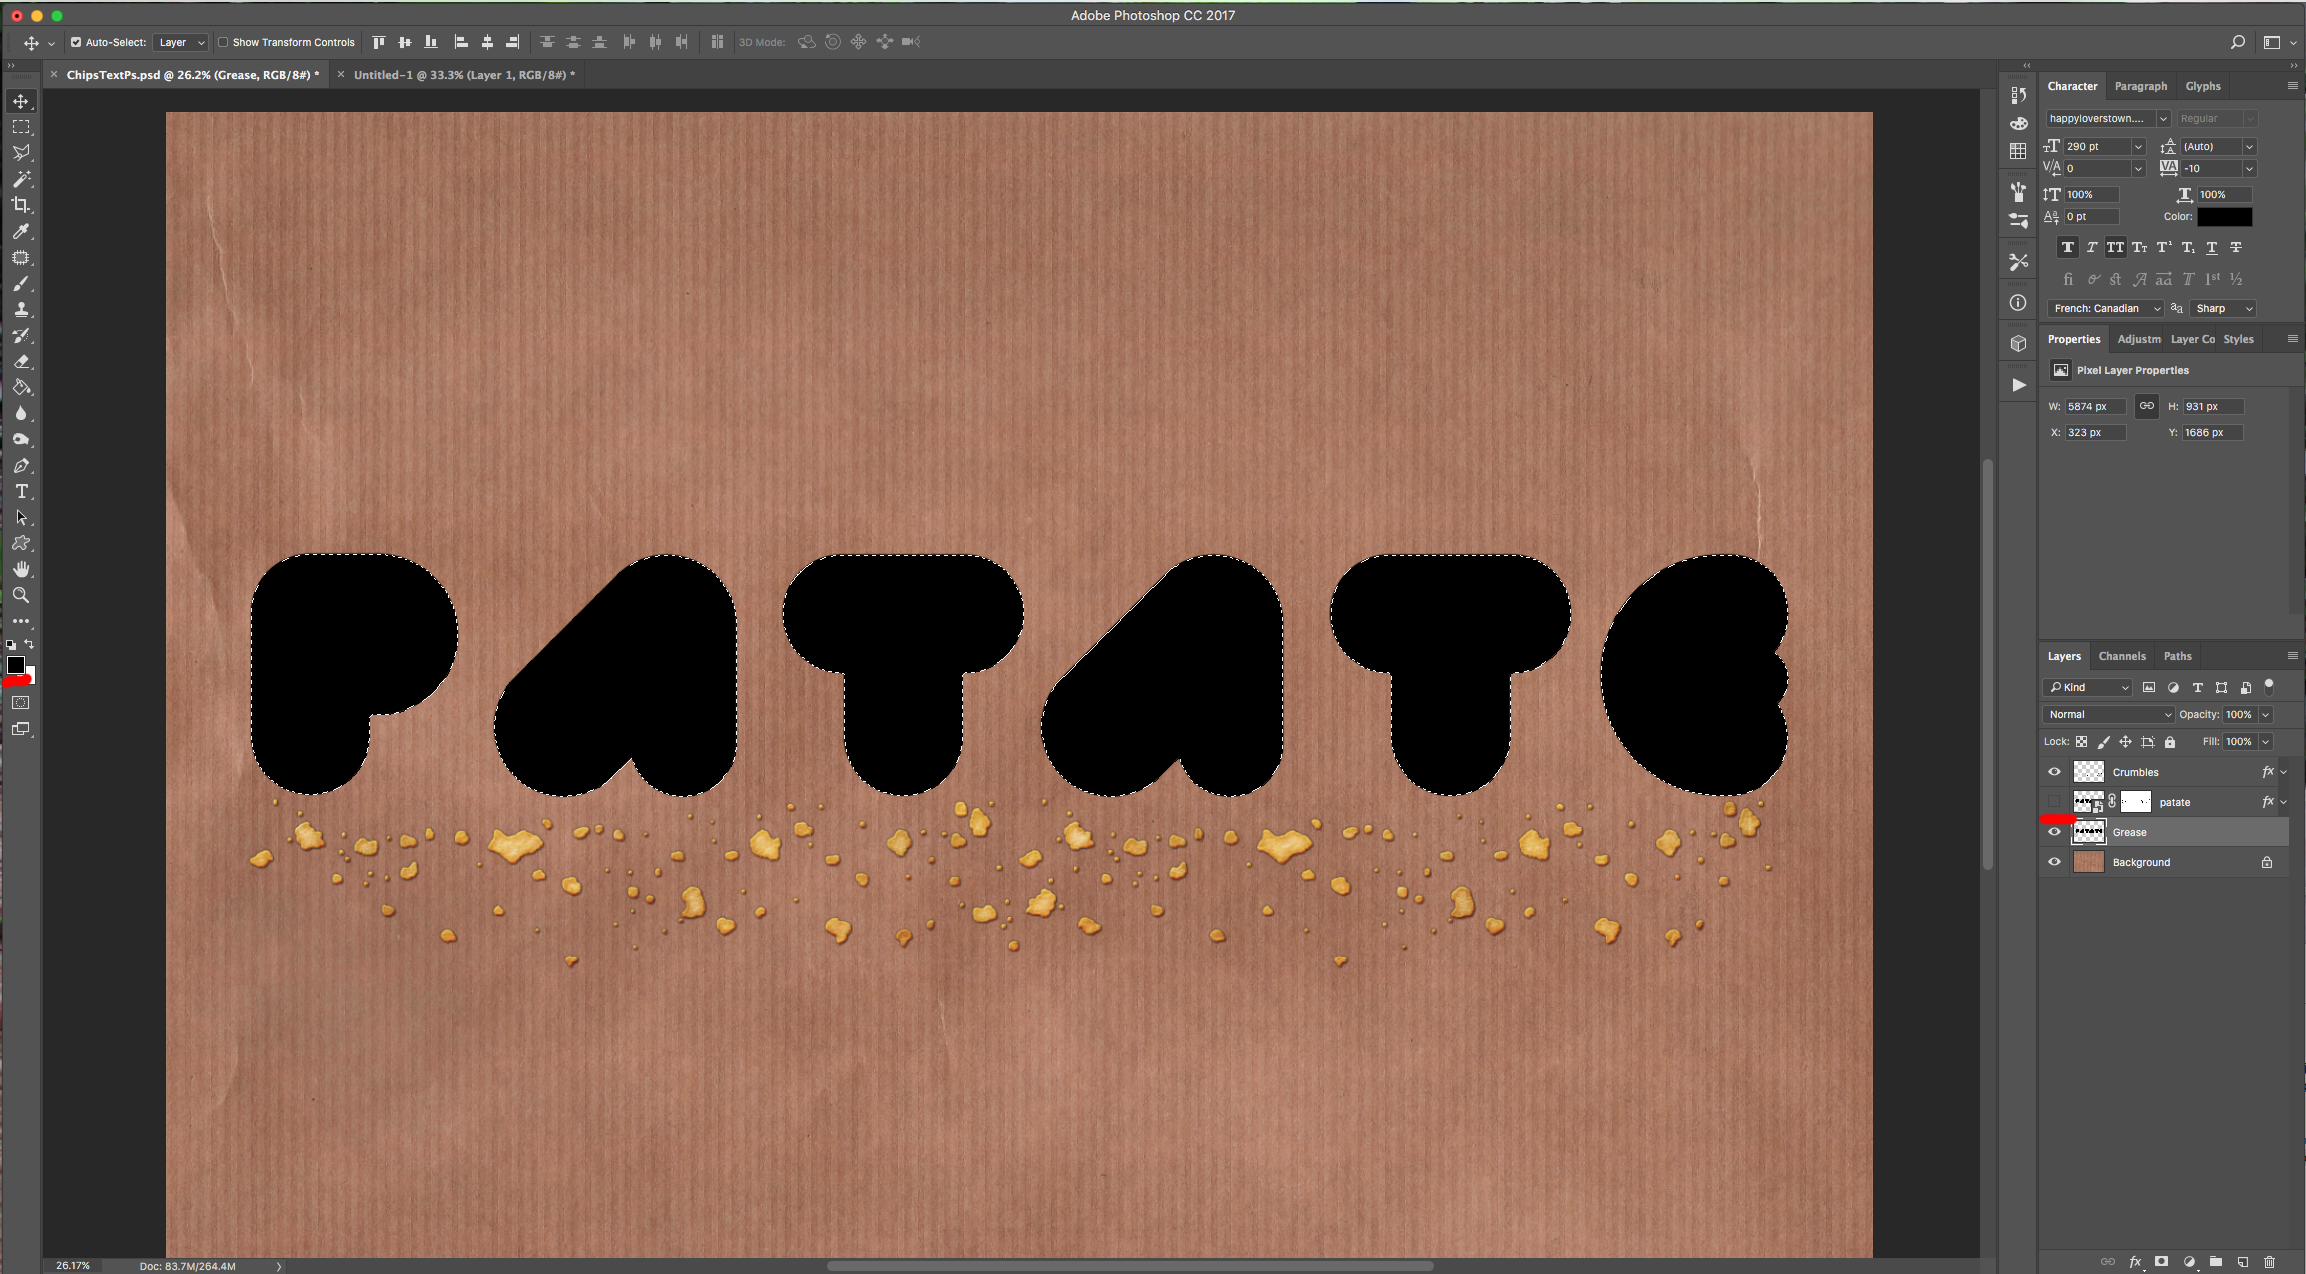
9 - Click on top of your Text Layer while holding the “Alt/Option” key to make a selection, create a “New Layer” named “Grease”, place it under the Text Layer and fill it with Black (“Foreground” color) by holding the “Alt/Option” key and clicking “Delete/Backspace”. “Turn Off” (and back “On”) the Text Layer visibility by clicking on the small eye icon to its left for now.
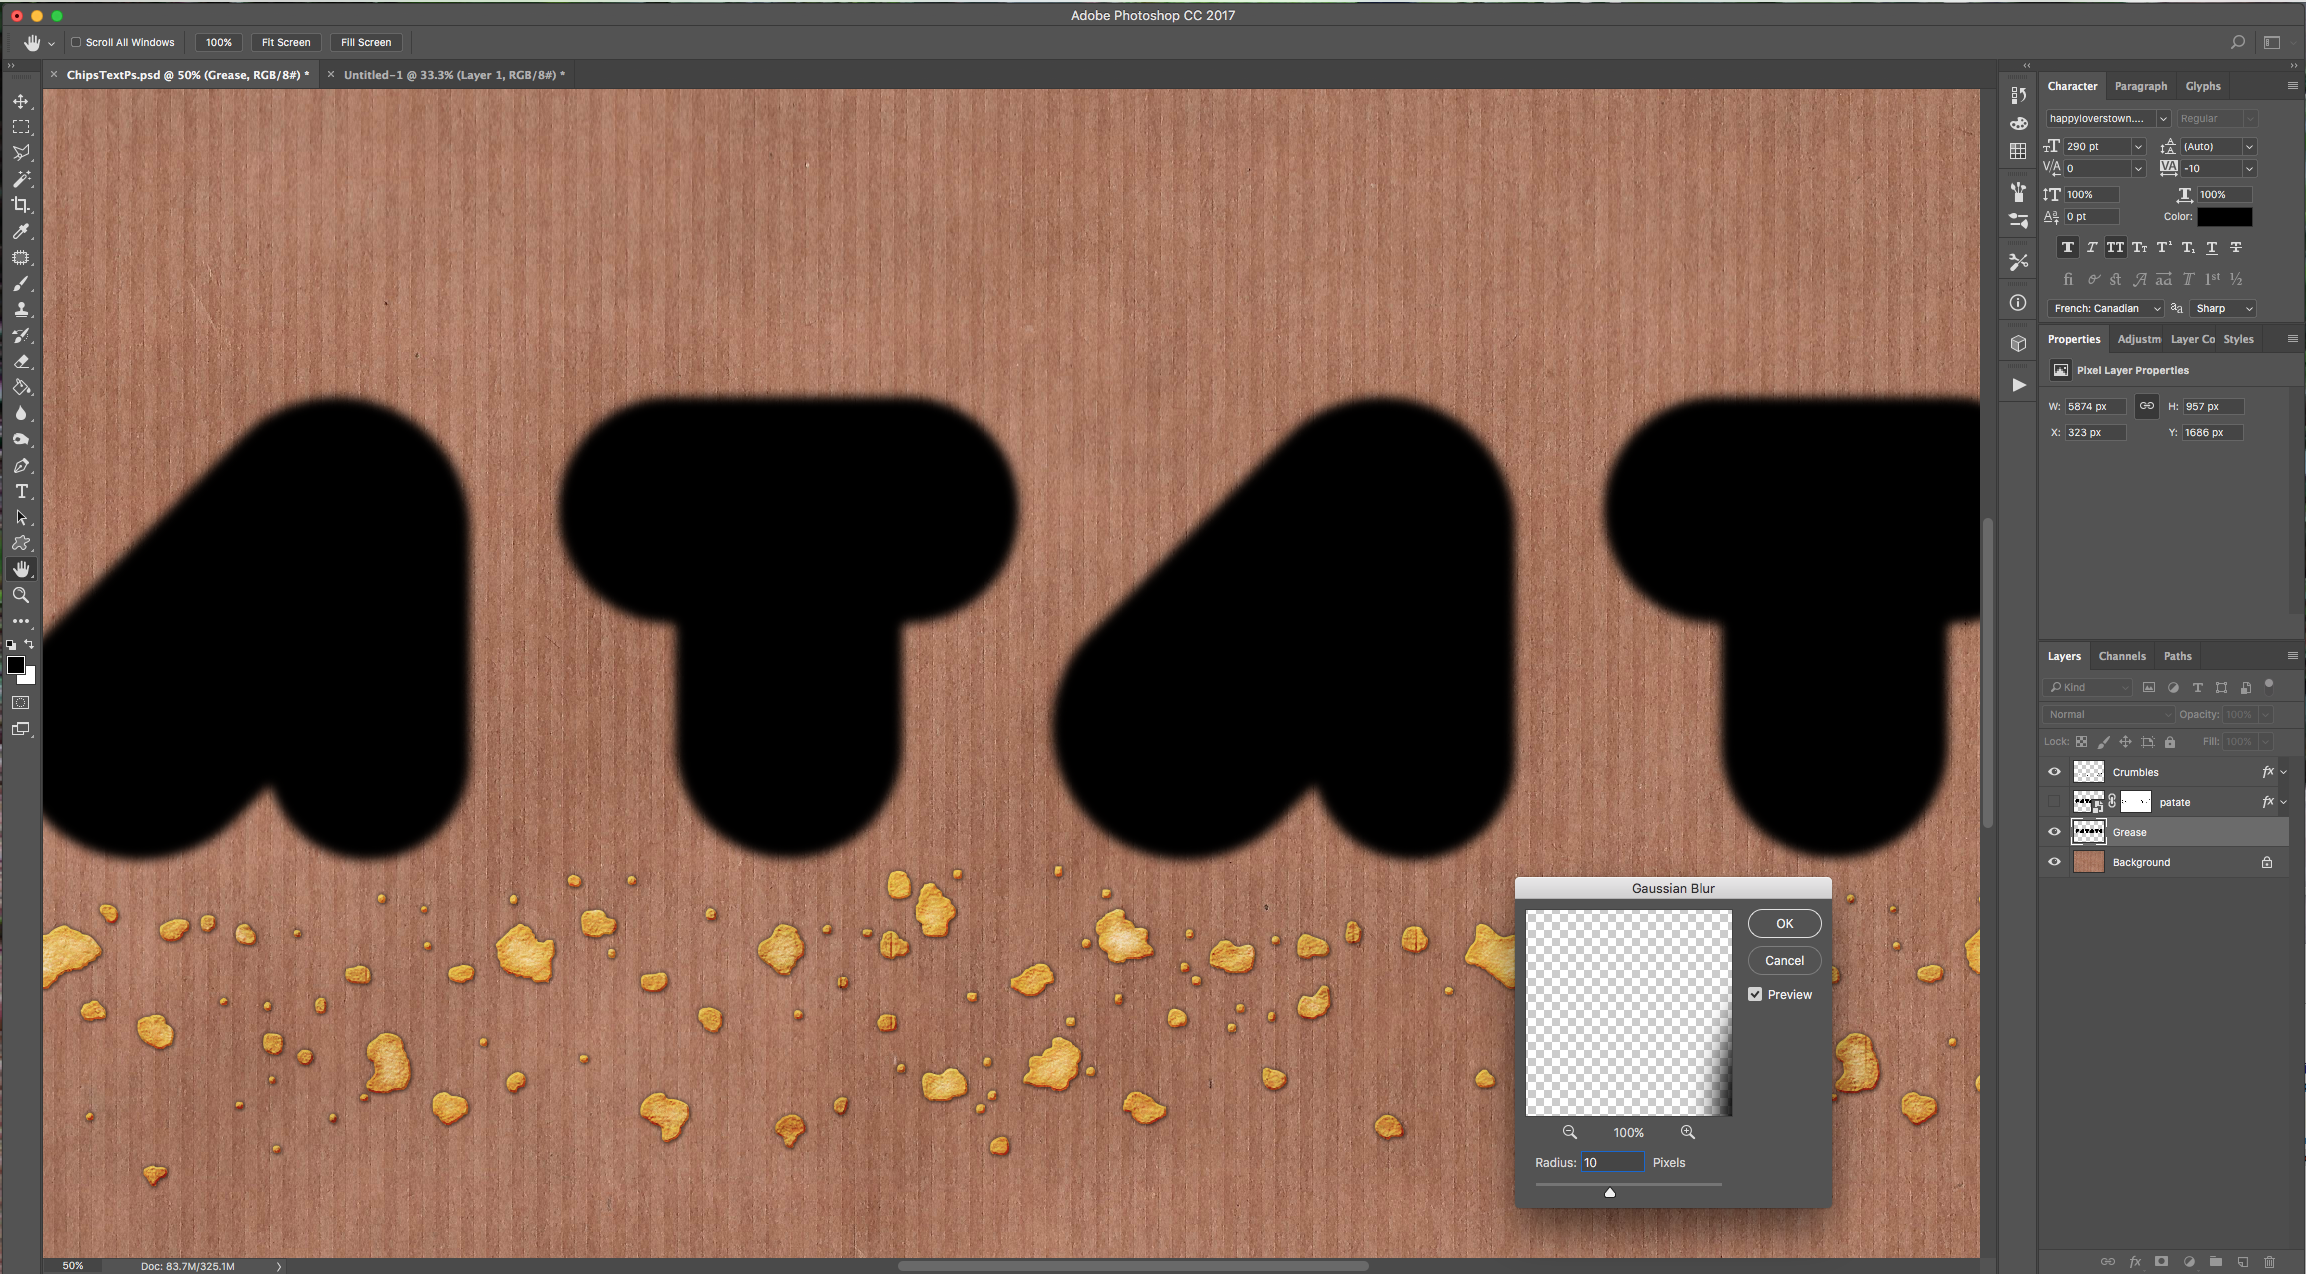
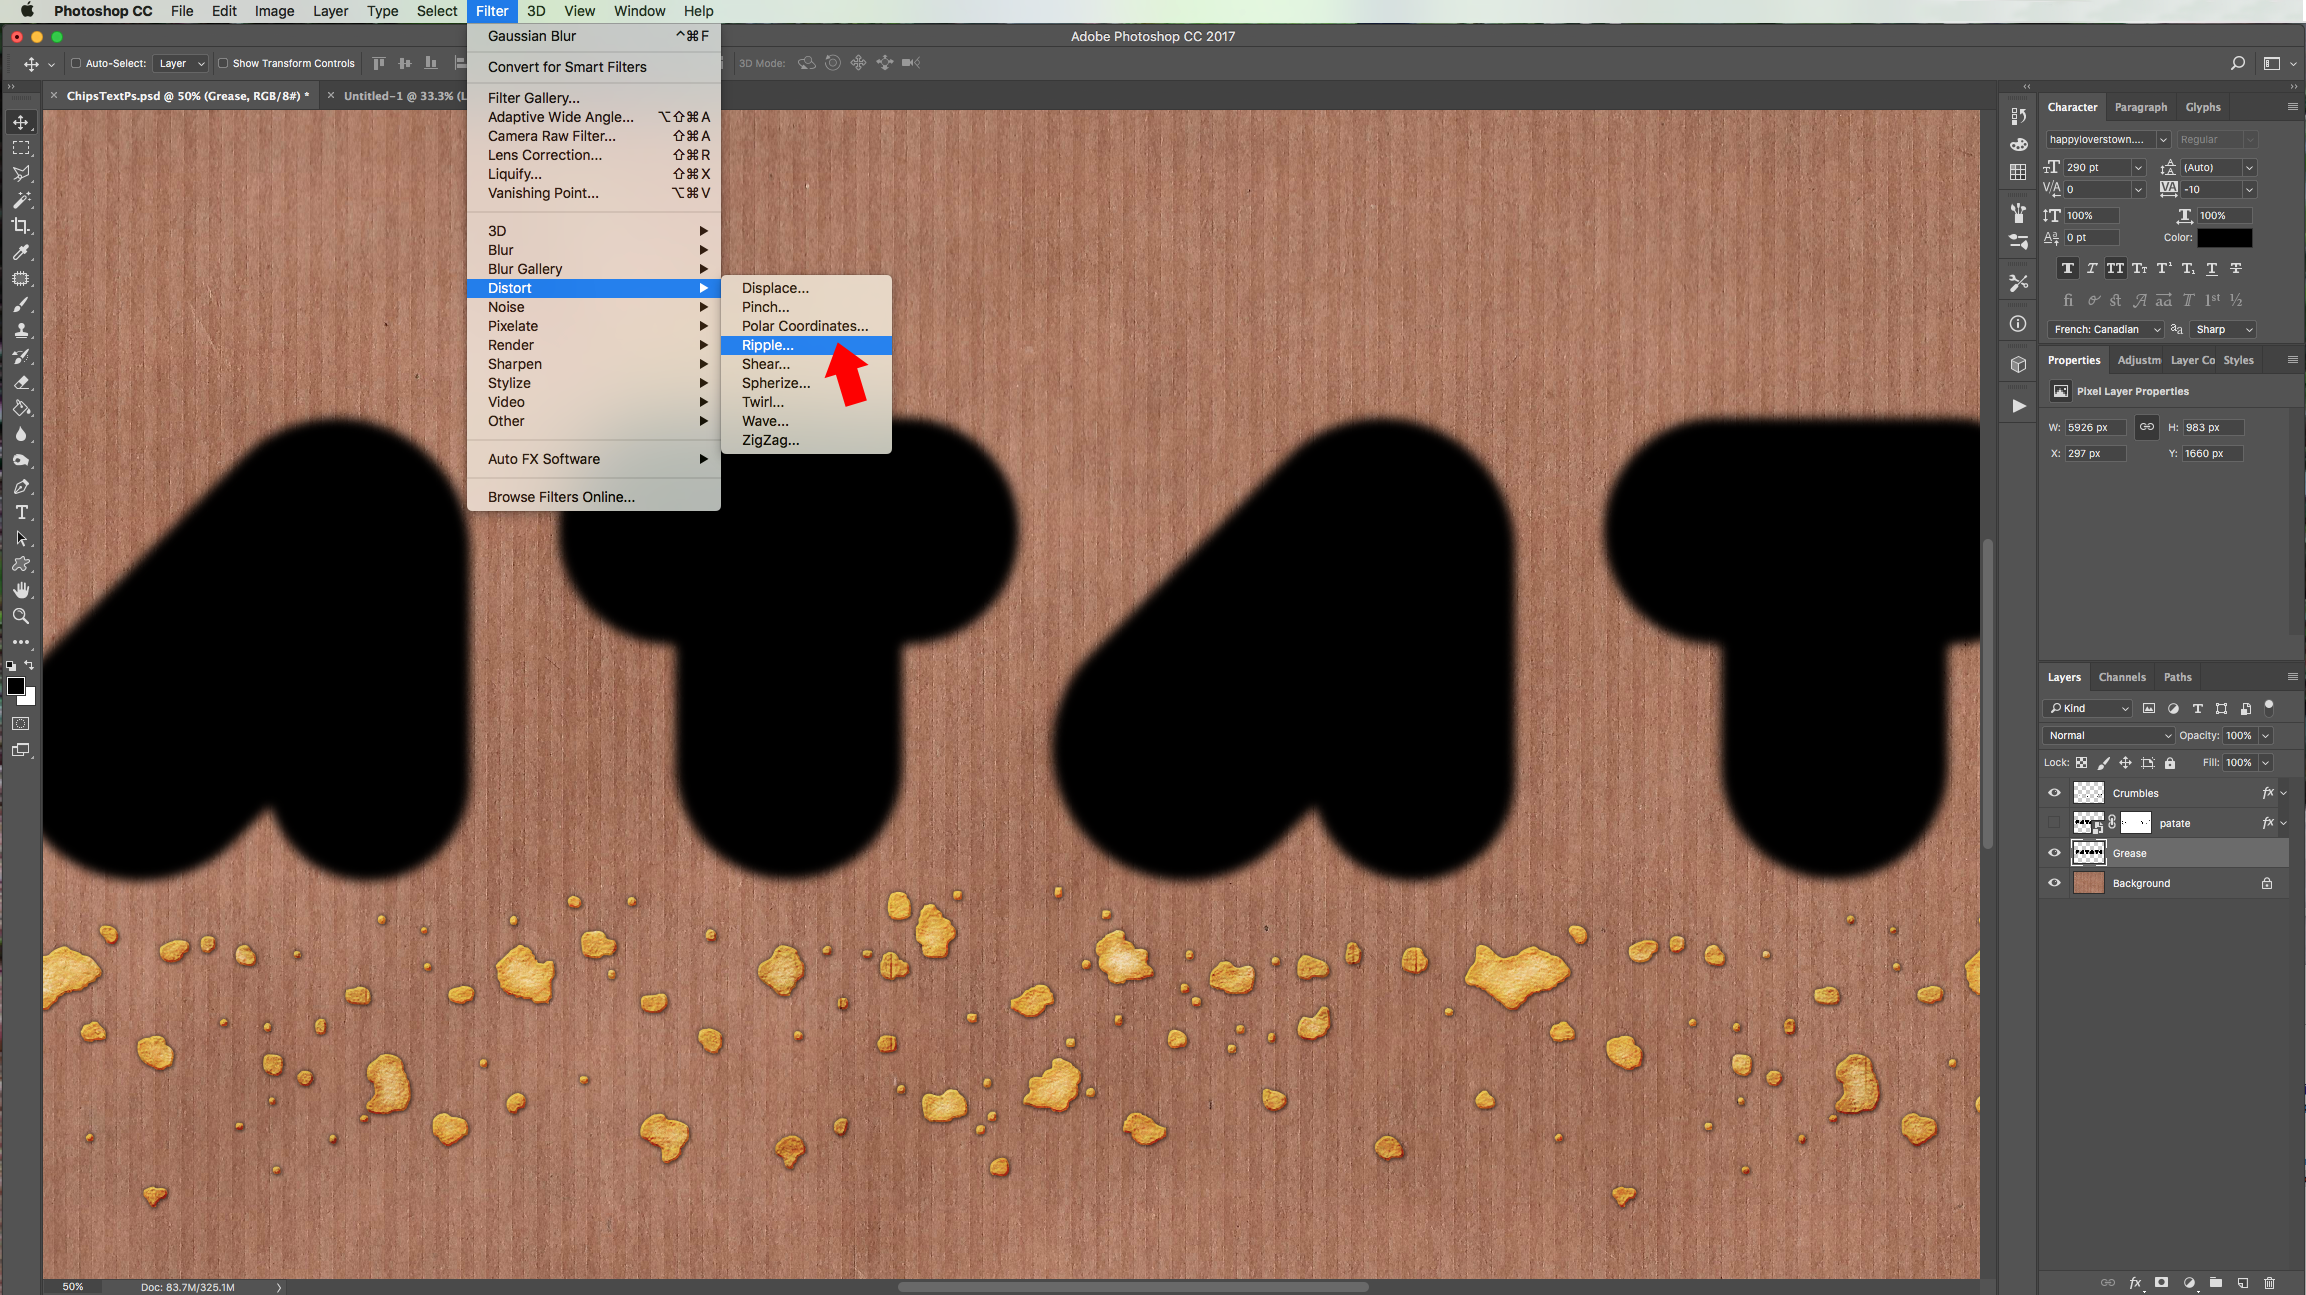
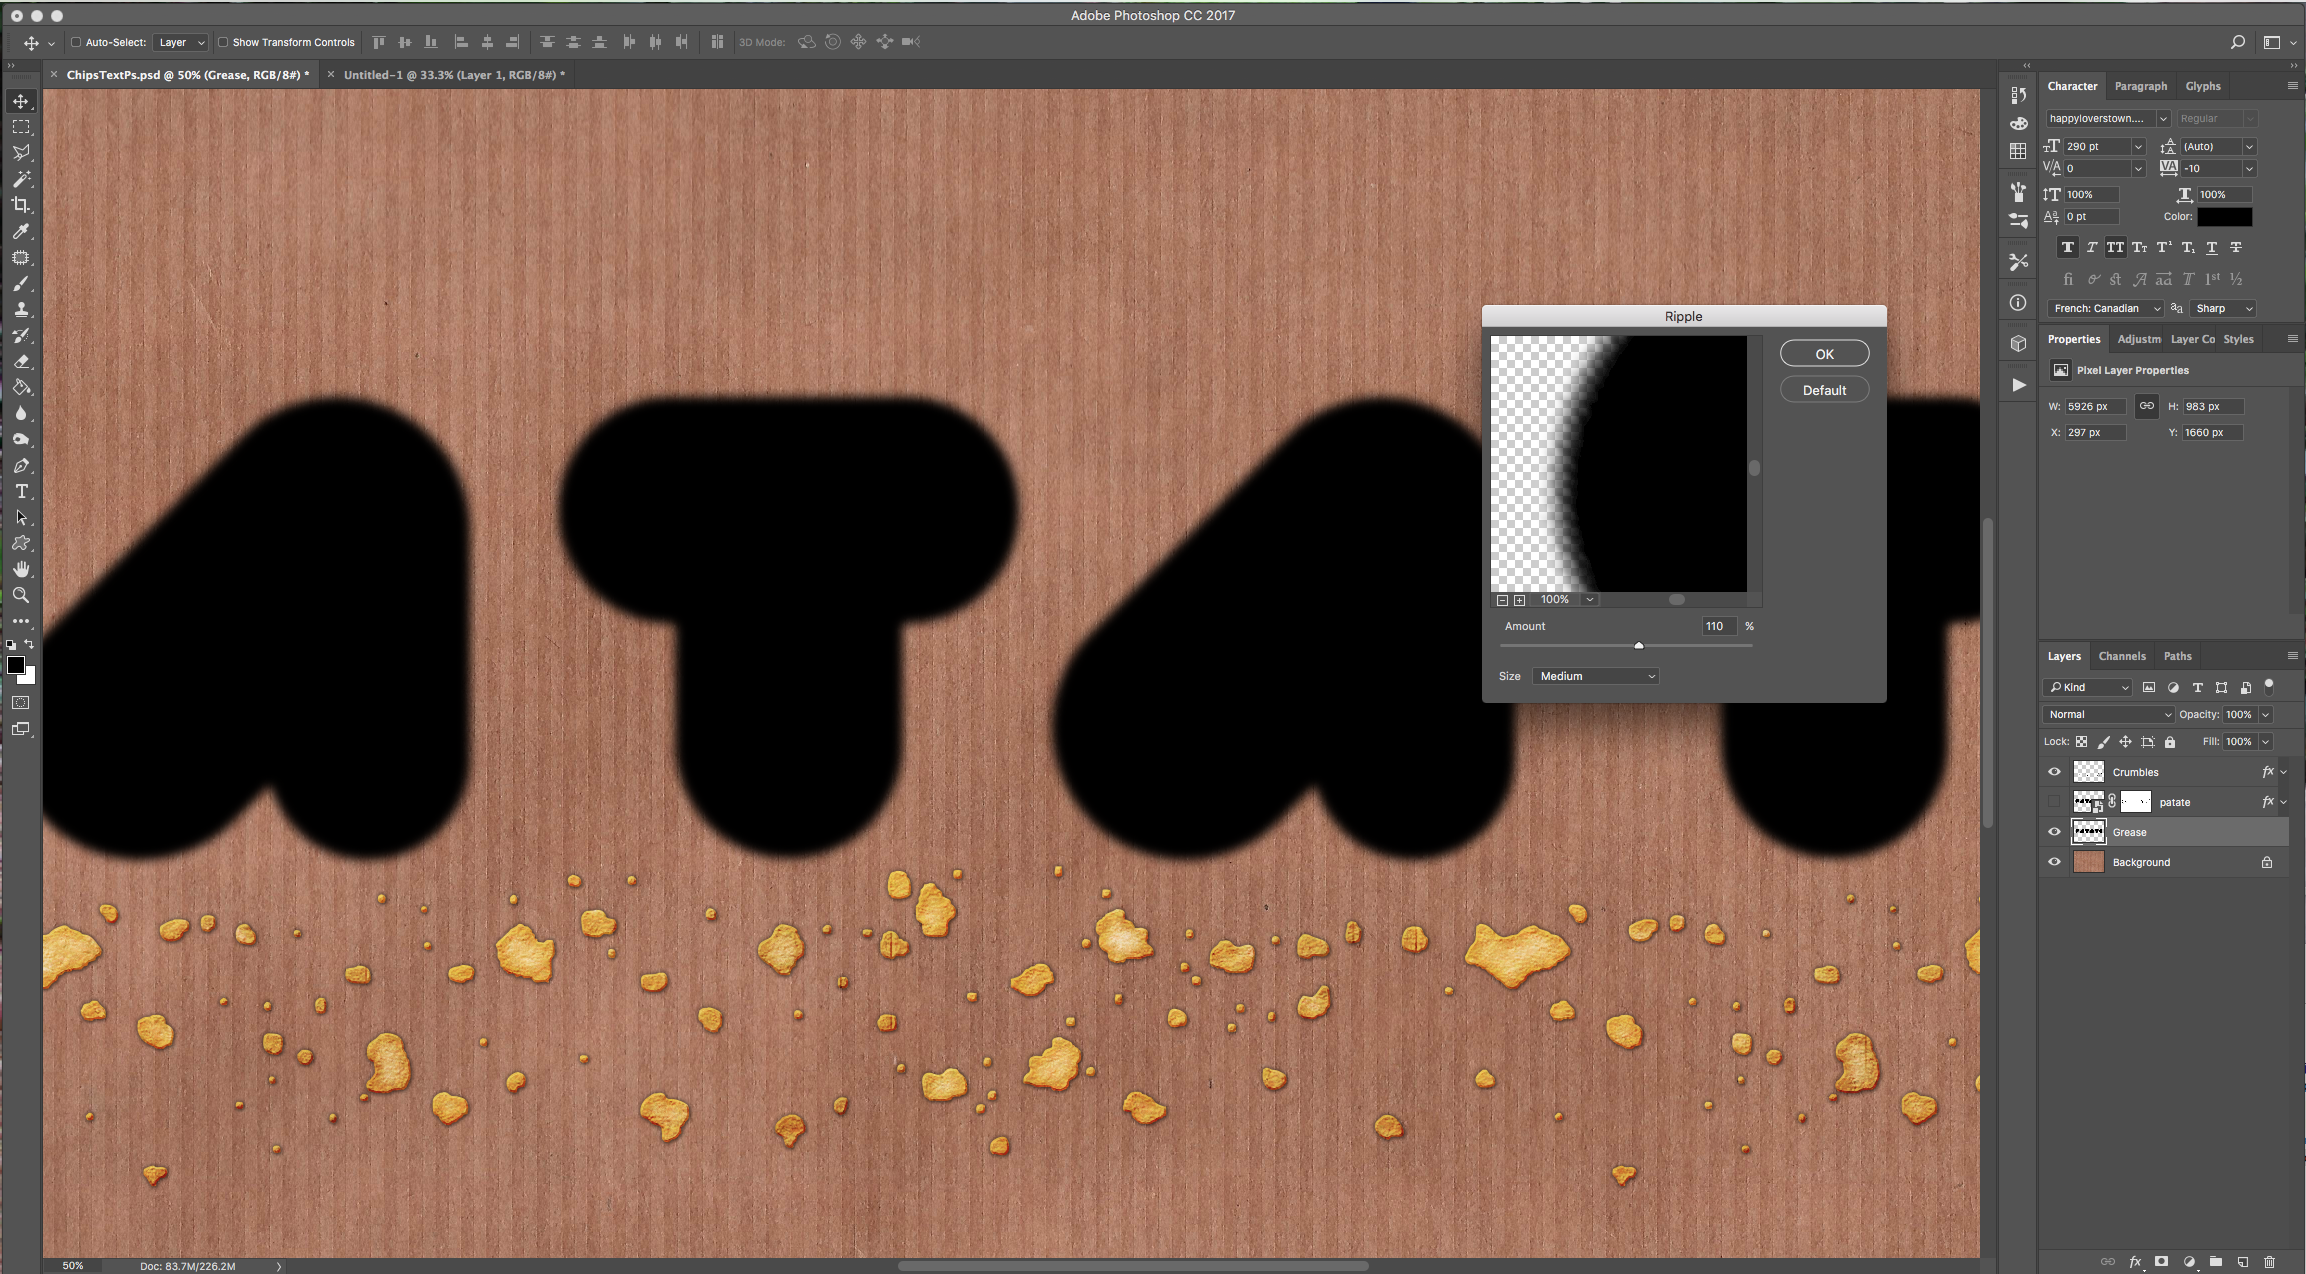
10 - Go to Filter > Blur > Gaussian Blur… and use a 10 Pixels “Radius”. Then, go to Filter > Distort >Ripple… and use an “Amount” of 110% and a “Medium Size”.

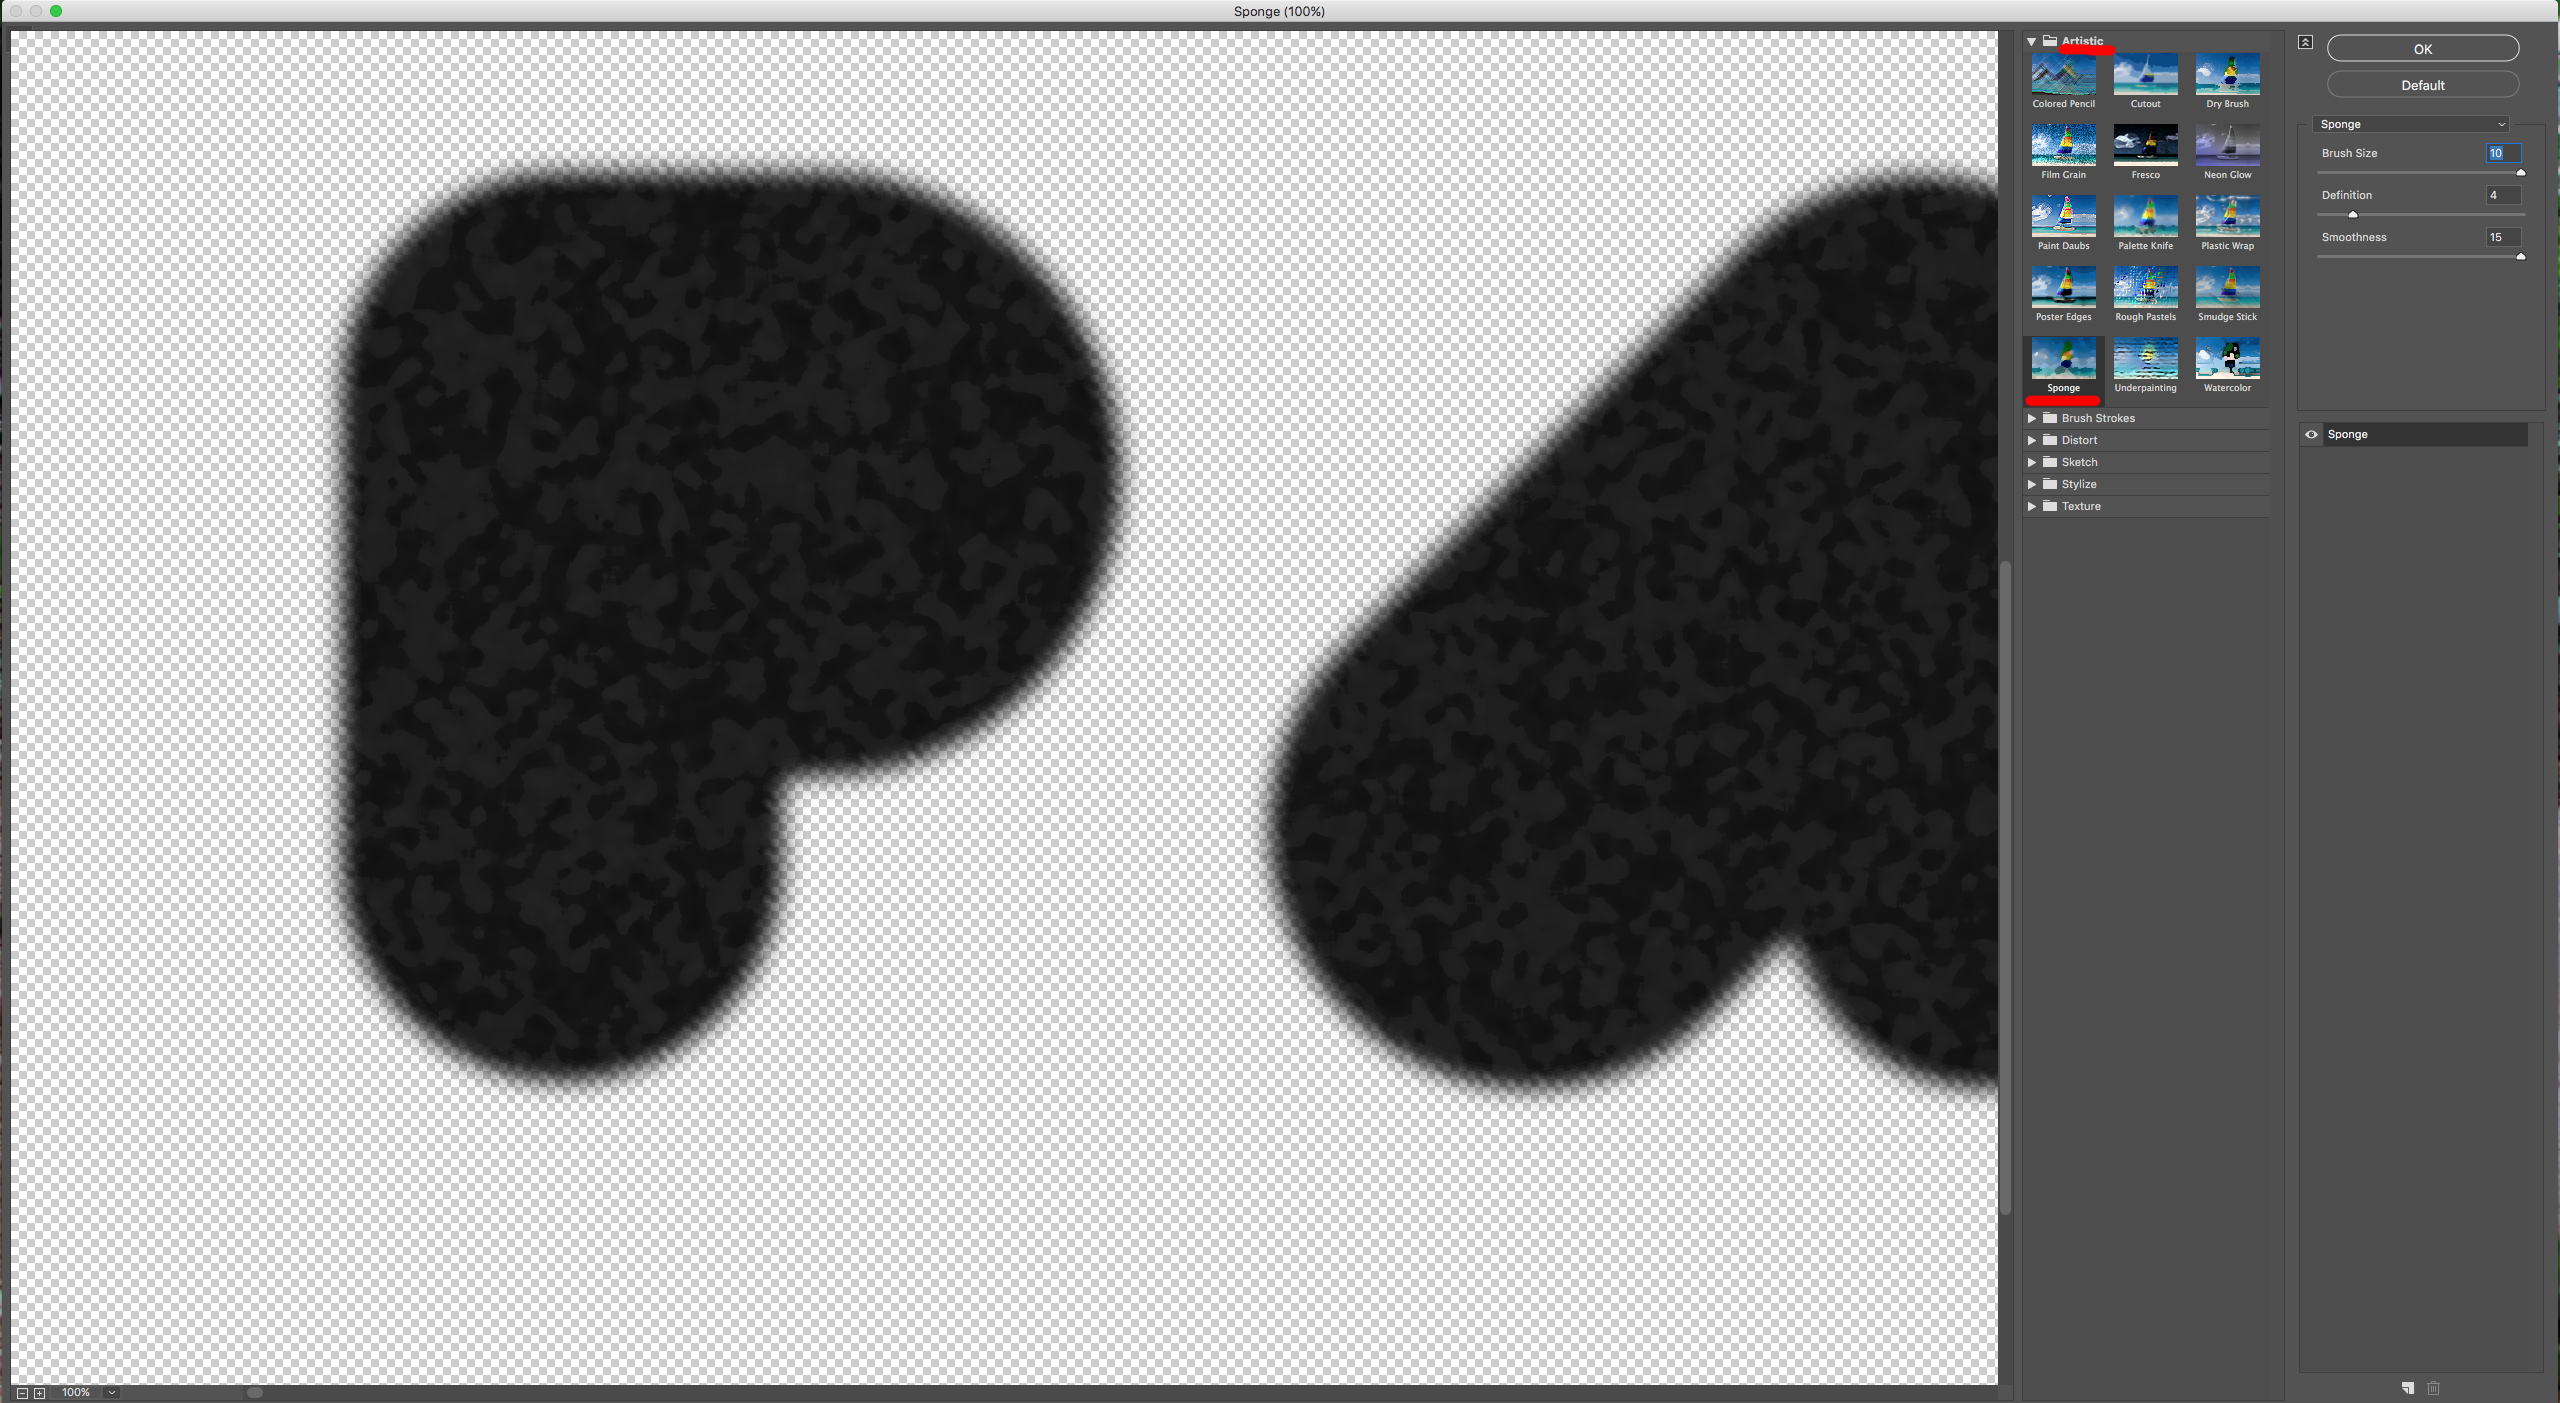
11 - Go to Filter > Filter Gallery > Artistic > Sponge and use the following values:
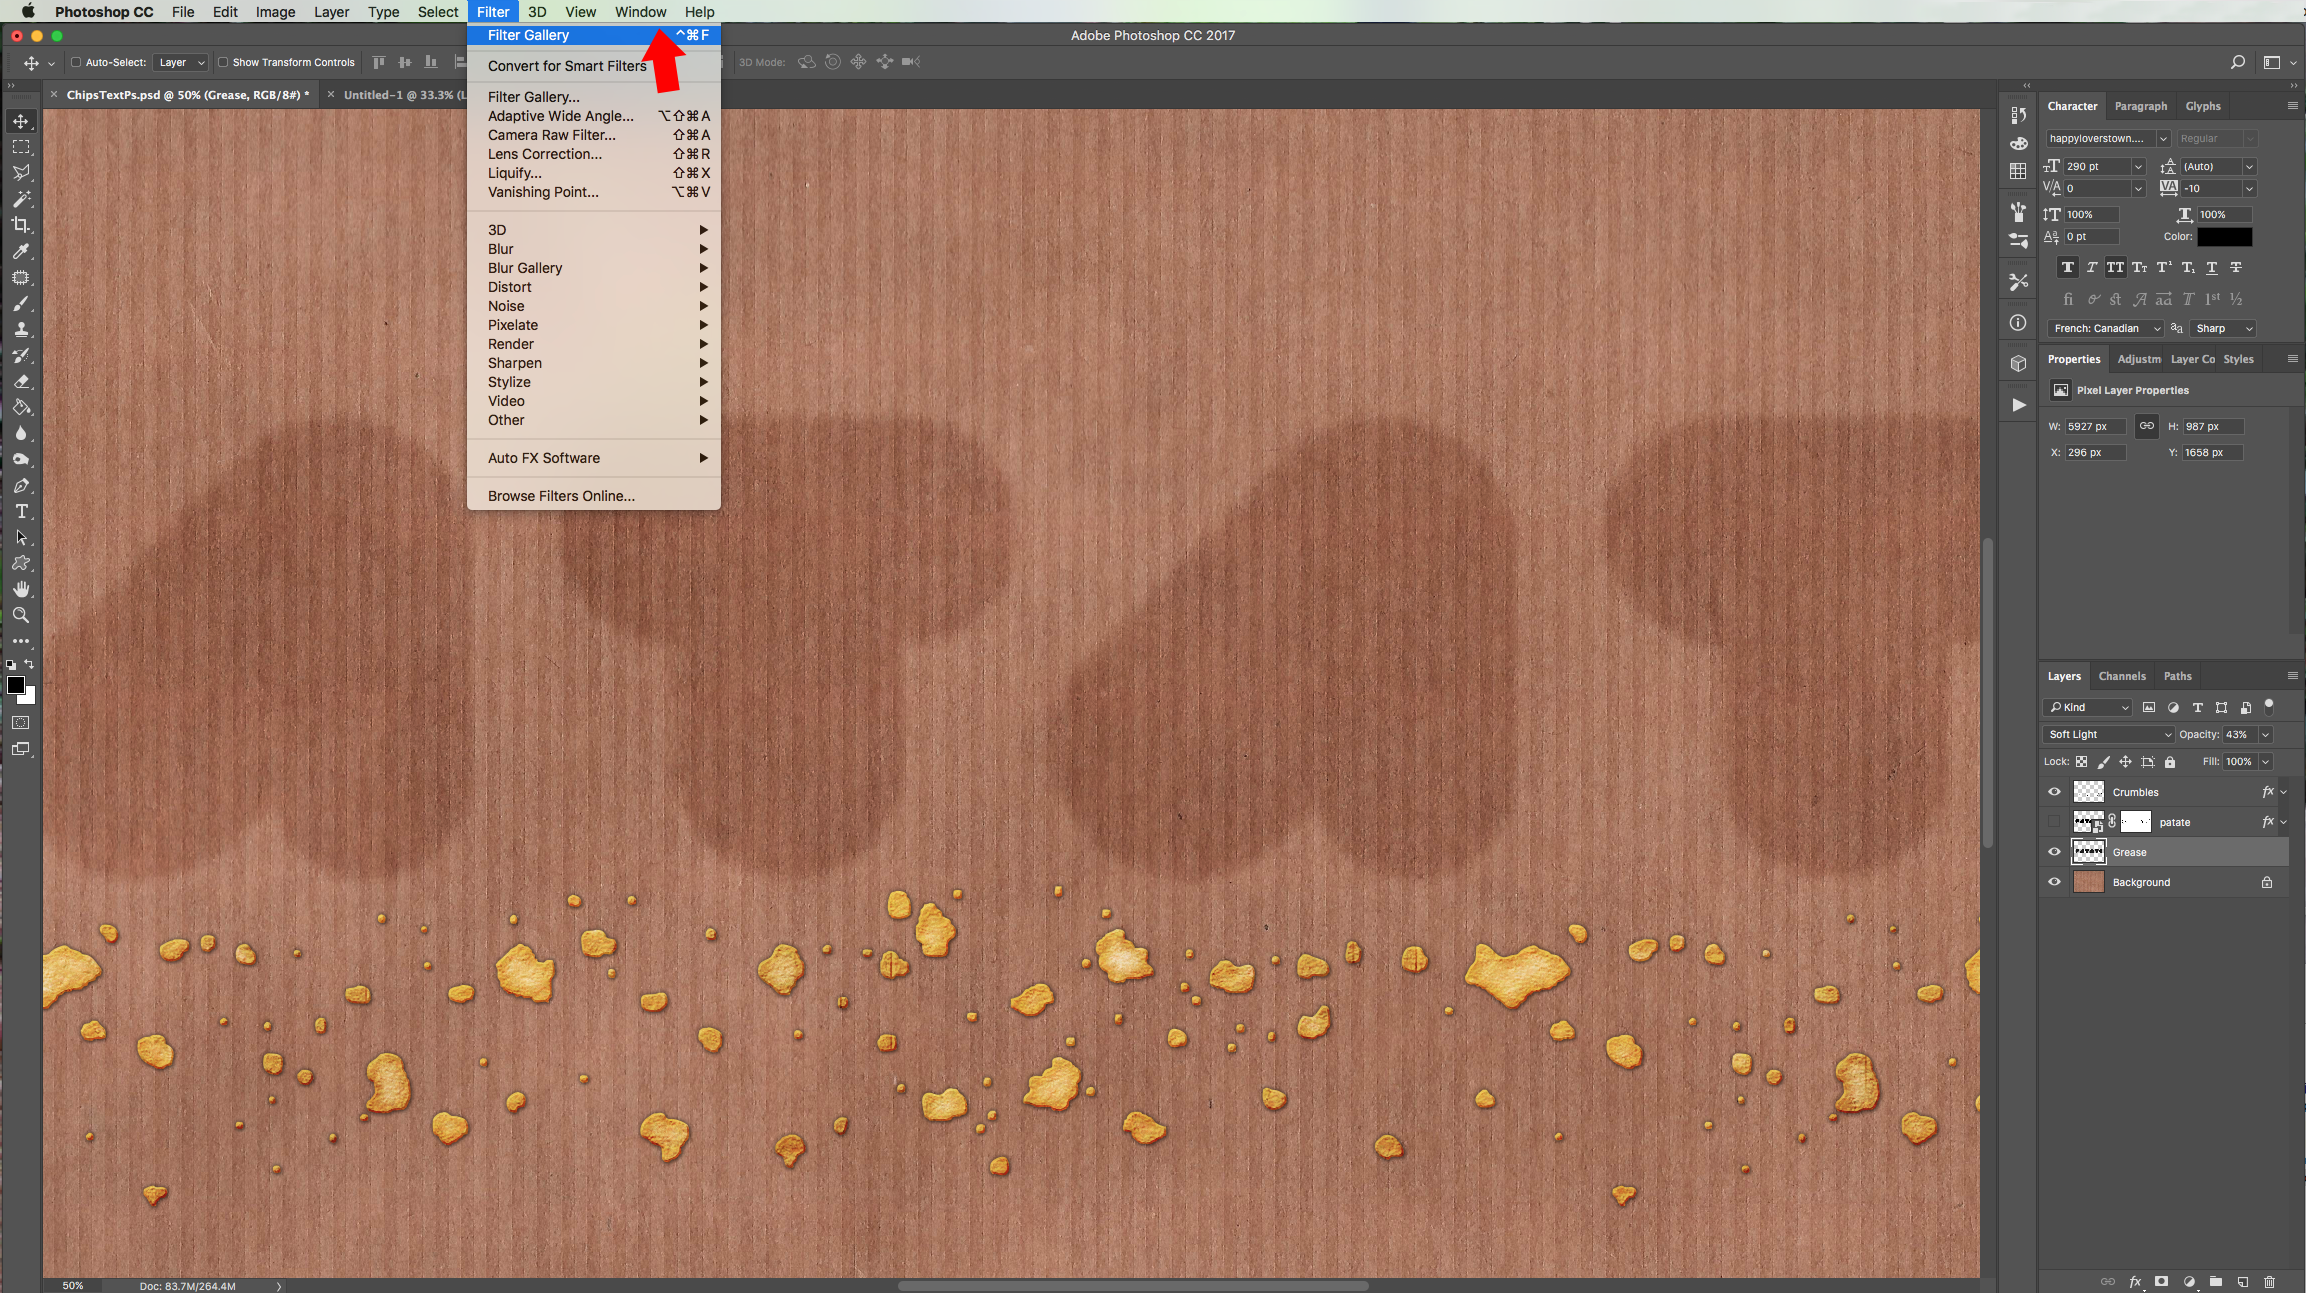
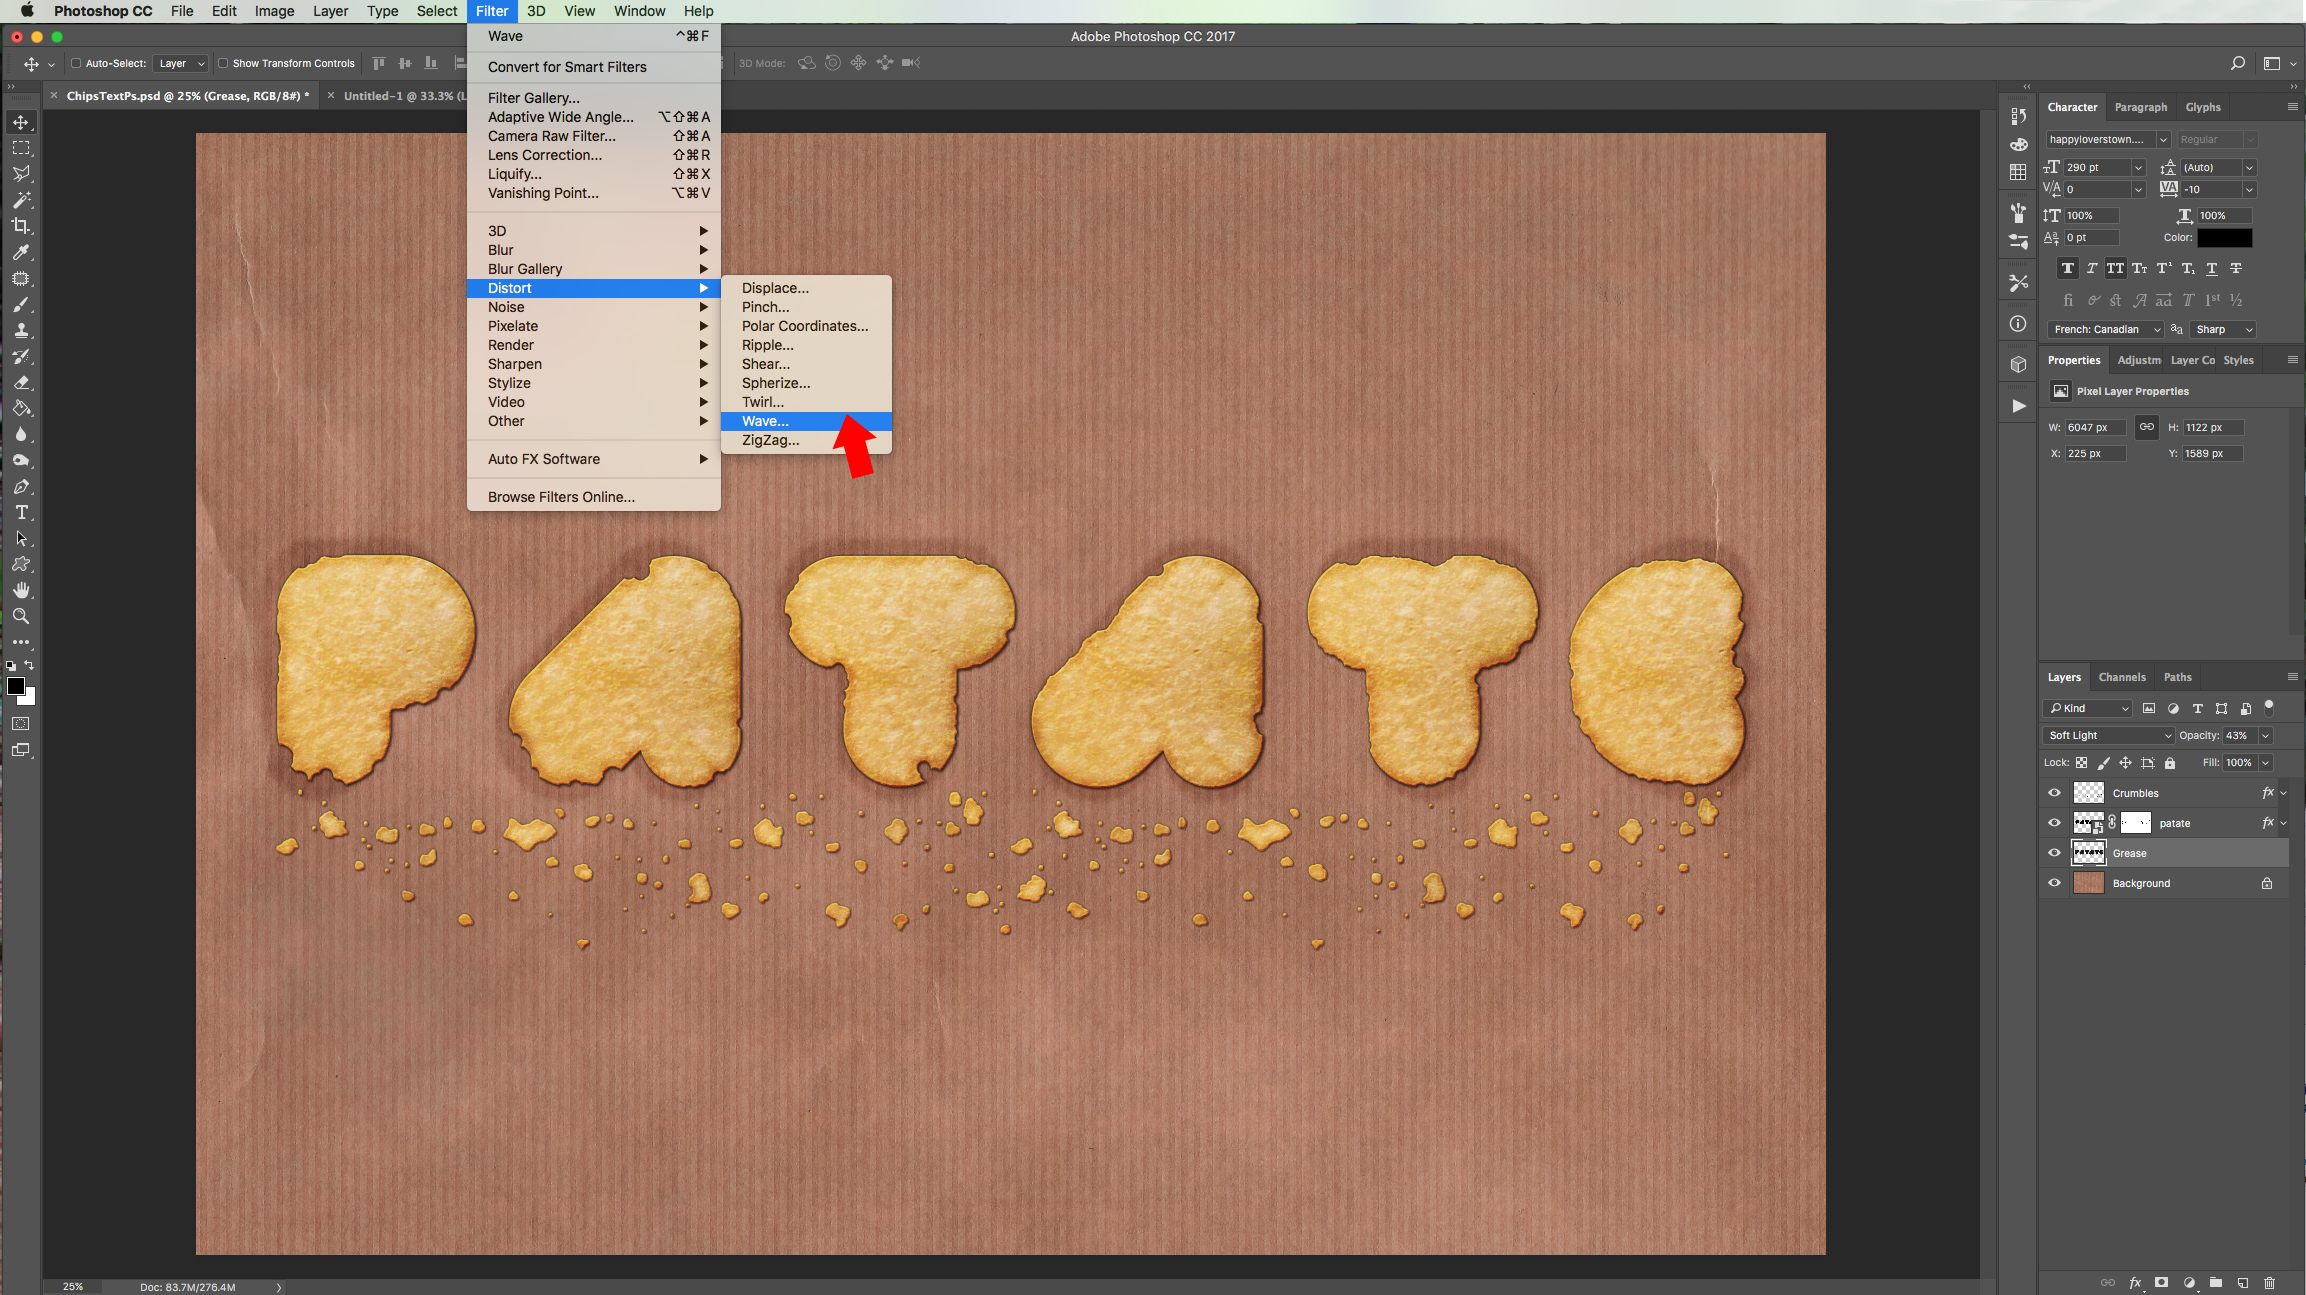
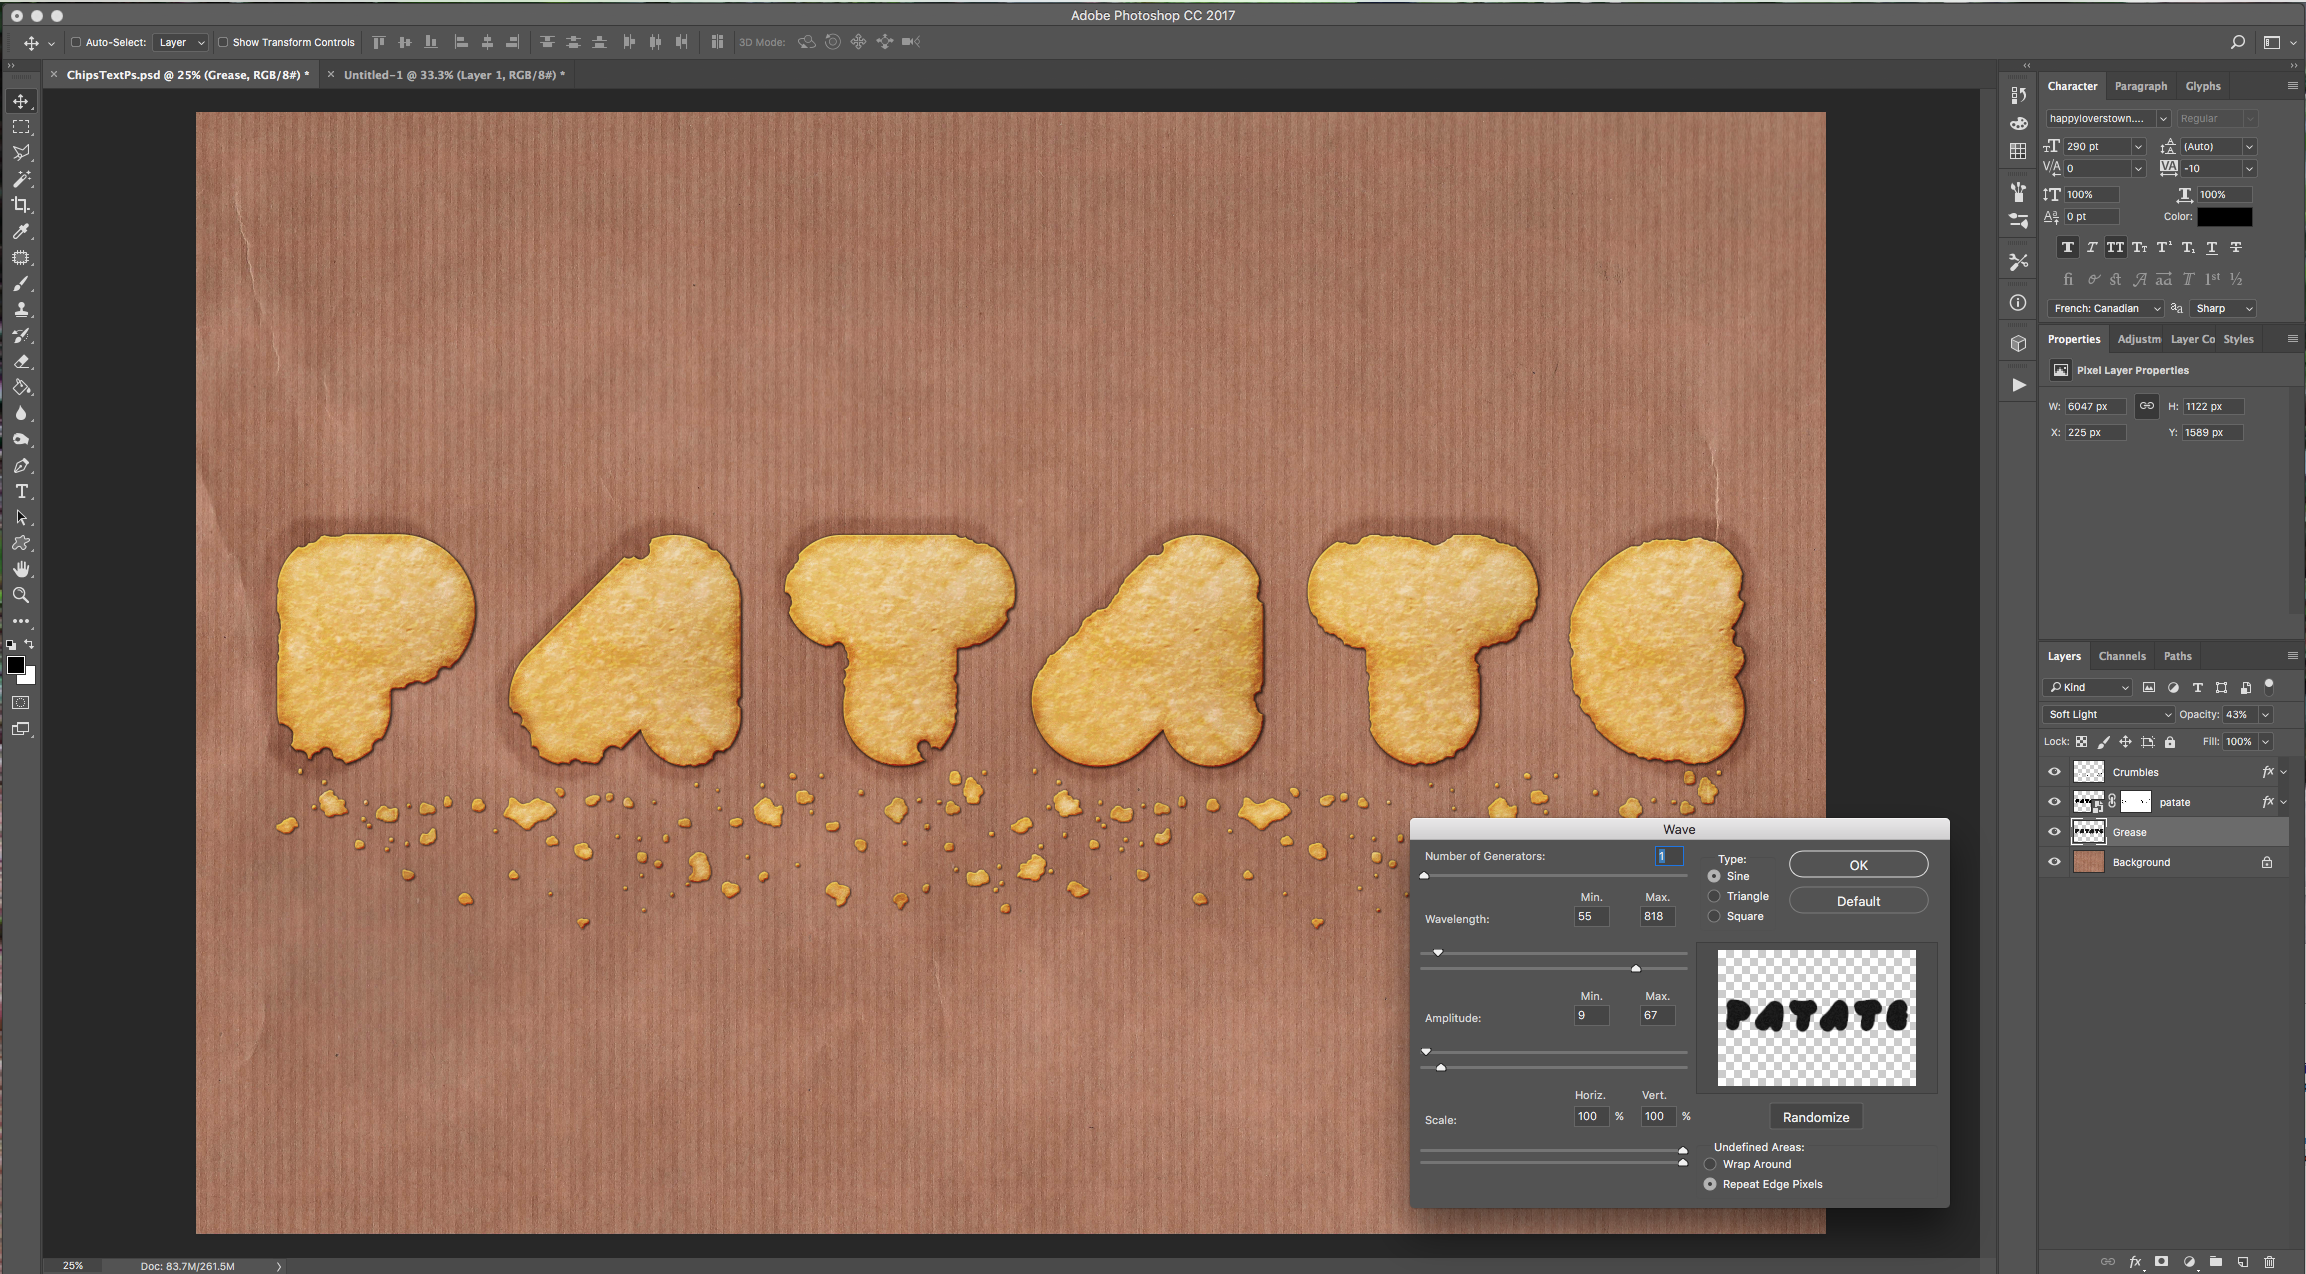
12 - Turn your Text back “ON” and use “Free Transform” (Command/Control + T) to make the image bigger, just like some grease marks spreading on the paper. Then go to Filter > Distort > Wave and use the following values:

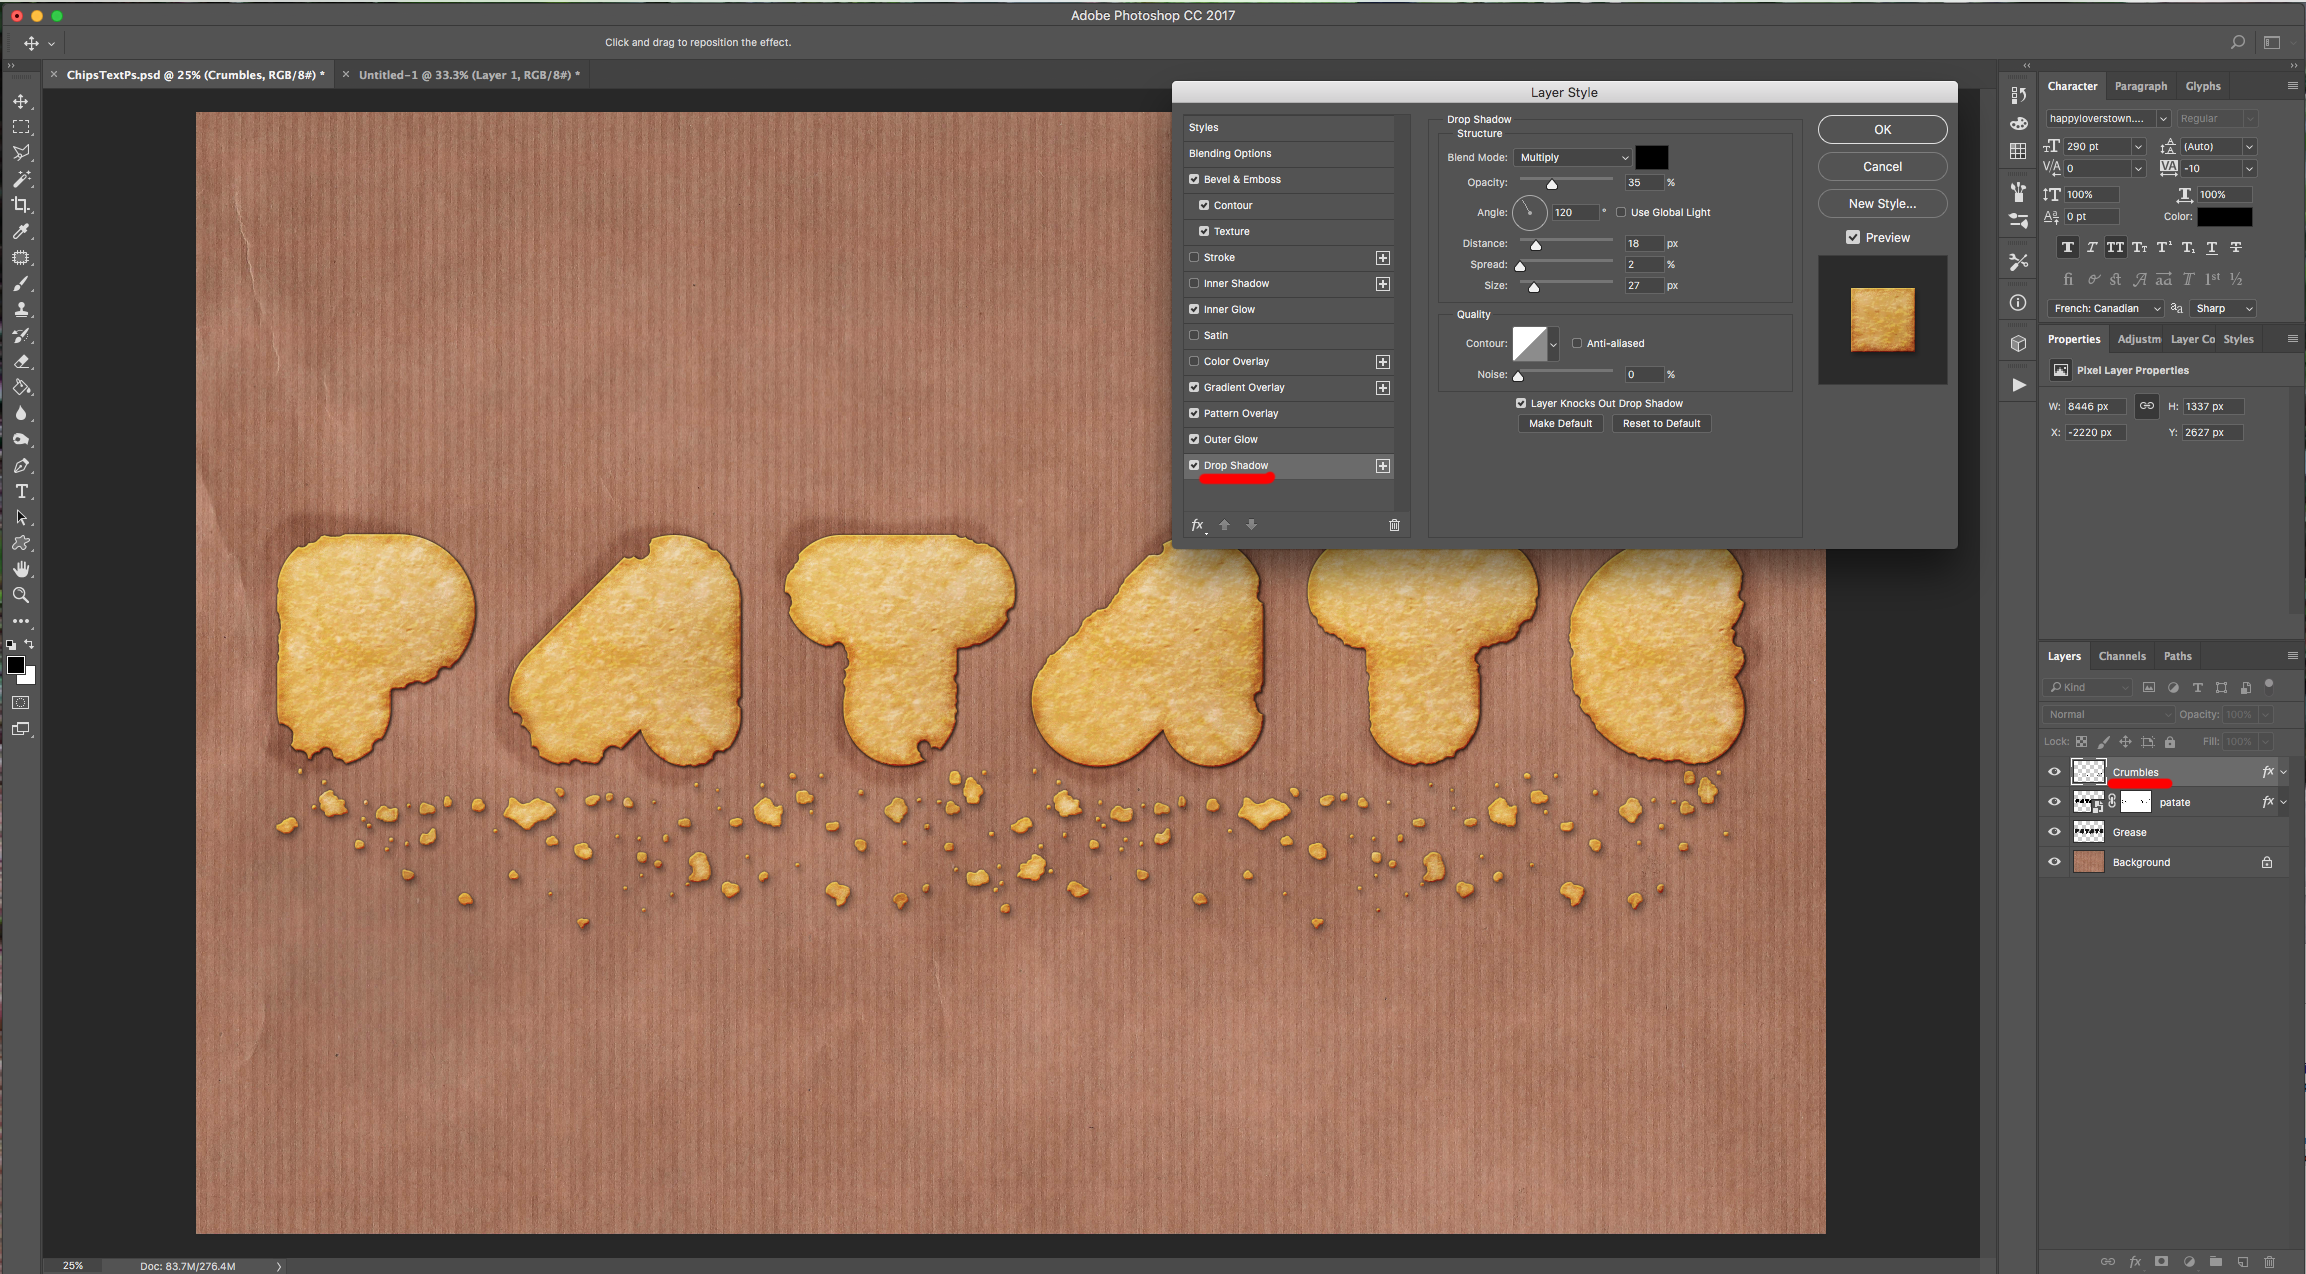
13 - Double-click on top of the “Crumbs” Layer and tweak the “Drop Shadow” values to make it look more realistic.
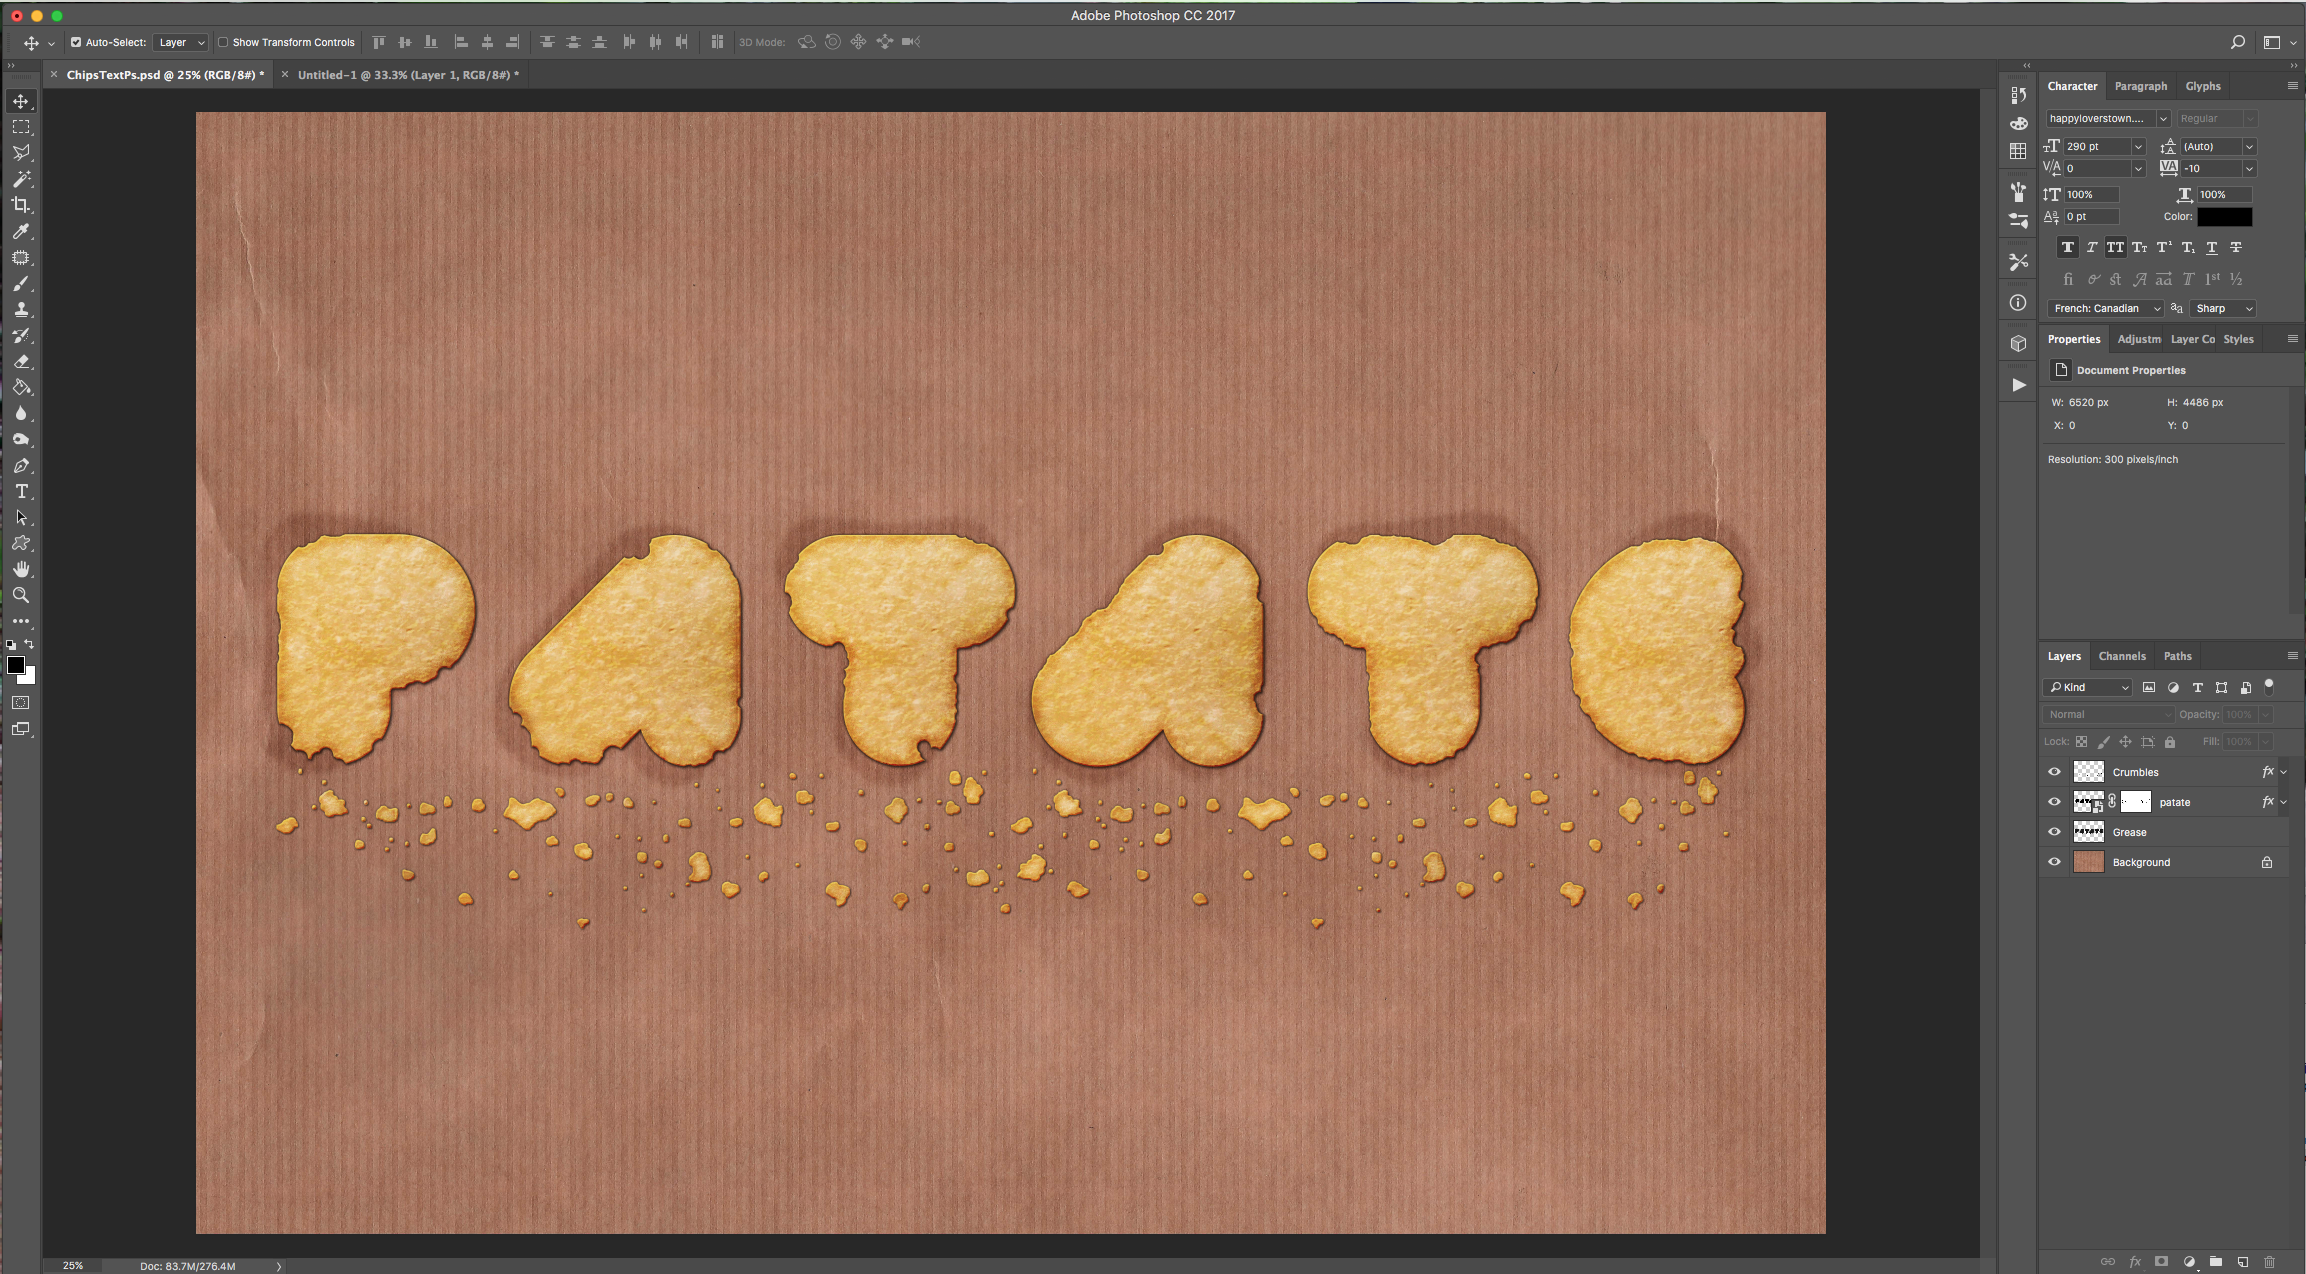
14 - Your Text should be similar to this.

1 - In Photoshop open the image you chose as “Background”. Ours was vertical so we applied a “90° Clockwise Image Rotation” from the “Image” Menu.
2 - Select the “Type Tool” (T), choose the font you like and write your text. Center it in your image the, right-click on top of its Thumbnail and choose “Convert to Smart Object”.
3 - Create a “New Document” (Command/Control + N). Make it 500 x 500 Pixels @300 Dpi and “Place” or “Paste” the (If you downloaded some ready-made Textures just load them). Make sure that the “Sides” (left/right and up/down) coincide so you end up with a “Seamless Pattern”. Go to Edit > Define Pattern, give it a name and click “OK”.
4 - Duplicate your Layer, go to Image > Adjustments > Desaturate (Shift + Command/Control + U) to get a Greyscale version of your “Pattern” and “Define Pattern” again with another name. You can Delete or Save the Pattern document now.
5 - Back in your original document, double-click on the “Smart Object” Thumbnail to apply the following “Layer Styles”:
Bevel & Emboss:
Contour:
Texture:
Inner Glow:
Gradient Overlay:
Pattern Overlay:
Outer Glow:
Drop Shadow:
6 - Create a “Layer Mask” by clicking on the small button at the bottom of the “Layers Panel”, select the “Brush Tool” (B) and with a Medium-sized Hard Brush (we used 55 pt @ 100% Hardness) erase some portions on your Text. Make sure you are working on the “Layer Mask” and using Black as “Foreground” color. Do this in all your letters and if you want to bring back something, just change the “Foreground” color to White.
7 - Create a “New Layer” by clicking on the small button at the bottom of the “Layers Panel”, name it “Crumbs” and draw or paste some small dots to mimic “Crumbs”. Place them under the text to make it look like they fell from the Chips.
8 - Right-click on top of your Text’s Thumbnail and choose “Copy layer Style”, then right-click on top of the “Crumbs” Thumbnail and “Paste Layer Style” (you may need to tweak some values on the “Layer Styles” to since they are smaller than the text to make it look more realistic).
9 - Click on top of your Text Layer while holding the “Alt/Option” key to make a selection, create a “New Layer” named “Grease”, place it under the Text Layer and fill it with Black (“Foreground” color) by holding the “Alt/Option” key and clicking “Delete/Backspace”. “Turn Off” (and back “On”) the Text Layer visibility by clicking on the small eye icon to its left for now.
10 - Go to Filter > Blur > Gaussian Blur… and use a 10 Pixels “Radius”. Then, go to Filter > Distort >Ripple… and use an “Amount” of 110% and a “Medium Size”.
11 - Go to Filter > Filter Gallery > Artistic > Sponge and use the following values:
12 - Turn your Text back “ON” and use “Free Transform” (Command/Control + T) to make the image bigger, just like some grease marks spreading on the paper. Then go to Filter > Distort > Wave and use the following values:
13 - Double-click on top of the “Crumbs” Layer and tweak the “Drop Shadow” values to make it look more realistic.
14 - Your Text should be similar to this.
by @lornacane


