Unlimited Downloads 15% off Marketplace Purchases Exclusive Software Access Unlimited Downloads
15% off Marketplace Purchases
Exclusive Software Access
Go Unlimited Maybe Later
Accessing Fonts and Glyphs with the Silhouette Curio
  • By Design Bundles
  • 12 Apr 2019
  • 3 Mins
  • Silhouette Tutorials

Accessing Fonts and Glyphs with the Silhouette Curio

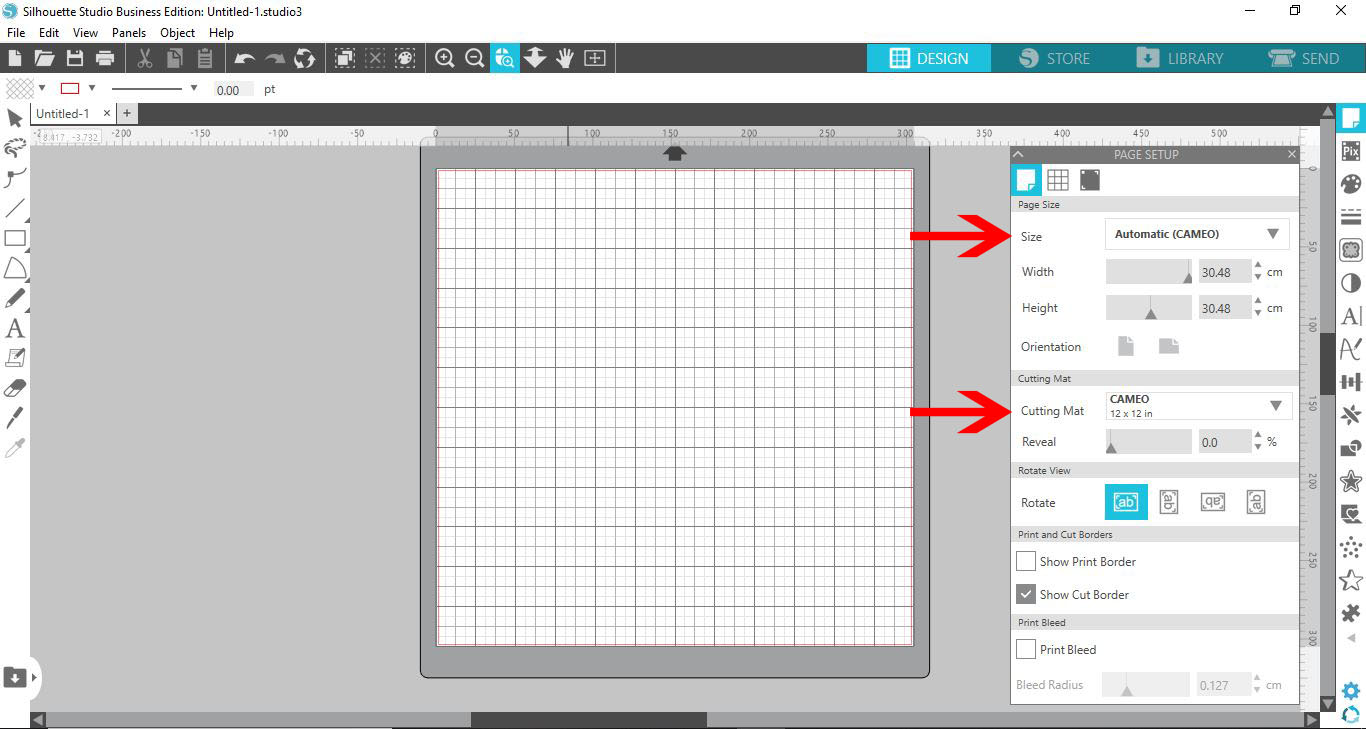
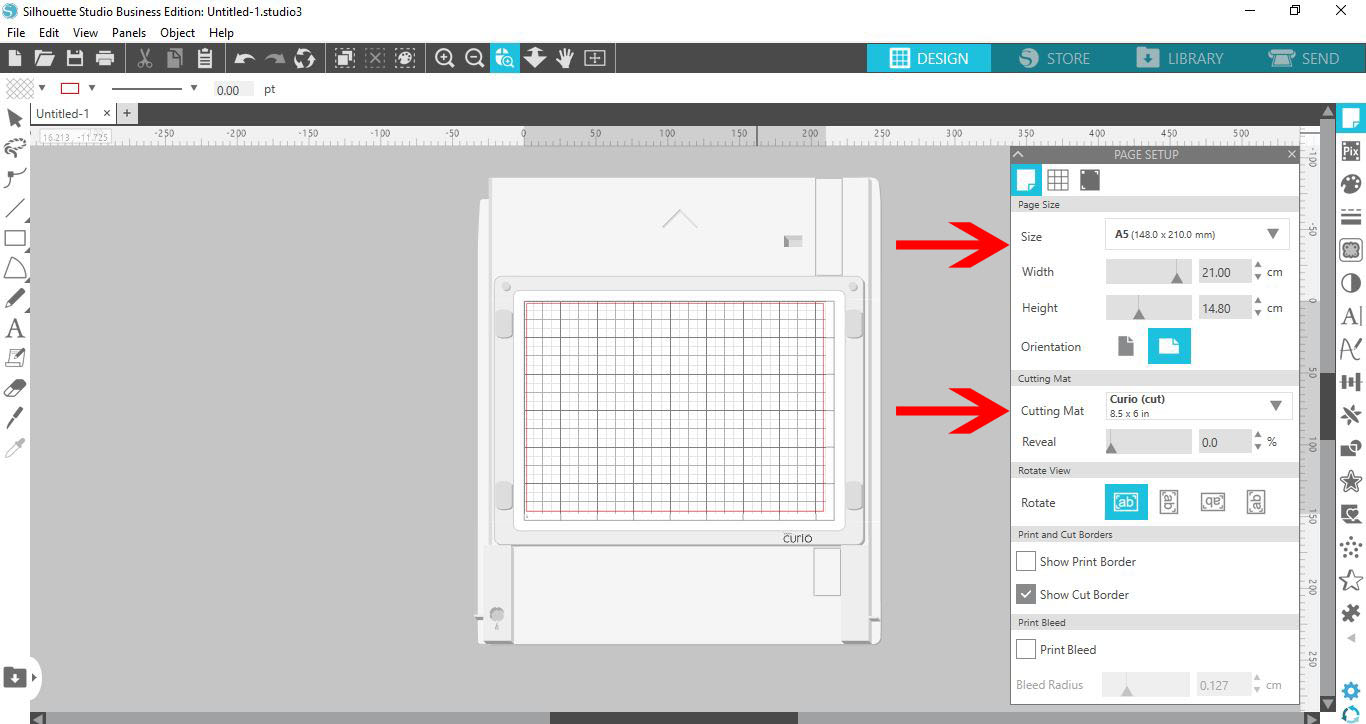
1- Open Silhouette Studio. Go to the cutting mat and change to the Curio. Next, change the media size to fit the curio mat. A5 will work well.

2- With the two sections changed, you will see that the mat on the screen now is the curio mat.

3- Select the text tool and type your text.

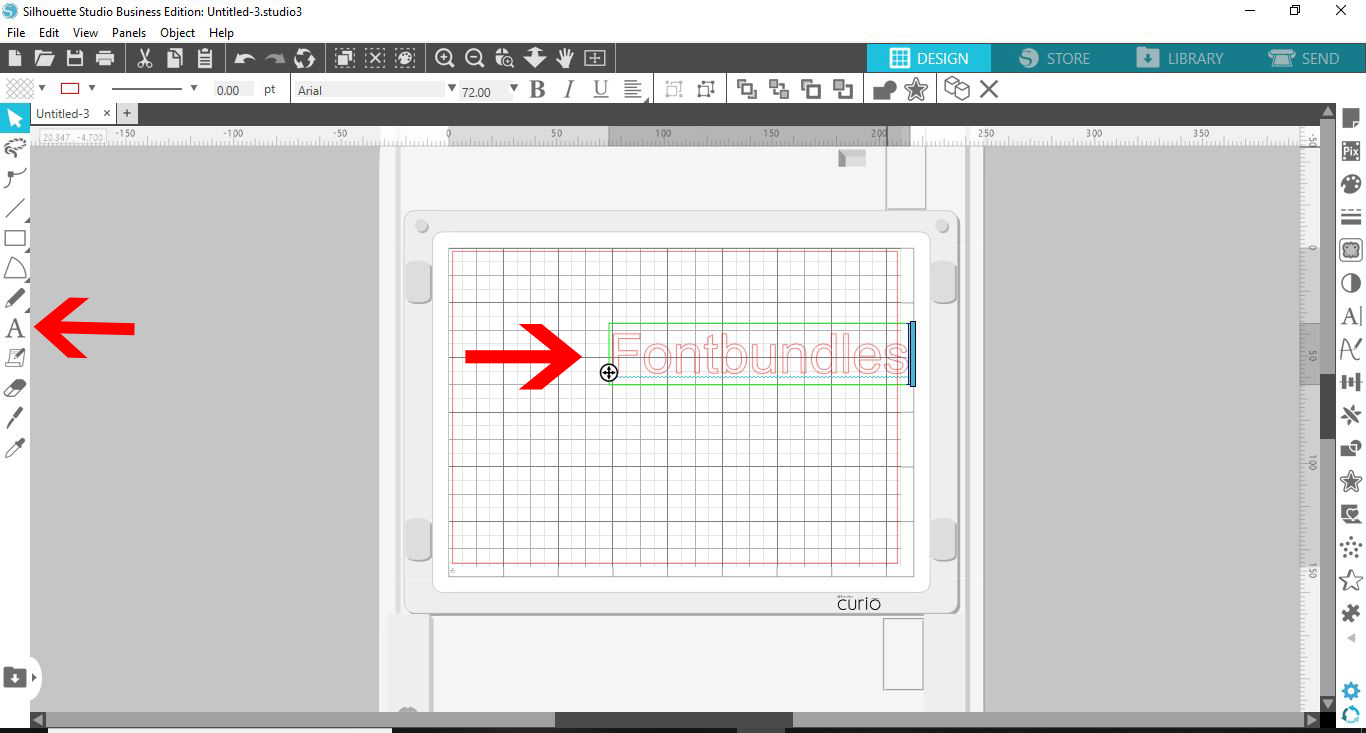
4-Select your text and click on the text style tool.

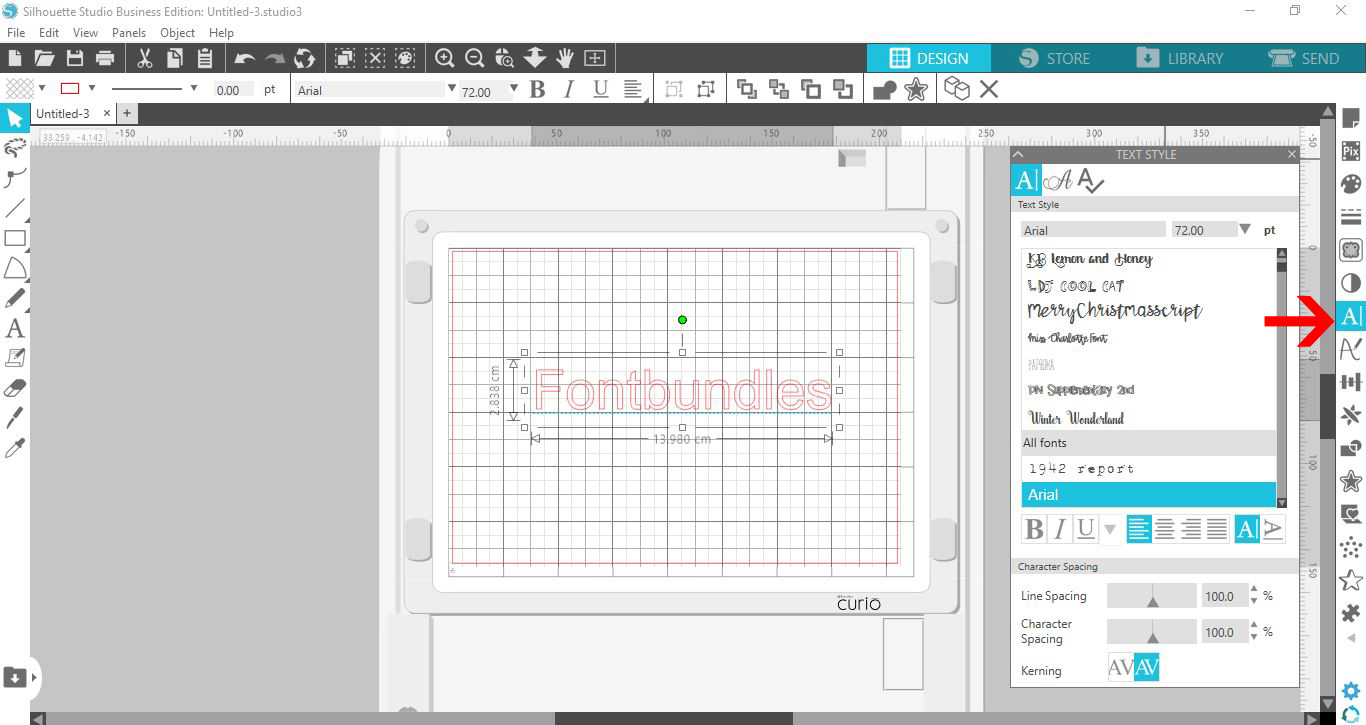
5- There is a new panel that will appear. Here you can select any of your fonts that are installed on your PC. Select a font, and the text that is selected will change to that font.

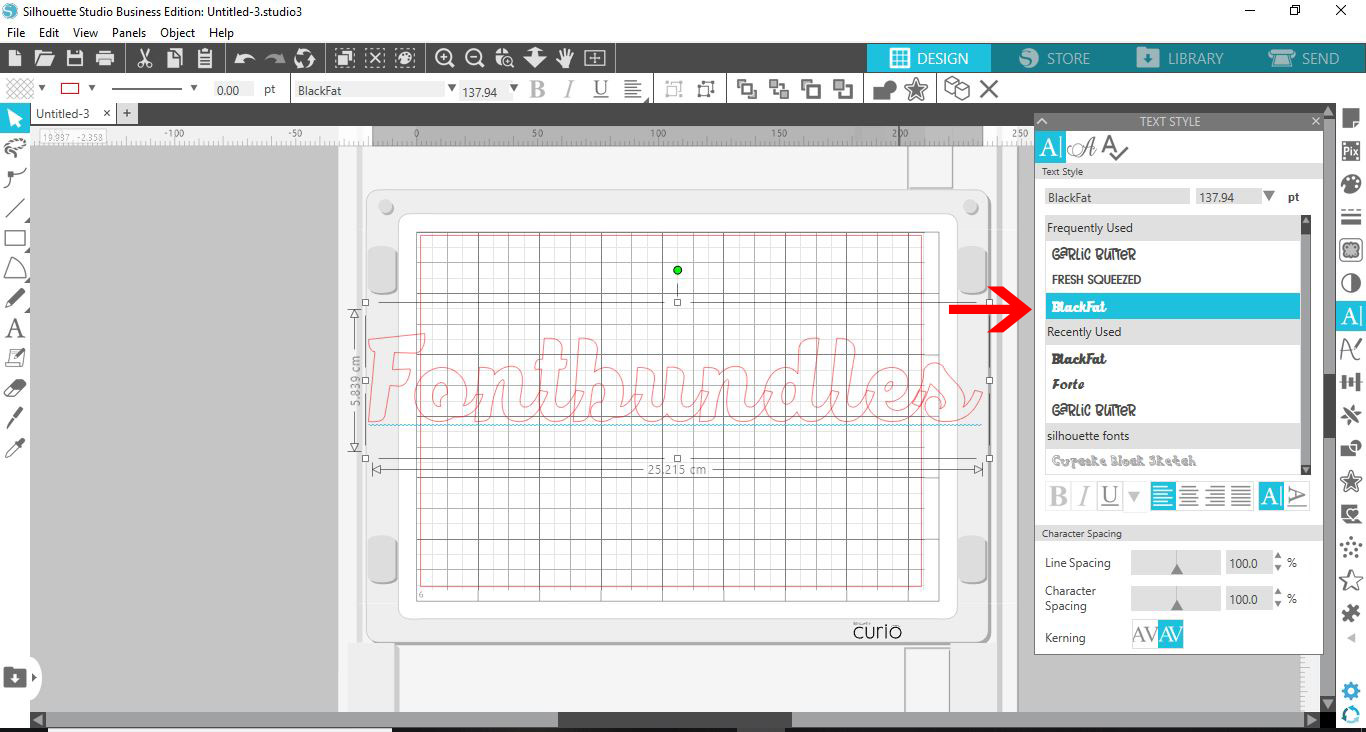
6- You can change your font any time as long as you select the text and then select a font in your style panel.

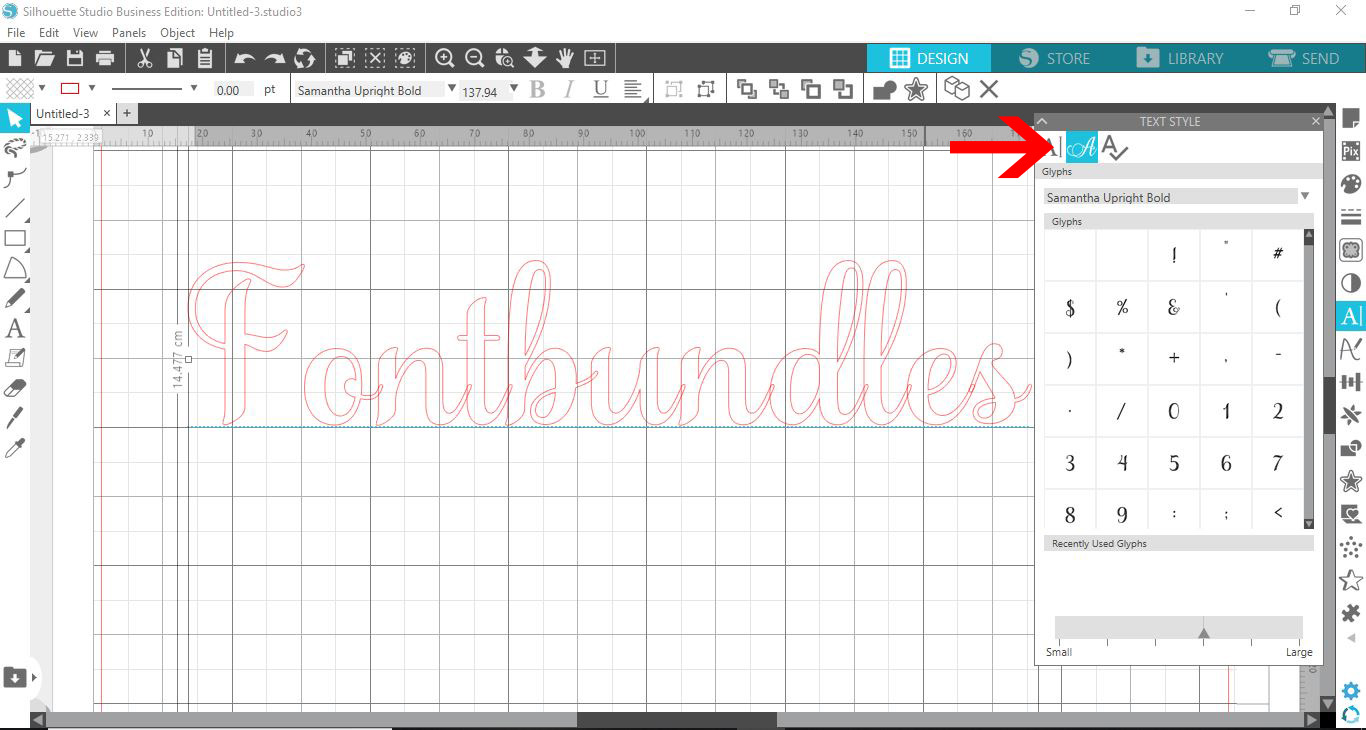
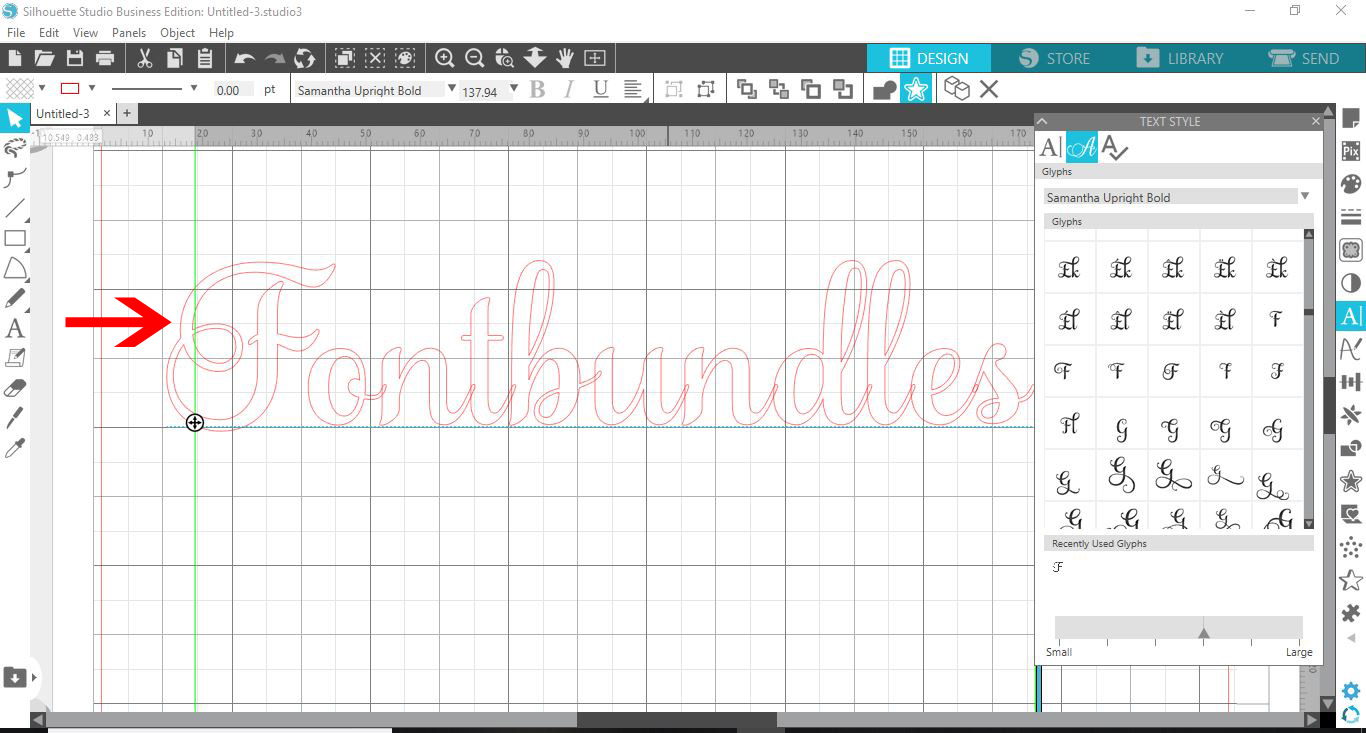
7- If the font you have selected came with any glyphs, you could select the glyph option. A selection of glyphs will appear for you to choose from.

8- If you hover over a glyph, it will become bigger for you to see which one to select.

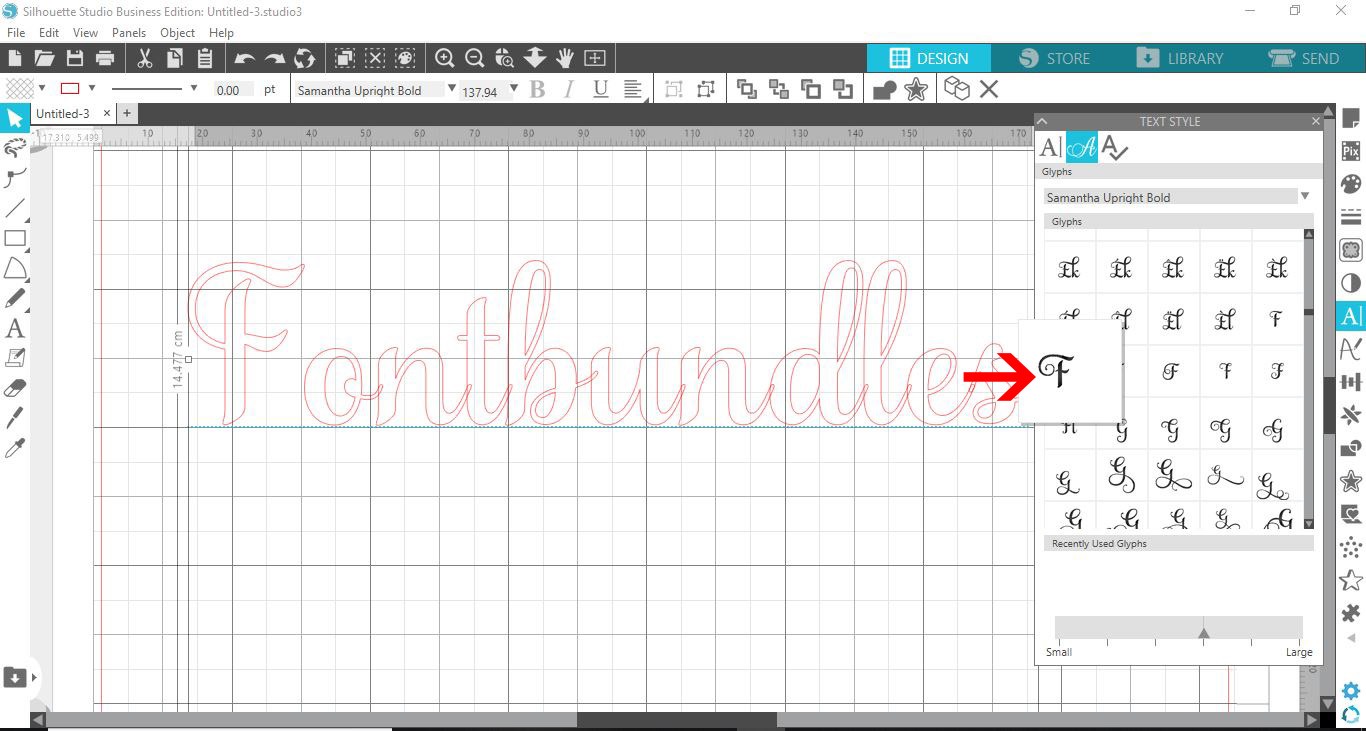
9- Place your cursor where you would like the glyph. You can delete the letter you do not need that you are replacing with a glyph. Next, click on the glyph you would like to use, and it will appear where your cursor is.

10- You can repeat this as many times as you would like in your text.

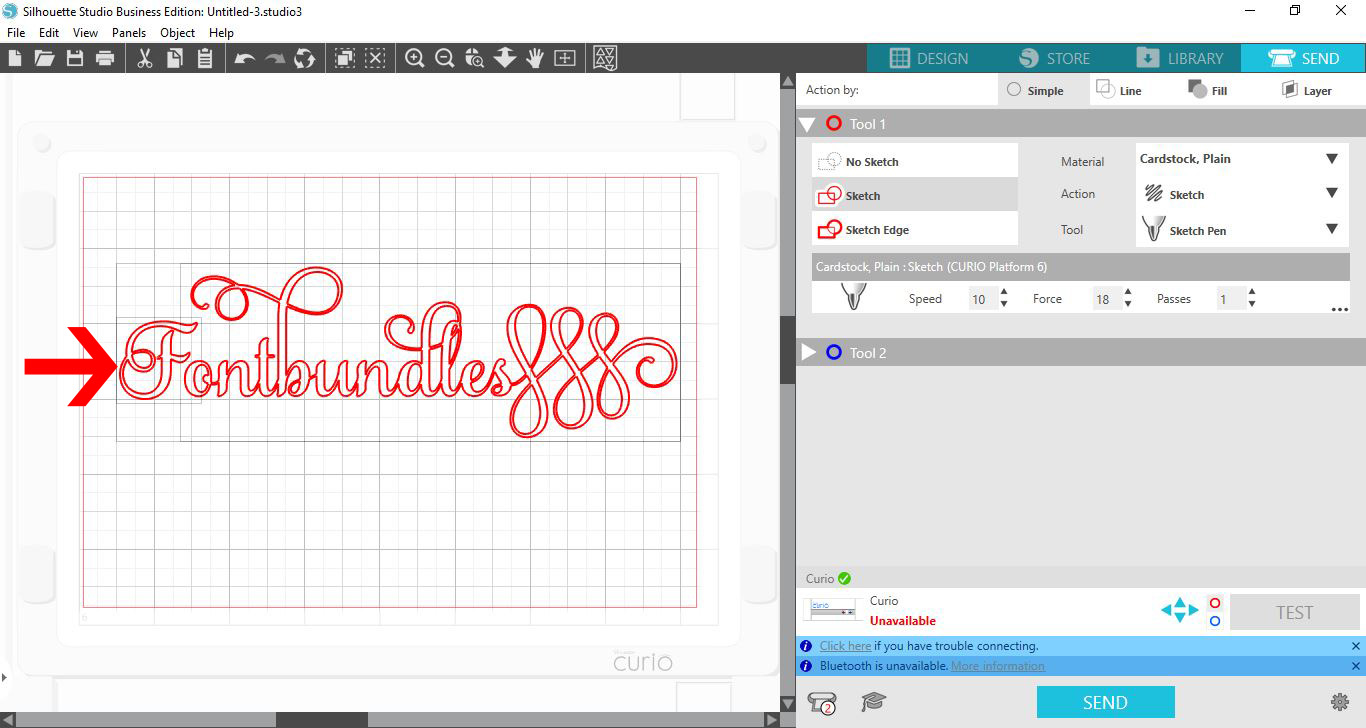
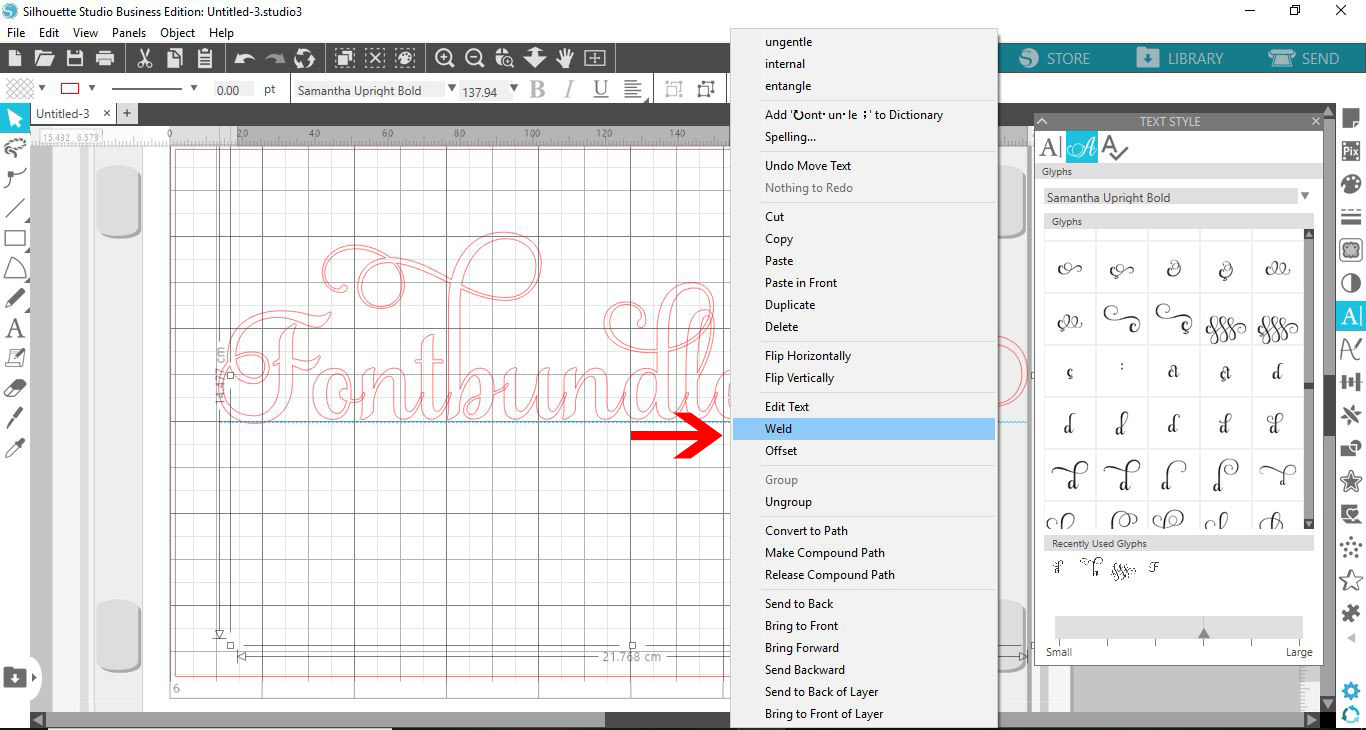
11- Once you are happy with the finished glyphs and text, right-click and group. If you want all the letters to join (if overlapped), you can click weld to join the overlapping letters.

12- Click on send when you are finished. You will see that the glyphs act as text and will have cut lines automatically.


6 Related Silhouette Tutorials

In today’s tutorial, we will guide you on how to Print and Cut with the Silhouette Curio. This feature is especially useful for projects like stickers, cake toppers and more. We will guide you on setting up your Curio work area super quick so you can get started with ...

Embossing and debossing with the Silhouette Curio gives texture to materials such as cardstock. It gives a raised or recessed effect that almost appears three dimensional. The feature is available in all of the Silhouette Studio versions. However, this will only work with the Curio machine. We will show you ...

1- Open Silhouette Studio. Click on the cutting mat options and change to Curio. Change the size of the cut area to fit the curio mat.2- With the cutting mat and the size changed, you will see the curio mat appears on the design space.3- Go to page ...

1- Open silhouette studio. Click on the text tool.2- Type your text. Click on the text type tool.3- Change your font. I have chosen a simple font to clearly add the the ribbon.4- Adjust the text to line up with where you are going to place your ...

*Silhouette Cameo 3 used. 1- Open silhouette studio and click on the text icon.2- Type your text.3- You can change your font. I am using  luducudu font from fontbundles.net4- Click on the sketch tool.5- As you can see there are a lot of sketch options in ...

1- Open silhouette studio. Open up your design or you can type text.2- I have chosen to use text. Type your text.3- Change your font to either a single line font or a font you can sketch fill.4- Go to the send screen when your design is ...

You may also like

Help Center
ol image