
How to Crop in Photoshop with Content Aware
For this tutorial, we will use a couple of images to illustrate the two ways in which you can use cropping techniques. For the first example, we used a bird stock photo, and for the second one an interior stock photo from the Plus Hub.
This tutorial will cover:
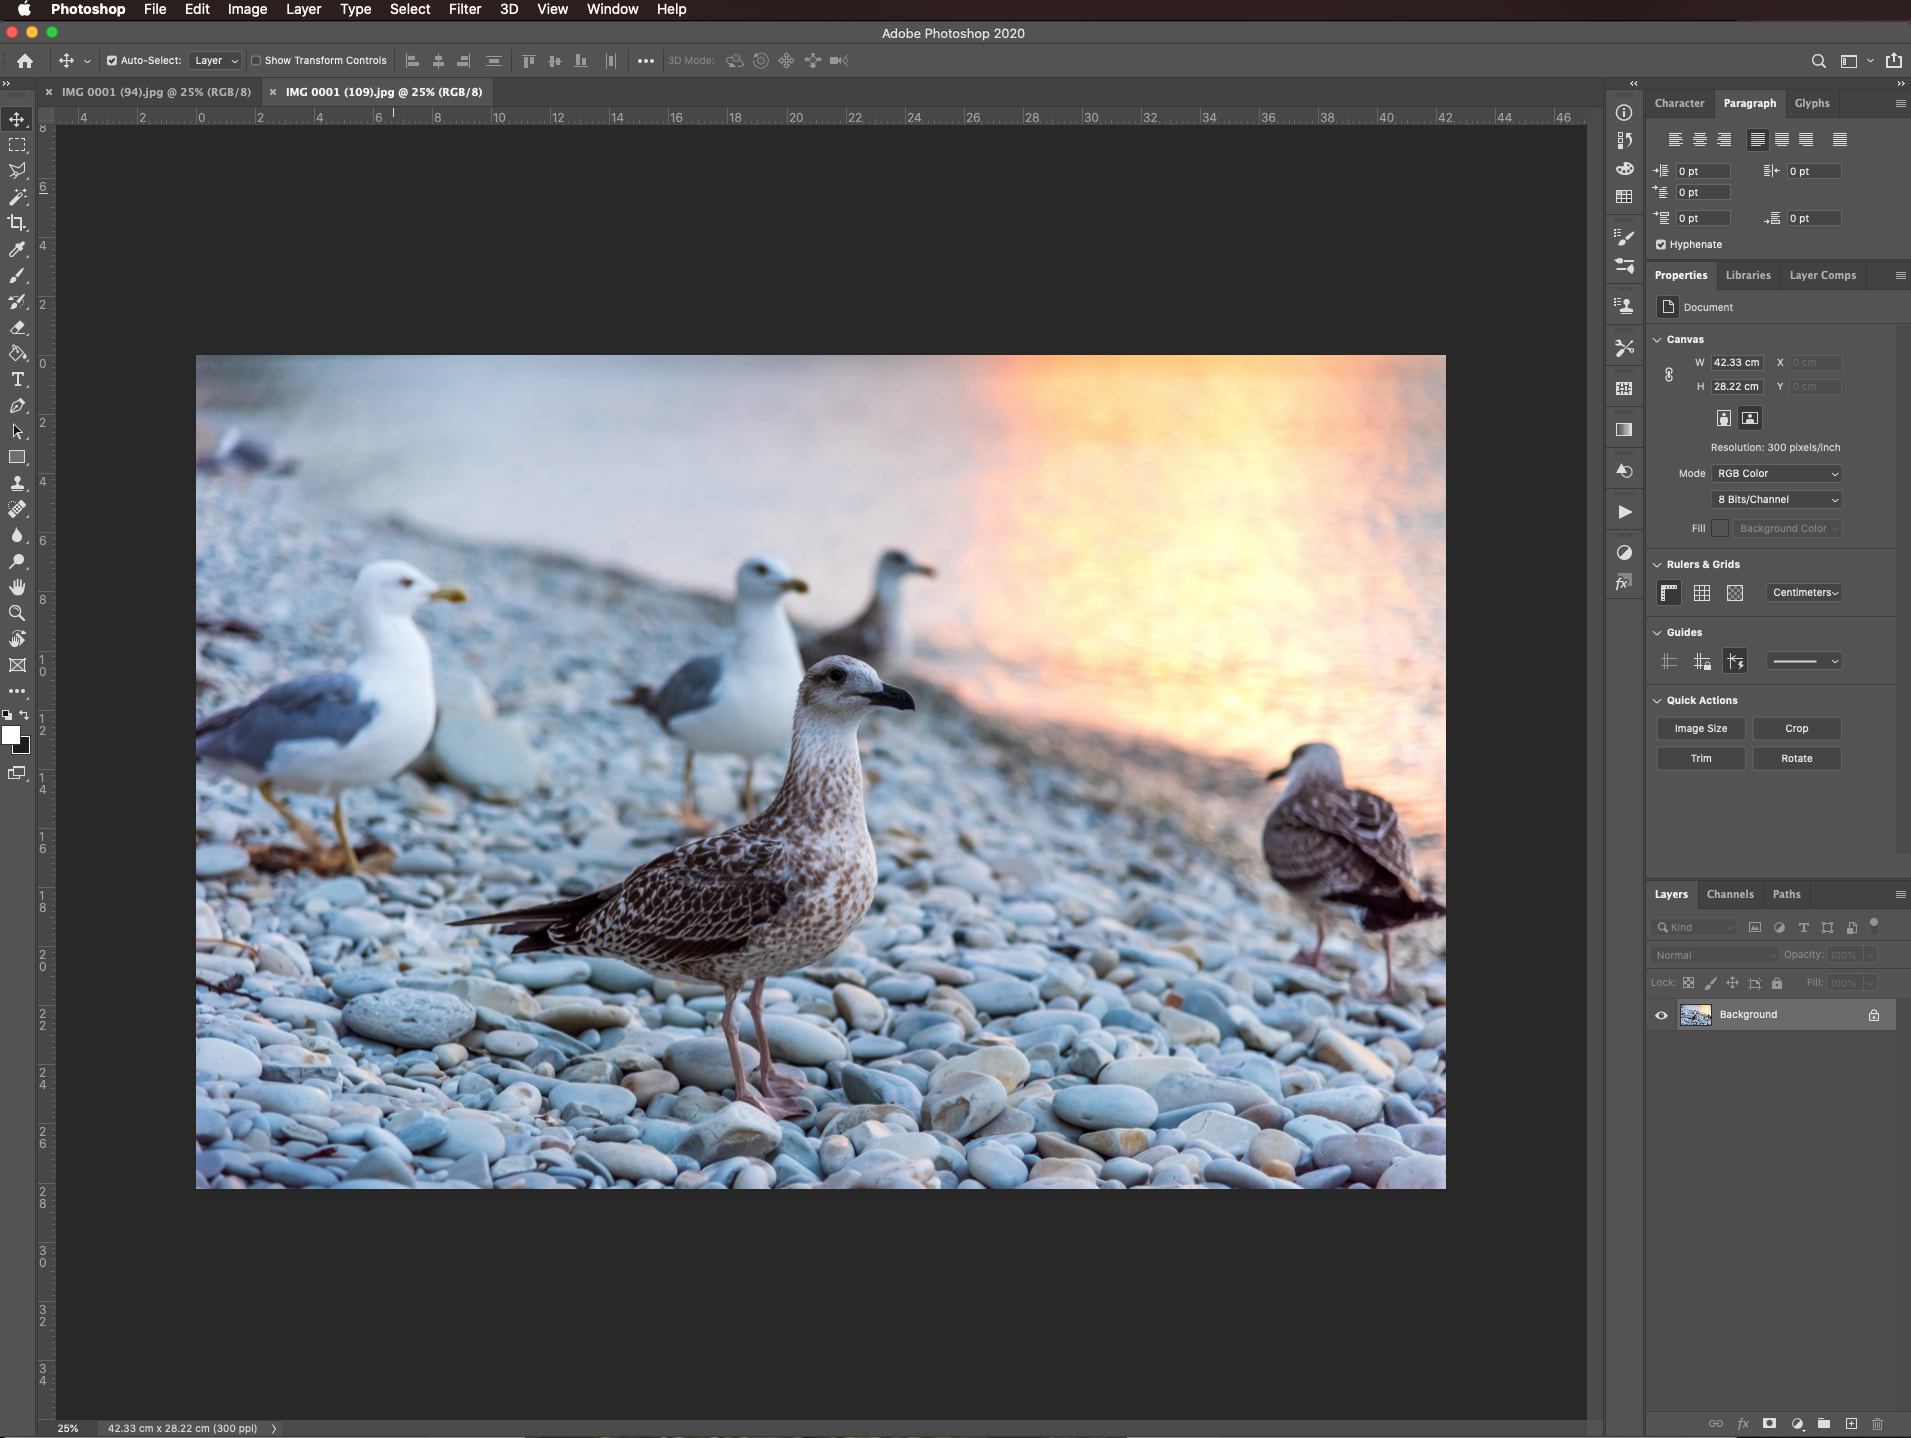
In Photoshop, open the image you want to work with.
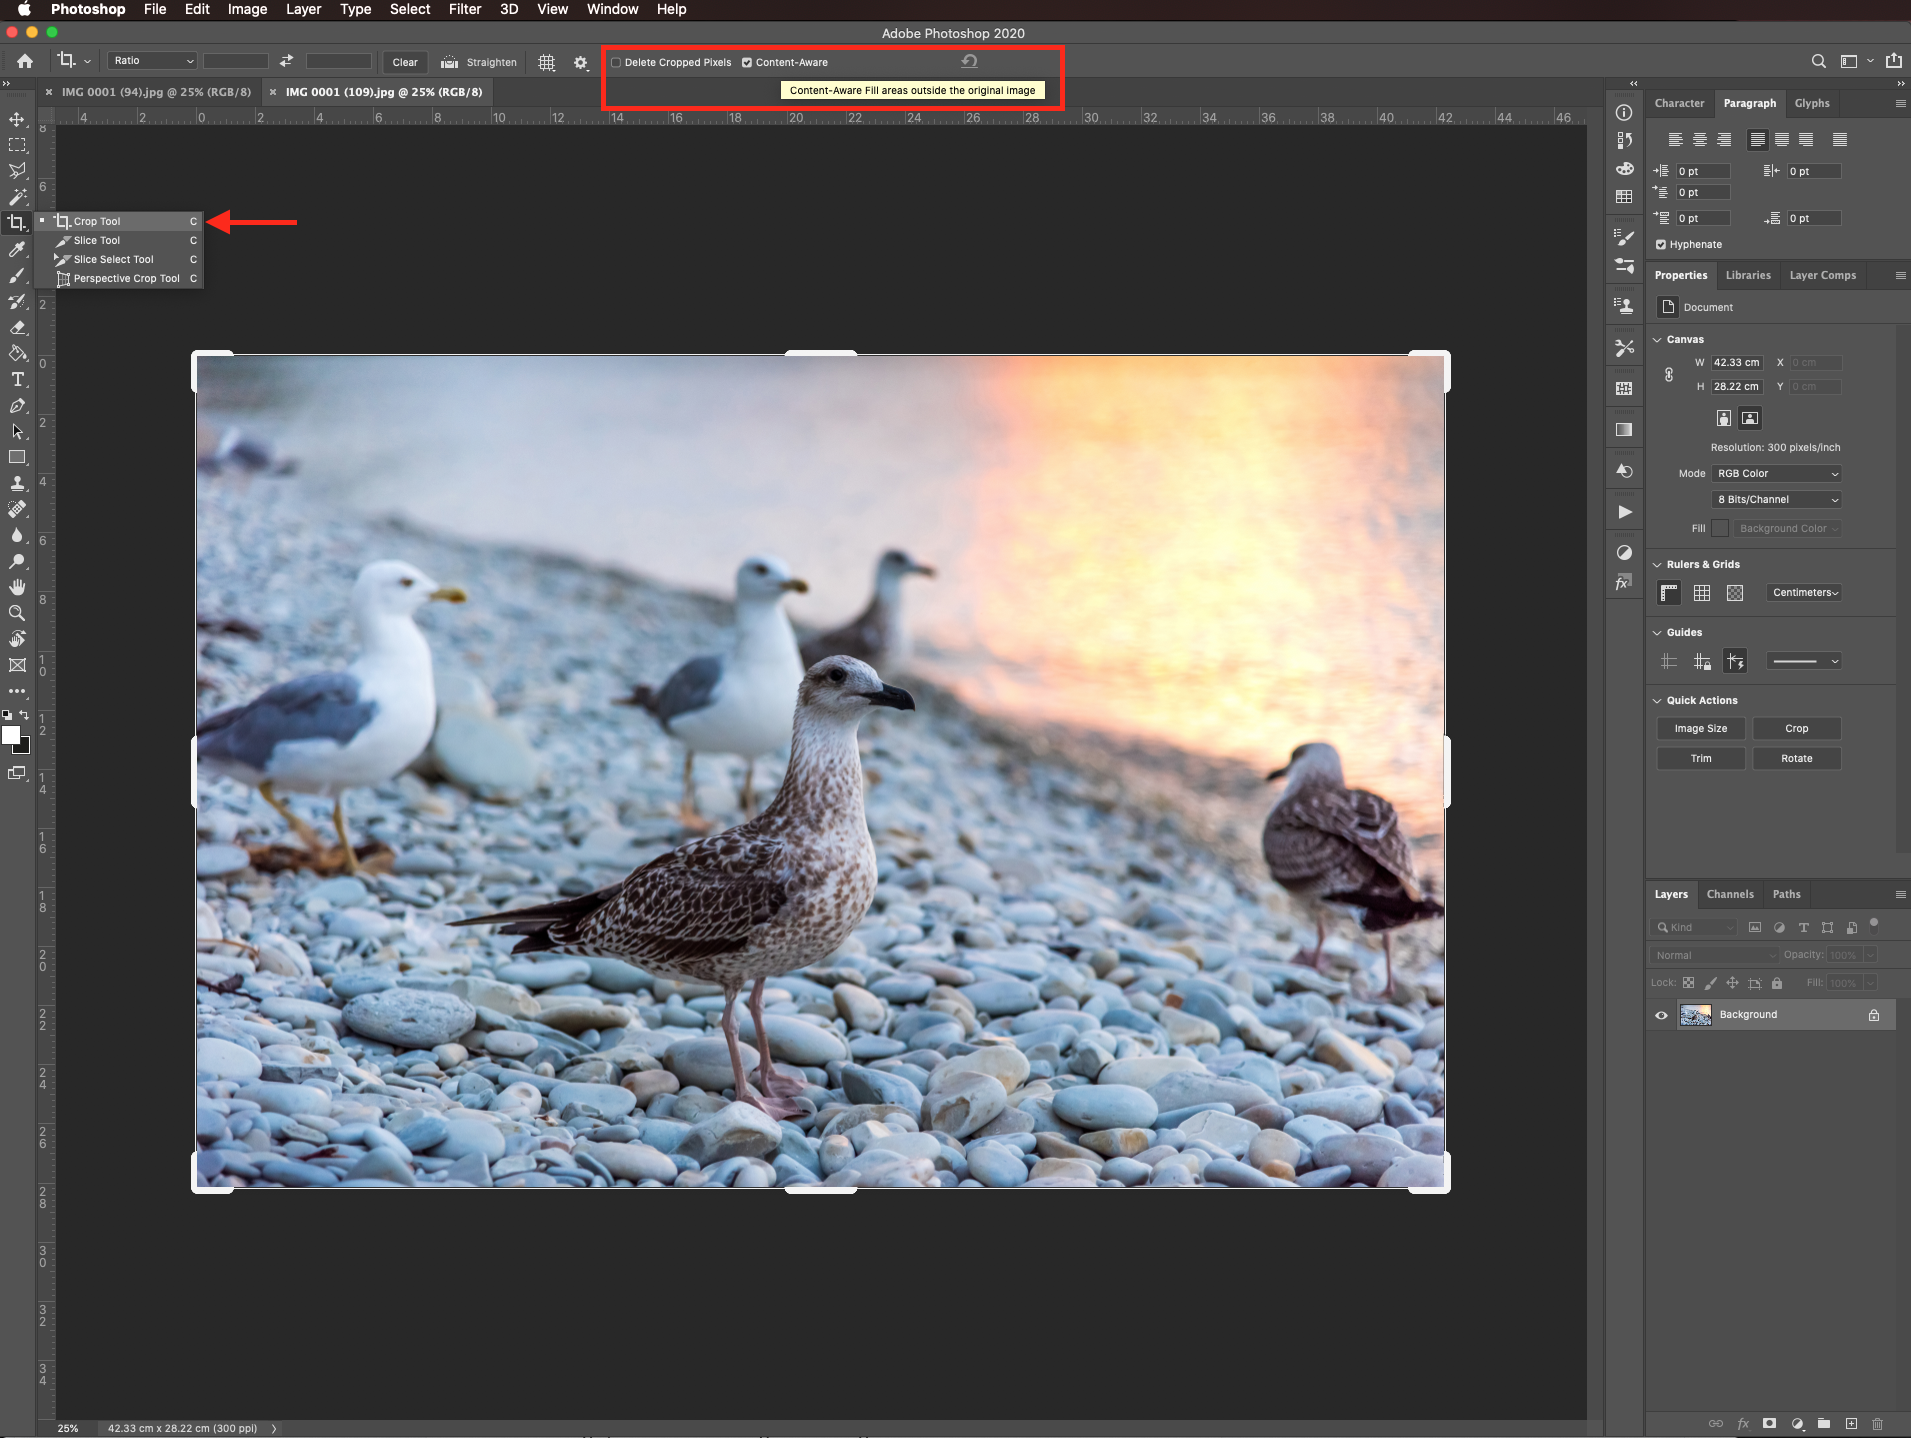
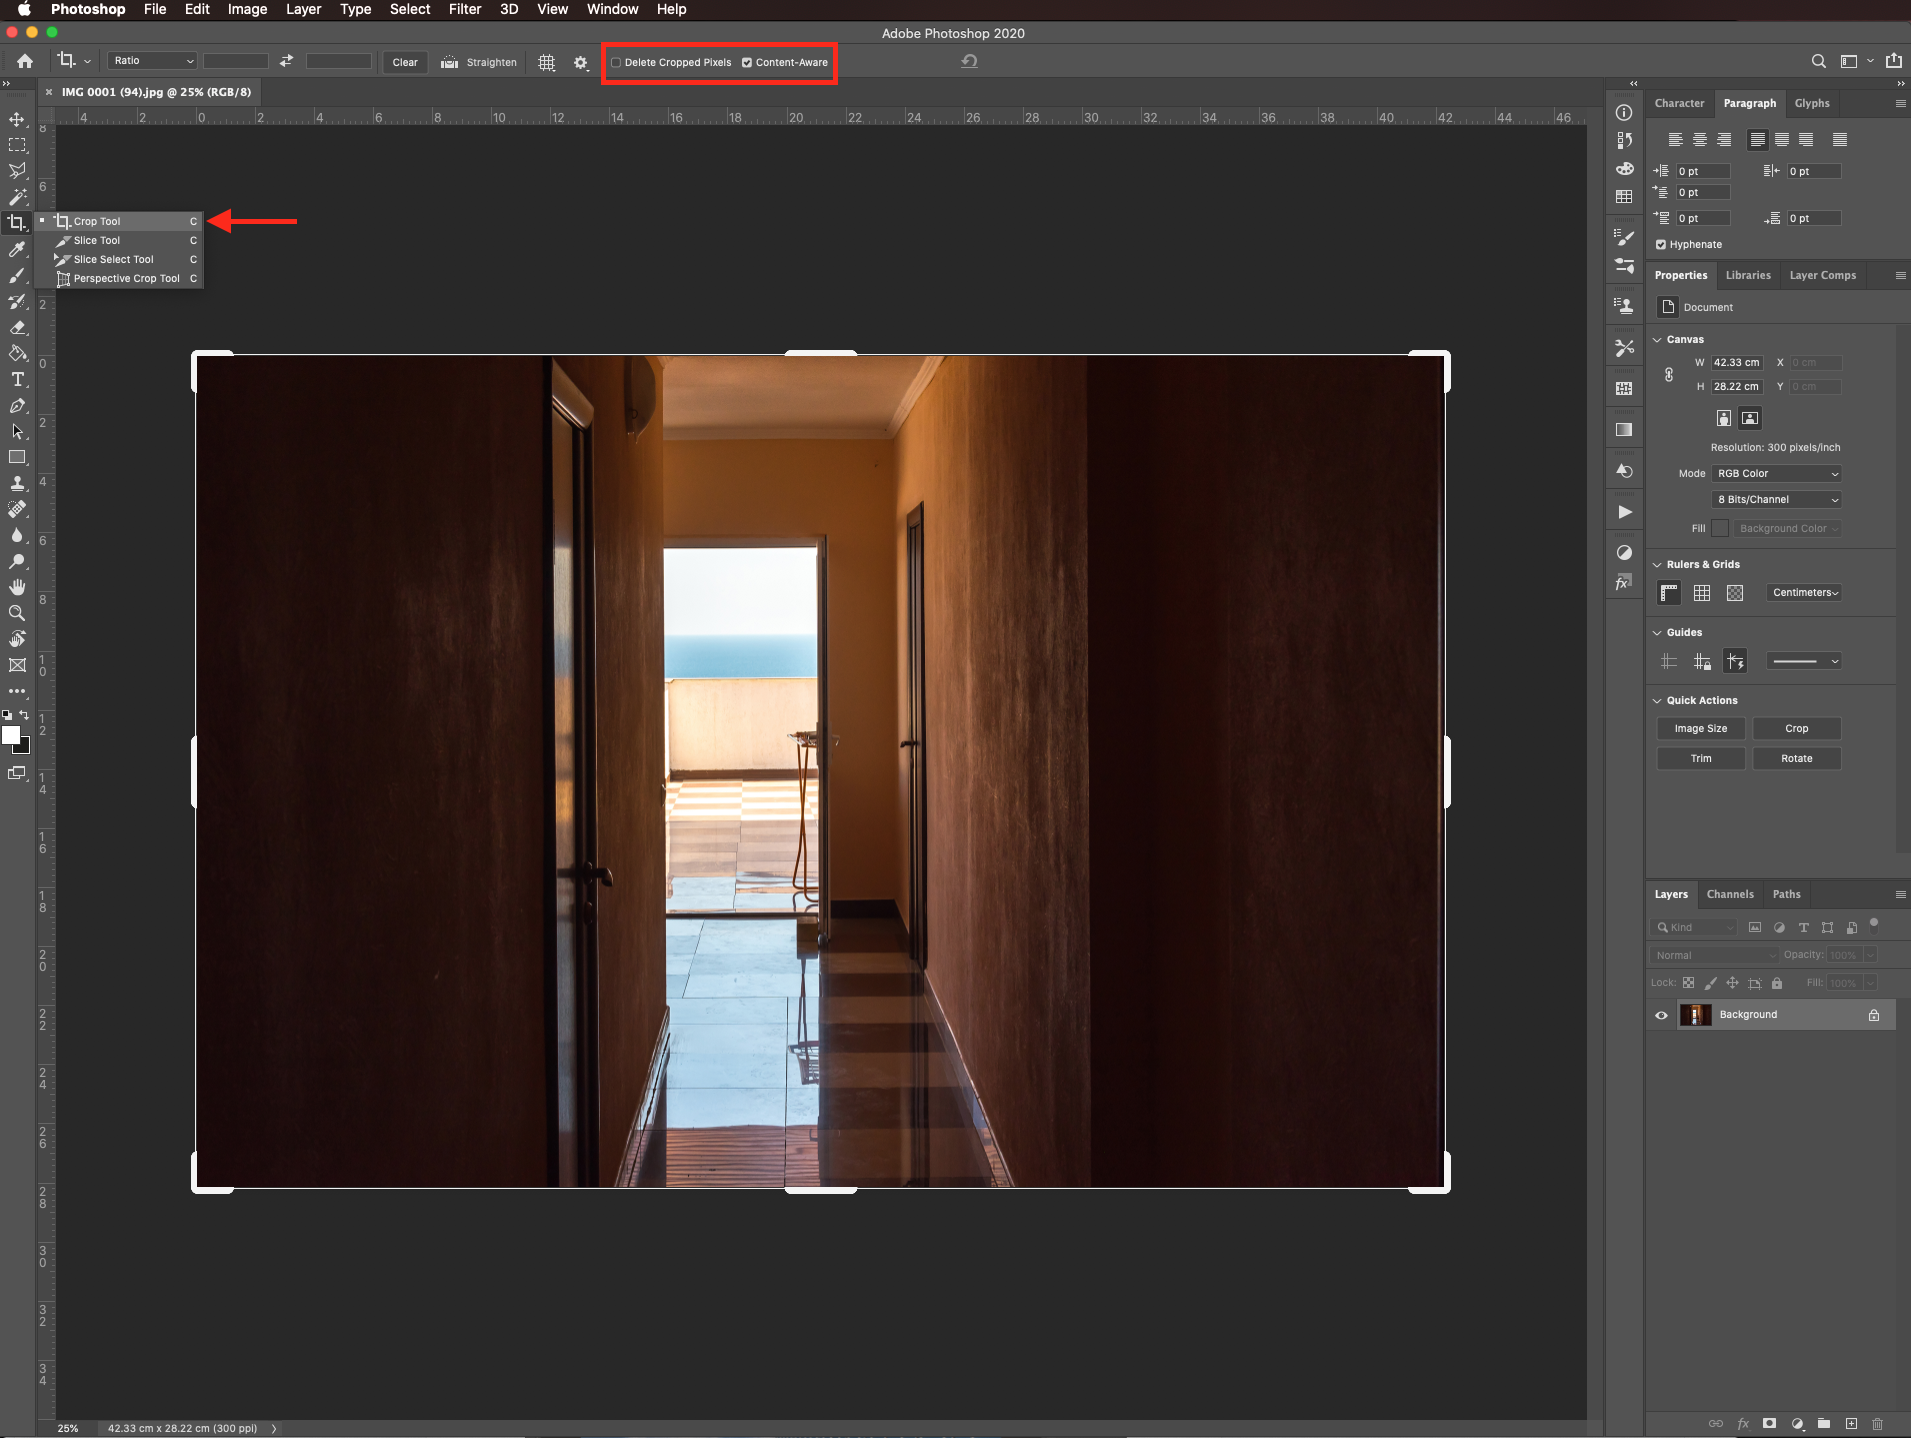
Select the Crop tool (C) and make sure only the content-aware box is checked in the top menu.
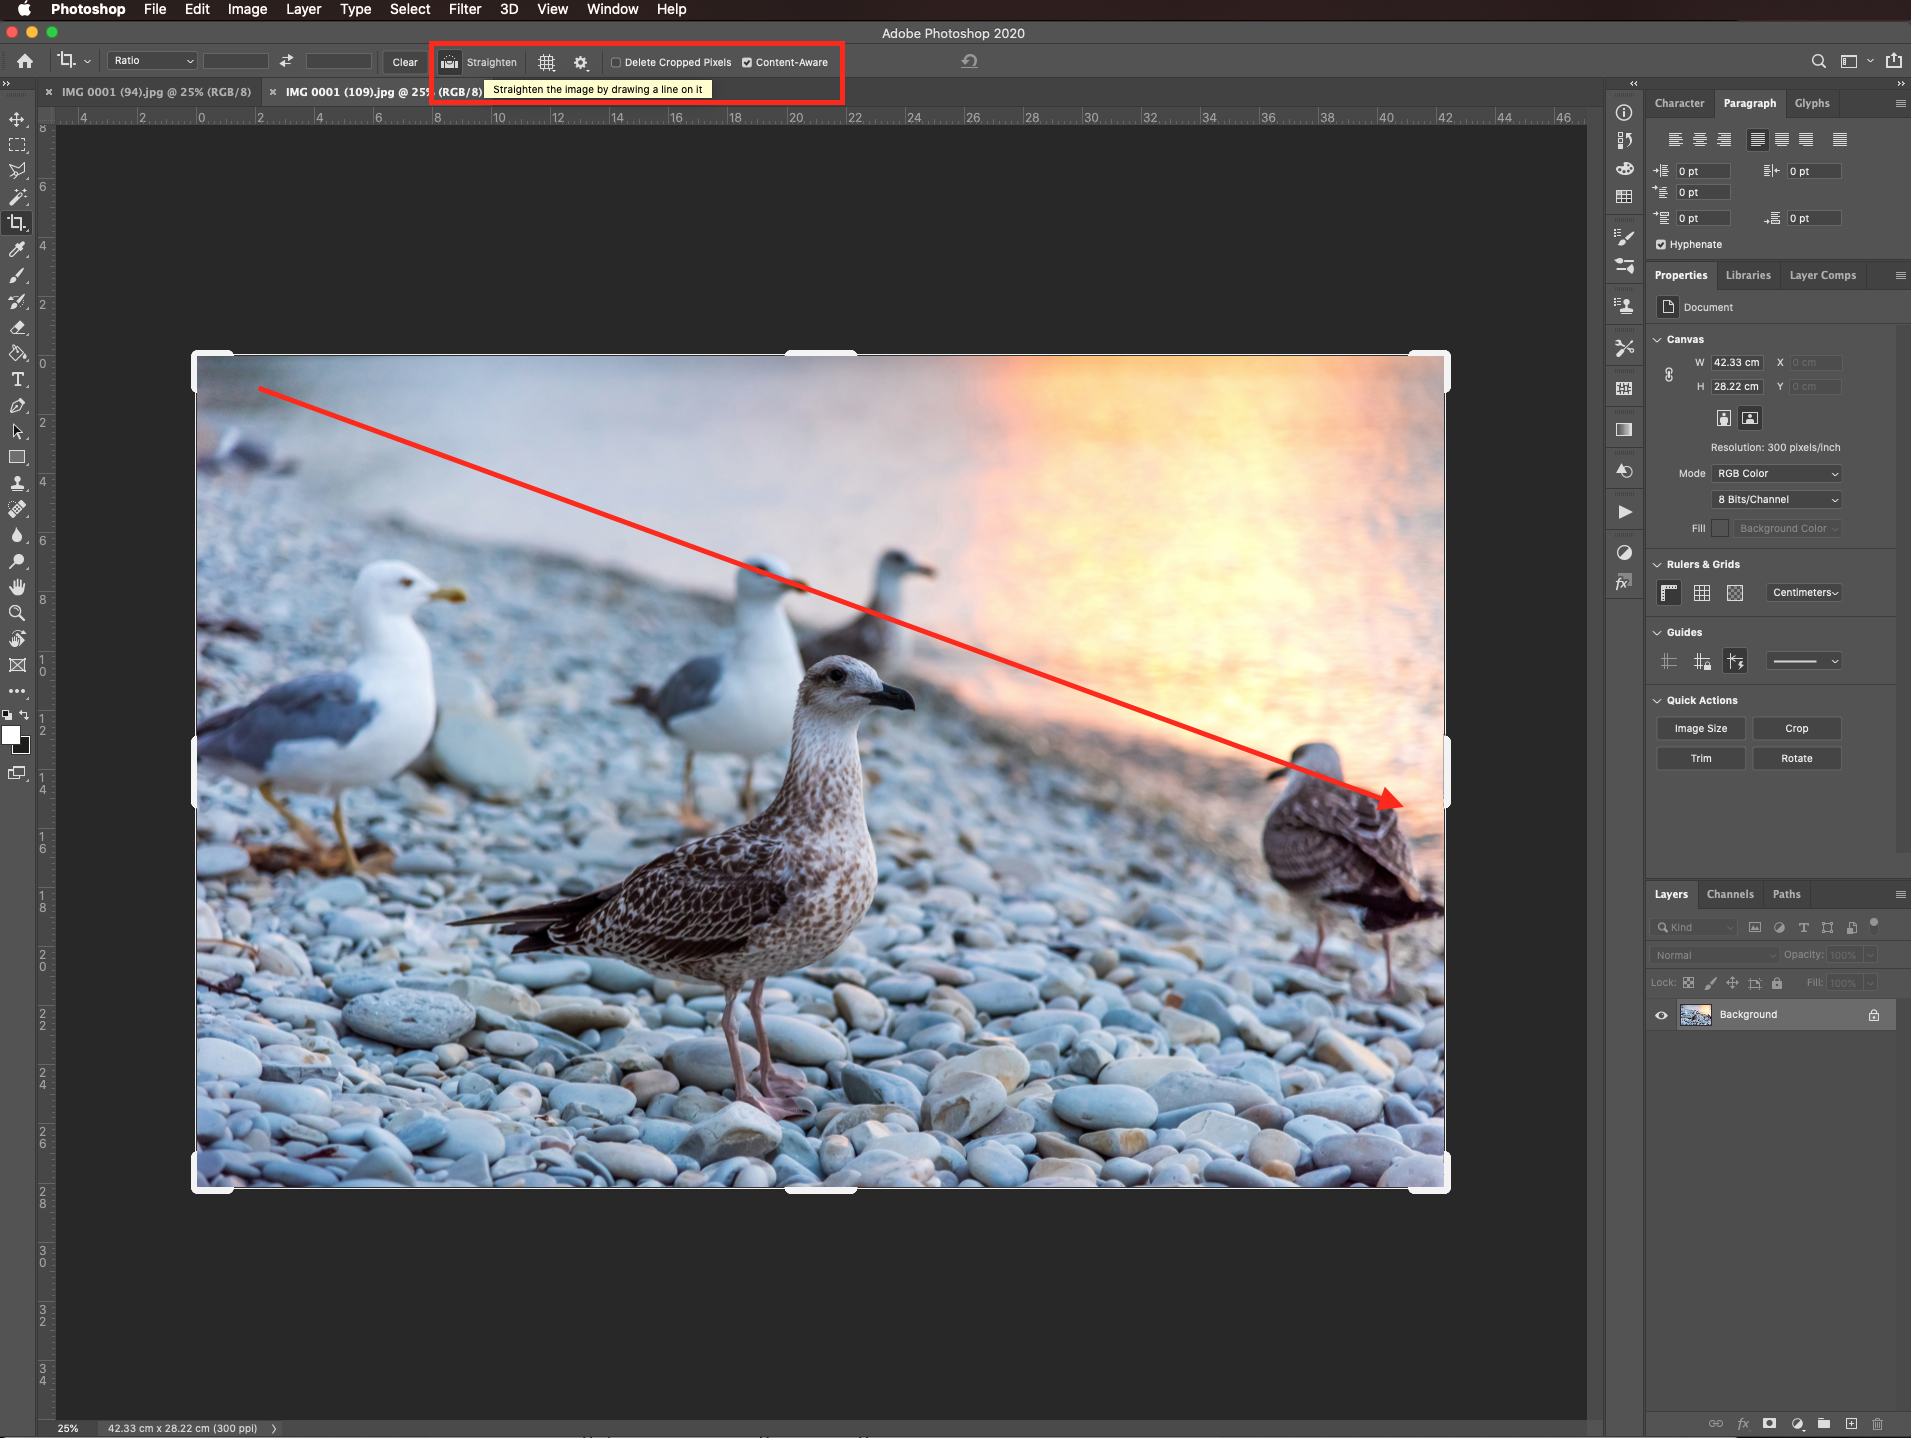
Click on the straighten button then click and drag a line across something in the image you want to be straight. The image should rotate.
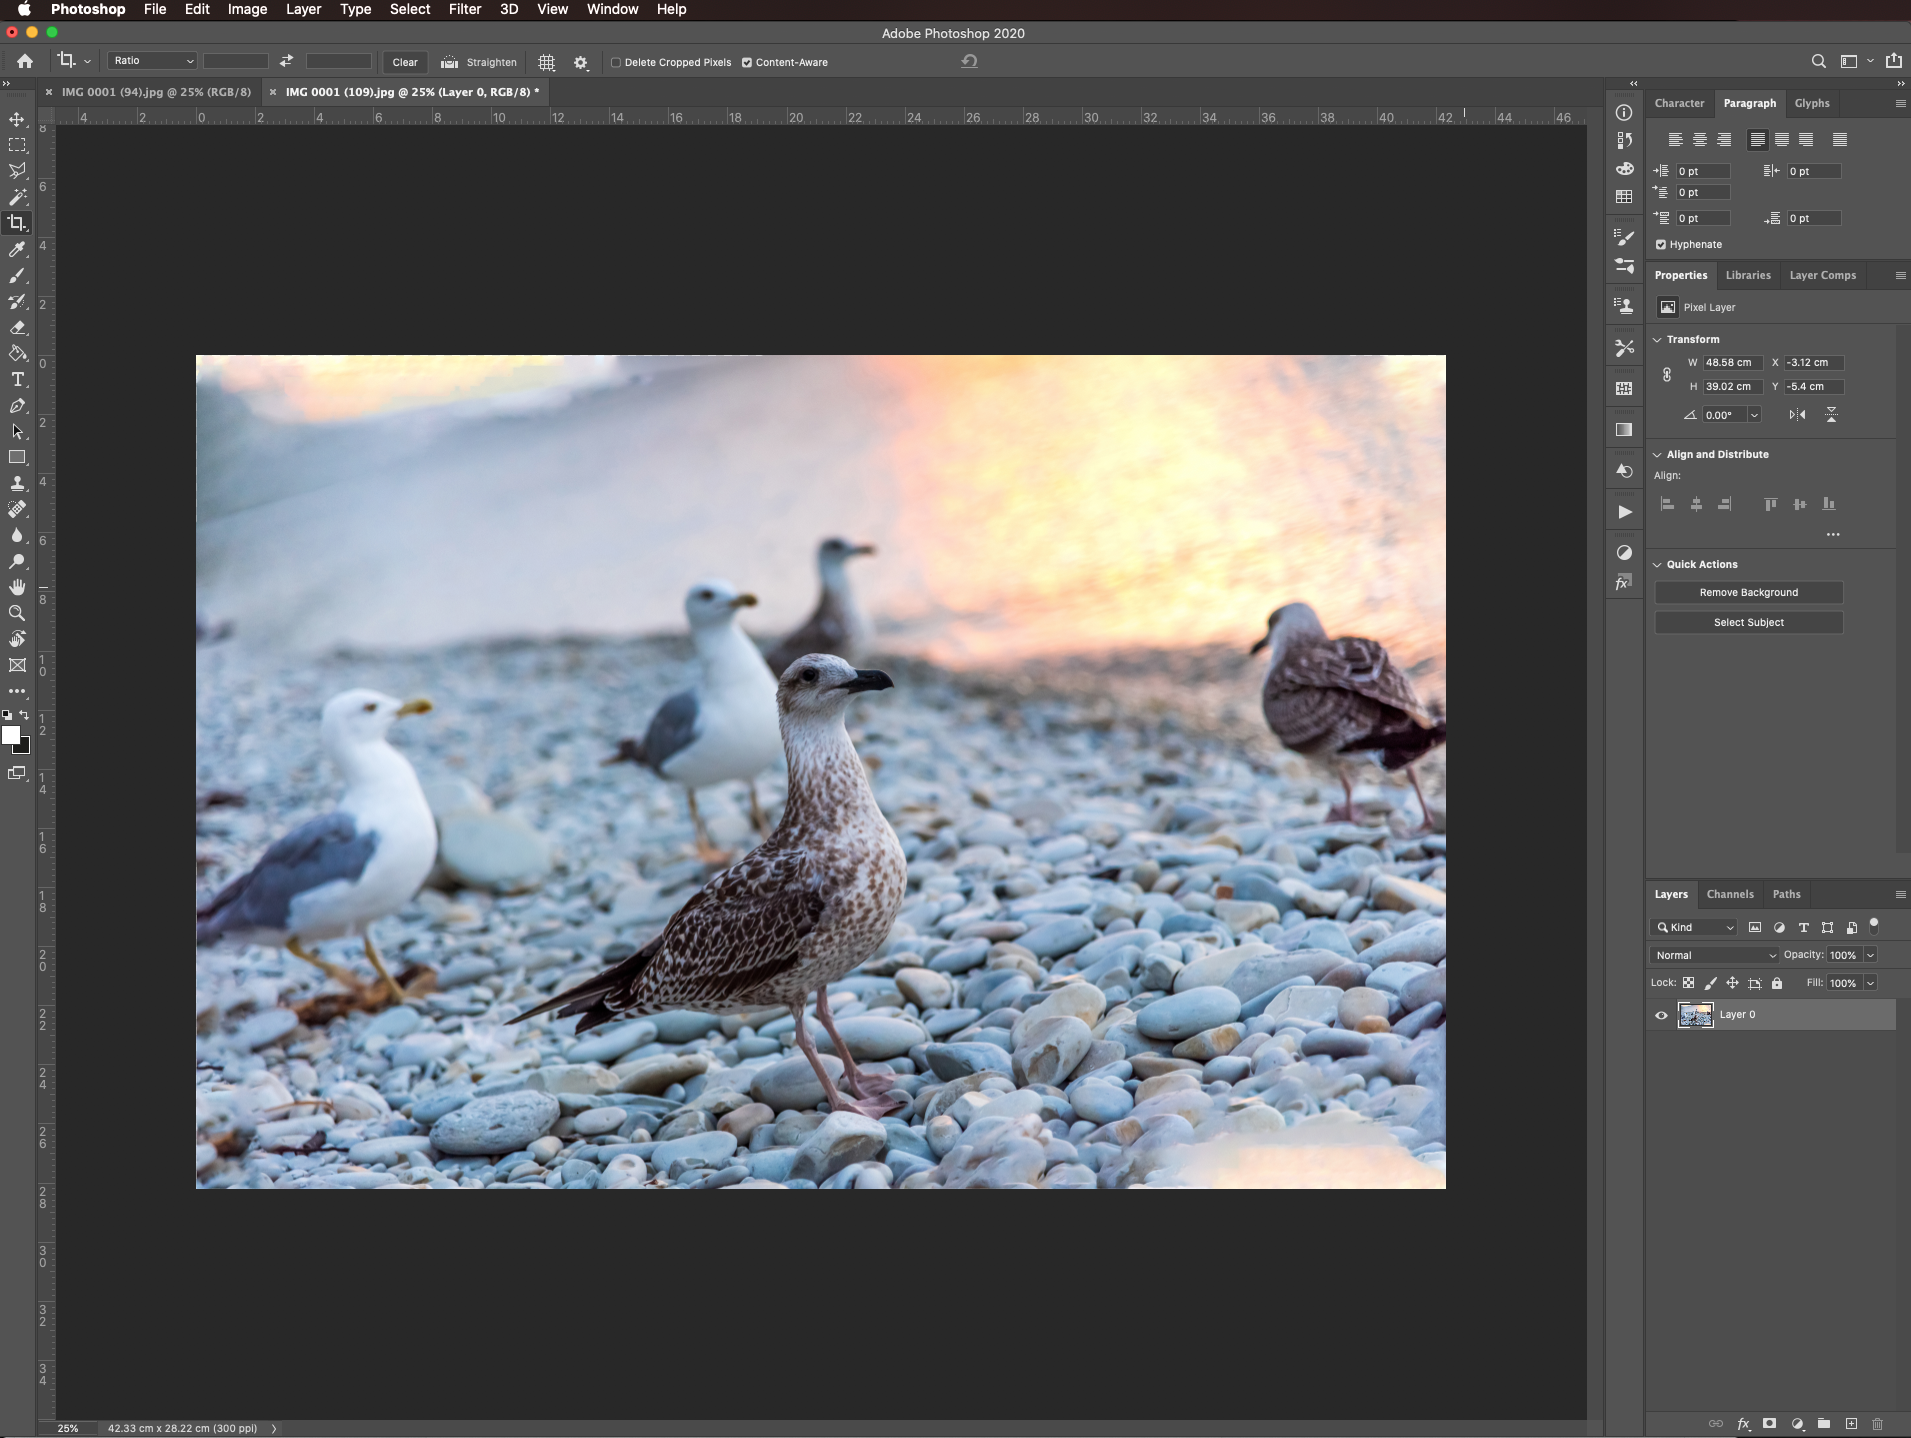
Hit enter or click the checkmark on the top menu to apply the content aware crop to the empty spaces.
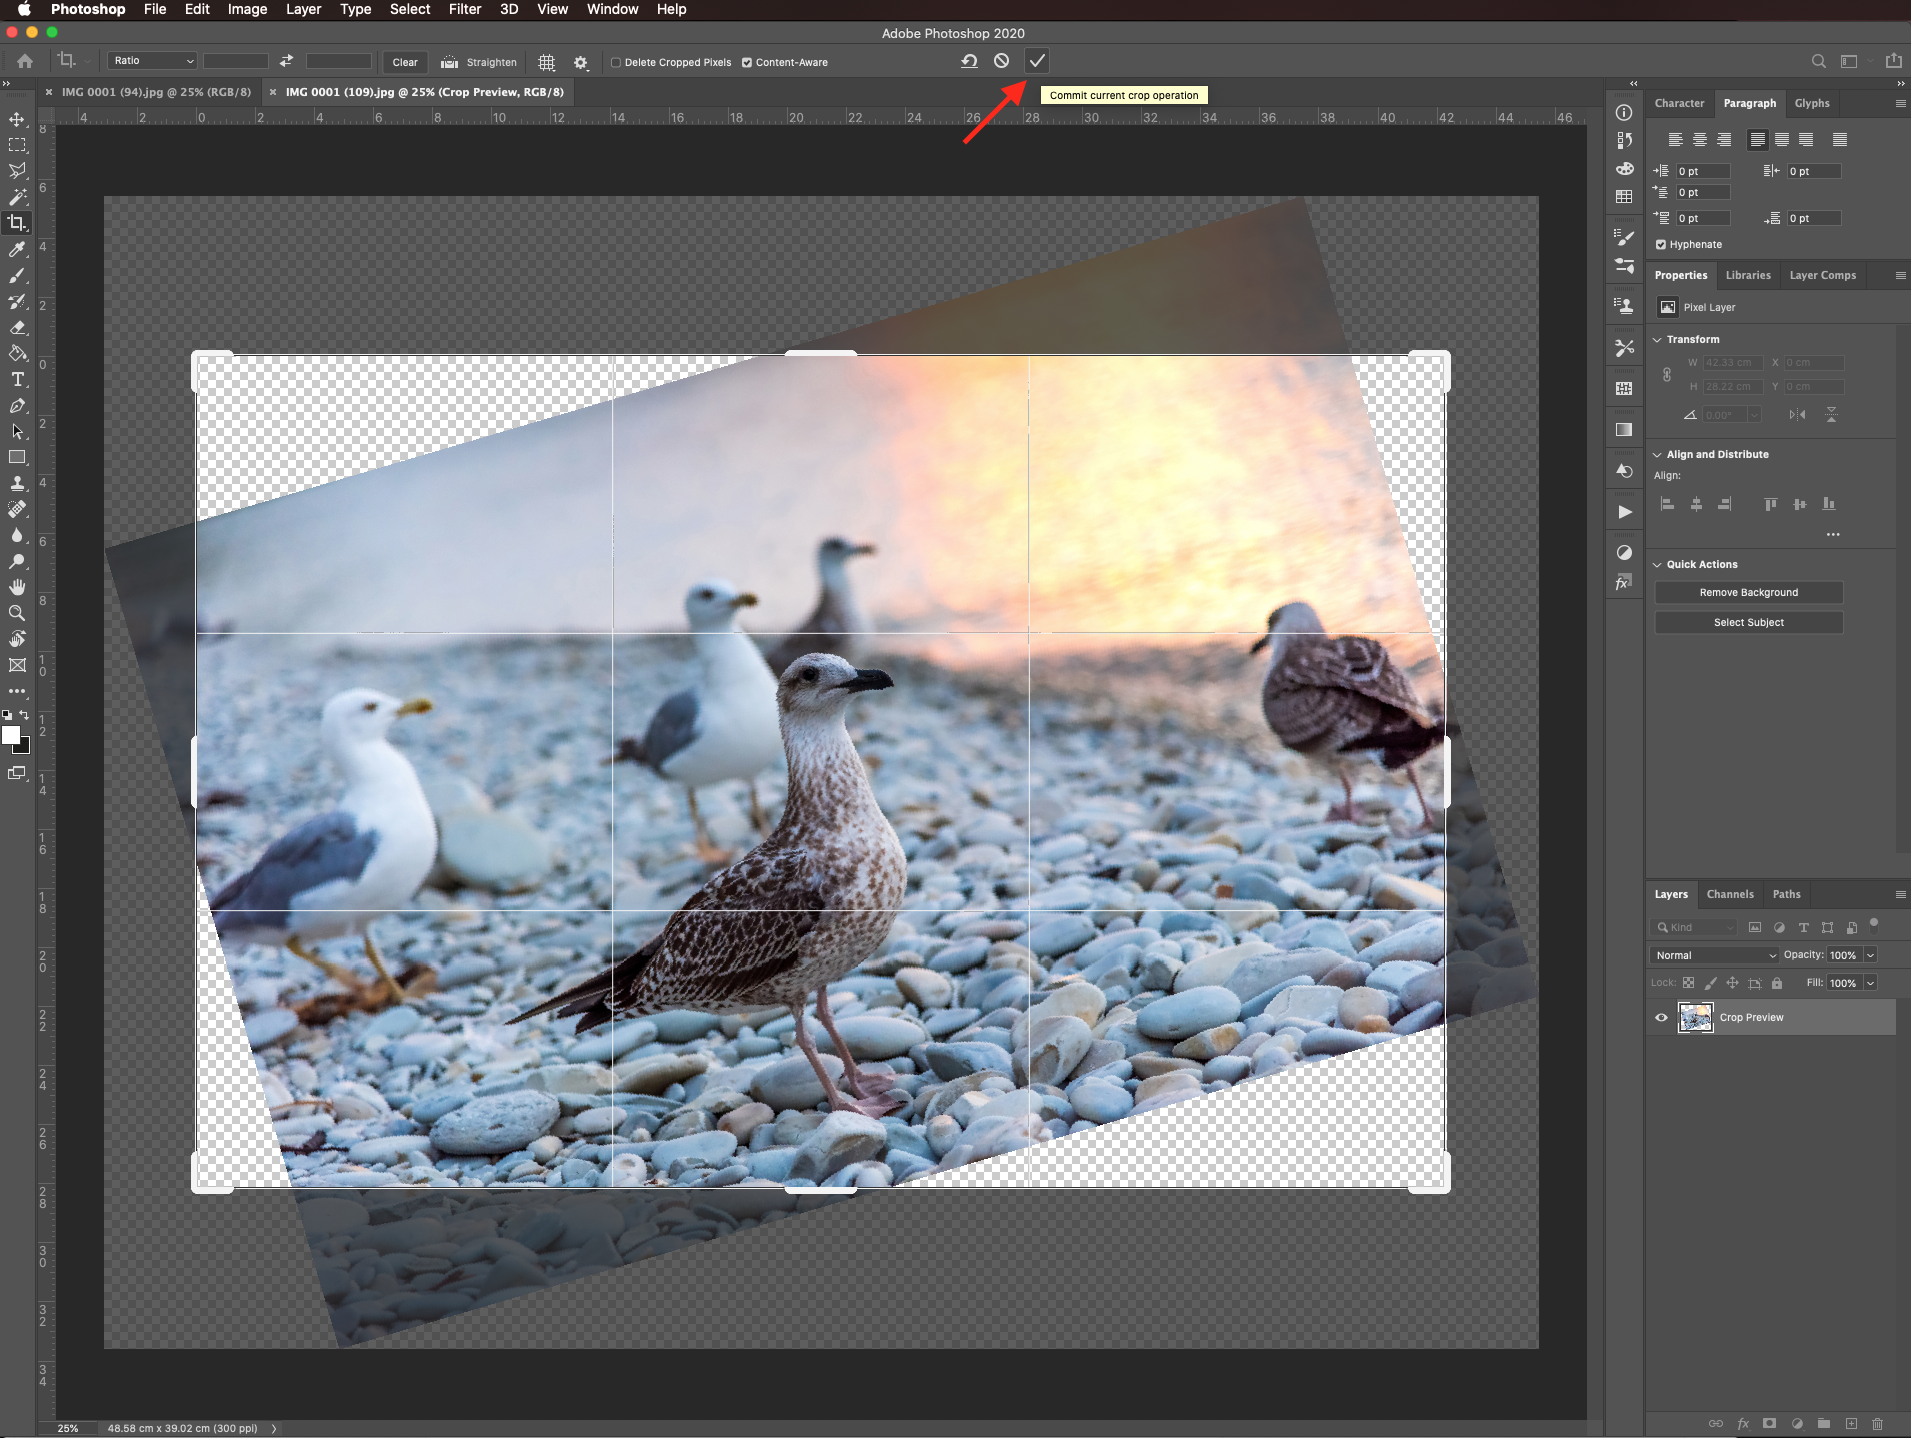
Your image should look like this.
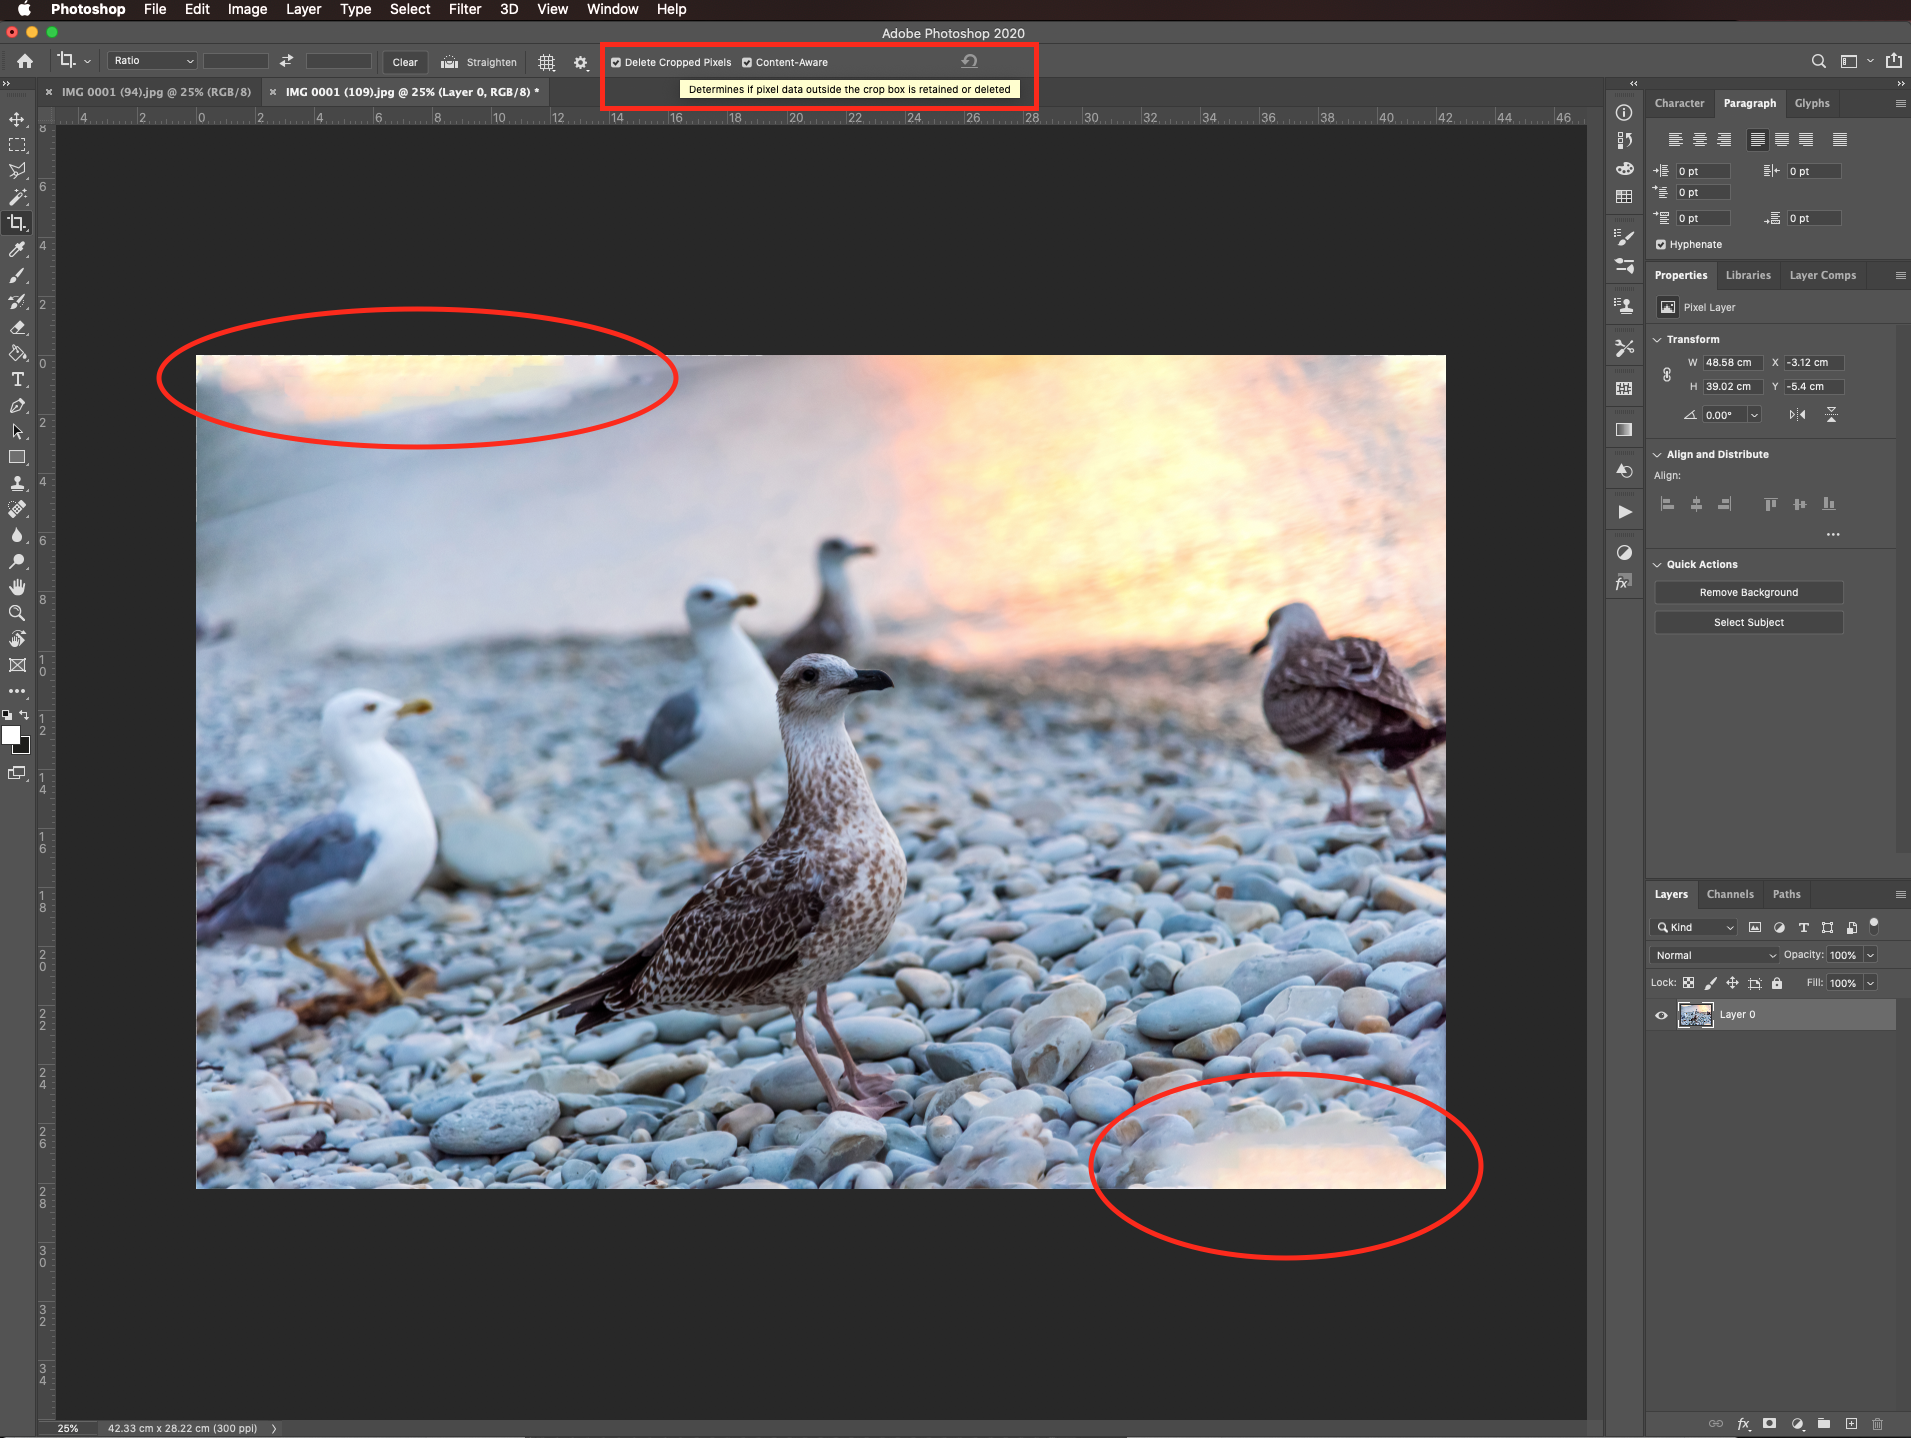
Depending on the angle of rotation, the amount of empty space you need to fill, and the background of the image the results may not be ideal. You can crop some of the portions that don’t look so good using the Crop tool (C) but this time checking the delete cropped pixels box.
Once you are done, hit enter or click the checkmark on the top menu.

The straightened image should look similar to this.
To use this feature to extend the edges of an image, just select the Crop tool (C) and make sure only the content aware box is checked in the top menu.
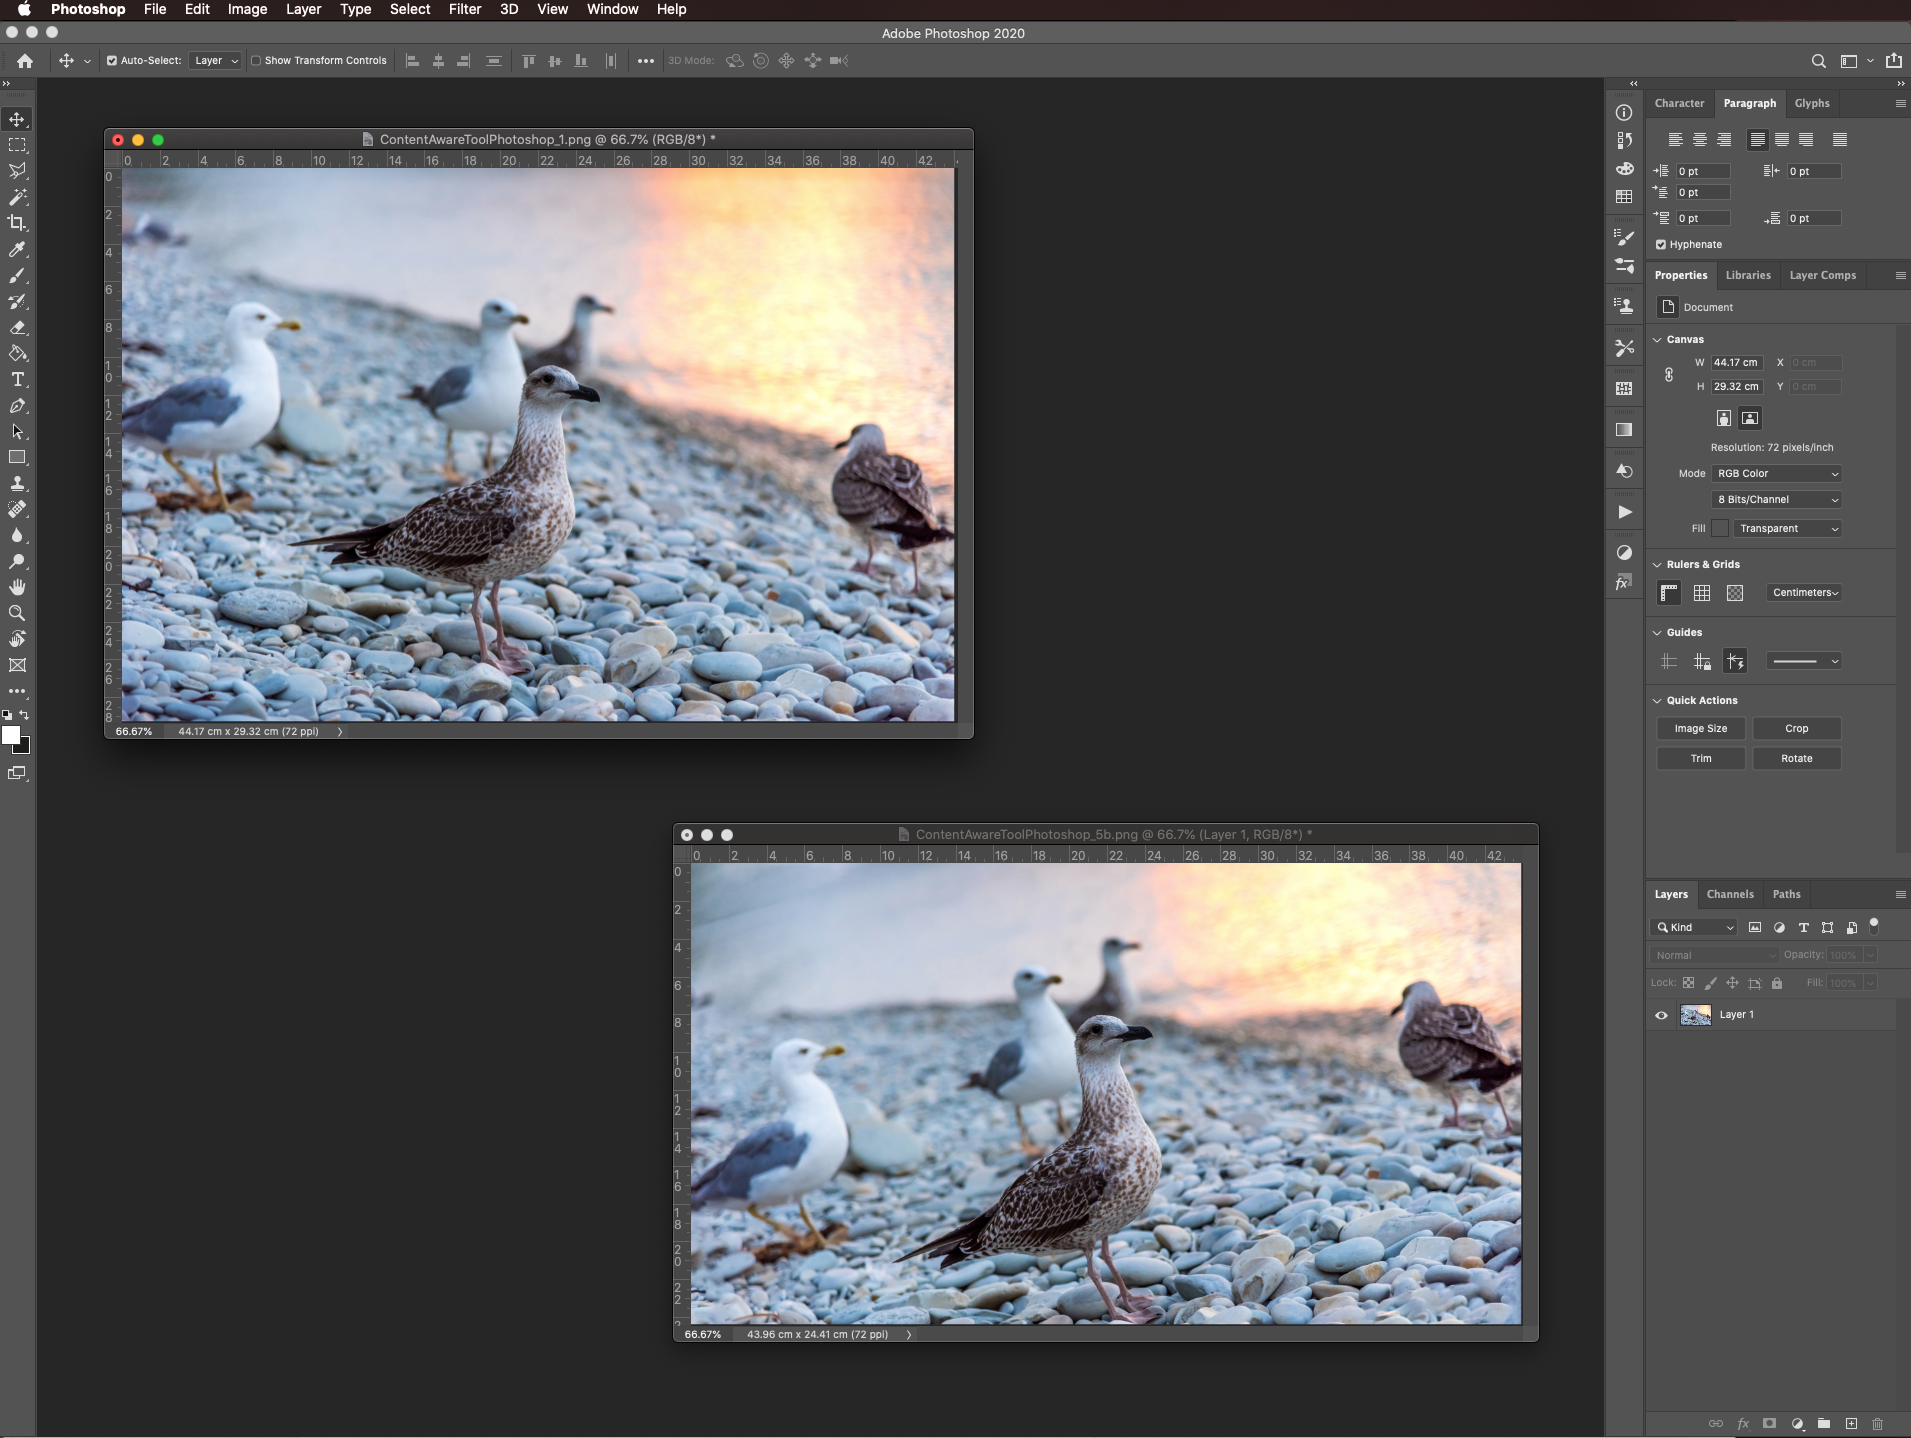
Then, pull the side or sides you want to extend and hit enter or click the checkmark on the top menu to apply the content aware crop to the empty spaces.
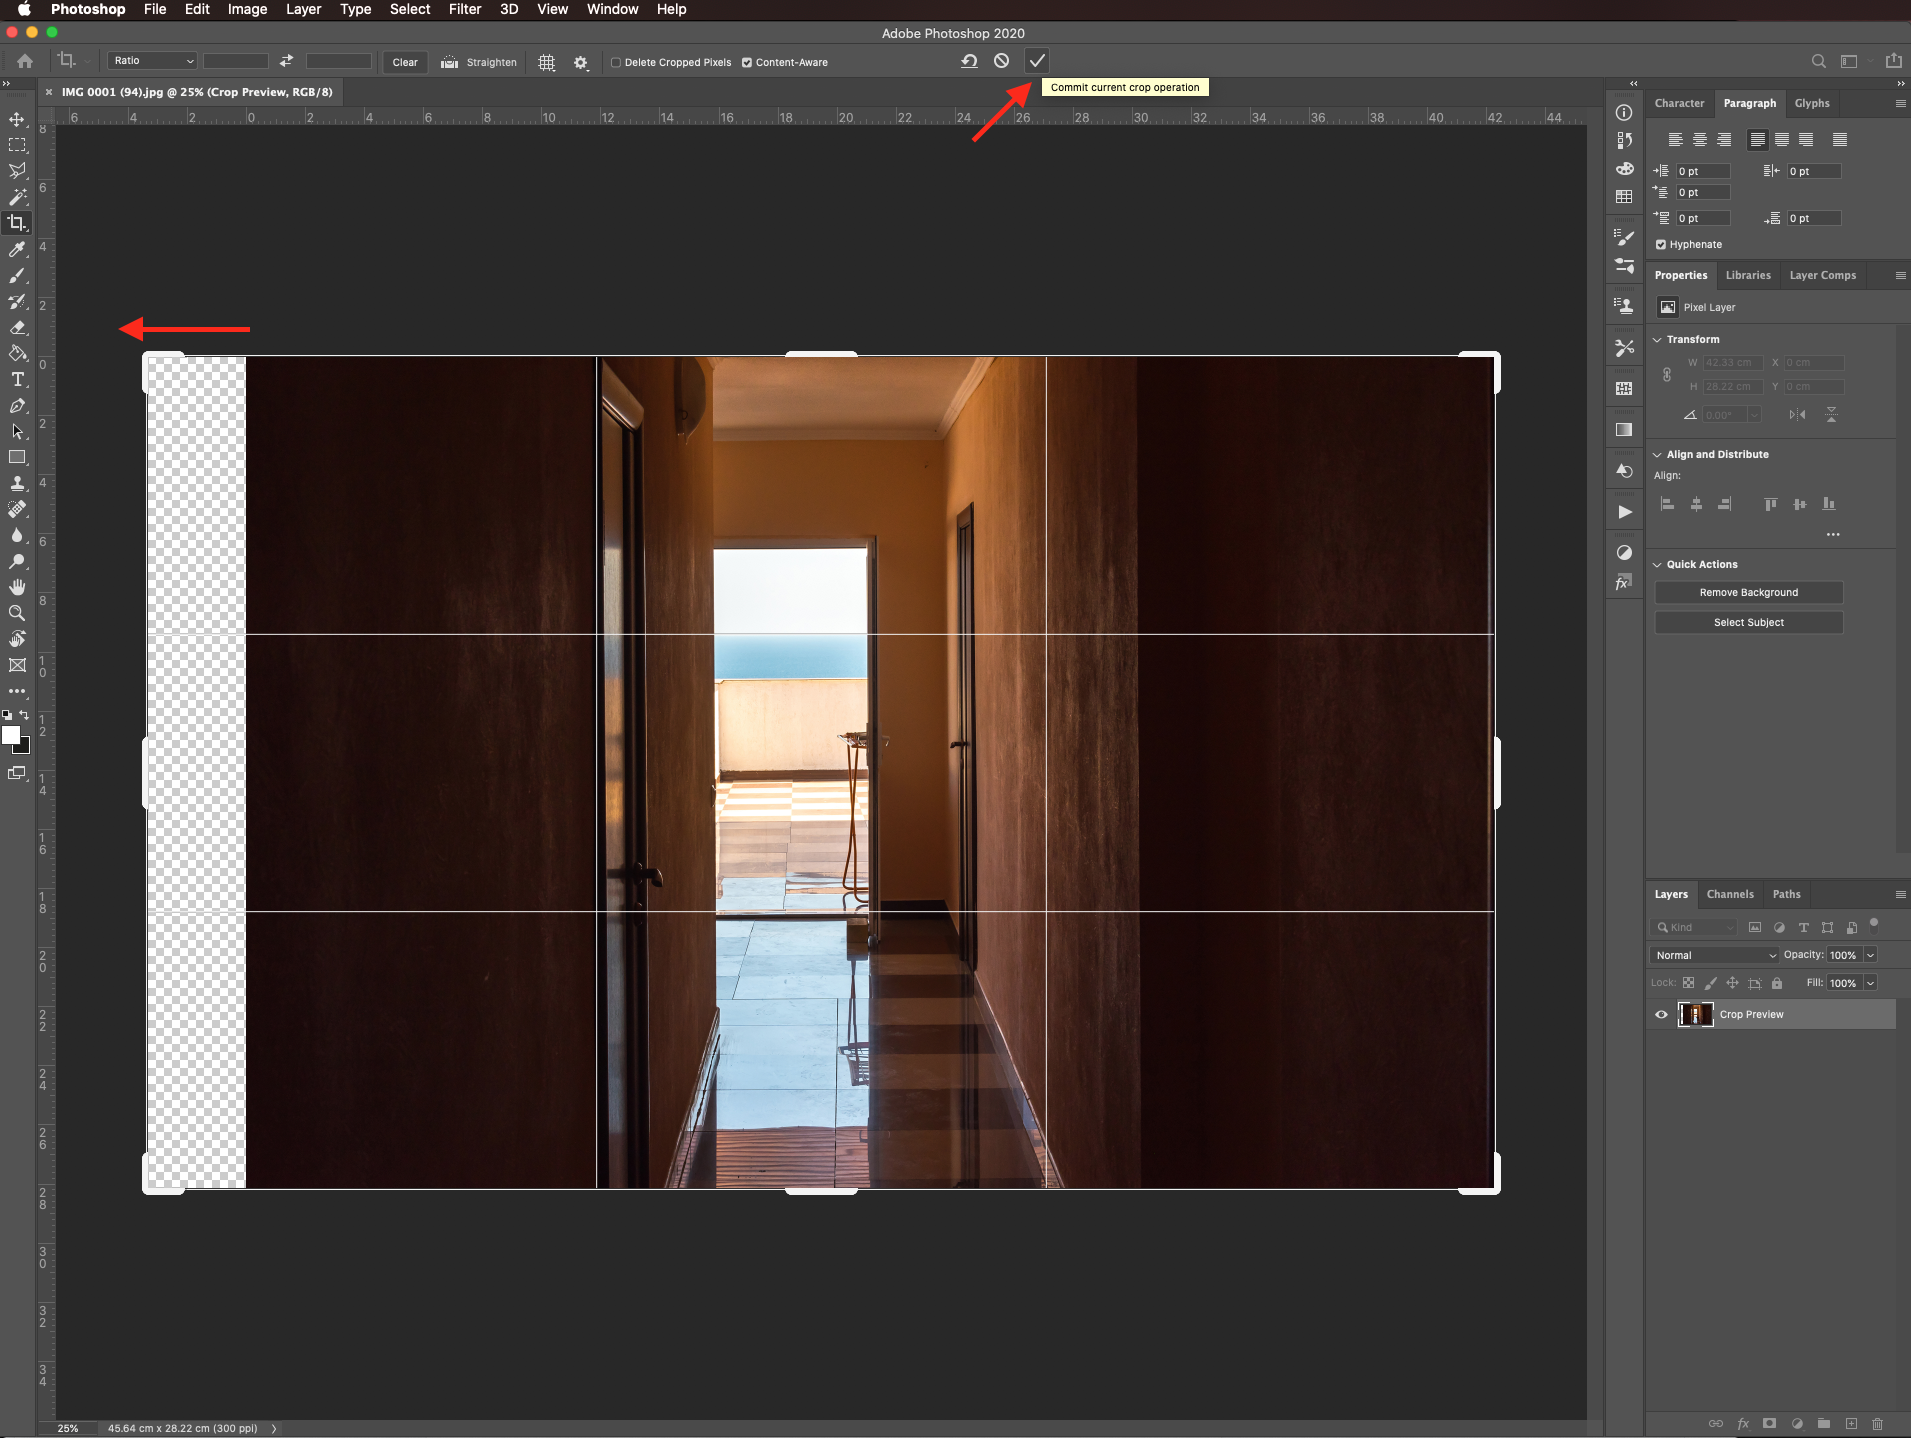
Your image should look similar to this one.
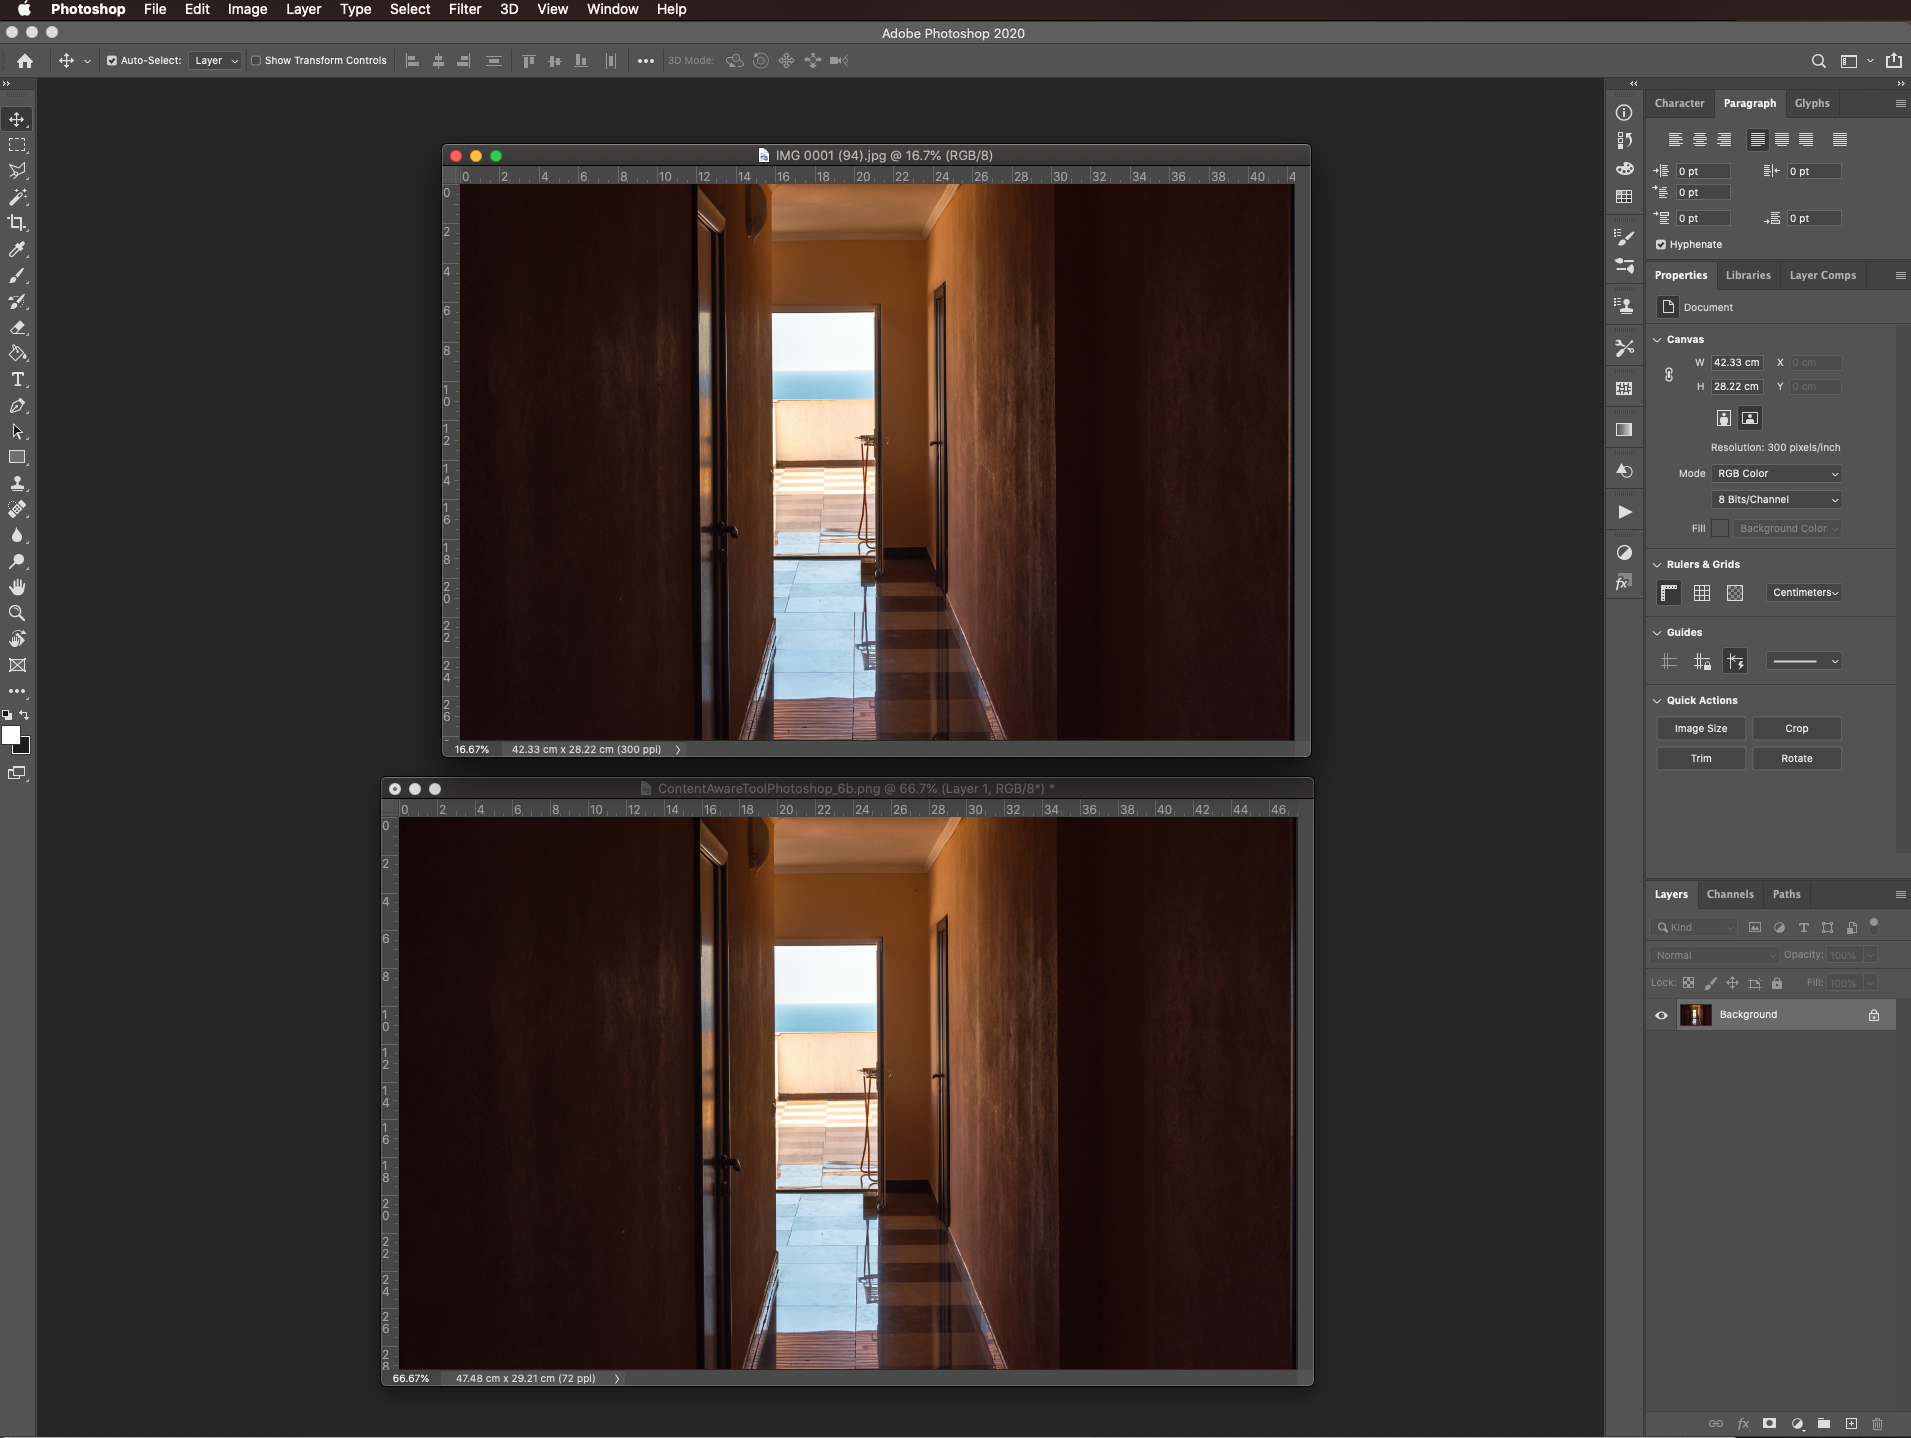
This will not work with complicated images as shown with some portions of the edges in the previous example.
For more Photoshop tutorials, make sure to check out how to perspective crop in Photoshop.
This tutorial will cover:
Use content aware crop to straighten an image
Step 1: Open your image
In Photoshop, open the image you want to work with.
Step 2: Use the Crop Tool
Select the Crop tool (C) and make sure only the content-aware box is checked in the top menu.
Step 3: Use the straighten option
Click on the straighten button then click and drag a line across something in the image you want to be straight. The image should rotate.
Step 4: Apply changes
Hit enter or click the checkmark on the top menu to apply the content aware crop to the empty spaces.
Your image should look like this.
Step 5: Get rid of the empty space
Depending on the angle of rotation, the amount of empty space you need to fill, and the background of the image the results may not be ideal. You can crop some of the portions that don’t look so good using the Crop tool (C) but this time checking the delete cropped pixels box.
Once you are done, hit enter or click the checkmark on the top menu.
The straightened image should look similar to this.
Use content aware crop to extend the edges of an image
Step 1: Open your image and select the crop tool
To use this feature to extend the edges of an image, just select the Crop tool (C) and make sure only the content aware box is checked in the top menu.
Step 2: Apply the content aware crop
Then, pull the side or sides you want to extend and hit enter or click the checkmark on the top menu to apply the content aware crop to the empty spaces.
Your image should look similar to this one.
This will not work with complicated images as shown with some portions of the edges in the previous example.
For more Photoshop tutorials, make sure to check out how to perspective crop in Photoshop.


