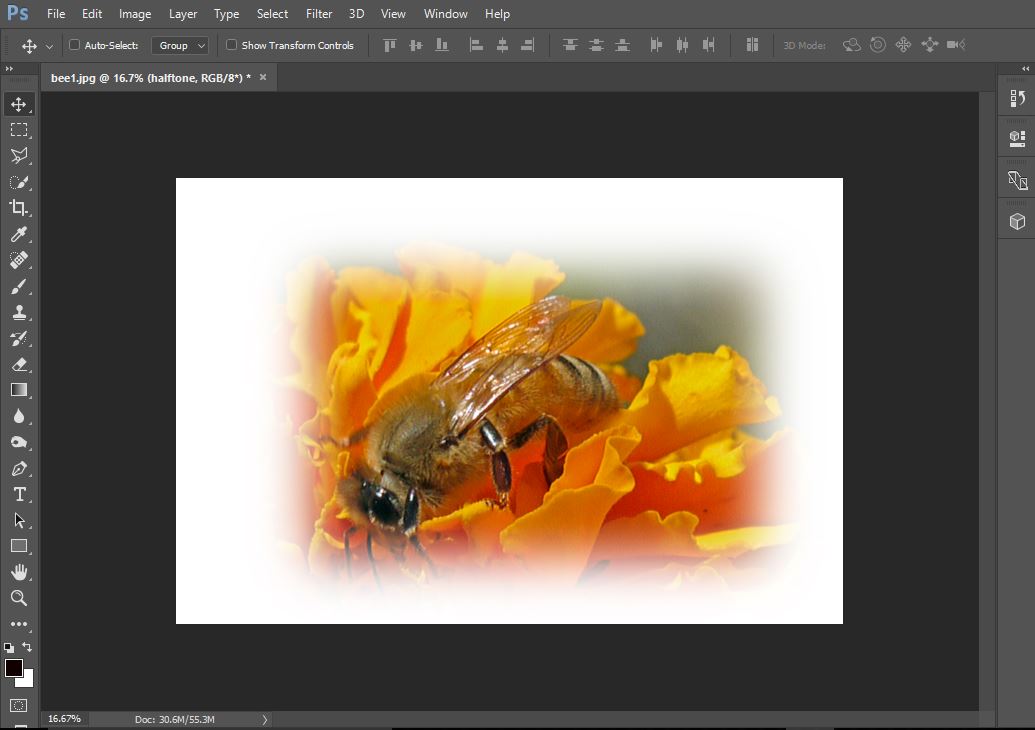
Create a half tone border in Photoshop
1- Open Photoshop.

2- Select your photo.

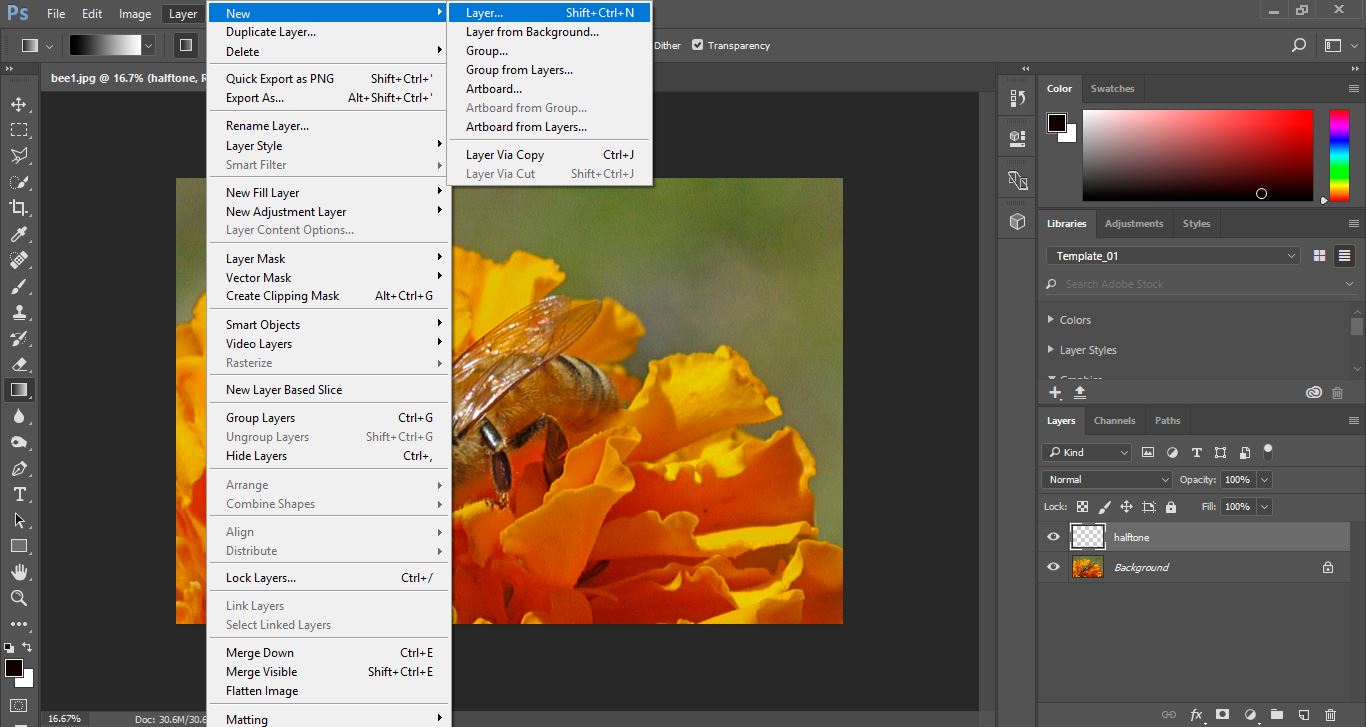
3- Create a new layer.Layer > New > Layer.
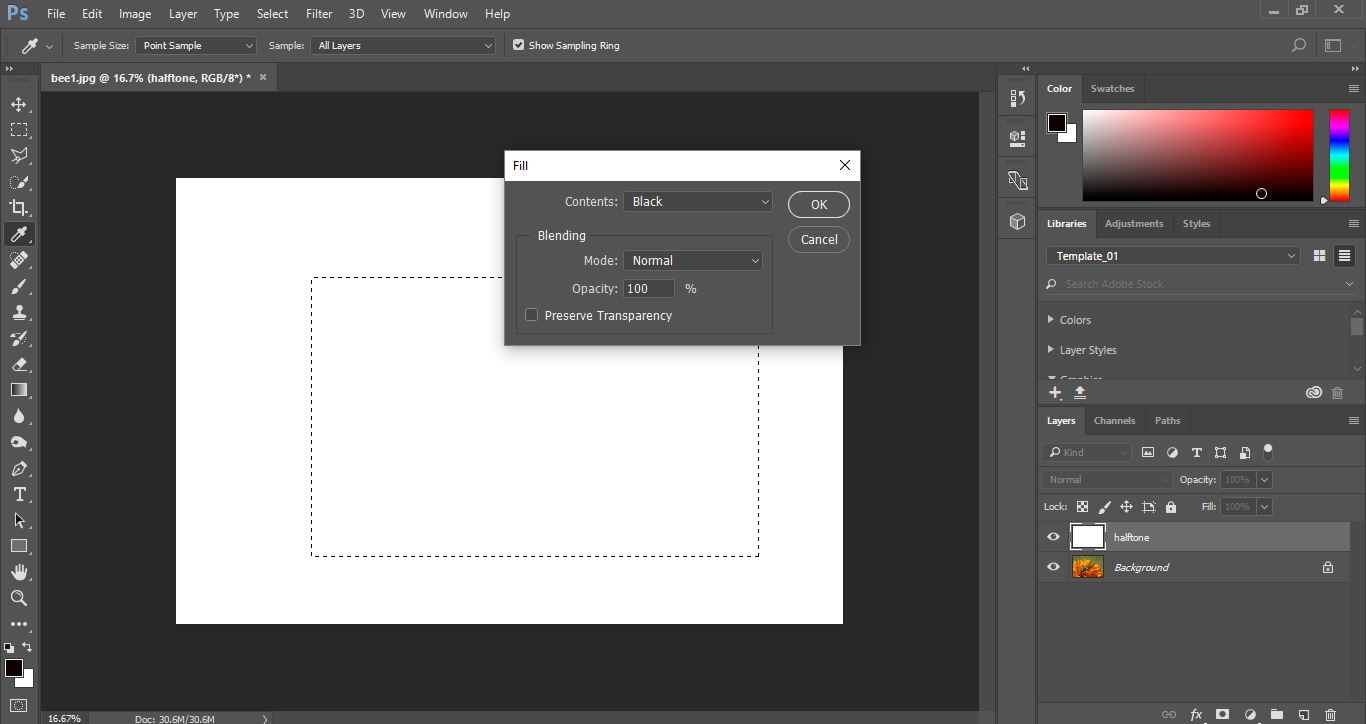
4-We now need to fill the layer. Edit > Fill.
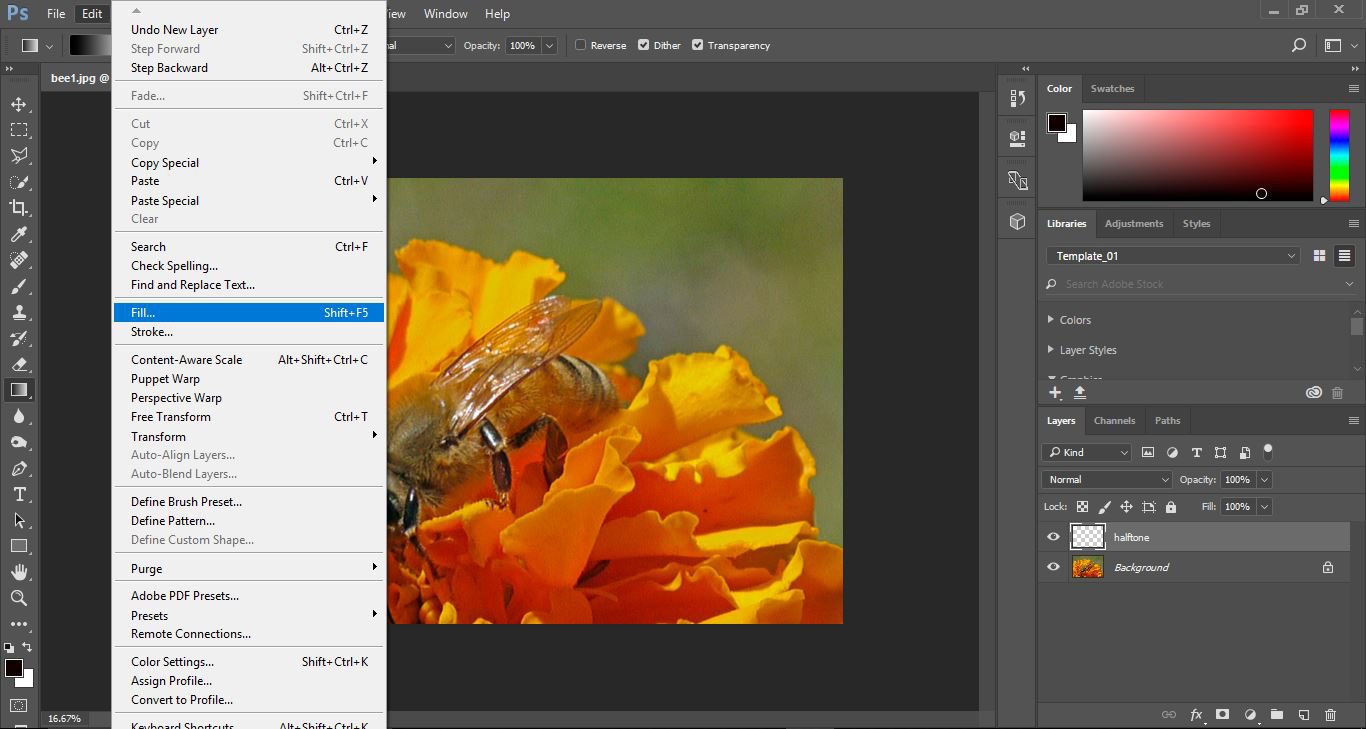
5-Select the fill colour as white.

6-Select the rectangle tool.
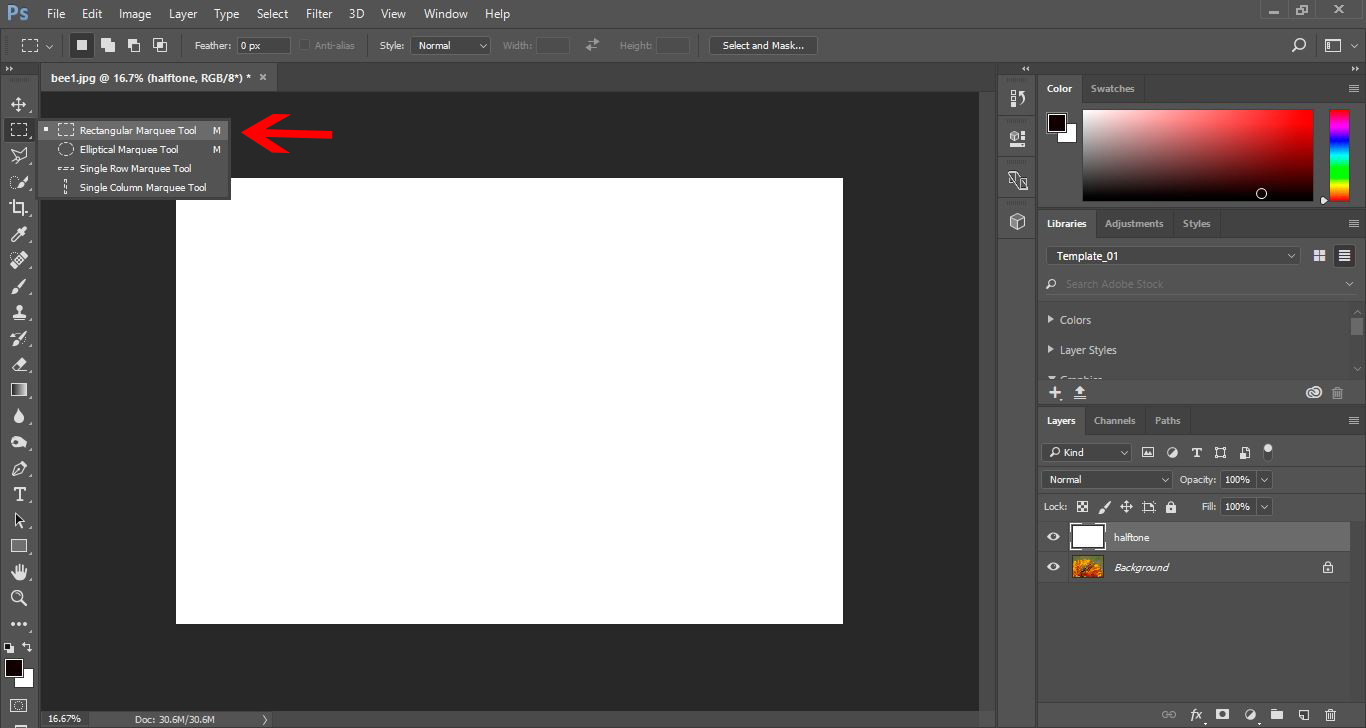
7- Draw a rectangle over your white fill layer.

8- Right click on the rectangle and select fill.
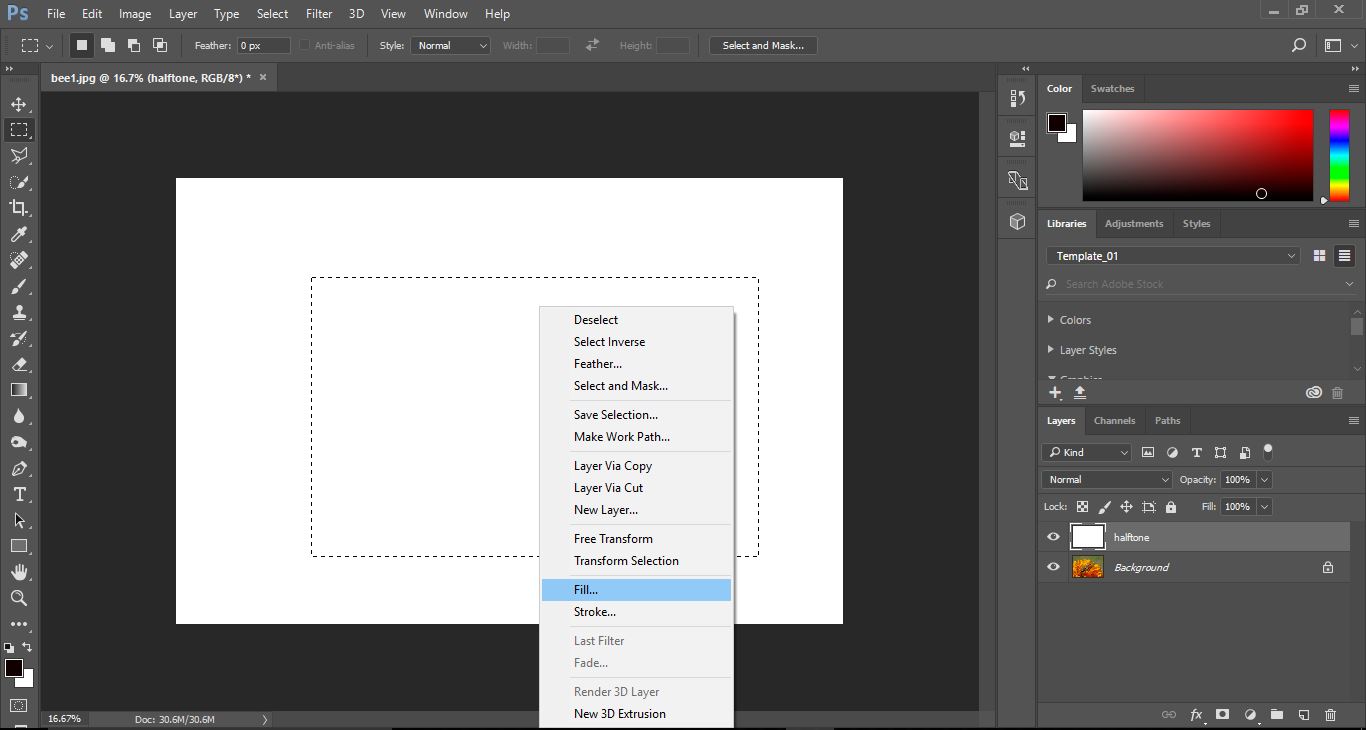
9-This time fill the rectangle black.
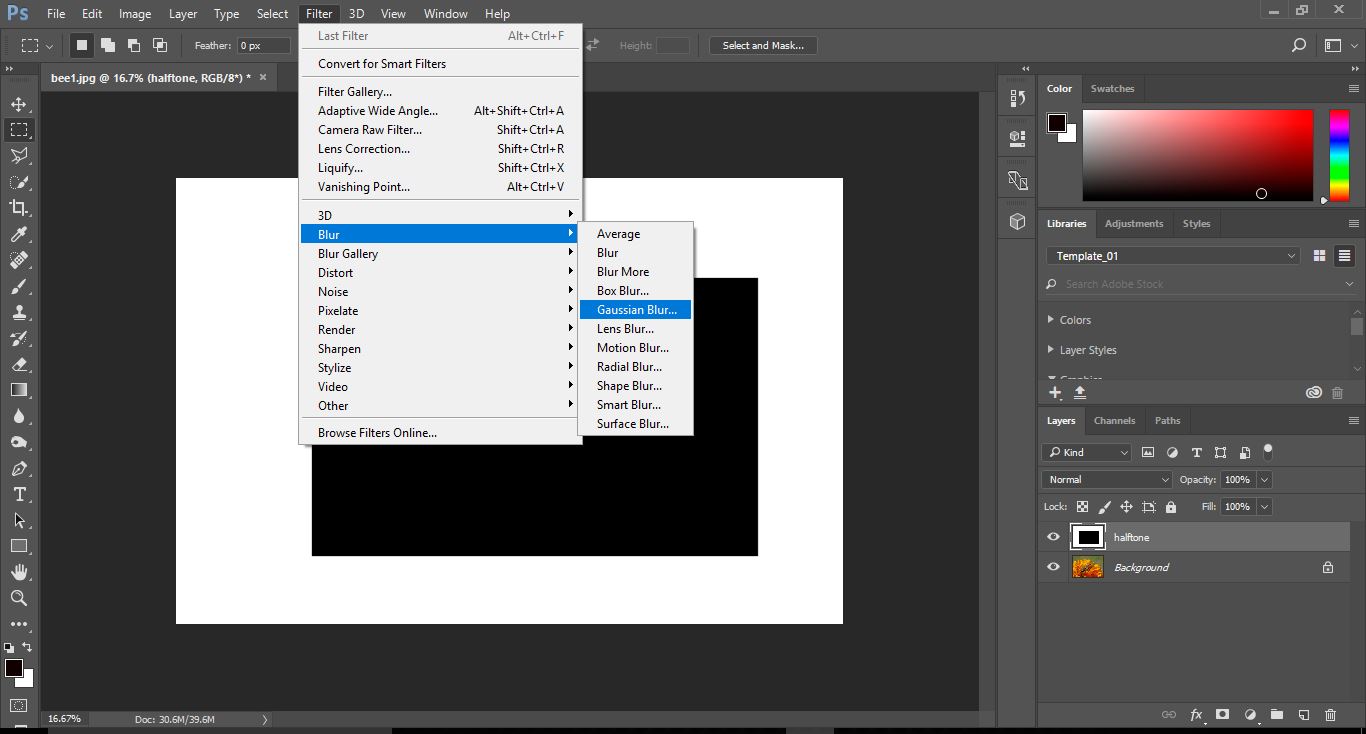
10-We now need to blue the black rectangle to make the edges merge into the white.
Filter > Blue > Gaussian Blur.
11- Once you have the blue to your liking Select the Blending mode in the layers palette and select Screen.
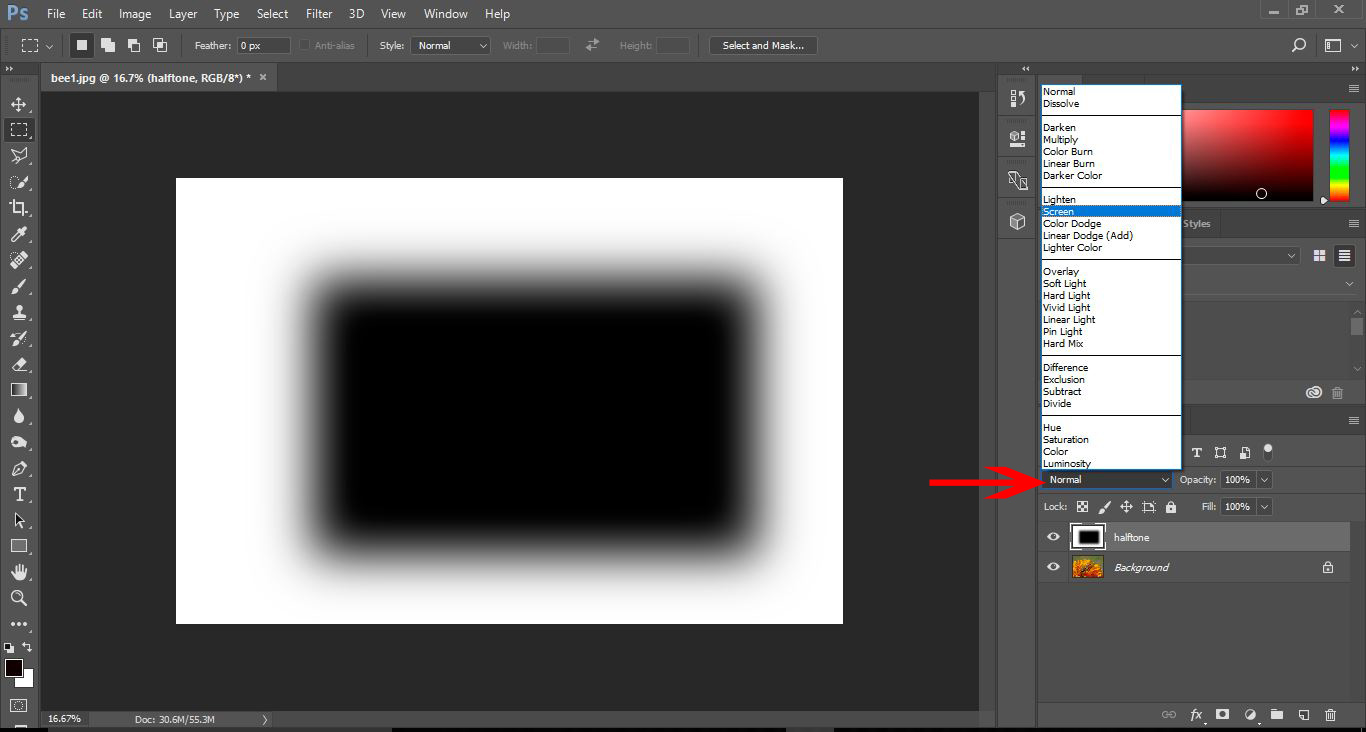
12-The image will now appear where the black rectangle was, now with a 1/2 tone border in place.