Unlimited Downloads 15% off Marketplace Purchases Exclusive Software Access Unlimited Downloads
15% off Marketplace Purchases
Exclusive Software Access
Go Unlimited Maybe Later
How to Create Your Own Decorative Border in Silhouette Alta
  • By Design Bundles
  • 11 Oct 2018
  • 2 Mins
  • Silhouette Tutorials

How to Create Your Own Decorative Border in Silhouette Alta

1- Open Silhouette Alta software. Click on the shape tool.

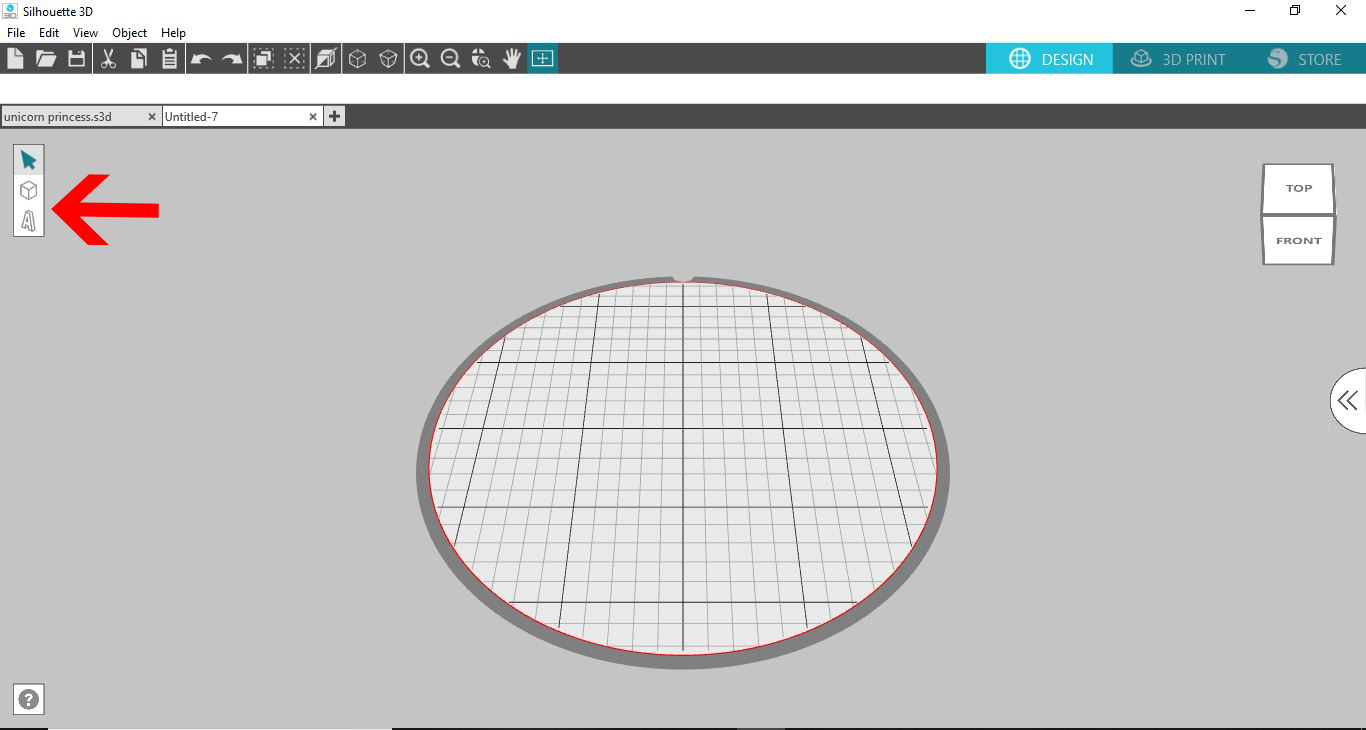
2- Select your base shape. A cube is always a good place to start.

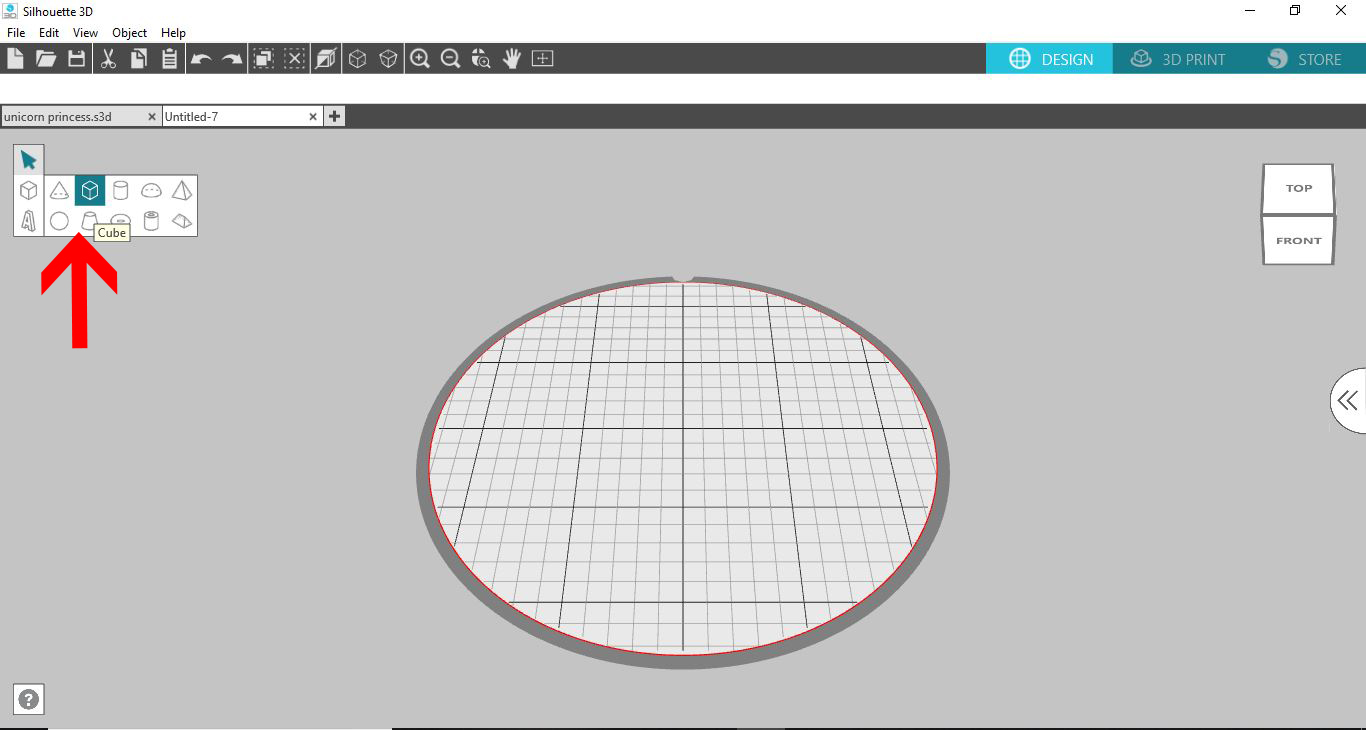
3- Select your cube.

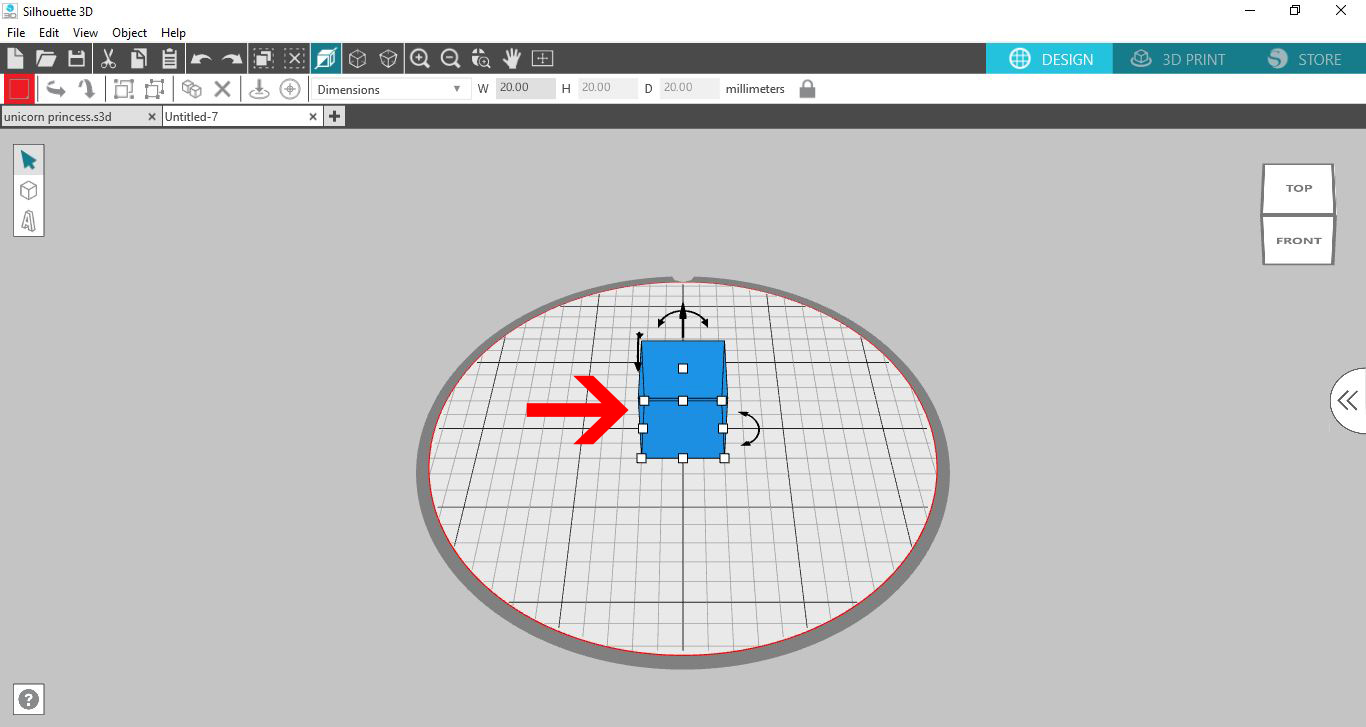
4- Flatten the cube and elongate to make a long flat rectangle.

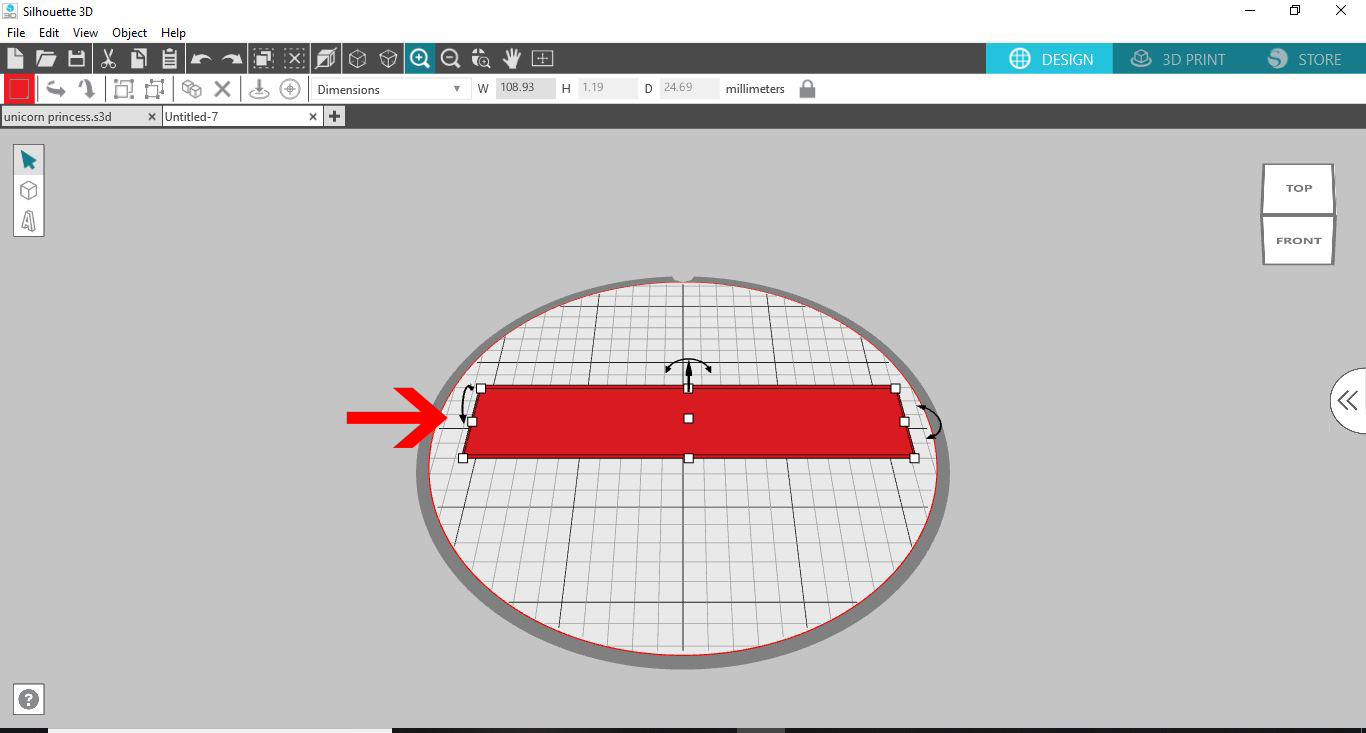
5- Click on the shape tool.

6- Create your first shape to made your decorative piece.

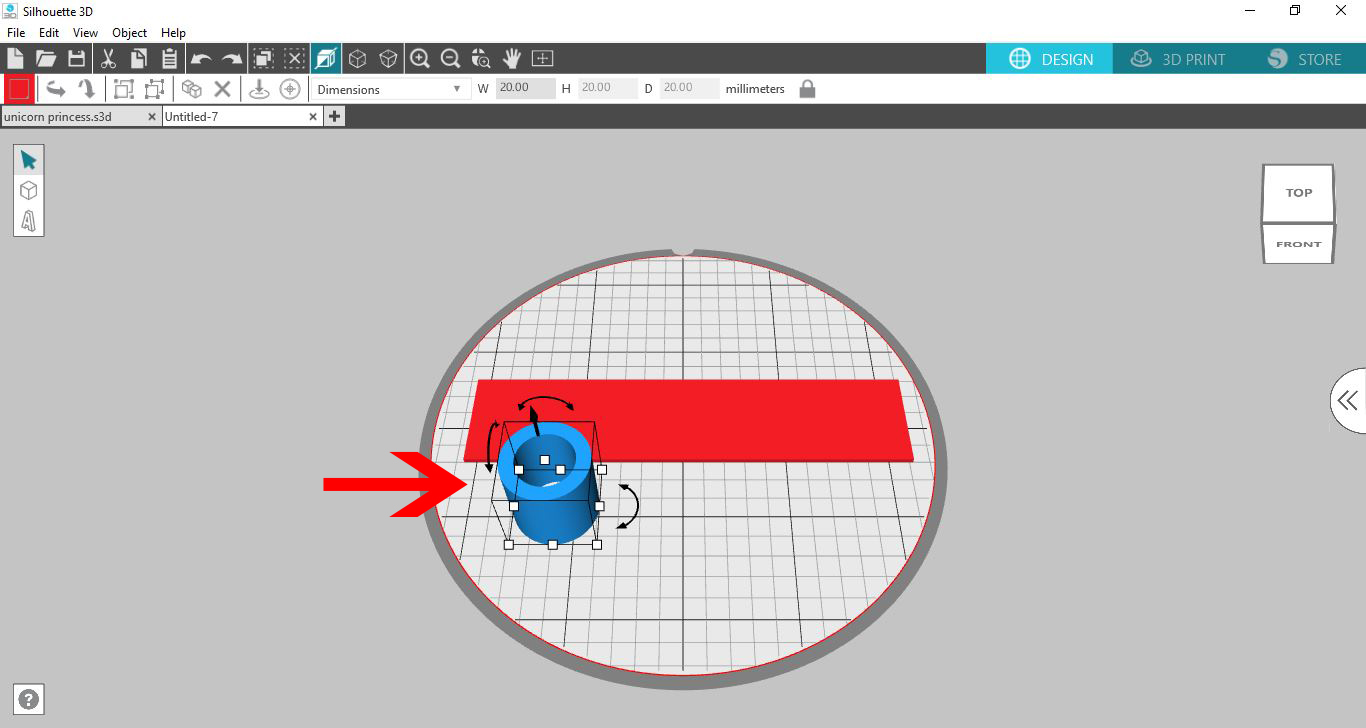
7- Flatten your shape and place on your rectangle. Make sure that the shape is slightly raised so it will be seen when printed.

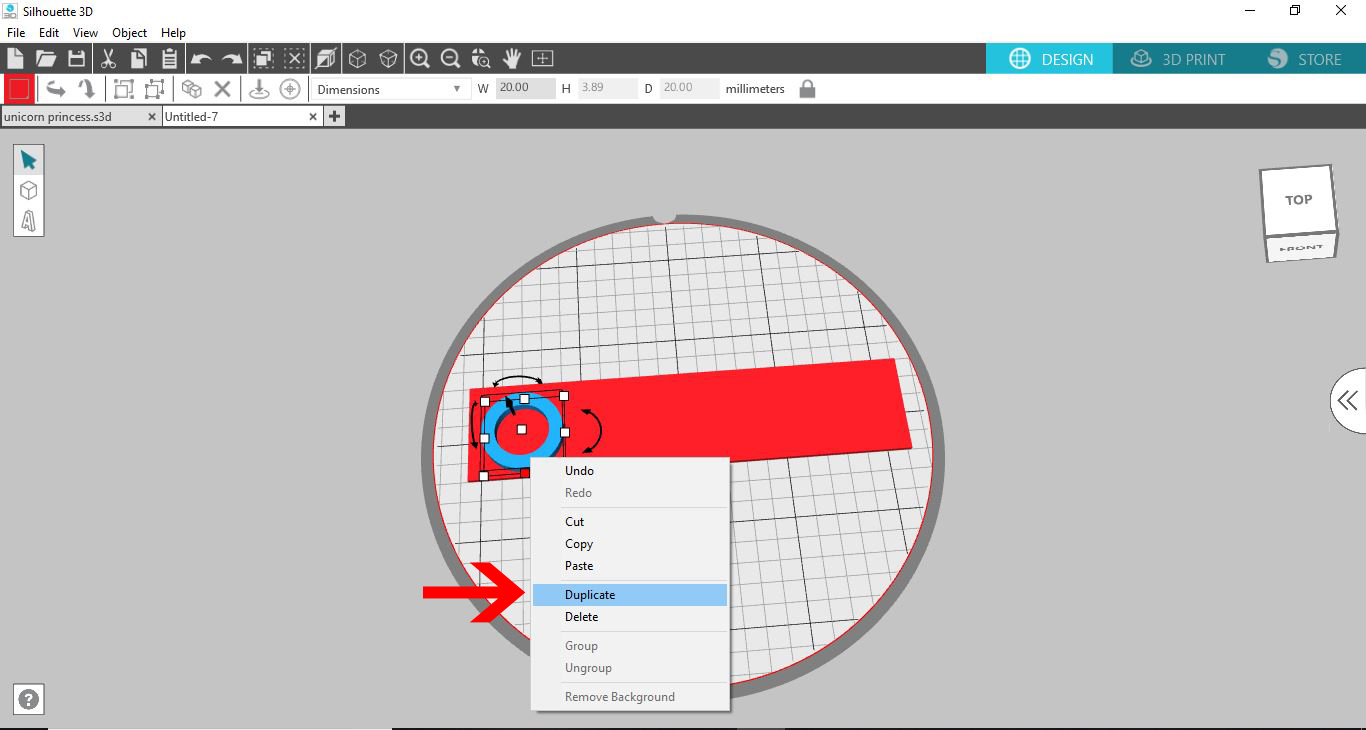
8- Right click on your shape and then duplicate.

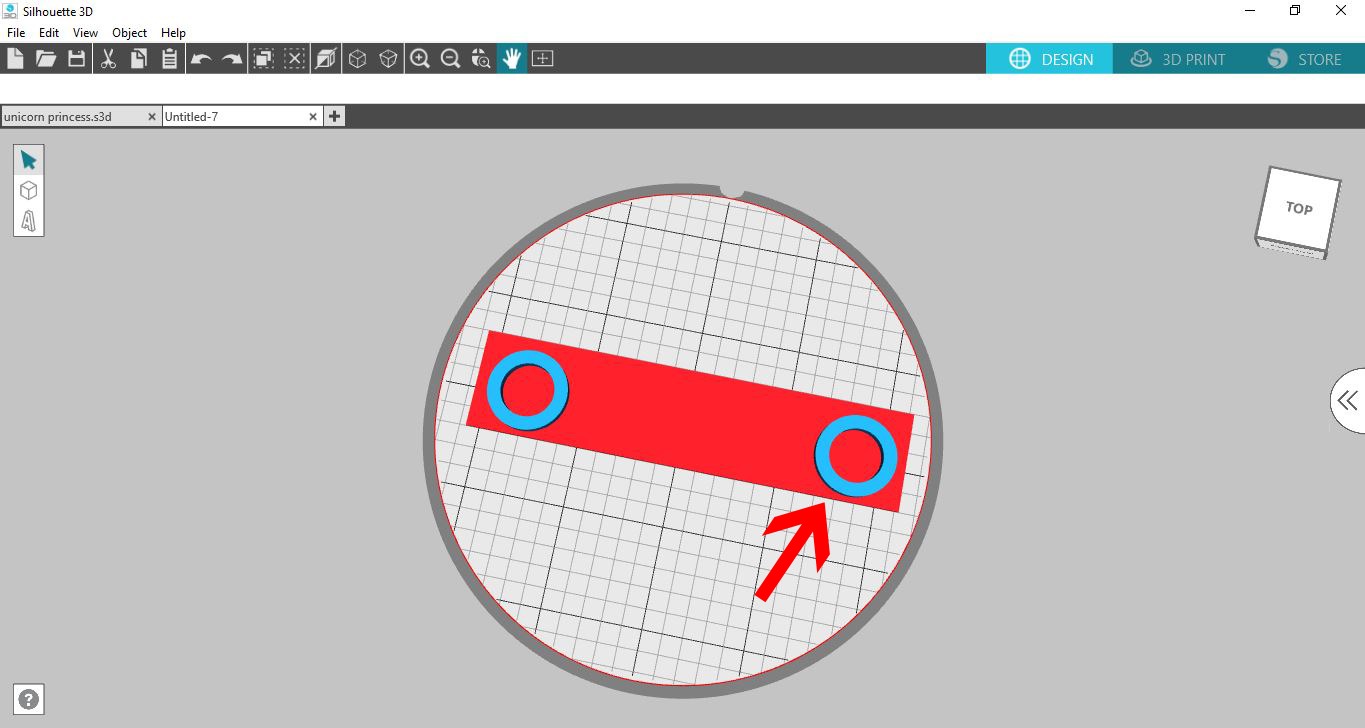
9- Move the duplicated shape to where you would like it and place.

10- Continue creating different shapes.

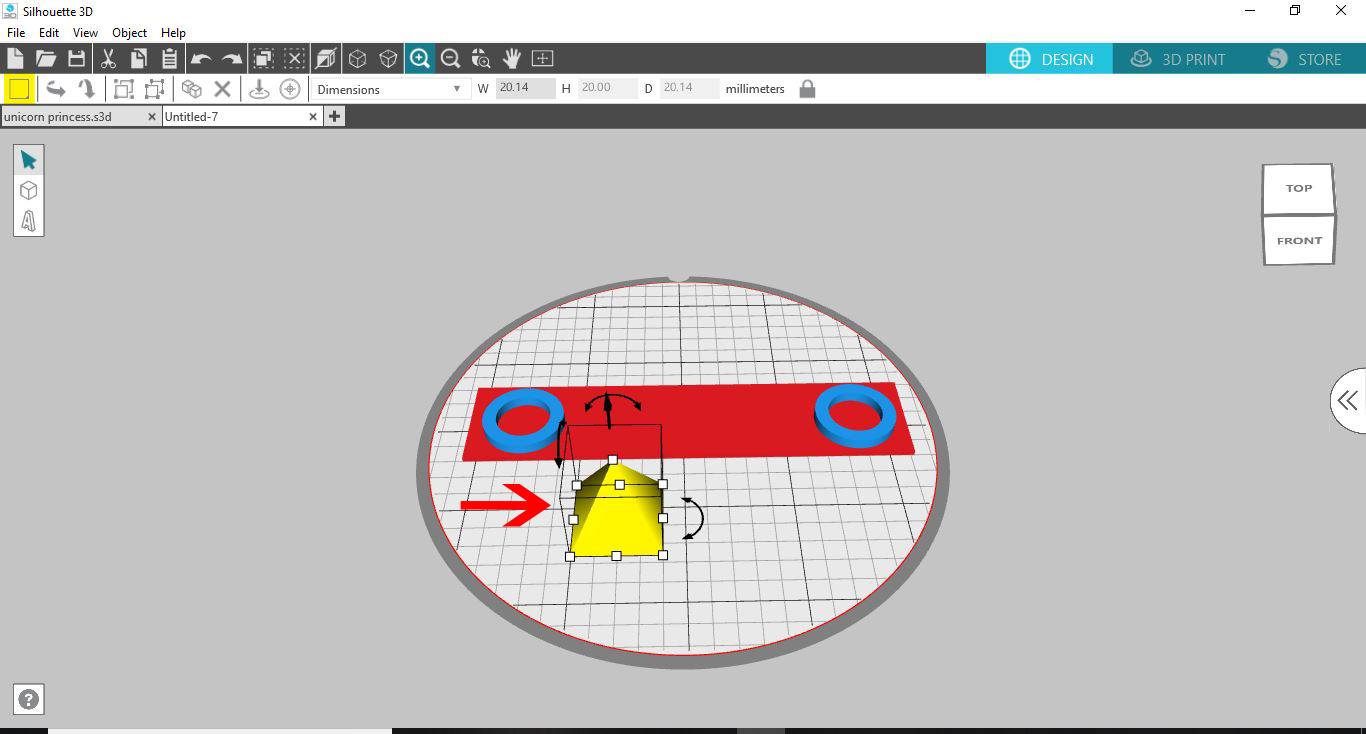
11- Add many different shapes onto your rectangle to create your decorative border.

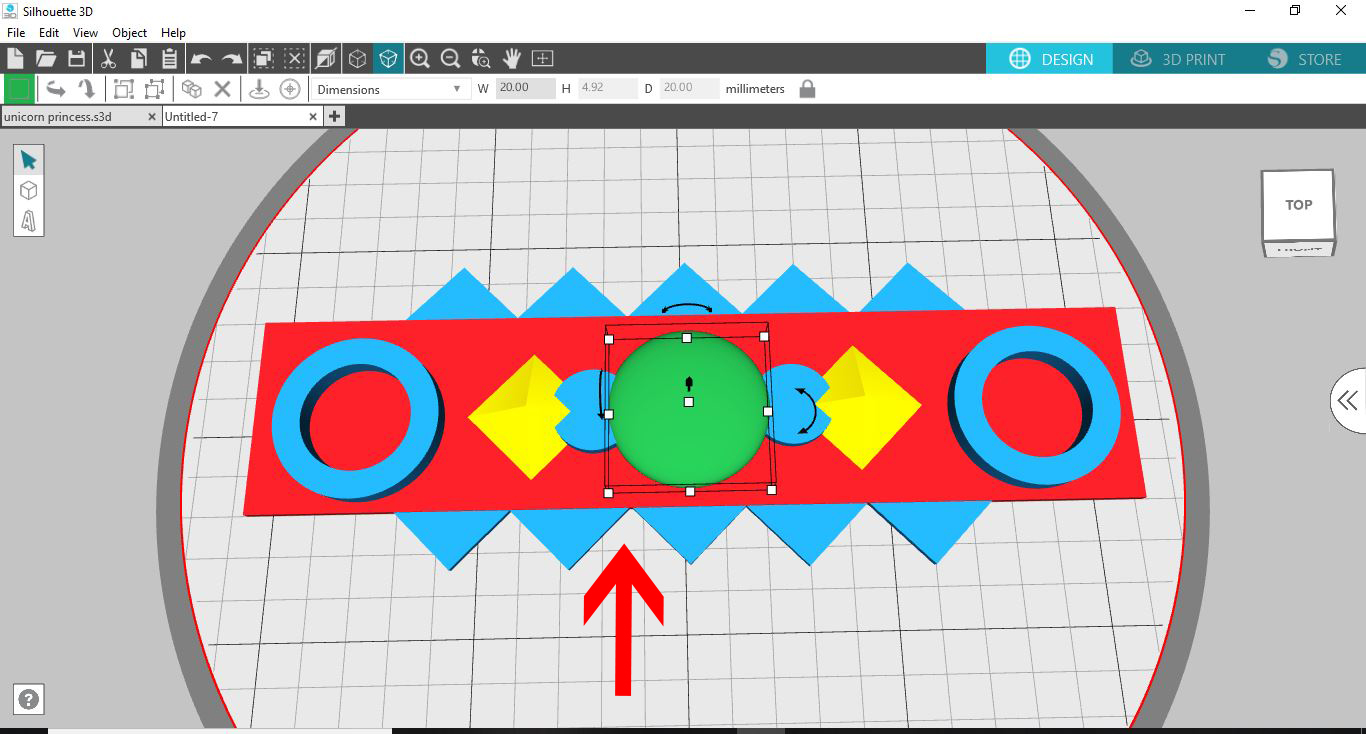
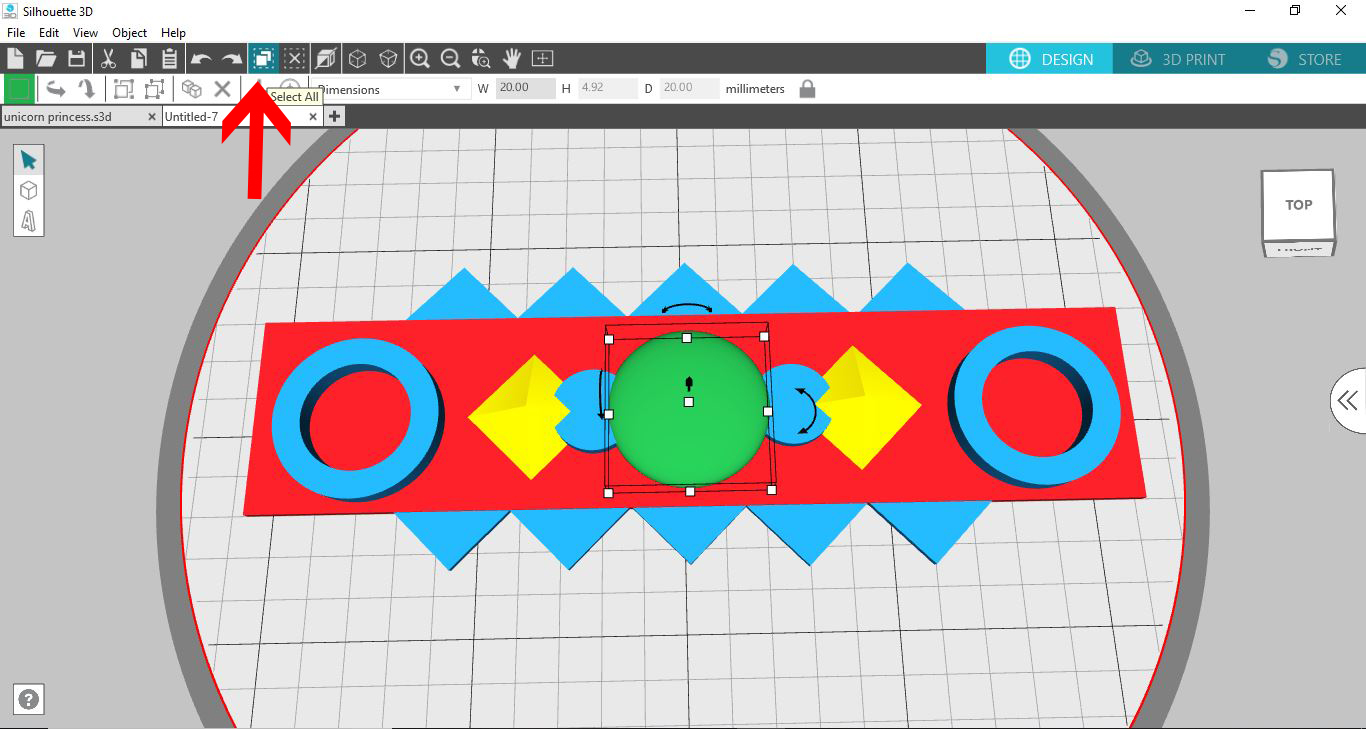
12- Once you are happy with your design, click on the select all icon.

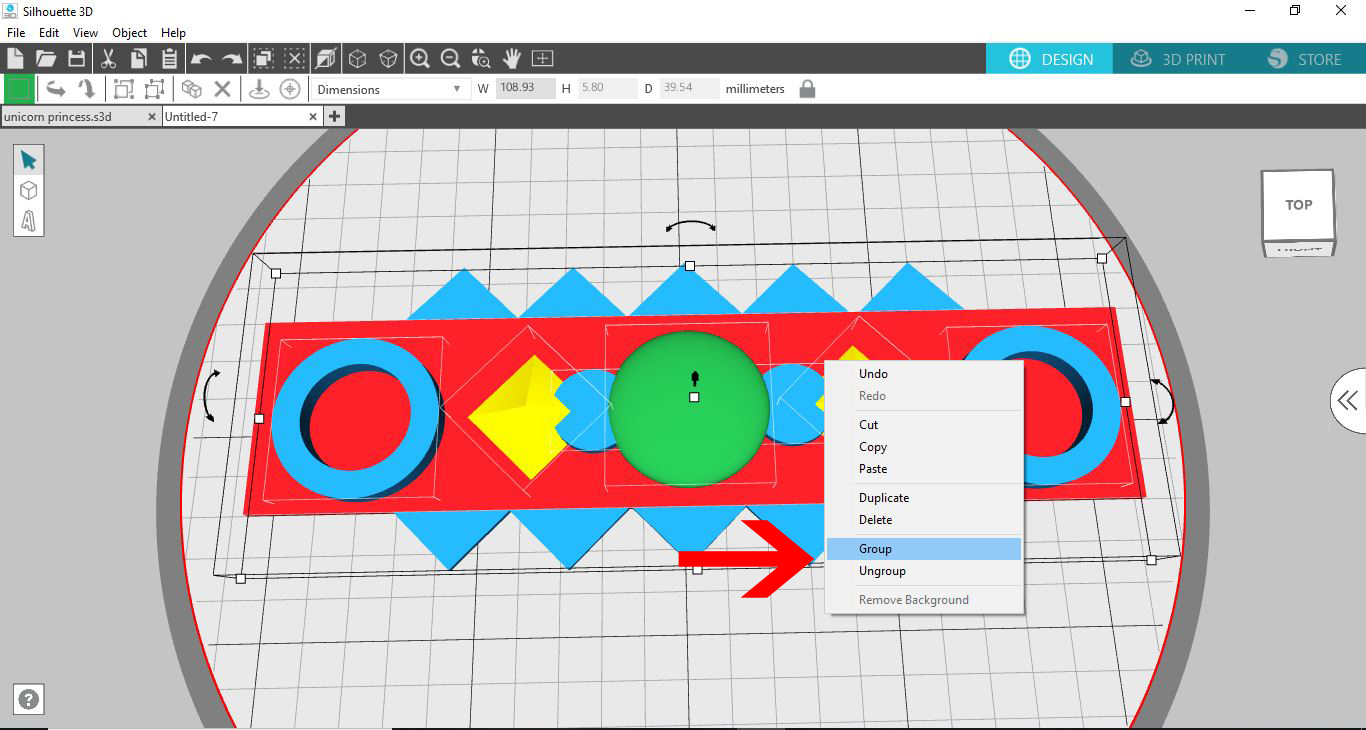
13- Right click and group your design. This will enable it to print as one piece not many small pieces.

You can now add this design to something your are making in the software, or you can print as a single design and adhere at a later date.

14- Click on 3D print and print your design.

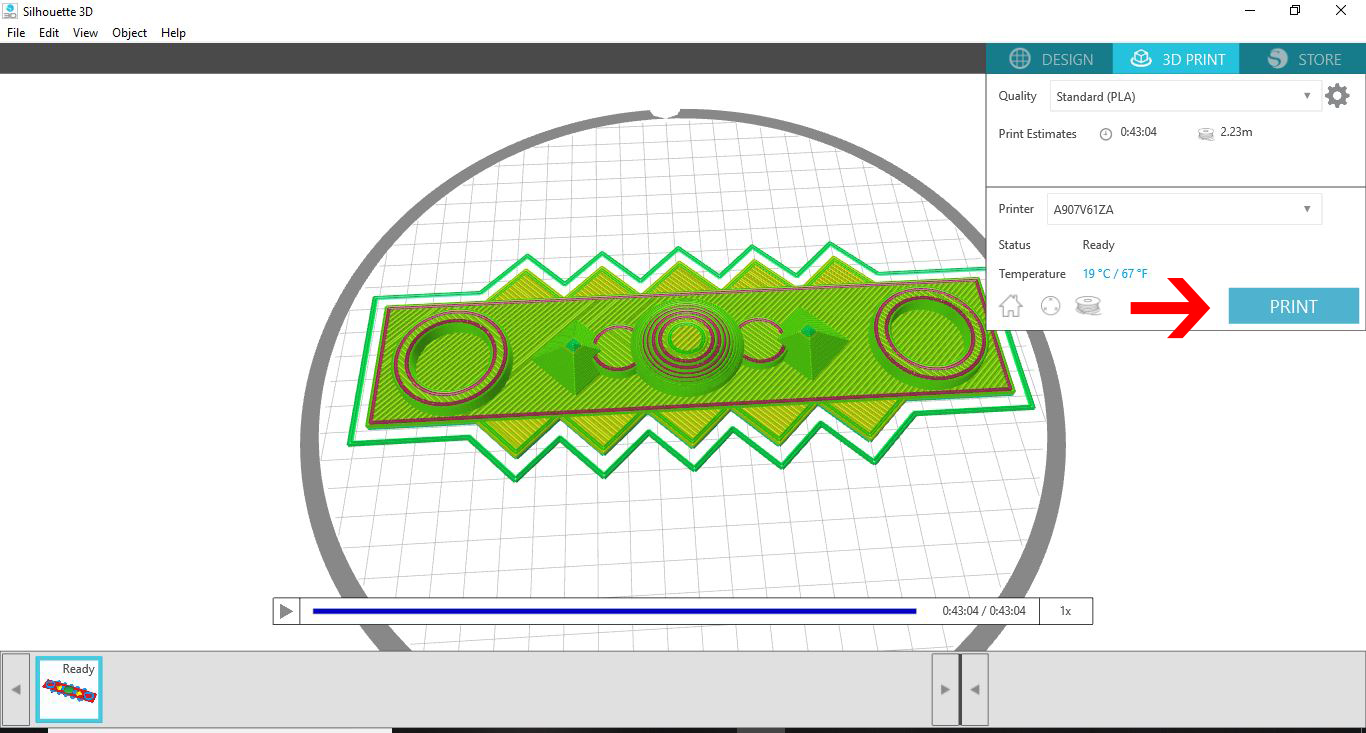
15- your design is now printed.


6 Related Silhouette Tutorials

1- Open silhouette studio. First you need to find a design you would like to use as a border. you can download one from a purchased file or use a file you already own. I am going to use one I already have so I will go to my library.2...

1- Open Silhouette Alta 3D software. Click on the right tab to access the library.2- Click on the library.3- Select a basic 2D file. Double click on it.4- A new window will appear. Select the cookie cutter option.5-  Your design will appear directly as a cookie ...

*CM900 model used.1- Open canvas workspace. You can start your own design by either importing an SVG to alter or import a image to trace.2- For this design I will be using an image to trace. Click the image tracing icon.3- A new window will appear. you ...

Borders can create a separation between elements or frame a design for more impact. They can be used to highlight content to attract the viewer's attention. However you choose to use a border, Inkscape has a variety of tools to create them. In this tutorial we will show you how ...

1- Open Silhouette Alta software. Click on the right side tab.2- Click on the library folder.3- Find a folder where you may have background files.4- Double click on your image.5- A new window will appear. Click on the stencil option.6- Your design will appear as ...

1- Open SCAL4. Click on the library icon and select the folder that you want to select the shapes for your decorative border. Alternatively you can import a file from your PC.2- Select your shape.3- With the shape selected, go to object- duplicate.4- Add how many columns (...

You may also like

Help Center