Unlimited Downloads 15% off Marketplace Purchases Exclusive Software Access Unlimited Downloads
15% off Marketplace Purchases
Exclusive Software Access
Go Unlimited Maybe Later
How to Create a Basic Cookie Cutter in Silhouette Alta 3D Printer
  • By Design Bundles
  • 28 Sep 2018
  • 1 Min
  • Silhouette Tutorials

How to Create a Basic Cookie Cutter in Silhouette Alta 3D Printer

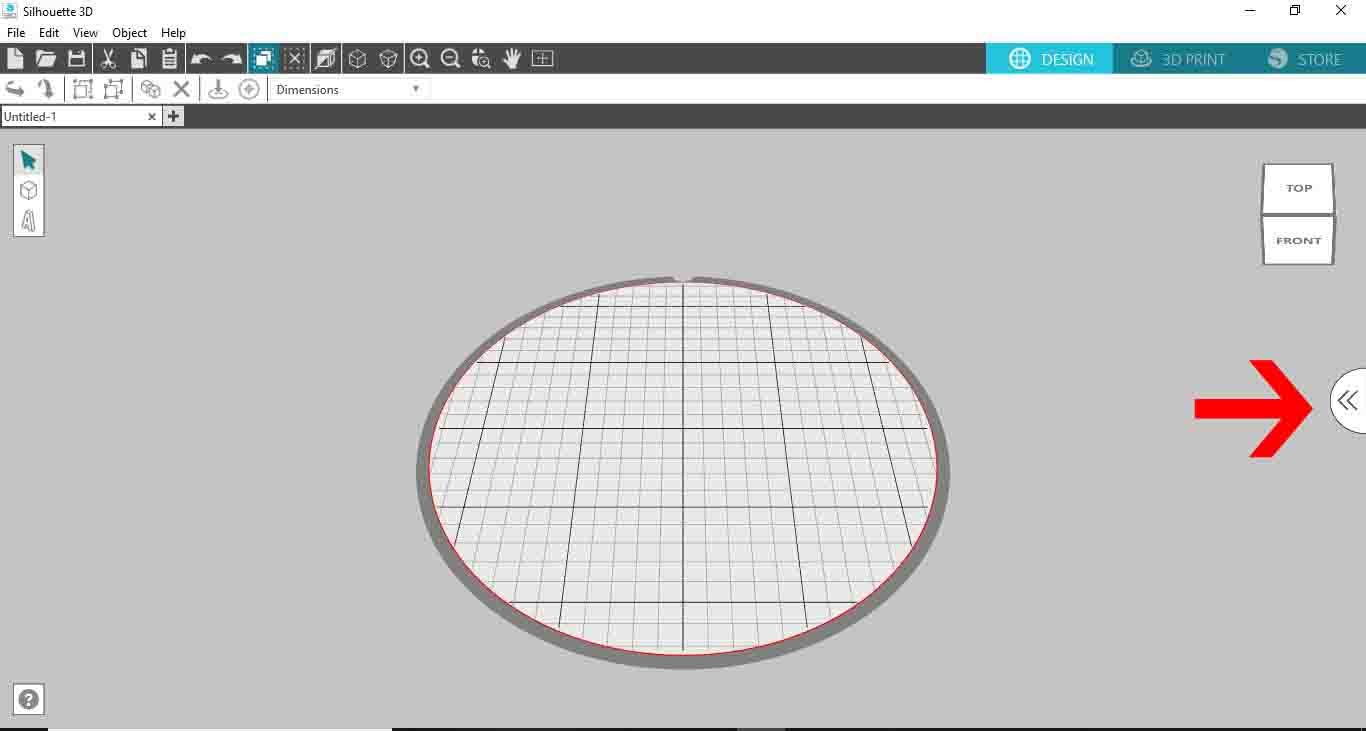
1- Open Silhouette Alta 3D software. Click on the right tab to access the library.


2- Click on the library.


3- Select a basic 2D file. Double click on it.


4- A new window will appear. Select the cookie cutter option.


5-  Your design will appear directly as a cookie cutter shape.


6- Adjust the size and height to your needs. click on the 3D print option. Your design will start to create a sliced design to print.


7- Once complete you can click on the print icon. this will print your design.


6 Related Silhouette Tutorials

Do you want to learn how to make cookie embossers with your Silhouette Alt 3D Printer? Then we have a sweet tutorial for you. Use a SVG file to create a cookie cutter with Silhouette Studio and the Alta software. So let’s get started.We will be using a ...

1- Load the Silhouette Alta software. Click on the tab to access the library.2- Click on the Library.3- Go the the 3D designs you have loaded. (you can also load a 3rd party .obj or .stl file).4- Select your 3D design. Double click to apply to your ...

1- Open Silhouette Alta software. Click on the right side tab.2- Click on the library folder.3- Find a folder where you may have background files.4- Double click on your image.5- A new window will appear. Click on the stencil option.6- Your design will appear as ...

1- Open Silhouette Alta software. Click on the shape icon.2- Select the cube shape.3- Select the cube.4- Adjust the size of the cube and the thickness to make a thin wall.5- Select the wall and right click. Duplicate.6- Duplicate 3 more times. Select one of the ...

1- Open Silhouette Alta software. Click on the right tab to access the library.2- Click on your library.3- Select a silhouette or basic shape file. Double click on it.4- A new window will appear. Click on stencil box.5- The software will automatically create a stencil box ...

1- Open up Silhouette Studio (free version) Click on the text icon.2- Type your text.3- Select the font you want to use. I am using Cheesy Grits font from fontbundles.net4- Once you are happy with your text Go to File - Save as - Save to ...

You may also like

Help Center
ol image