Unlimited Downloads 15% off Marketplace Purchases Exclusive Software Access Unlimited Downloads
15% off Marketplace Purchases
Exclusive Software Access
Go Unlimited Maybe Later
Silhouette Alta 3D printer modify options
  • By Design Bundles
  • 26 Mar 2019
  • 2 Mins
  • Silhouette Tutorials

Silhouette Alta 3D printer modify options

1- Open the Silhouette Alta software. Go to your library/folder to upload your design.

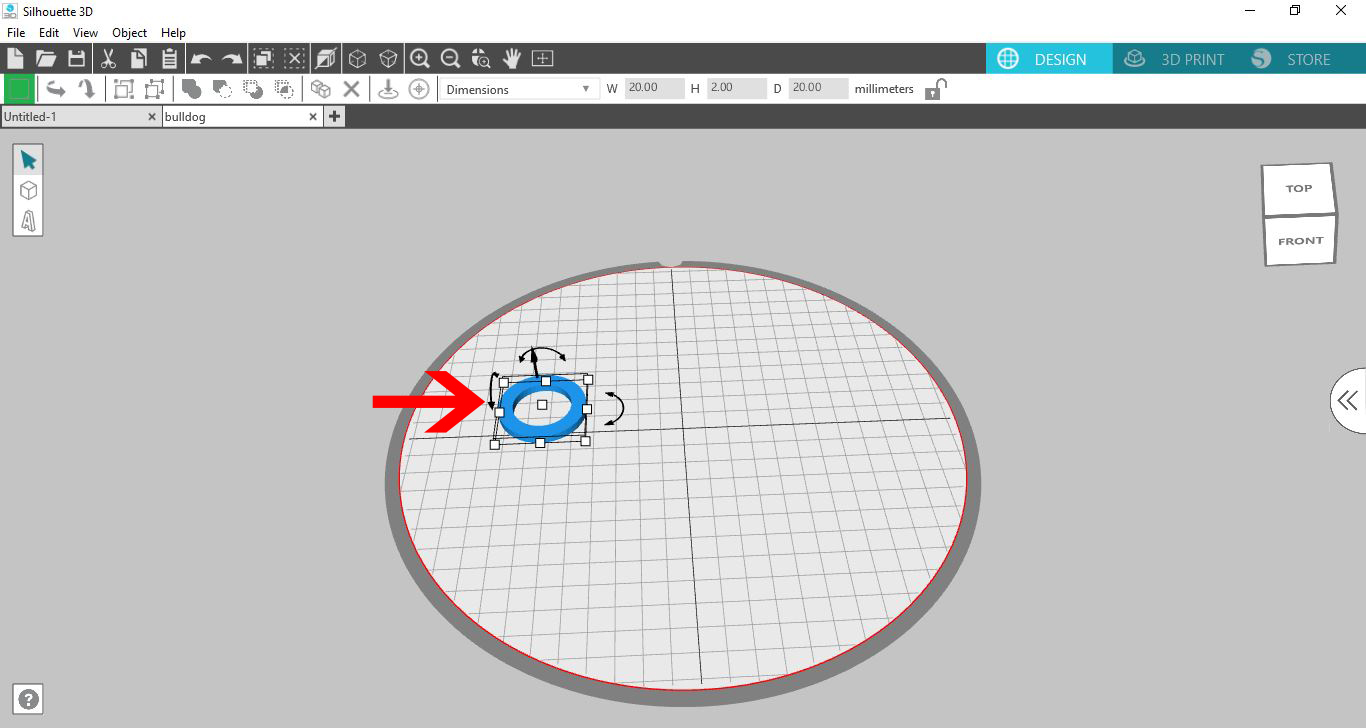
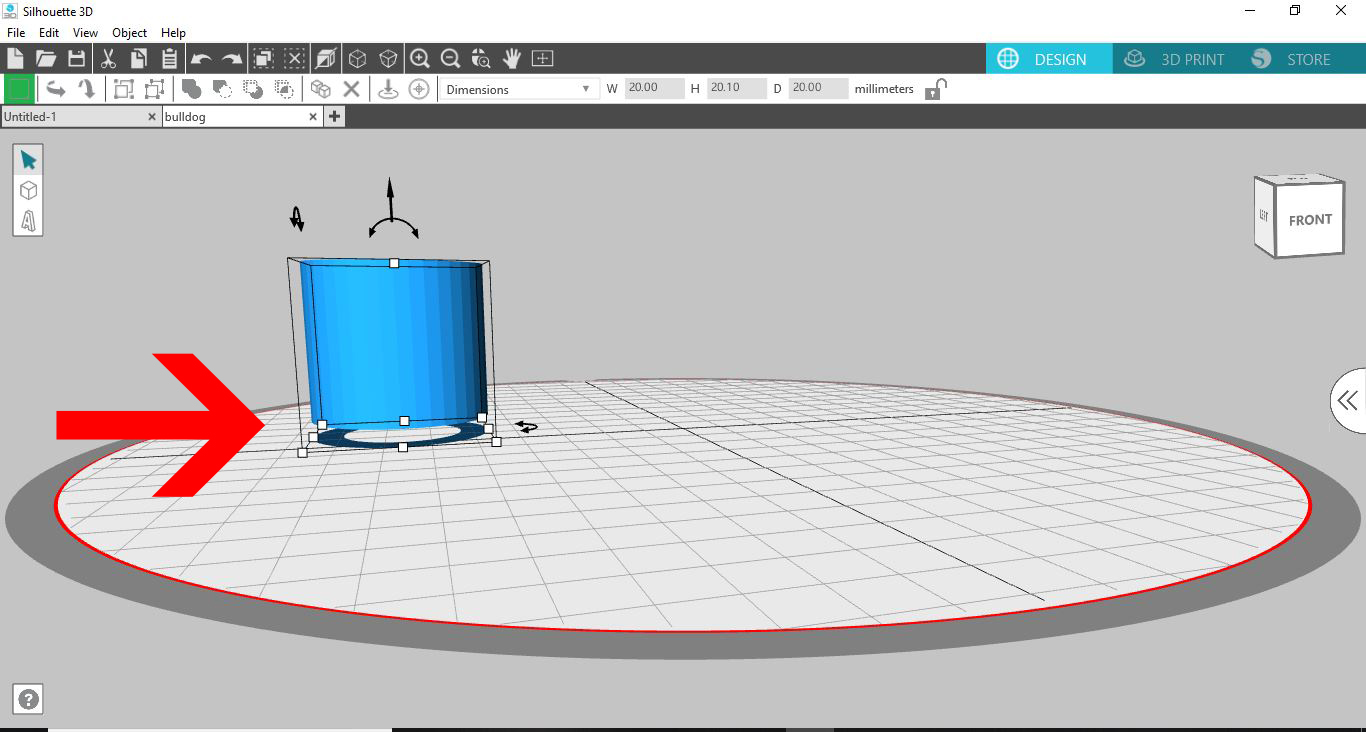
2- Insert your design.

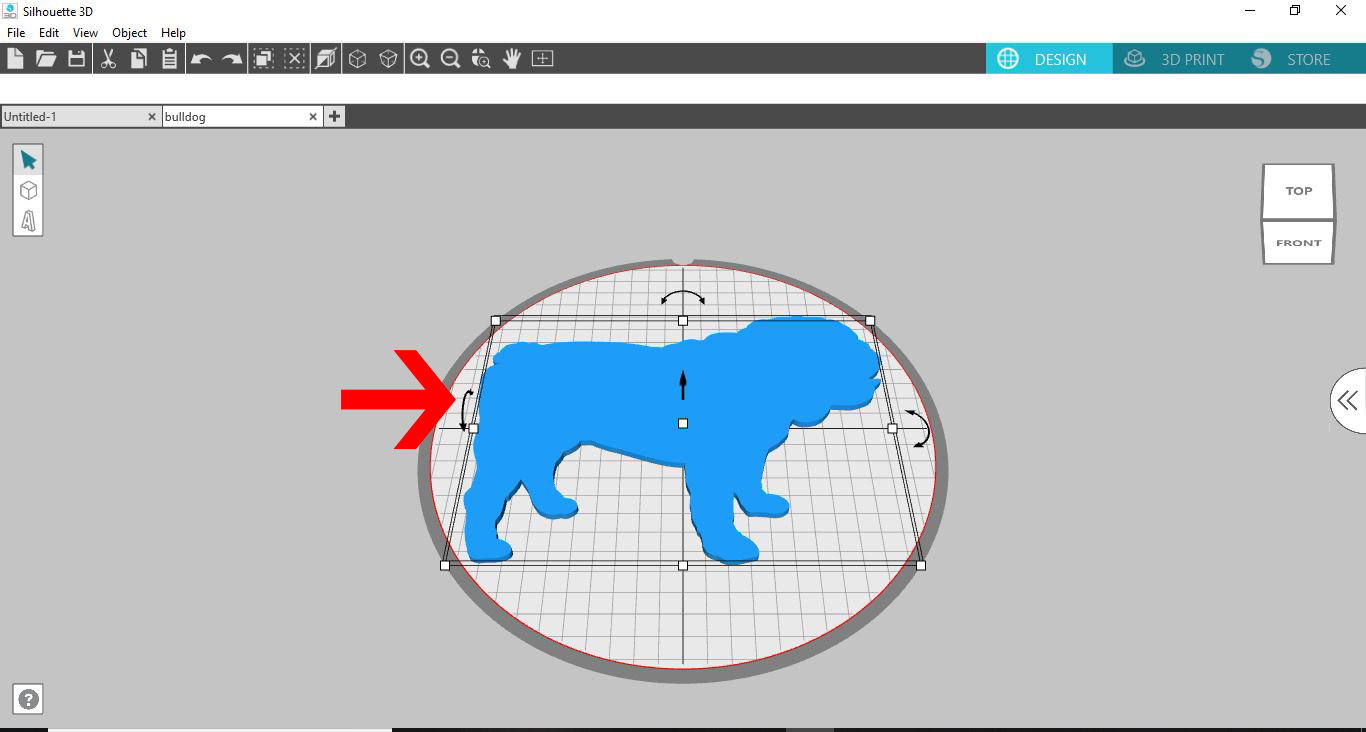
3- Insert a second design.

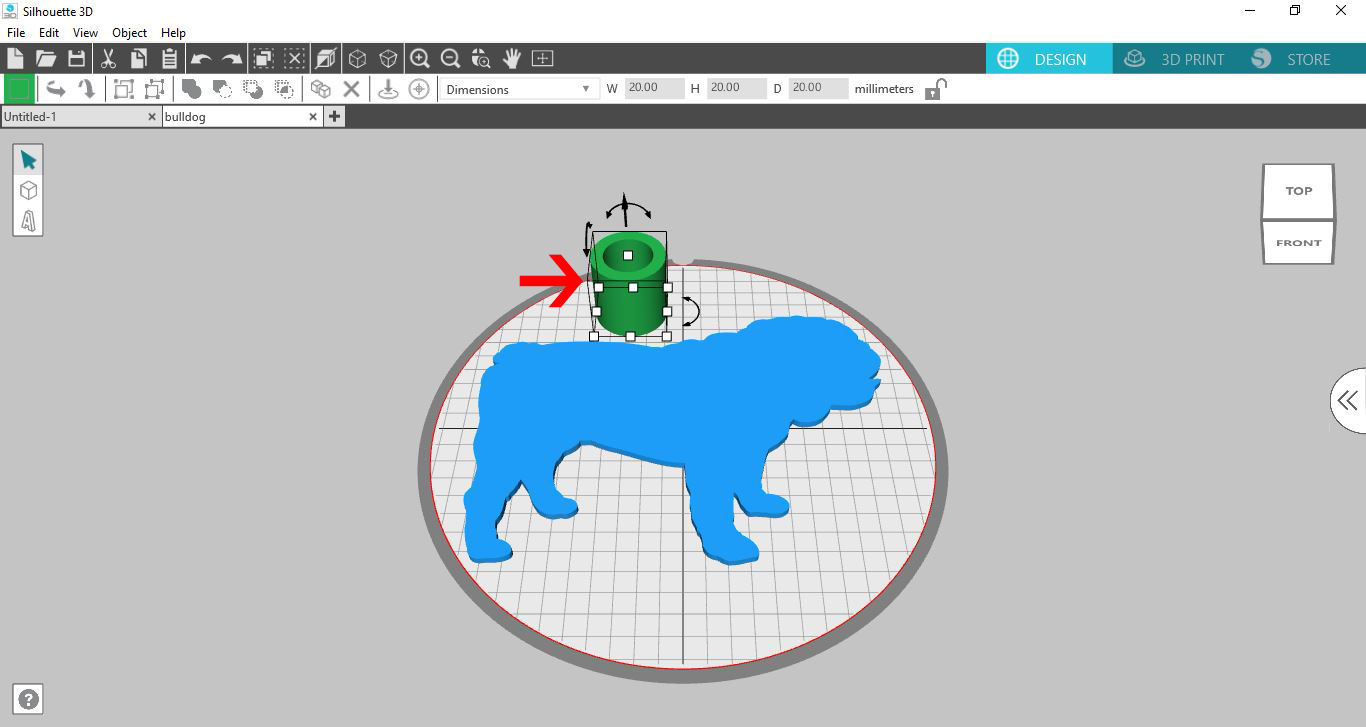
4- There are 3 different options with the modify functions. To modify any design you will need to place one design over the other.

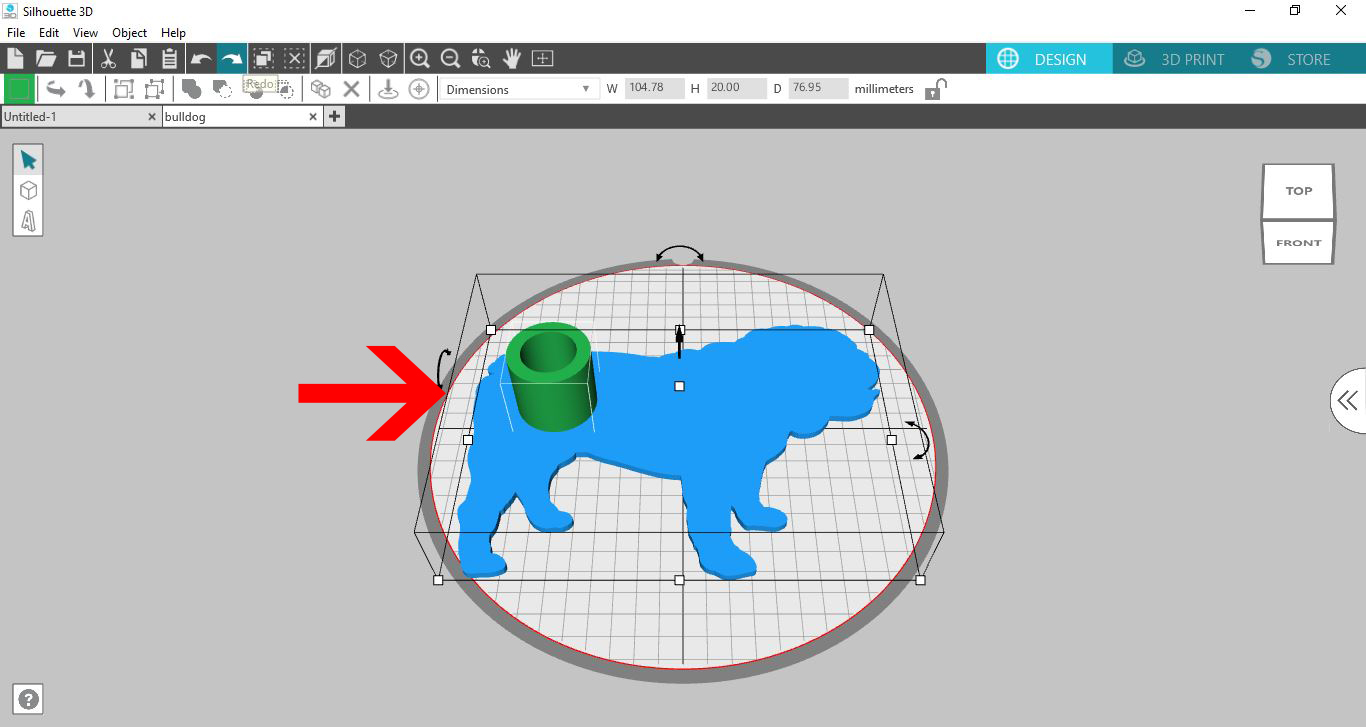
5- Once your designs are places where they need to be. click on the select all icon.

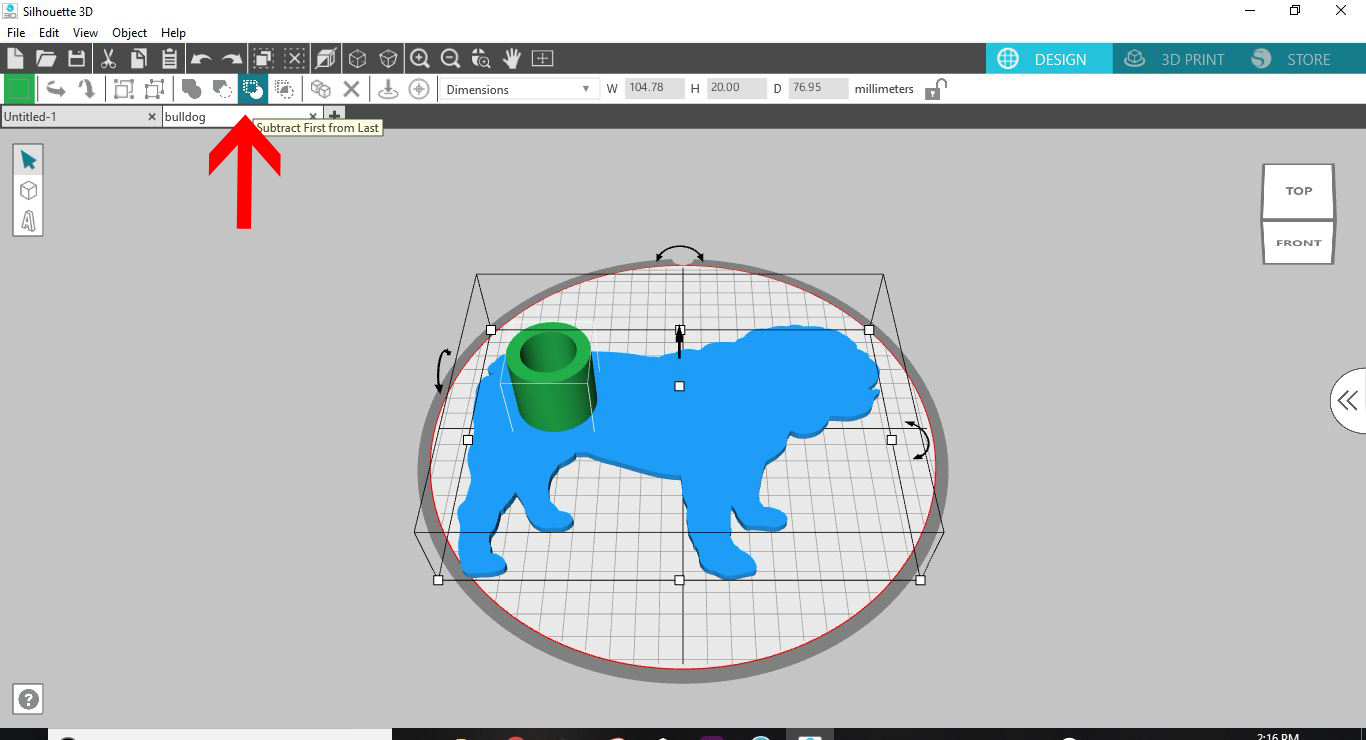
6- Next you can now select the subtract last from first option.

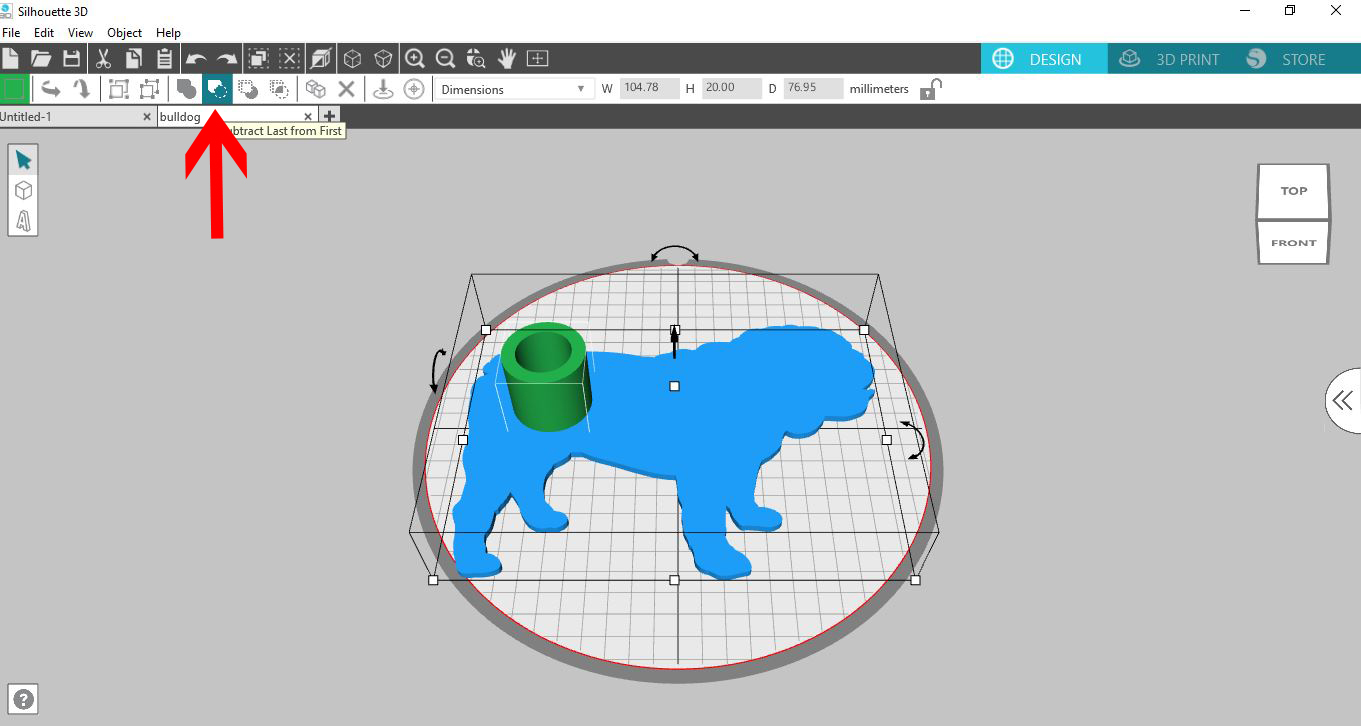
7- This will remove the shape of the last item you placedfrom the first item you placed.

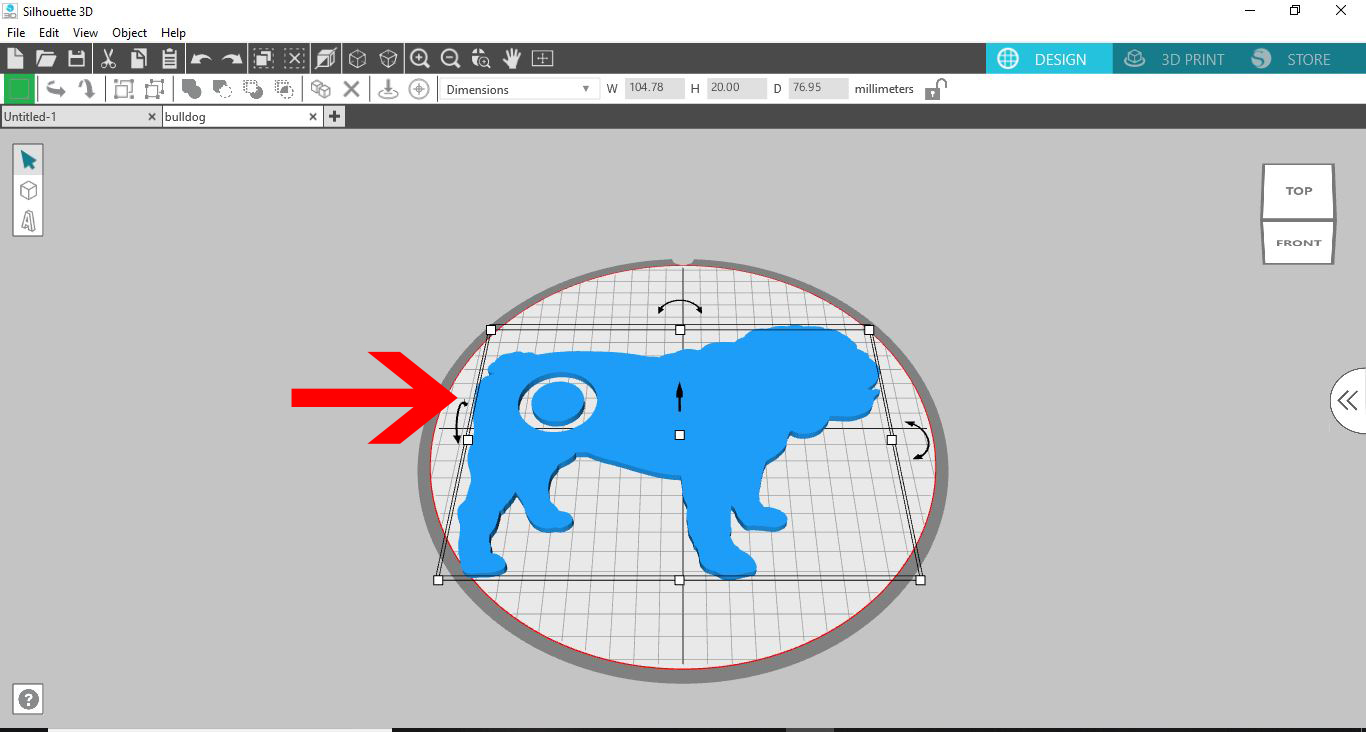
8- The next choice with the modify tools is the subtract first from last. Make sure both designs are selected and then click on the modify icon.

9- As you can see the first design was removed from the last design.

10- Lastly there is the intersect icon. Make sure both design are selected. Click the intersect tool.

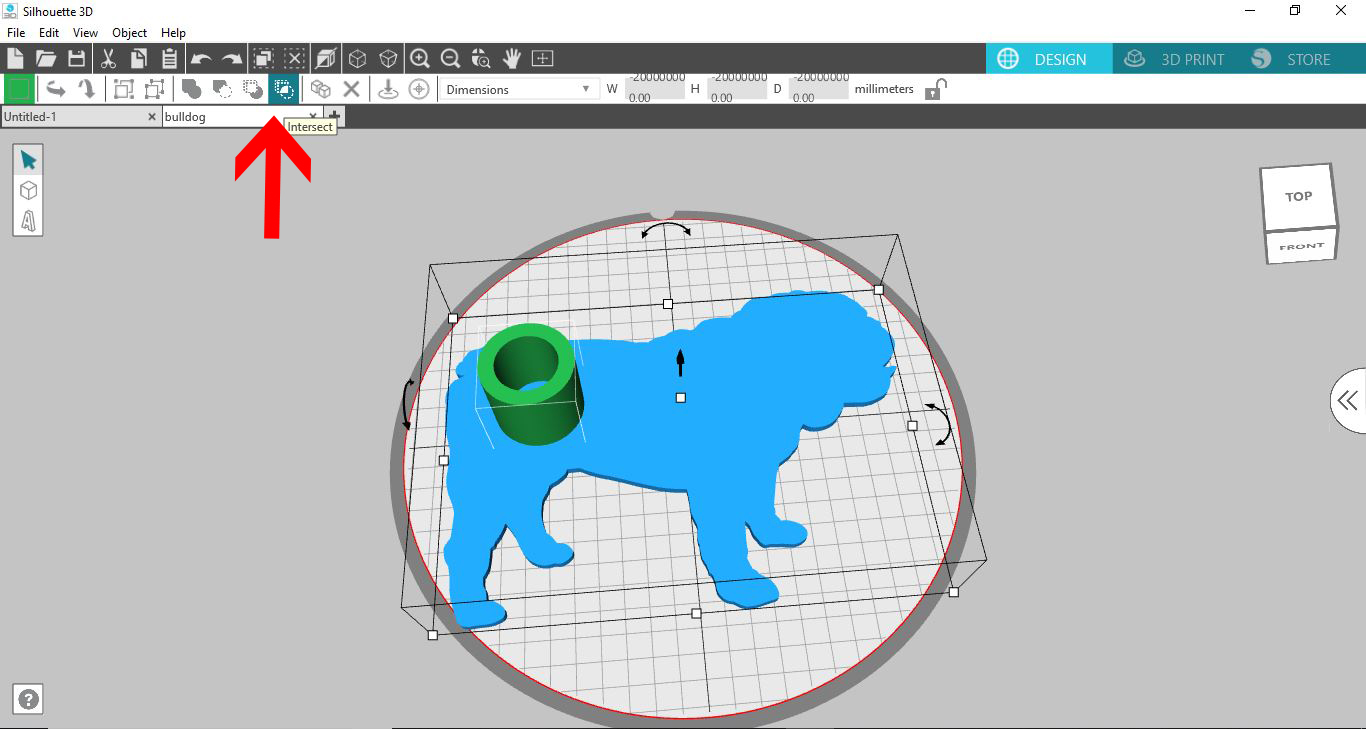
11- The intersect tool will remove all parts of both designs apart from the sections that touch (intersect).


6 Related Silhouette Tutorials

1- Open up Silhouette Studio (free version) Click on the text icon.2- Type your text.3- Select the font you want to use. I am using Cheesy Grits font from fontbundles.net4- Once you are happy with your text Go to File - Save as - Save to ...

1- Load the Silhouette Alta software. Click on the tab to access the library.2- Click on the Library.3- Go the the 3D designs you have loaded. (you can also load a 3rd party .obj or .stl file).4- Select your 3D design. Double click to apply to your ...

Do you want to learn how to make cookie embossers with your Silhouette Alt 3D Printer? Then we have a sweet tutorial for you. Use a SVG file to create a cookie cutter with Silhouette Studio and the Alta software. So let’s get started.We will be using a ...

1- Load the Silhouette Alta 3D software. You will see your design space on the screen. This is the same "size" as your printable area. Anything that overhangs will not be able to print.2- Under the File section, you have your basic tools to open a file, save your ...

1- Open Silhouette Alta software. Click on the right arrows to open up your saved designs, or upload your own design.2- Upload your design. Use your design library or upload a second design. You can even use any of the shape tools.3- Select the shape you would like ...

1- Open Silhouette Alta 3D software. Click on the right tab to access the library.2- Click on the library.3- Select a basic 2D file. Double click on it.4- A new window will appear. Select the cookie cutter option.5-  Your design will appear directly as a cookie ...

You may also like

Help Center
ol image