Unlimited Downloads 15% off Marketplace Purchases Exclusive Software Access Unlimited Downloads
15% off Marketplace Purchases
Exclusive Software Access
Go Unlimited Maybe Later
How to Create a Lithophane with Silhouette Alta
  • By Design Bundles
  • 28 Sep 2018
  • 1 Min
  • Silhouette Tutorials

How to Create a Lithophane with Silhouette Alta

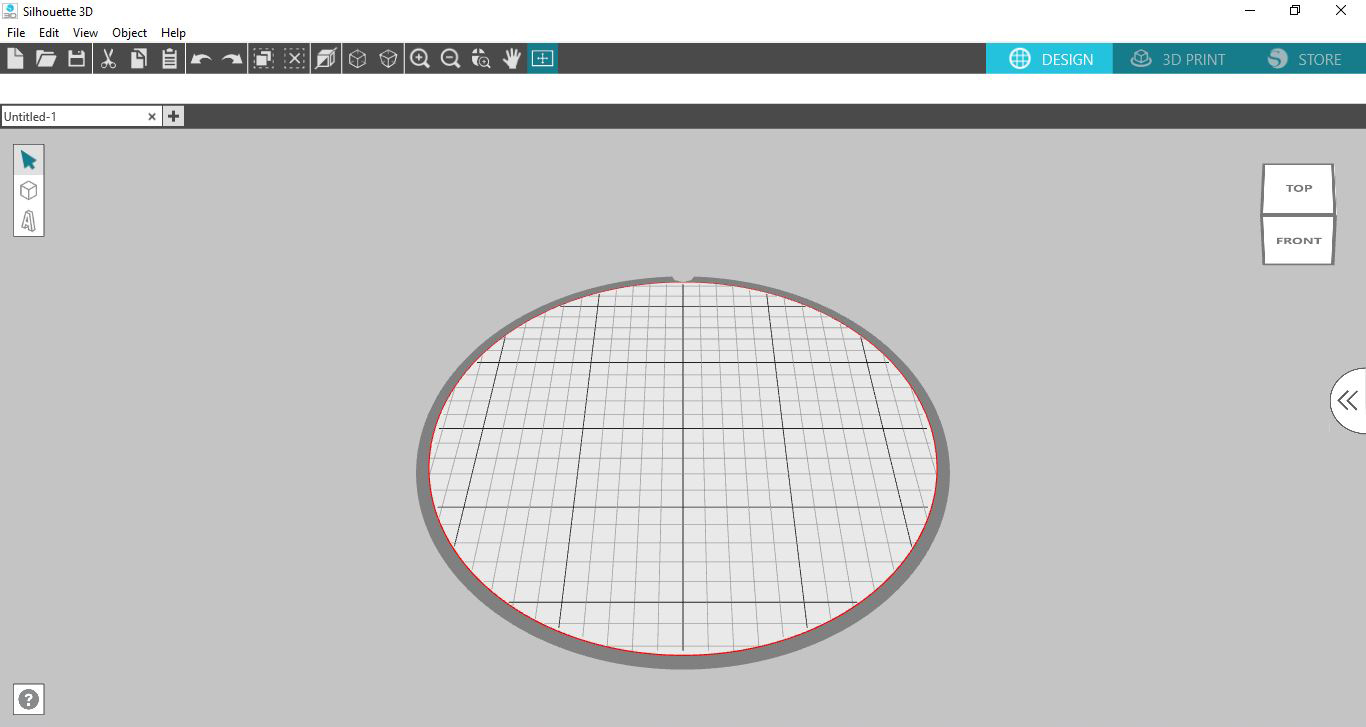
1- Open up Silhouette Alta software.

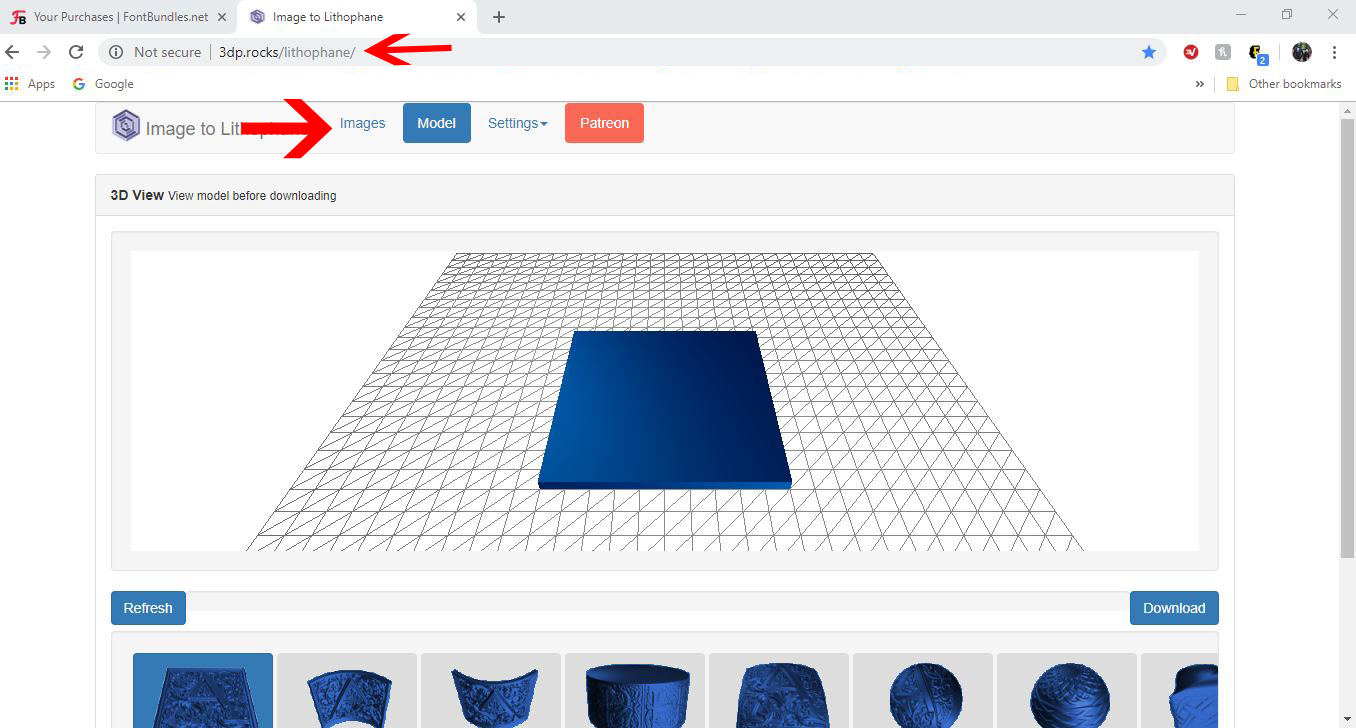
2- Go toa free image to lithophanesite. Click on images.

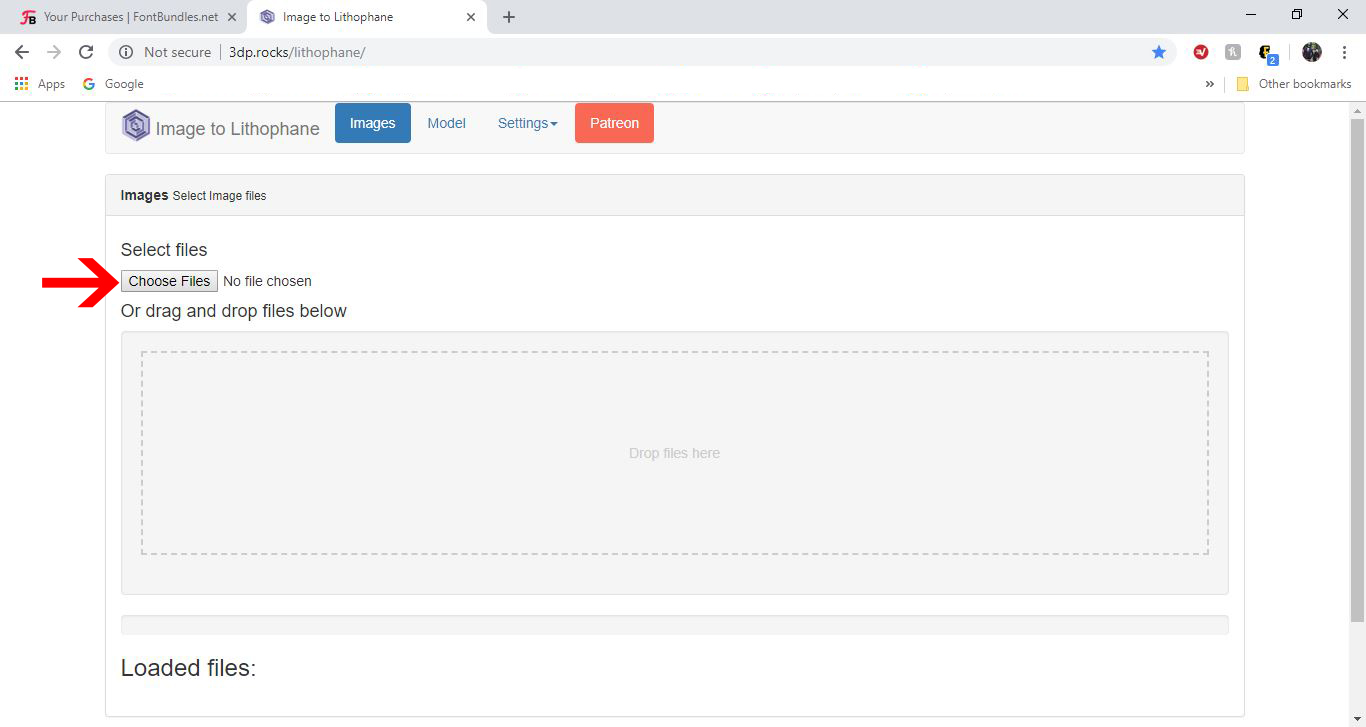
3- Click on choose file and upload your image. Try to get a good contrast image for best results.

4- Your image will load up as a lithophane.

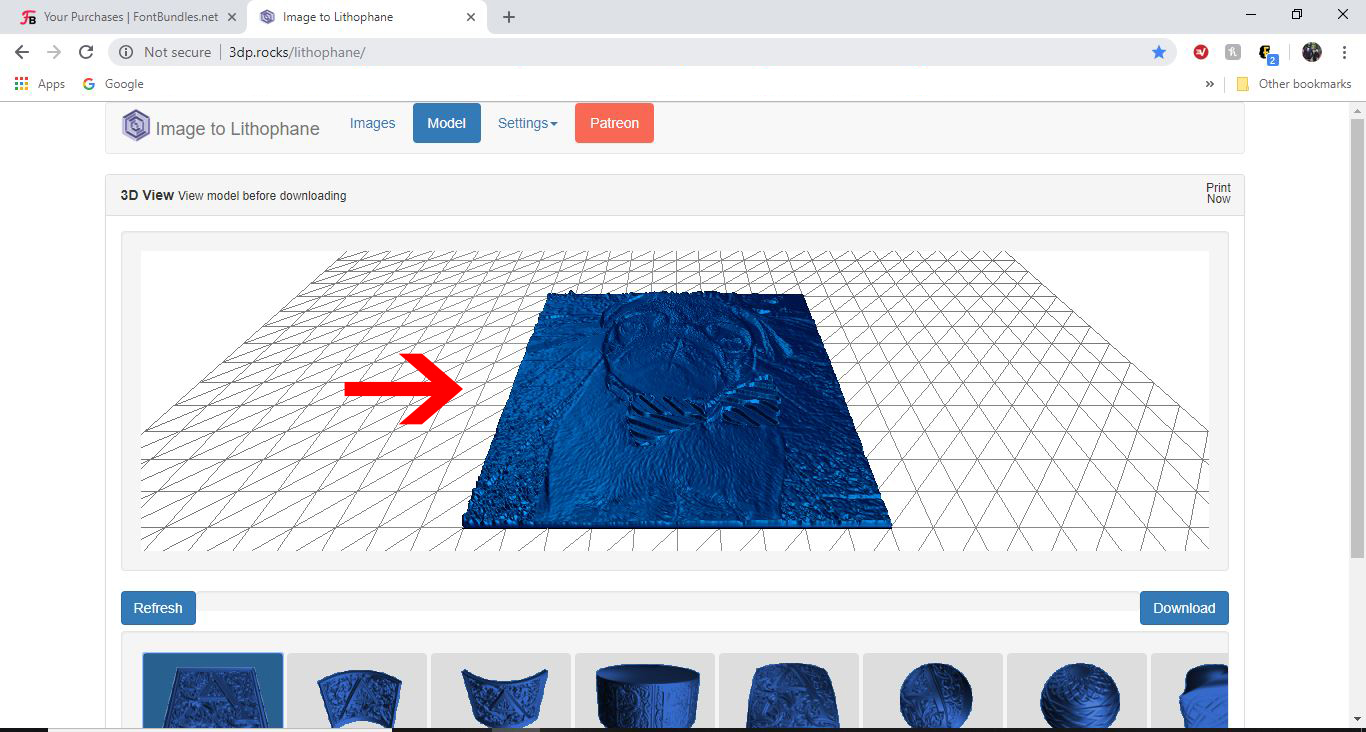
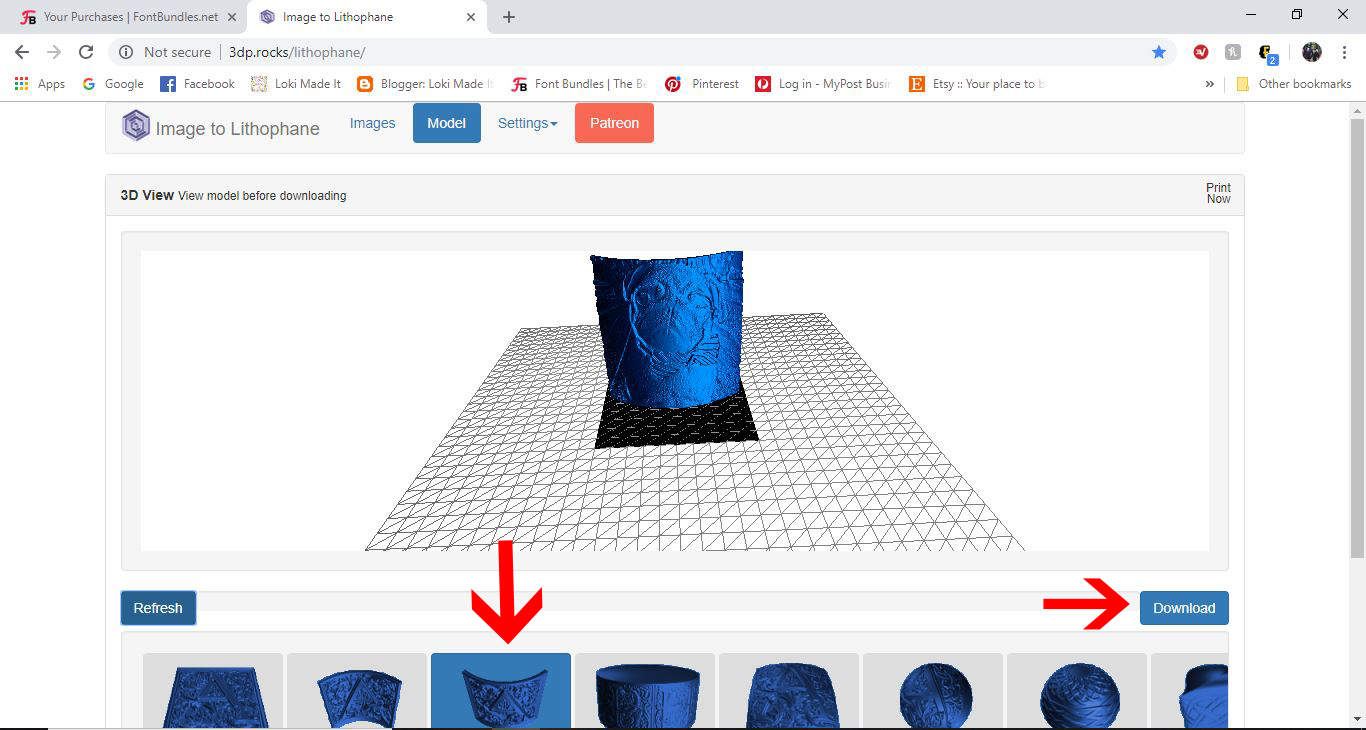
5- Depending on what you want to use your design for you can select different styles to create.

Once you are happy click on Download.

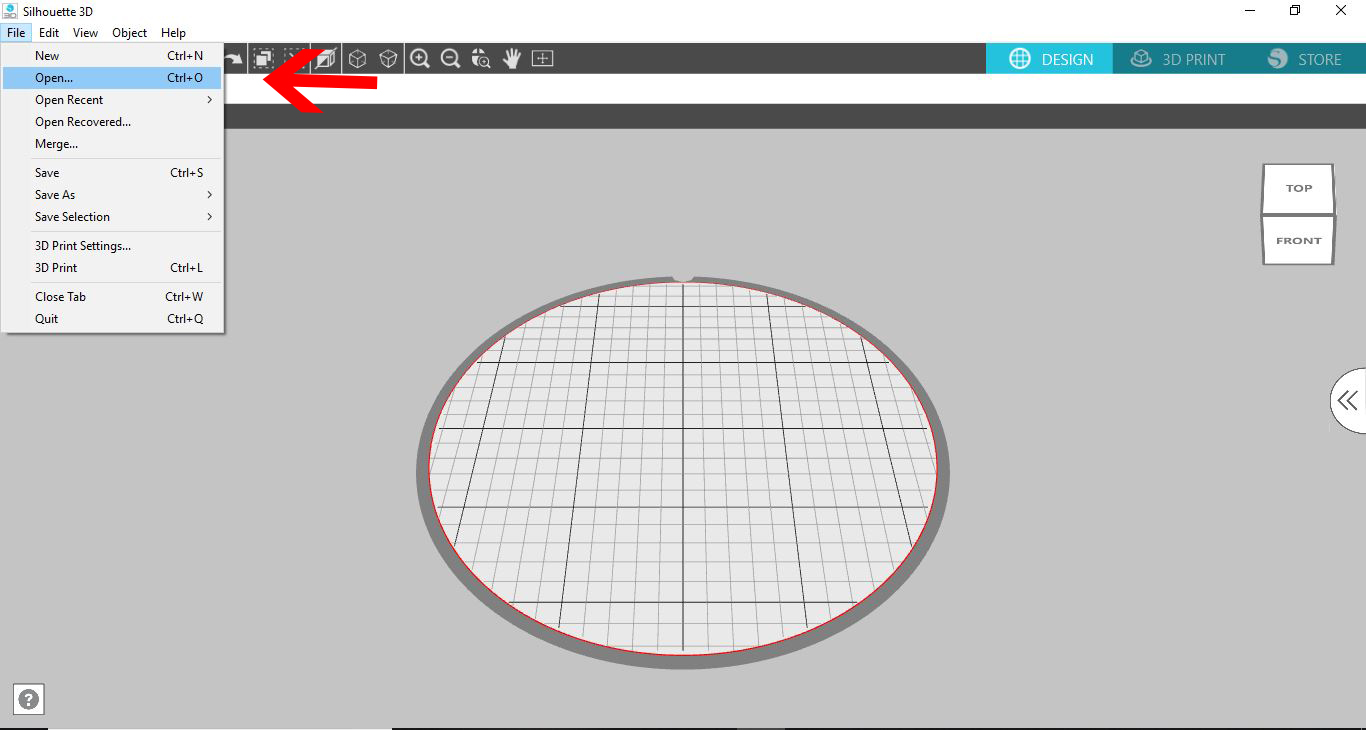
6- Go to File - Open.

7- Your design will appear on your design area.

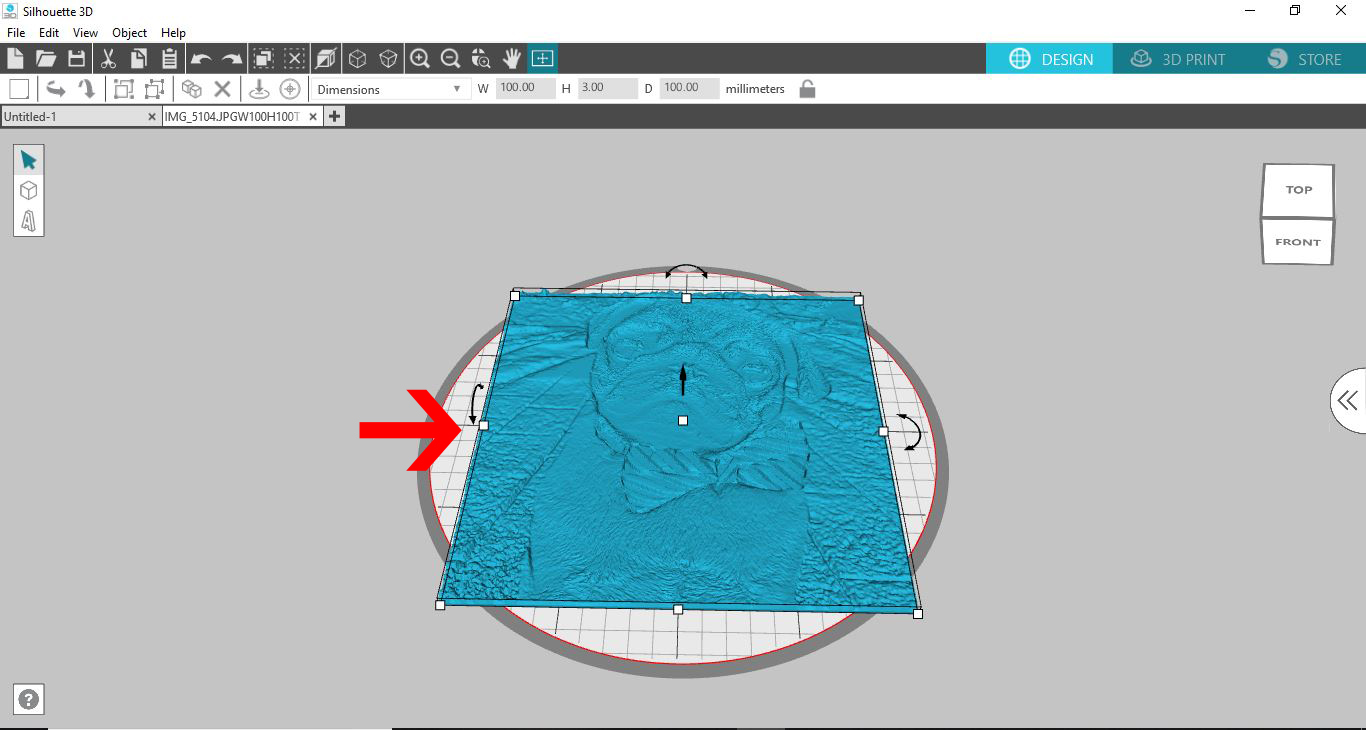
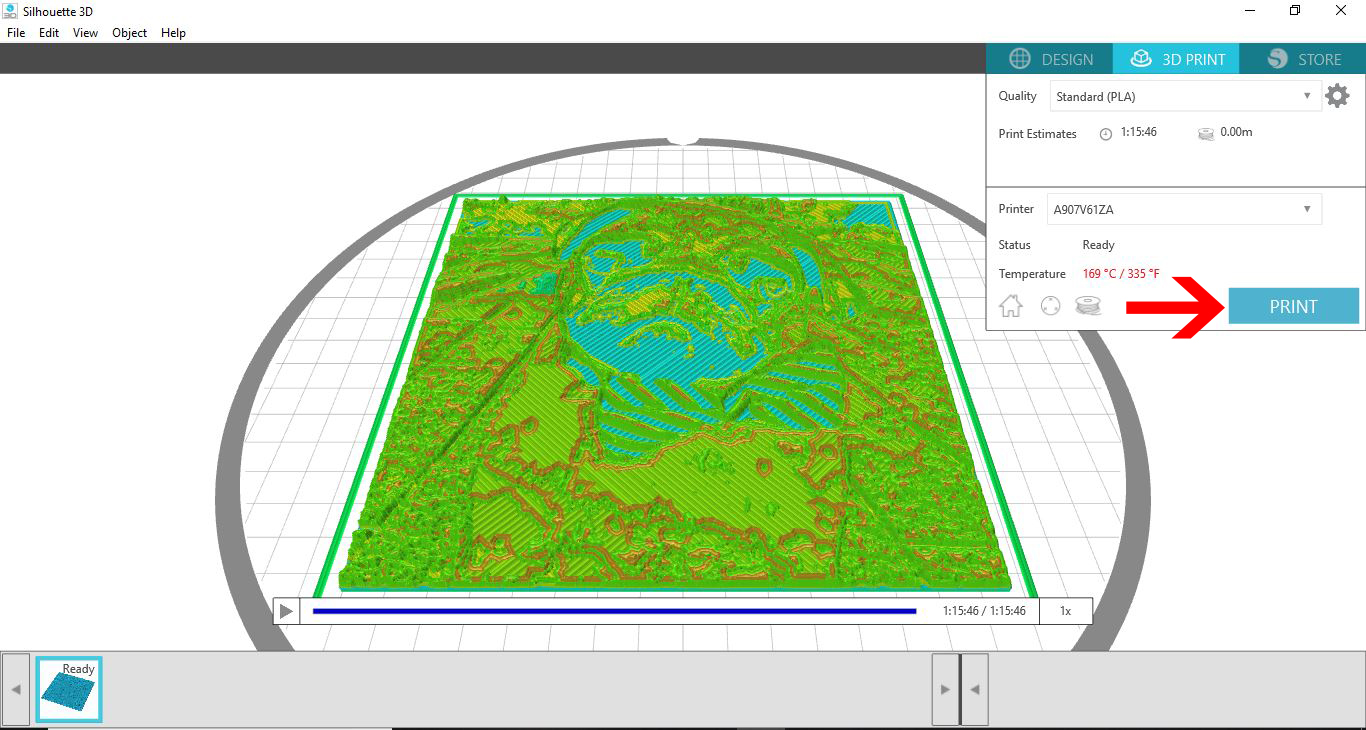
8- Resize to fit your plate. Do not adjust the thickness. this will need to stay as per the design. Click on 3D print.

9- Decide on your print quality (I recommend best for a lithophane) and then click on print.


6 Related Silhouette Tutorials

1- Open Silhouette Alta 3D software. Click on the right tab to access the library.2- Click on the library.3- Select a basic 2D file. Double click on it.4- A new window will appear. Select the cookie cutter option.5-  Your design will appear directly as a cookie ...

1- Open Silhouette Alta software. Click on the right tab to access the library.2- Click on your library.3- Select a silhouette or basic shape file. Double click on it.4- A new window will appear. Click on stencil box.5- The software will automatically create a stencil box ...

1- Open Silhouette Alta software. Click on the right side tab.2- Click on the library folder.3- Find a folder where you may have background files.4- Double click on your image.5- A new window will appear. Click on the stencil option.6- Your design will appear as ...

1- Open silhouette studio. First you need to find a design you would like to use as a border. you can download one from a purchased file or use a file you already own. I am going to use one I already have so I will go to my library.2...

1- Open Silhouette Alta software. Click on the shape icon.2- Select the cube shape.3- Select the cube.4- Adjust the size of the cube and the thickness to make a thin wall.5- Select the wall and right click. Duplicate.6- Duplicate 3 more times. Select one of the ...

1- Open Silhouette Studio Software (free edition). Click on your library if you have your shape saved. Alternately import your shape.2- Select your shape.3- Right click and ungroup the hearts.4- Select the heart you want to use.5- Type your text.6- Select the font you want ...

You may also like

Help Center