Designing pop up cards in brother scan and cut canvas workspace
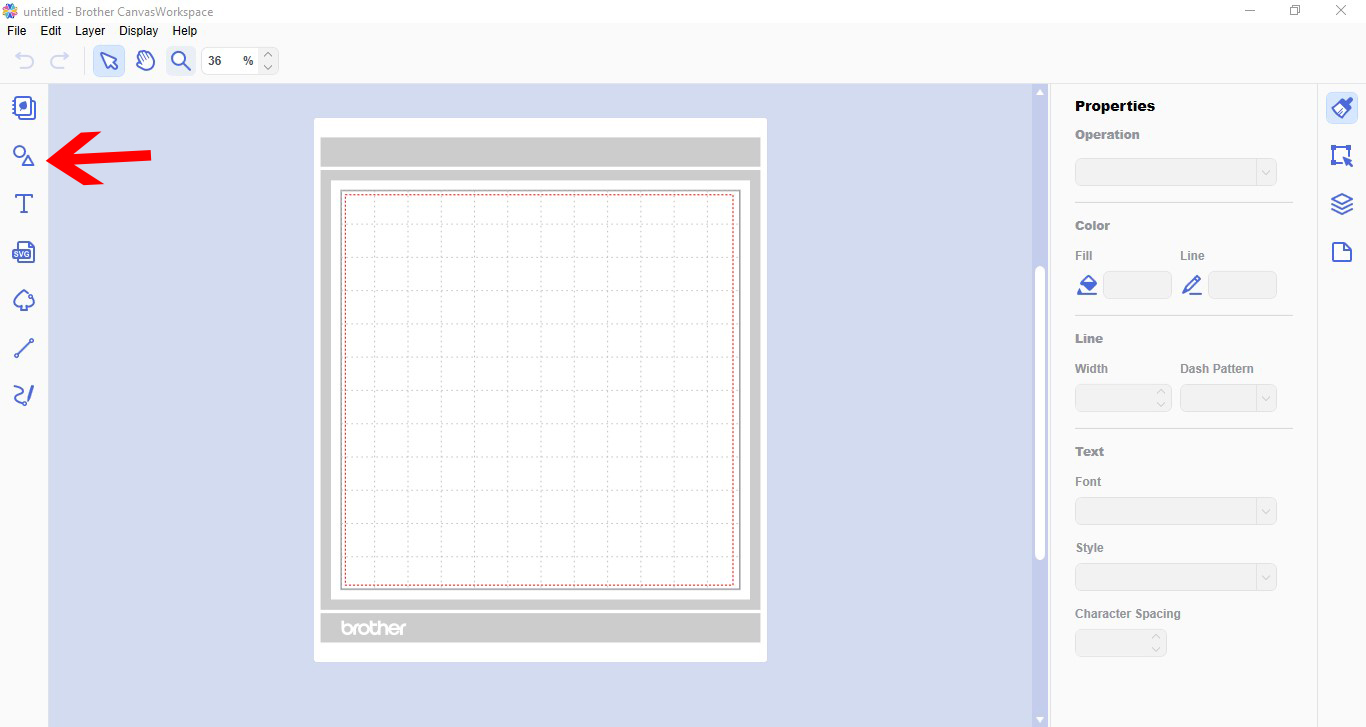
1- Open canvas workspace. Click on the shape tool.
2- Create a square.

3- Resize your square to create the size of your card unfolded.

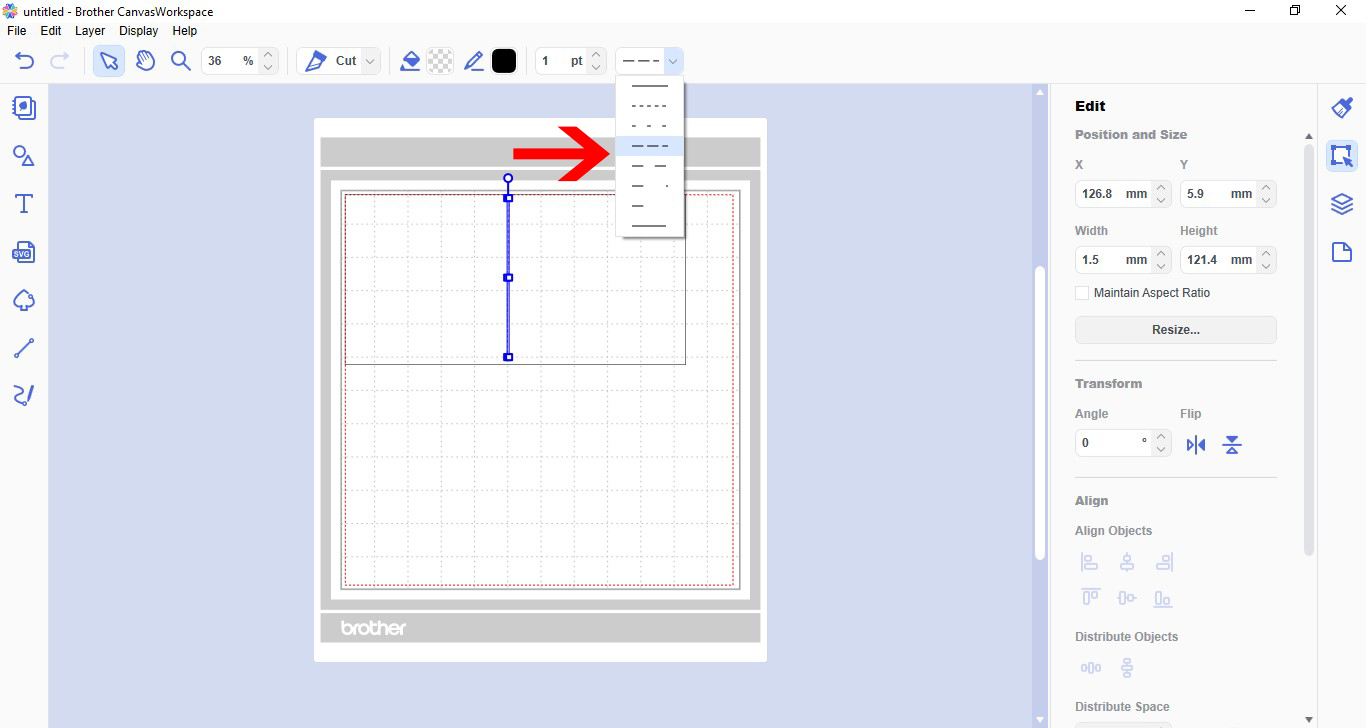
4- Select the path tool. Hold the shift tool and draw a straight line. Double click to end the path.

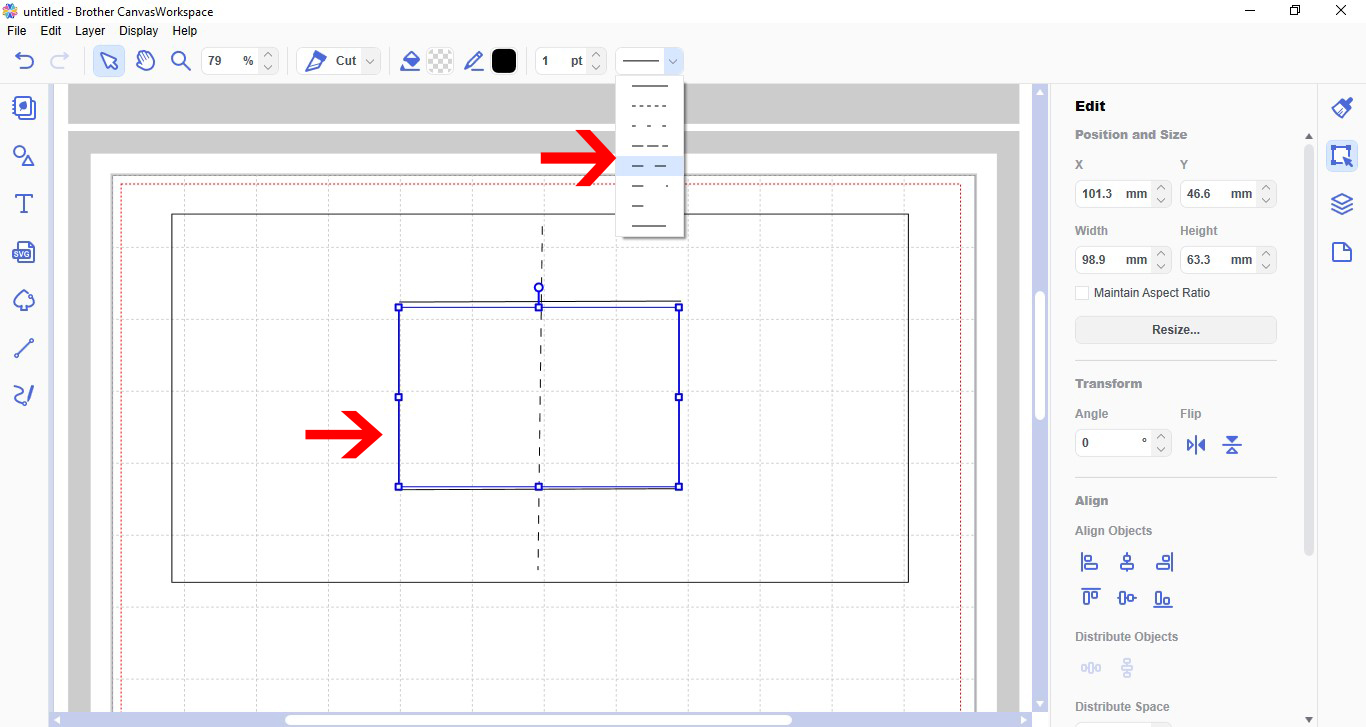
5- With the line selected change the line from cut to dash.
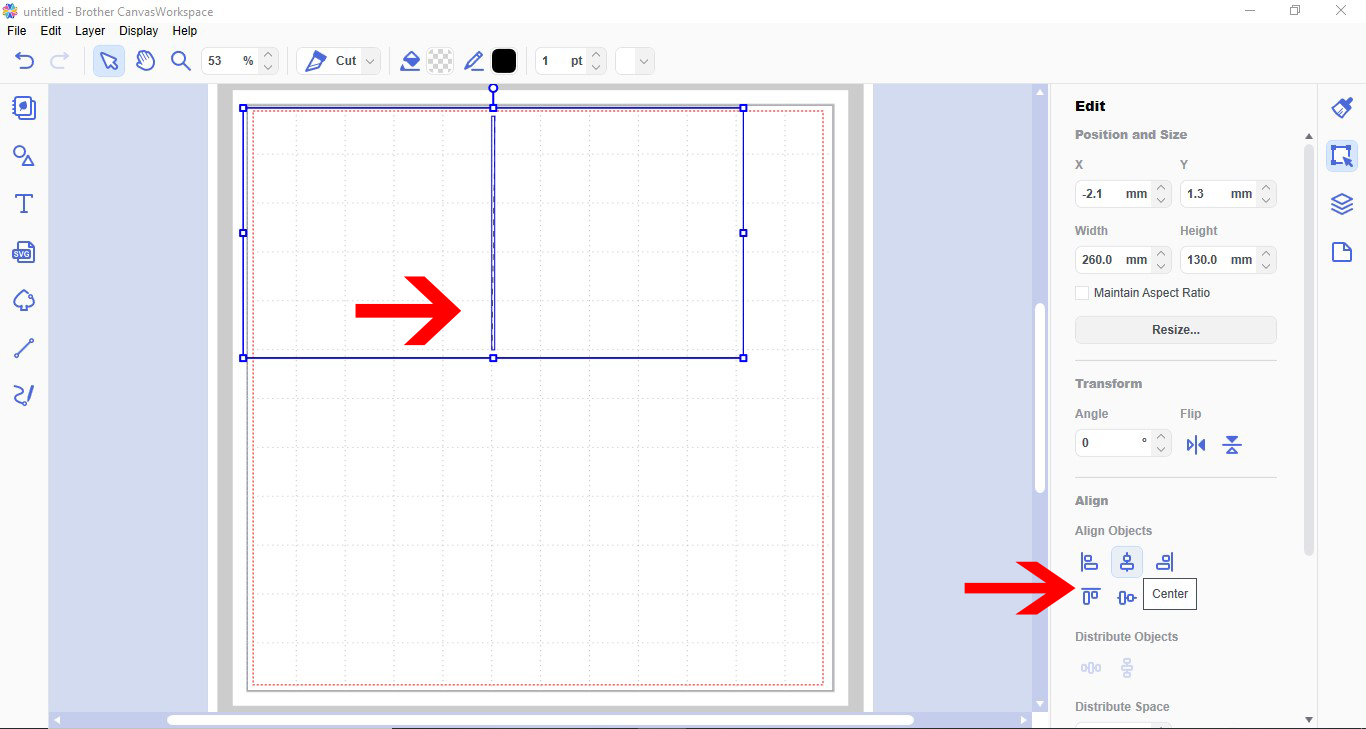
6- Select both shape and line. Centre the line using the align tool.
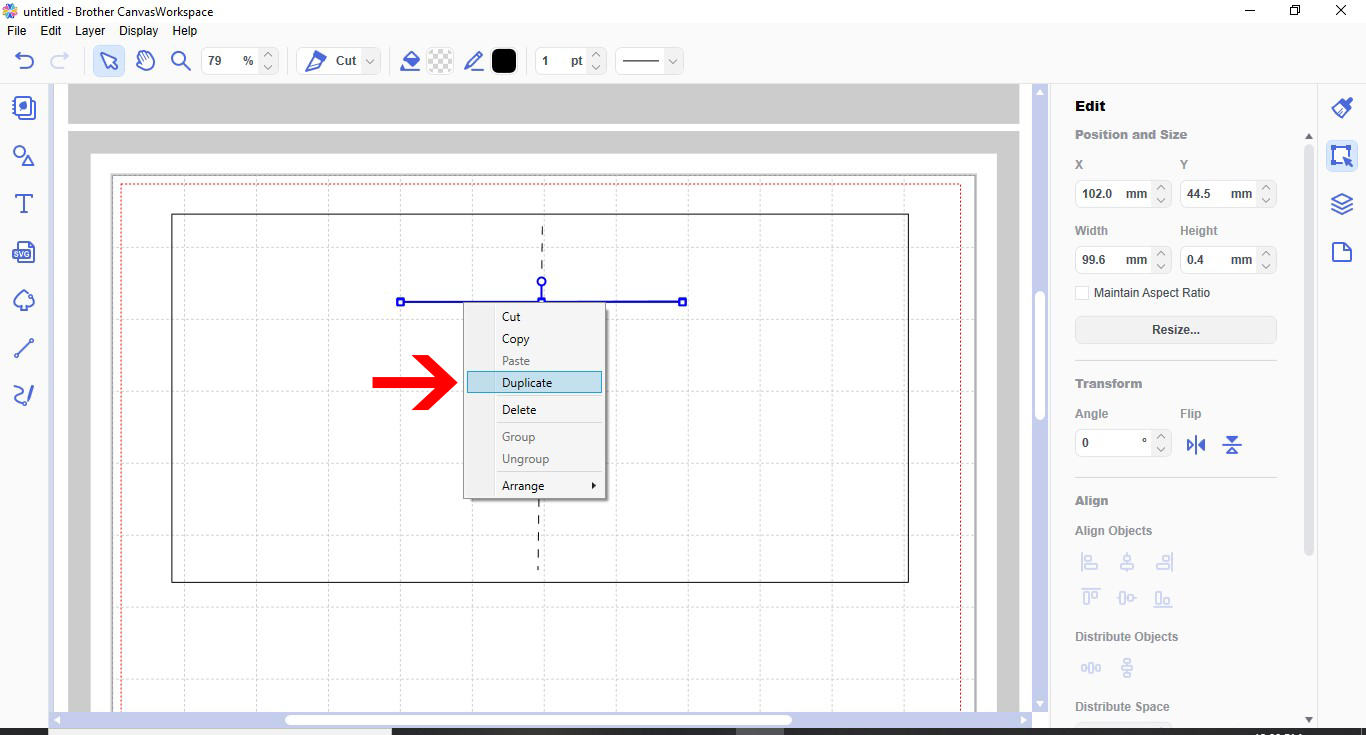
7- Using the path tool, hold the shift key and draw a horizontal line in the middle of the card base.

8- With the line selected, right click and duplicate.
9- Move the duplicated line toward the bottom of the card base.
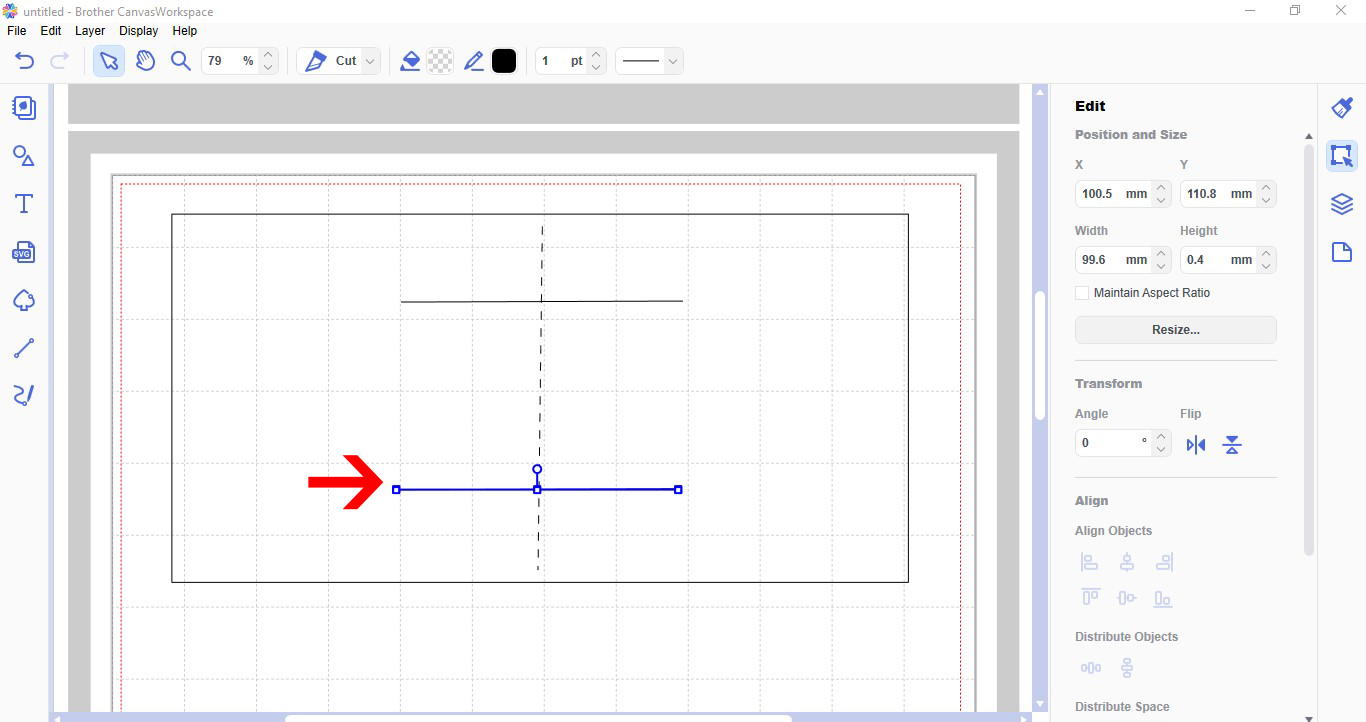
10- Select the 2 lines and card base and align to the centre.

11- Using the path tool again, hold the shift key and this time draw a horizontal line.
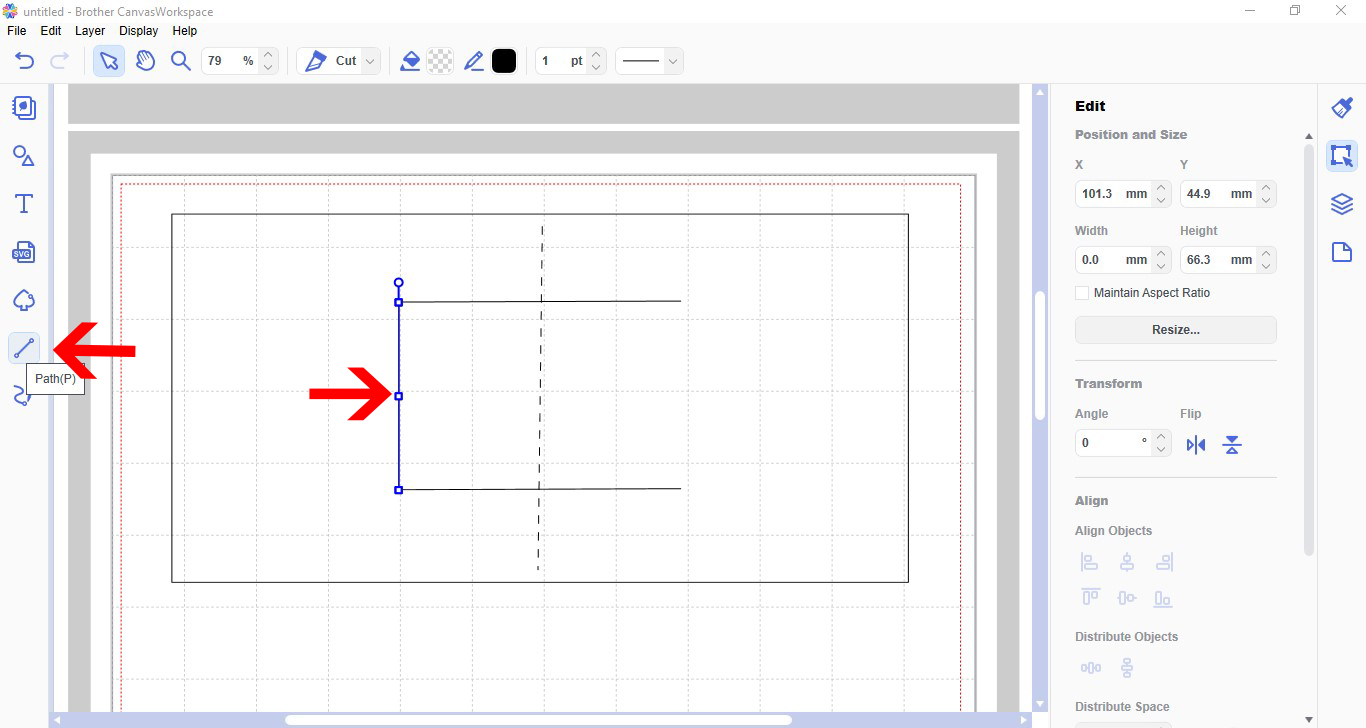
12- Duplicate the line.
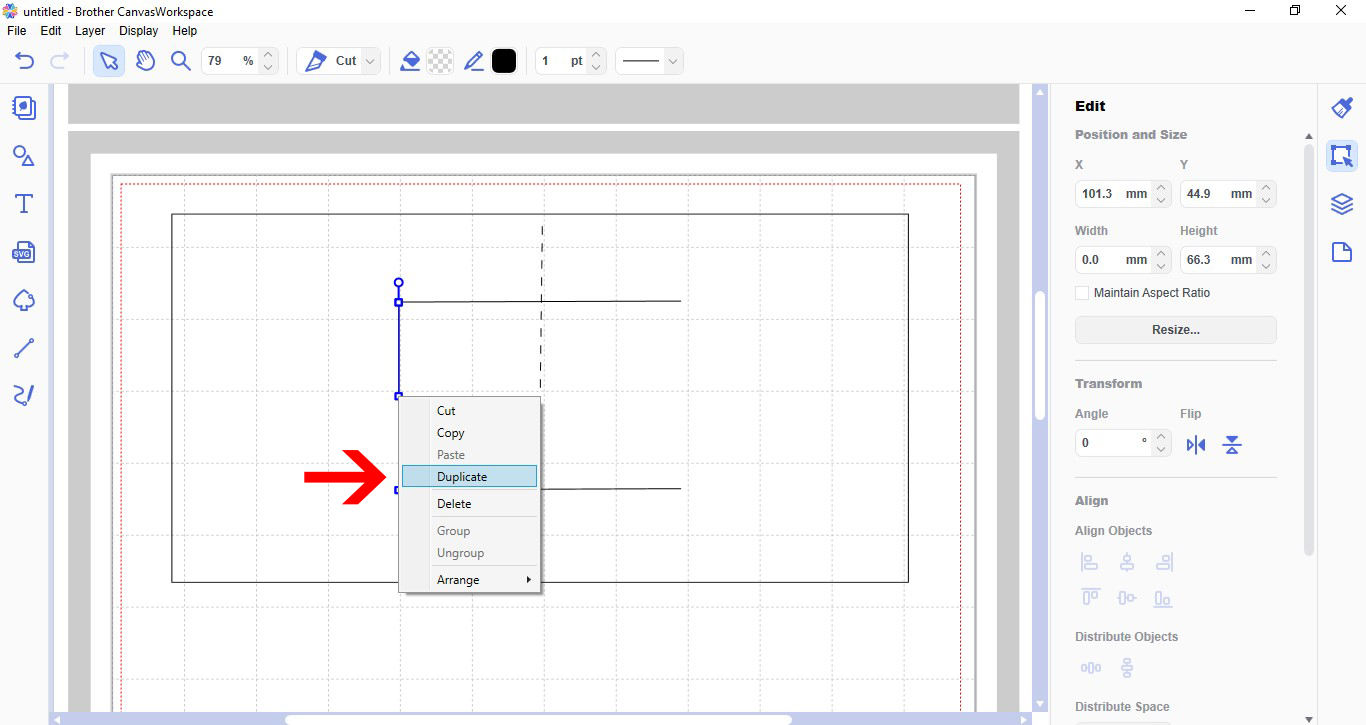
13- With both vertical lines selected, change the line from cut to dash.
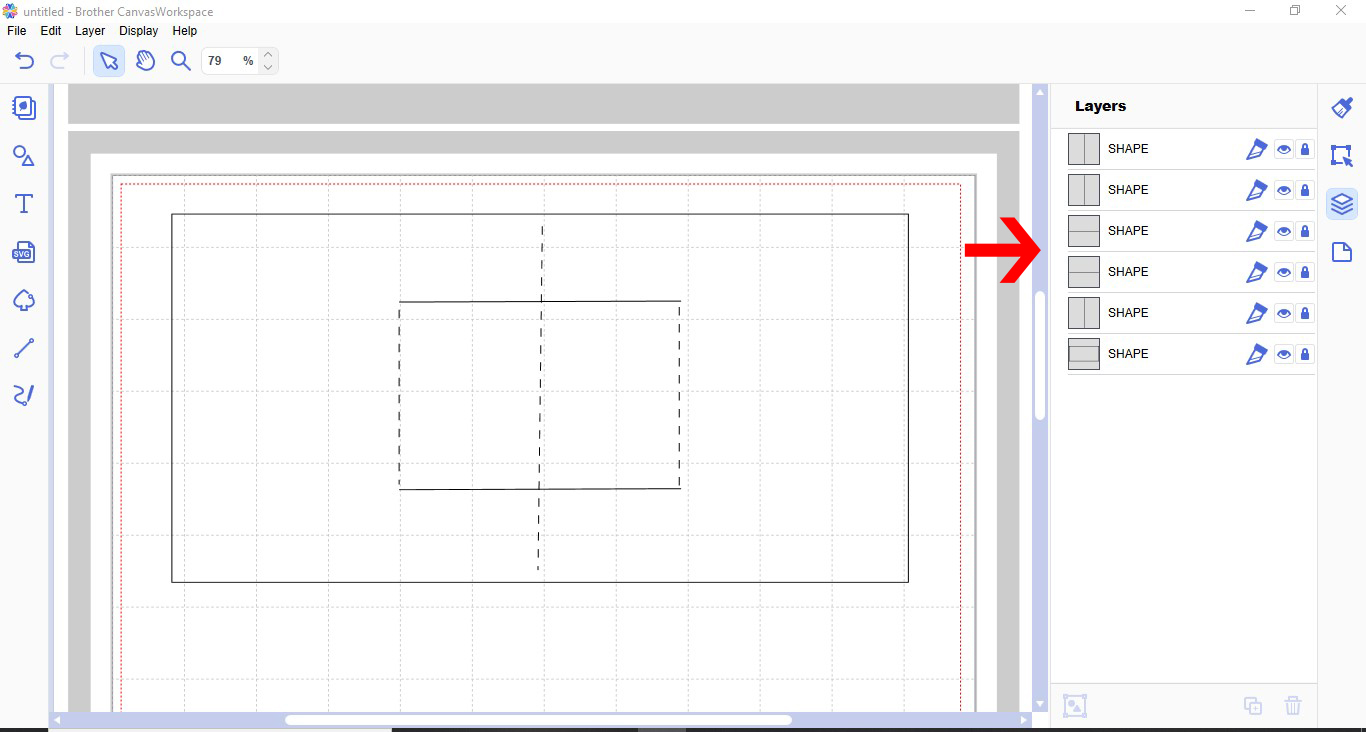
14- Click on the layers tab and lock all layers. This will keep the design from moving.