Unlimited Downloads 15% off Marketplace Purchases Exclusive Software Access Unlimited Downloads
15% off Marketplace Purchases
Exclusive Software Access
Go Unlimited Maybe Later
  • By Design Bundles
  • 05 Nov 2017
  • Scan N Cut Tutorials

Creating frames in brother scan and cut canvas workspace

1- Open canvas workspace. Click on the shape tool.


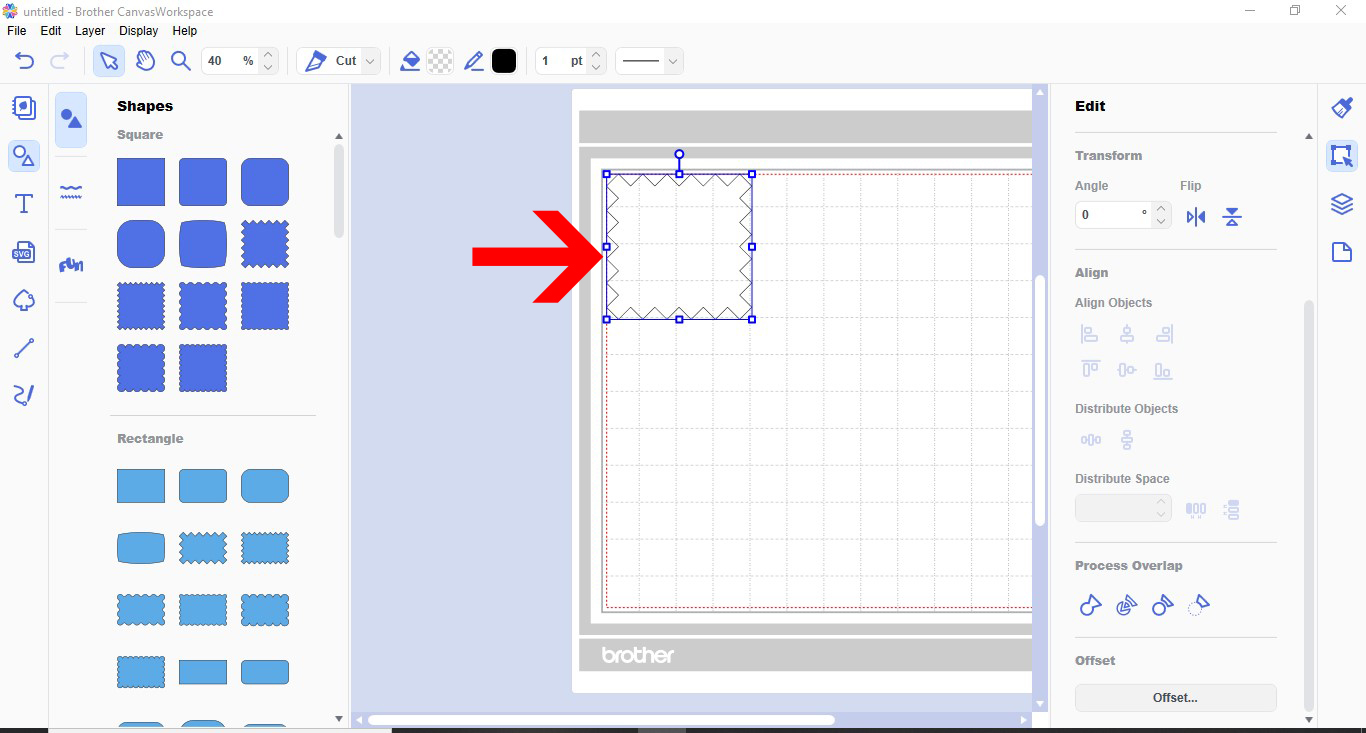
2- Select your shape.


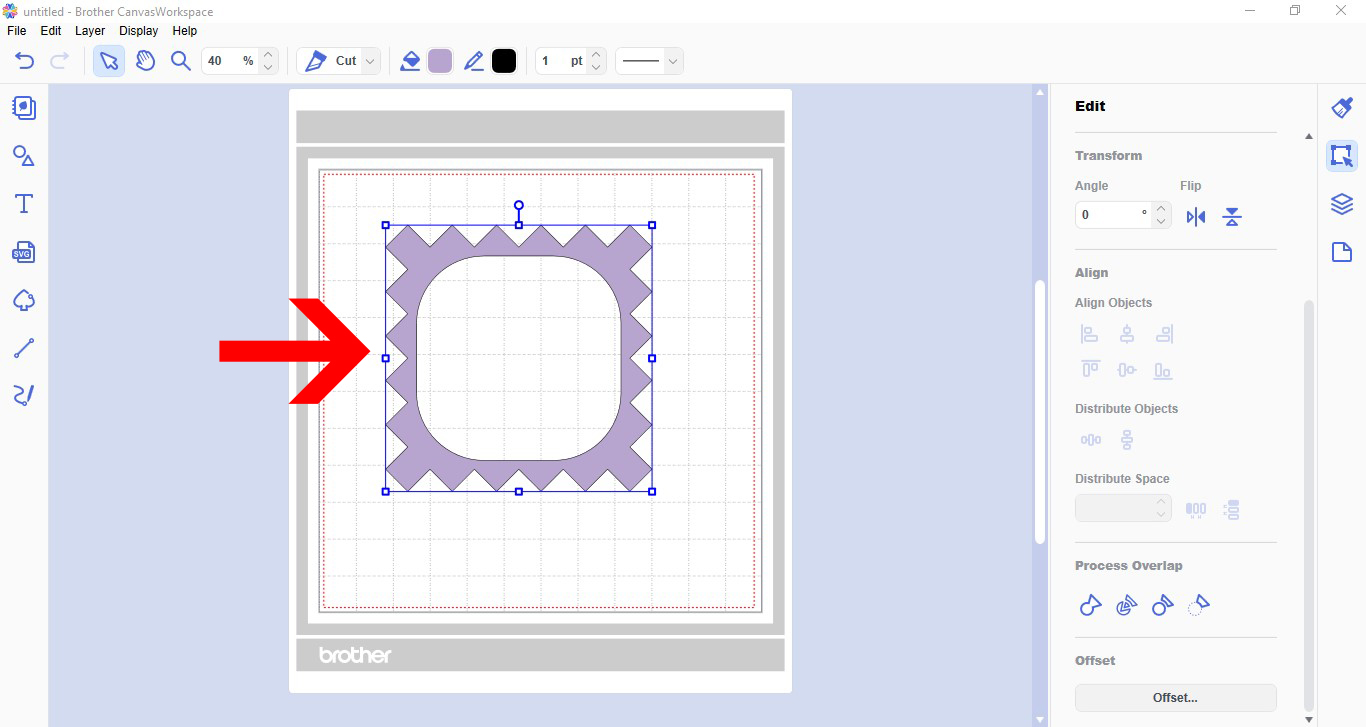
3- Select a second shape for the inside of the frame.


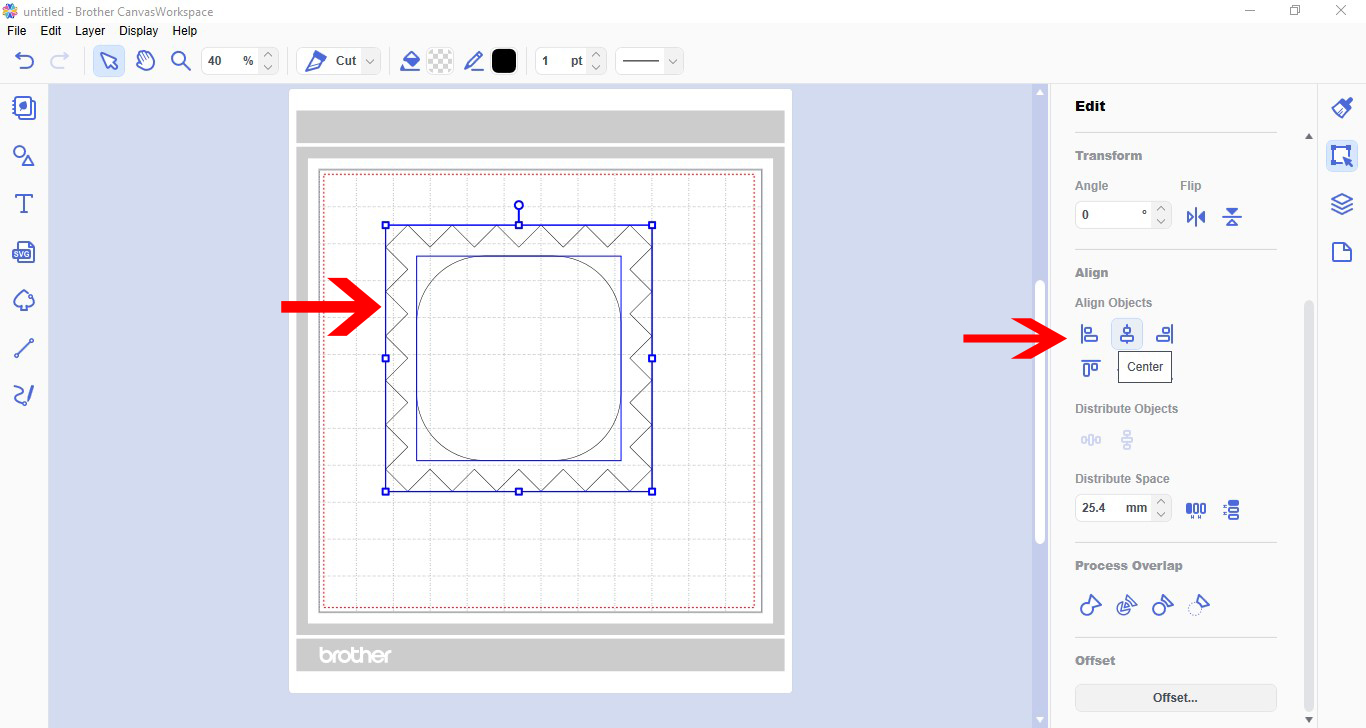
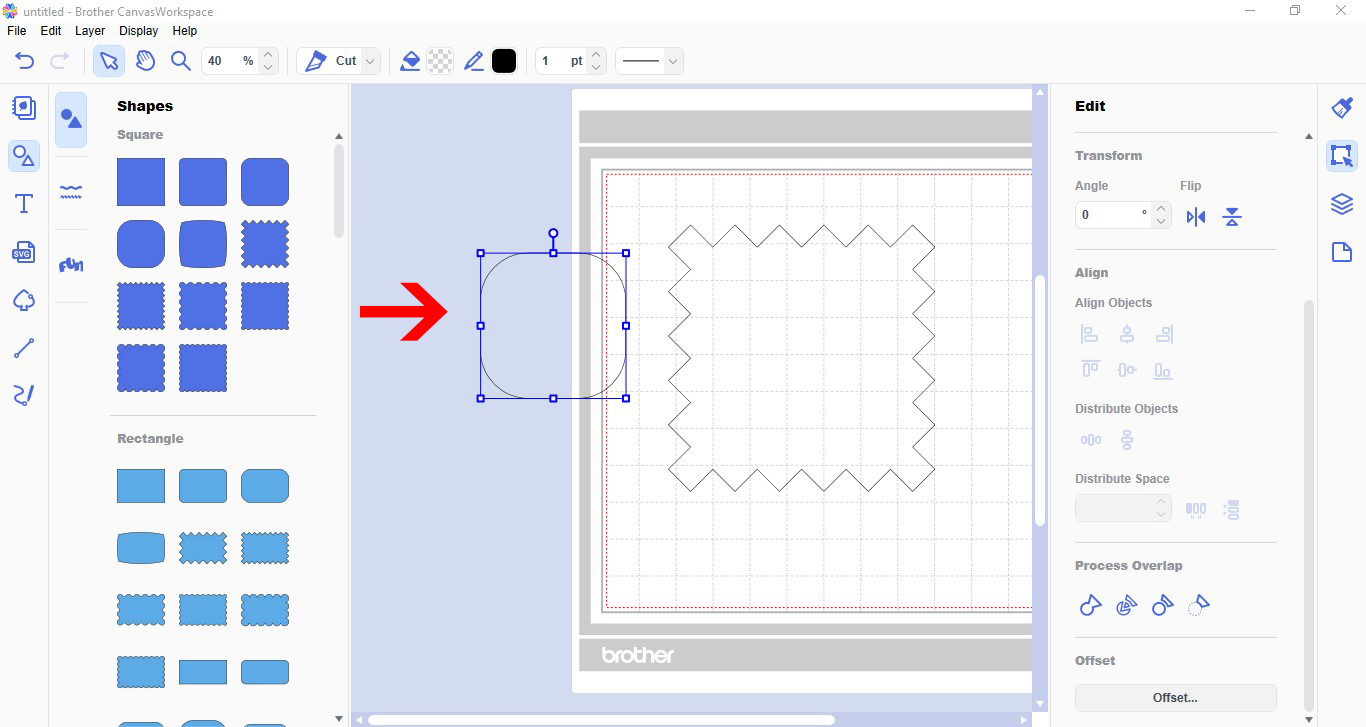
4- Place one inside the other. with both selected, go to the align tool and align centre and middle.


5- With both shapes selected, go to process overlap and select subtract.


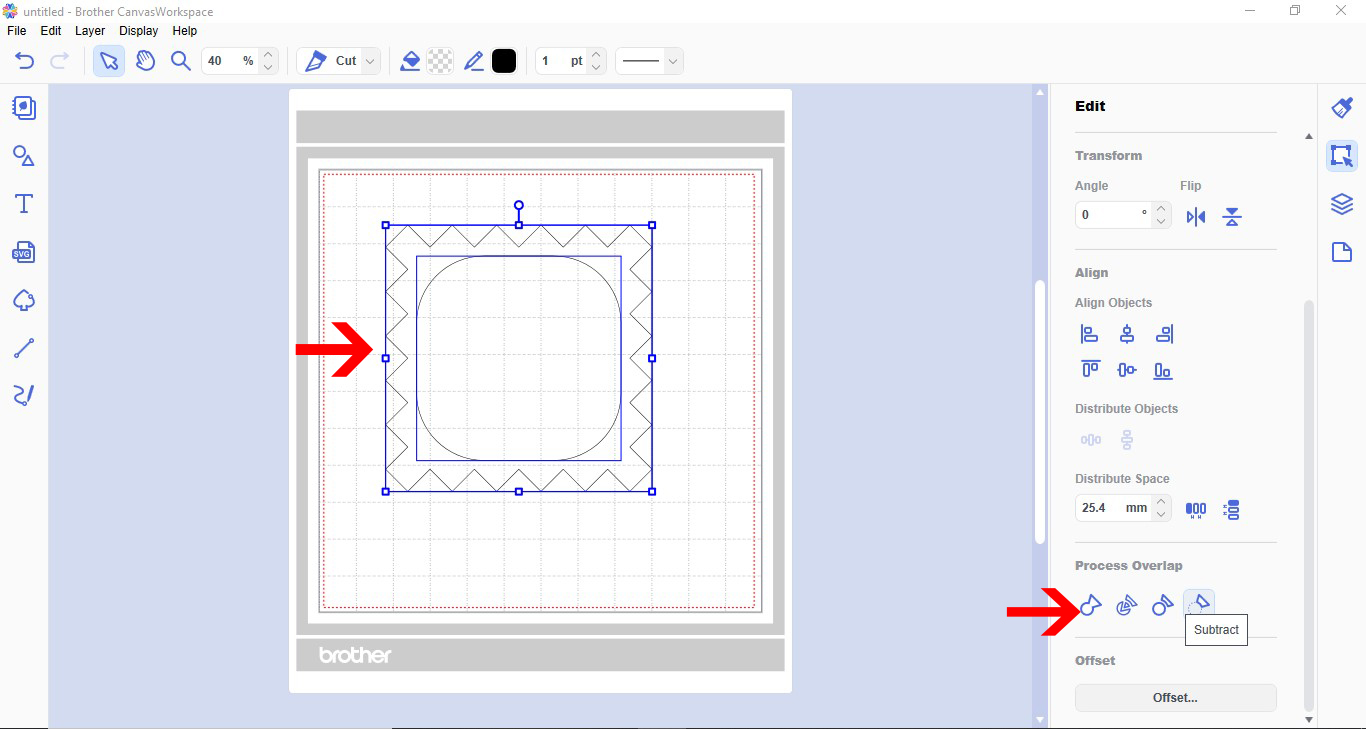
6- You now have a frame. You can fill the frame with colour to print and cut or just cut the design.


Save

6 Related Scan N Cut Tutorials

1- Open scan and cut canvas workspace. Click on the text icon.2- Click on the font drop down box. And select your font. I am using Bobbie script from Font Bundles.3- Make sure that all your letters are touching. Click on the edit icon.4- Click on the ...

1- Open canvas workspace. Click on the text icon.2- Type your letters you want to interlink. Make sure you type each one separate.3- Change font to the one needed. Layer each letter on top of each other where you would like them to interlink.4- Select one of ...

*CM900 used.1- Open canvas workspace. Click on the text icon.2- Type your text.3- Change your font. I am using Garlic butter font from Font Bundles.4- If any letters are overlapping, click on the weld tool. Once all welded, click on offset.5- In the offset window, ...

(previously error ERRS07)1- Open canvas workspace. Click on the shape tool.2- Add your design. you can insert a SVG or create your own.3- When you have a design and you want to weld another design to it, sometimes you can get an error message. One of the ...

1- Open canvas workspace. Click on the shape tool.2- Select the shape or design you need the stitching on. You can upload an SVG file to place the stitching on as well as any shape in the toolbox.3- With your design selected, click on the offset icon. A ...

1- Open canvas workspace. Click on the shape tool.2- Select a rectangle.3- Using the edit tool, Change the size of your rectangle to make it long and thin.4- With your thin shape selected, right click and duplicate.5- Move the duplicate under the original.6- Align the 2 ...

You may also like

Help Center
ol image