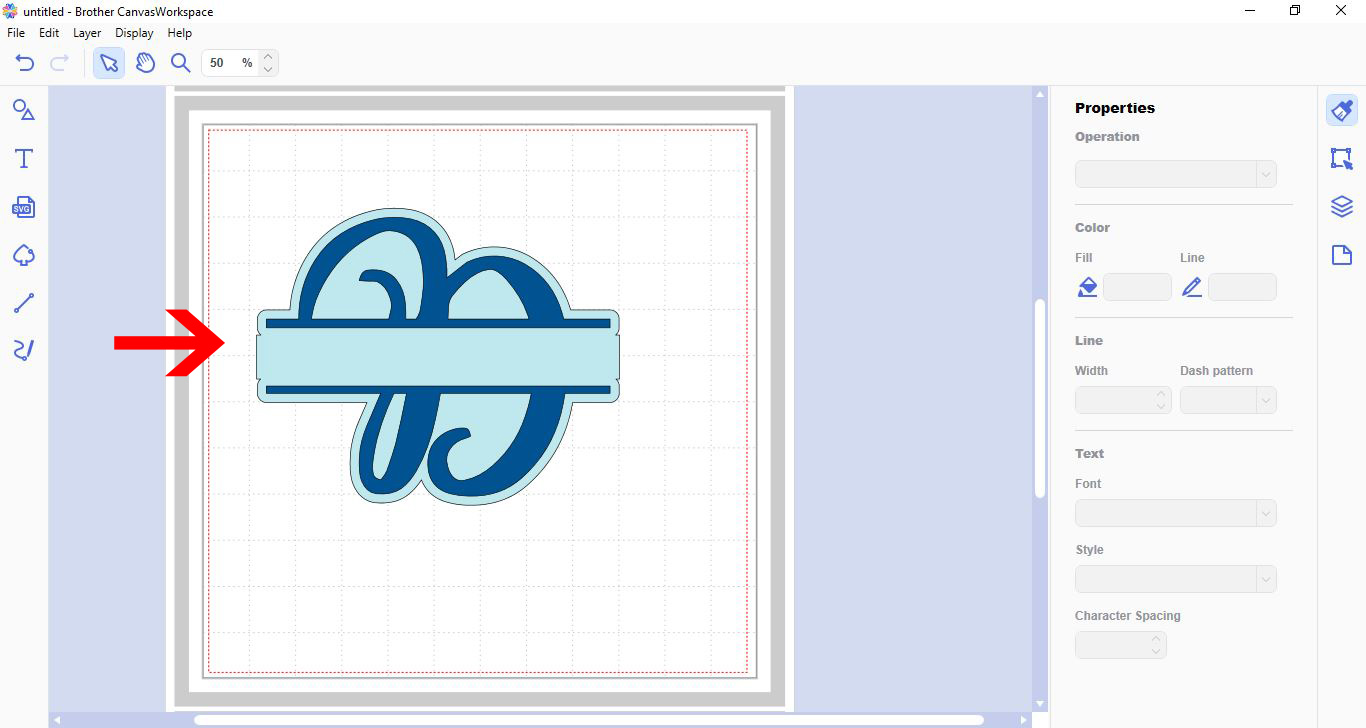
Creating a split monogram with Brother scan and cut canvas workspace
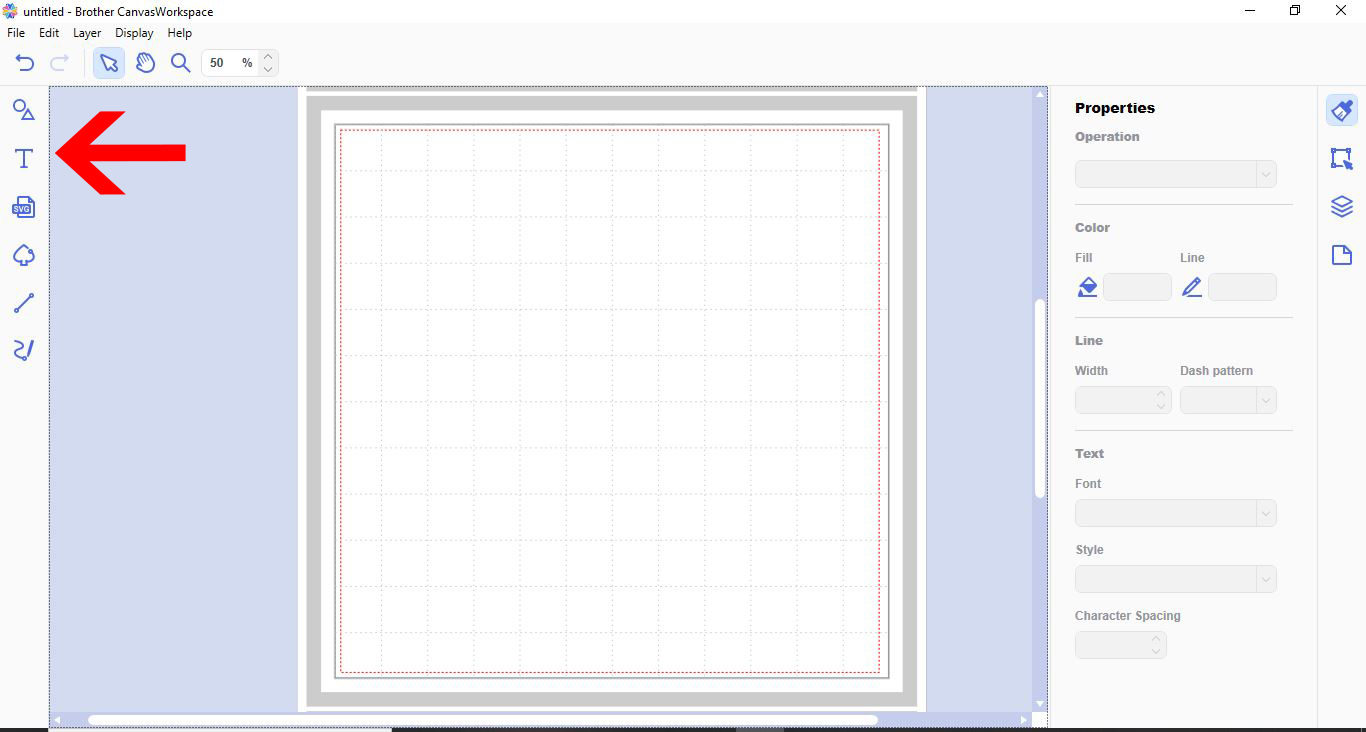
1- Open scan and cut workspace. Click on the text icon.
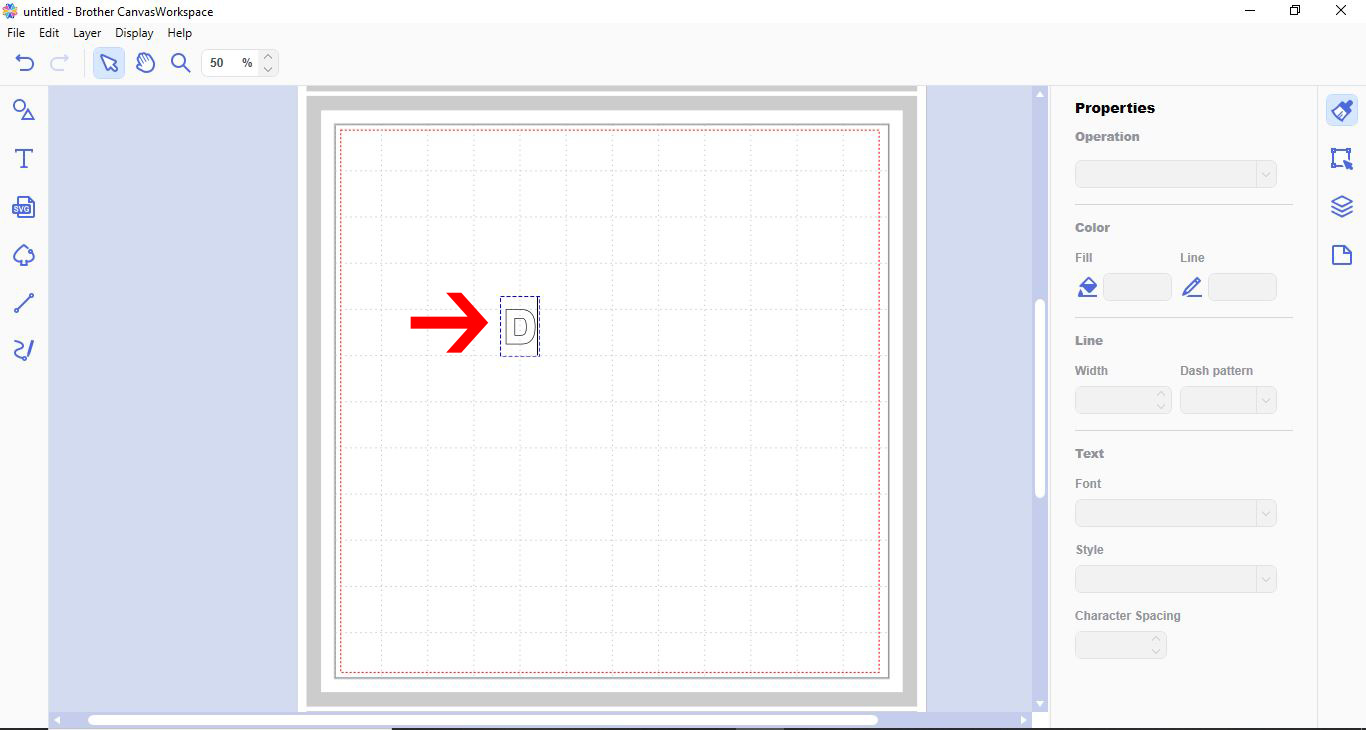
2- Type the letter you would like to make into a monogram.
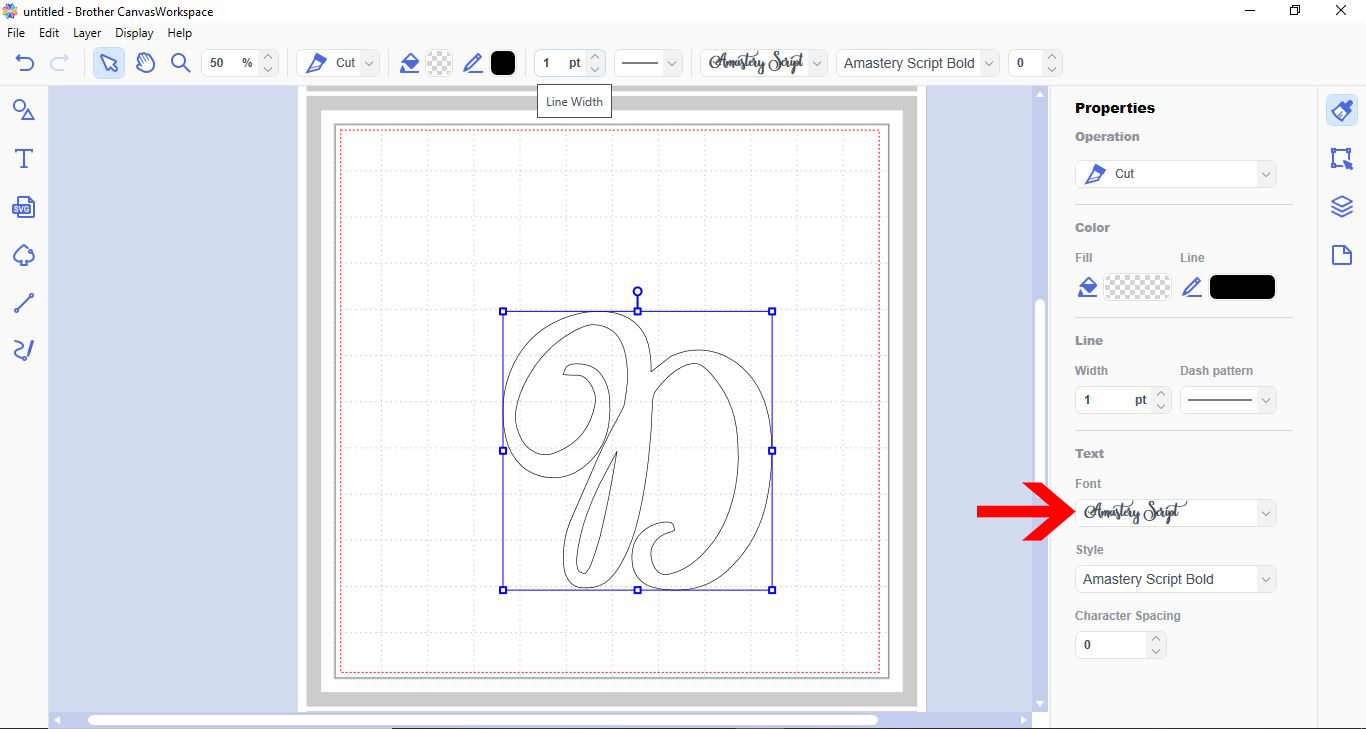
3- Select the font you want to use for your monogram. I am using Amastery Font Duo created by BlackCatsMedia.
4- Resize your letter. Select the shape tool. Next select a rectangle.
5- Select the rectangle.
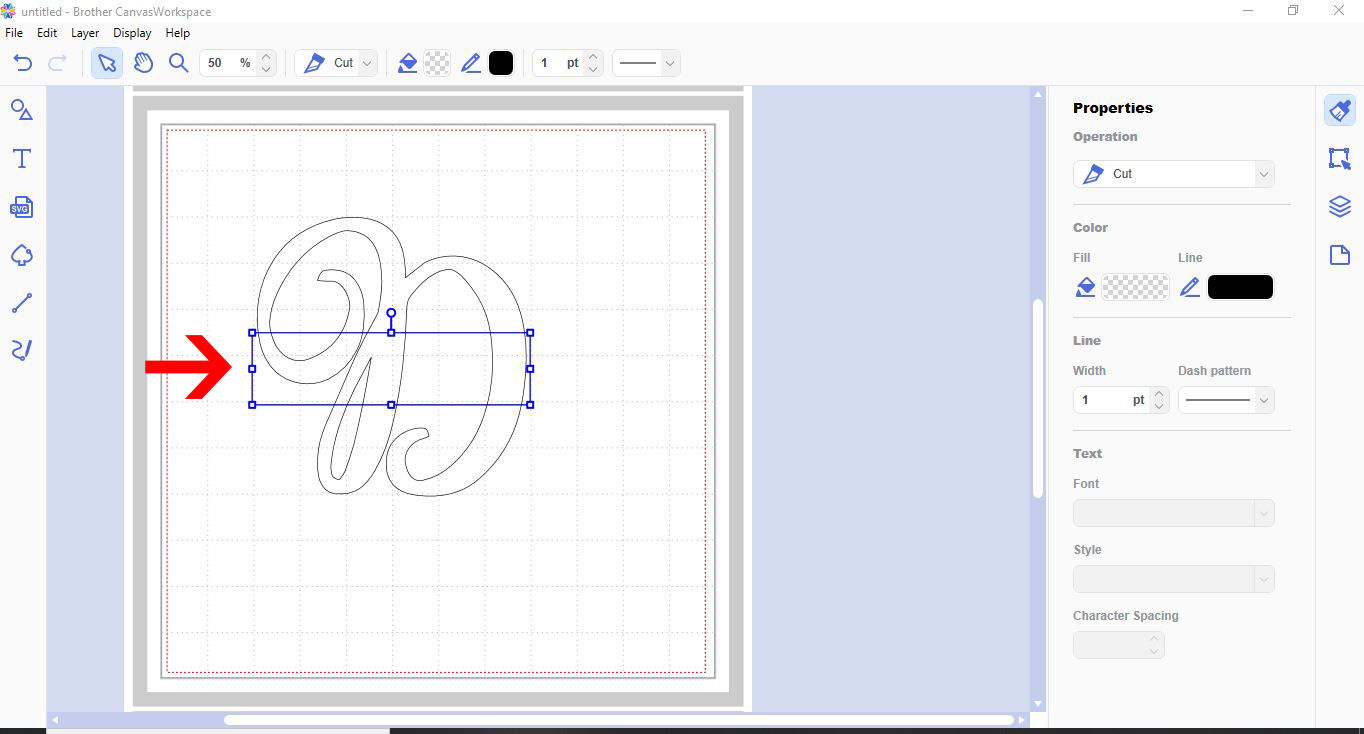
6- Resize the rectangle to be the width of your letter and place over the letter.
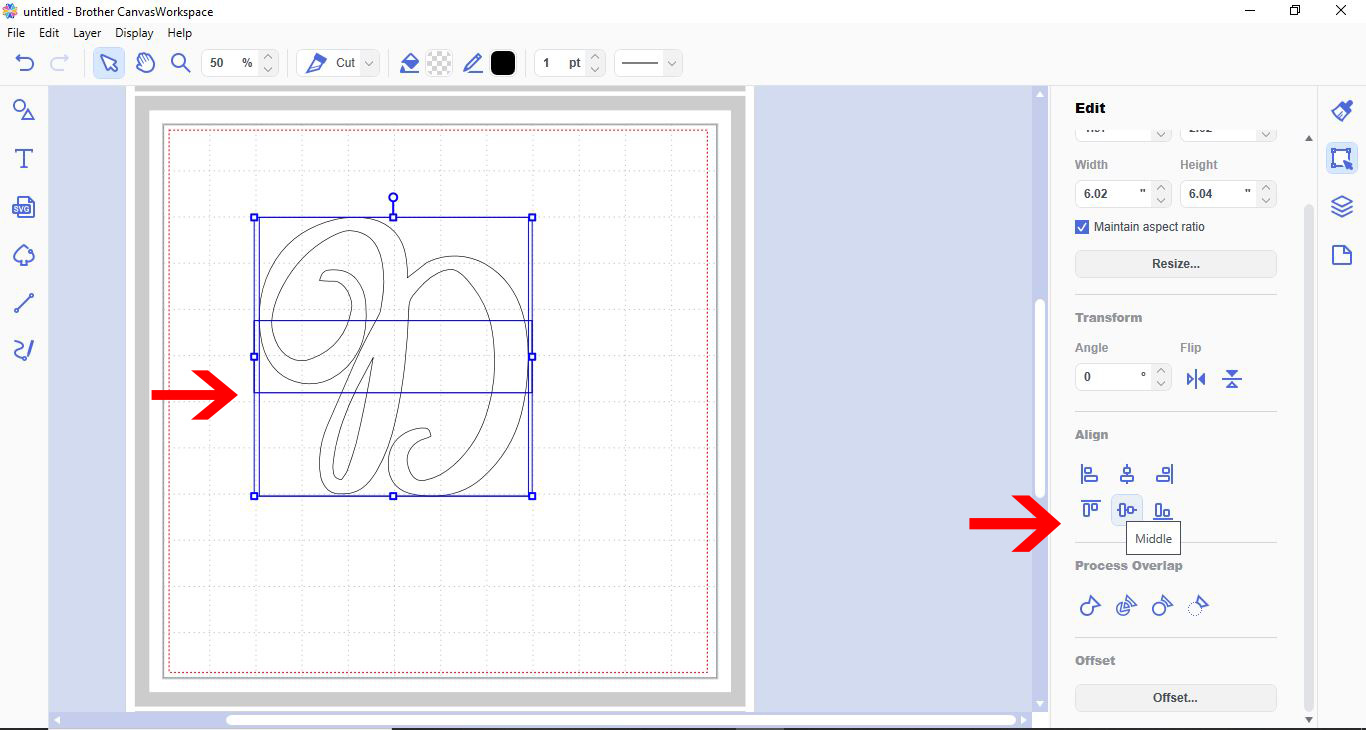
7- Use the align tool to make sure the rectangle is in them middle.
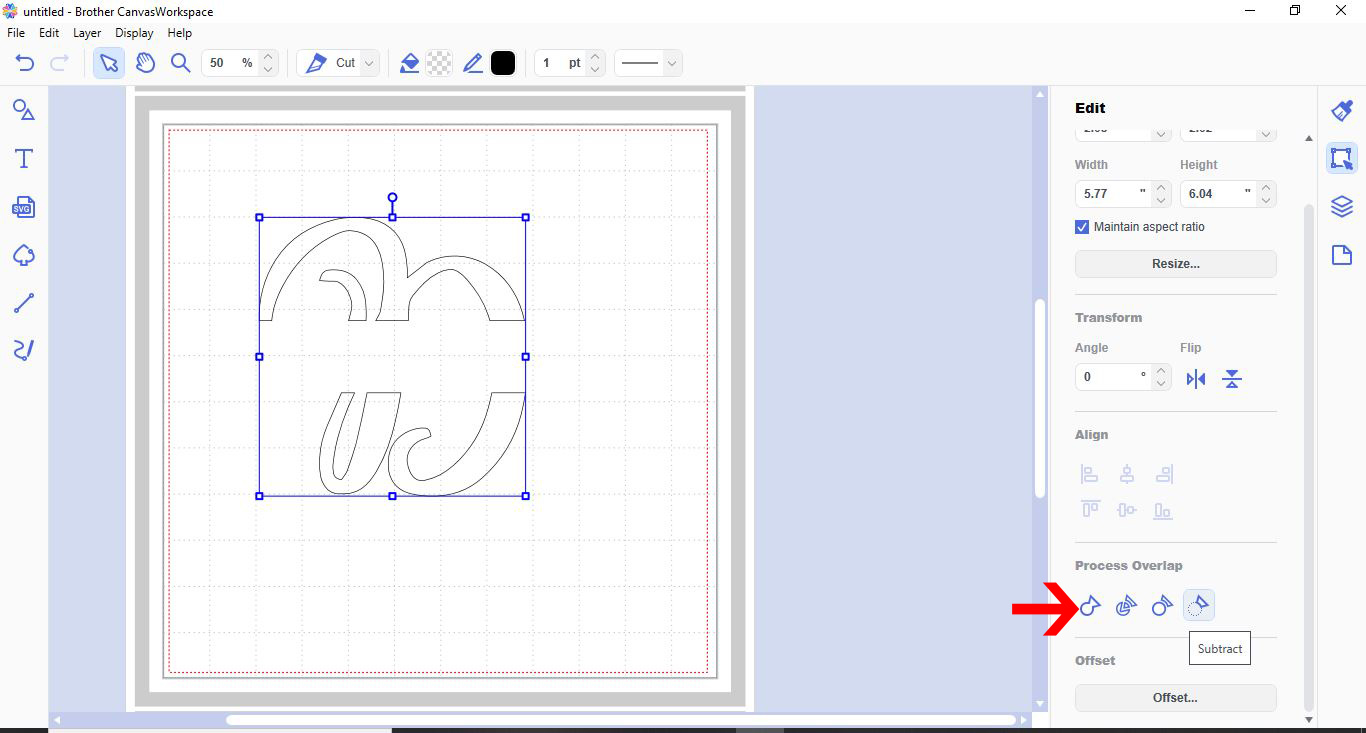
8- With both the rectangle and the letter selected, go to the process overlap tool and select subtract.
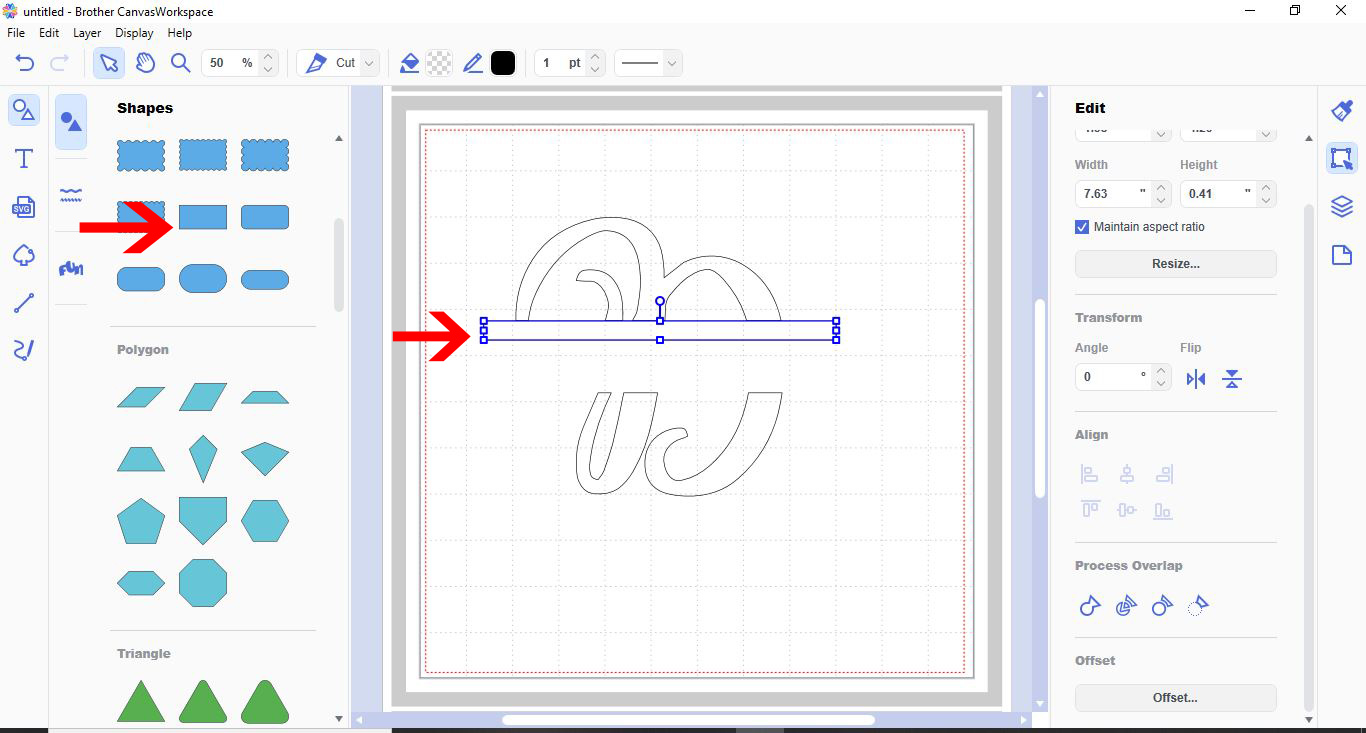
9- Go back to the shape tool and create another rectangle. This time make the rectangle thin and slightly longer than the letter.
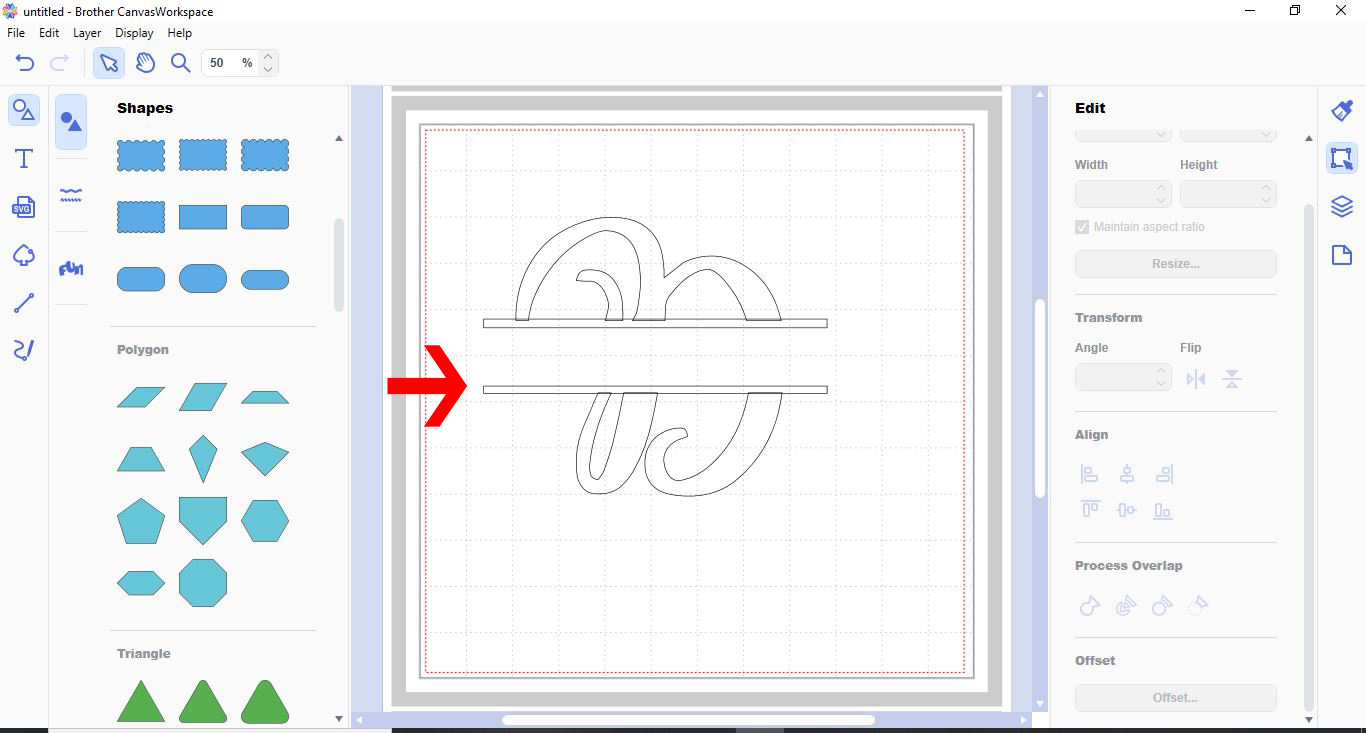
10- Duplicate the rectangle. place the 2 rectangles at the top and bottom of the split in your letter, with both of them slightly overlapping over the letter.
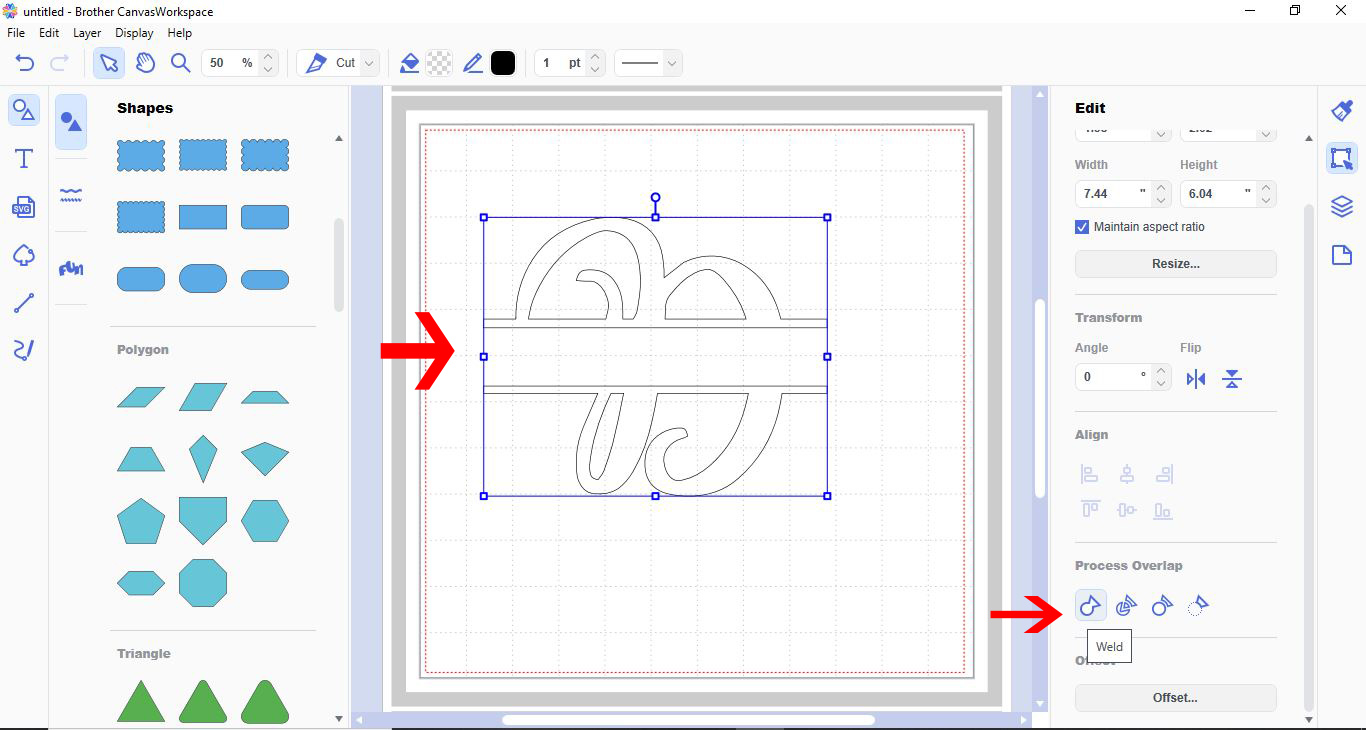
11- Select the rectangles and the split letter. Click on weld.
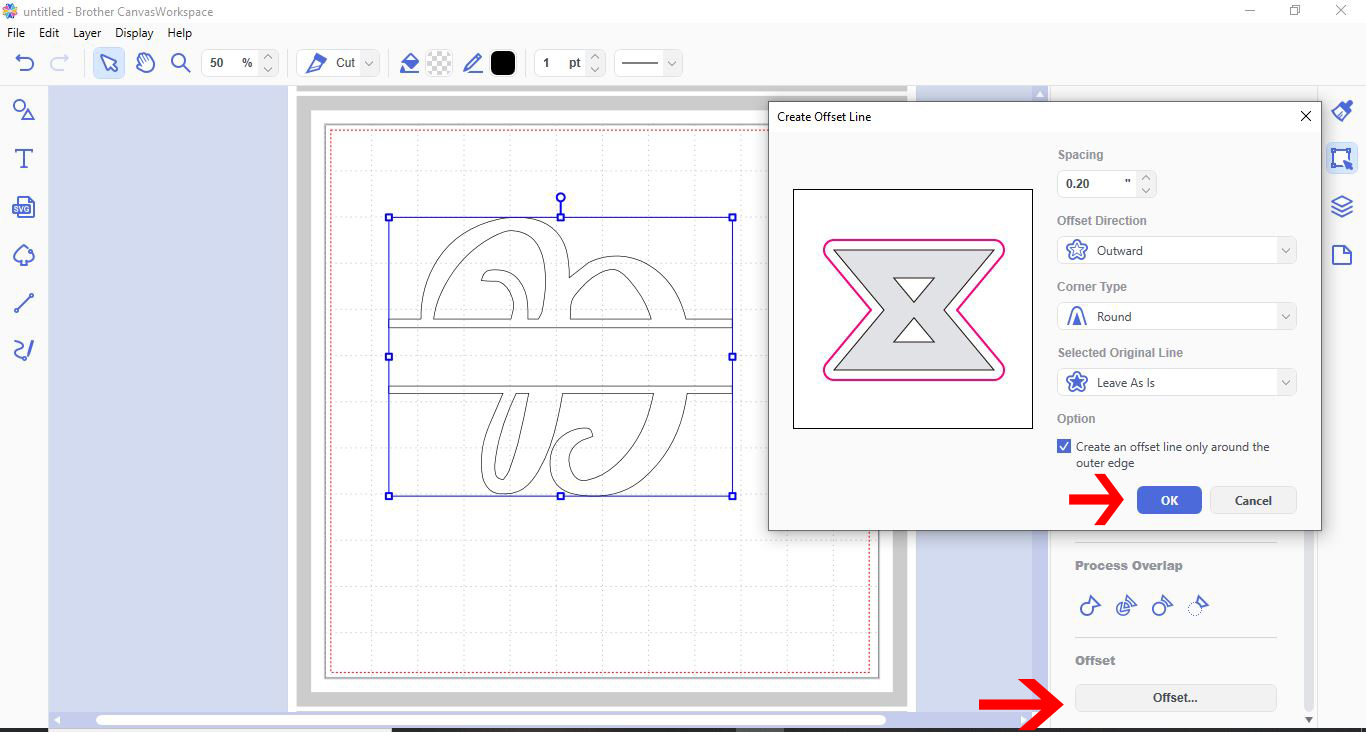
12- We now need to make an offset on the letter. Click on the offset icon. a new window will appear. Leave the default settings. and click ok.
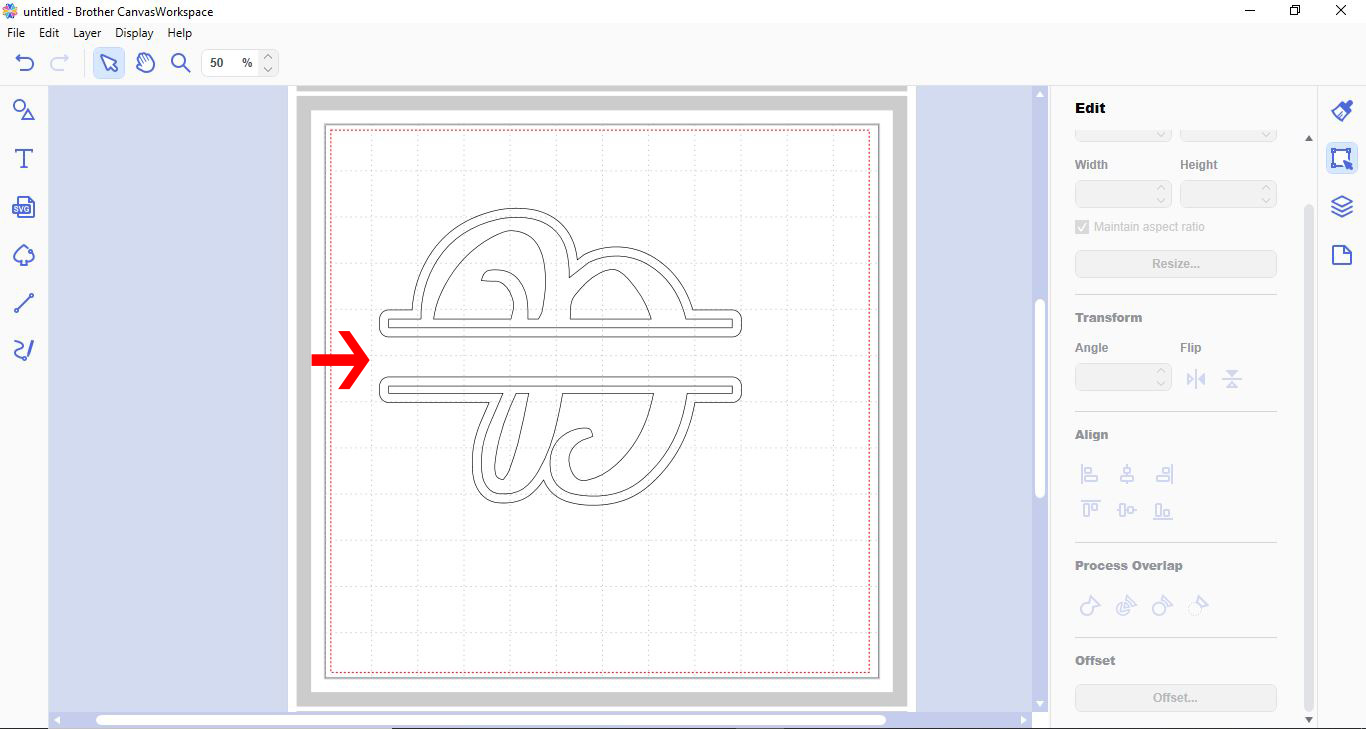
13- You now have a offset. Now we need to fill the middle space of the monogram so we can color fill it.
14- Go to the shape icon and create a rectangle.
15- Resize the rectangle to fit in between the 2 parts of the monogram. Make sure the rectangle slightly overlap's the monogram.
16- Select all parts of the design. Go to process overlap and click on weld.
17- Now you have 2 separate parts. You can fill The background with one color and the monogram letter in a second color.
you can also add other text inside the split of the monogram.
2- Type the letter you would like to make into a monogram.
3- Select the font you want to use for your monogram. I am using Amastery Font Duo created by BlackCatsMedia.
4- Resize your letter. Select the shape tool. Next select a rectangle.
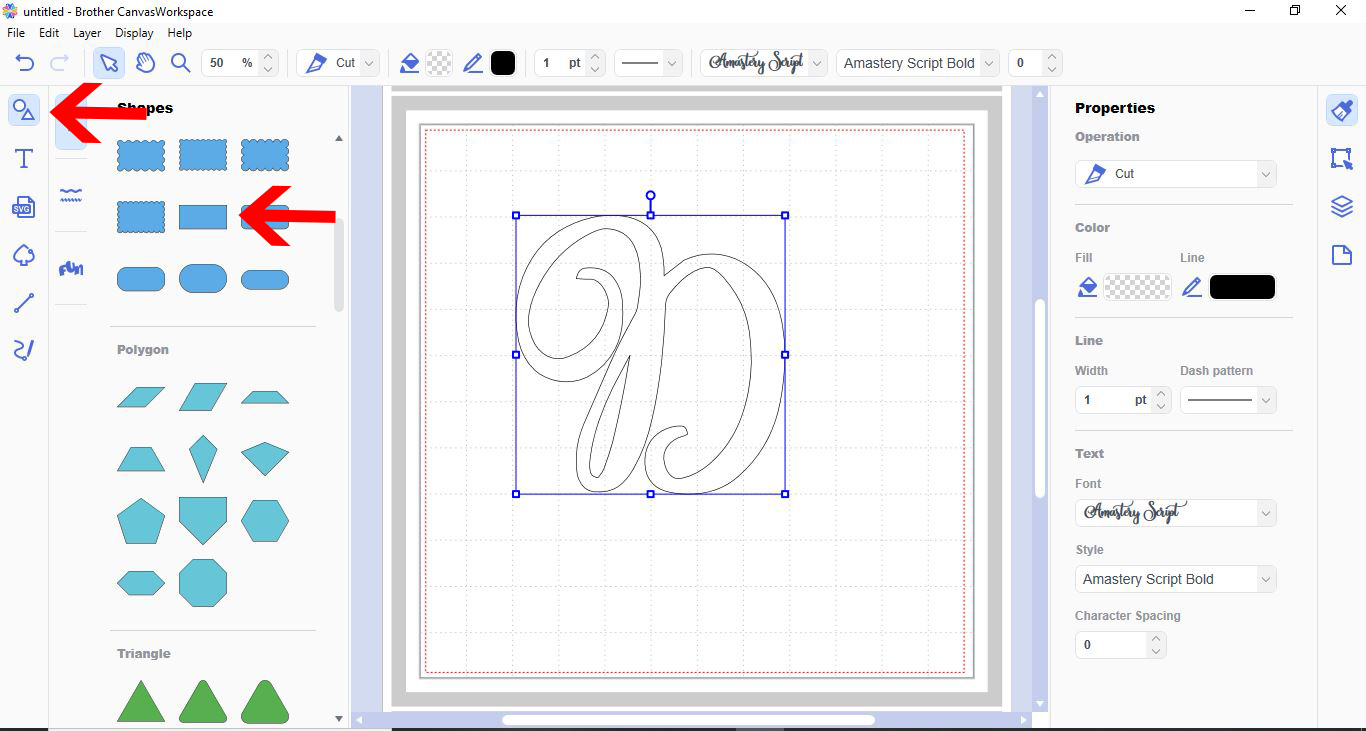
5- Select the rectangle.
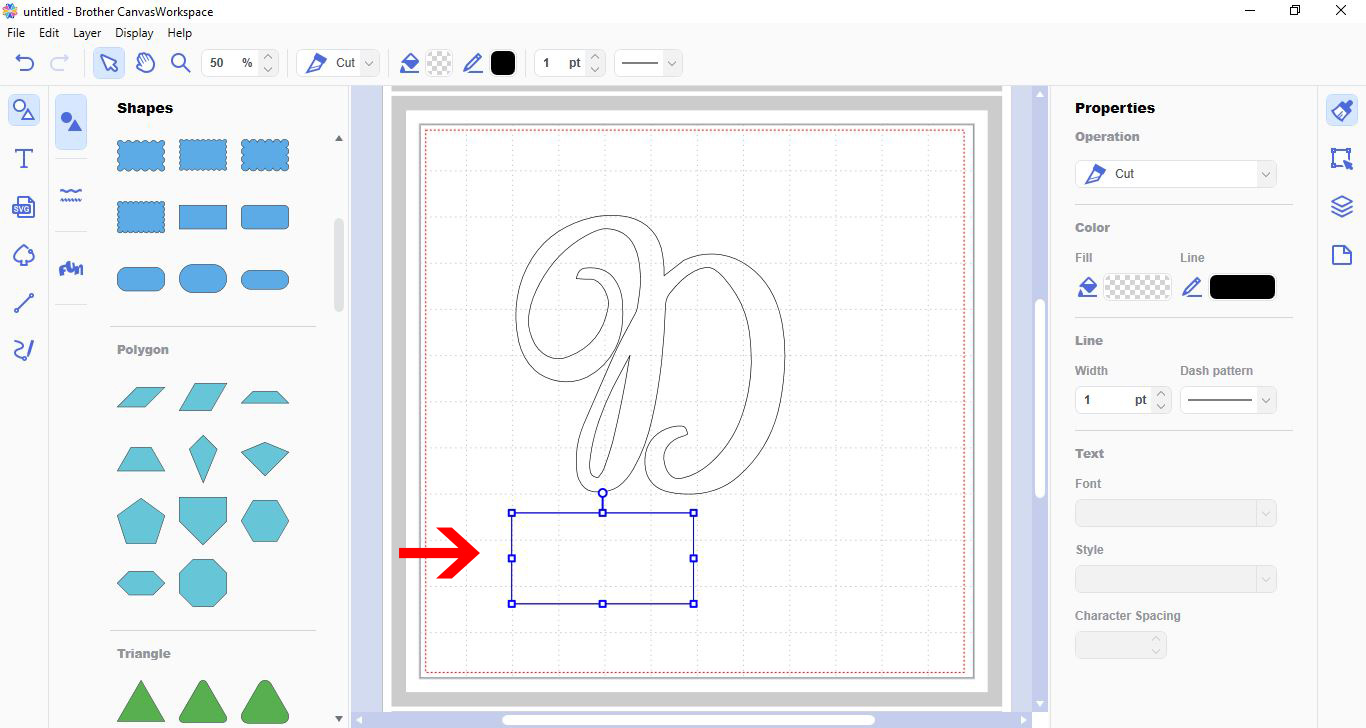
6- Resize the rectangle to be the width of your letter and place over the letter.
7- Use the align tool to make sure the rectangle is in them middle.
8- With both the rectangle and the letter selected, go to the process overlap tool and select subtract.
9- Go back to the shape tool and create another rectangle. This time make the rectangle thin and slightly longer than the letter.
10- Duplicate the rectangle. place the 2 rectangles at the top and bottom of the split in your letter, with both of them slightly overlapping over the letter.
11- Select the rectangles and the split letter. Click on weld.
12- We now need to make an offset on the letter. Click on the offset icon. a new window will appear. Leave the default settings. and click ok.
13- You now have a offset. Now we need to fill the middle space of the monogram so we can color fill it.
14- Go to the shape icon and create a rectangle.
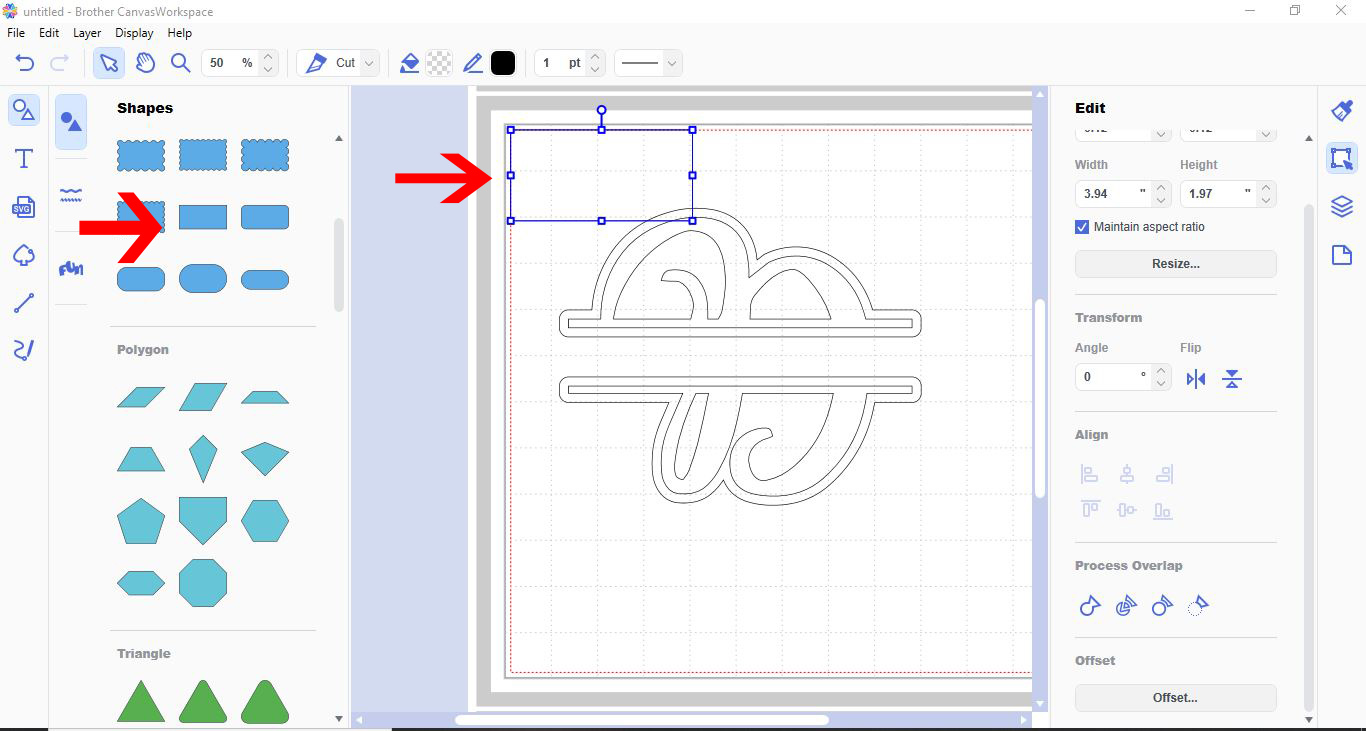
15- Resize the rectangle to fit in between the 2 parts of the monogram. Make sure the rectangle slightly overlap's the monogram.

16- Select all parts of the design. Go to process overlap and click on weld.
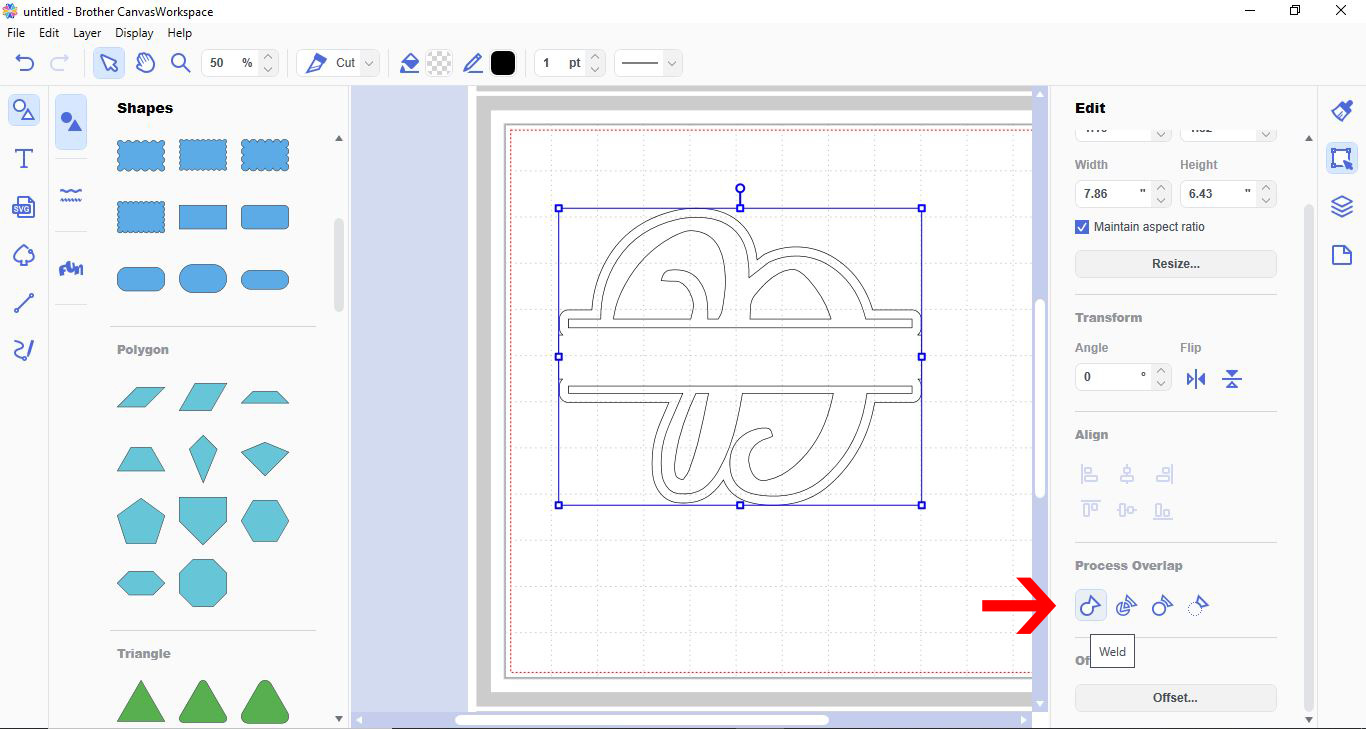
17- Now you have 2 separate parts. You can fill The background with one color and the monogram letter in a second color.
you can also add other text inside the split of the monogram.