- By Design Bundles
- 5 Mins
- Photoshop Tutorials
Glitch Effect Photoshop
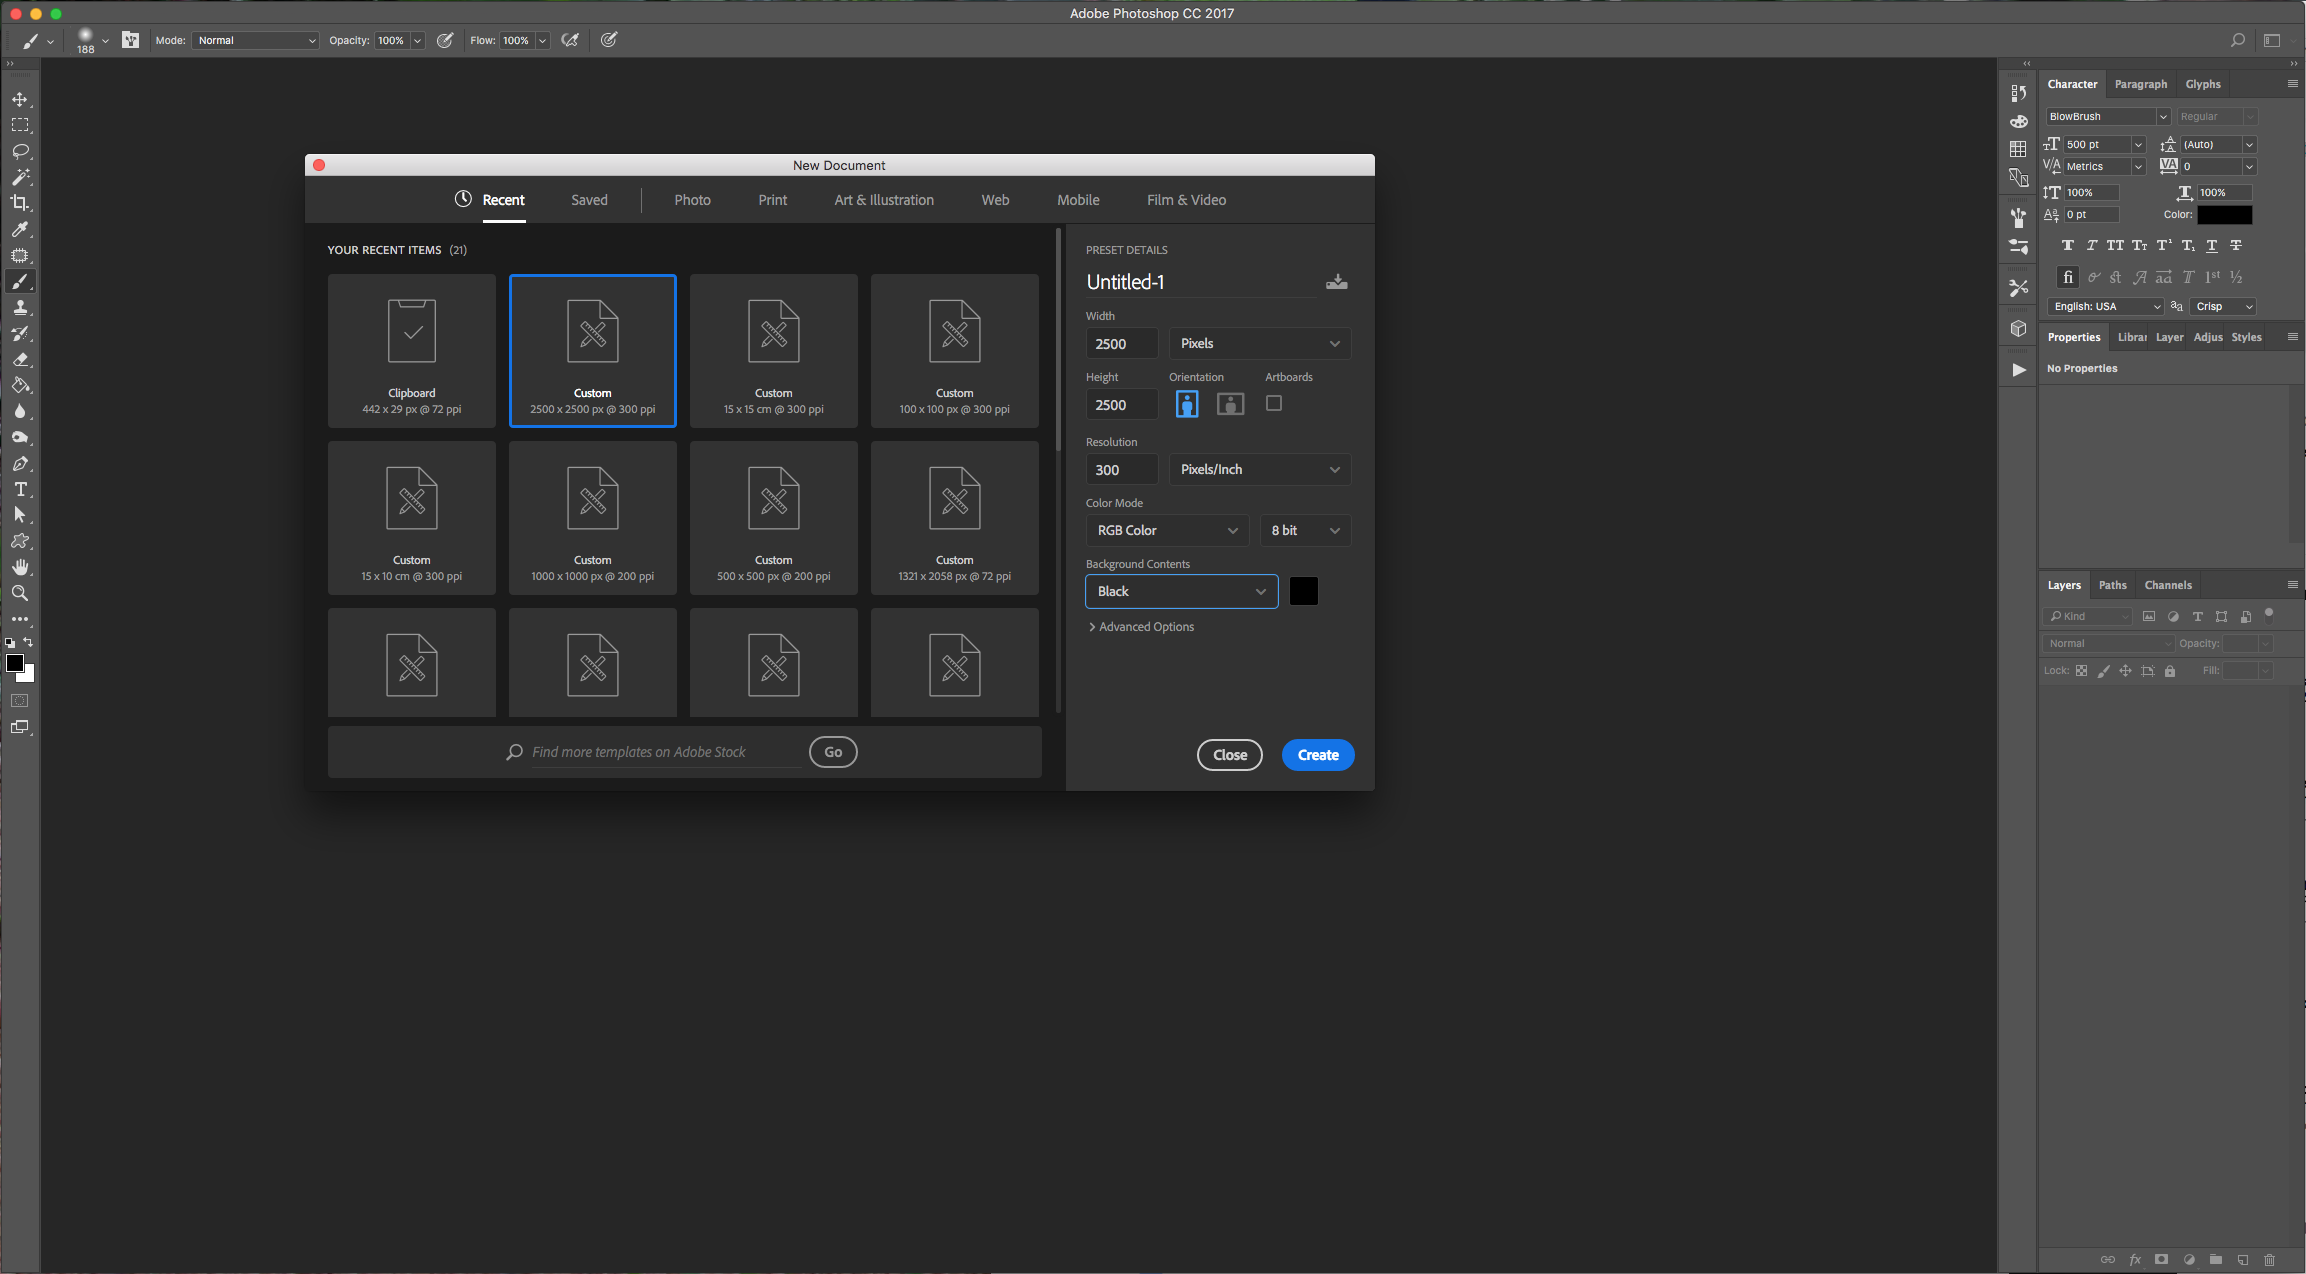
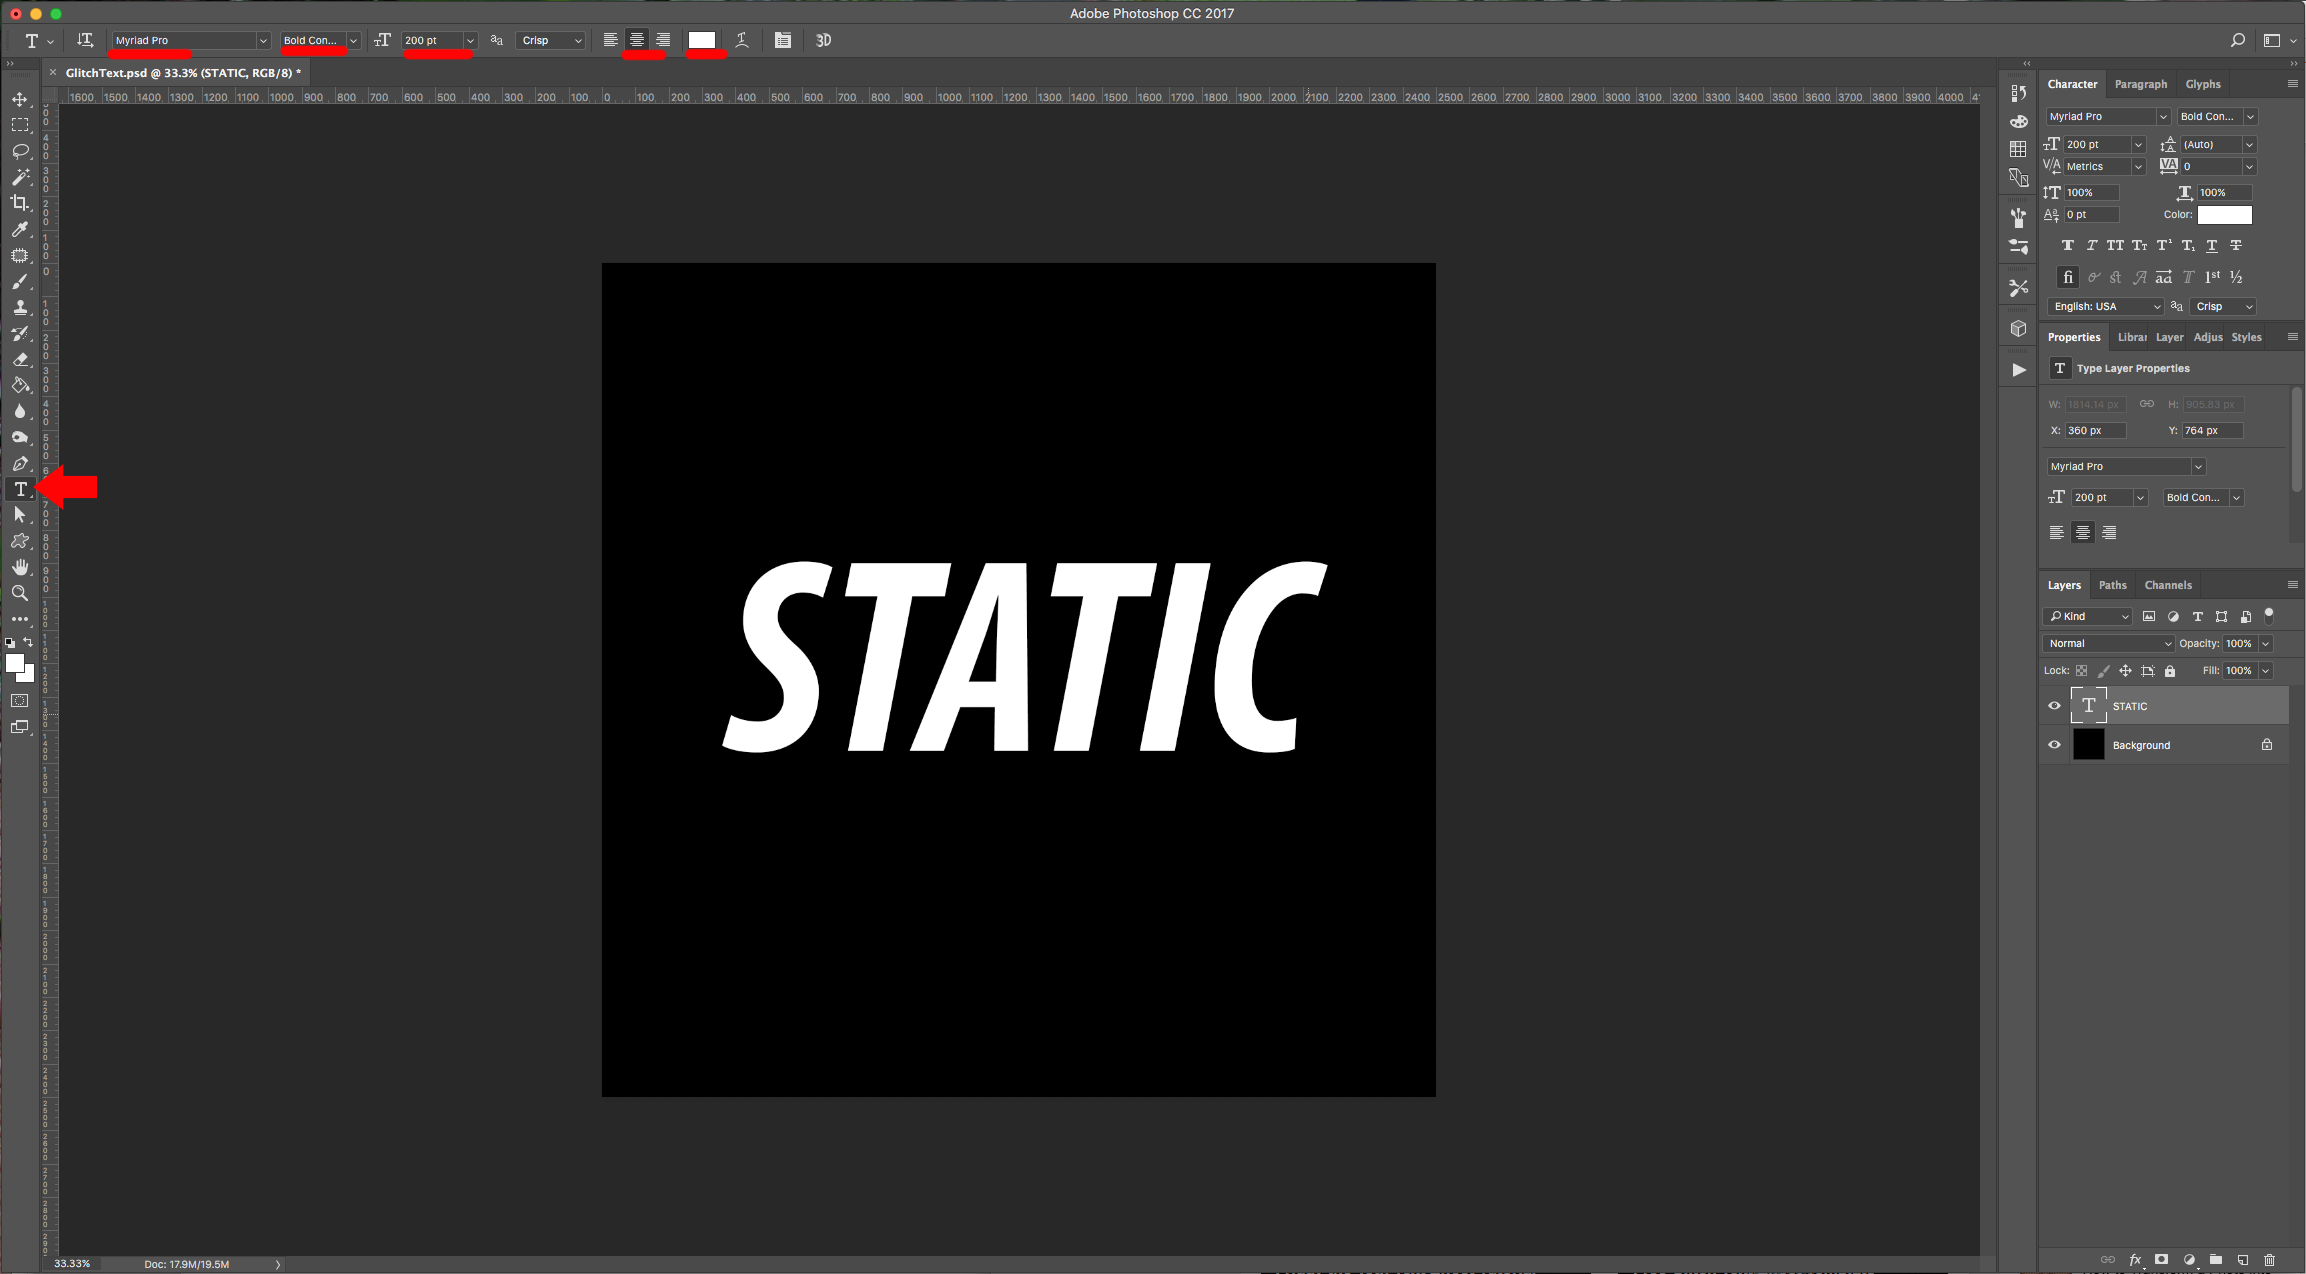
1 - In Photoshop, create a New Document. Select the “Type Tool” (T), choose your font (we used Myriad Pro Bold Condensed Italic), size and use white as “Fill” color. Type your text.
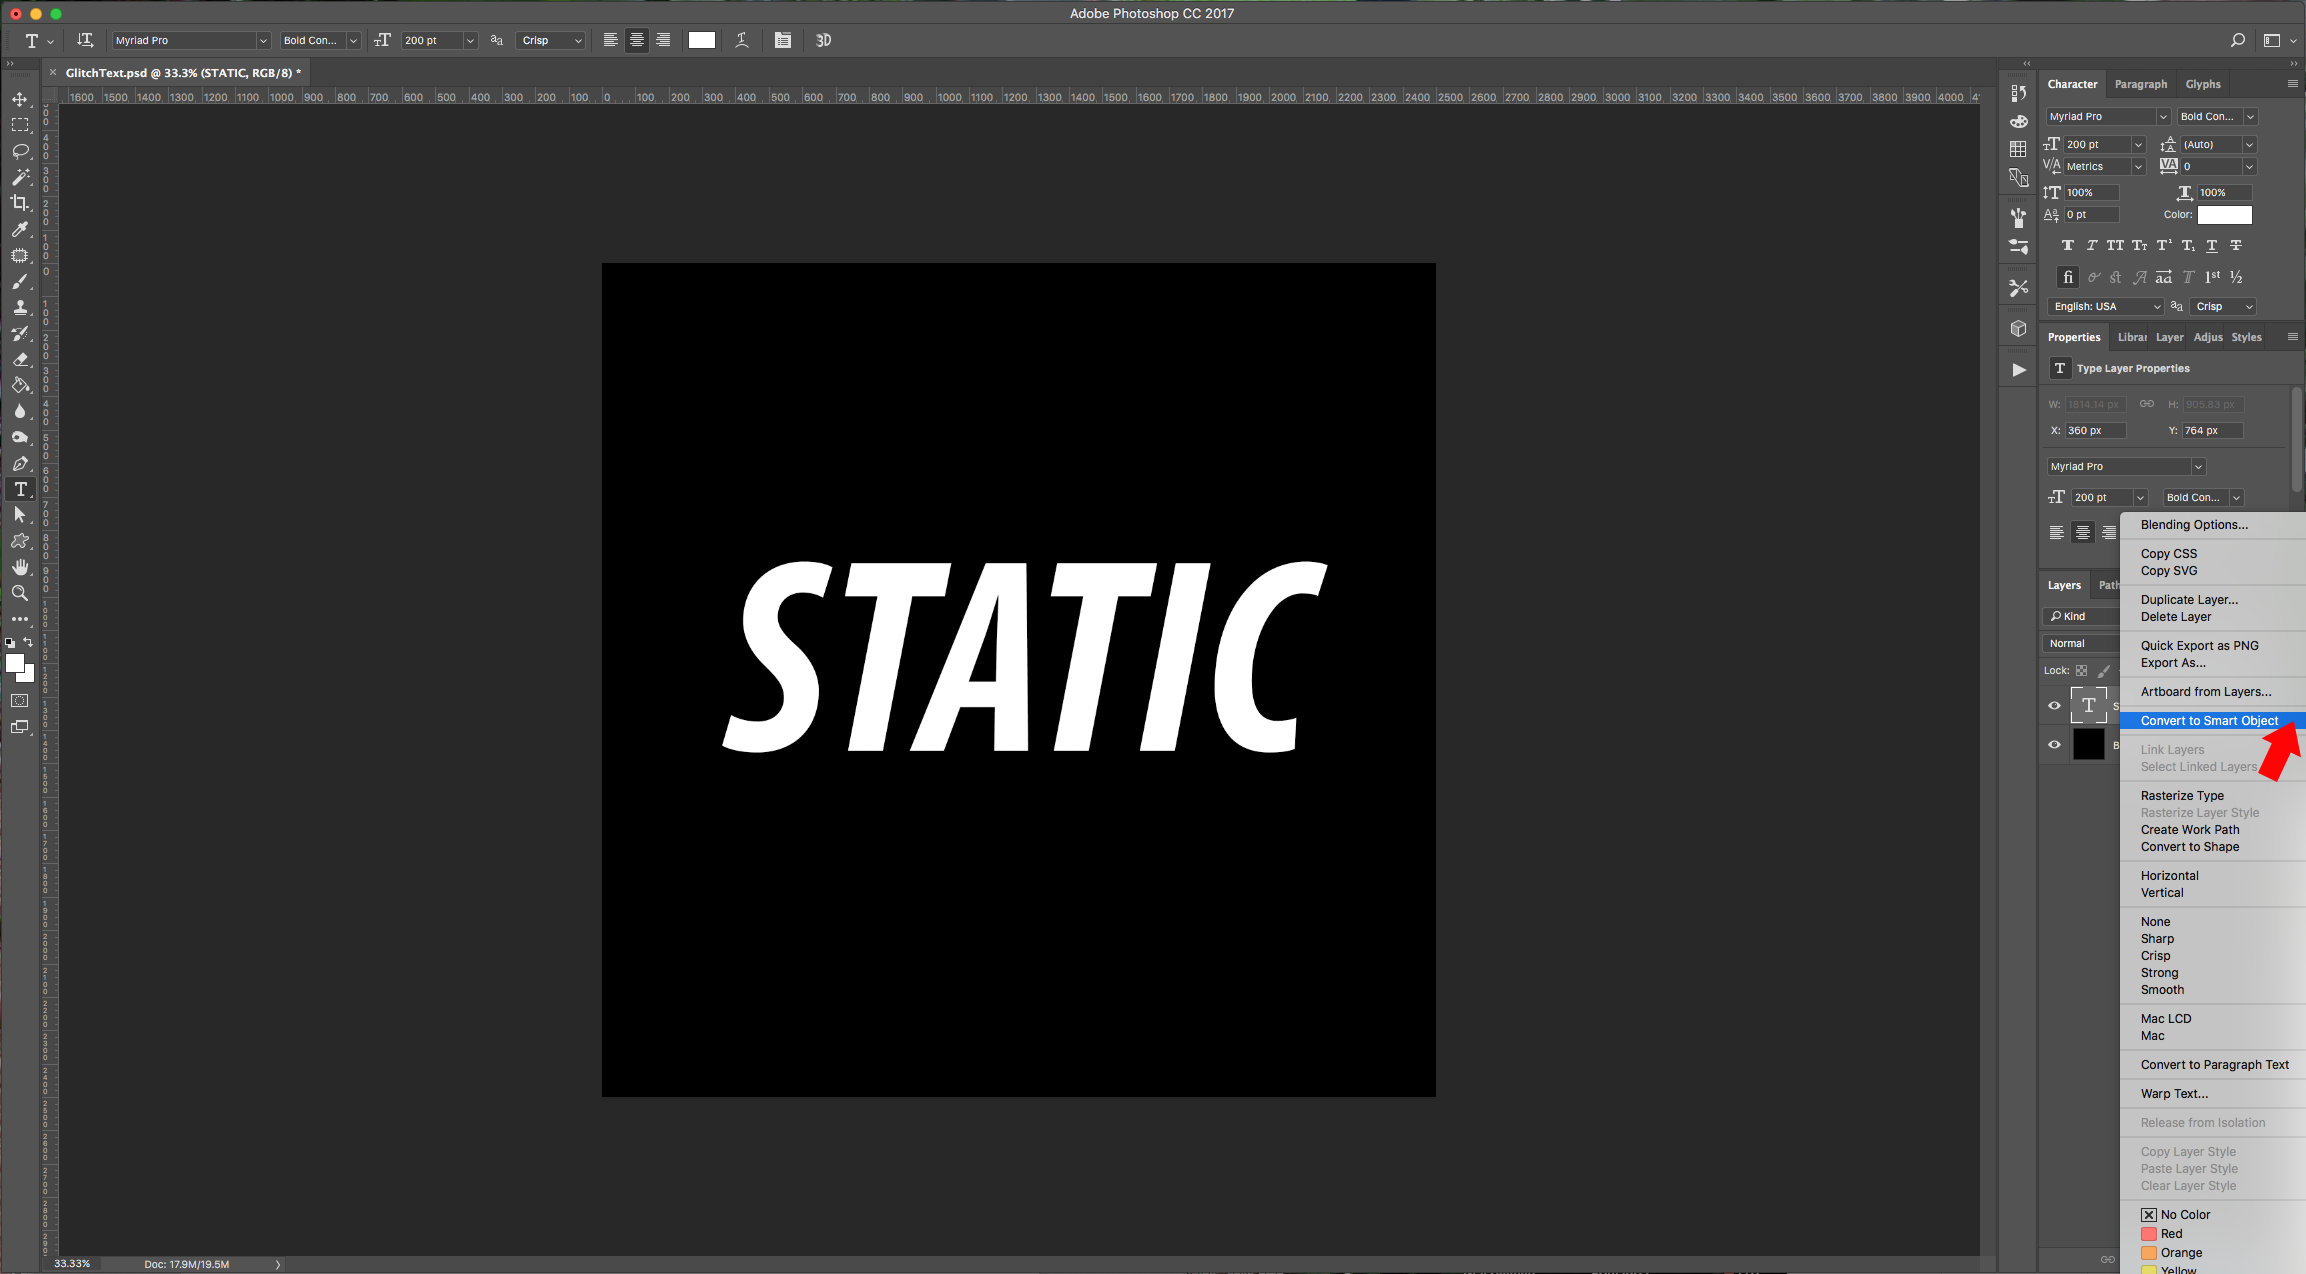
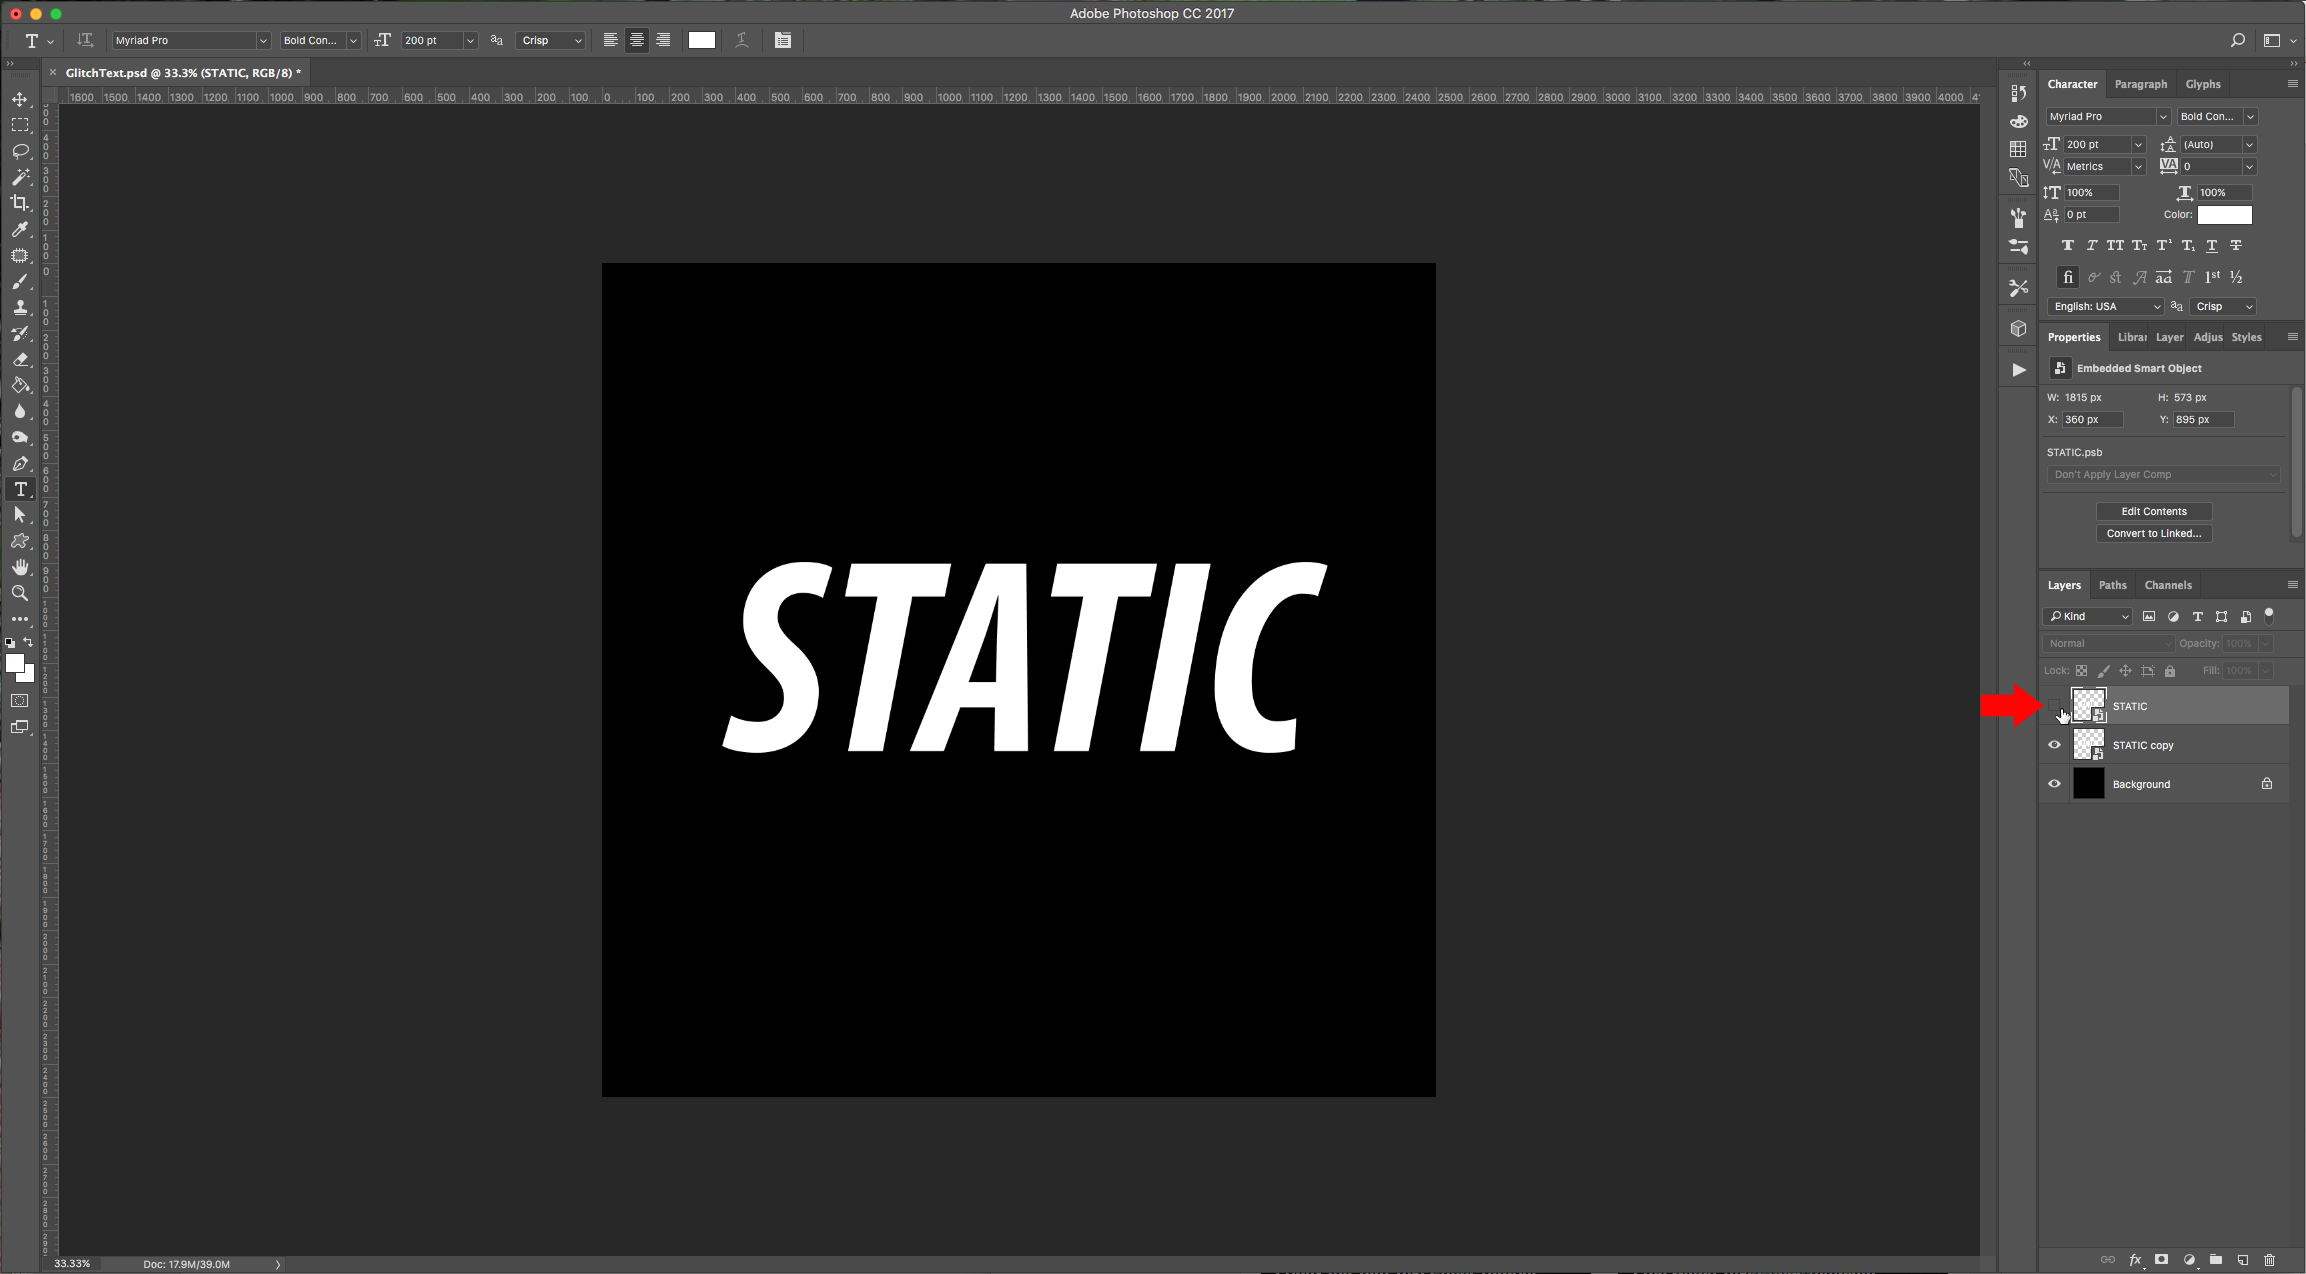
2 - Right-click on your text and choose “Convert to Smart Object”. Duplicate the layer (Command/Control + J), place the original layer on top and hide it by clicking the little eye icon to the left of the thumbnail.
3 - Go to Filter > Distort > Wave and apply the following values:
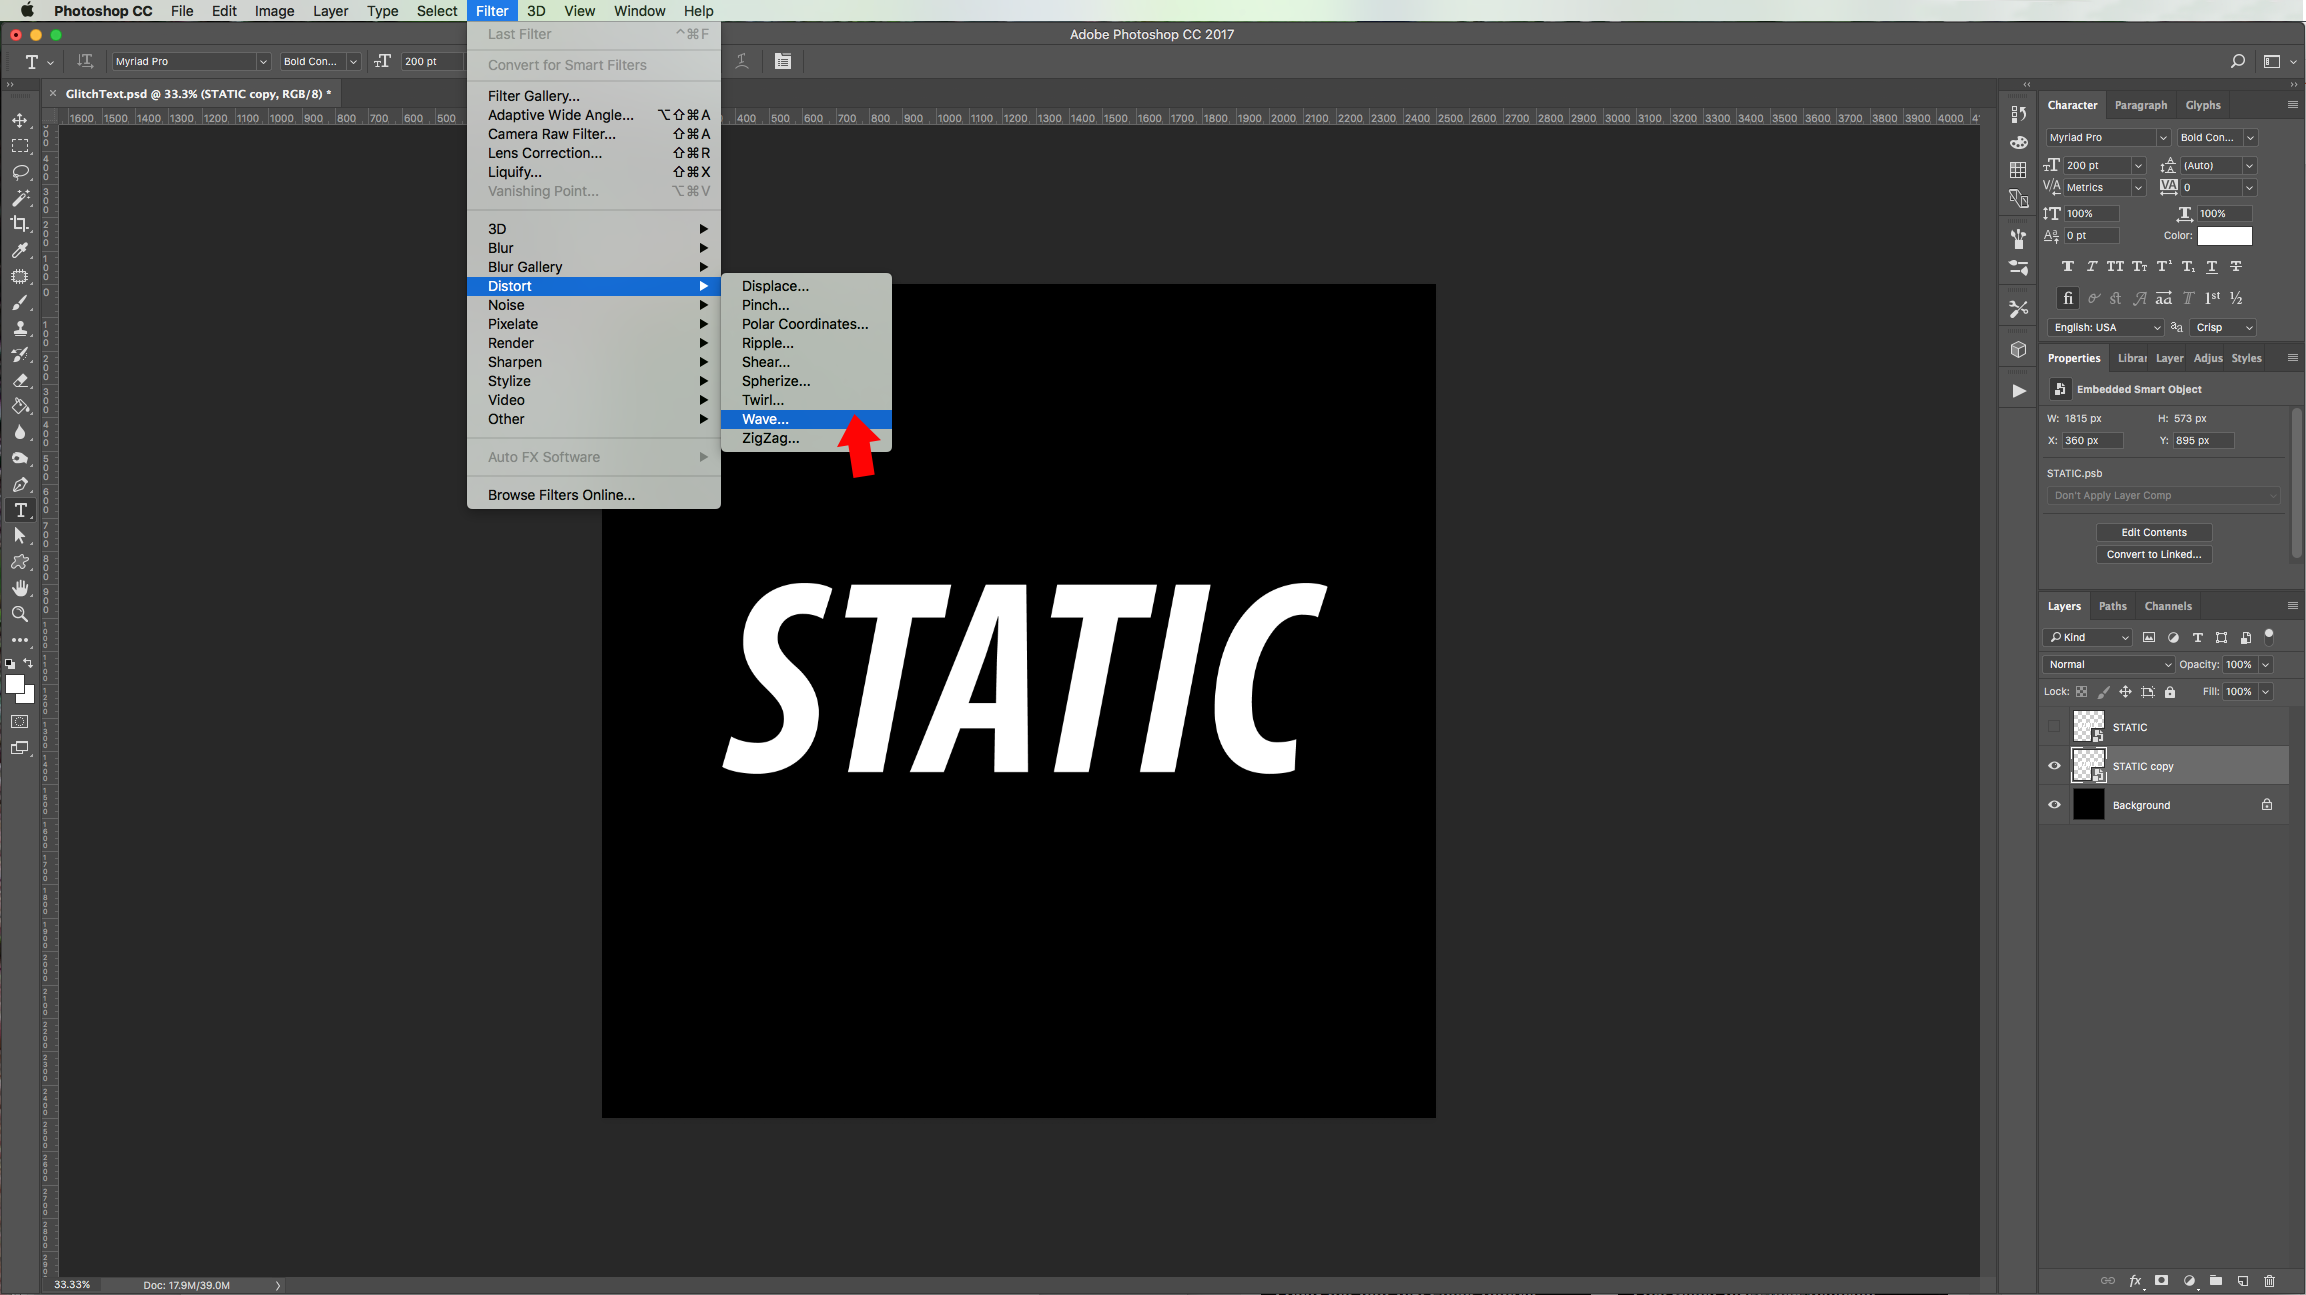
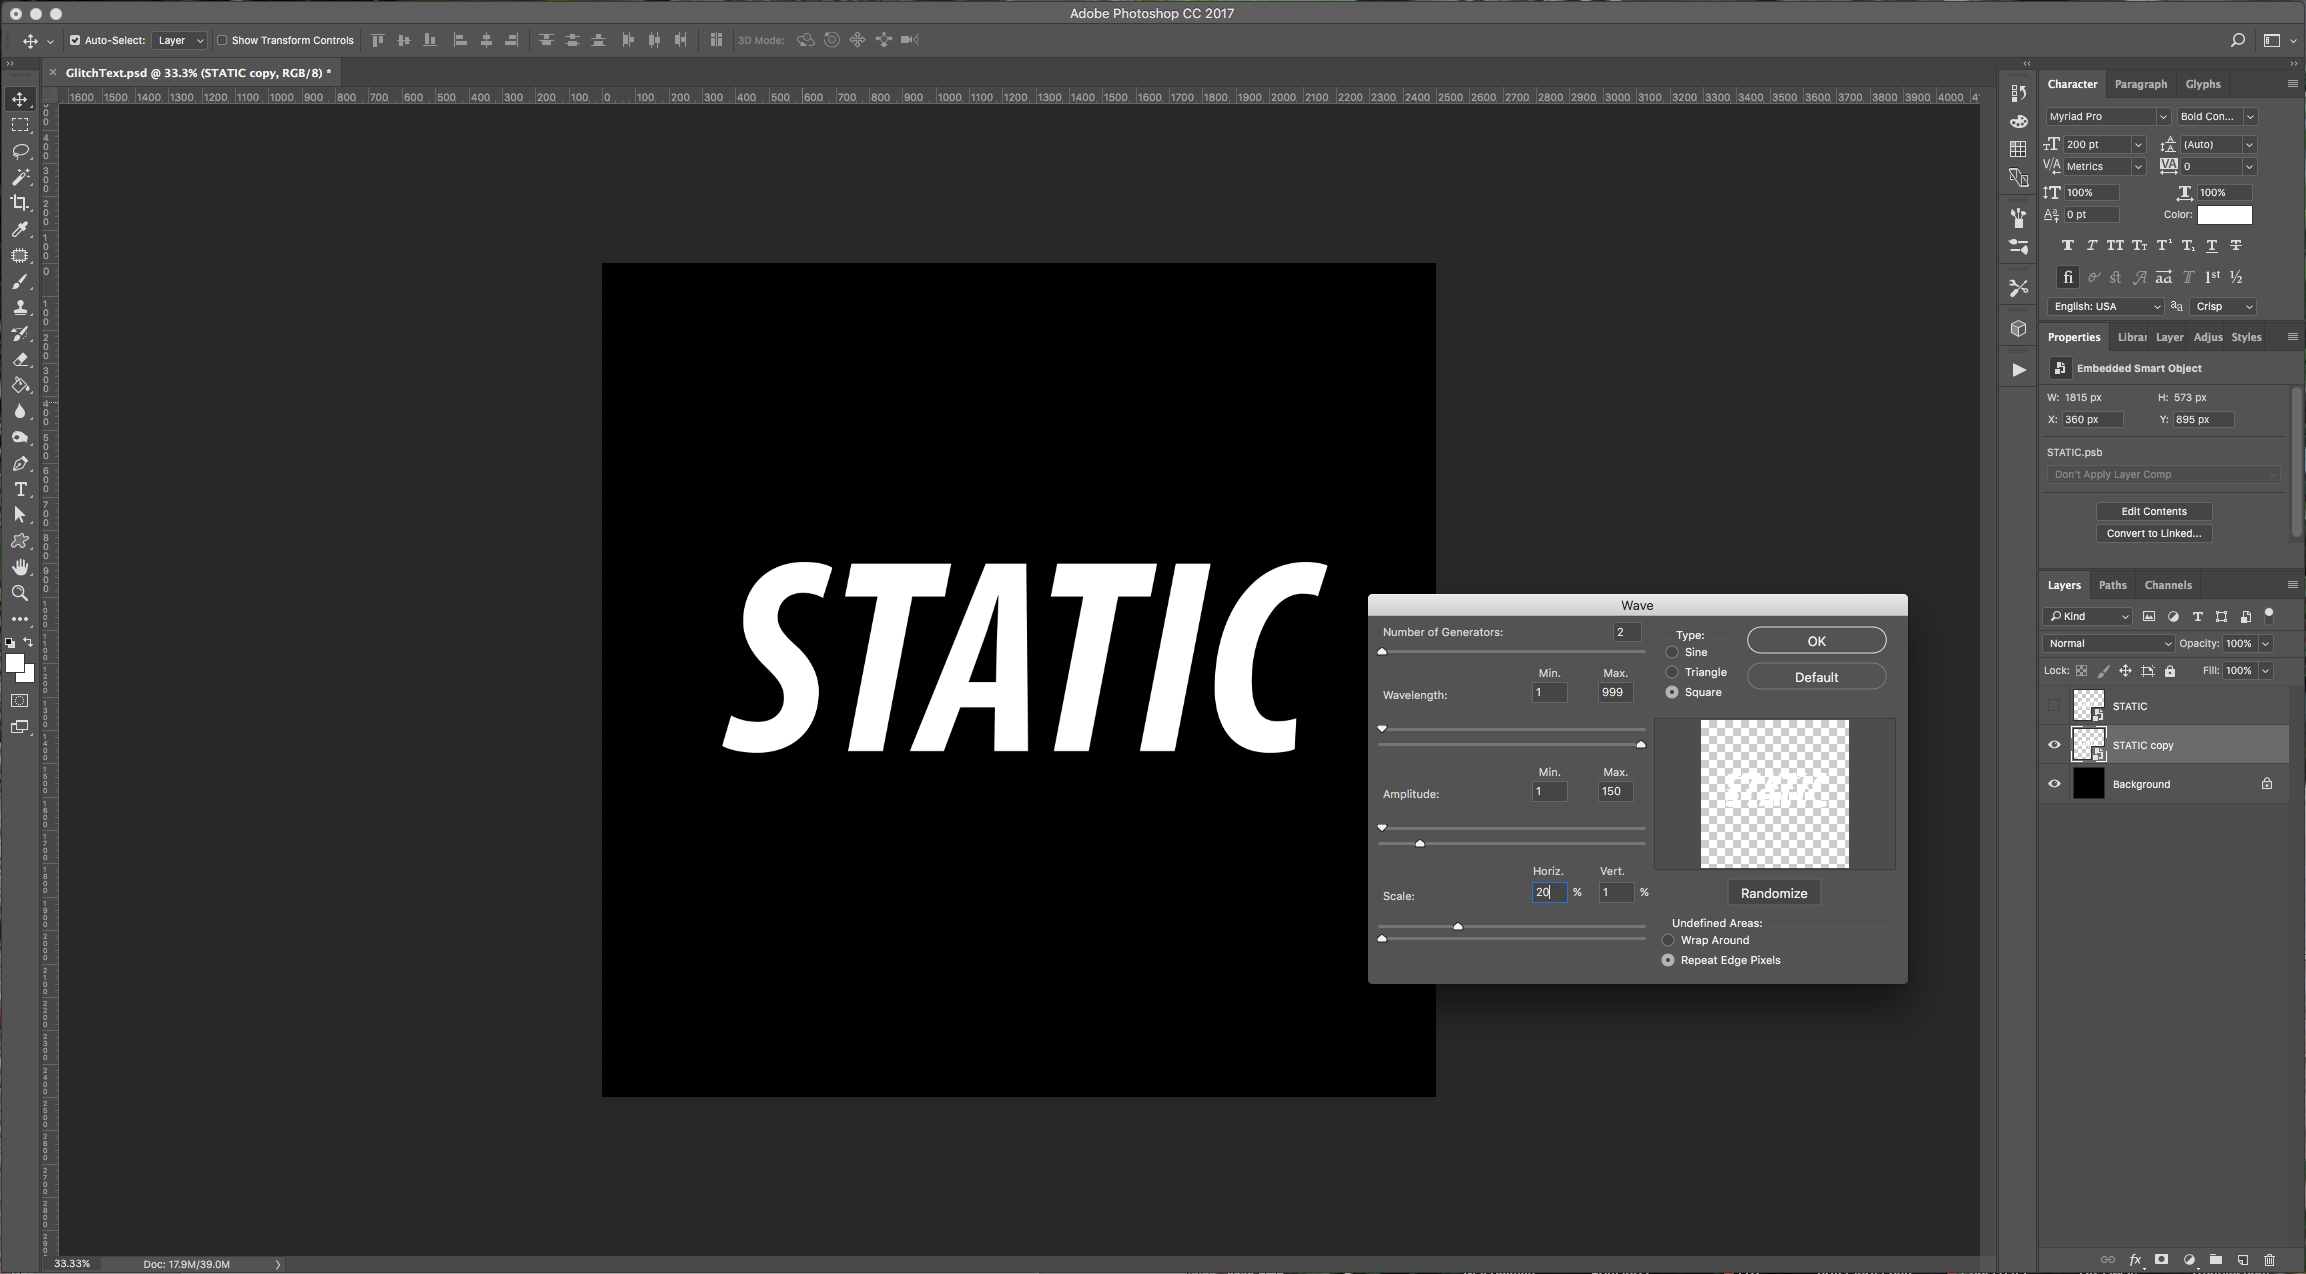
(You may need to play around with the values depending on your font and text size).
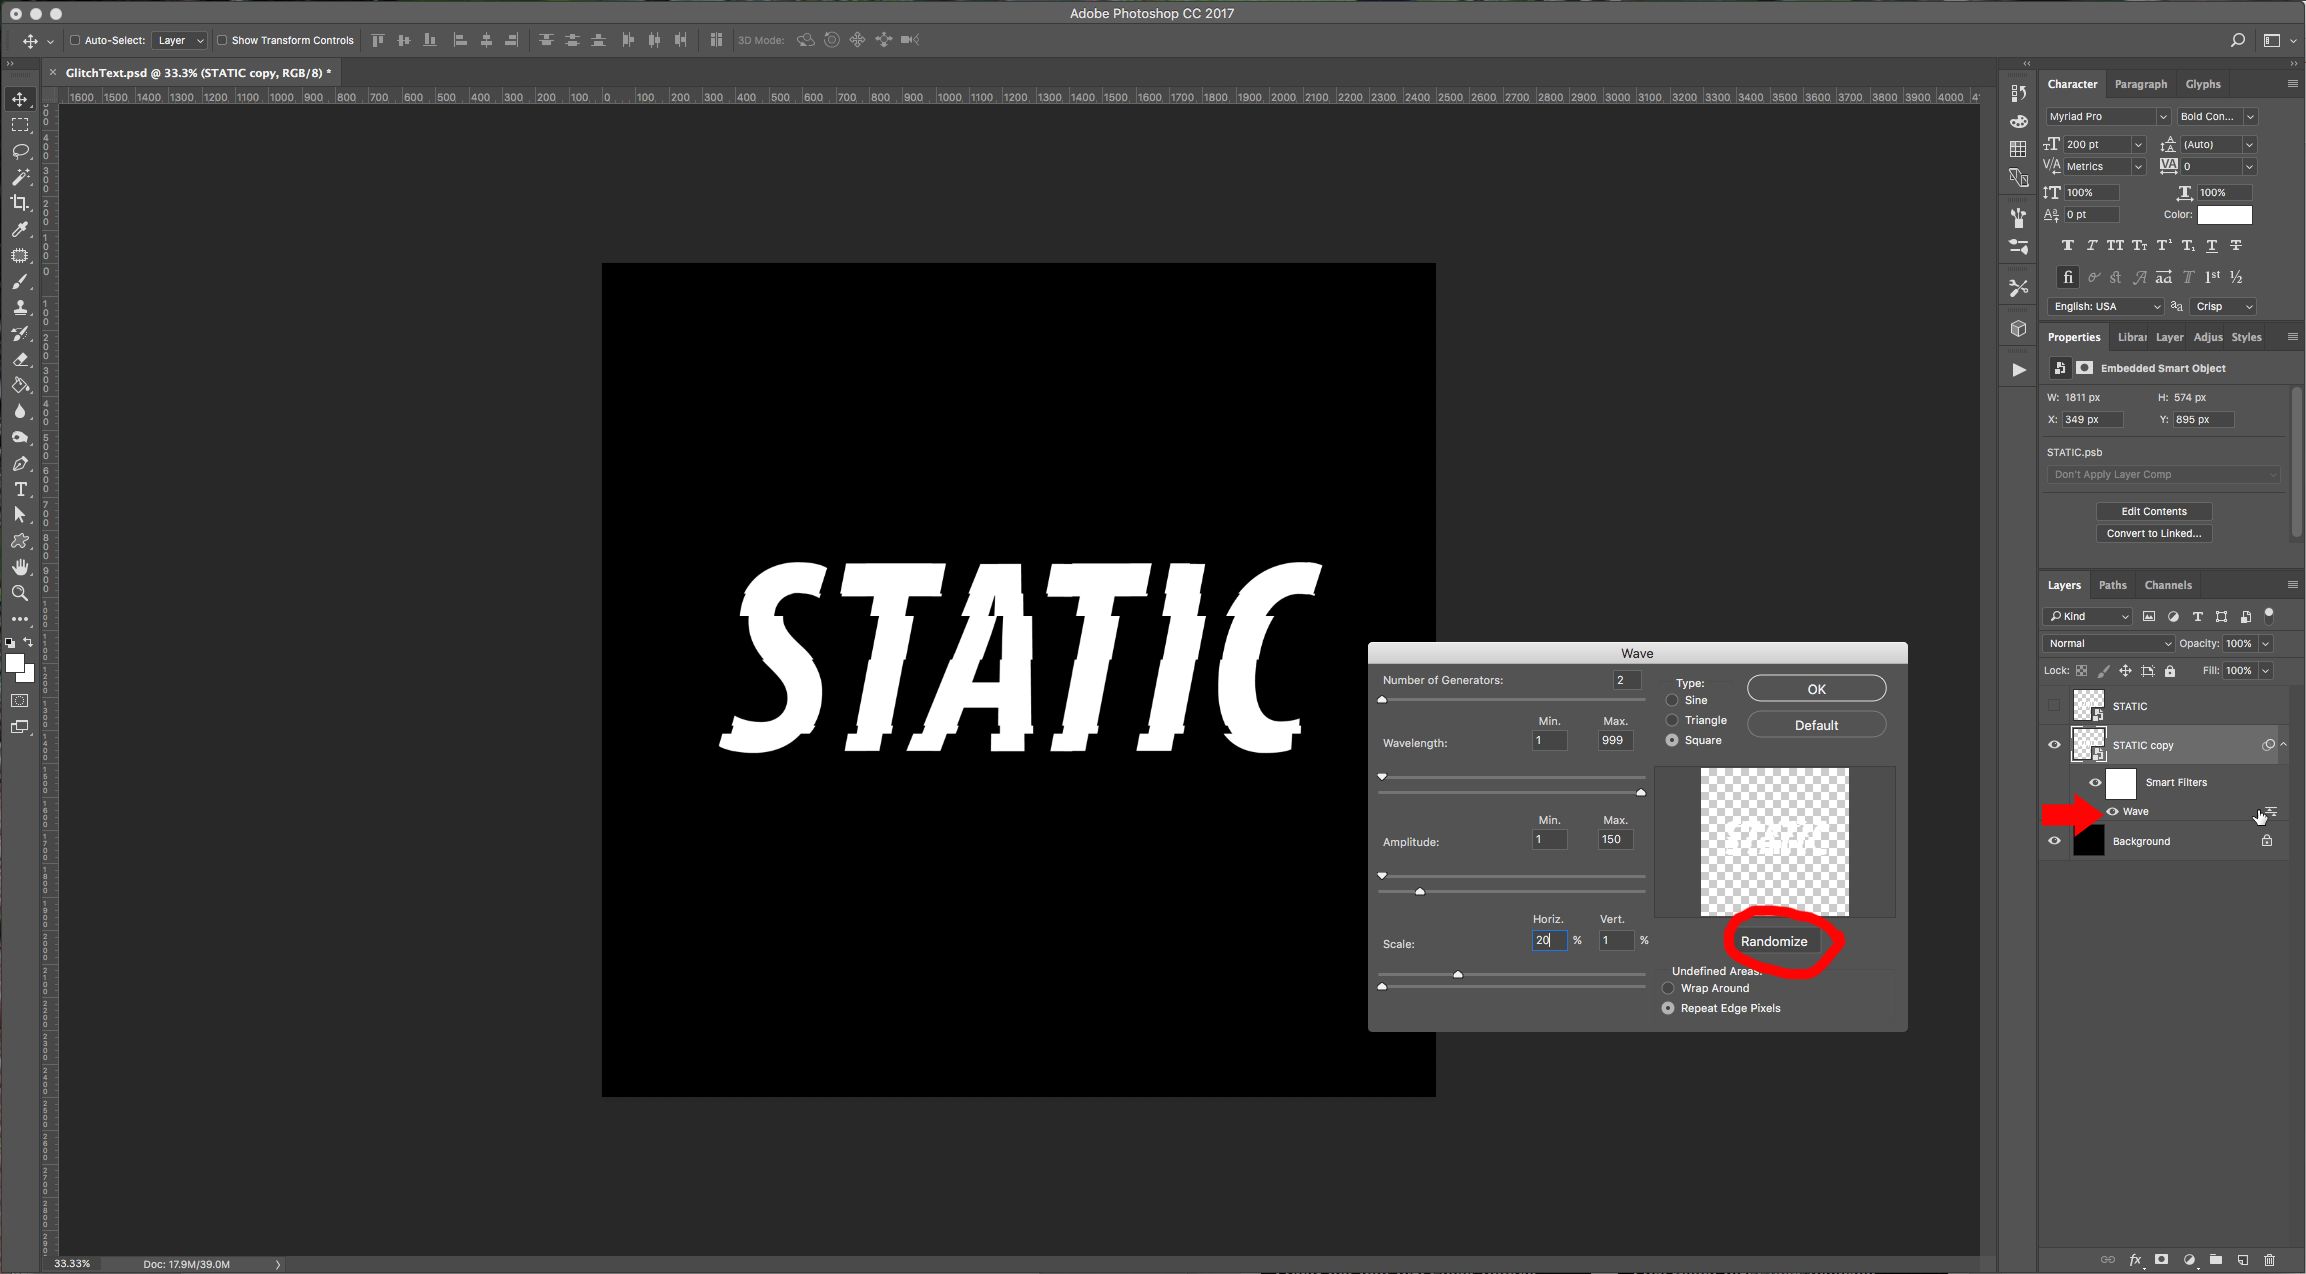
4 - To modify your filter double-click on the thumbnail and the dialog will open. Try clicking the “Randomize” button and check the results.
5 - Once you are happy with your text, make 3 duplicates and name them R, G, and B. Place your “RGB” layers under the “Text” layer and hide the later for now.
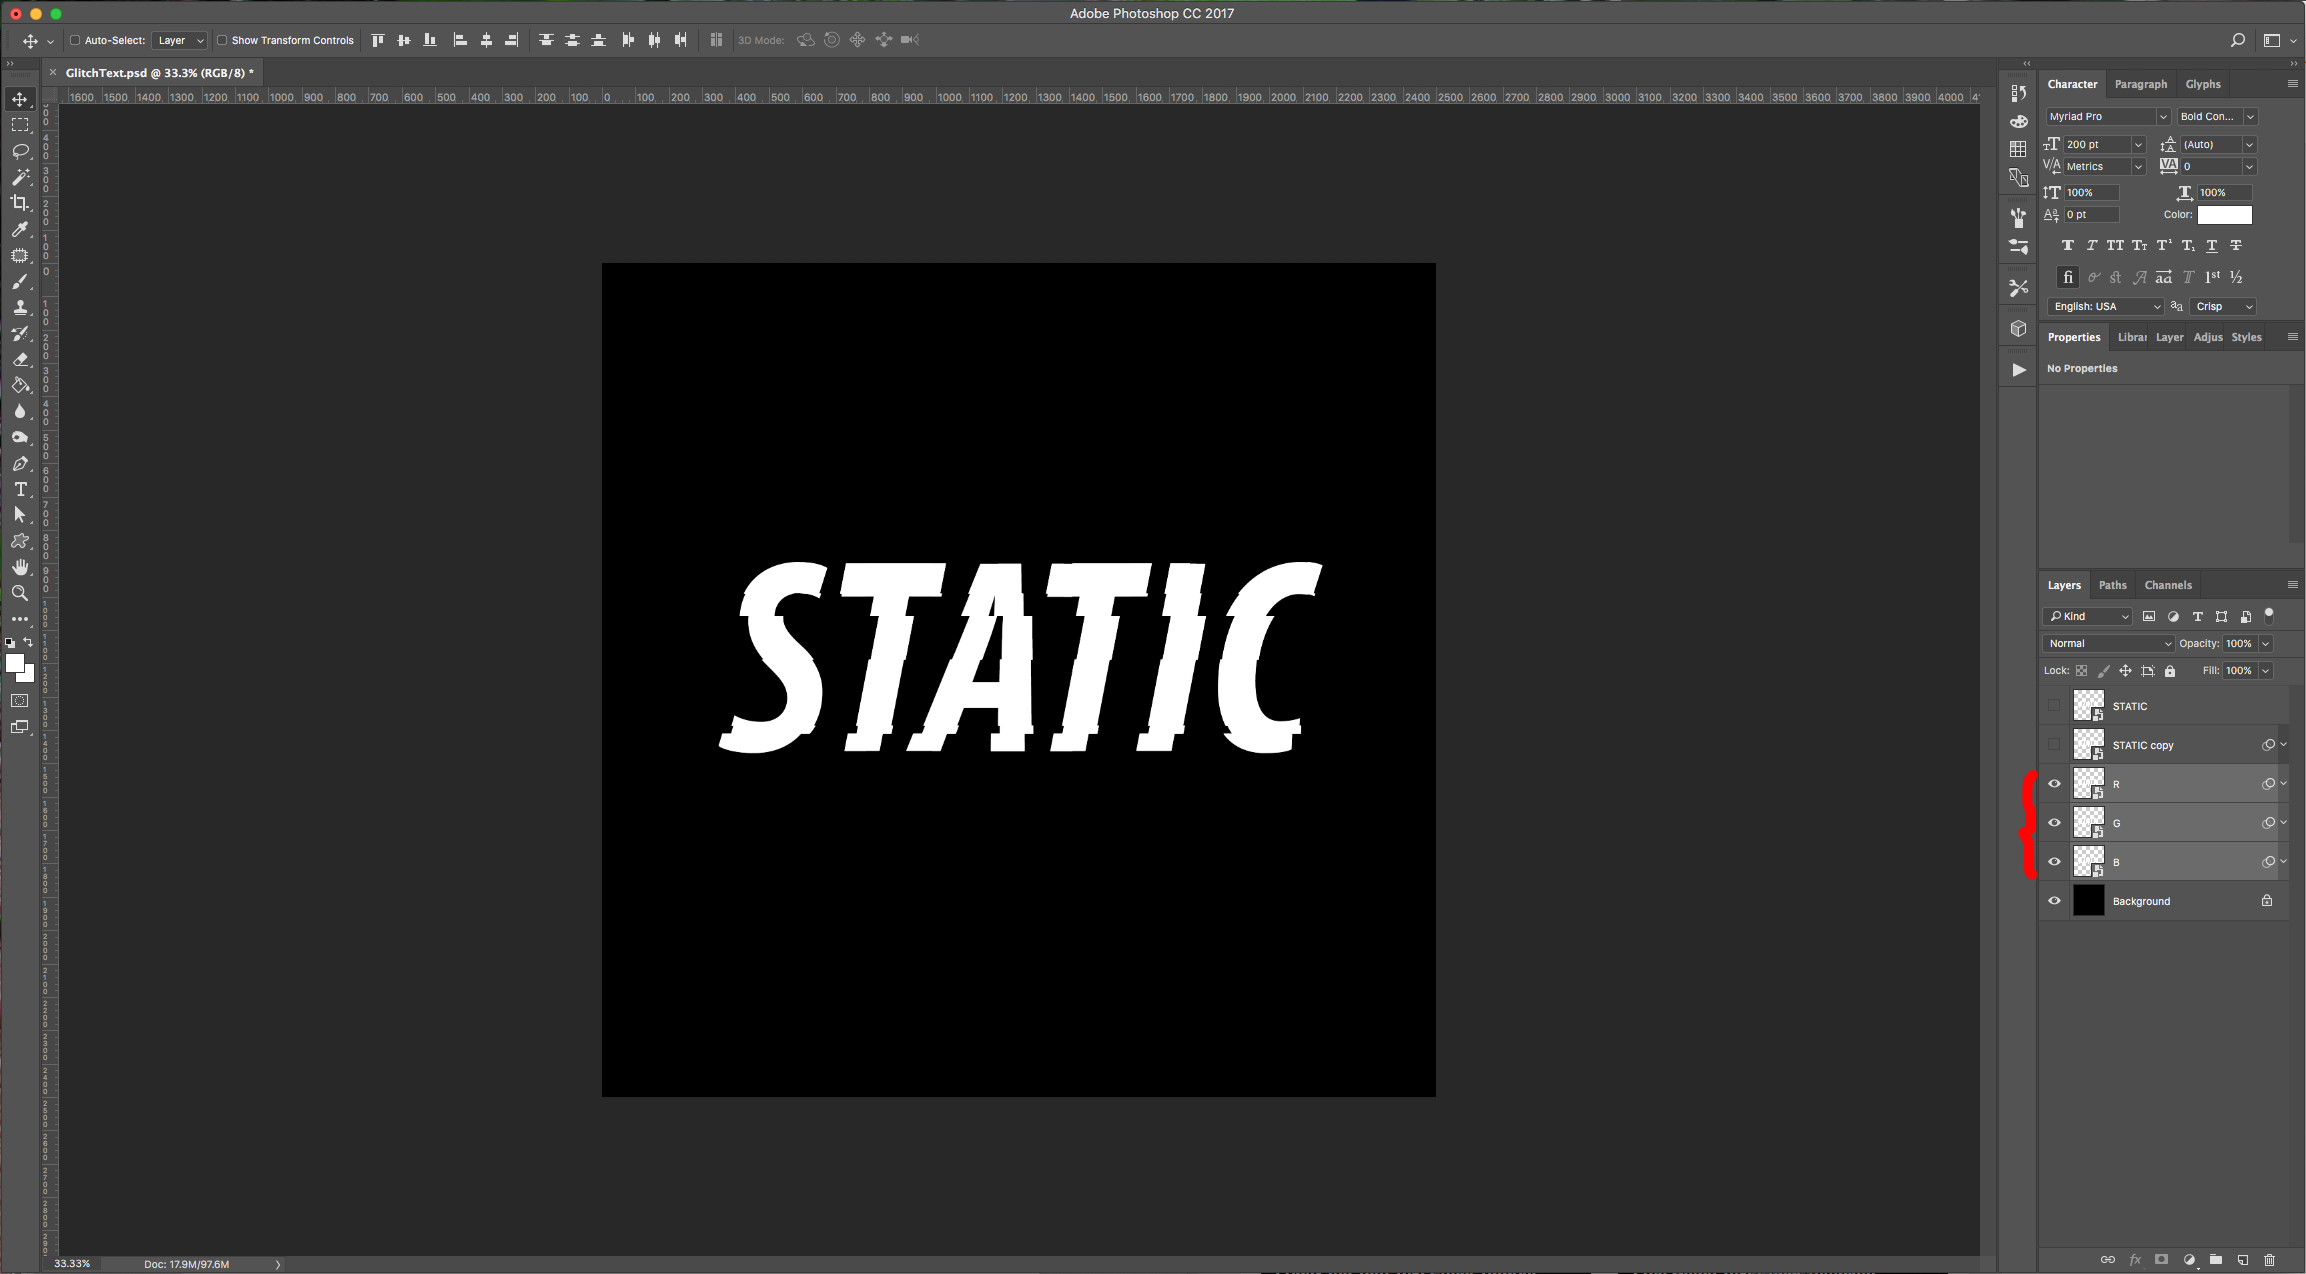
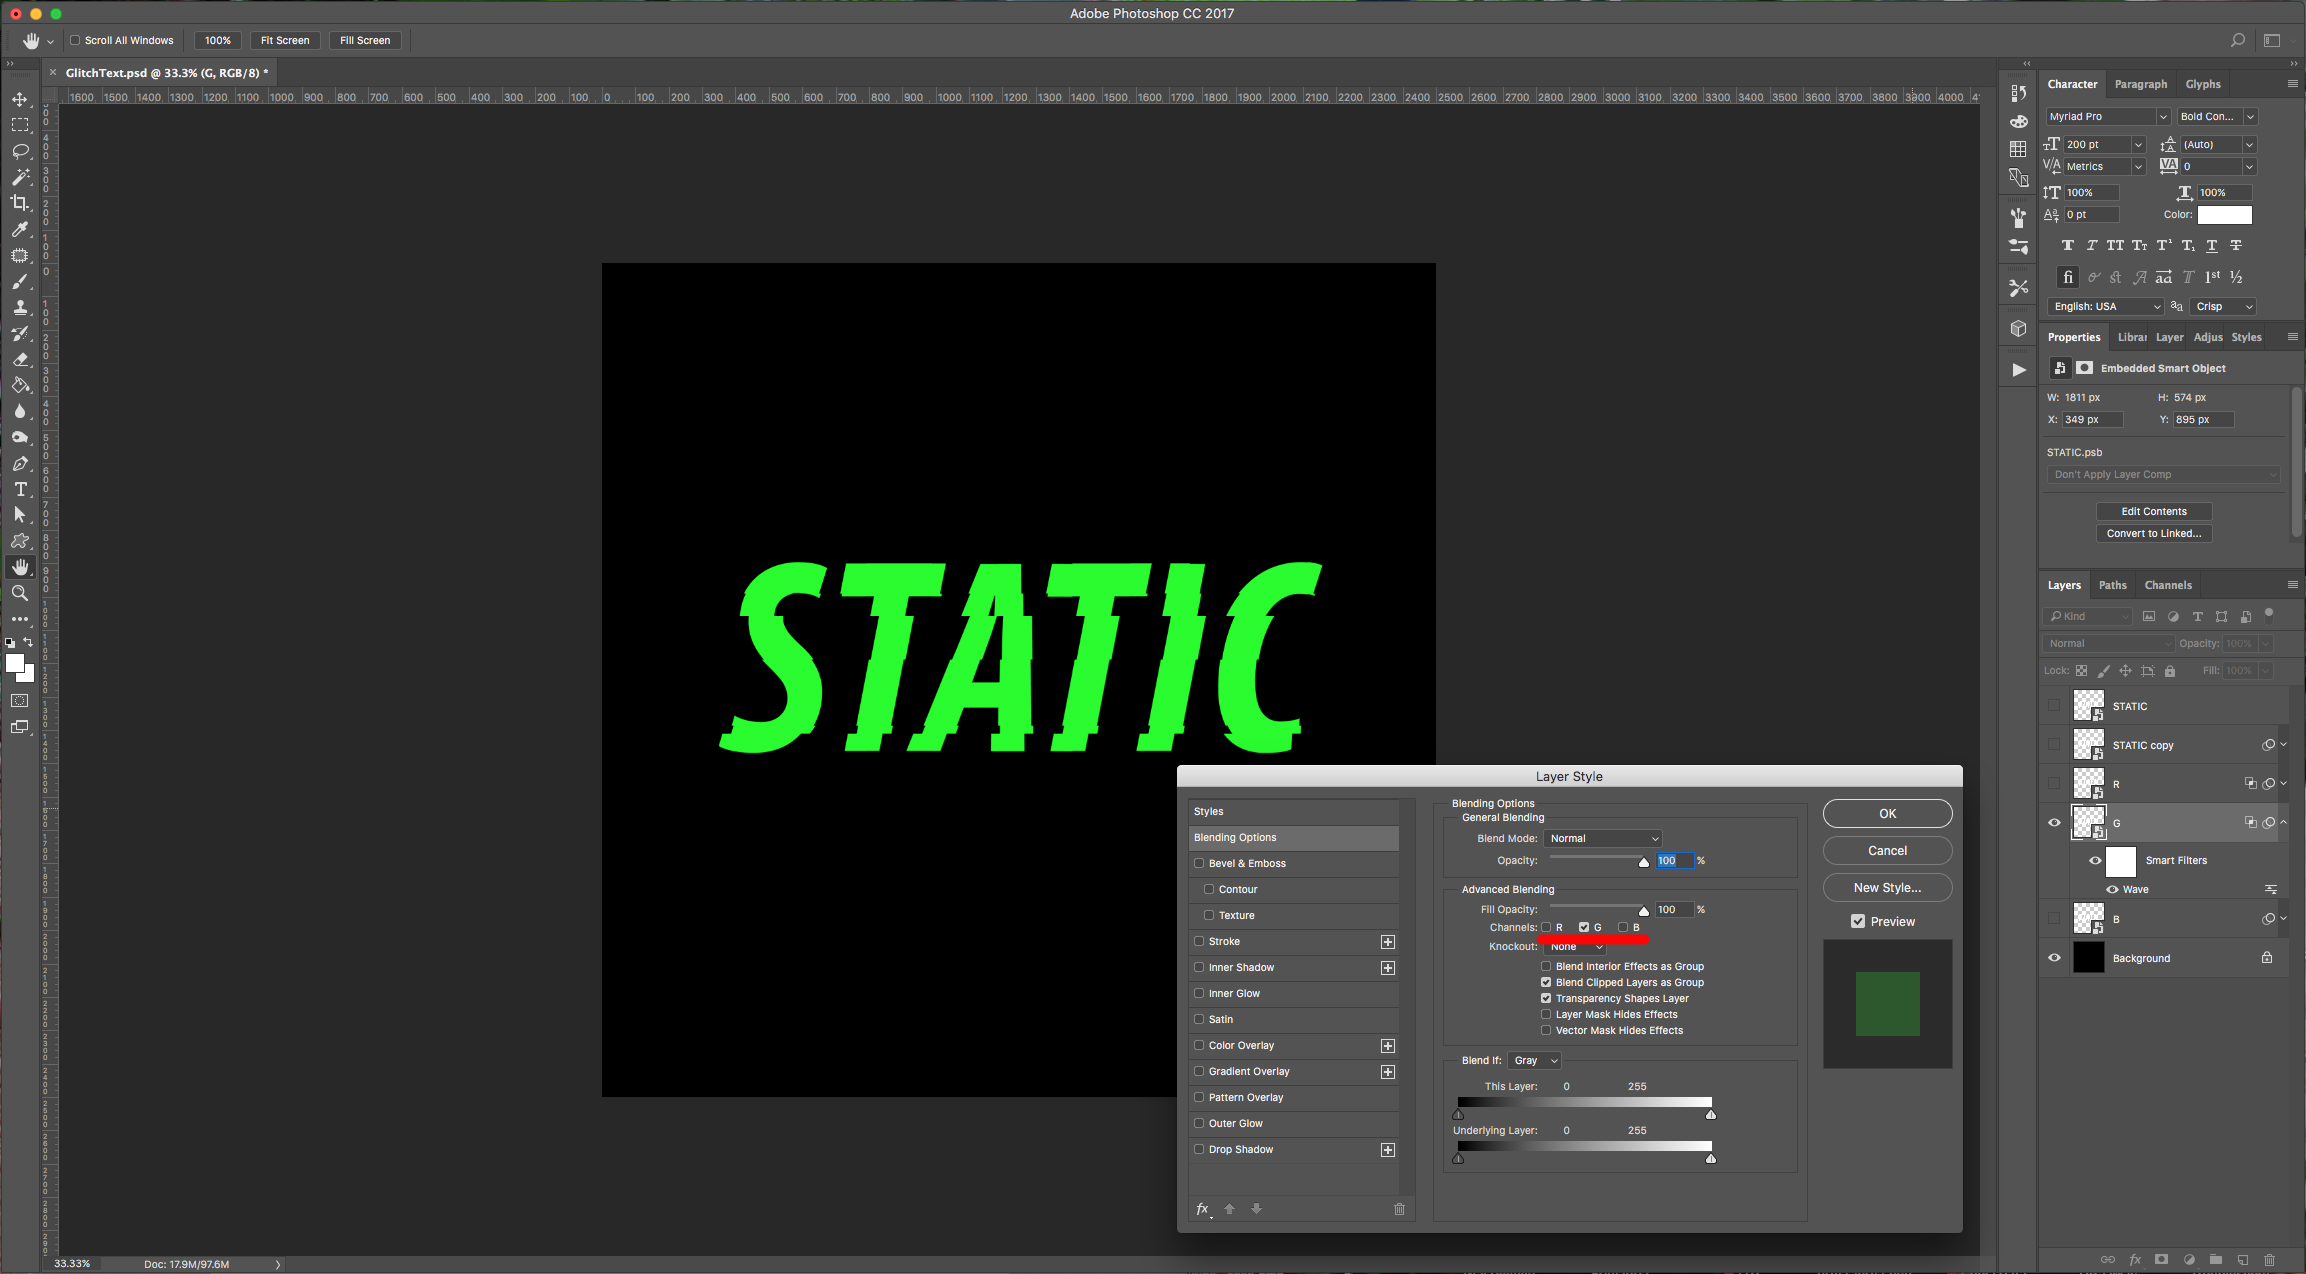
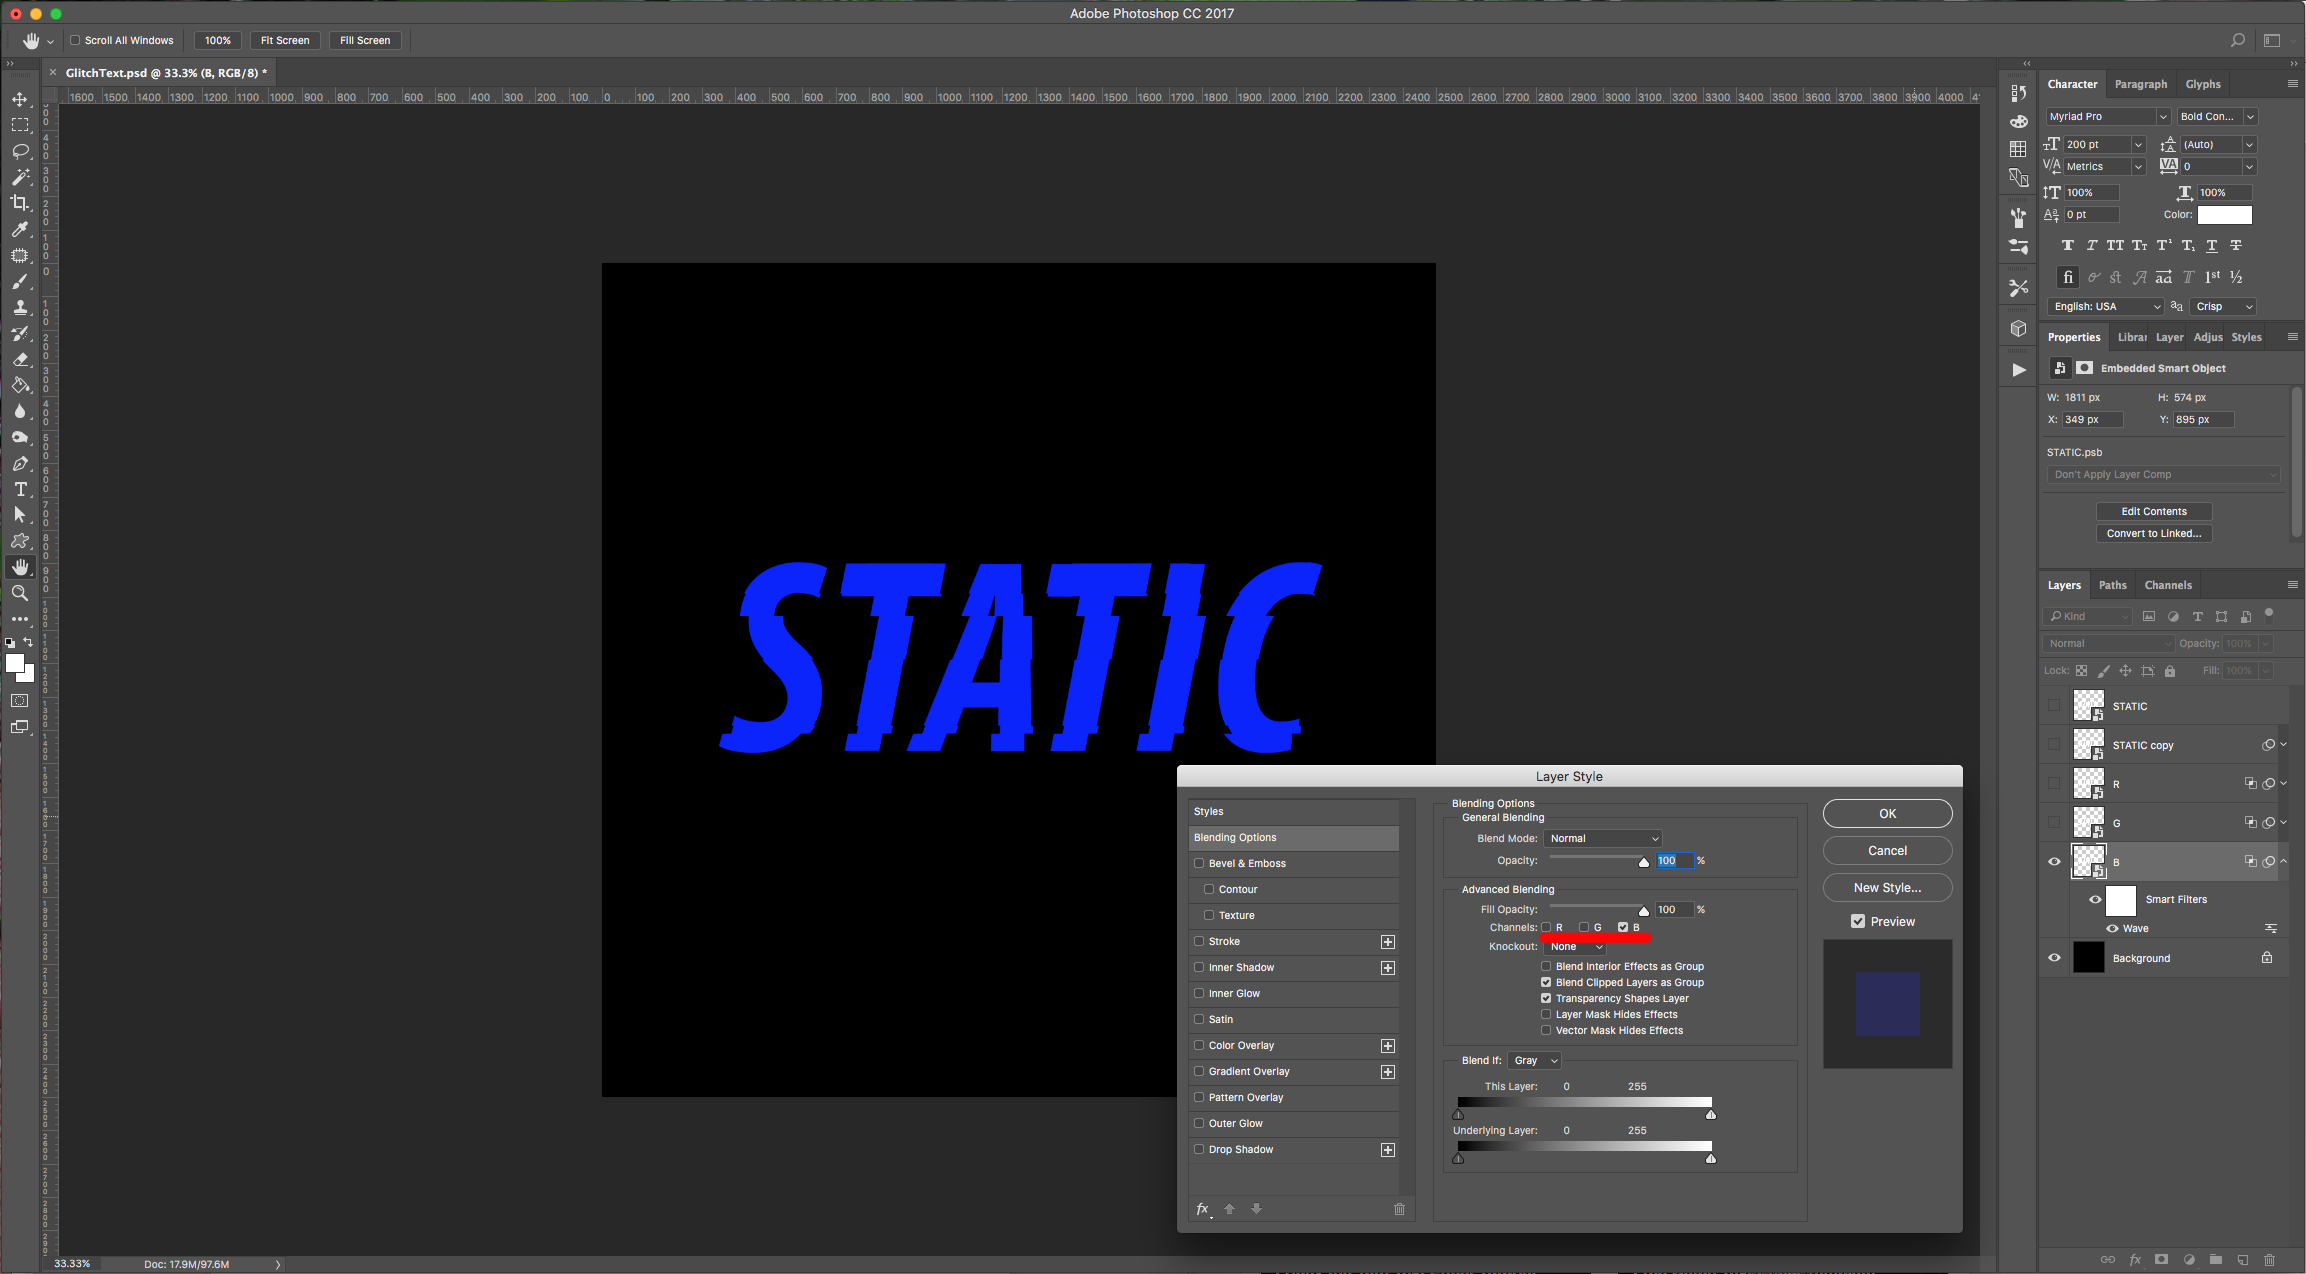
6 - Double-click on the “R” layer and uncheck the “G” and “B” Channels in the “Blending Options” window.
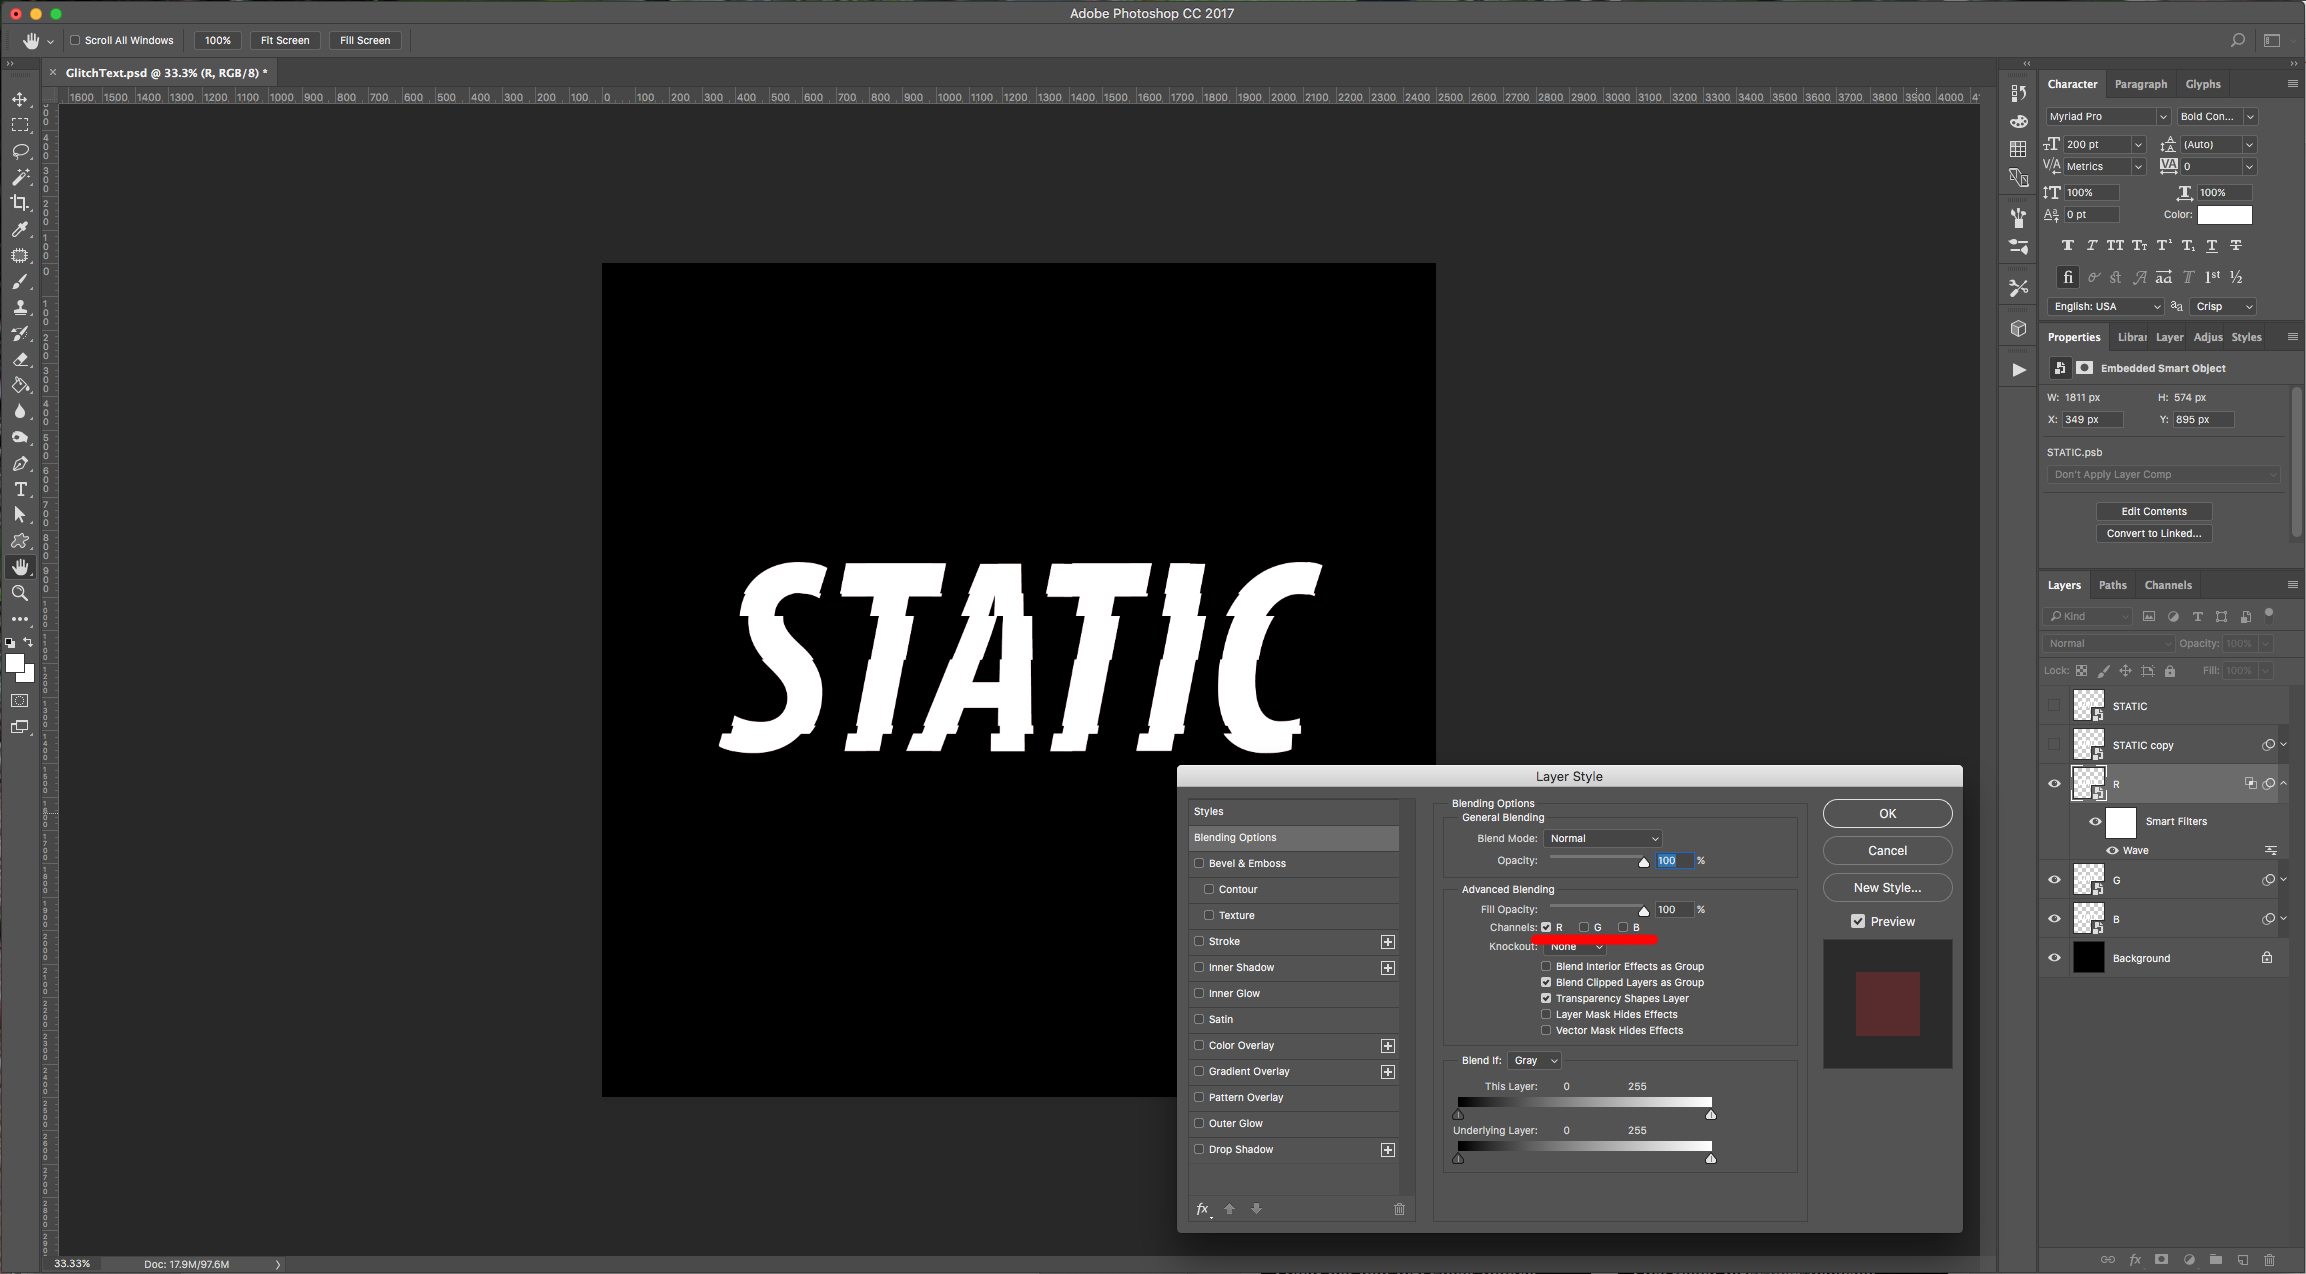
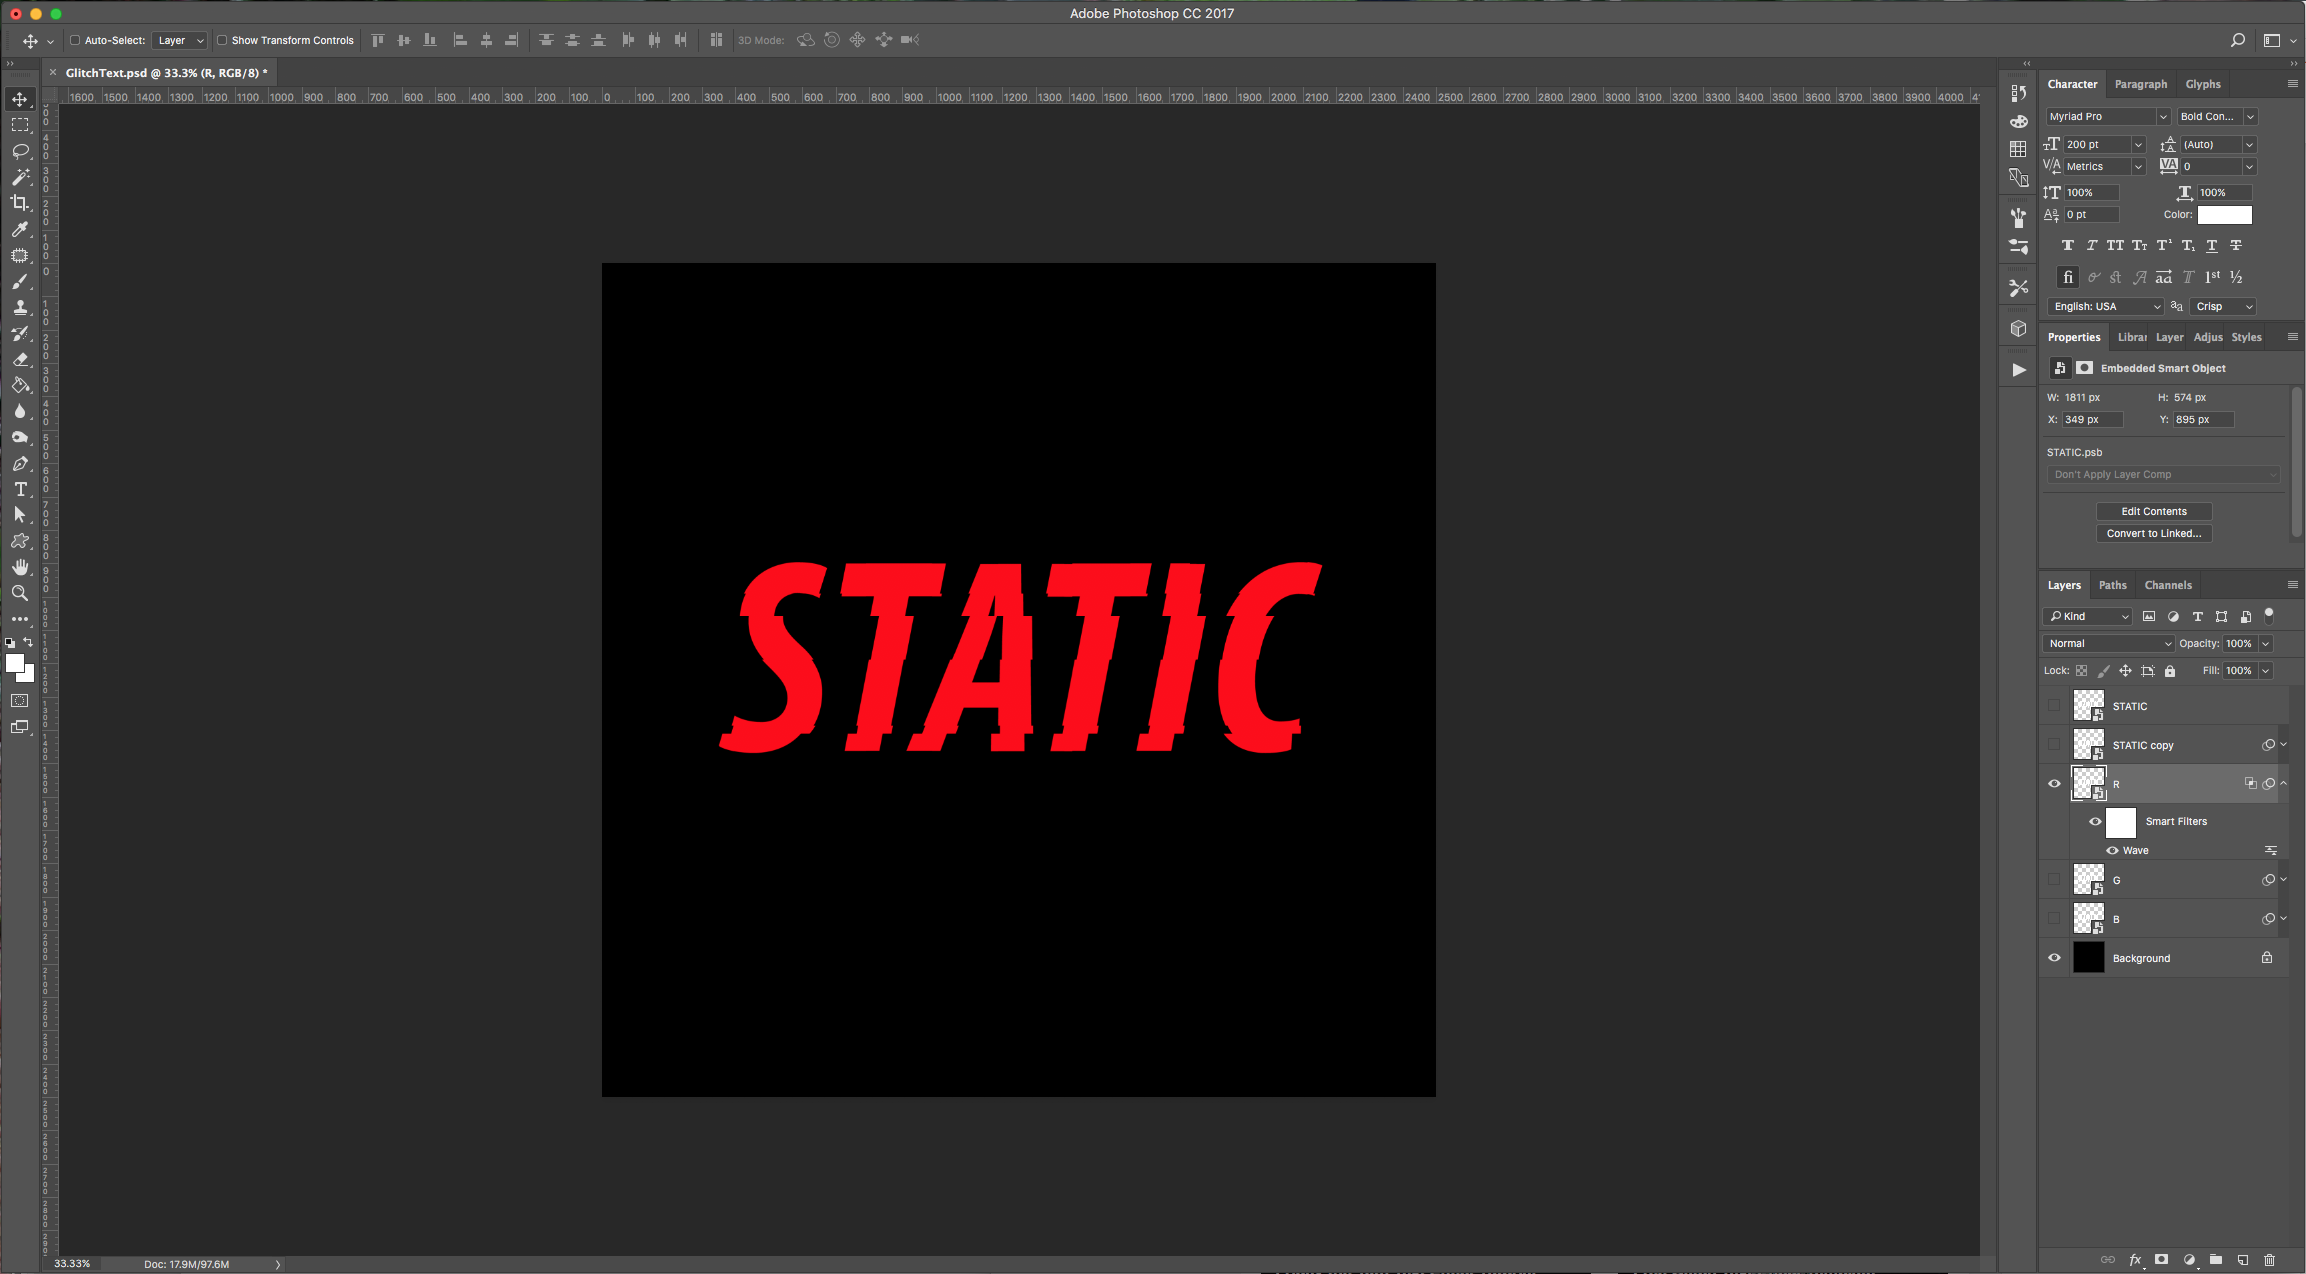
(Turn off the other layers to see the effect).
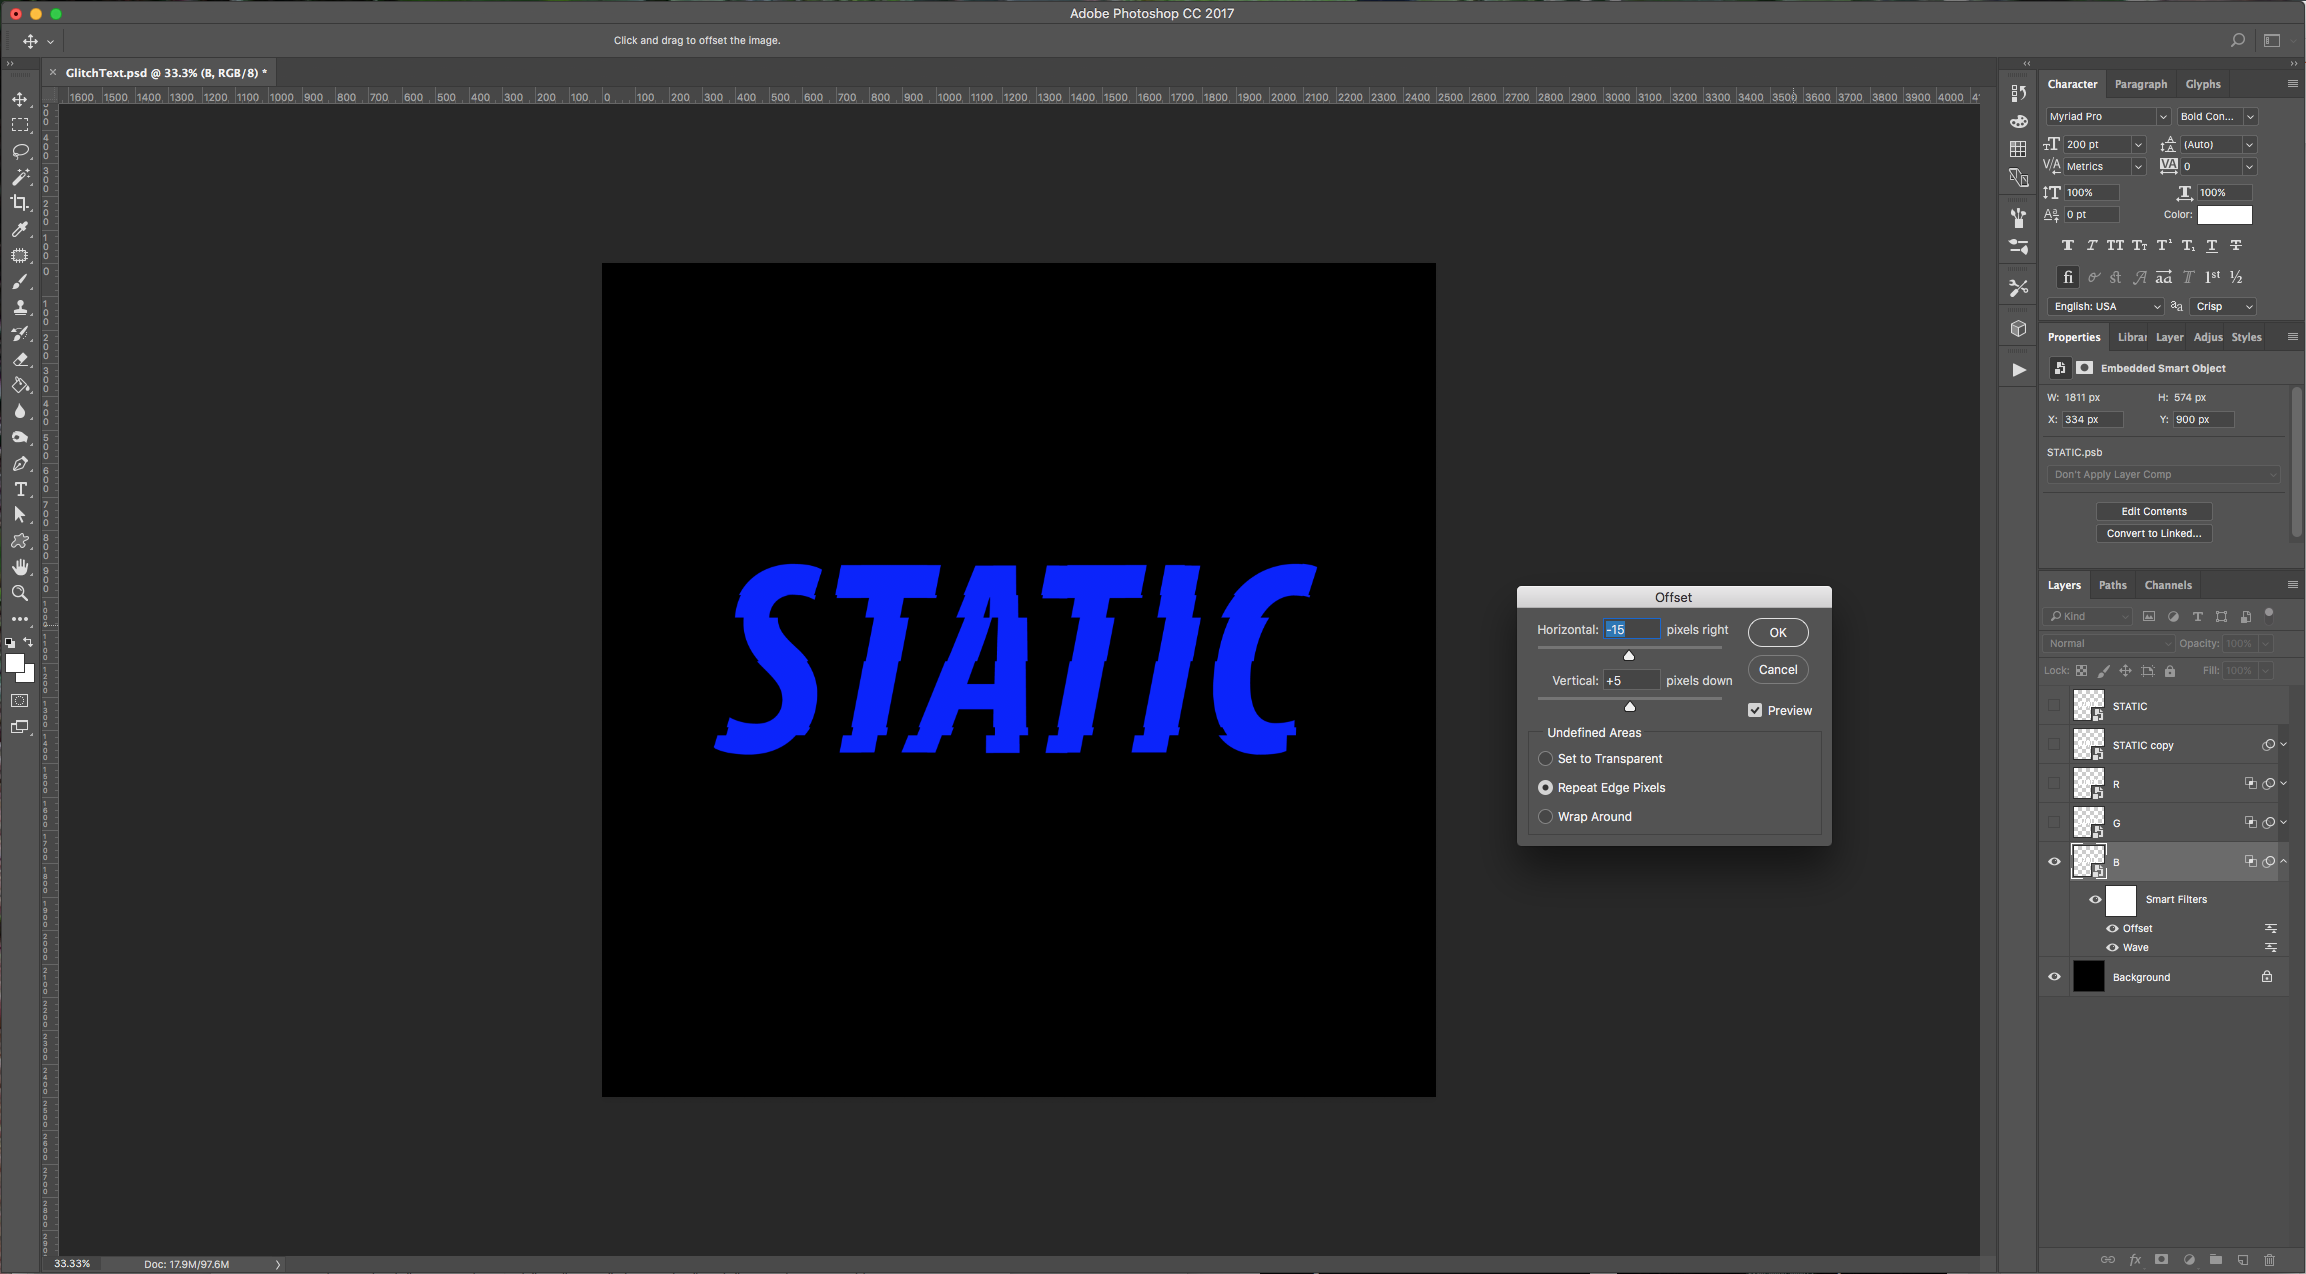
7 - Go to Filter > Other > Offset and apply the following values: Horizontal: +15 pixels right, Vertical: -5 pixels down, check “Repeat Edge Pixels”.
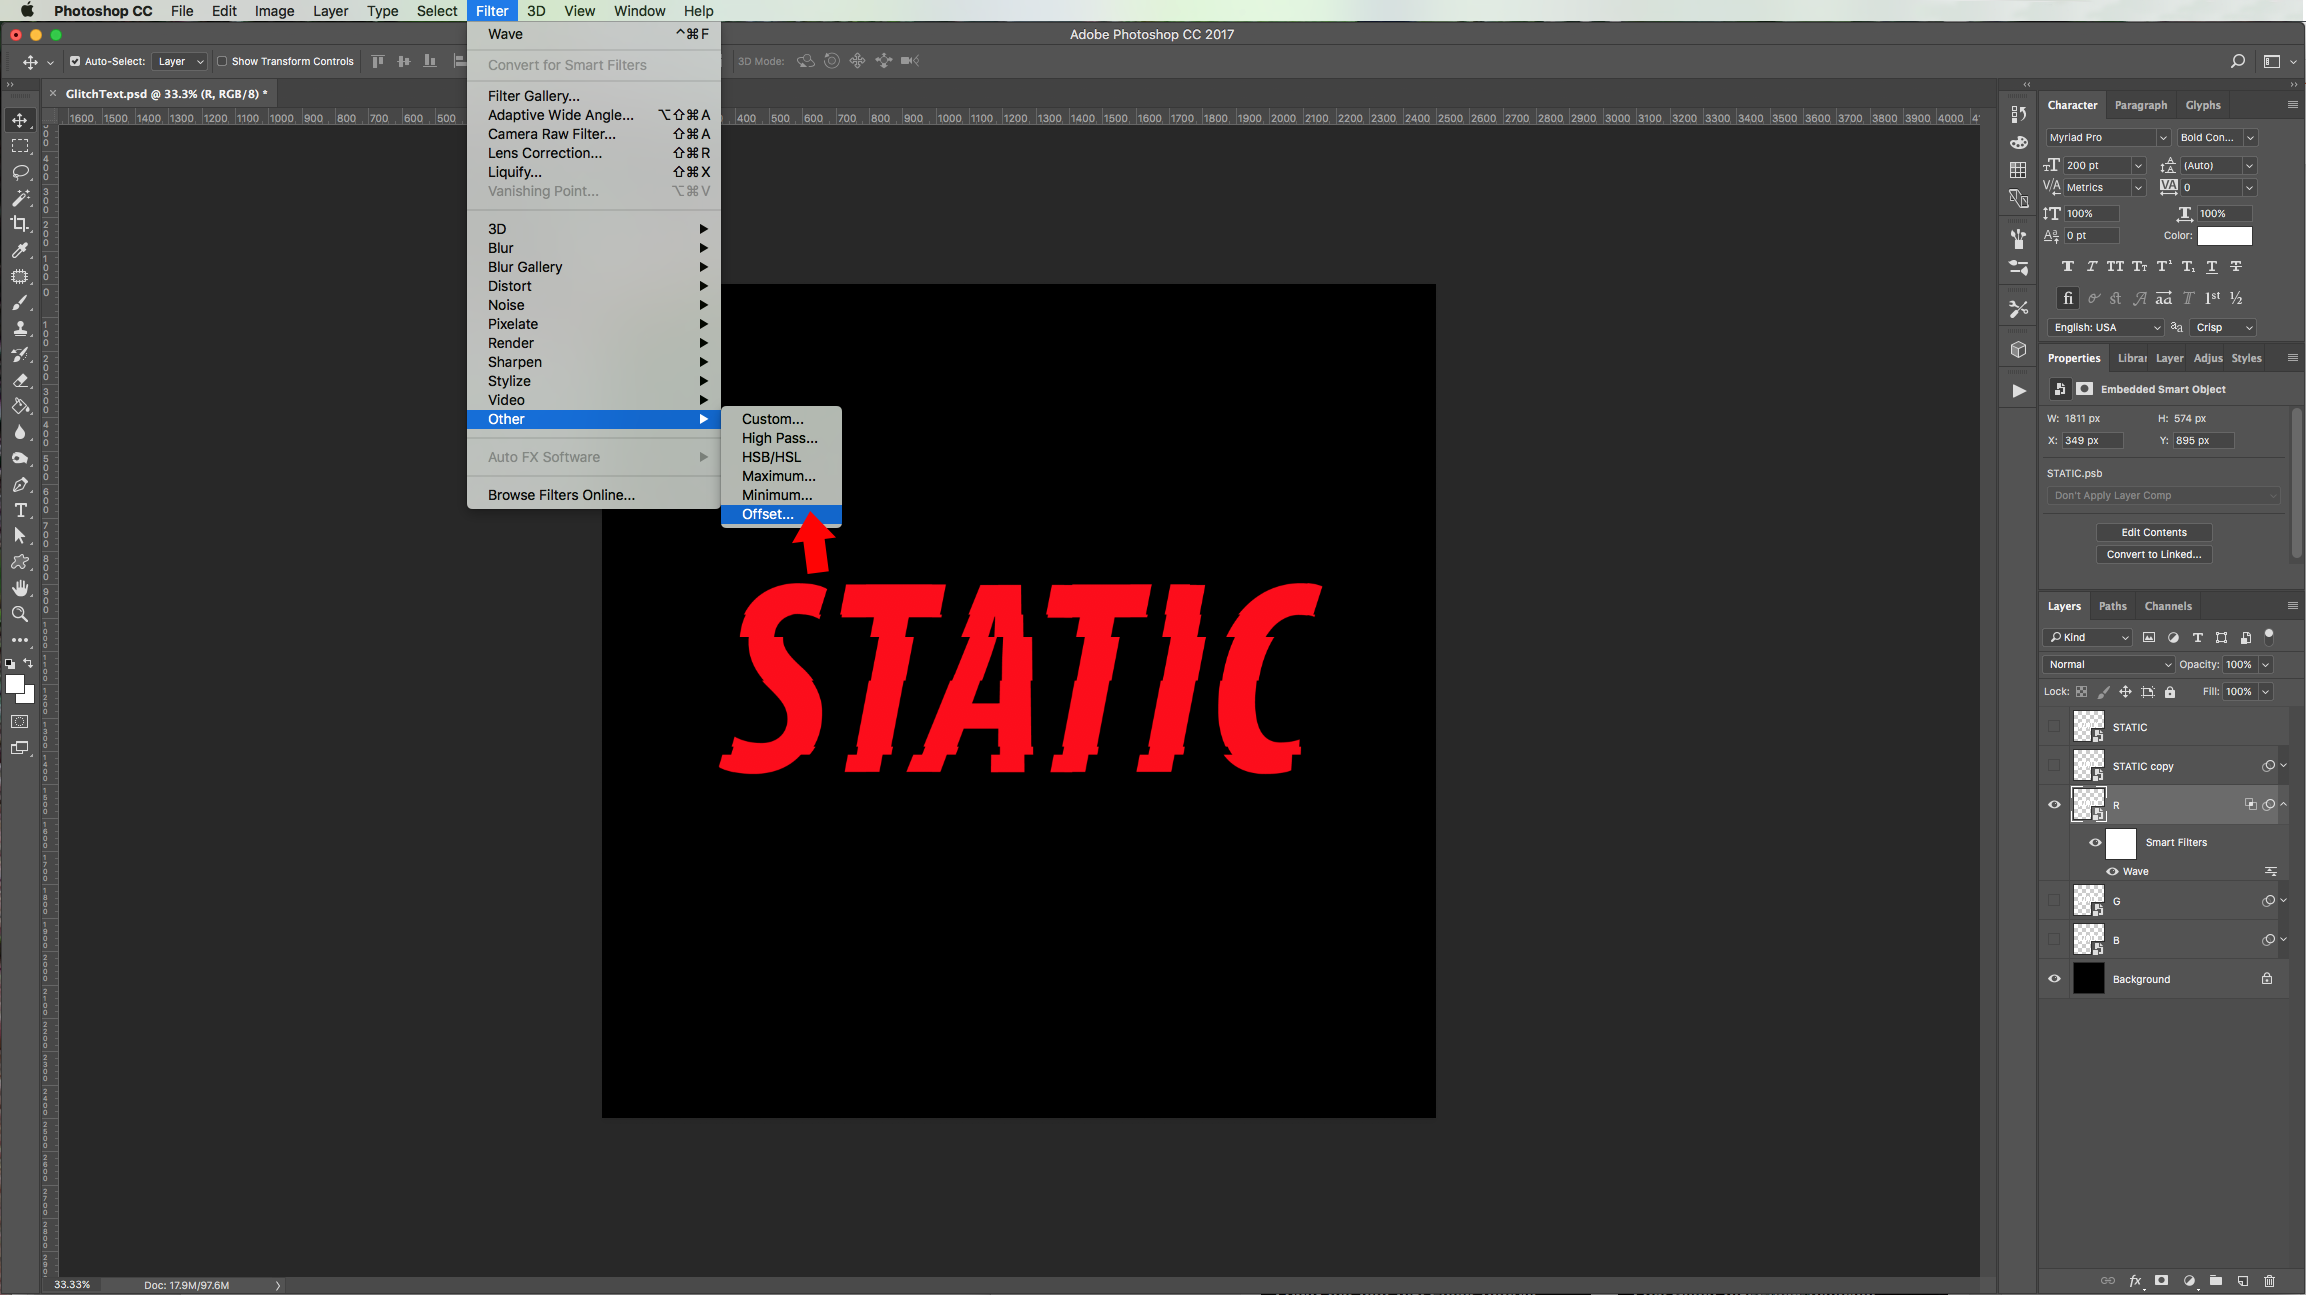
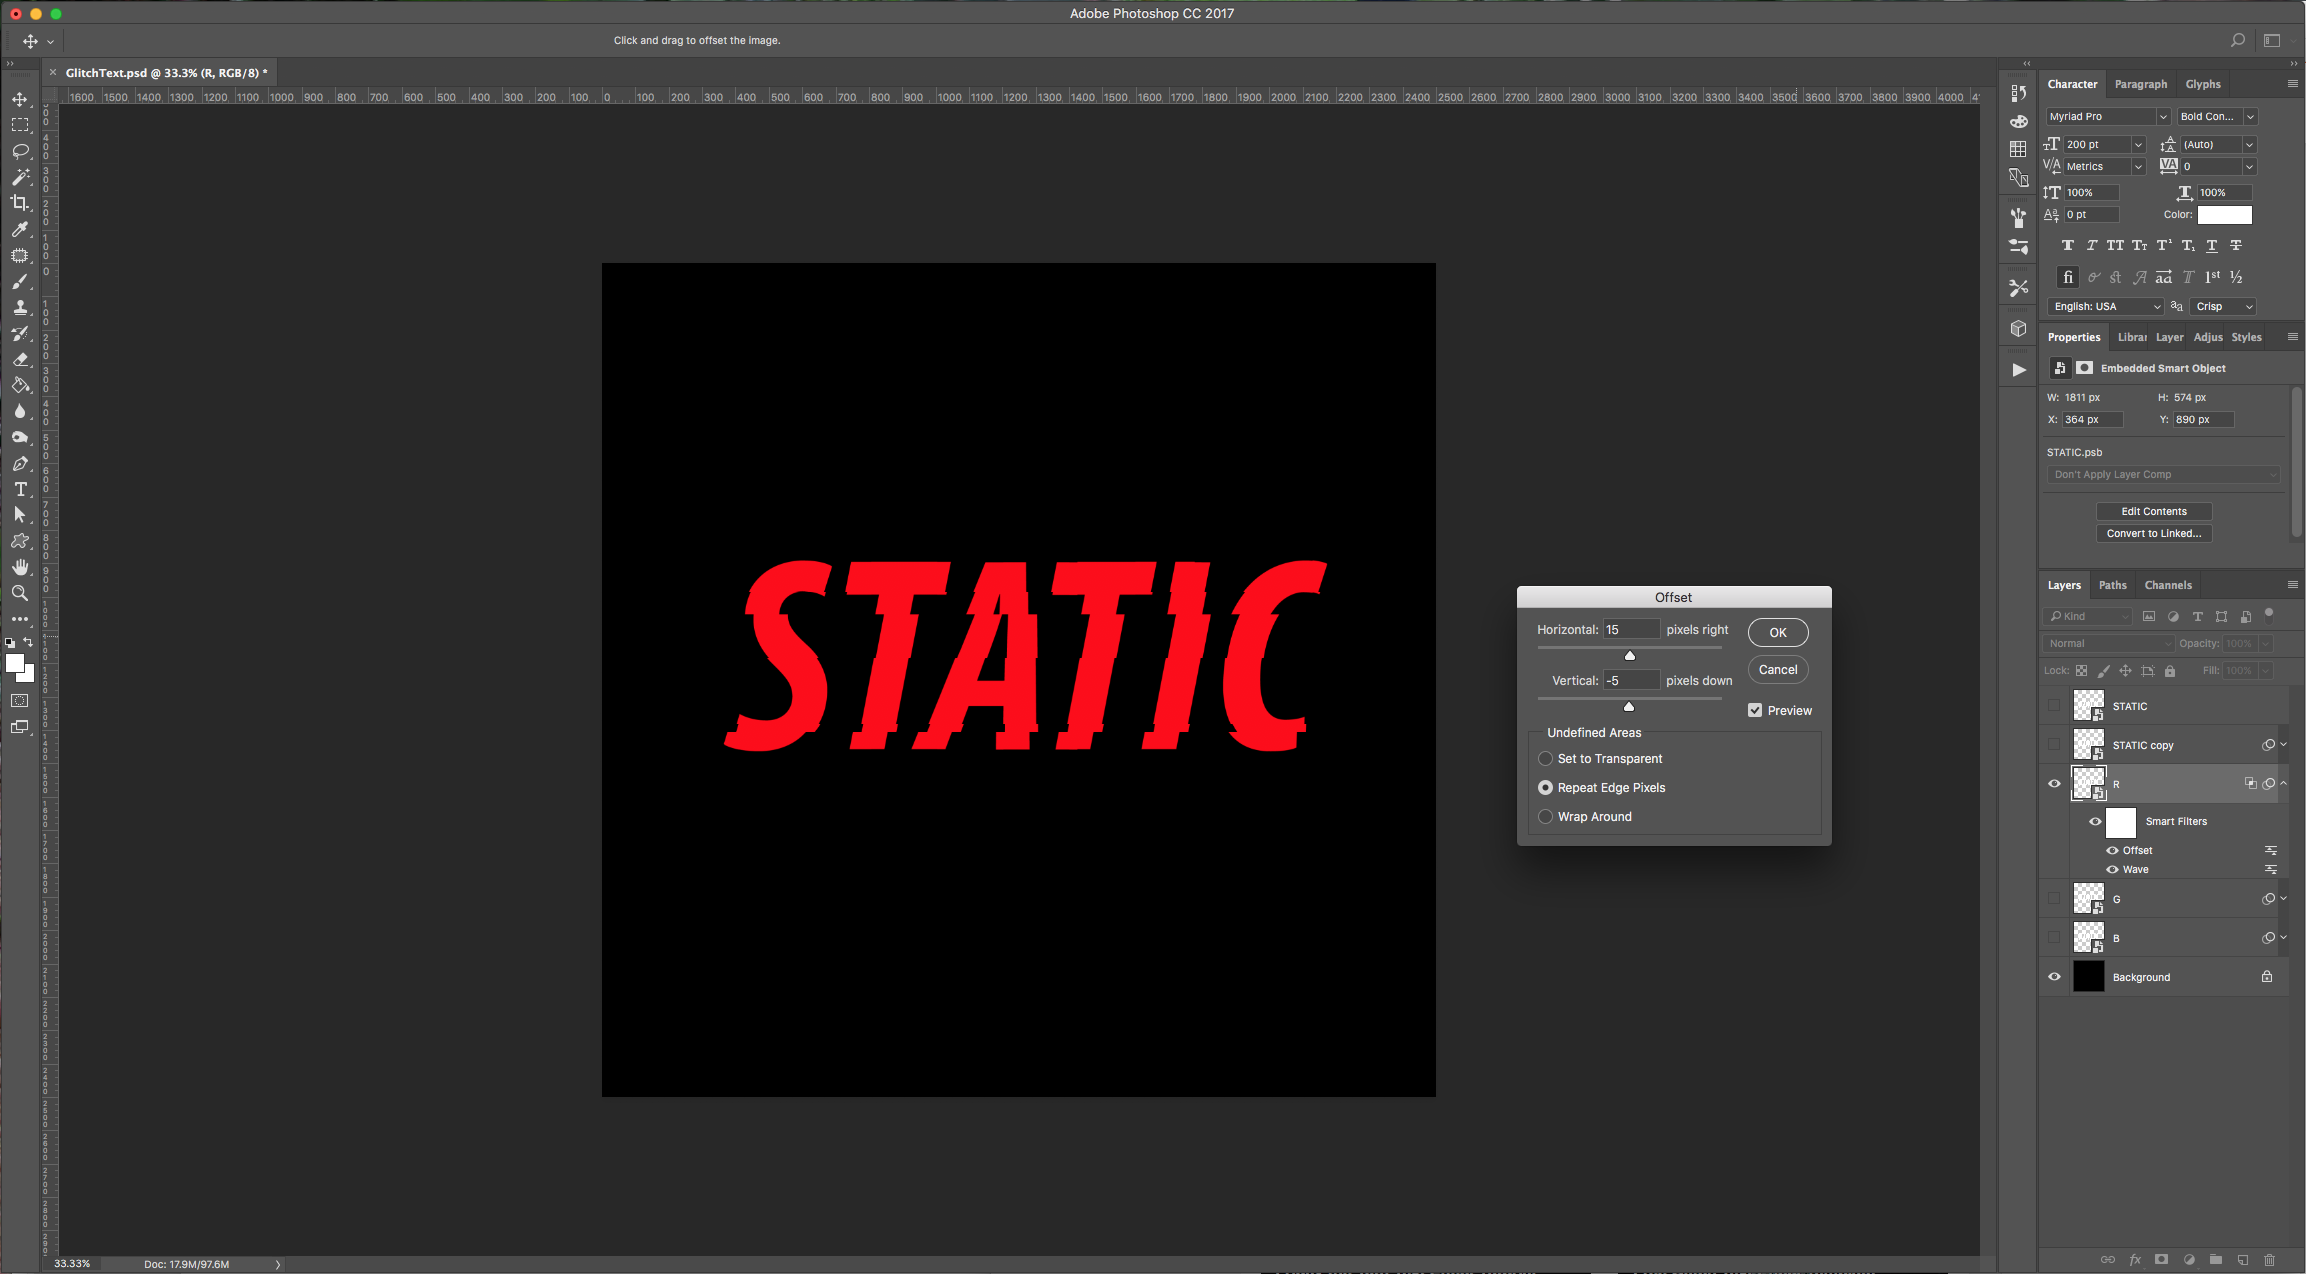
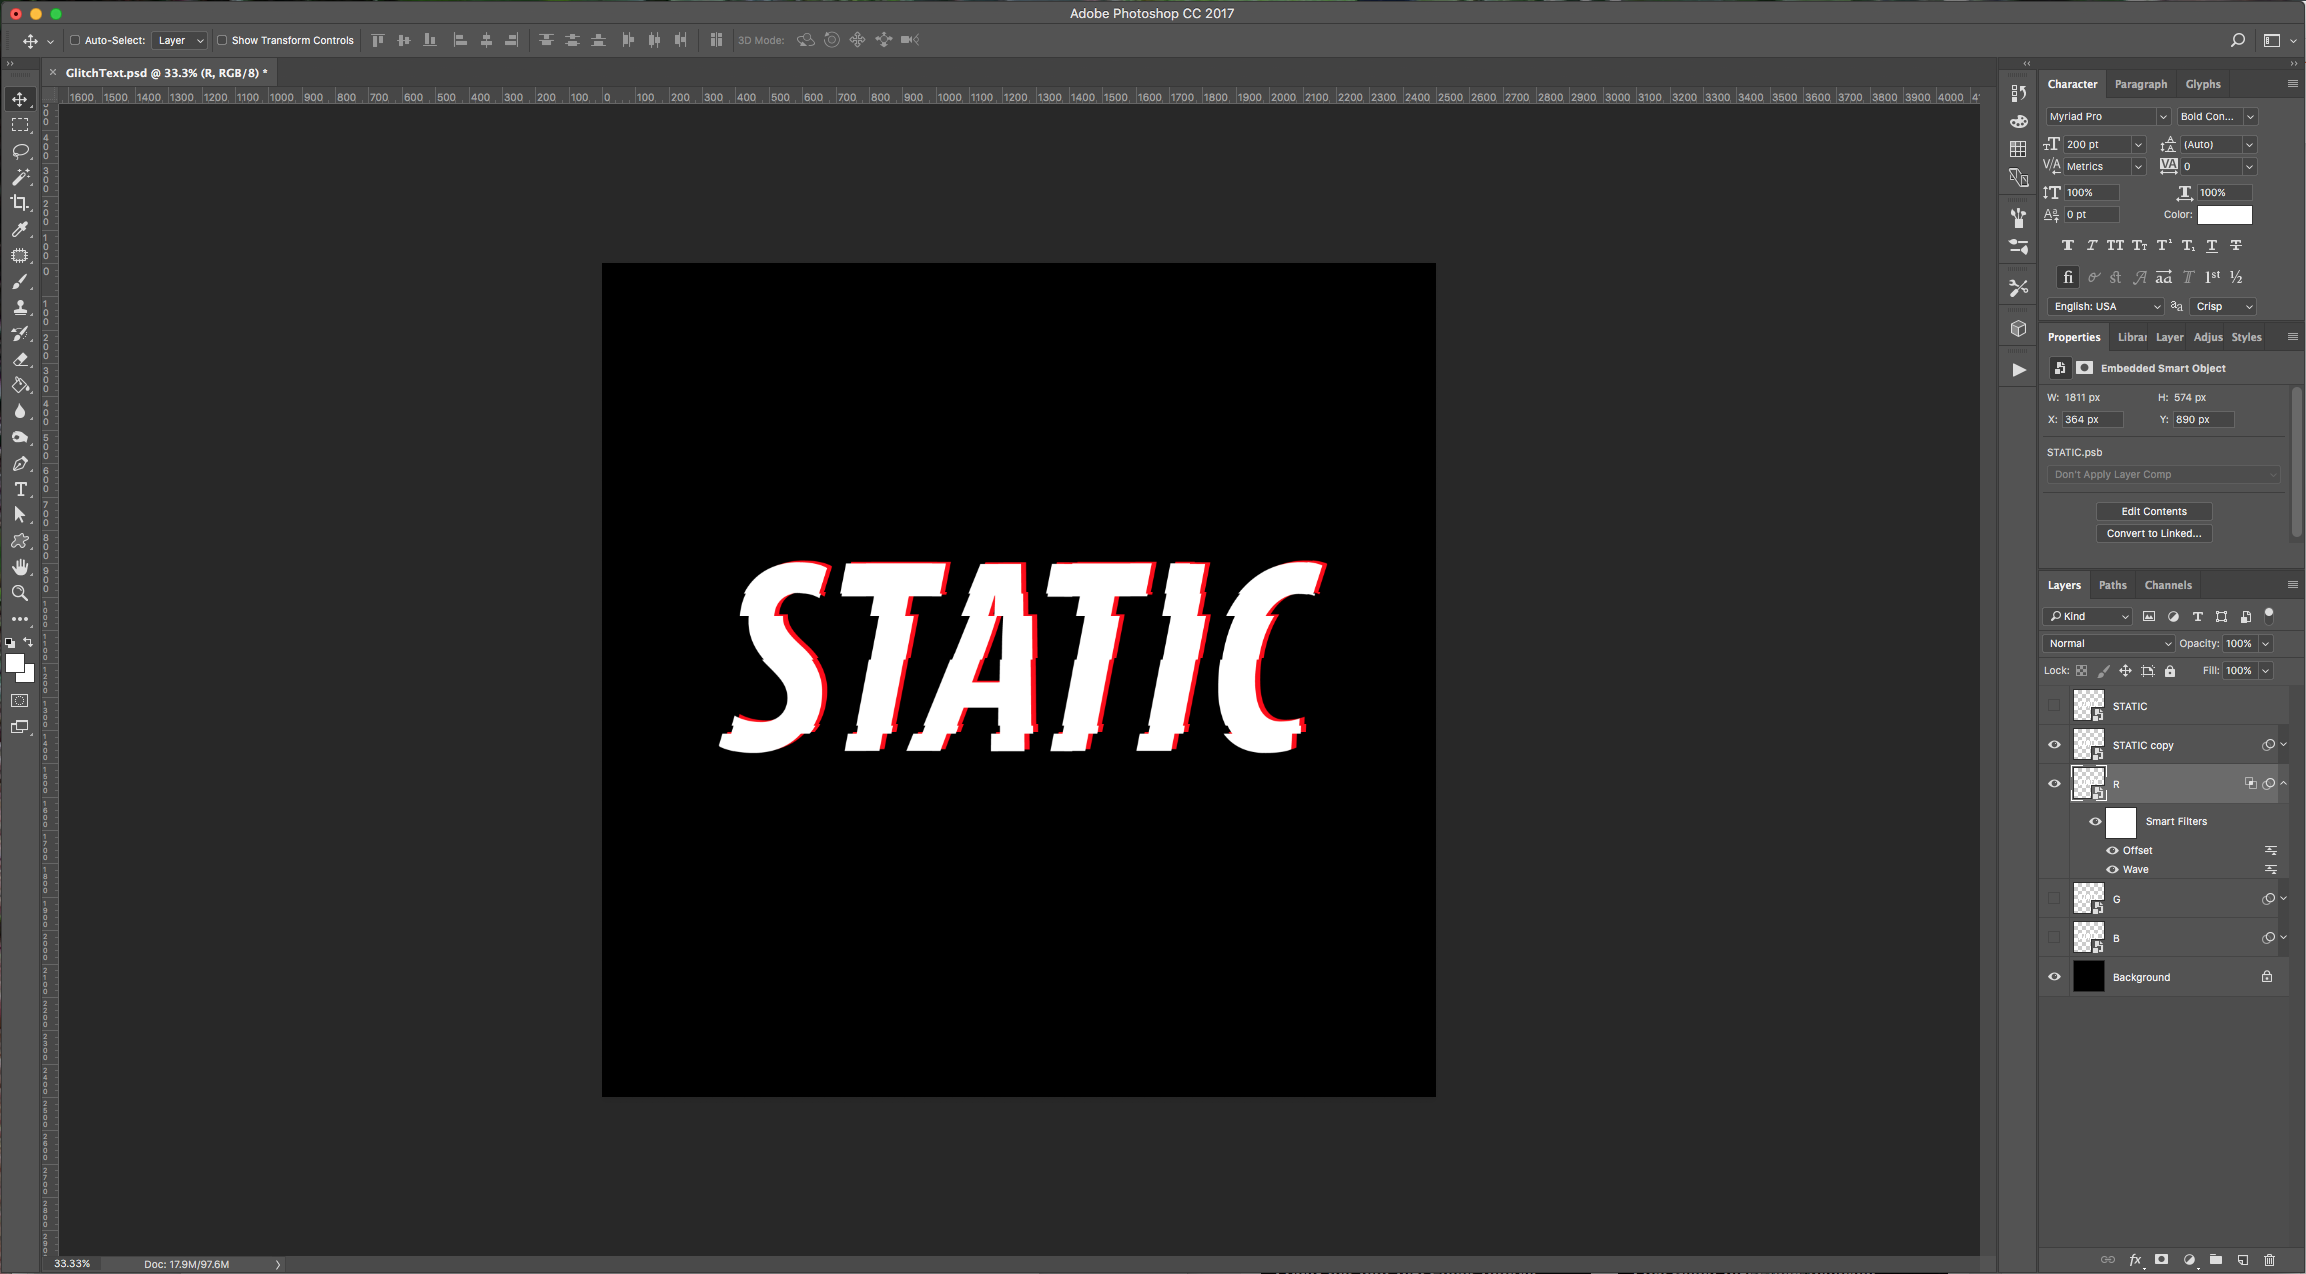
(Turn on your “text” layer to check if you like the results).
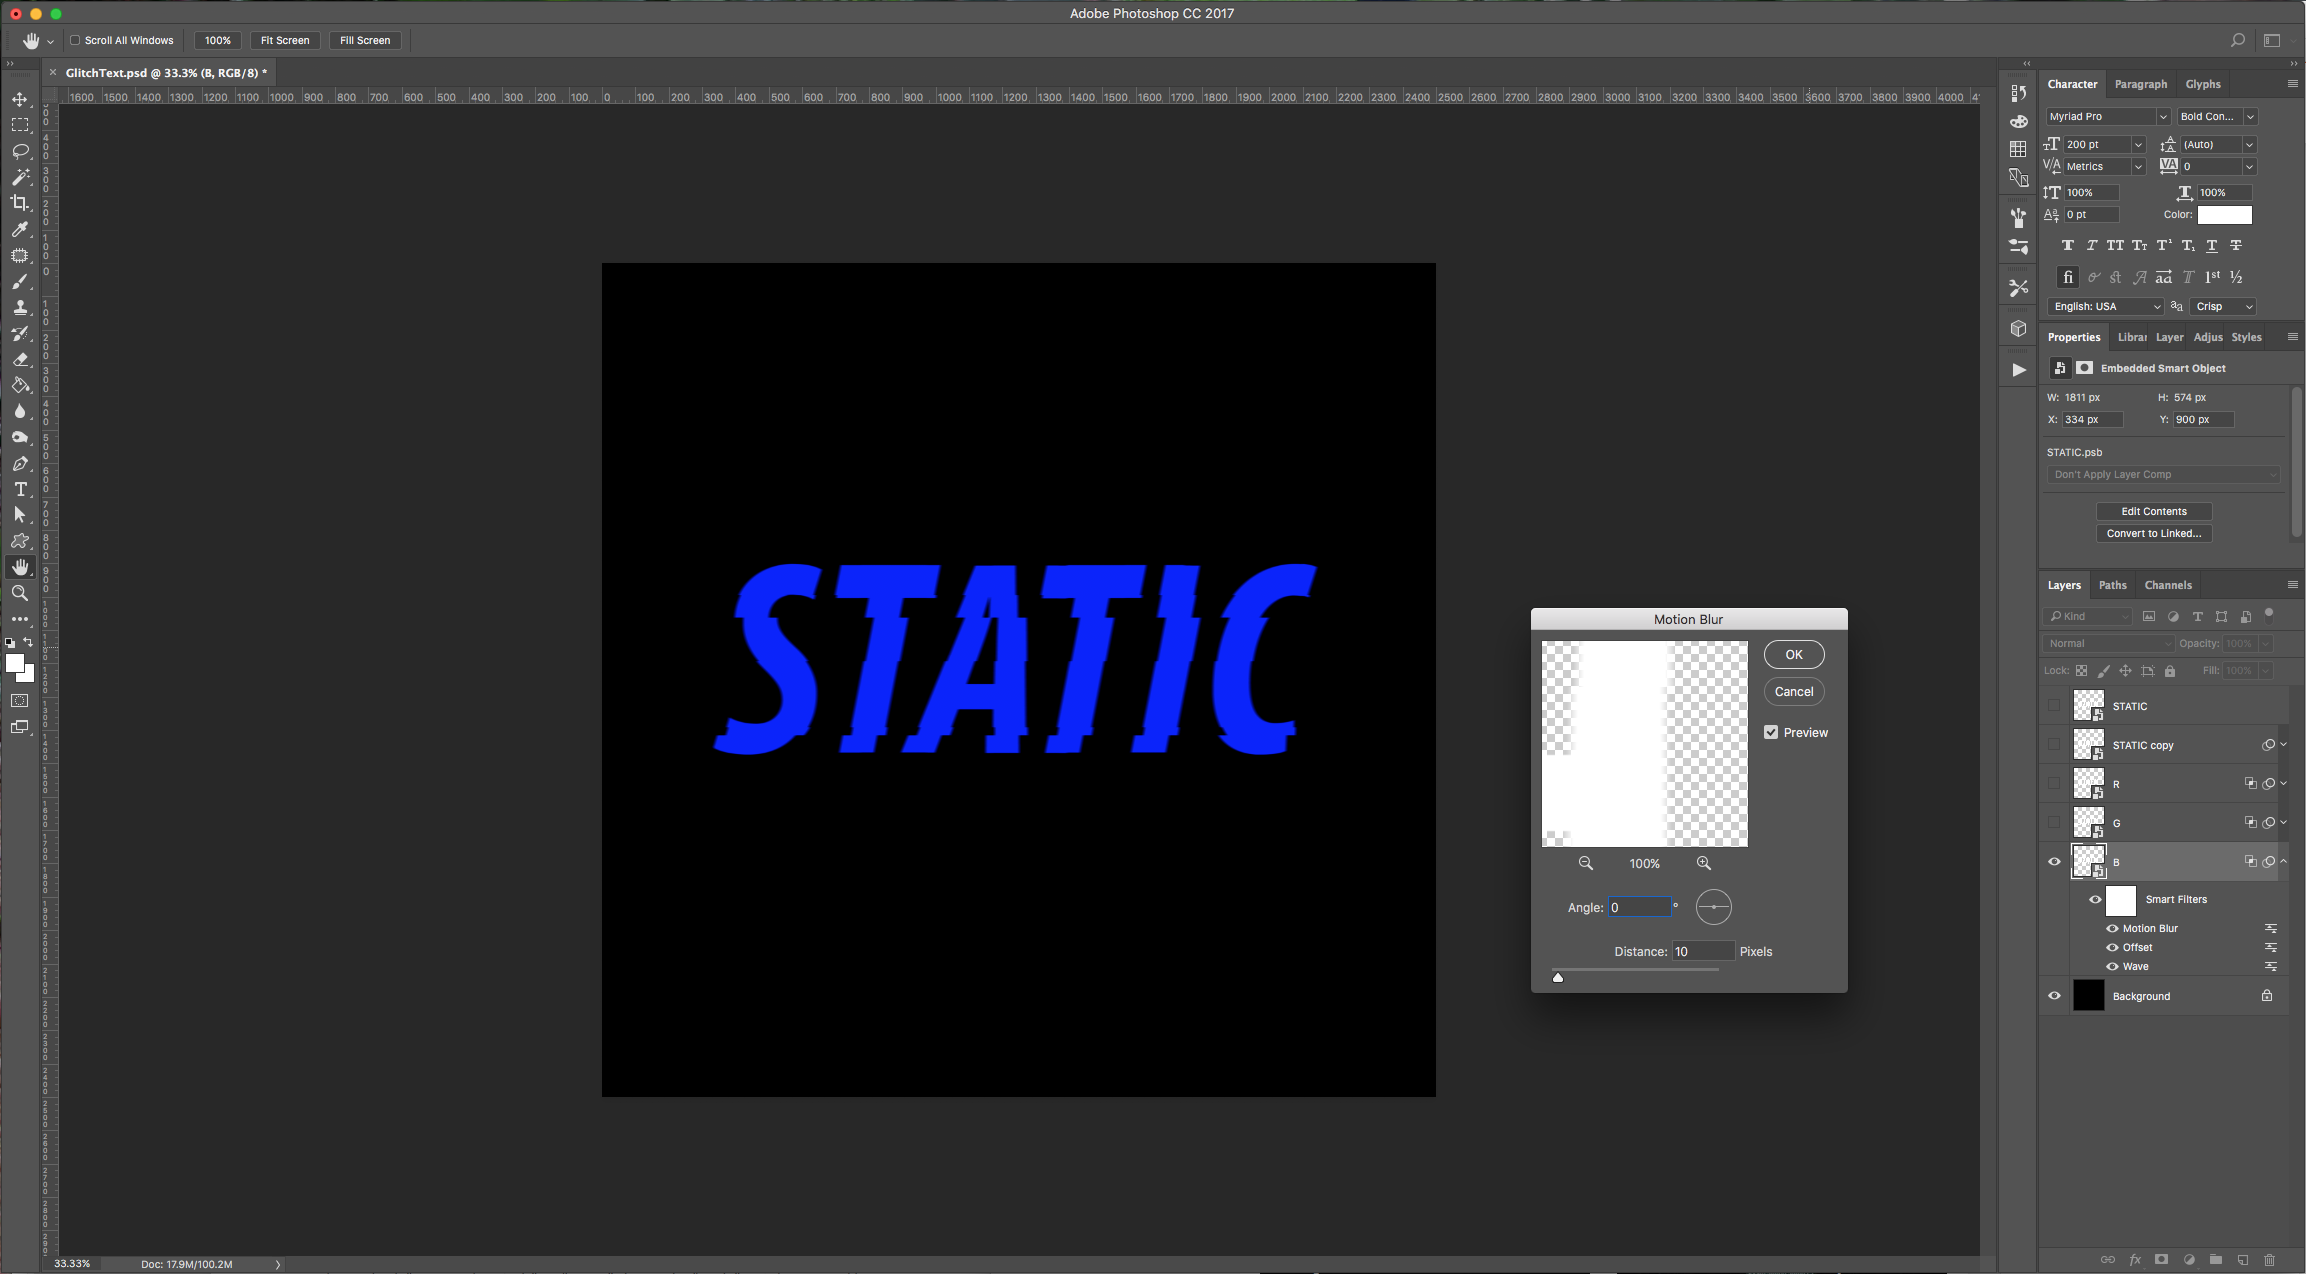
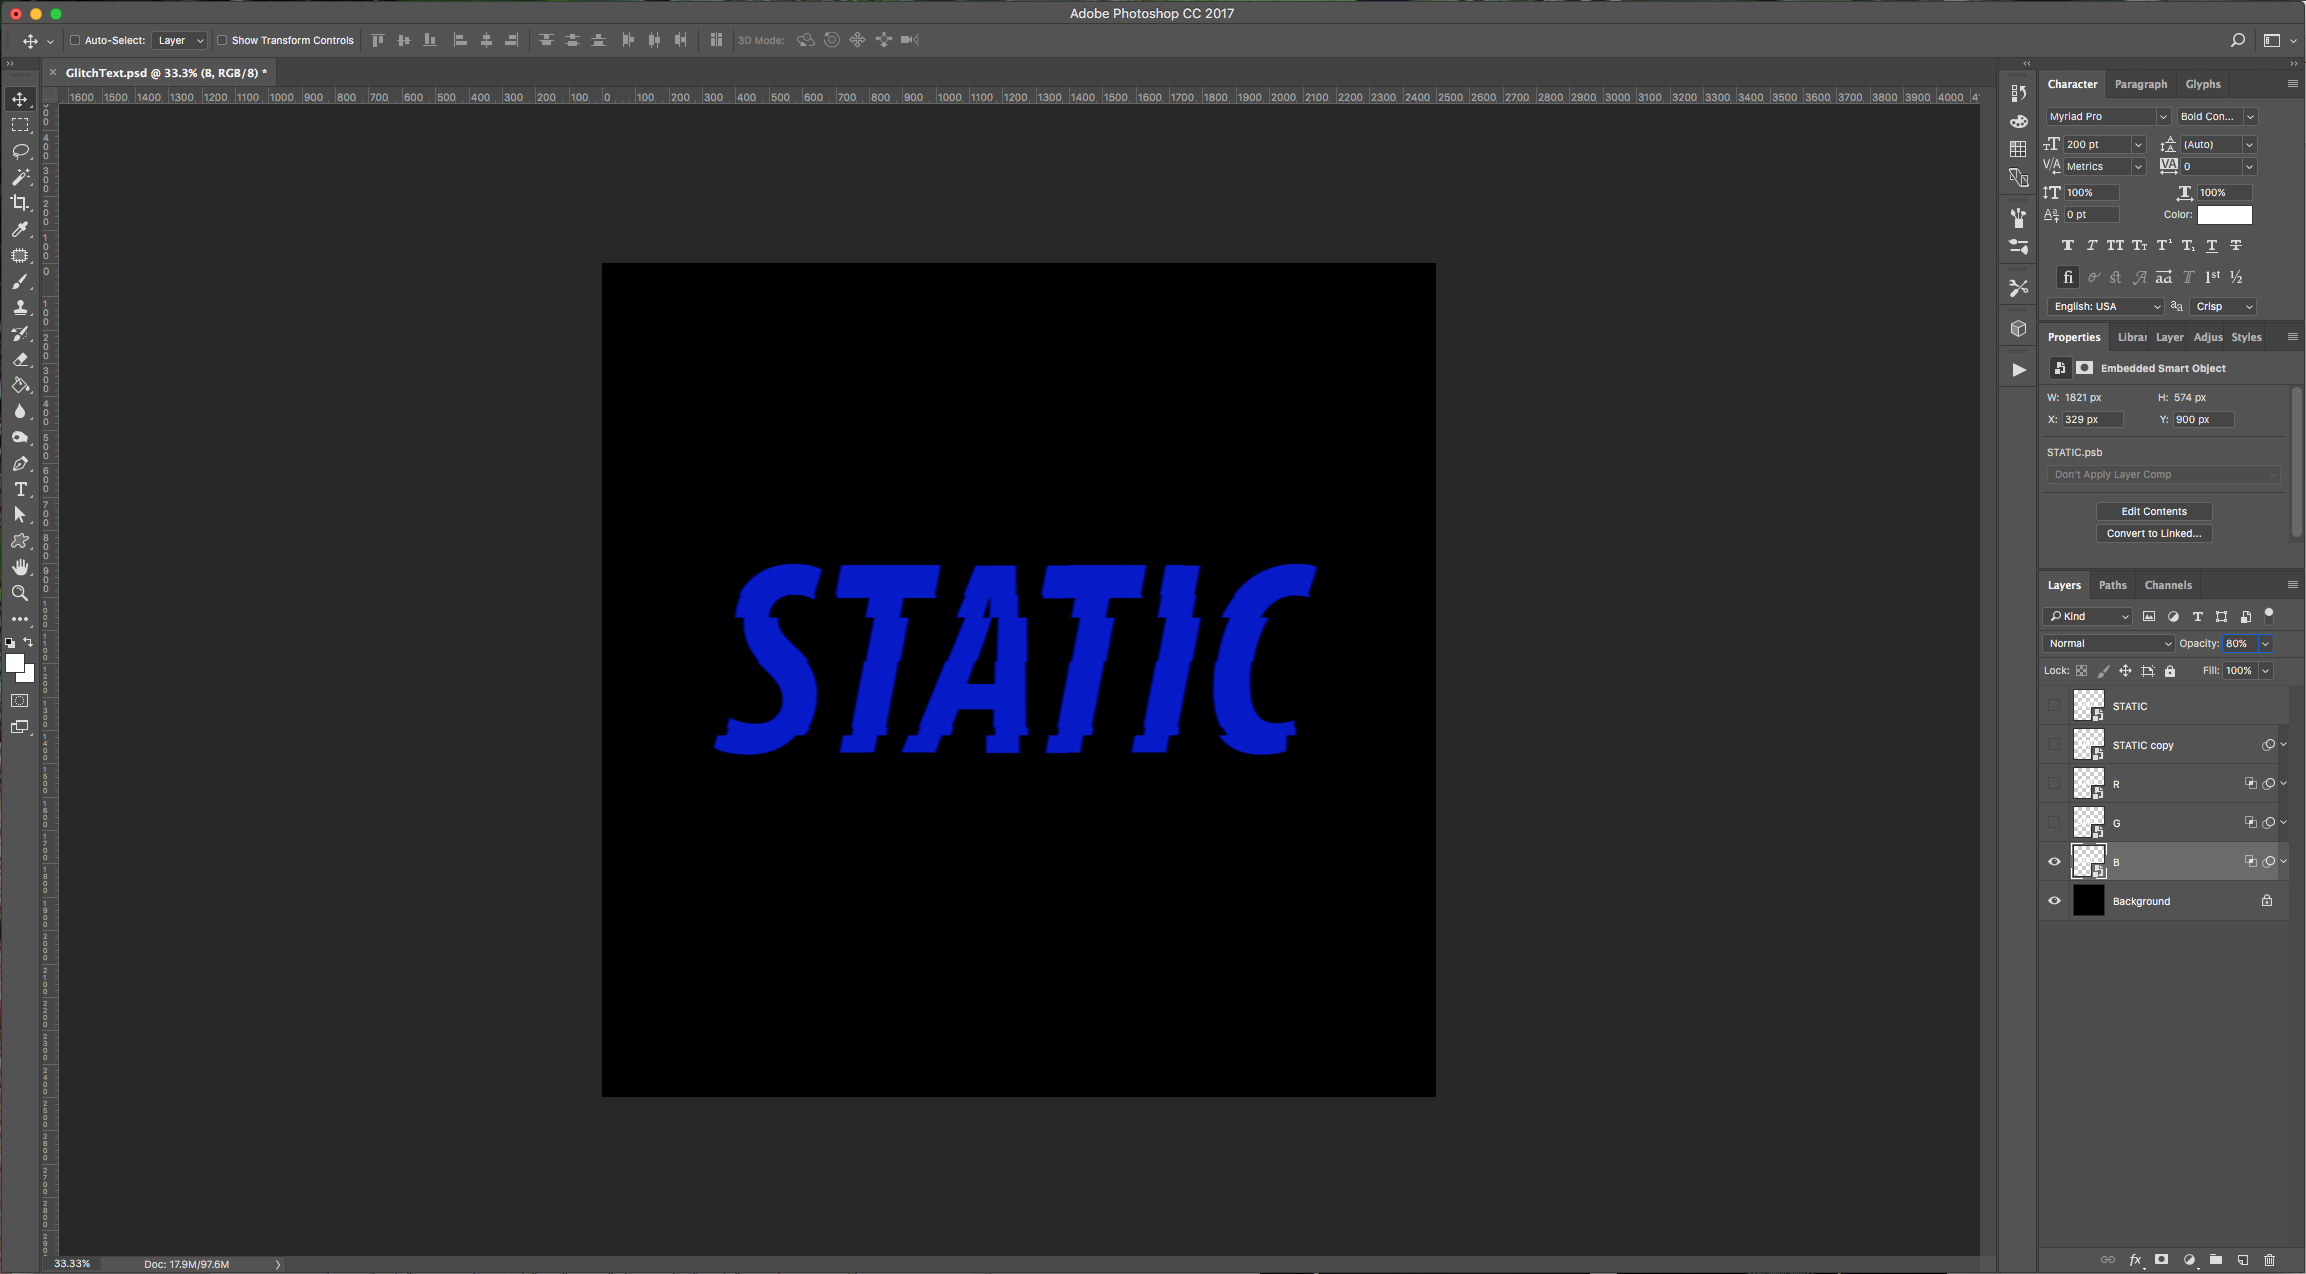
8 - Finally, go to Filter > Blur > Motion Blur and use a “Distance” of 10 Pixels (Keep 0 for Angle). Then lower the “Opacity” of the layer to 80%.
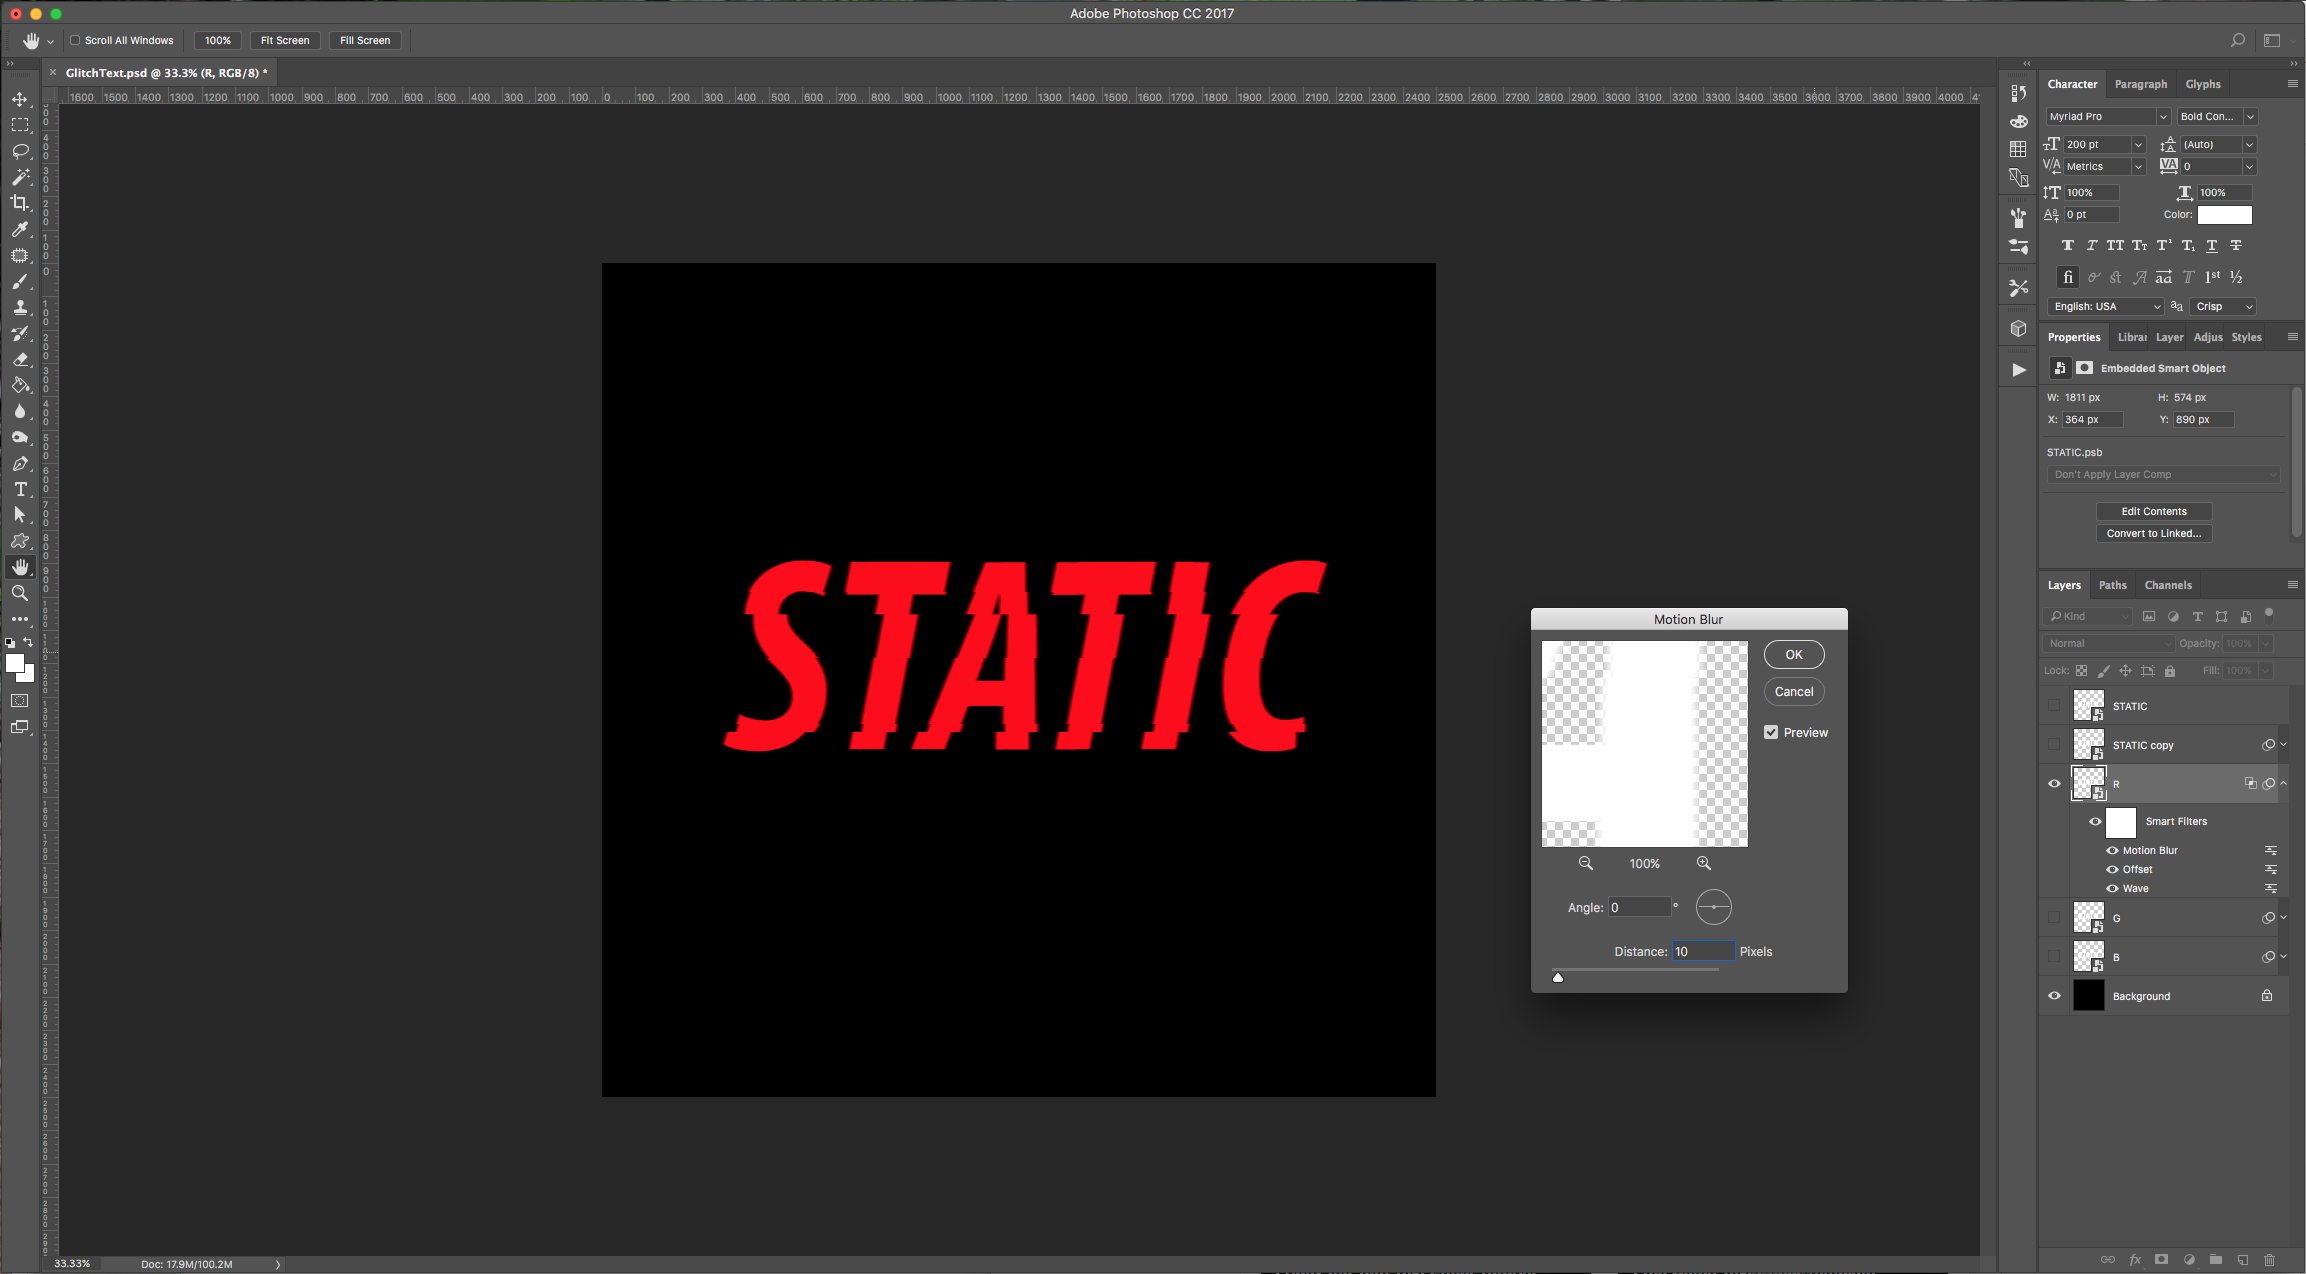
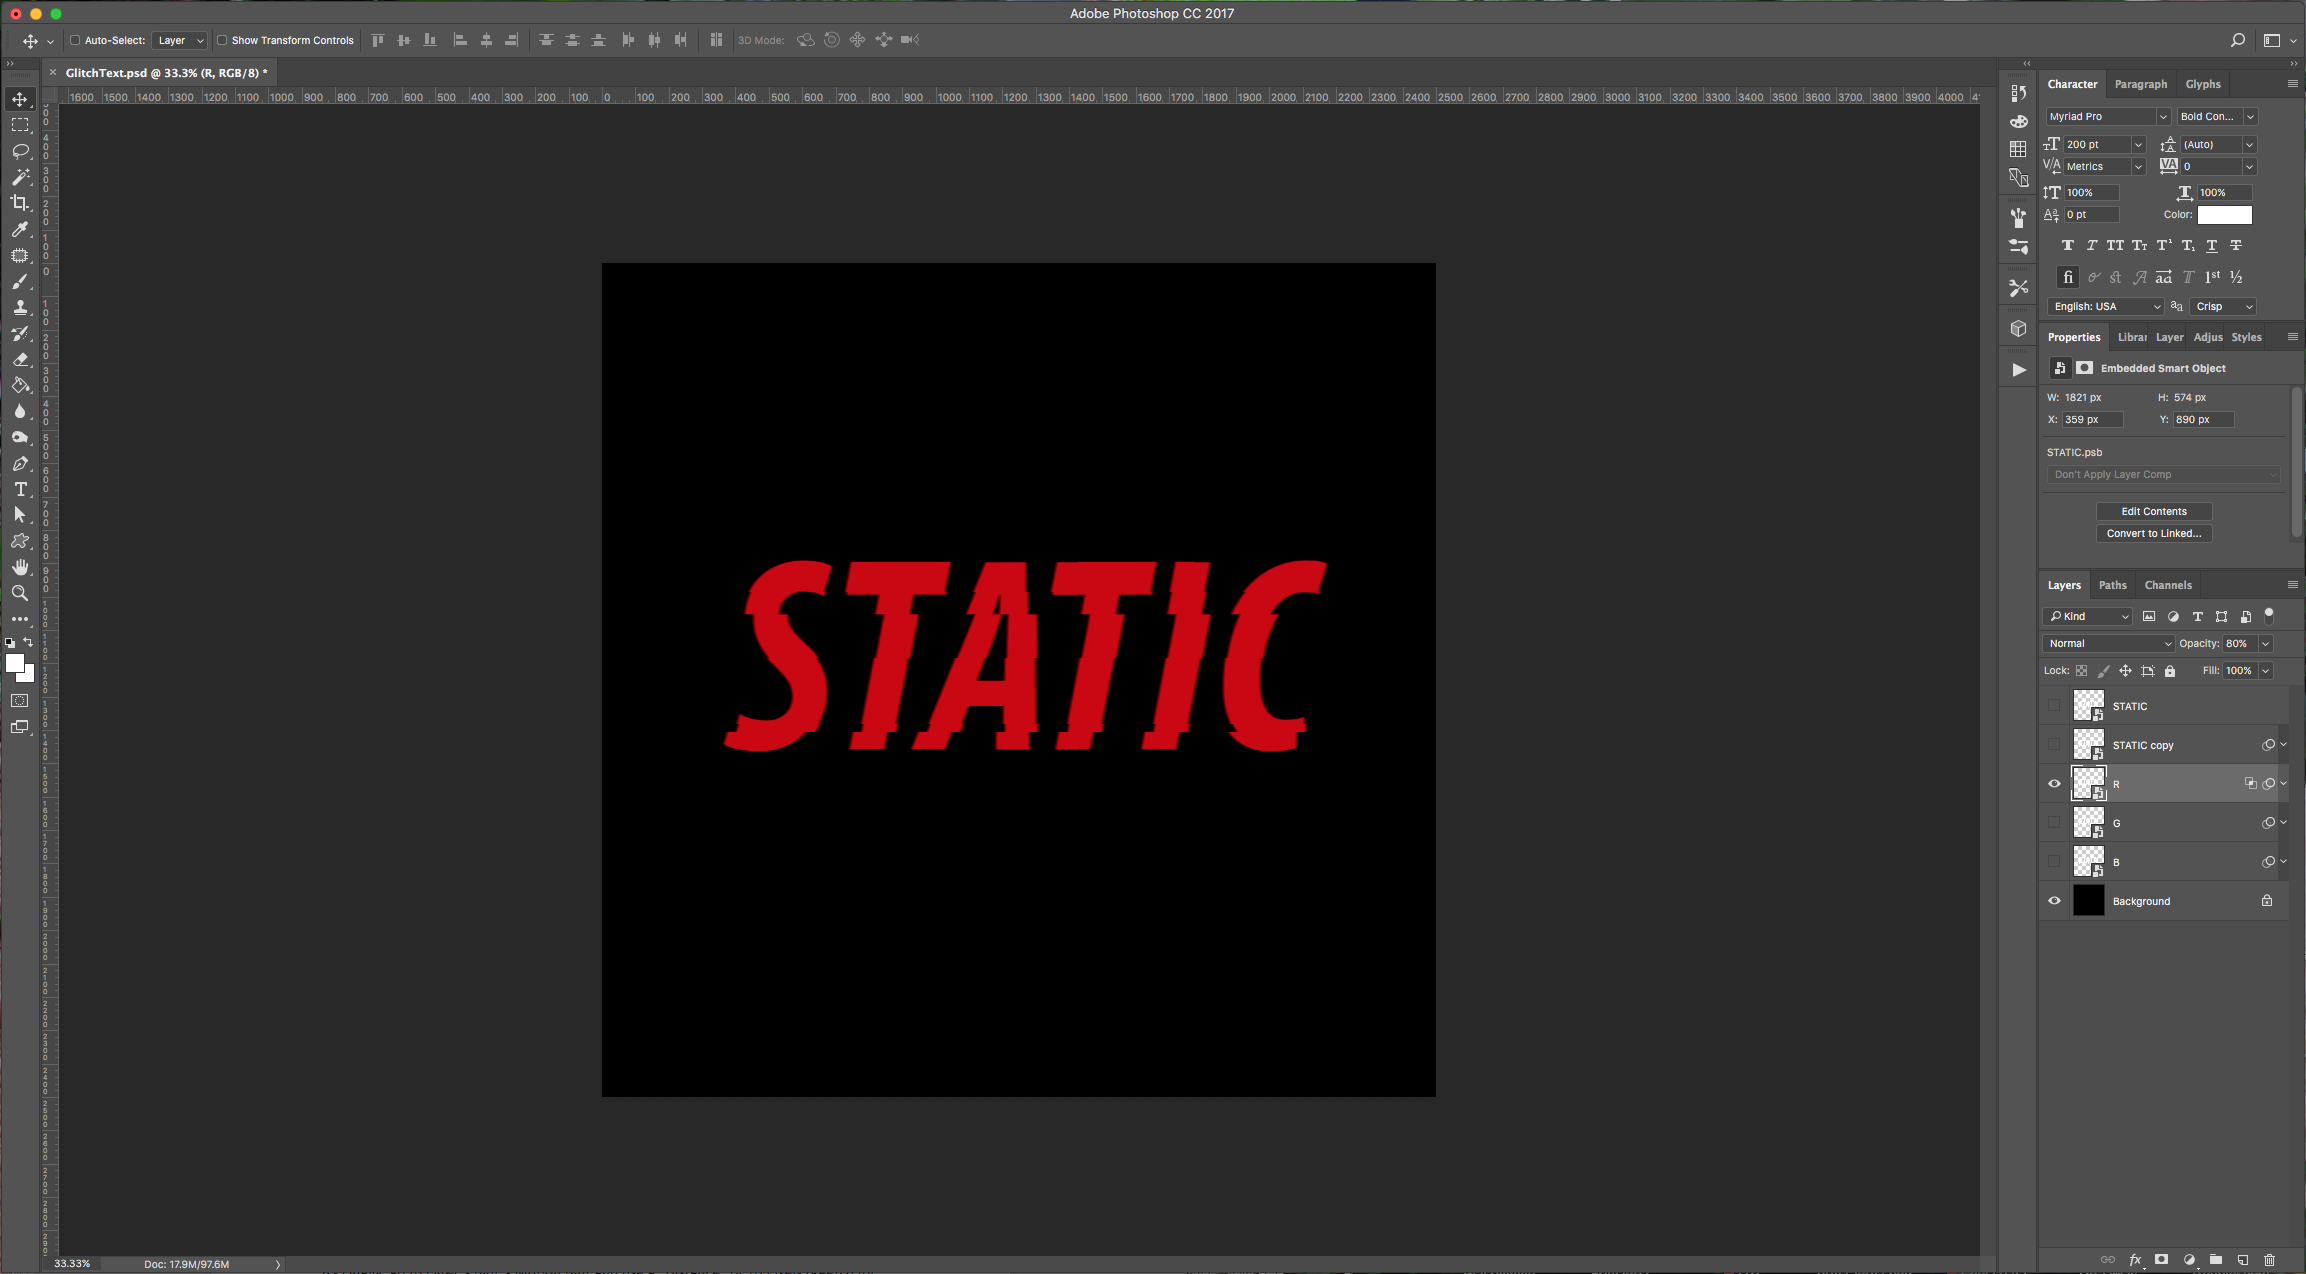
9 - Hide the “R” layer and turn on the “G” layer. Repeat Steps 6 to 8, but in “Step 6” uncheck the “R” and “B” Channels (your text should be green) and in “Step 7”, change the values to: Horizontal: 0 pixels right, Vertical: +15 pixels down, check “Repeat Edge Pixels”. In “Step 8” change the “Angle” to 90 degrees and keep the “Distance” value of 10 pixels. Lower the “Opacity” to 80%.
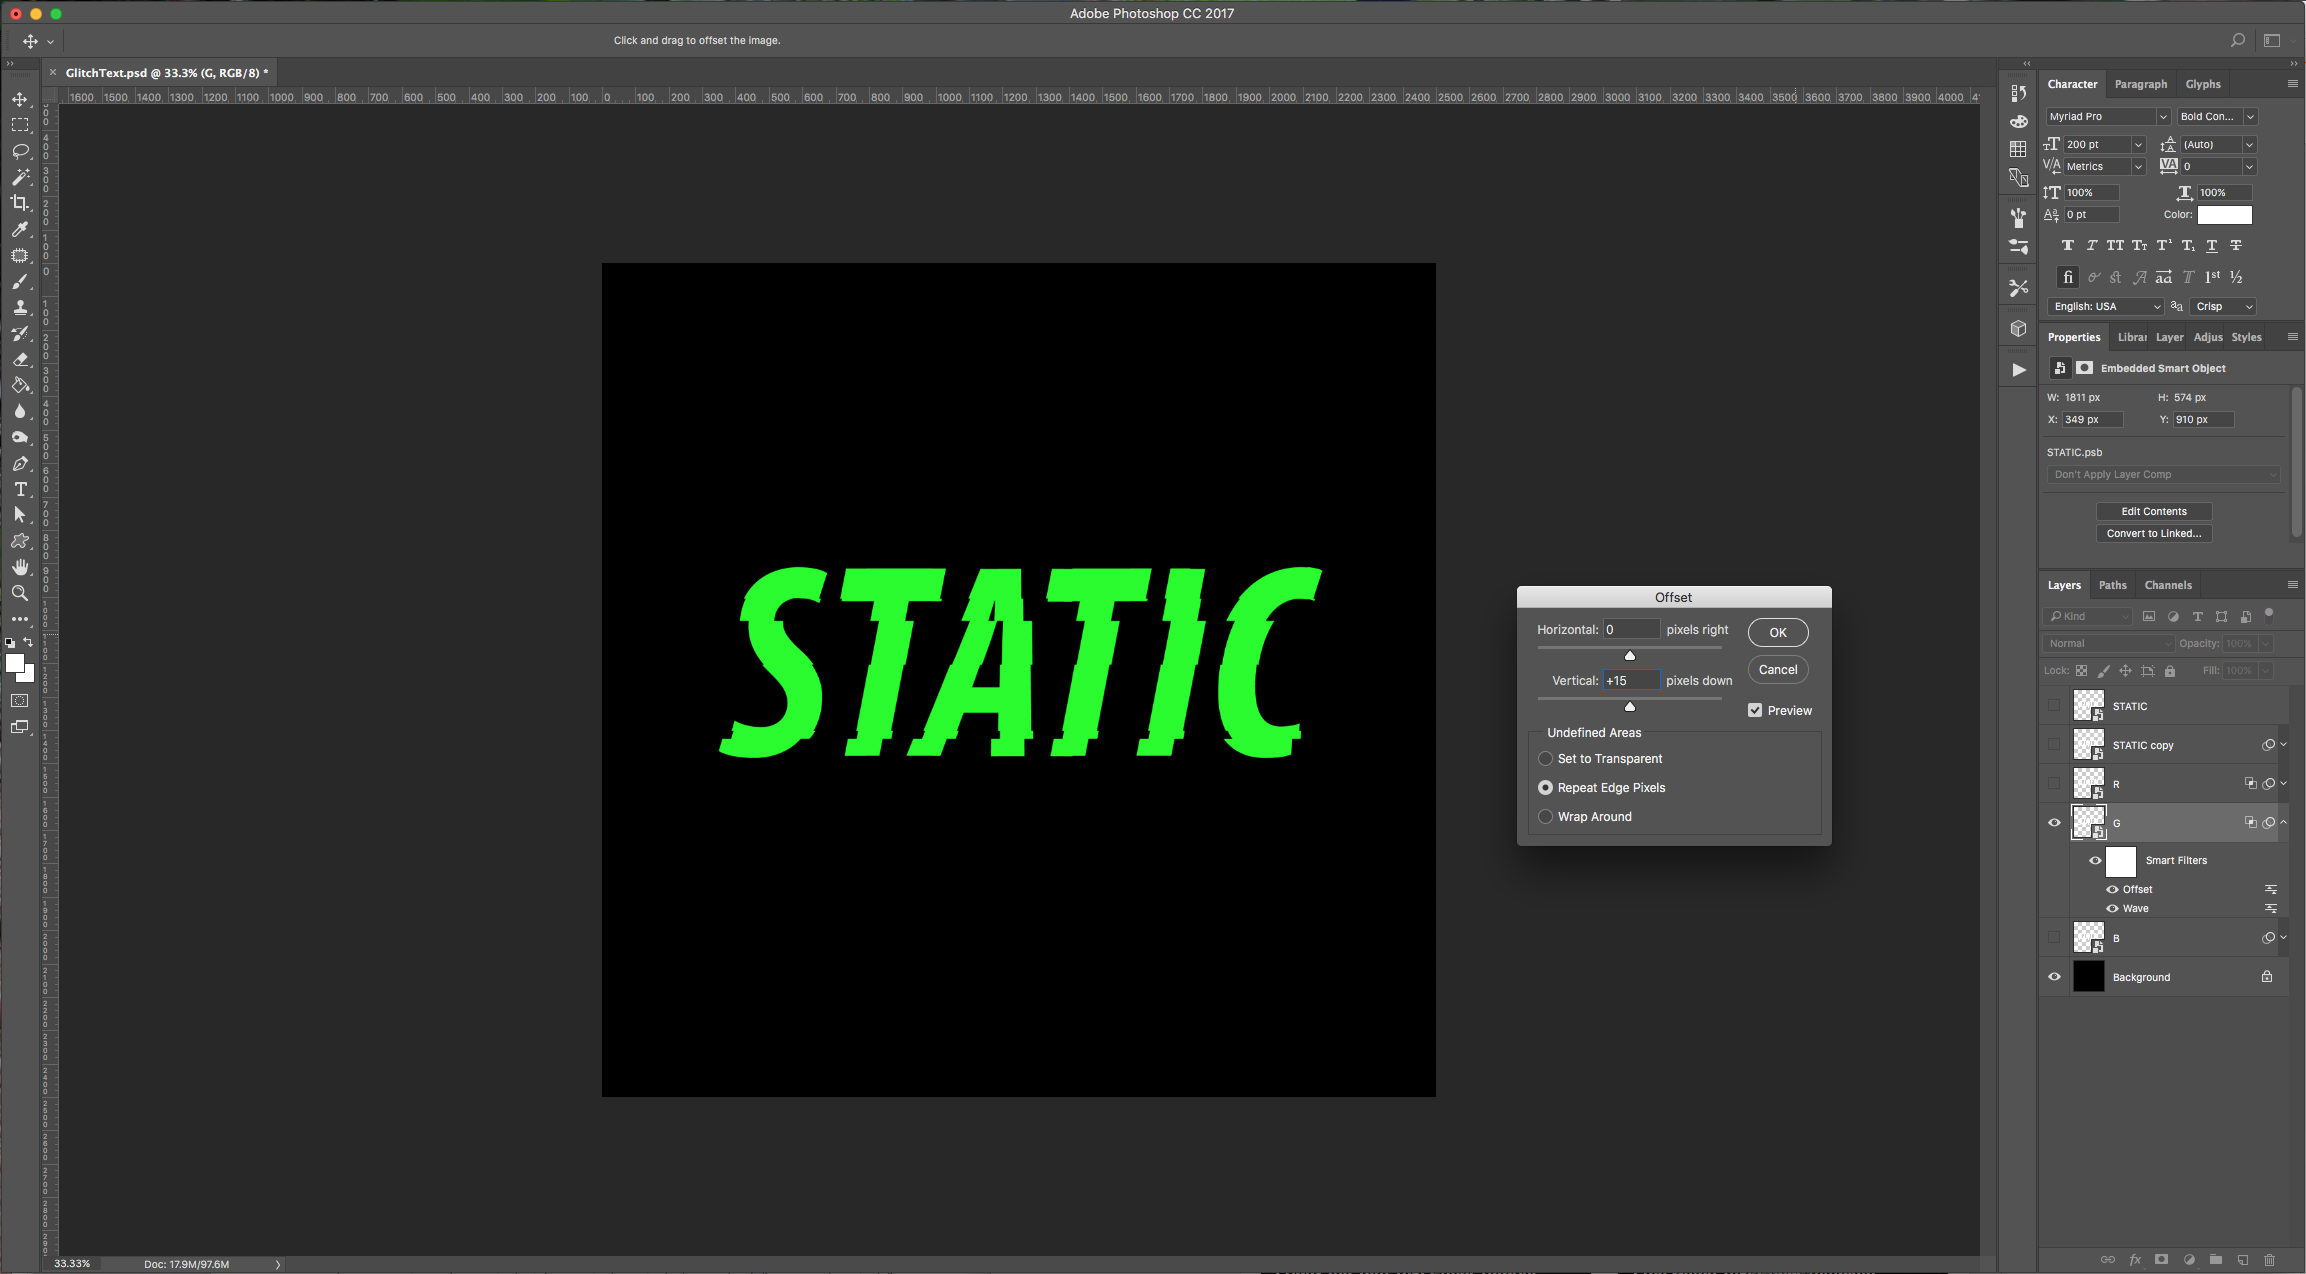
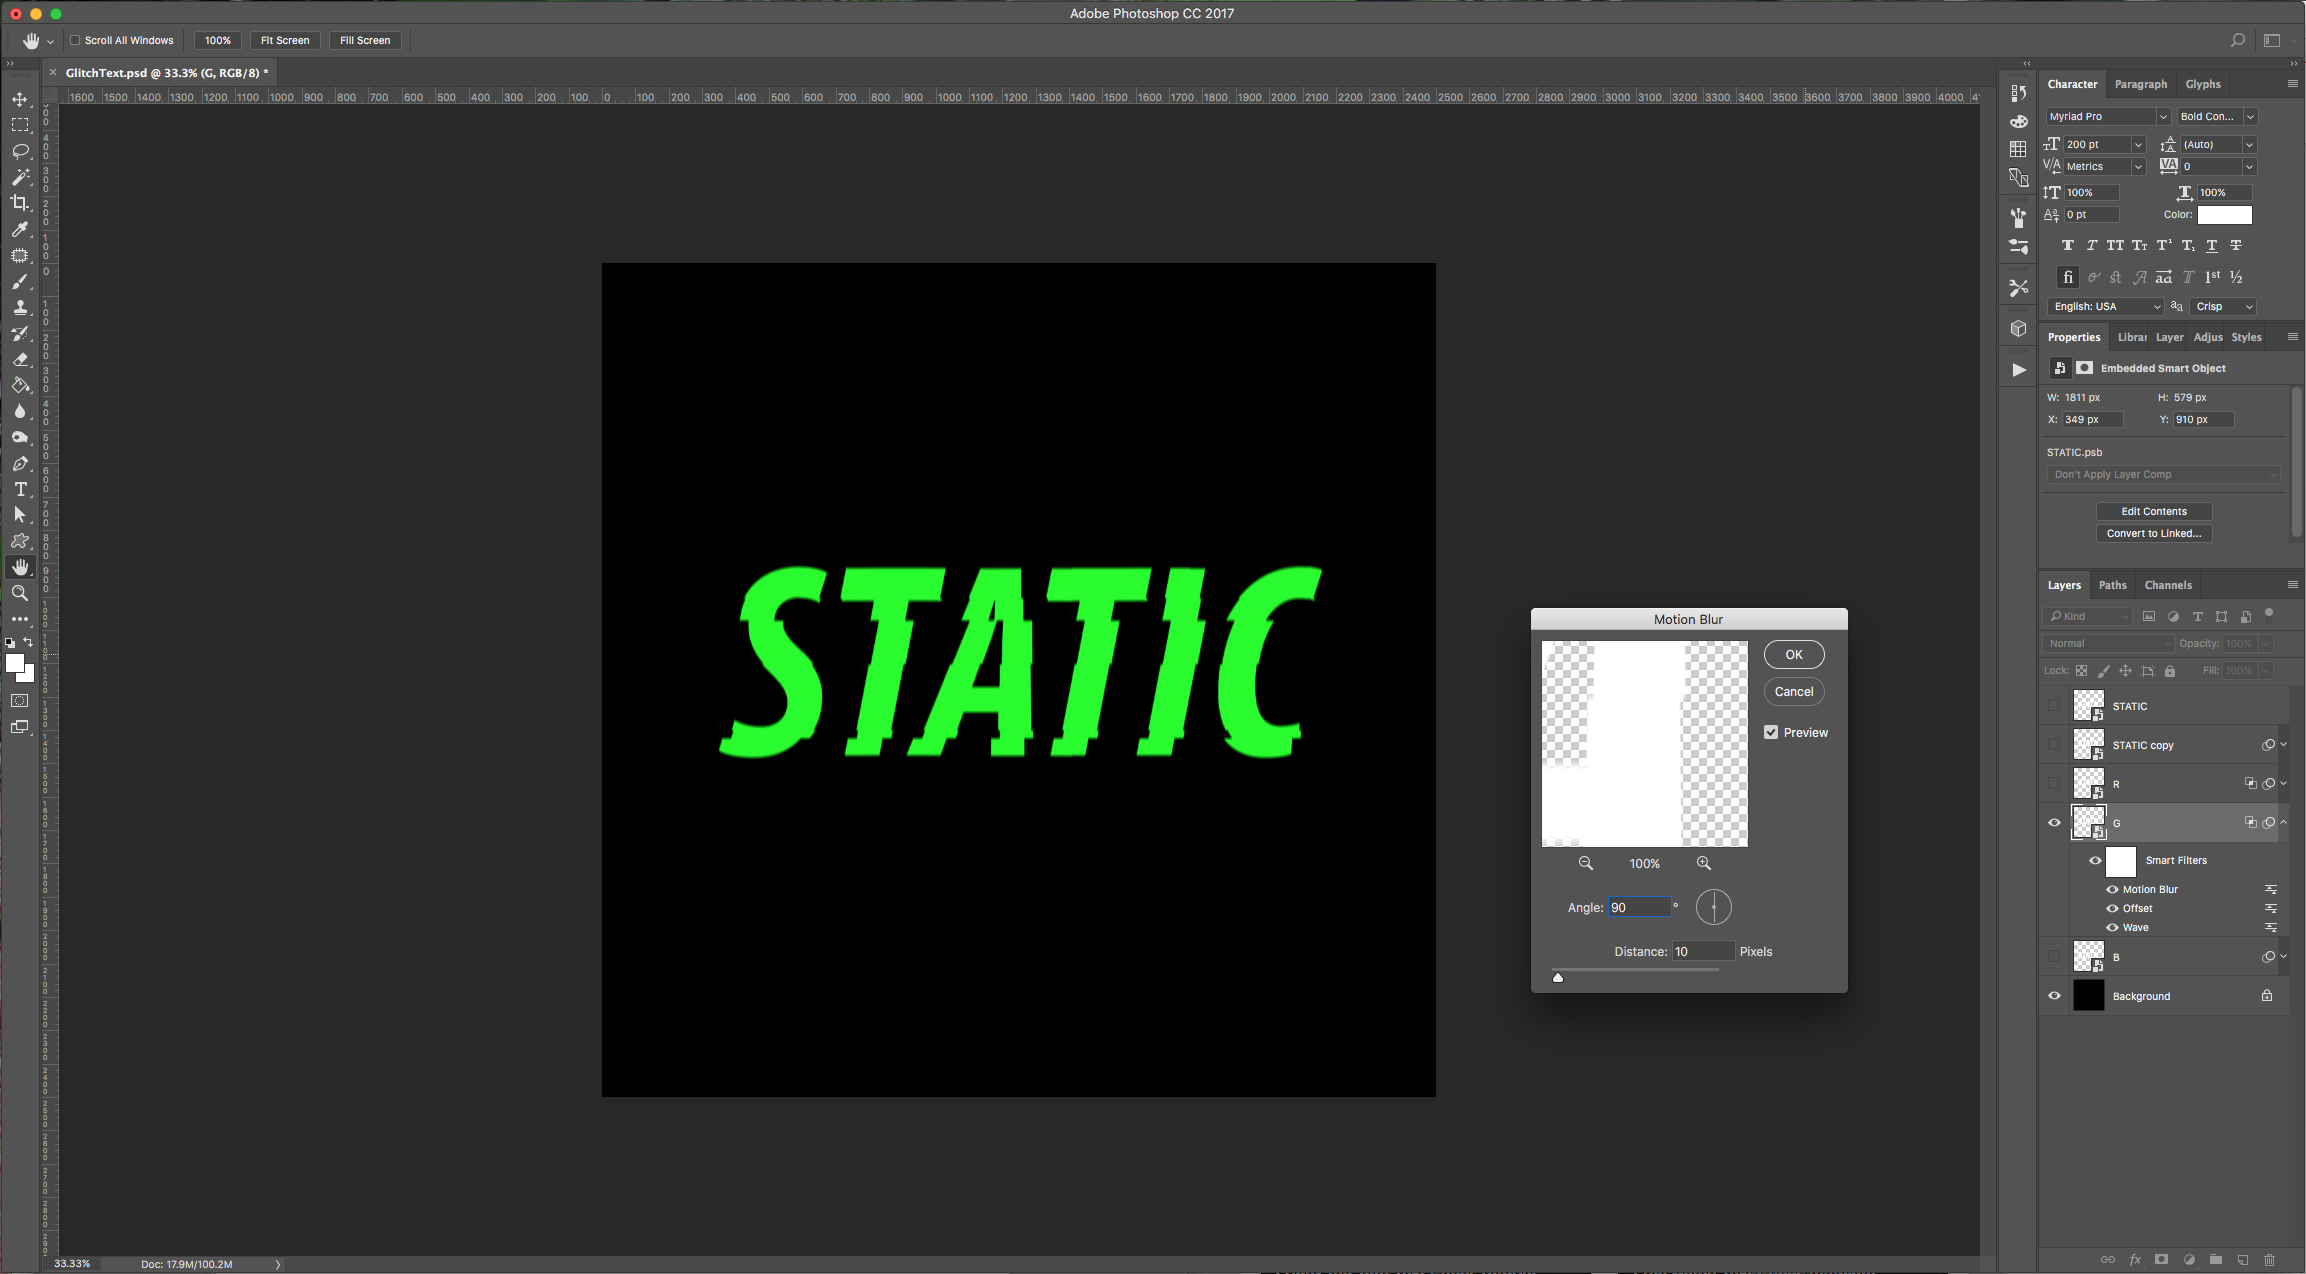
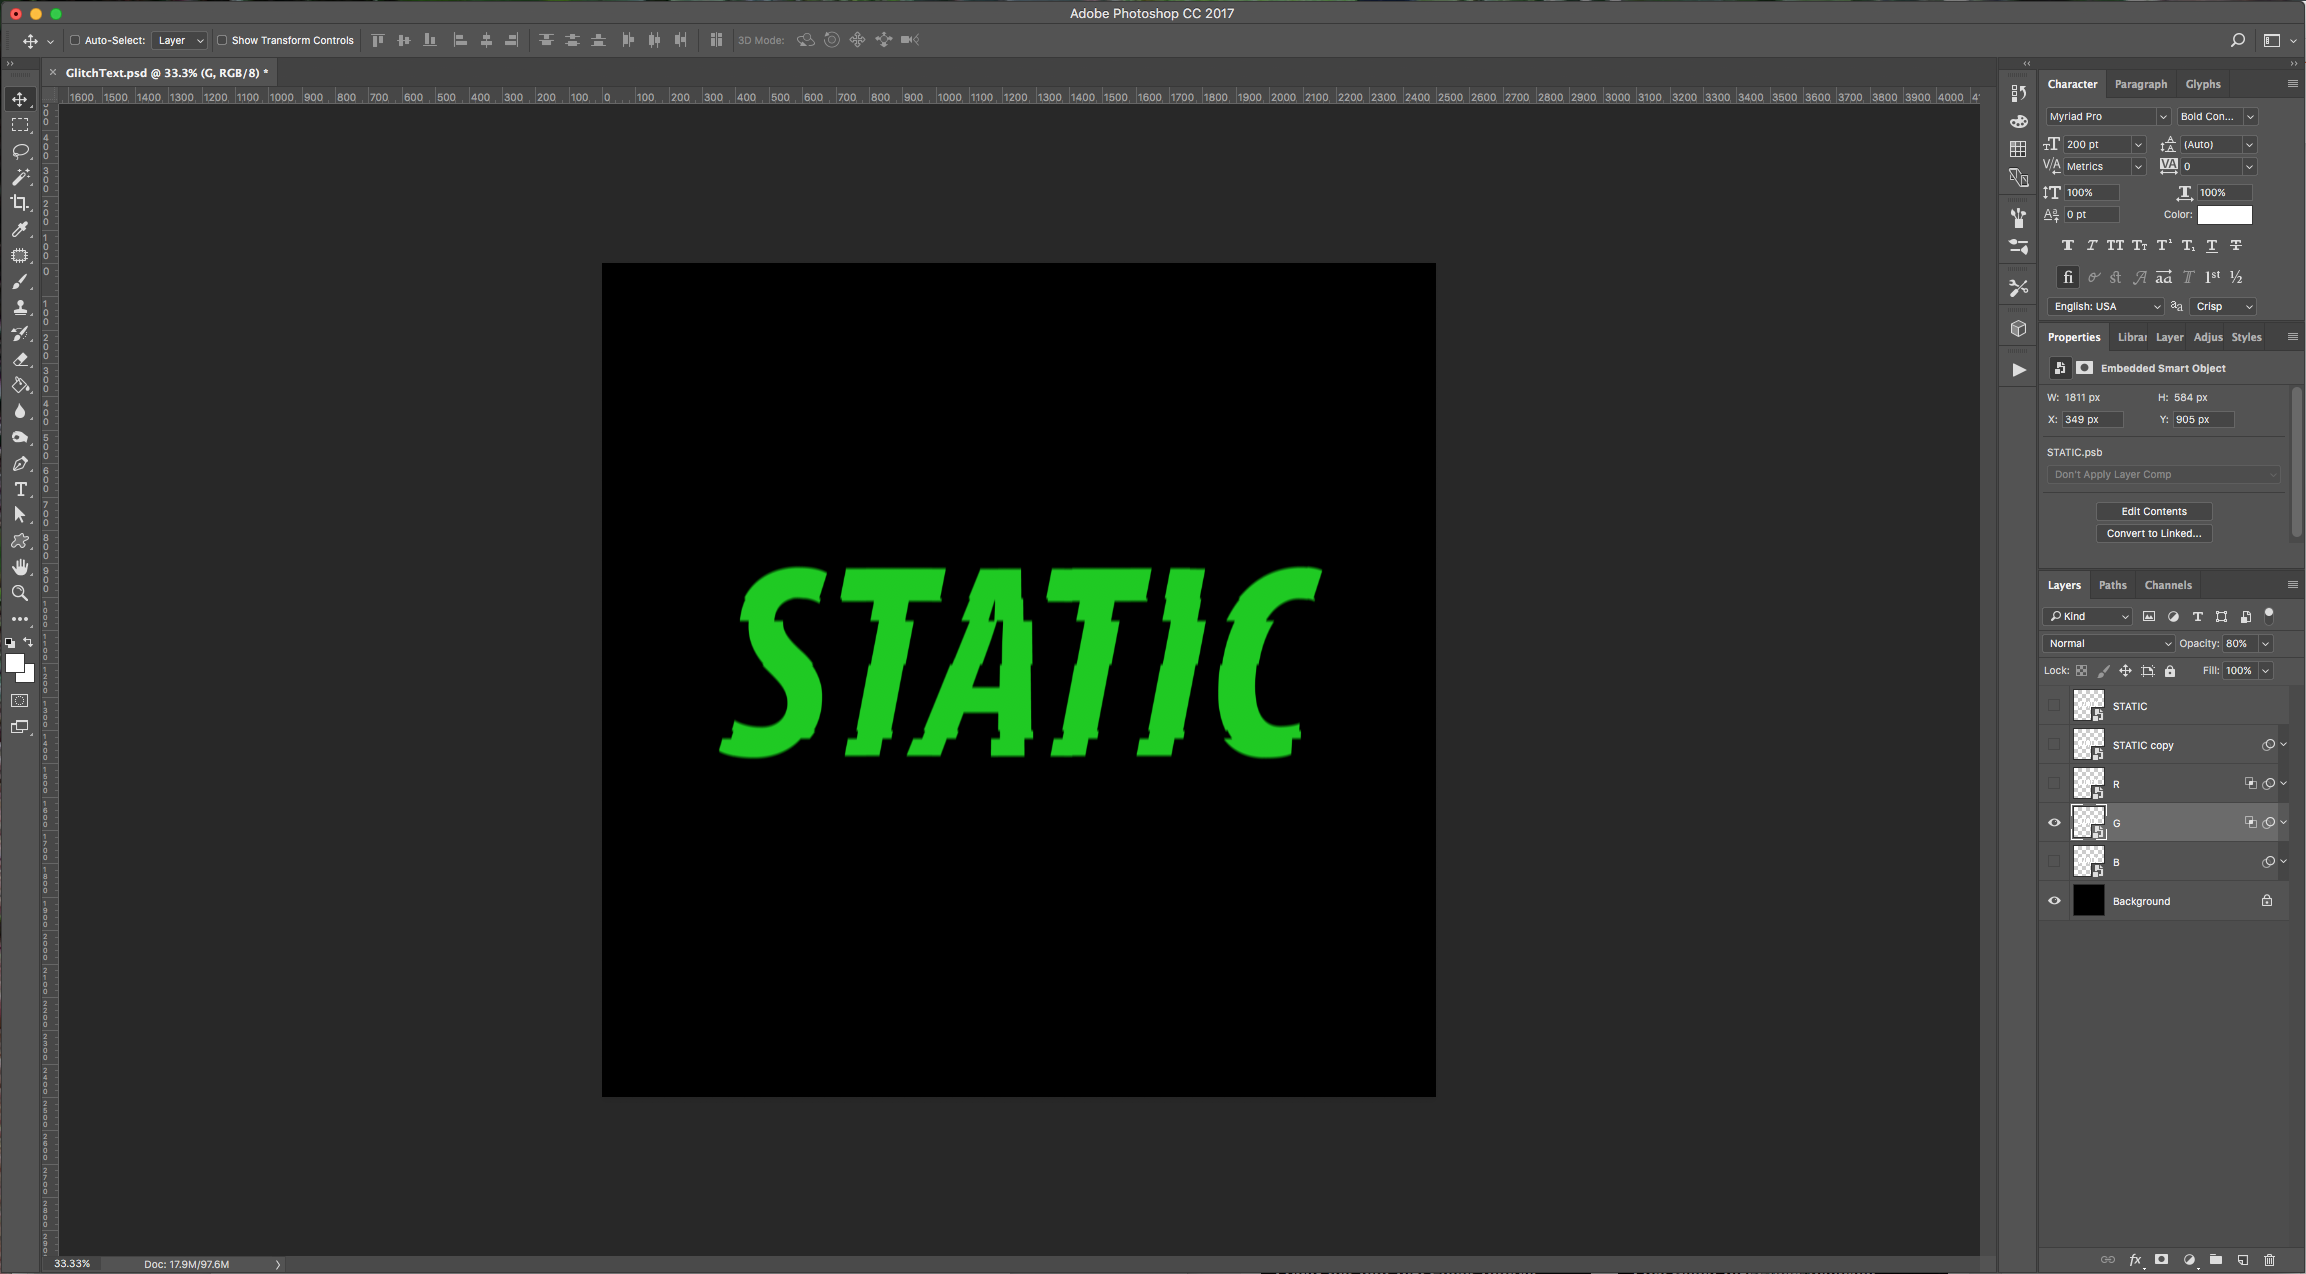
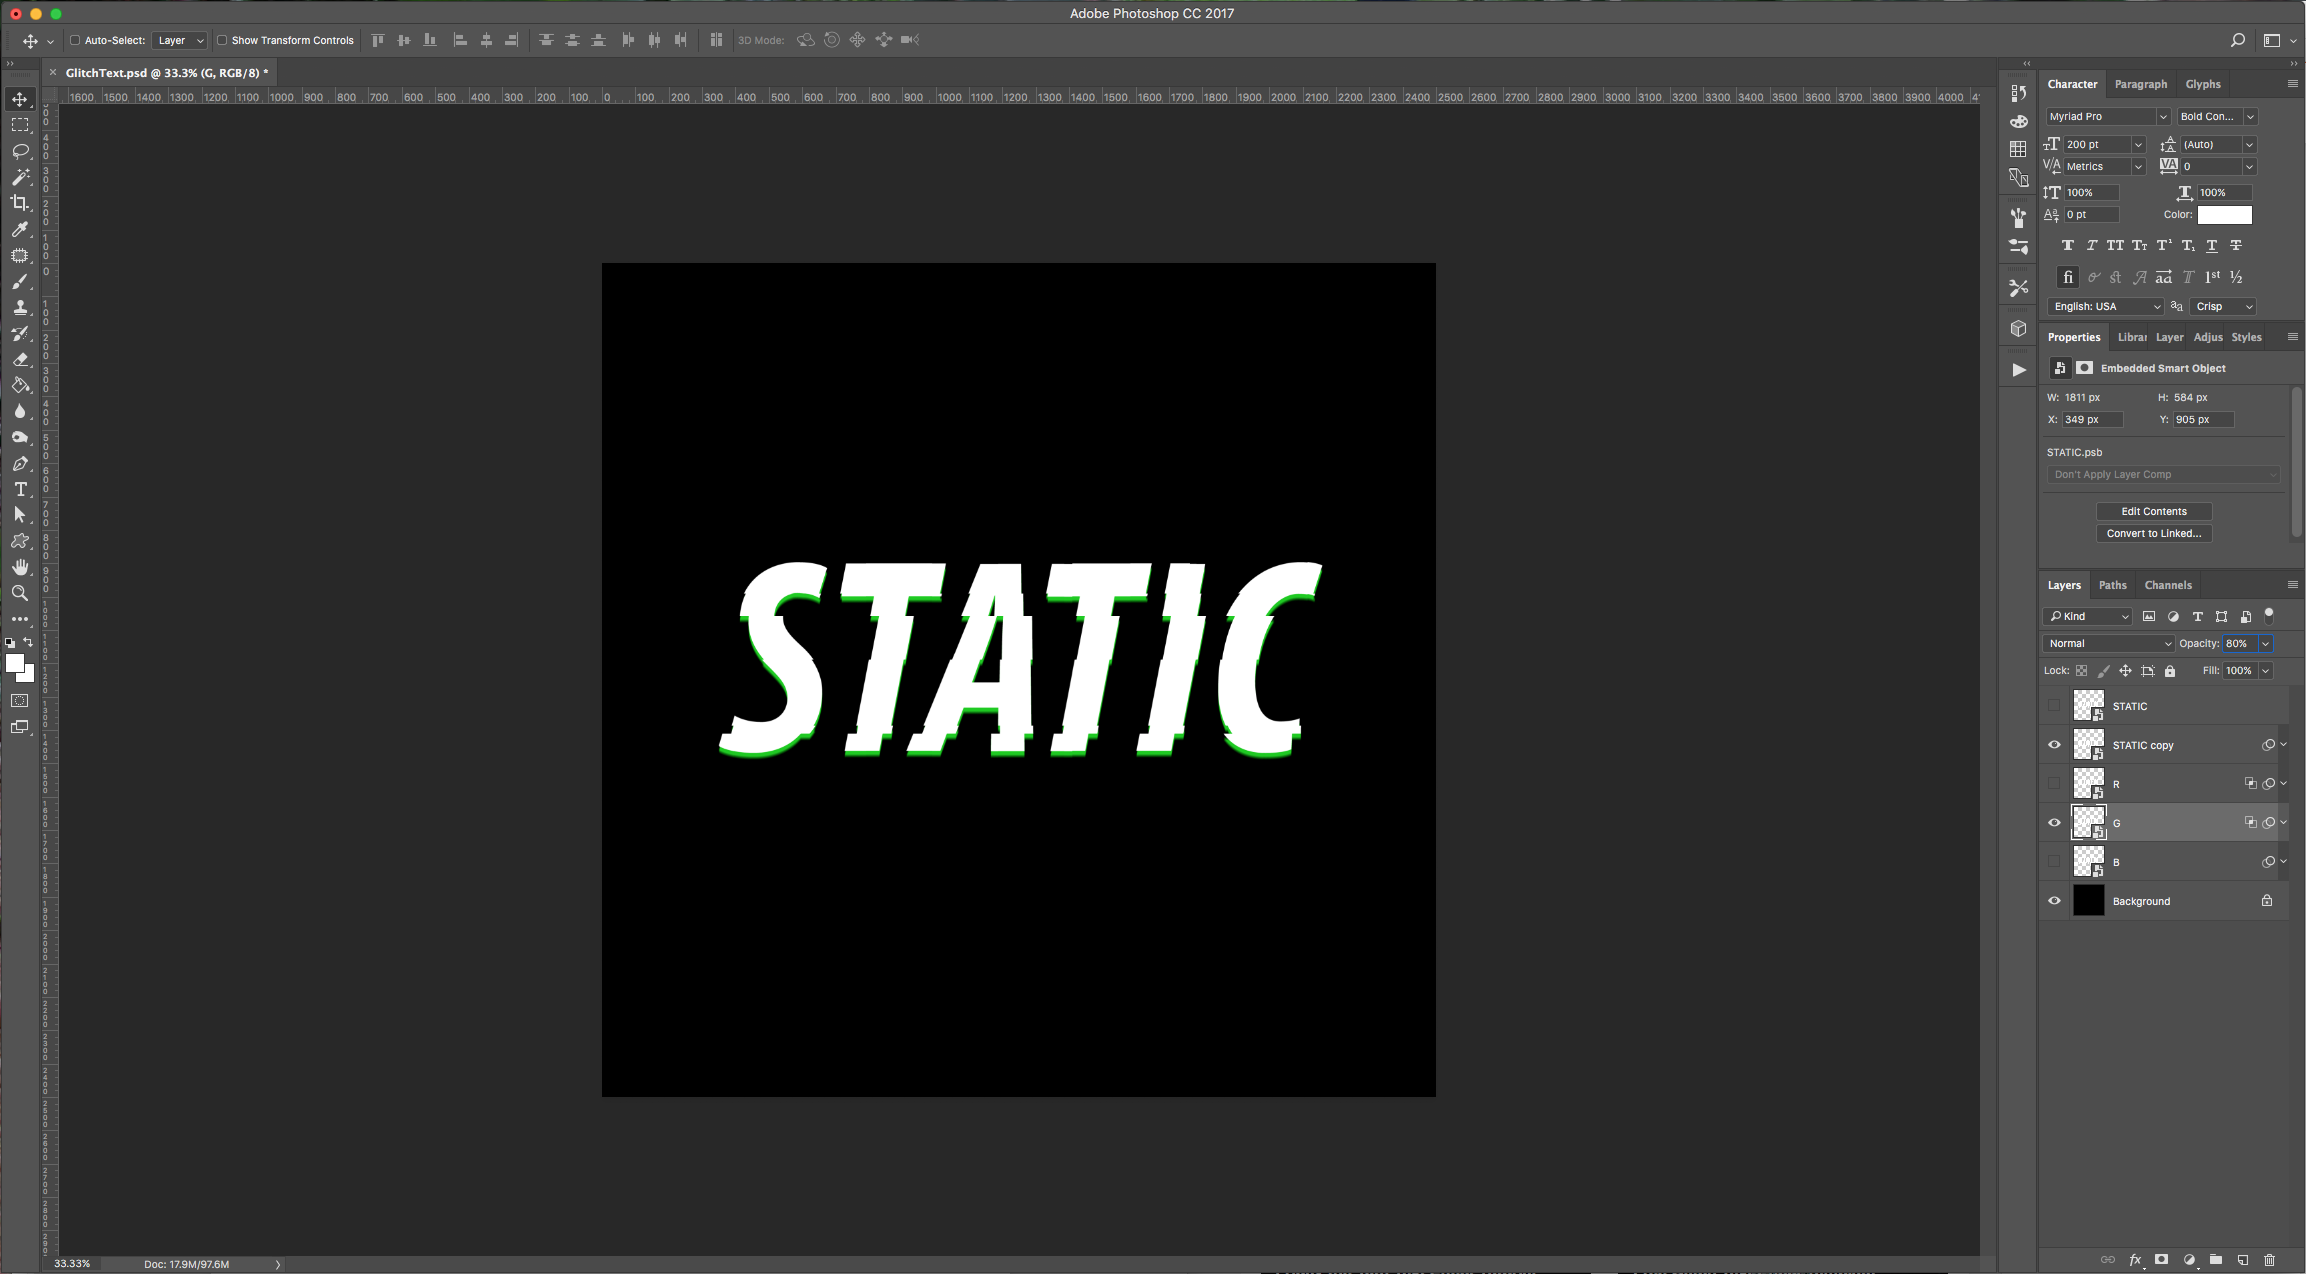
10 - Same as before, hide the “G” layer and turn on the “B” layer. Repeat the “Steps” using the following values: in “Step 6” uncheck the “R” and “G” Channels (your text should be blue), in “Step 7”, change the values to: Horizontal: -15 pixels right, Vertical: +5 pixels down, check “Repeat Edge Pixels”. In “Step 8” change the “Angle” to 0 degrees and keep the “Distance” value of 10 pixels. Lower the “Opacity” to 80%.
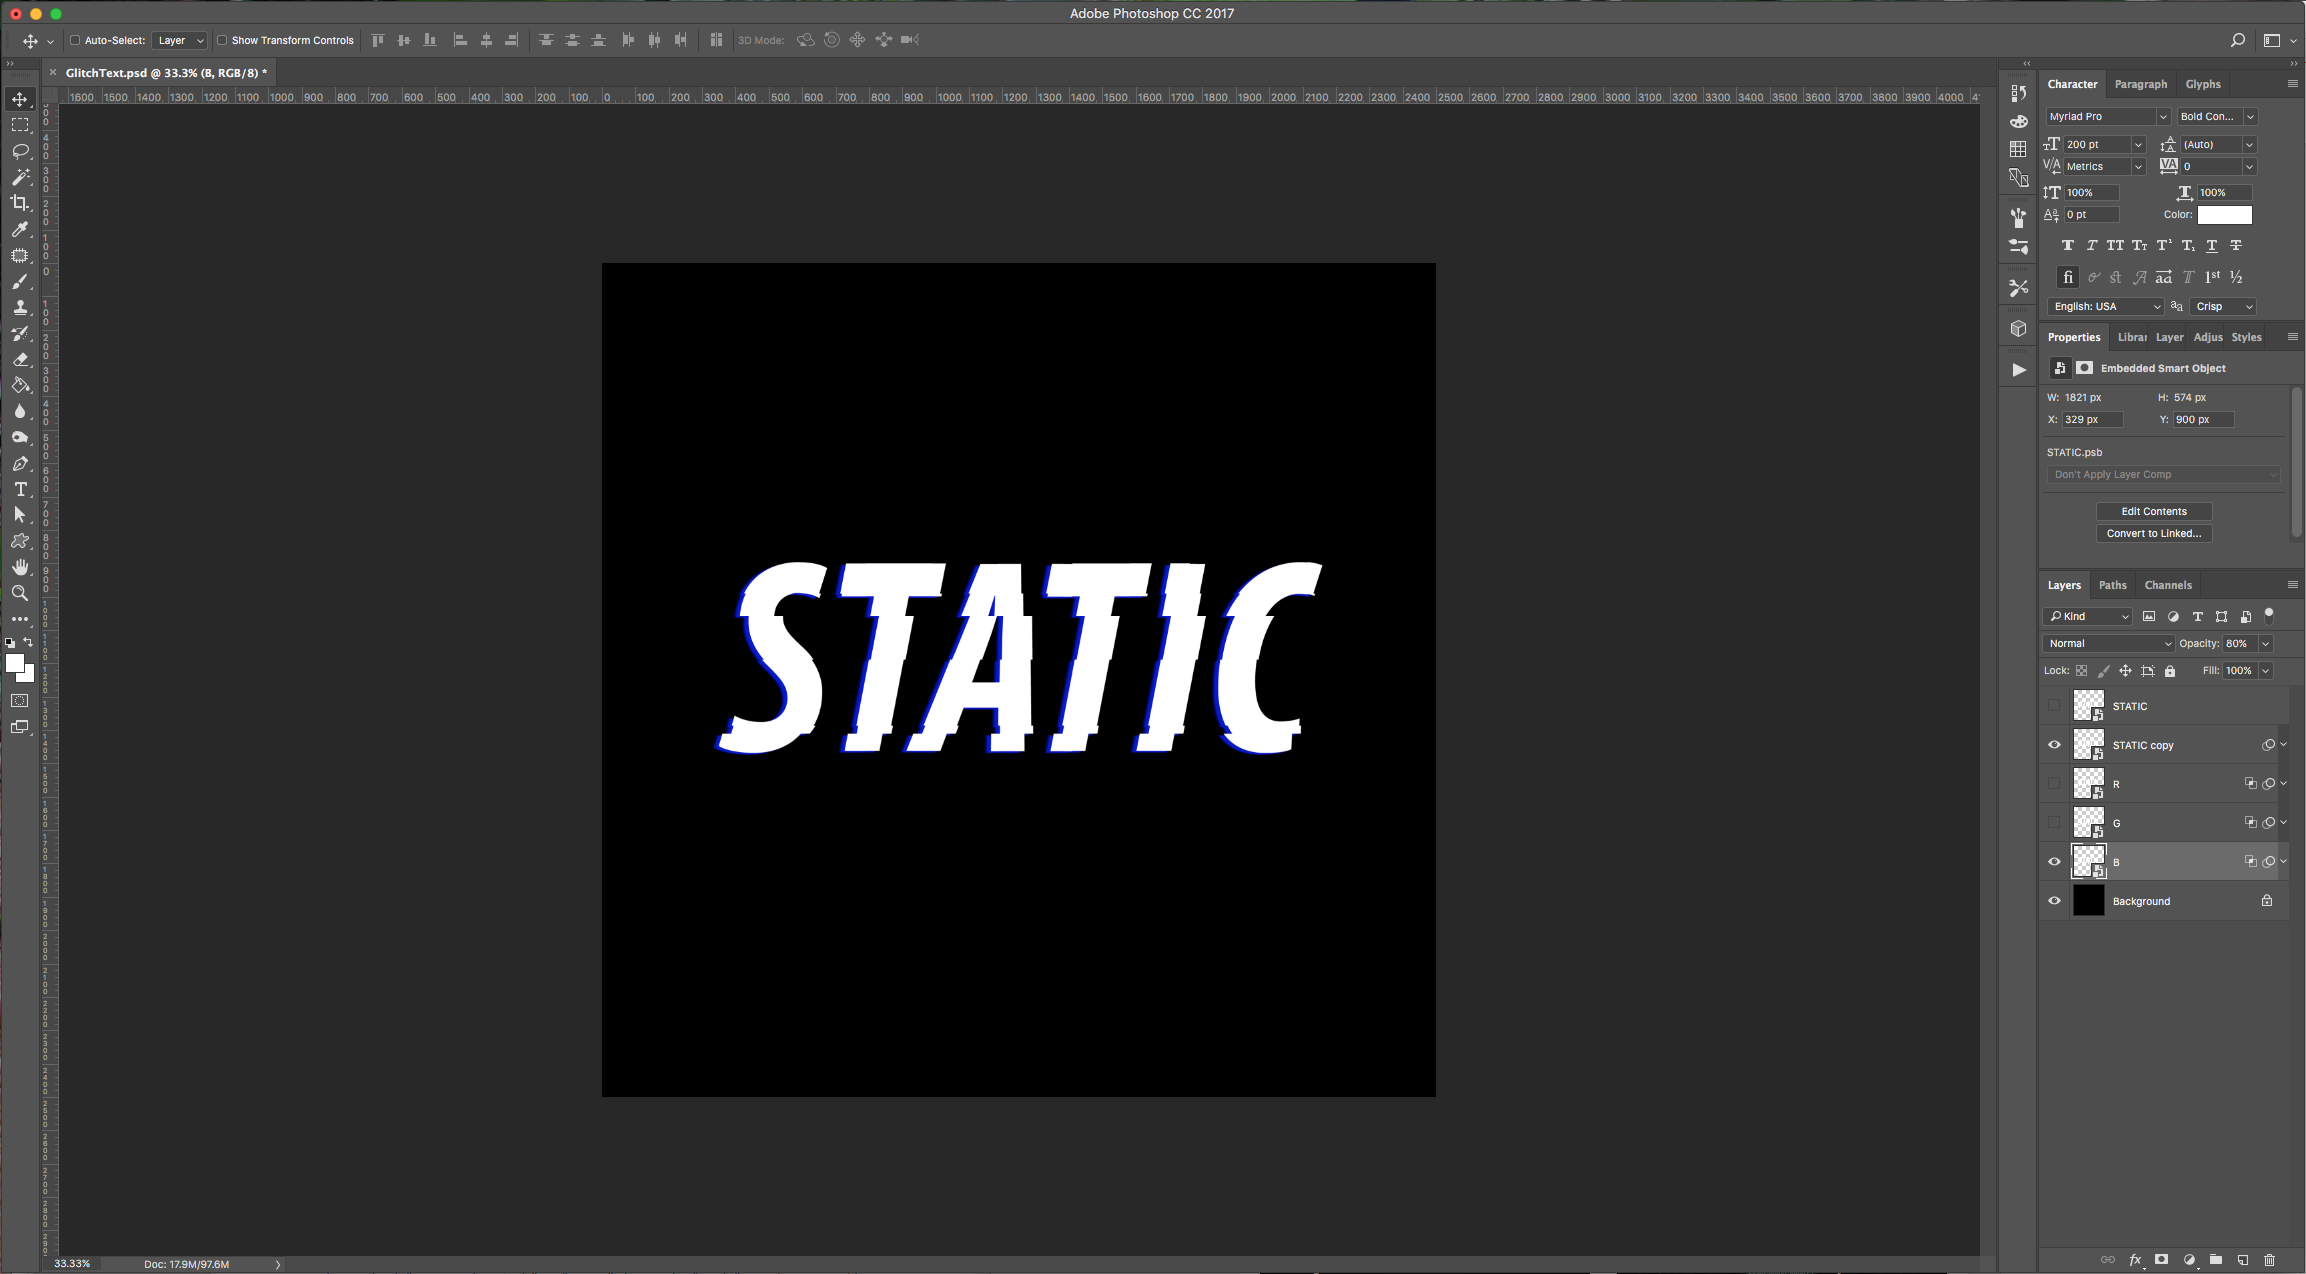
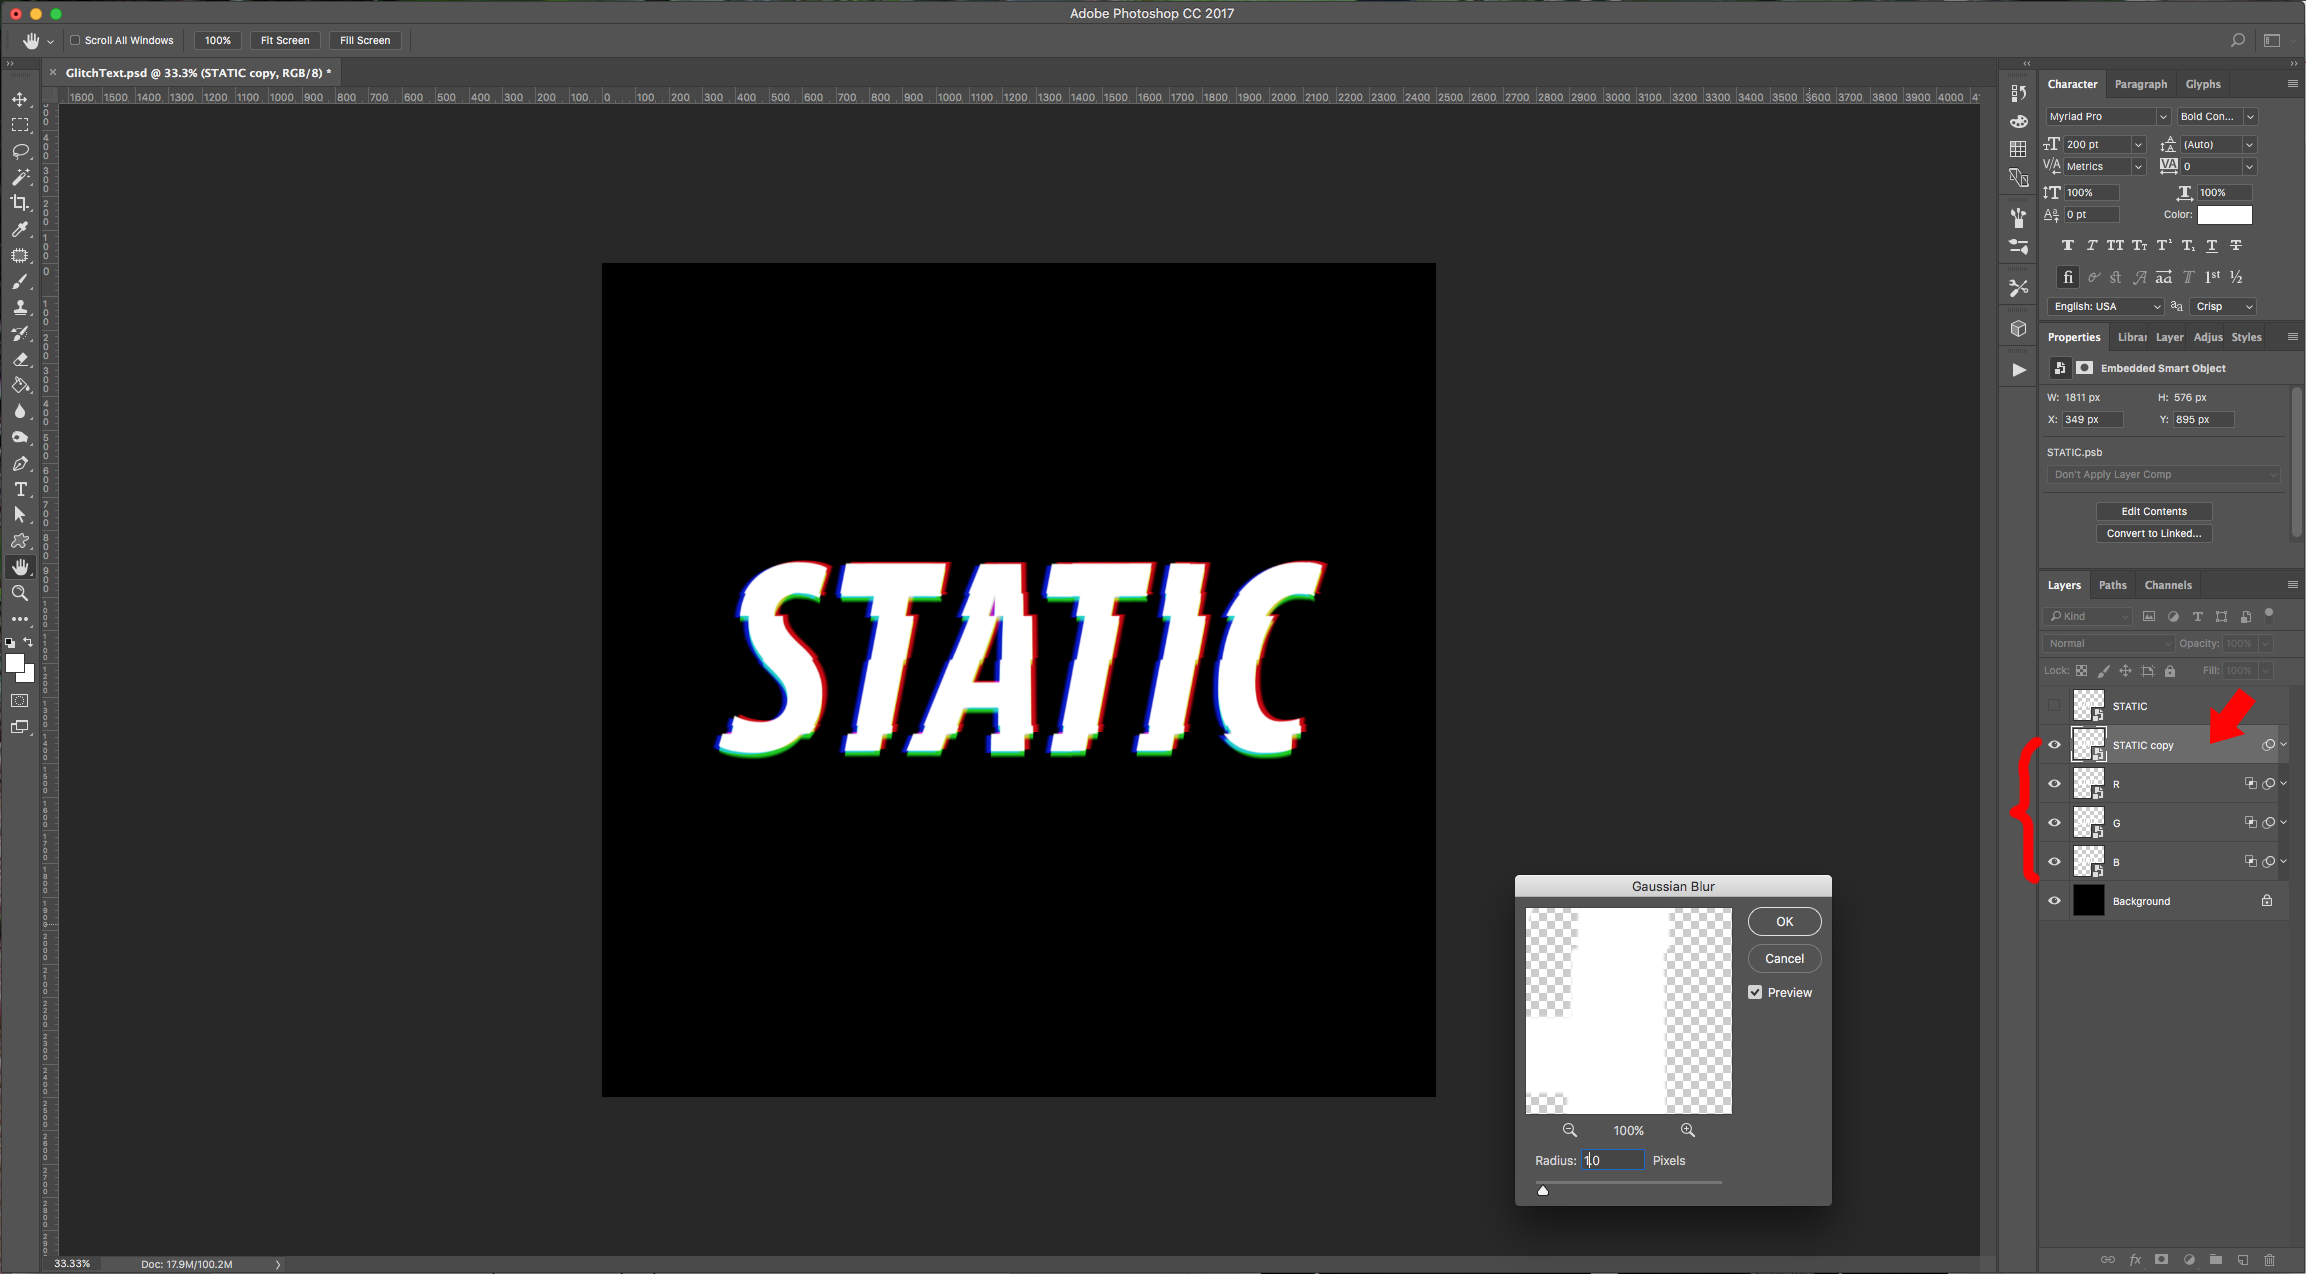
11 - Turn on your “RGB” and “Text” layers and select the Text layer, go to Filter > Blur > Gaussian Blur and use a value of 1.0 pixels.
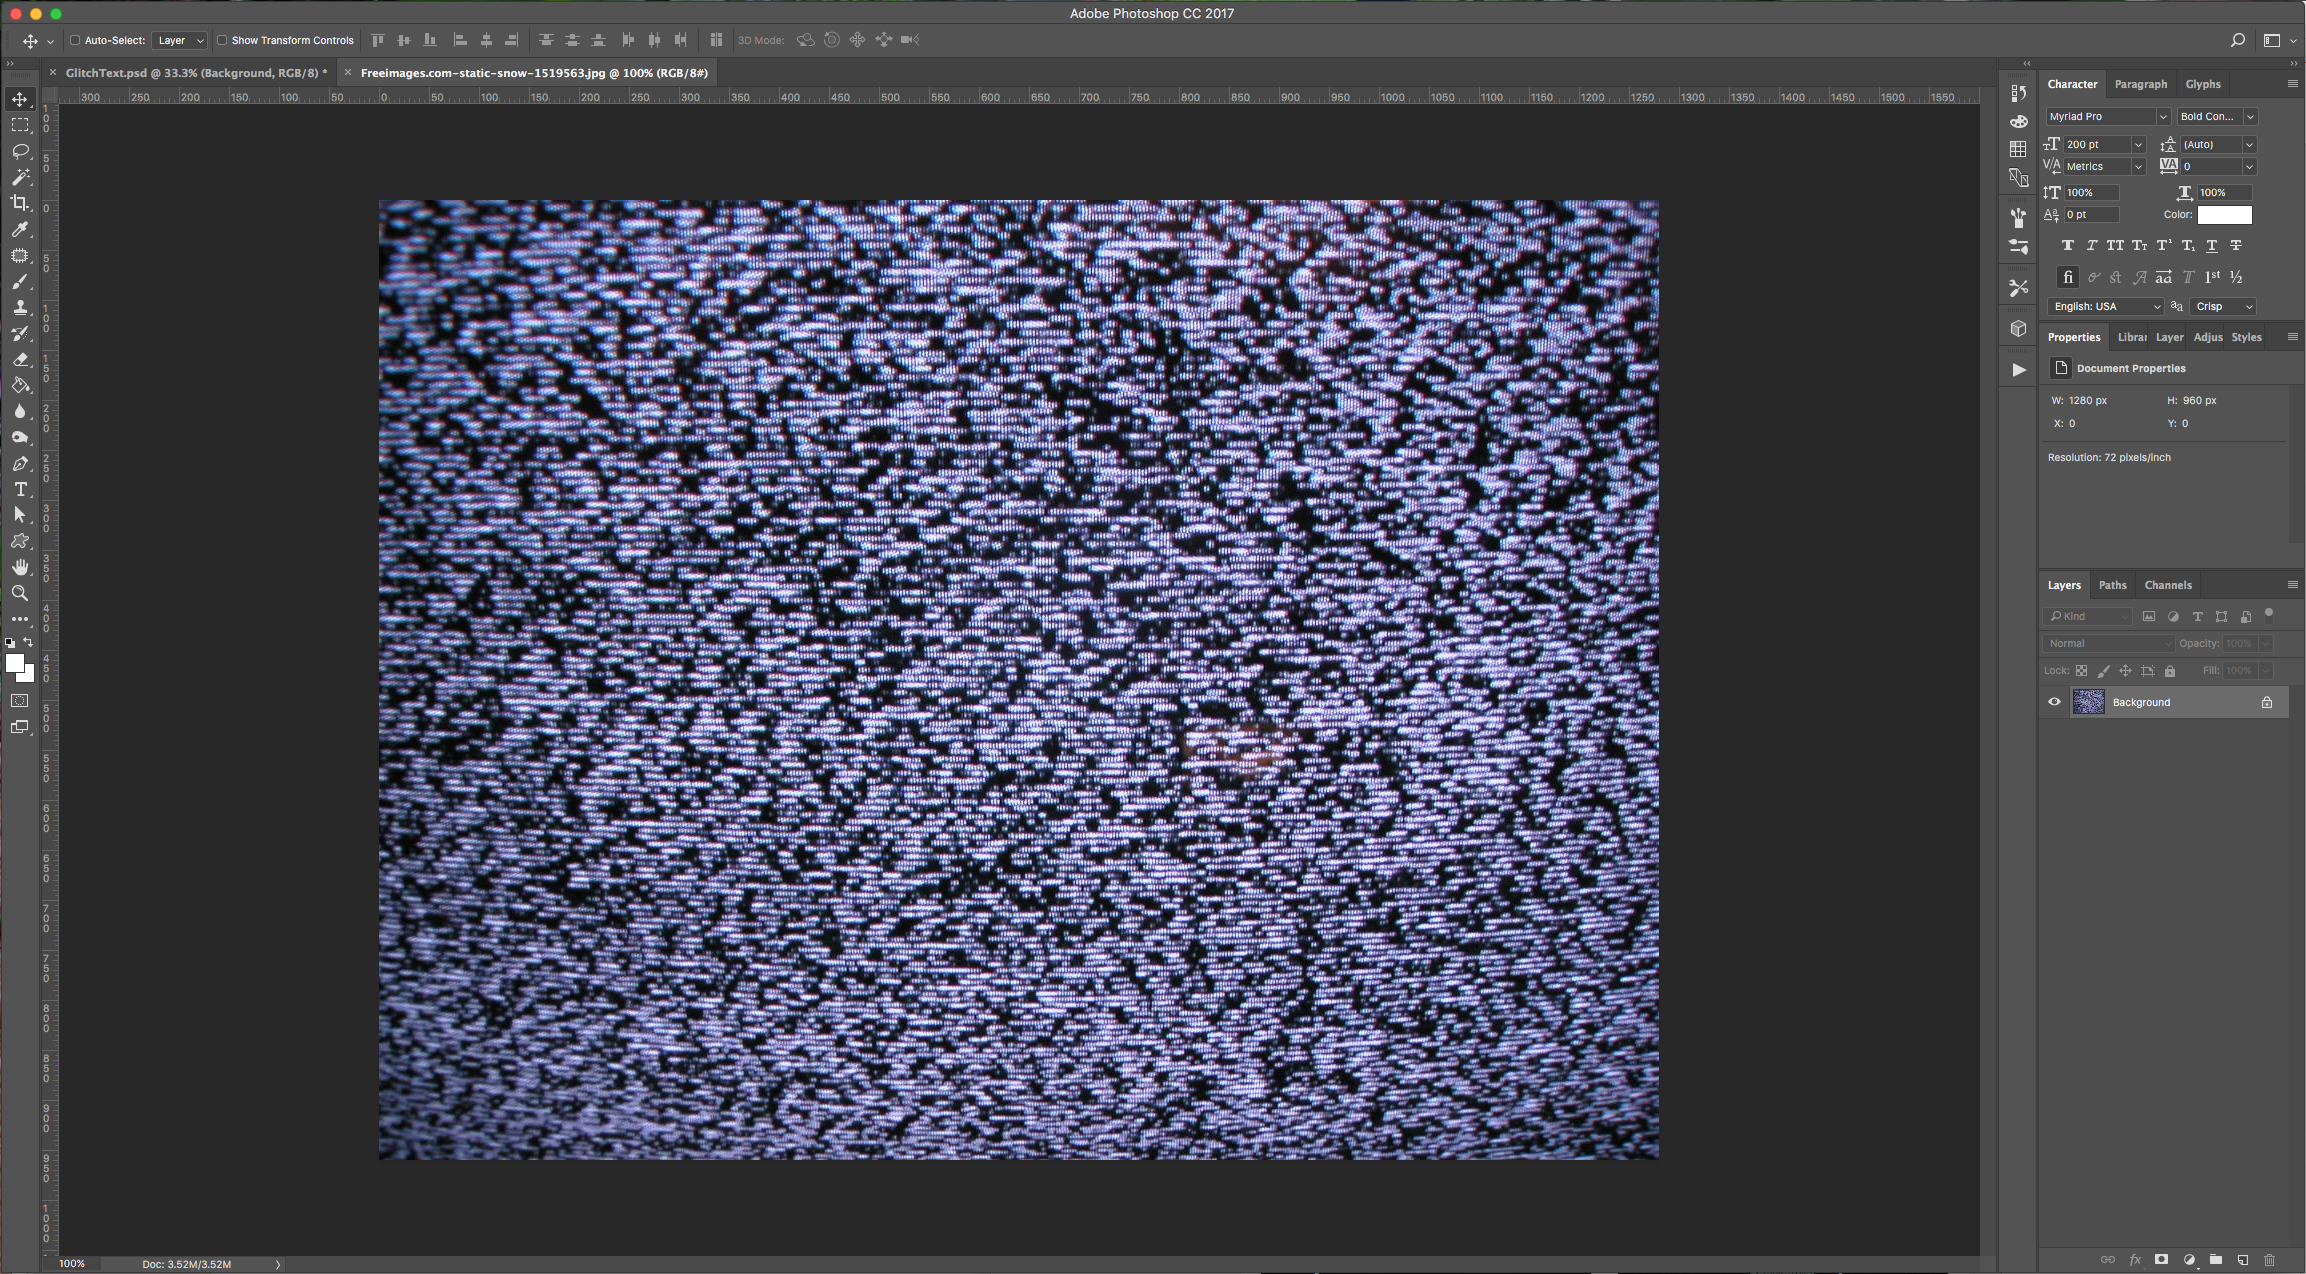
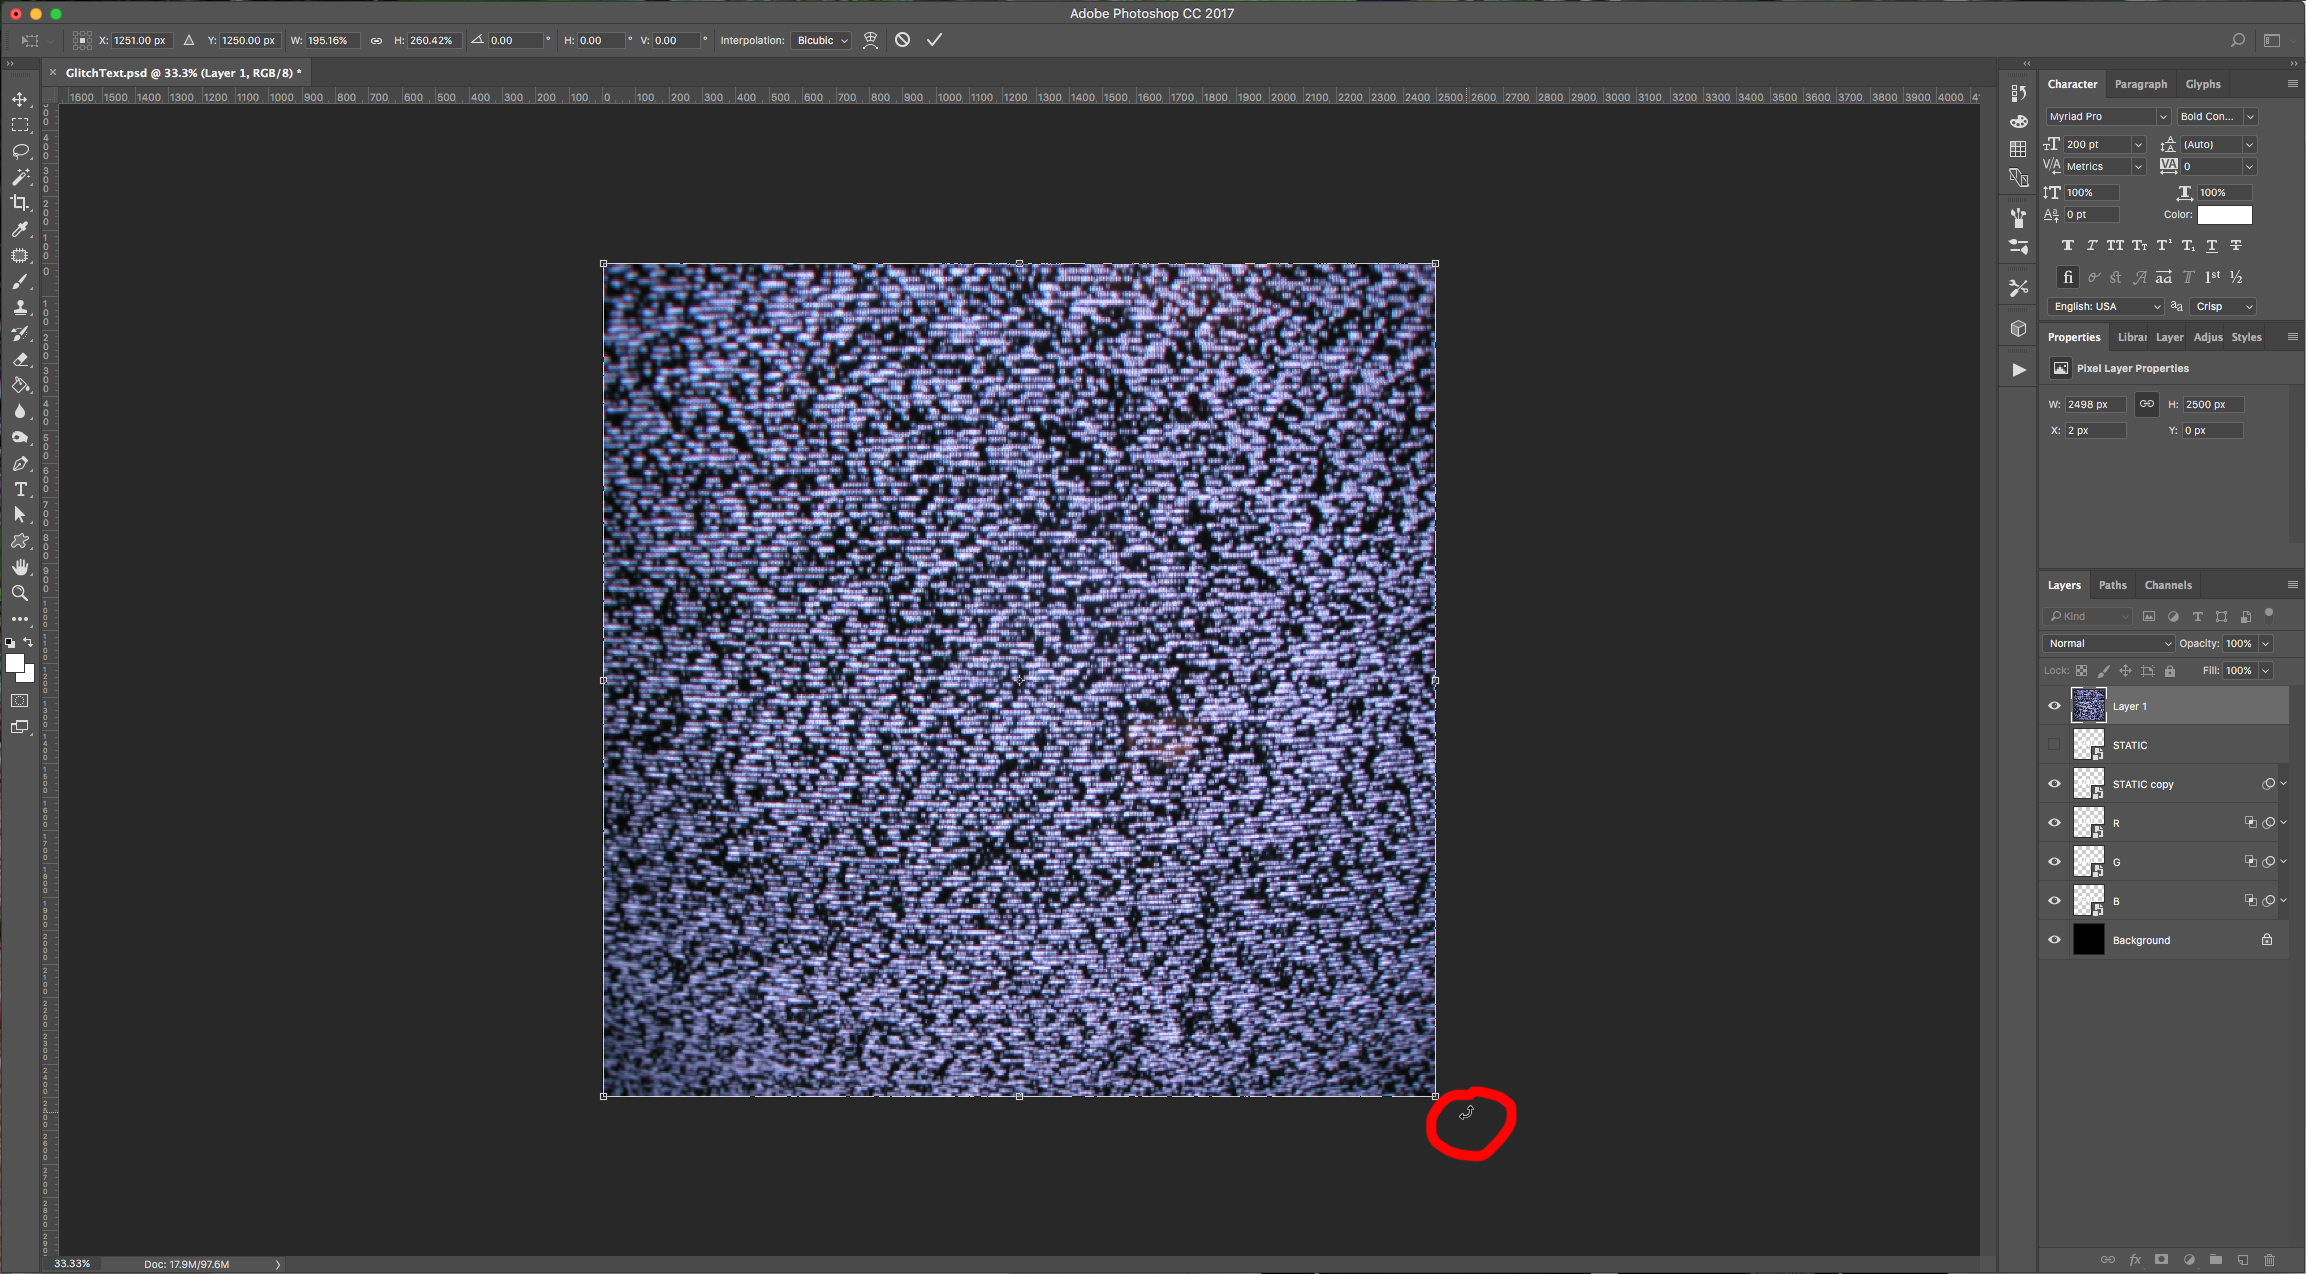
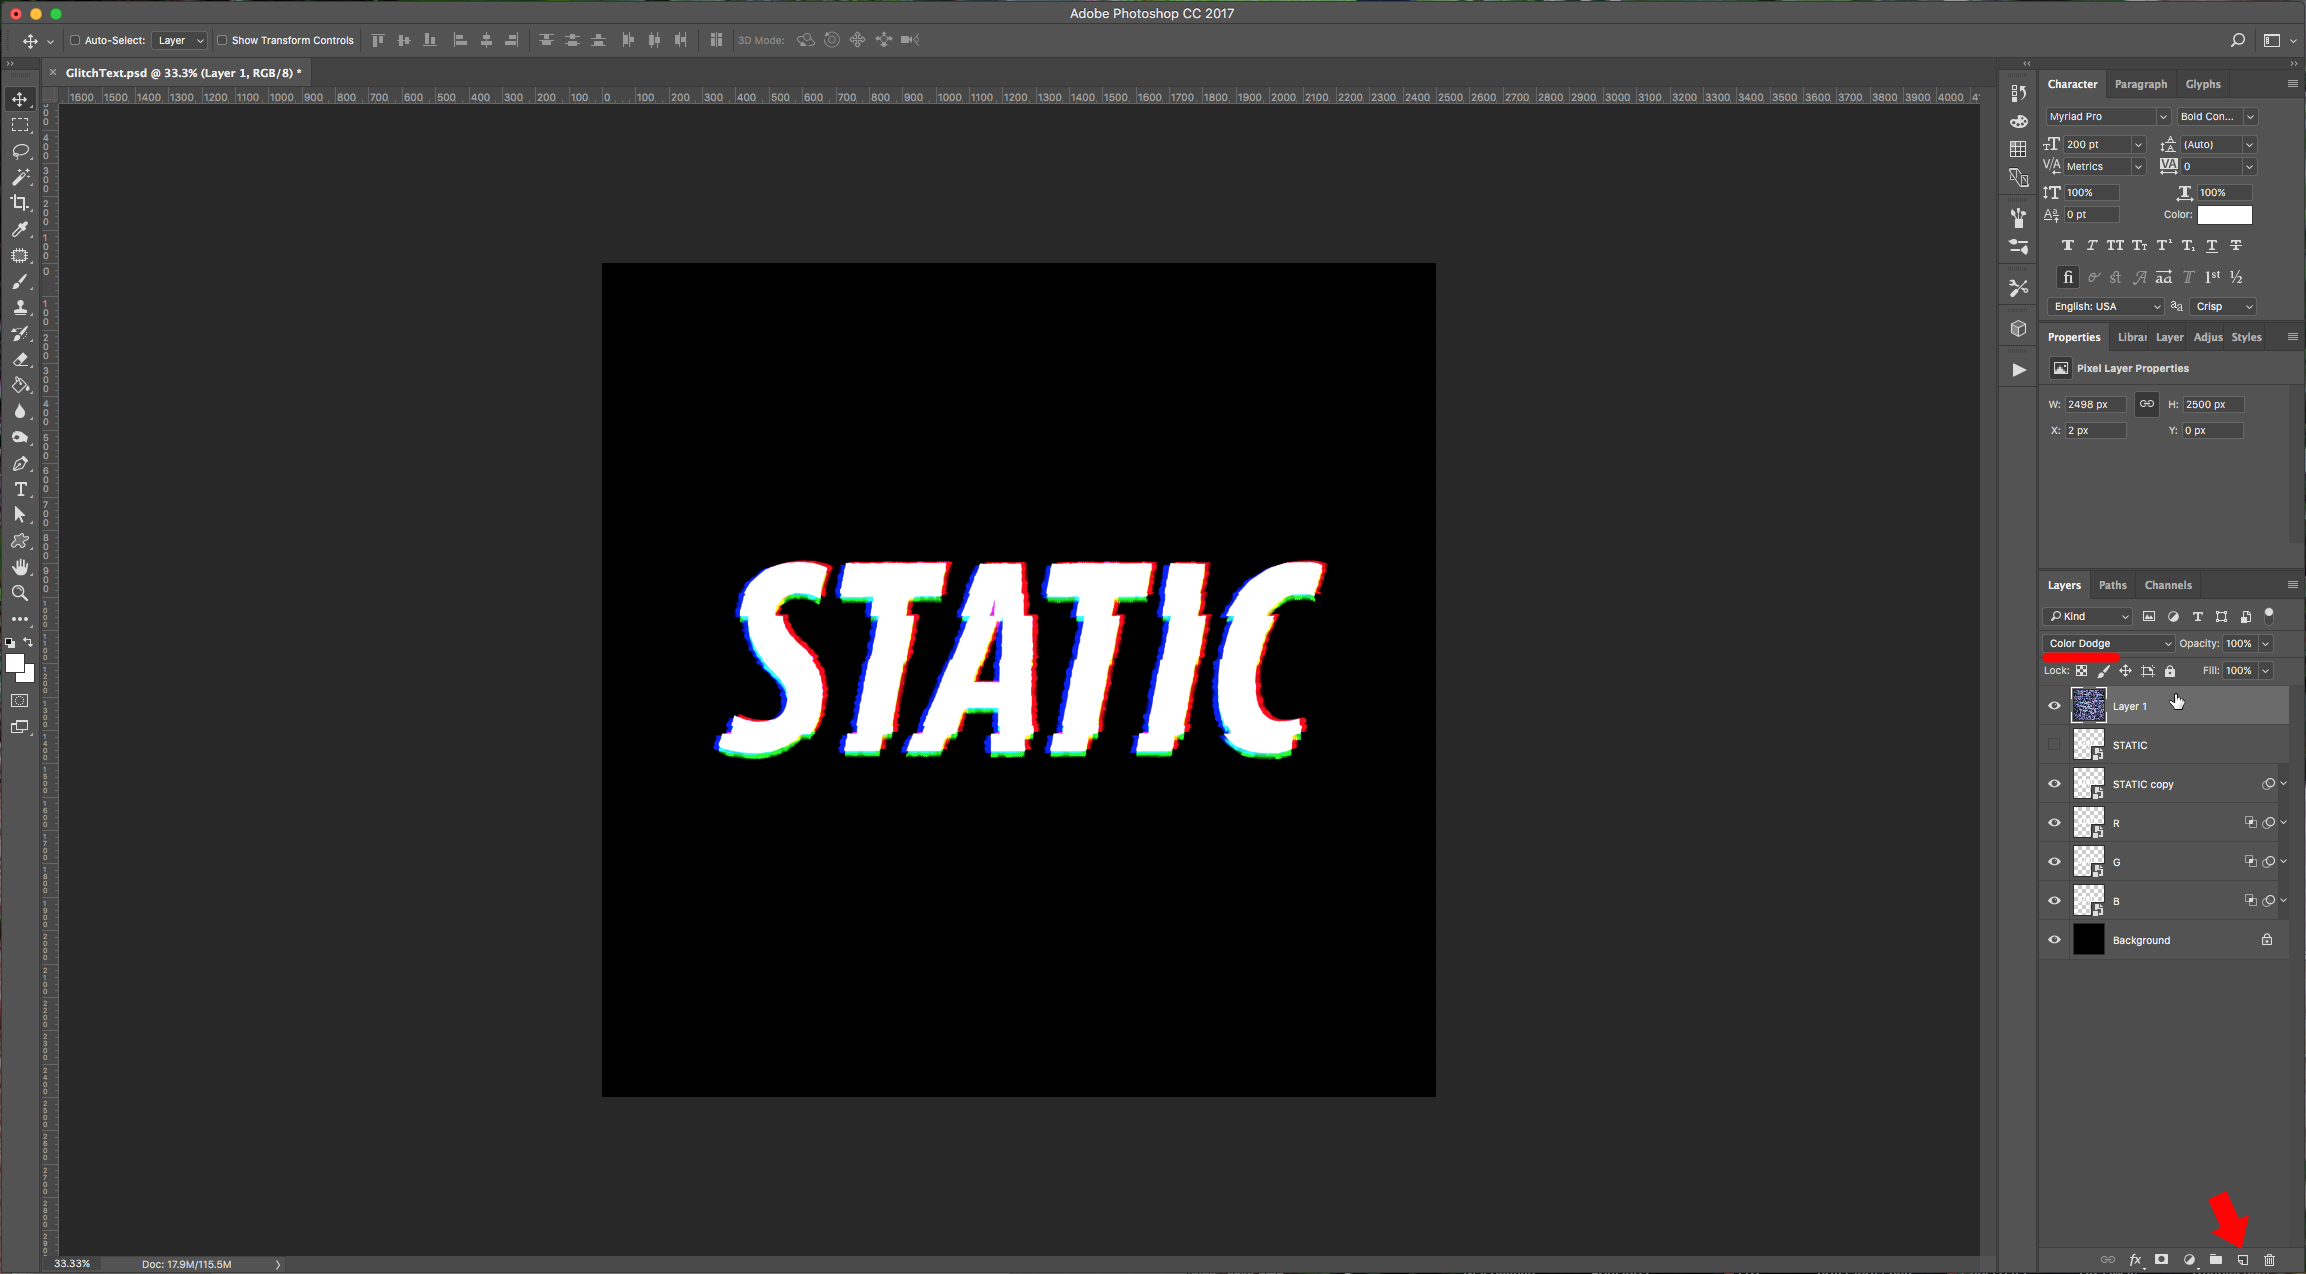
12 - Open the image you chose for the “Background” and paste it into your document. Resize it (Command/Control + T) if it’s necessary. Change the “Blending Mode” to Color Dodge”, duplicate the layer, place the duplicate on top and change the “Blending Mode” to Vivid Light”. Lower the “Opacity” to 80%.
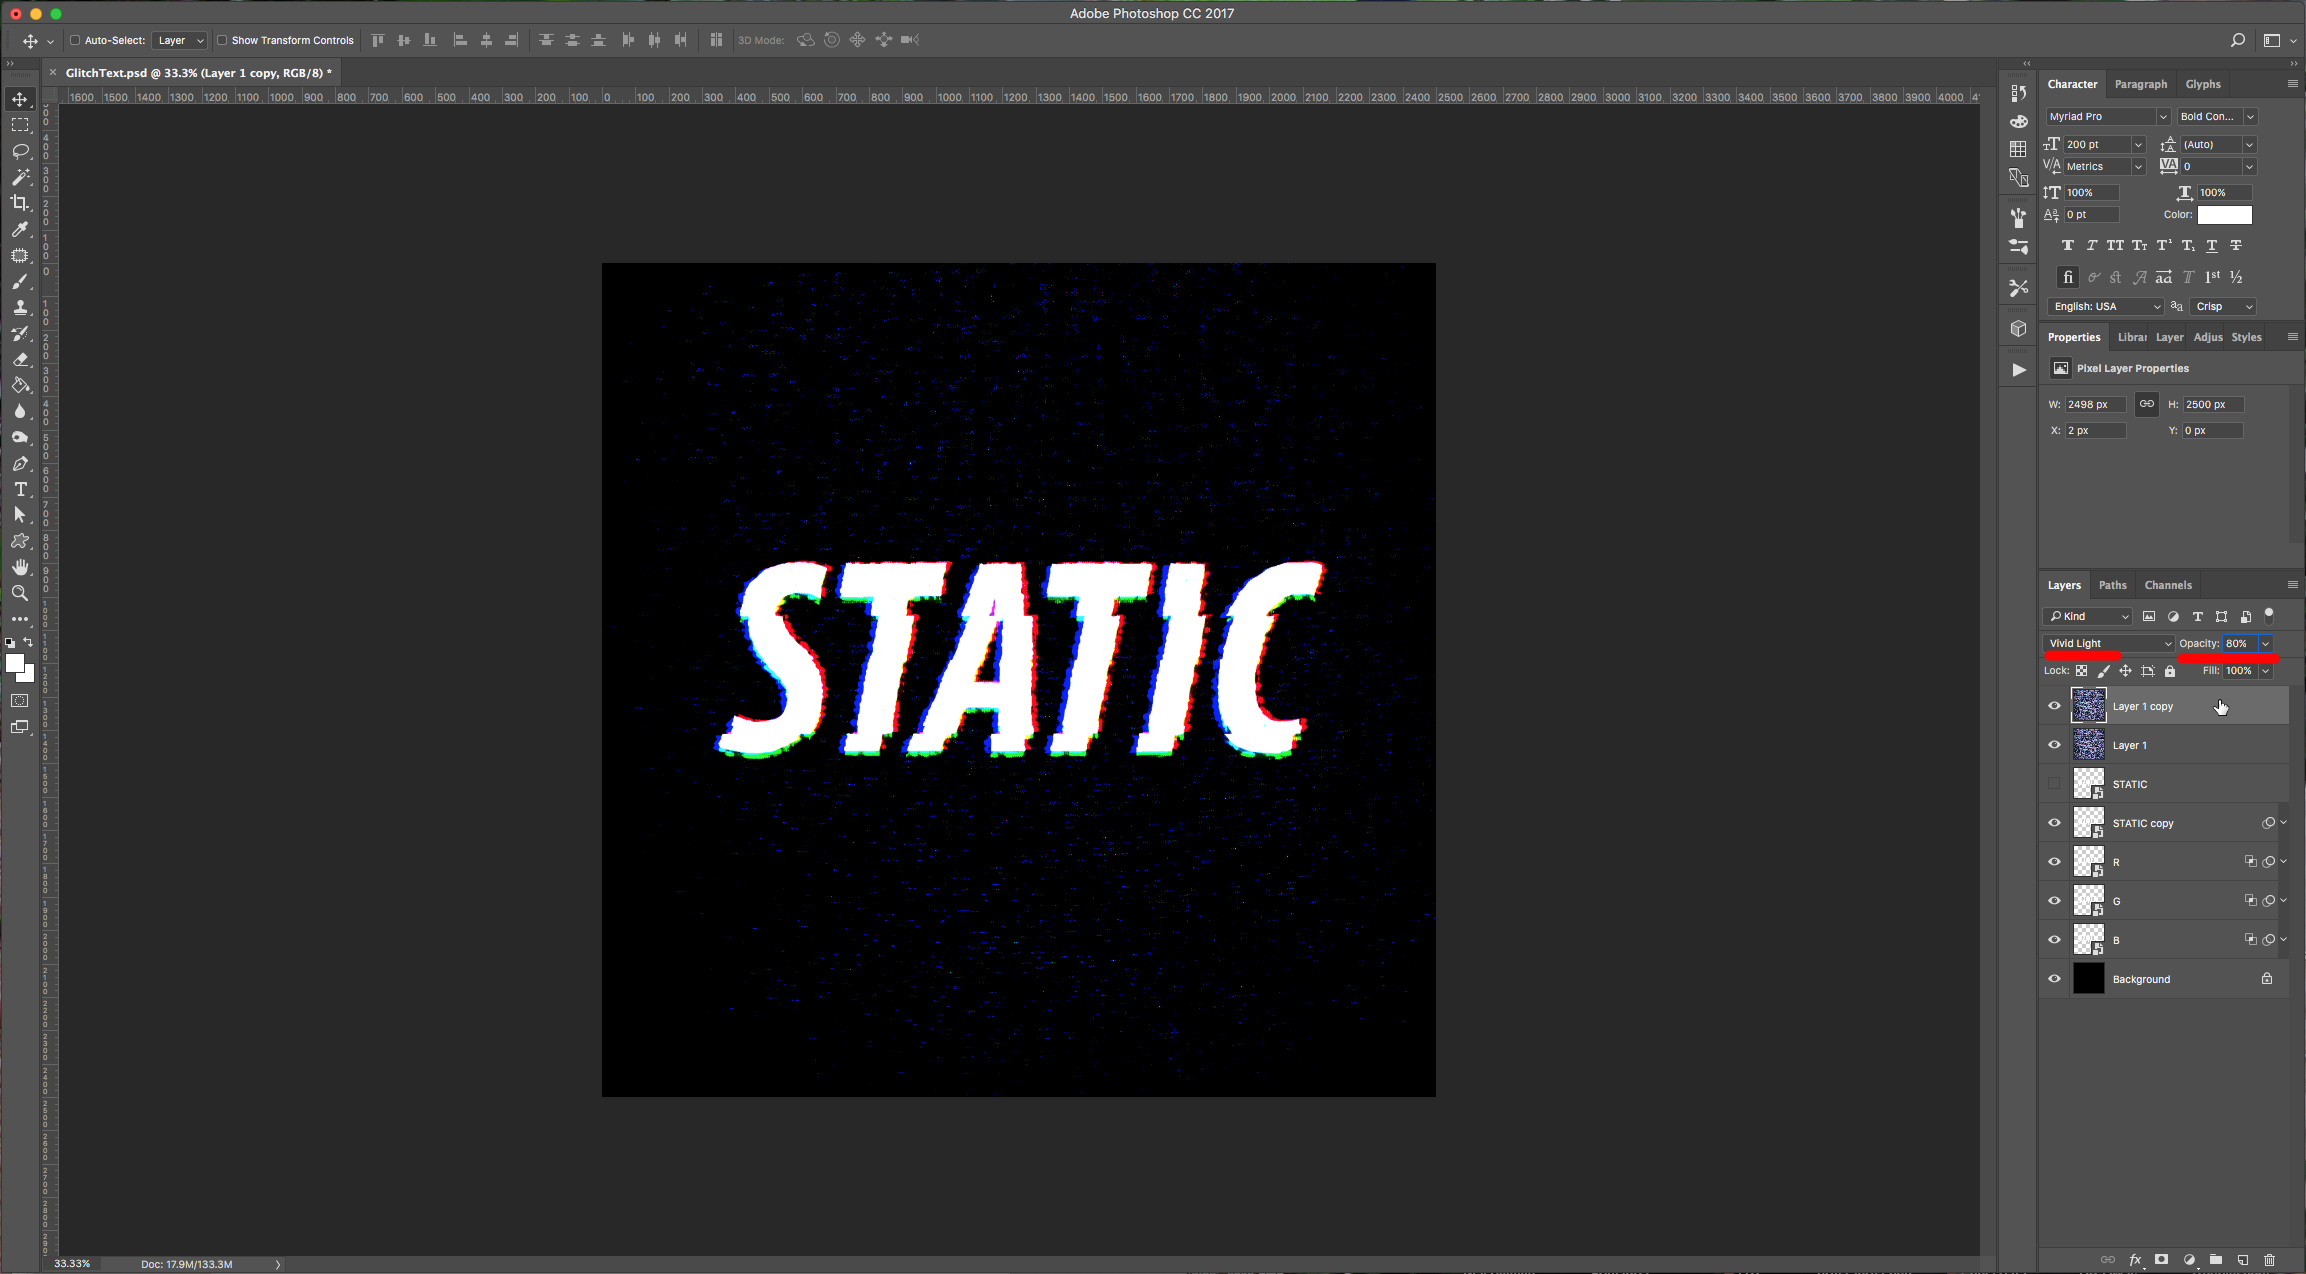
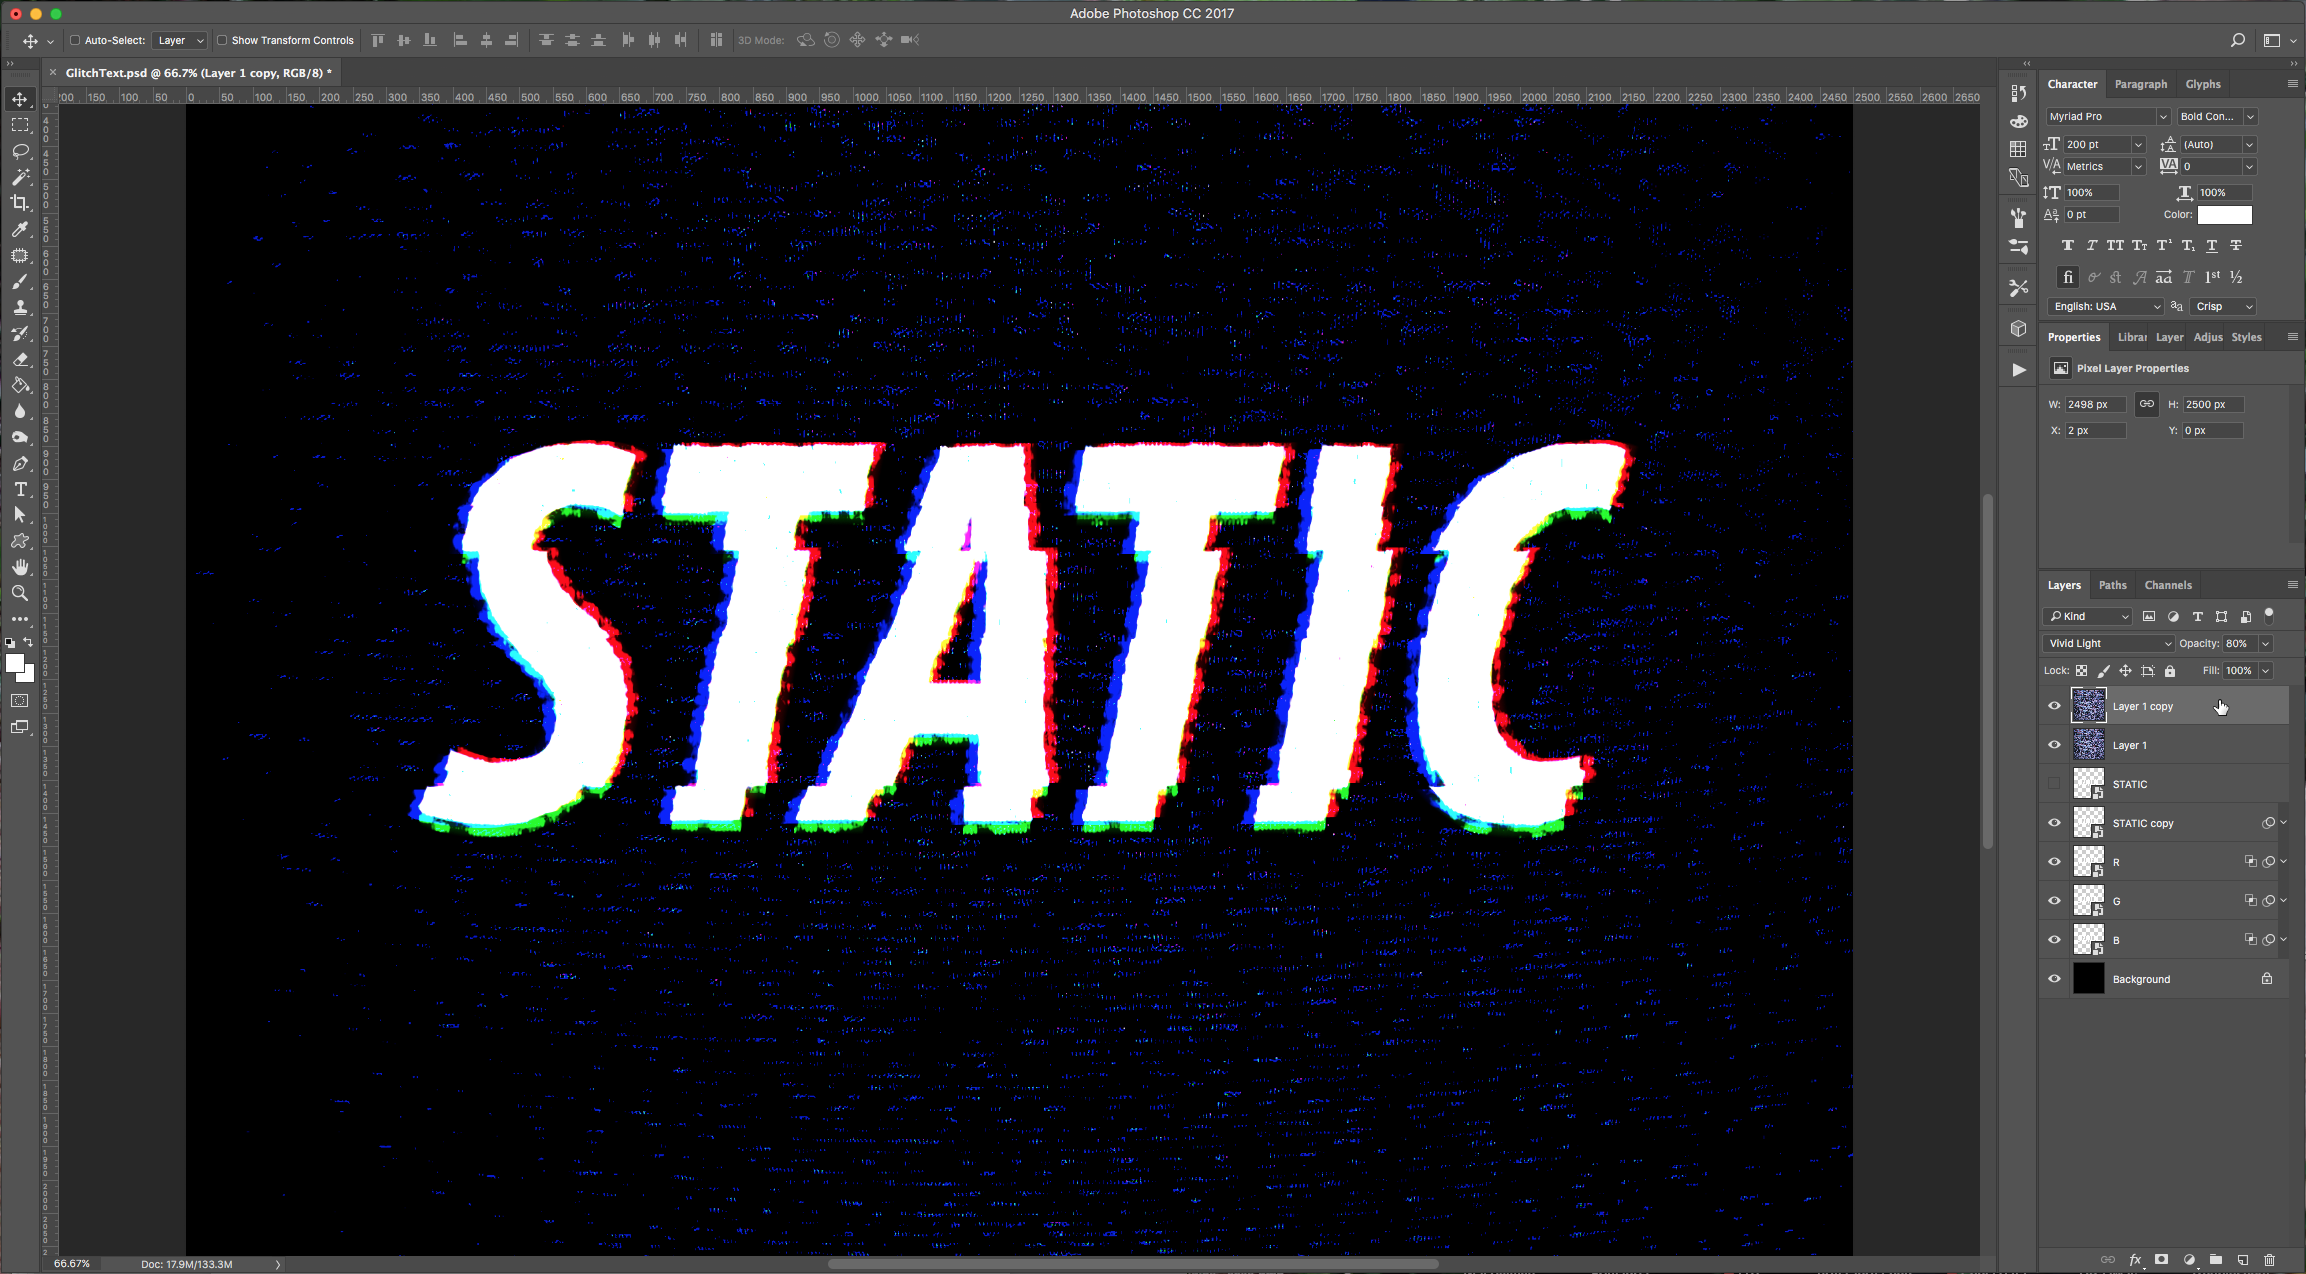
13 - Your text should look like this:
by @lornacane
6 Related Photoshop Tutorials
In this tutorial, you will learn how to create a cool glitch effect in Photoshop. You can do this in many different ways, but we’ll use the Shear, Wind, Wave, and Halftone filters in Photoshop to achieve the glitch effect.A photo like the one we’ll be using ...
For this Tutorial, we are going to an image of “Grass” for the “Background, and a light-colored “Brick” Pattern.1 - In Photoshop, open the file you chose as “Background”.2 - Open the “Brick” Pattern image too. Open the “Image Size” Window (Command/Control + Alt/Option + I) and make it 1000 x 1000 ...
For this tutorial, you will a Black and White image to apply the “Halftone” effect to.1 - In Photoshop, open the image you chose to work with.2 - Go to Image > Adjustments > Gradient Map and choose the “Foreground to Background Gradient” (Black to White) from the options and ...
For this tutorial we are using a canvas or paper background and Titin Script from Font Bundles.1 – Create a new “Gradient Layer” under your “Texture” layer. Use a “Transparent to Fill Color” gradient with #d3d1d1 and #918f8f as colors, the Style as Radial and a 250% Scale. Hit ...
For this tutorial, we are using “Bukhari Script” from Fontbundles.net (https://fontbundles.net/mikrojihad/33277-bukhari-script), some cake textures (there are some web pages that have free images that you can useas textures) and a plate and table background images.We are going to divide this tutorial in two sections. ...
For this tutorial, we will use a “Glitch” Background image and the Font “Moscow”.1 - In Illustrator, create a “New Document”. If the “Rulers” are not enabled, go to View > Rulers > Show Rulers (Command/Control + R) to turn them ON. Also, enable “Snap to Grid” (View > Snap ...

 All your Font Needs


