Unlimited Downloads 15% off Marketplace Purchases Exclusive Software Access Unlimited Downloads
15% off Marketplace Purchases
Exclusive Software Access
Go Unlimited Maybe Later
How to Adjust the Rollers on Silhouette Cameo or Portrait
  • By Design Bundles
  • 06 Jan 2019
  • 2 Mins
  • Beginner
  • Silhouette Tutorials

How to Adjust the Rollers on Silhouette Cameo or Portrait

Discover how to easily adjust the rollers on a Silhouette Cameo or Portrait for various sized media.

In this super quick and easy tutorial, learn how to adjust the rollers on a Silhouette Cameo or Portrait. If you are not using a mat and the media is less than 12 x 12 inches, the rollers need to be adjusted. Other times you may need to adjust to stop the mat or material from sliding around. We will guide you through the simple steps to do this.

Step 1 - Turn the Machine Lever

Open your Cameo or Portrait and locate the machine lever inside on the far right. Now turn this clockwise. Don’t use any tools as this may cause damage. The lever should be easy enough to turn.

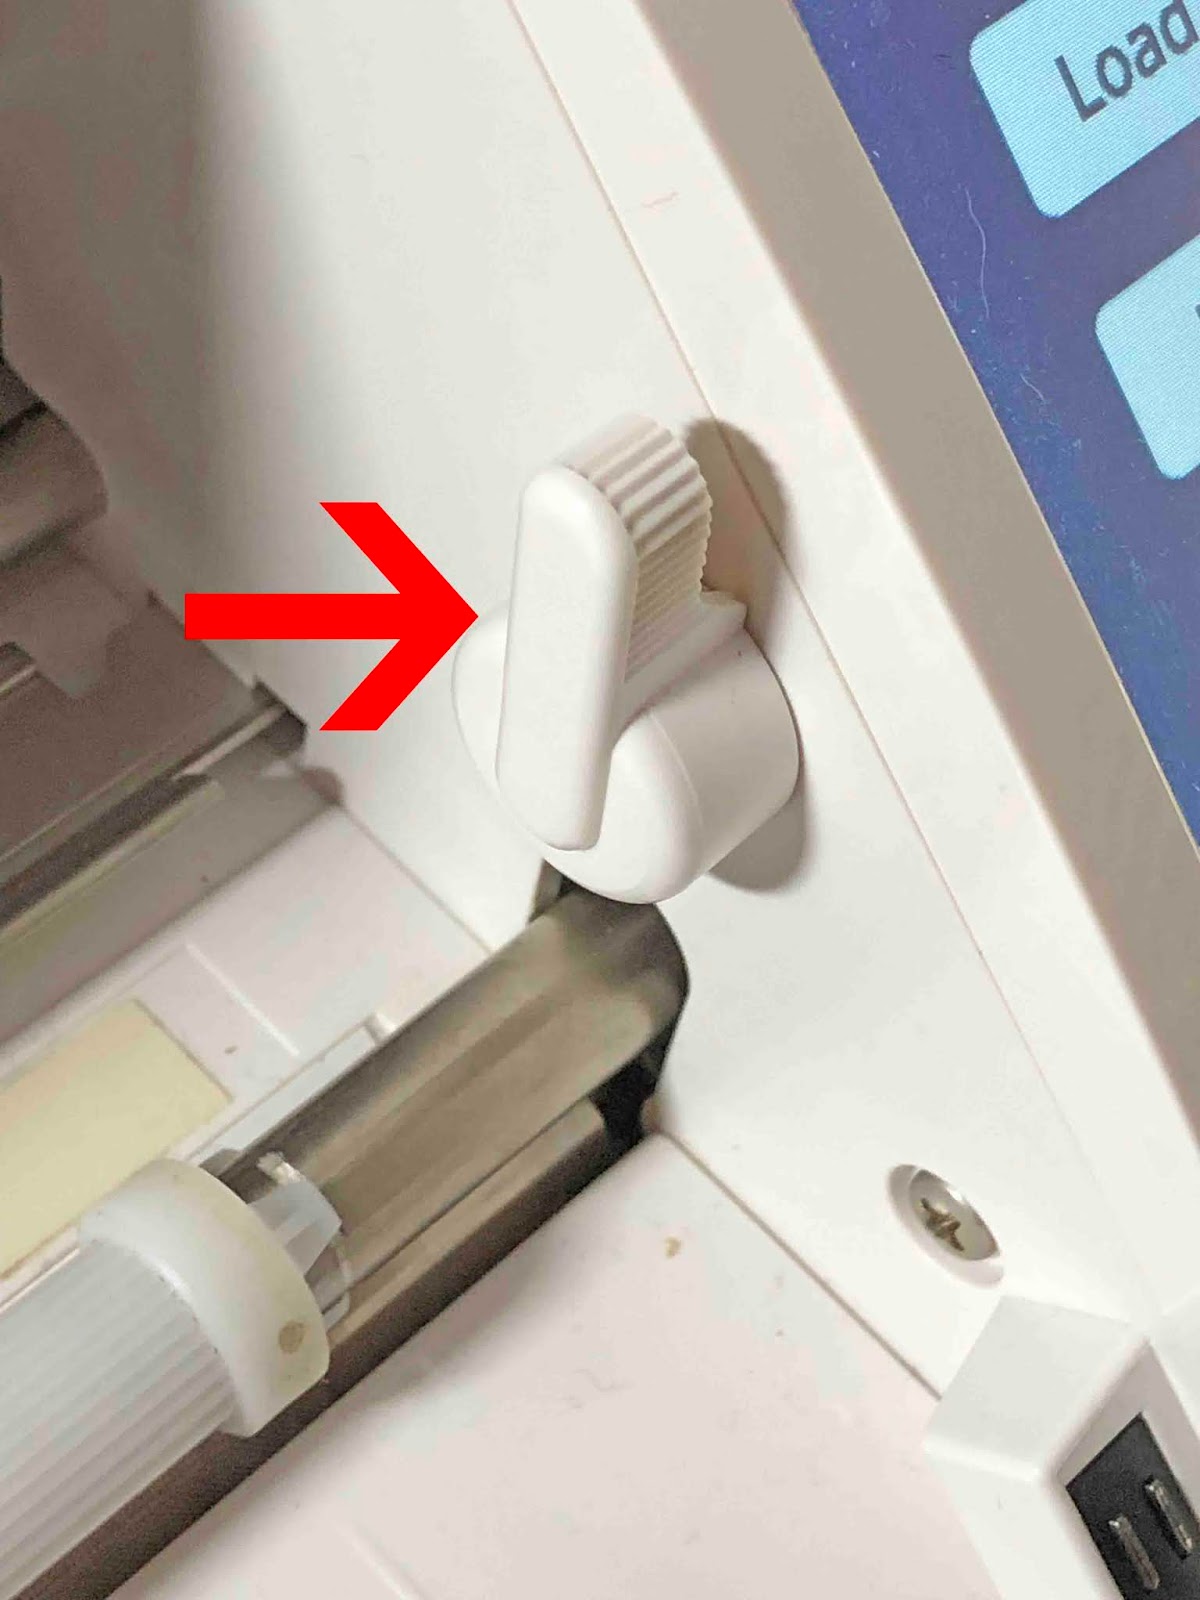
Once the lever has been turned clockwise, the roller bar will lift up.

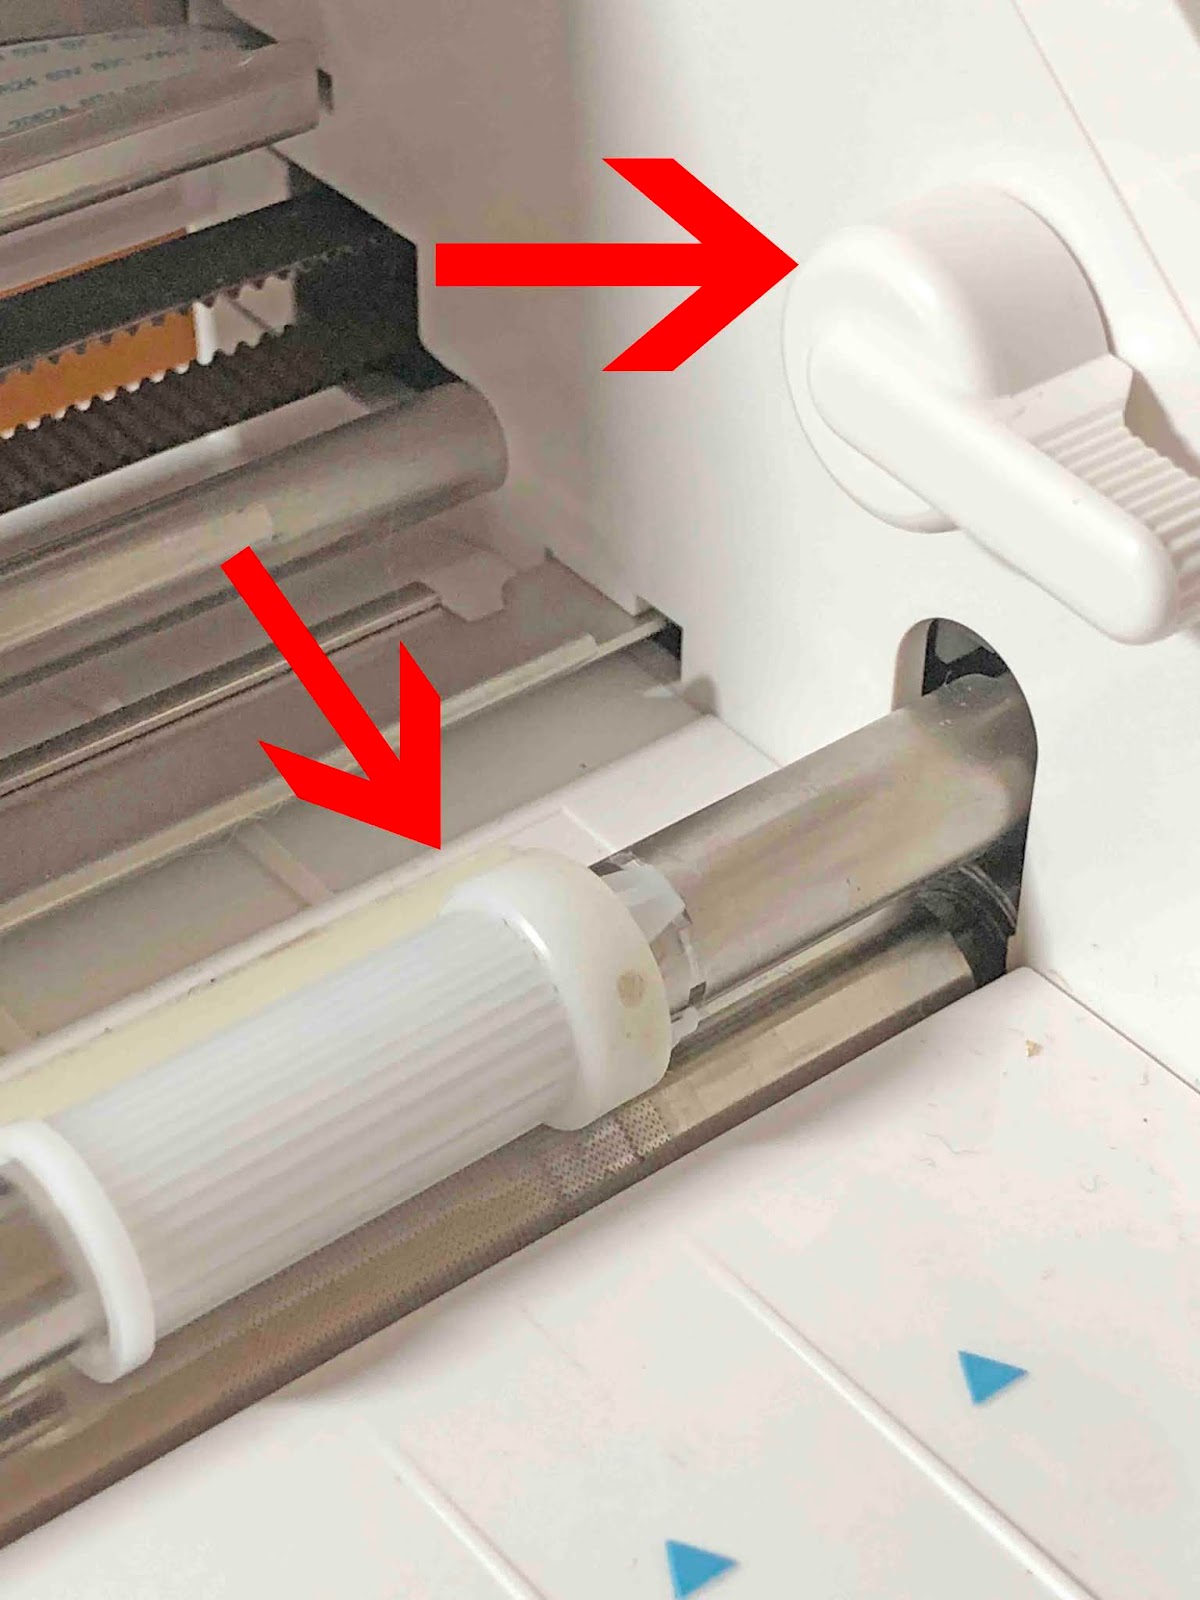
Step 2 - Adjust the Plastic Roller

Carefully twist the white plastic roller to remove it from the notches on the roller bar.

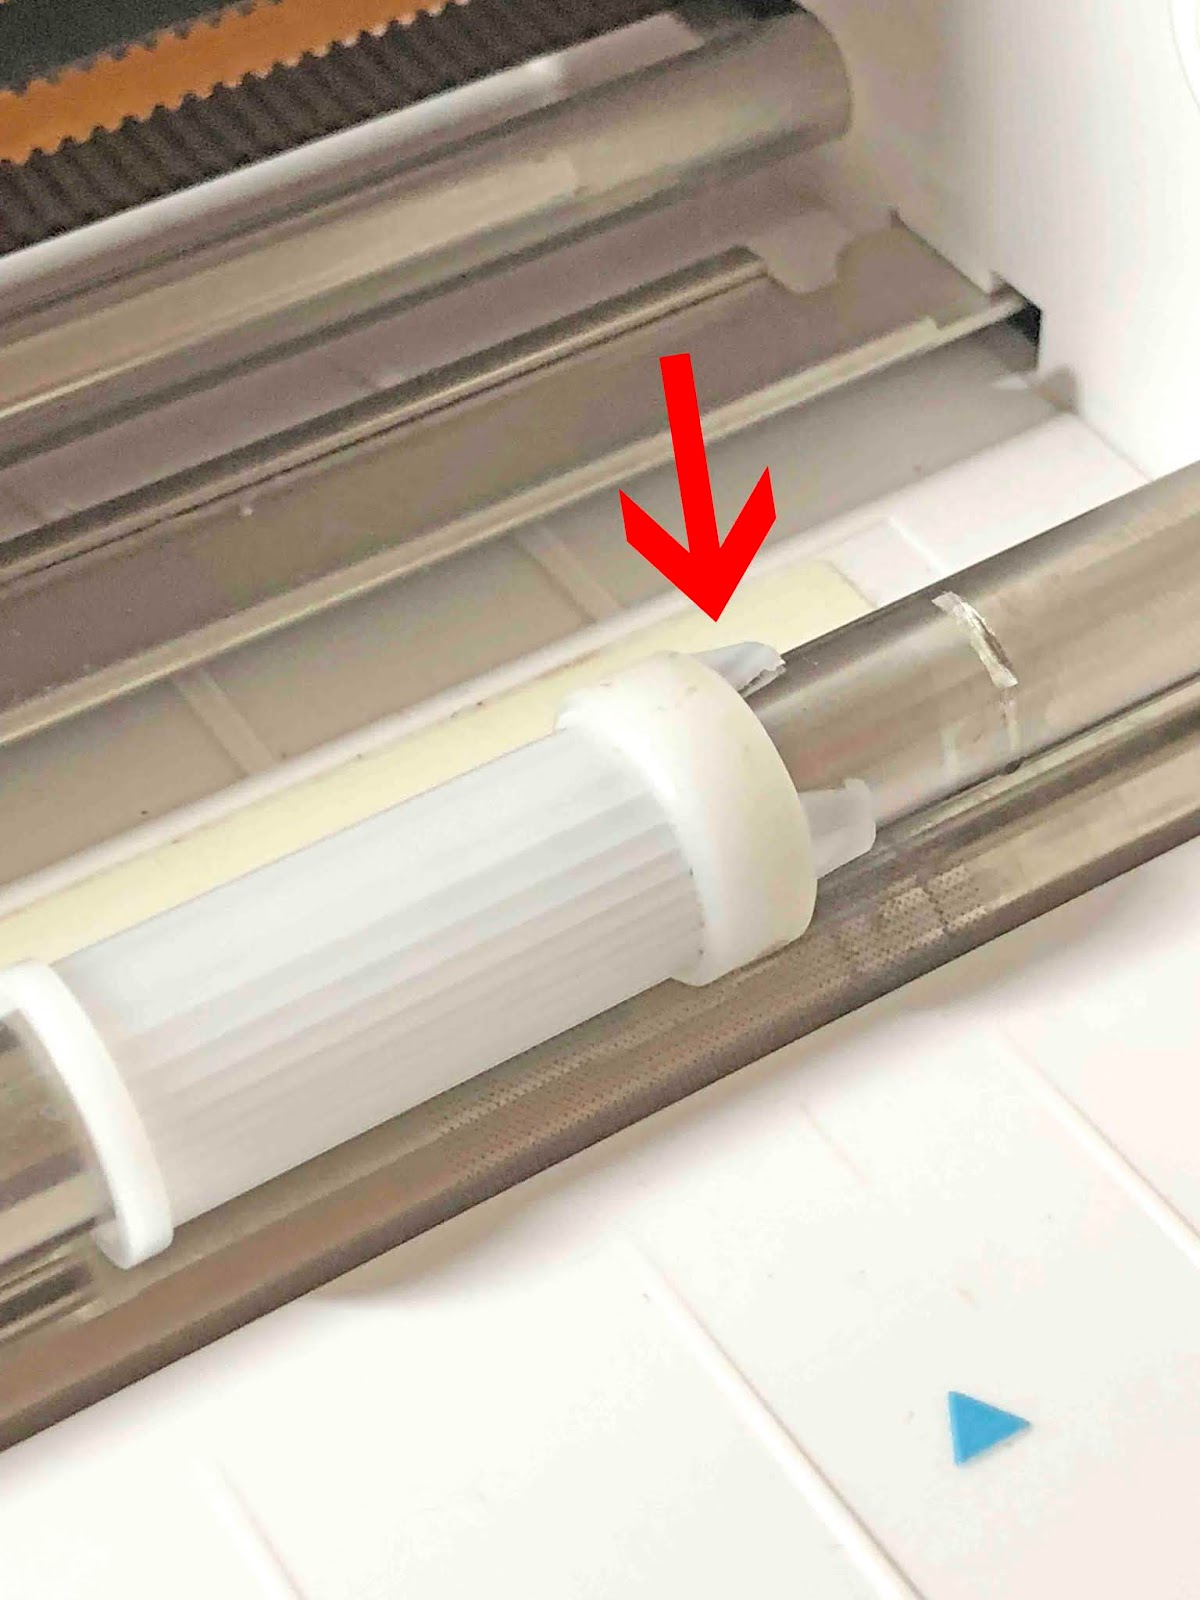
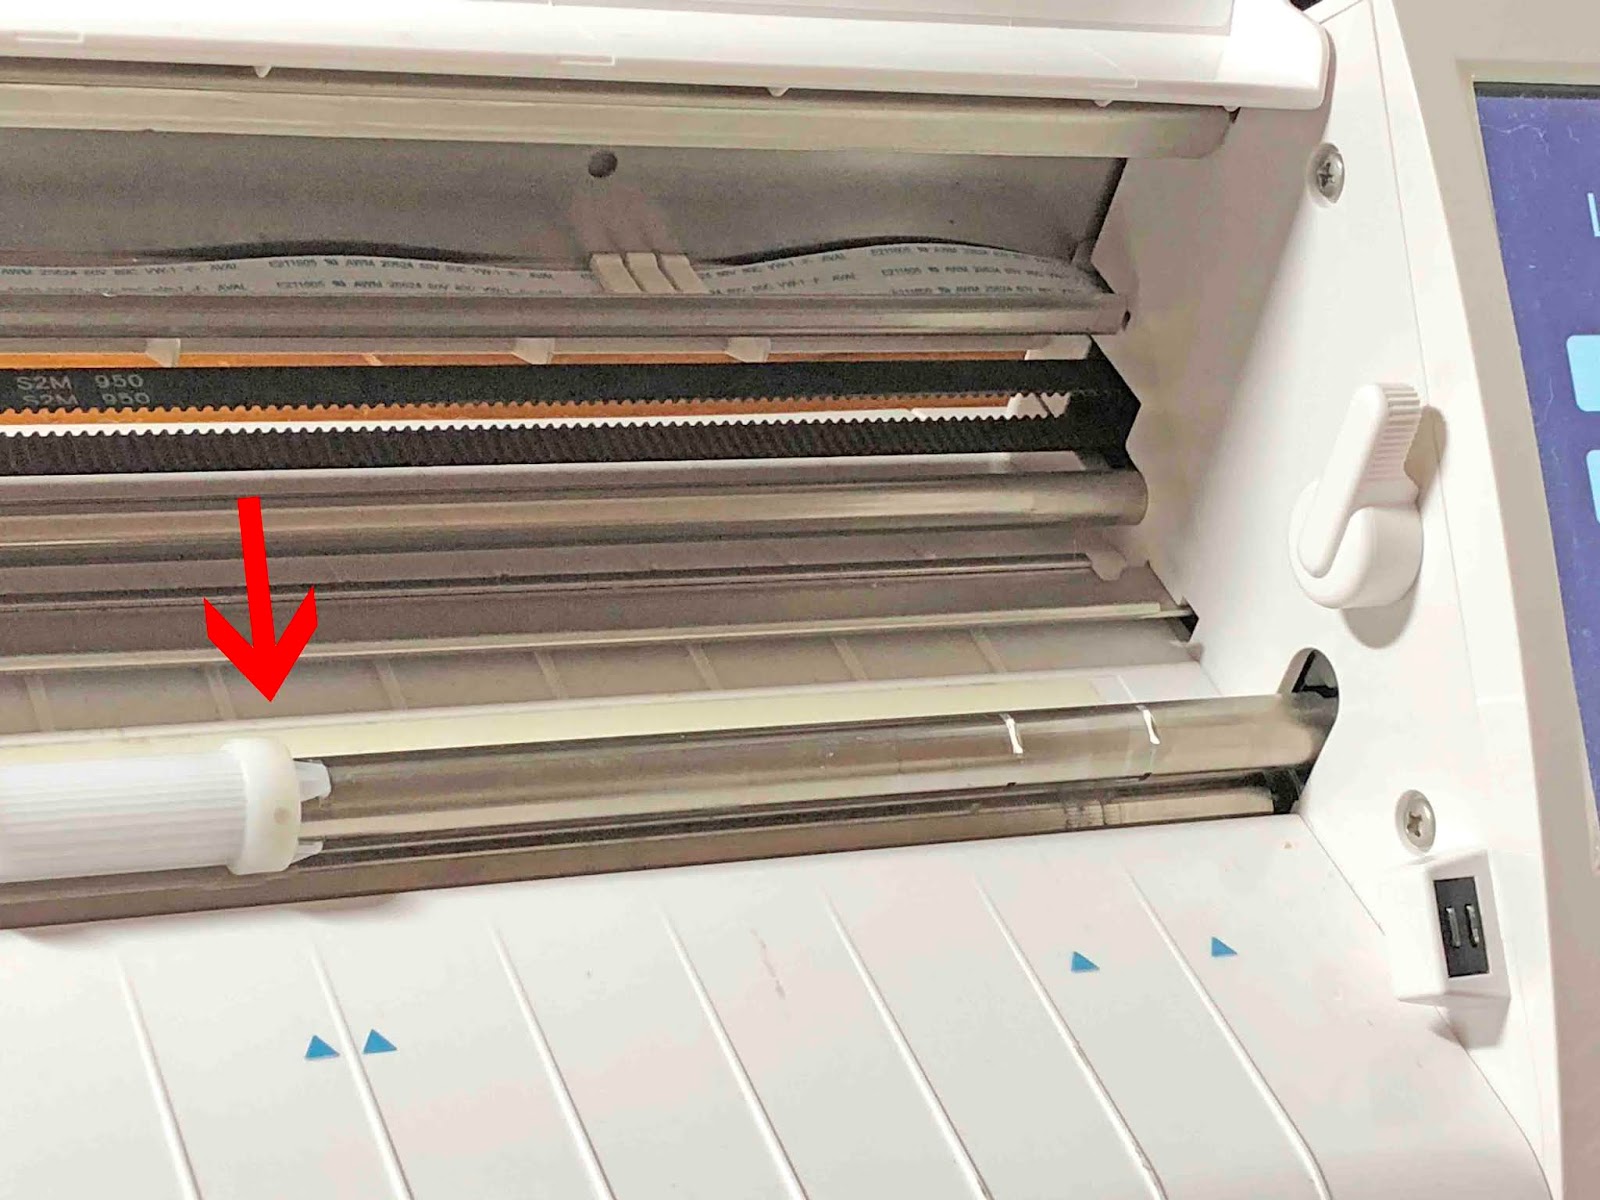
Slide the plastic roller to one of the other notches on the bar. Choose one that you need for your media size then click it in place. Finally, move the handle back to the original position.

Now you are ready to start cutting. Remember to be gentle with your machine while adjusting the lever and rollers. The Silhouette Cameo and Portrait make it so straightforward to adjust for various sized materials!


6 Related Silhouette Tutorials

*note- CM900 machine used.1- Turn on the Brother Scan and Cut machine.2- Click on the Scan icon on your screen.3- Click on the scan to cut data icon.4- load your design in your machine.5- When the images to be cut appear on the screen, sometimes ...

Adding a touch of elegance to a candle can be done with the Foil Quill in Silhouette Studio. A foiled design or saying is a lovely way of customizing a candle. The candle can be burned as a regular candle once foiled. Have some crafting fun with our tutorial on ...

In today’s cool tutorial we will show you how to use the Foil Quill on acetate in Silhouette Studio. You can create the most beautiful foiled designs for your projects such as invites and much more. Follow this quick guide as we show you how to do this.You ...

*Silhouette Cameo 3 used. 1- Open silhouette studio and click on the text icon.2- Type your text.3- You can change your font. I am using  luducudu font from fontbundles.net4- Click on the sketch tool.5- As you can see there are a lot of sketch options in ...

*Silhouette Cameo 3 used. Technique is the same for all silhouette models.1- Open the lid of your silhouette machine. We need to remove the cut blade so we can insert the foil quill. Unlock the cut tool.2- Remove the cutting tool. leave the holder unlocked.3- Place the "A" ...

Today we will show you how to fill text with the Foil Quill using the Silhouette Studio Free Edition. The Foil Quill uses heat to transfer foiled designs to several types of media. It’s a fantastic way of making a gift extra special. Usually, single line fonts are used ...

silhouette portrait adjust cameo rollers

You may also like

Help Center
ol image