
How to Edit a PSD Wedding Invite in DesignScape
In this tutorial we will show you how to easily edit wedding invites in DesignScape.
As a Gold Plus Member, you can edit a PSD Wedding invite in DesignScape. You are able to use purchased Wedding invite files to create exactly what you want for your special day. We have a free 30 Day Trial of the Gold Plus Membership for you to try if not a member yet. DesignScape is a browser based editing software that doesn’t require a download in order to start using immediately. You can quickly get creating with DesignScape, awesome alternative to Photoshop and Illustrator.
If you are not a Gold Plus member, we do have a 7-day free trial of DesignScape for you to try out.
We have chosen to use this floral wedding invite bundle but we have many more wedding invites to select from. We will also be using an elegant signature font called Autography.
Step 1 - Edit text in PSD Wedding Invite
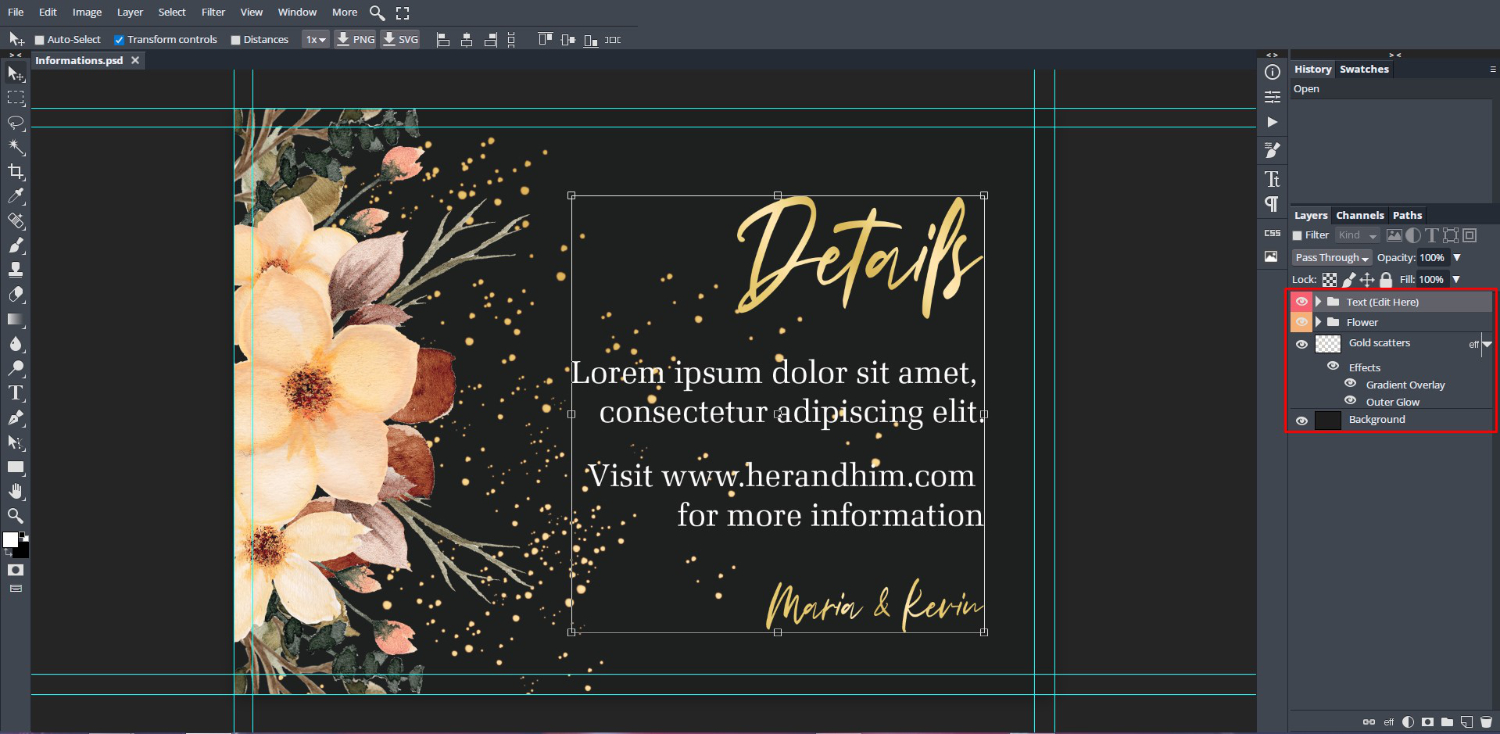
Let’s begin by opening the file in DesignScape. We selected the Informations PSD file from the bundle. Once opened you will see the layers of the file under the Layers Panel on the right.
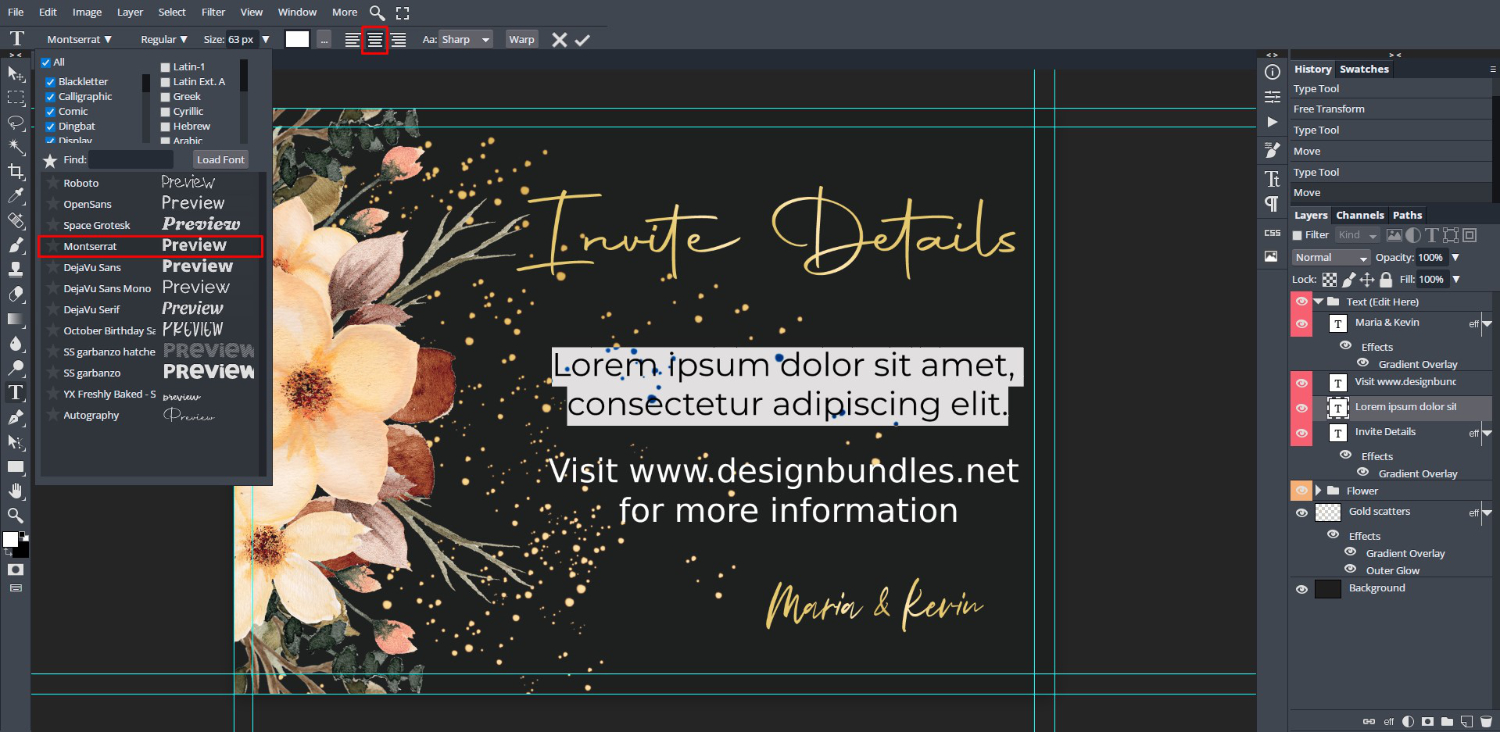
Change the Font
Click on the arrow for the Text layer at the top to open the group. Then, go down to the Details thumbnail (box with a “T”) and double click to select.
You will notice straight away that the font changes. This is because you may not have the font uploaded that was used in the PSD file. The bundle will usually include a Readme file with links to the fonts used. You are welcome to use any font that you like.
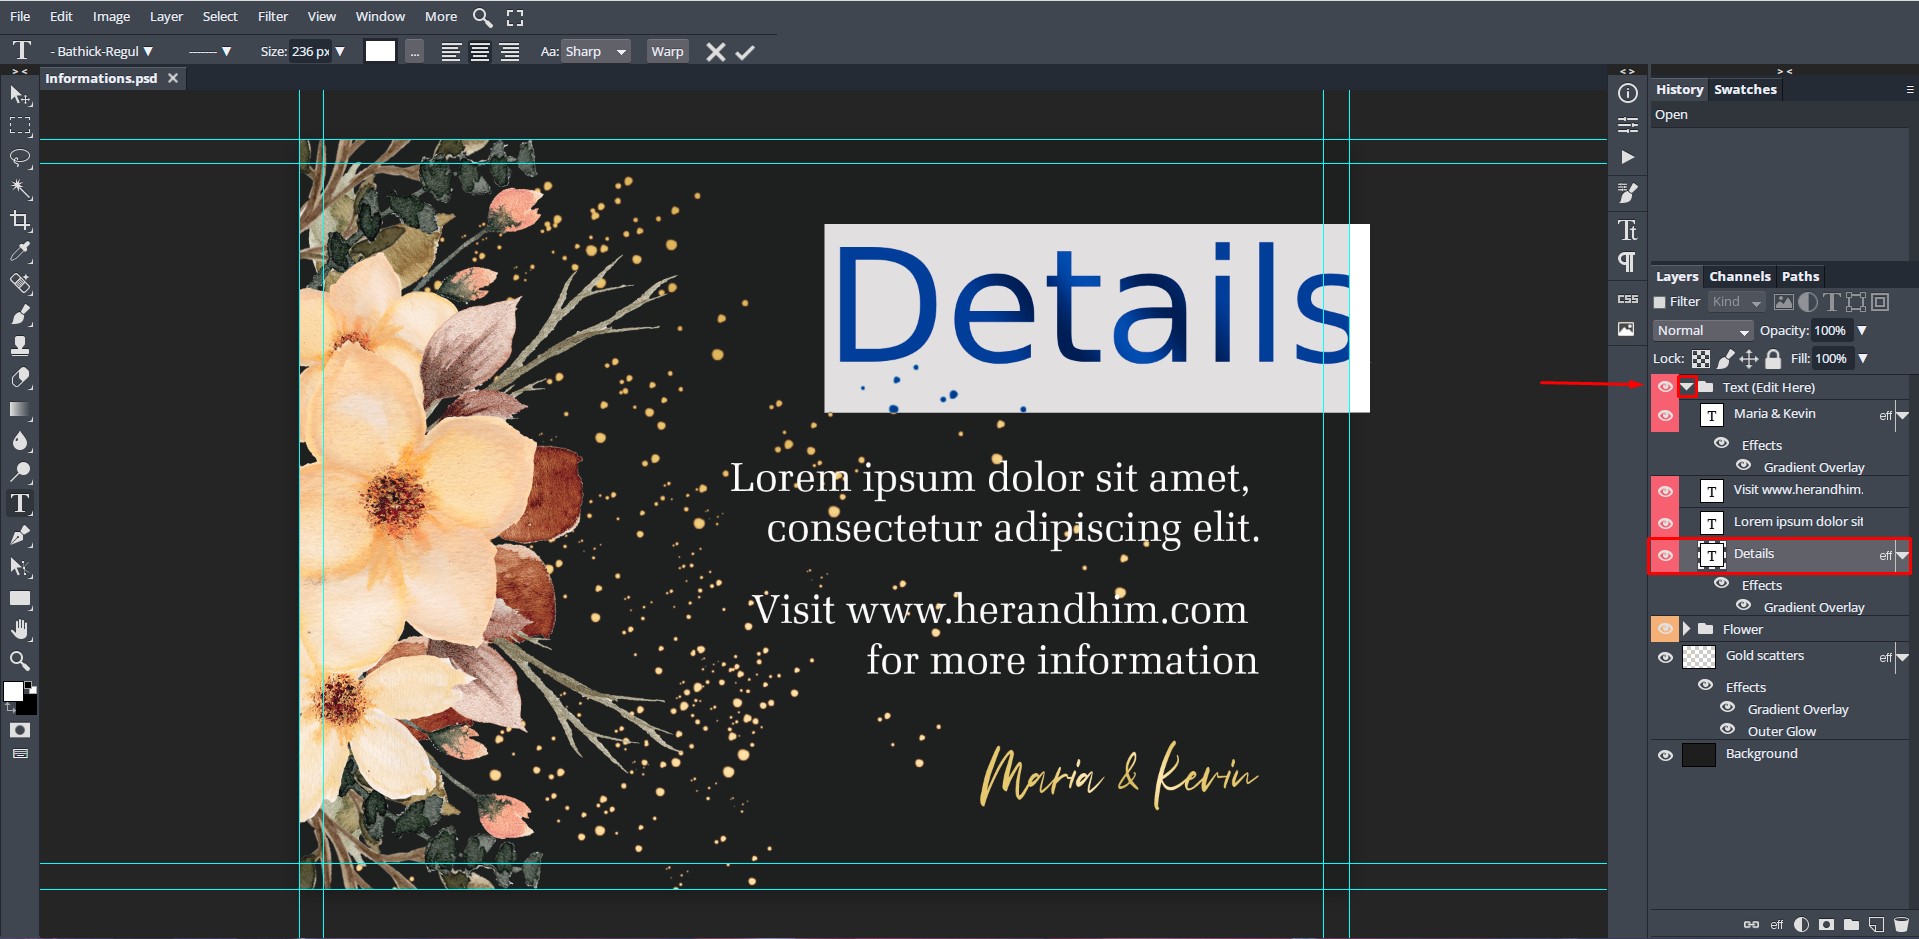
We have already uploaded the font we want to use to DesignScape. Next, with the text still selected, go to the Font Family top left corner. Click on the drop down arrow and you will find your uploaded font at the bottom of the list. Click to apply to the selected text.

Edit the Text
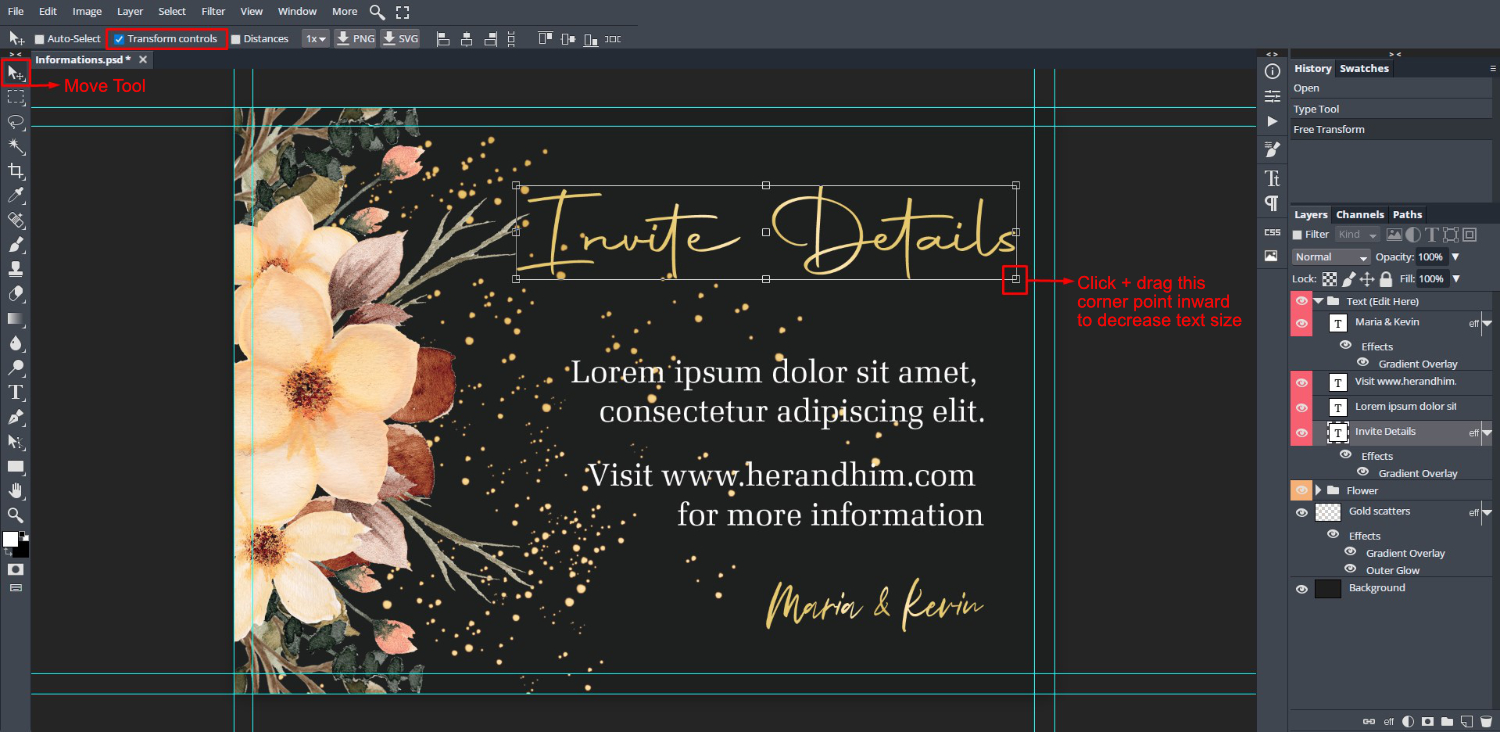
We then edited the text to read “Invite Details”. Simply click on the text to enter Text Edit mode, then begin typing. The text box can be resized by using the sizing handles. First, click on the Move Tool on the left side toolbar. Make sure that the Transform controls box is ticked to activate the sizing handles.
We then clicked + dragged the one corner point in to reduce the size of the text box. We have a great tutorial on how to change font leading if you want to edit your text further.
Repeat this for the rest of the text in the PSD Wedding invite. For the body of the text we use the Montserrat font that is pre-loaded in DesignScape. The text was centered using the Center button at the top toolbar.
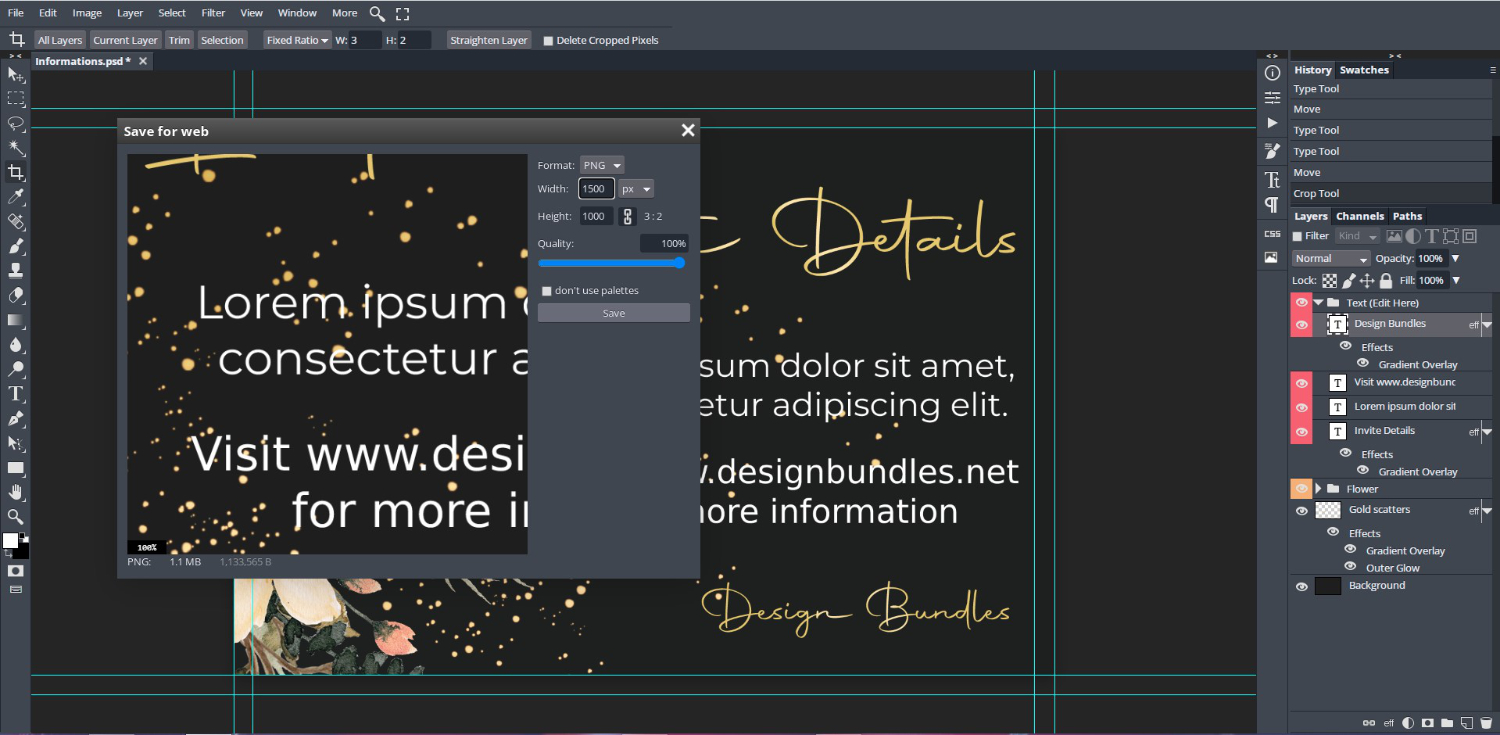
Step 2 - Save the PSD Wedding Invite
When all of your editing is done and your PSD Wedding invite is ready, now you need to save it. DesignScape offers various formats for saving your file. Today, we will choose to save it as a PNG format.
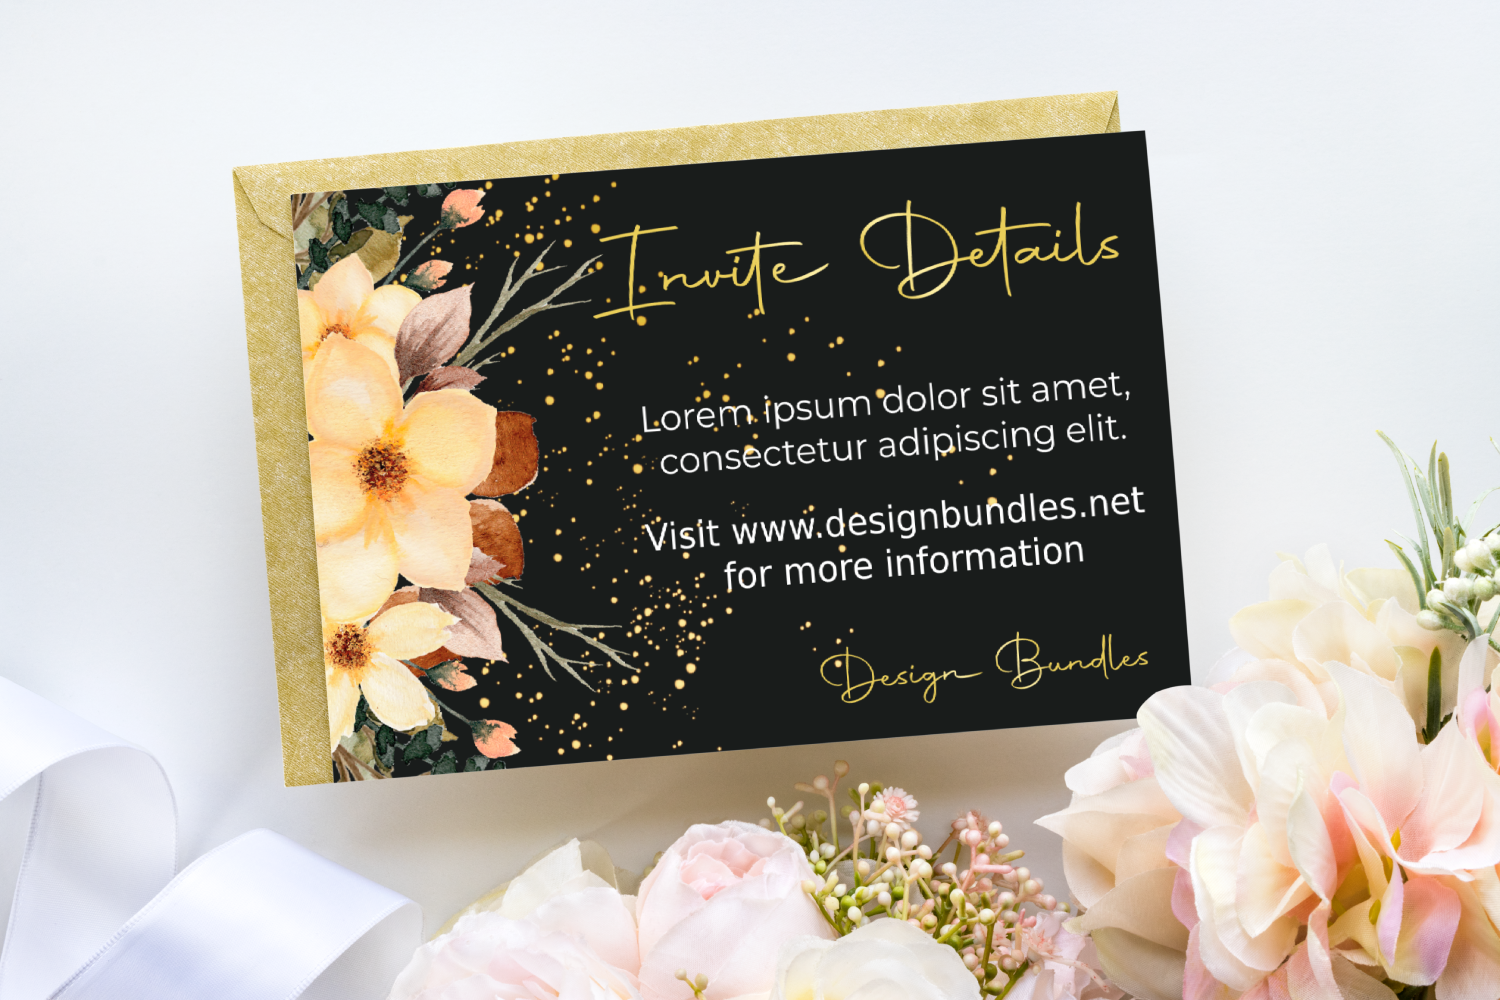
Here is the result of editing a PSD Wedding invite in DesignScape.
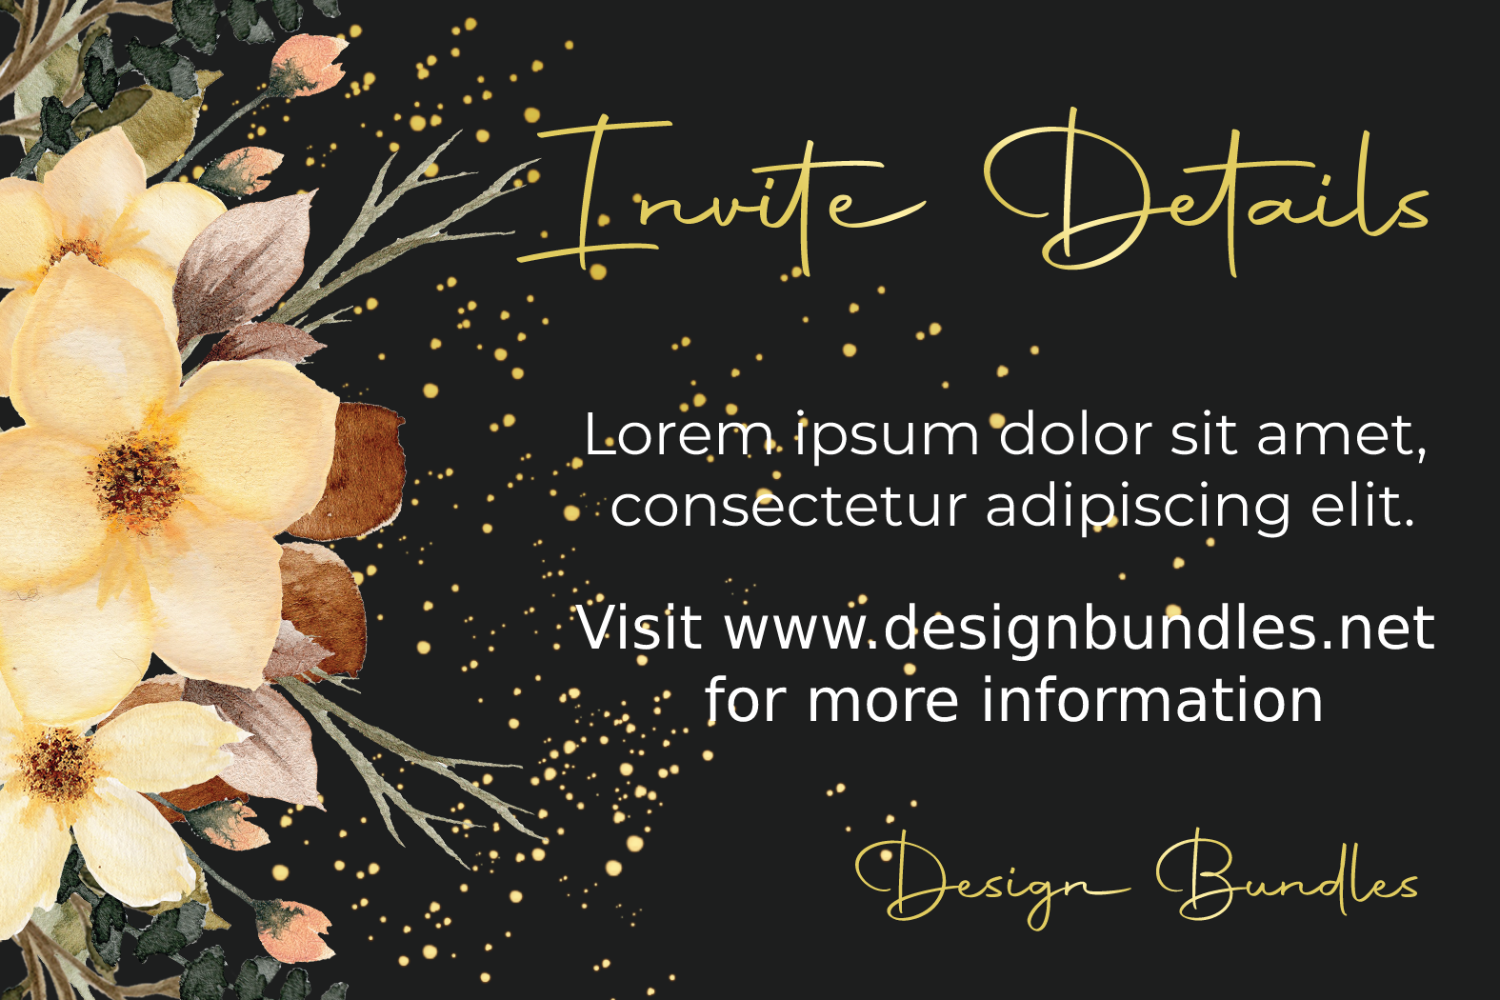
Why not take it a step further and add the PSD Wedding invite to a Smart object mockup in DesignScape? We added our design to the lovely invitation mockup seen at the beginning of this tutorial. DesignScape has endless possibilities for your creative projects.


