Unlimited Downloads 15% off Marketplace Purchases Exclusive Software Access Unlimited Downloads
15% off Marketplace Purchases
Exclusive Software Access
Go Unlimited Maybe Later
How to Use PSD Files in Silhouette Alta
  • By Design Bundles
  • 25 Oct 2018
  • 3 Mins
  • Silhouette Tutorials

How to Use PSD Files in Silhouette Alta

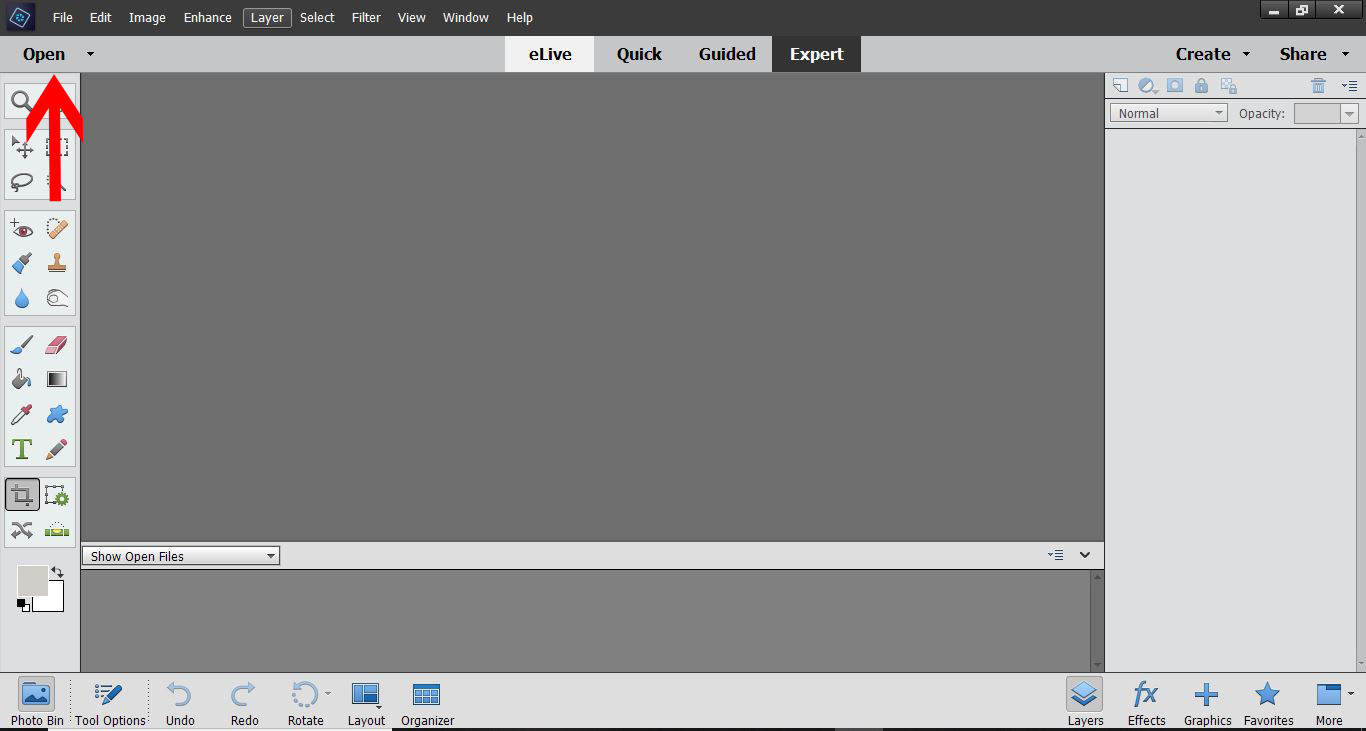
1- Open Adobe Photoshop. I am using photoshop elements.(you do not need to full version ) Click on the open icon.

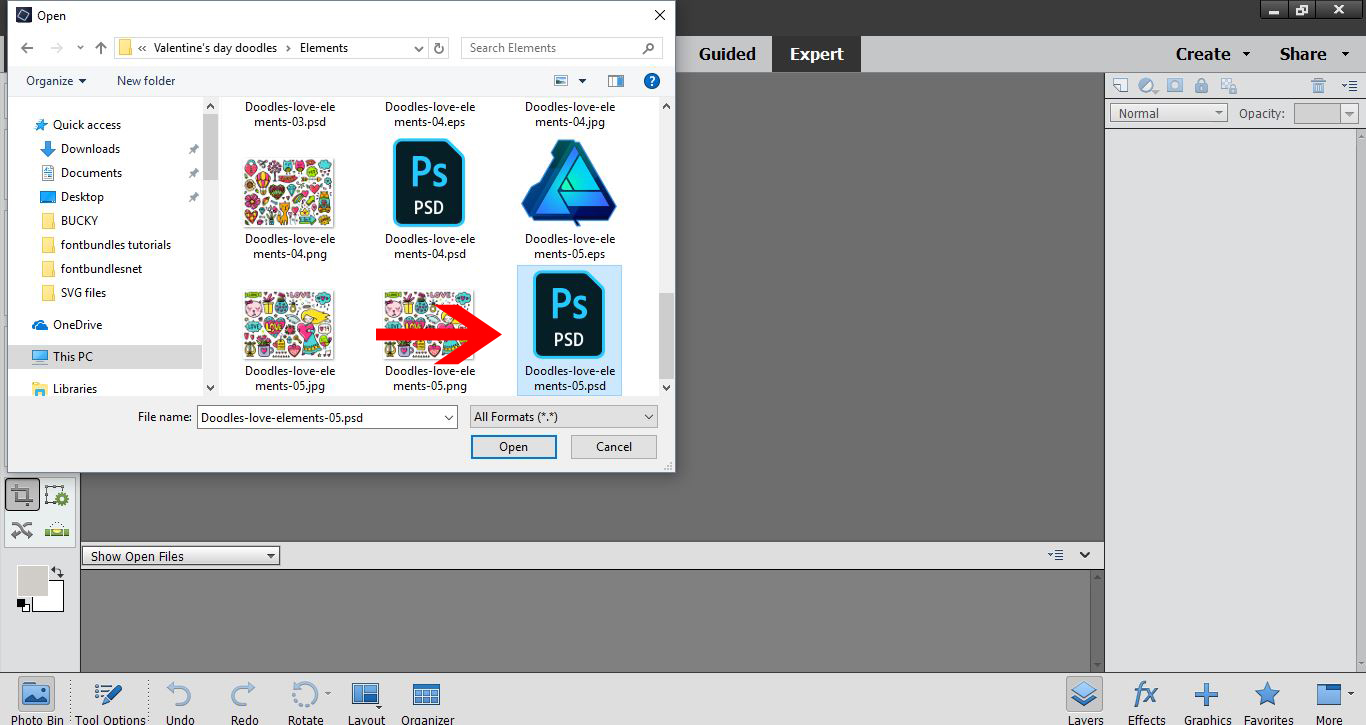
2- Select your PSD file. Open it.

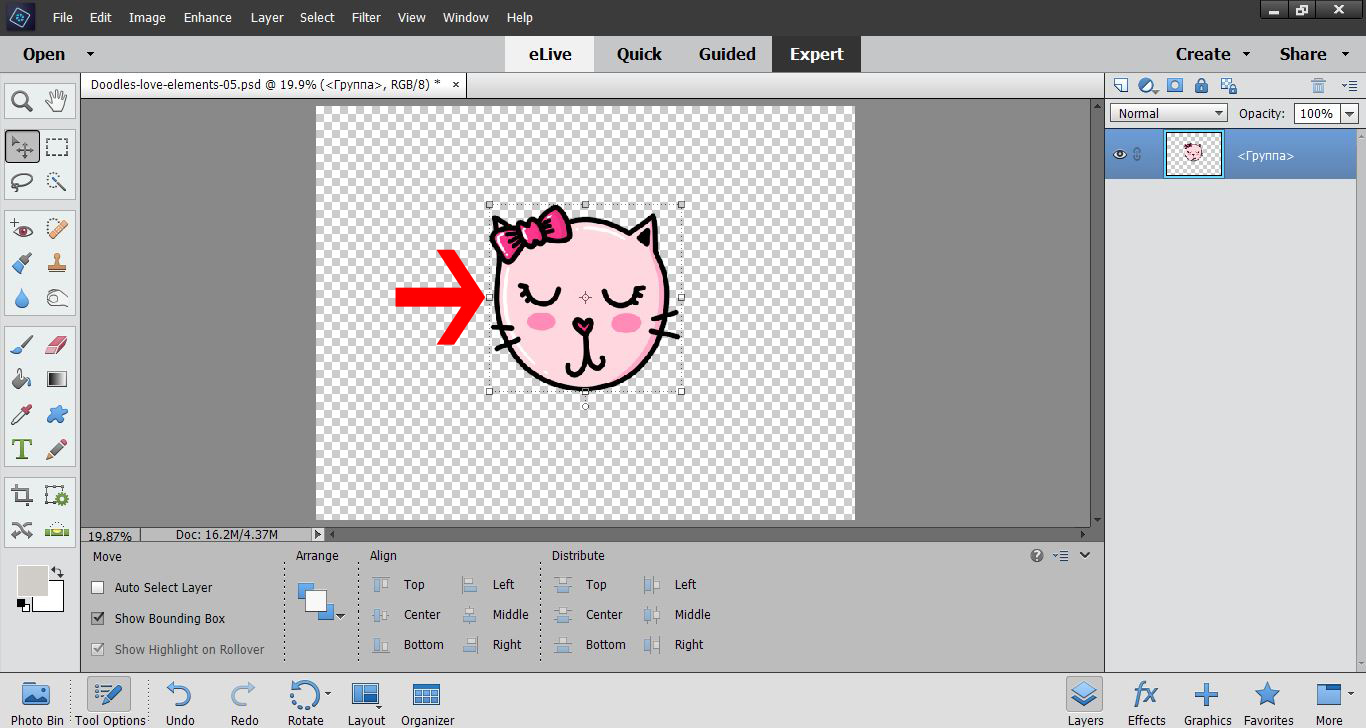
3- In the layers tab, select all the layers you do not want to use in your 3D print file. Then delete them.

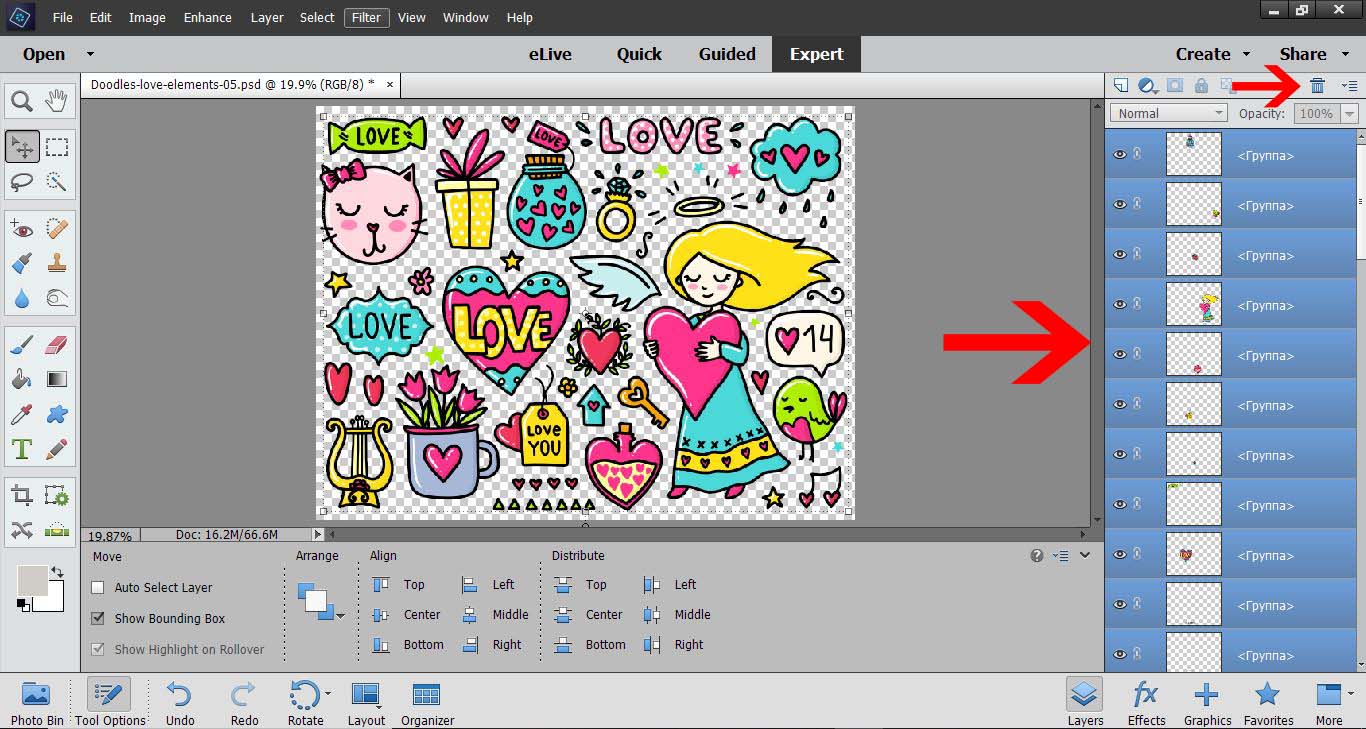
4- Move the layer you have kept to the middle of your design space.

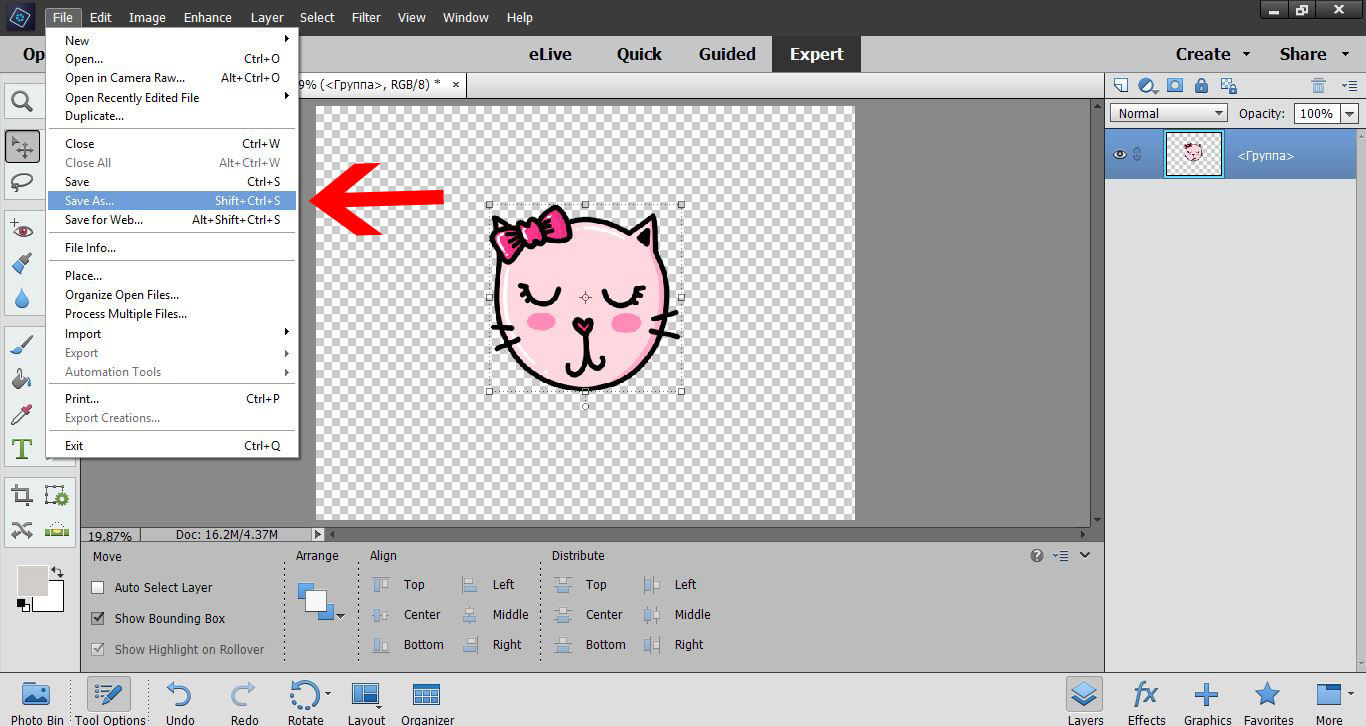
5- Go to File - save as.

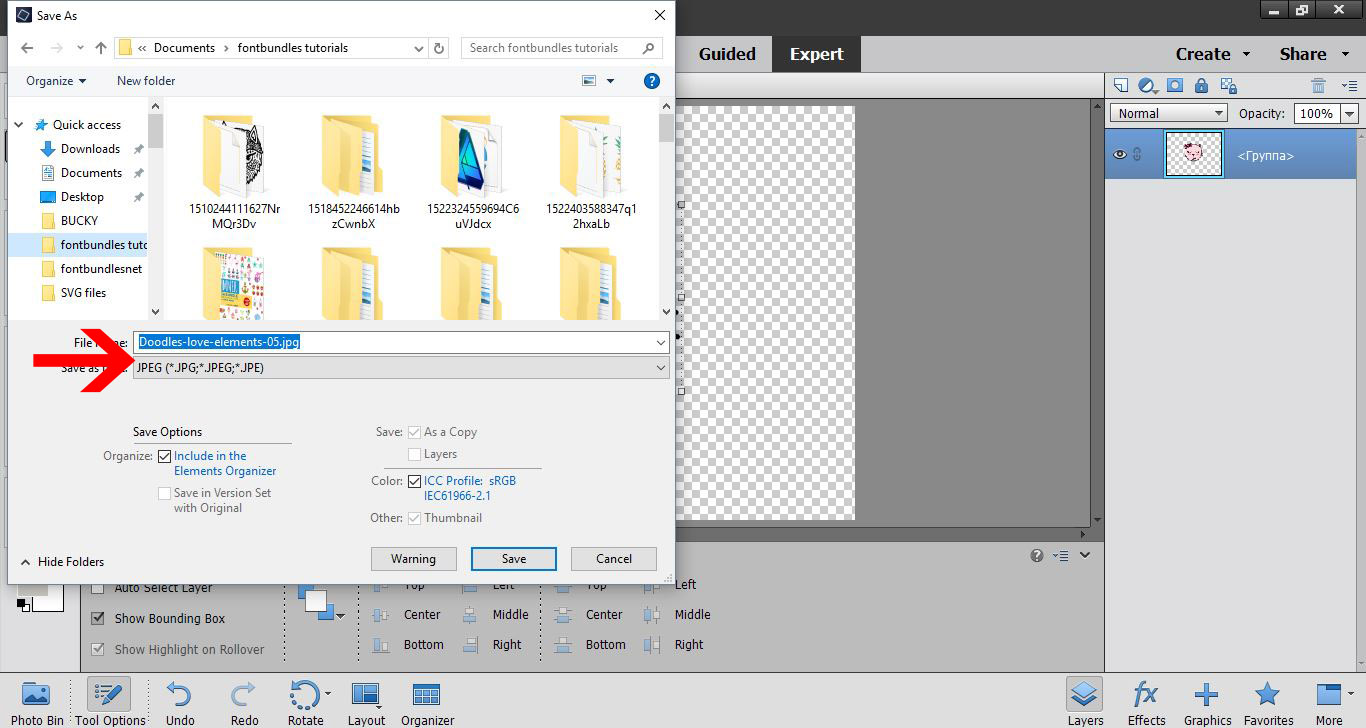
6- When you save the file, save as a JPEG file, not a PSD file.

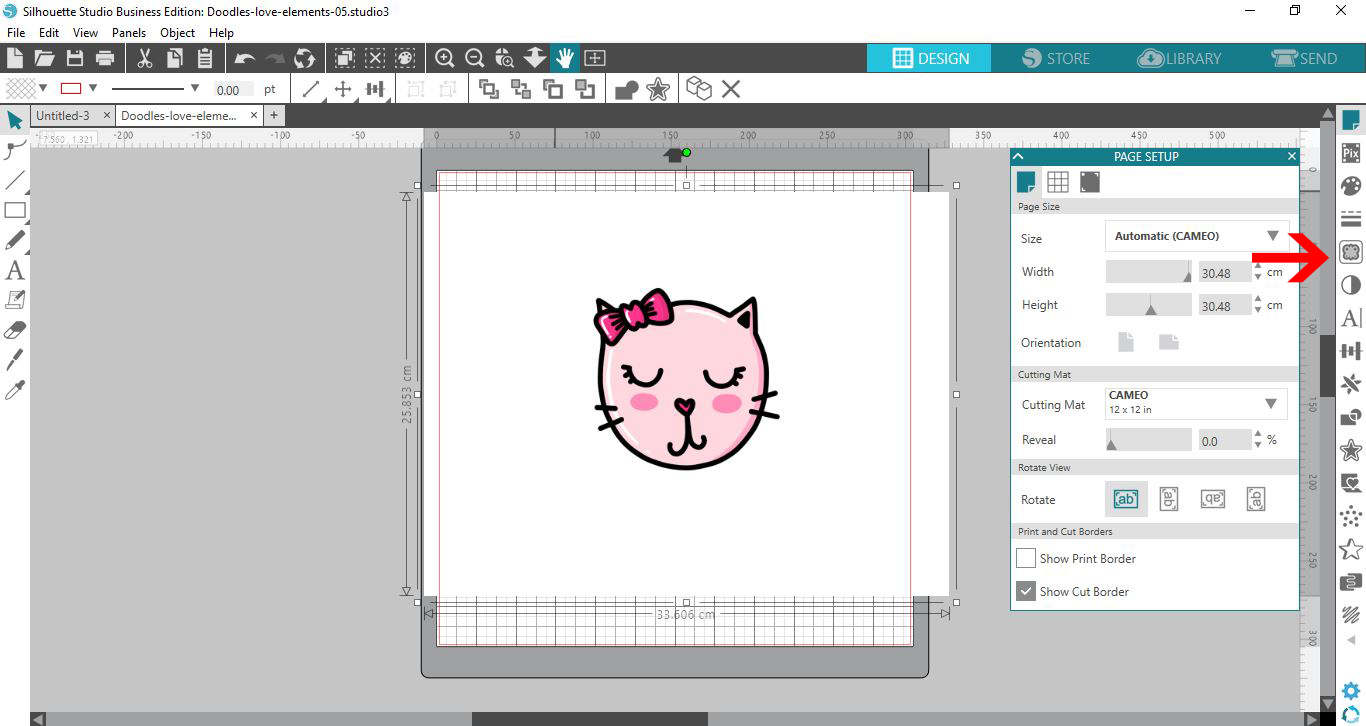
7- Go and load Silhouette Studio software. (free edition) Click on the open folder icon.

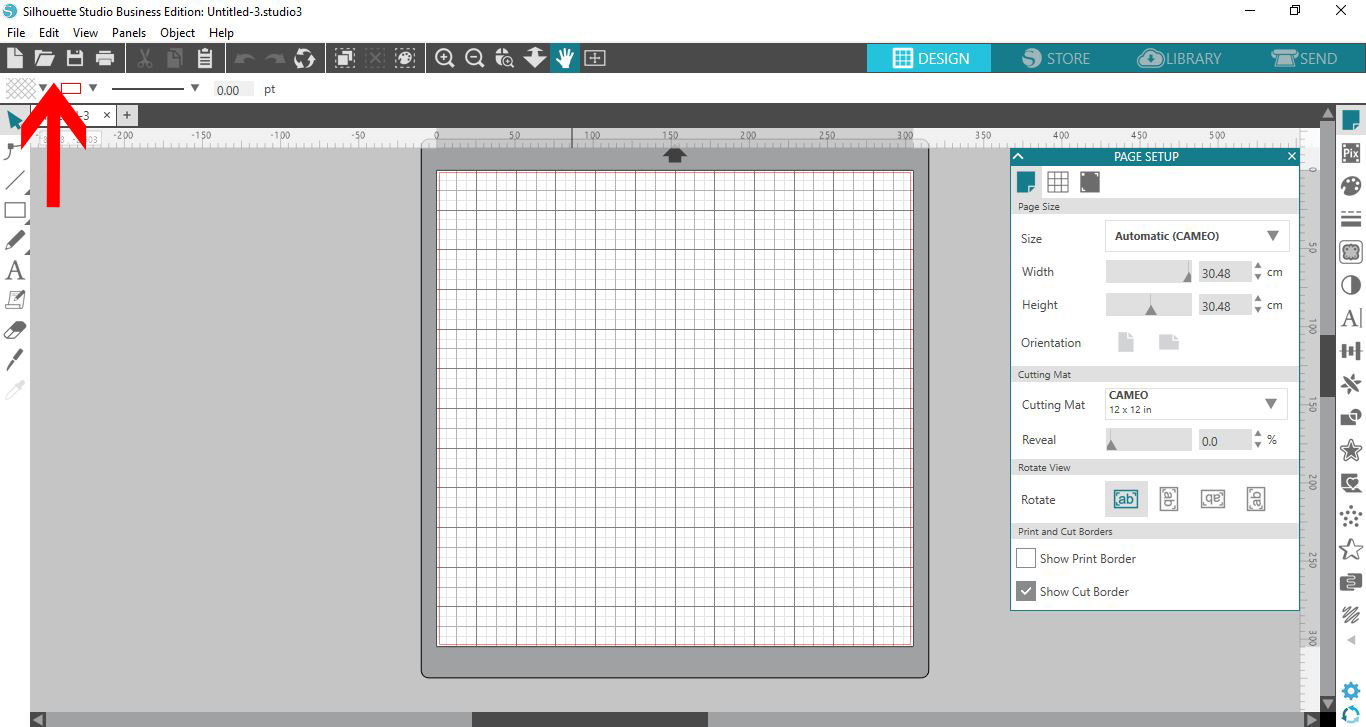
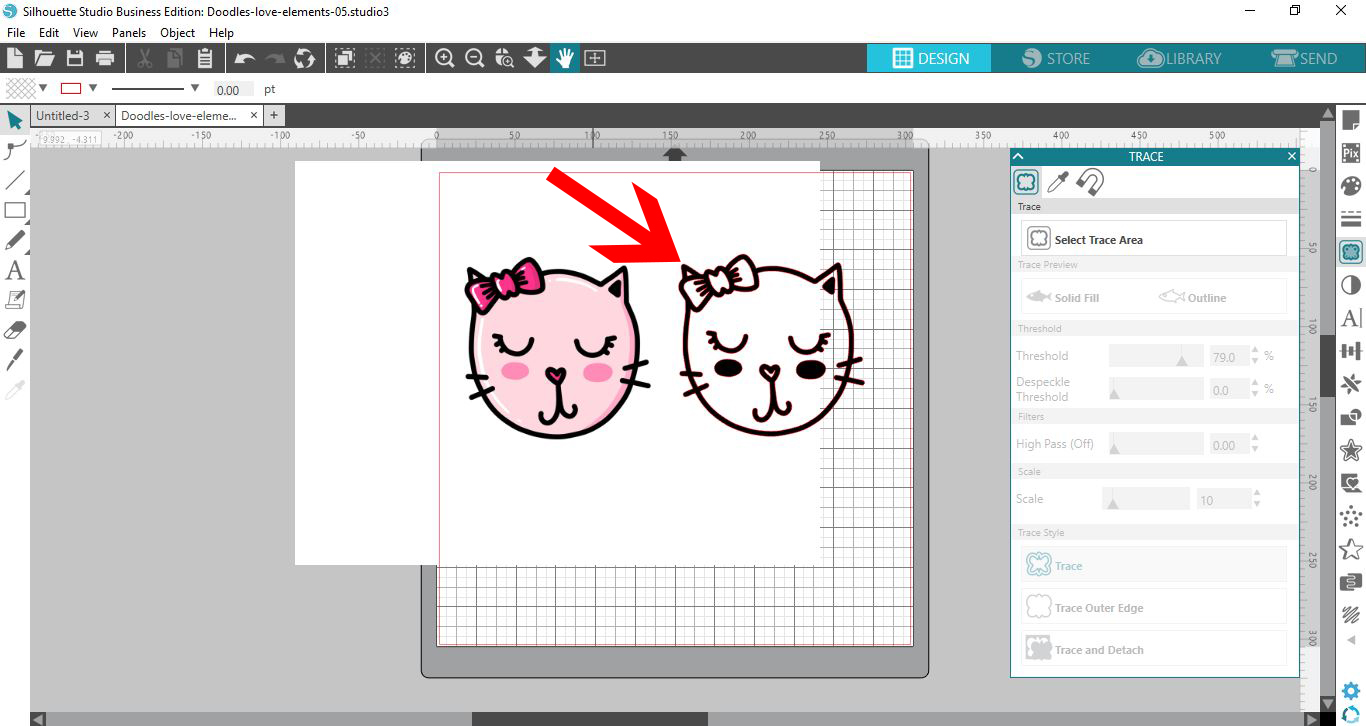
8-Your JPEG will load onto your design space. Click on the trace icon.

9- Trace your design.

10- You may need to trace the parts several times and combine them to replicate your design.

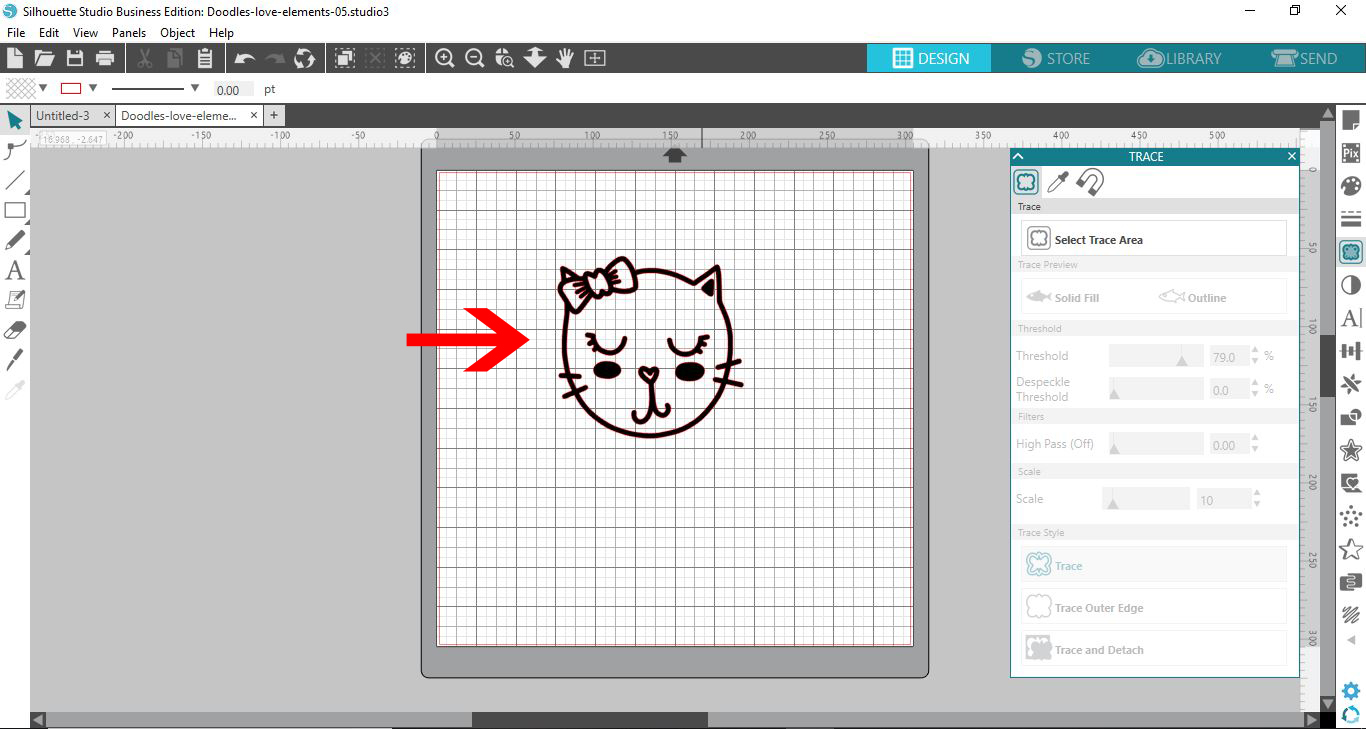
11- Delete the JPEG and only have your traced image in your design space.

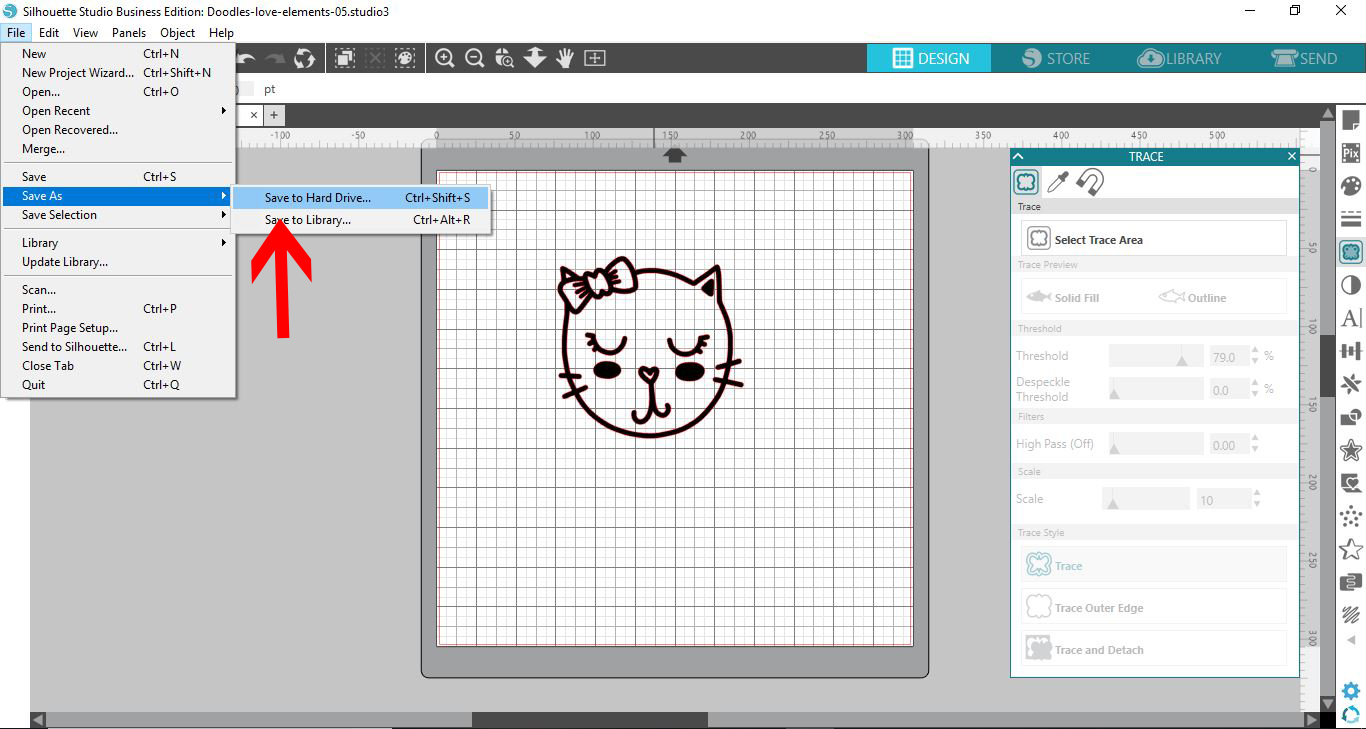
12- Go to File - Save as - Save to hard drive.

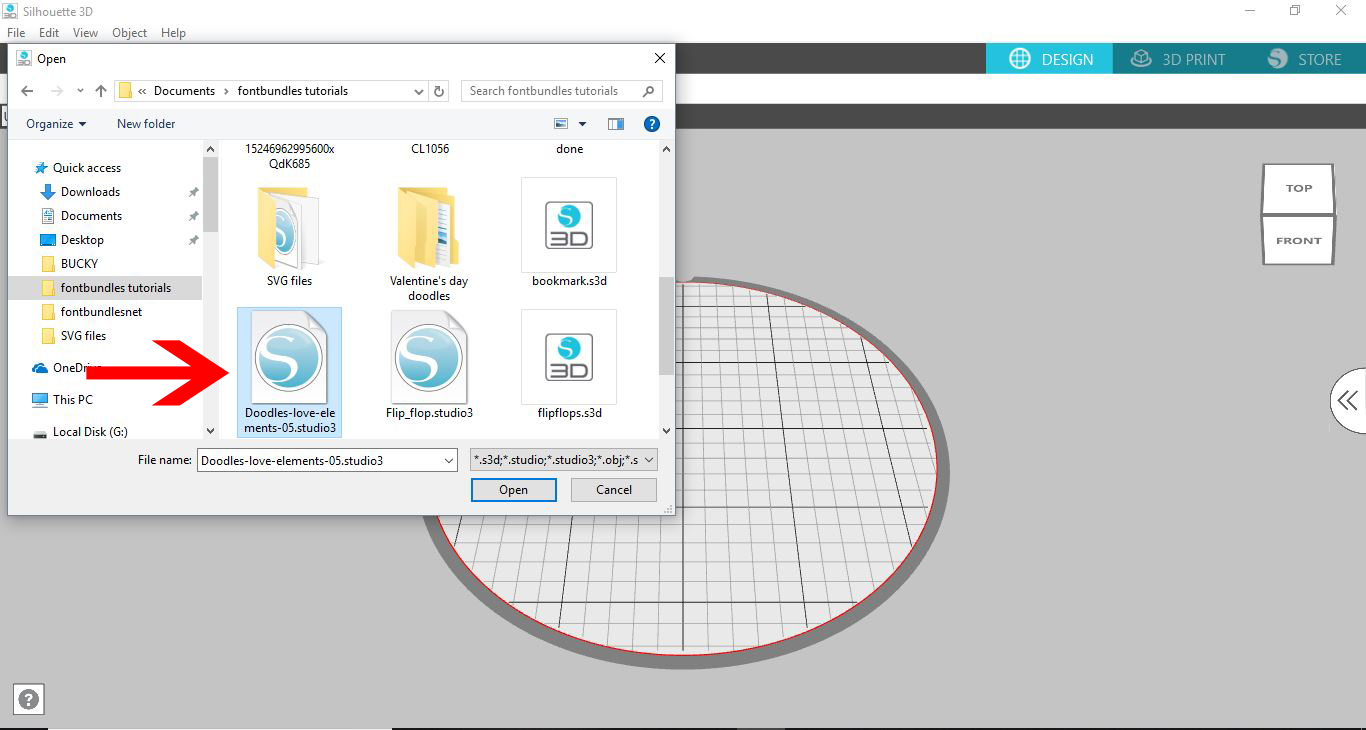
13- Open the Silhouette Alta 3D software. Click on the open folder icon.

14- Fine your studio file and open.

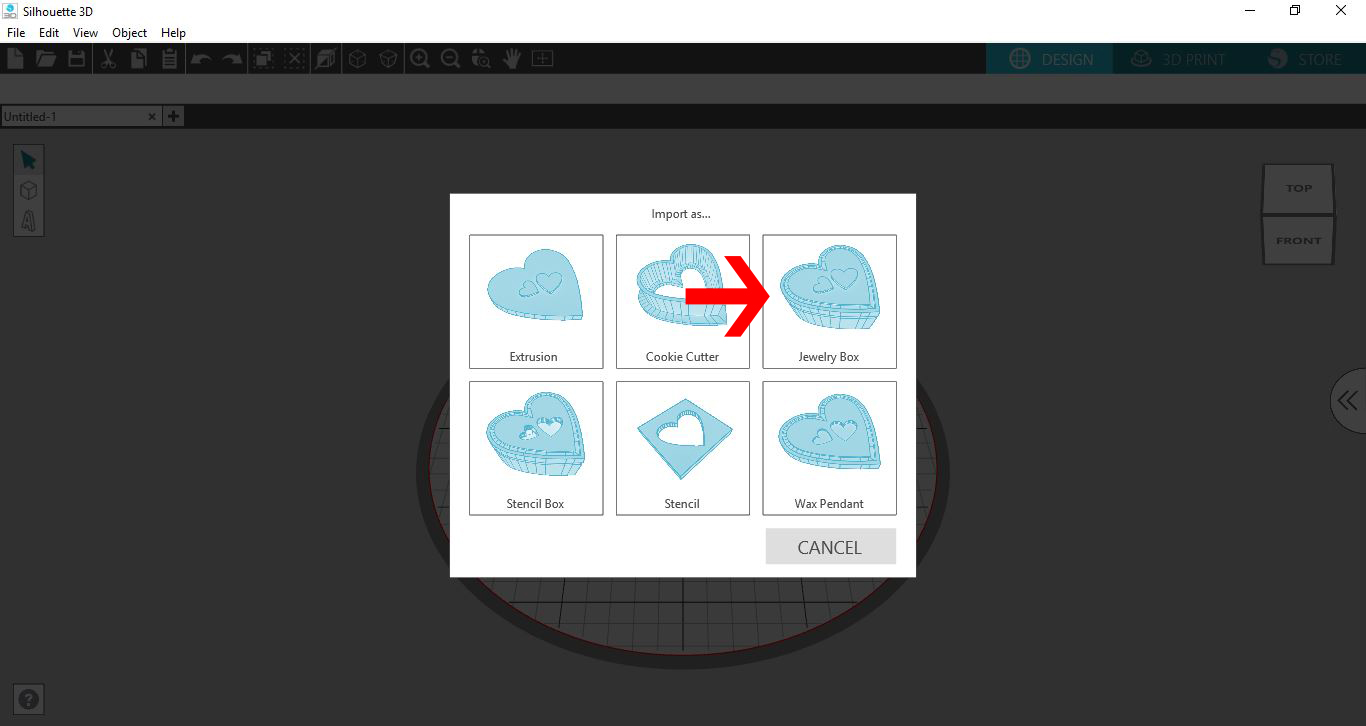
15- A new window will appear. At this point you can choose what you would like to convert the file to. I will be creating a jewelry box.

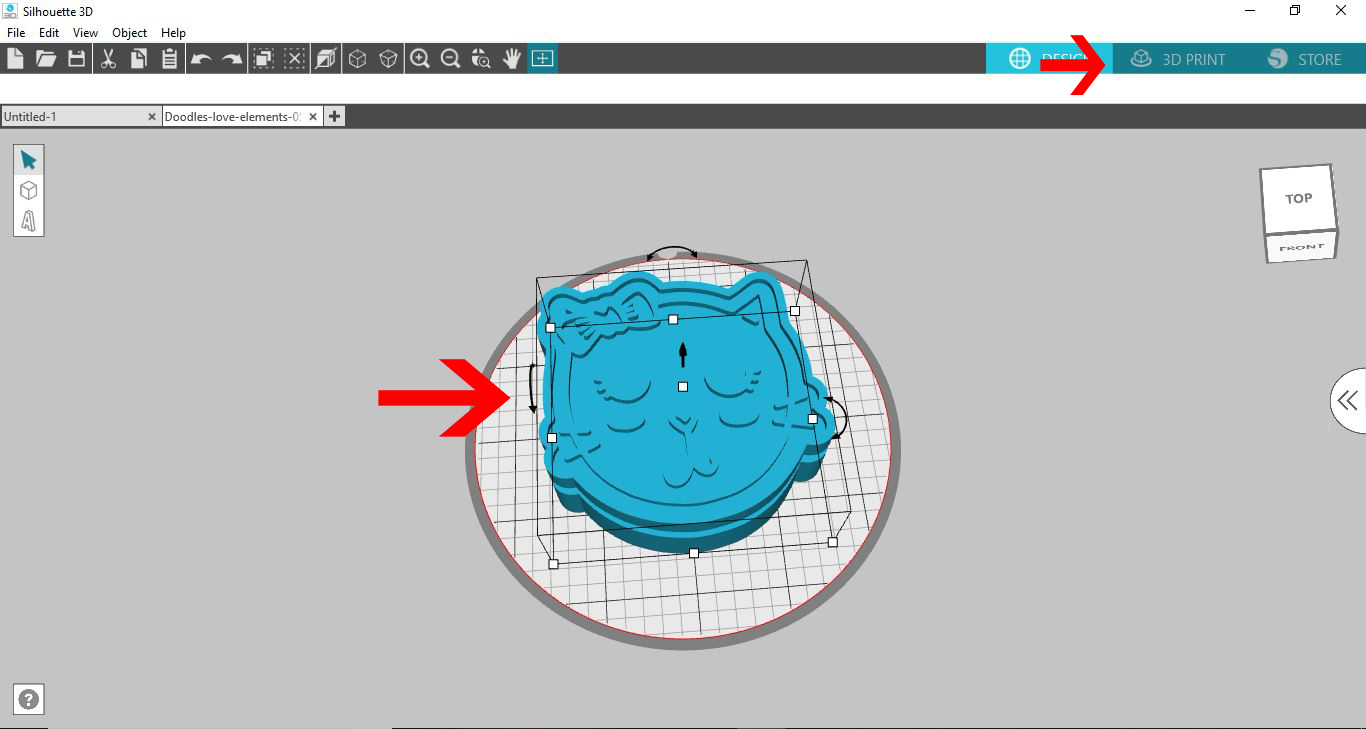
16- Your file will convert and At this point you can either ungroup or add /remove from your design. When you are happy you can click on 3D print.

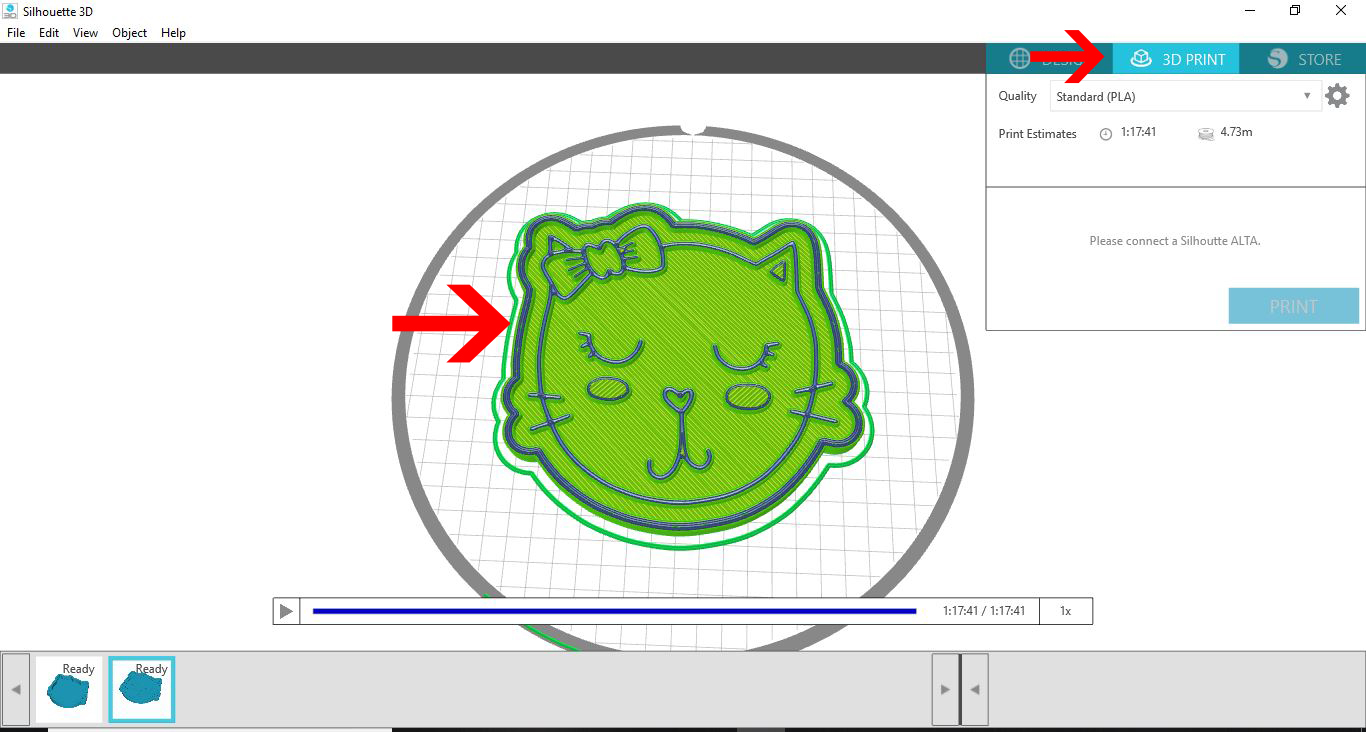
17- Your design will slice and you can print.

18- Your design is printed.


6 Related Silhouette Tutorials

1- Open Silhouette Studio Software (Business Edition).Click on the open folder.2- Find your Ai file and open. I am usingI love you svgfrom designbundles.net3-A new window will appear. This will let you import the design as a vector file. click on import.4- It will take ...

1- Ope Silhouette Studio Software (Business Edition). Click on the open folder icon.2- Find your EPS file and open it. I am using acat lover svgfrom designbundles.net3- Your file has now imported to the design space.4- Select the image and right click and check ungroup.5- ...

1- Open the Silhouette Alta 3d software. Click on the shapes icon.2- Select your first shape.3- Click on your dome. Adjust the size and make the dome flat.4- Adjust the thickness of the shape to only 1 mm thick.5- Lengthen the shape to make the clip part ...

Did you know that you can use Silhouette Files in Cricut Design Space? In this quick and easy to follow tutorial we will guide you through the steps on how to do this.Before we begin make sure that you have unzipped your purchased files to your computer. 1- Open ...

1- Open up Silhouette Studio software (Business Edition). Click on the open folder.2- Click and open your DXF file. I am using theflip flop monogram svgfrom designbundles.net3- The file will now appear in your design area.4- Ungroup the design, then select the part you would like ...

Today we will show you how to use a SVG in Silhouette Studio. SVG stands for Scalable Vector Graphic. The format is a favorite for cut files as designs can be resized without losing detail. These files are widely used with Silhouette Studio and other cutting machines. You can edit ...

You may also like

Help Center
ol image