Unlimited Downloads 15% off Marketplace Purchases Exclusive Software Access Unlimited Downloads
15% off Marketplace Purchases
Exclusive Software Access
Go Unlimited Maybe Later
How to Use an AI File in Silhouette Alta 3D Software
  • By Design Bundles
  • 25 Oct 2018
  • 2 Mins
  • Silhouette Tutorials

How to Use an AI File in Silhouette Alta 3D Software

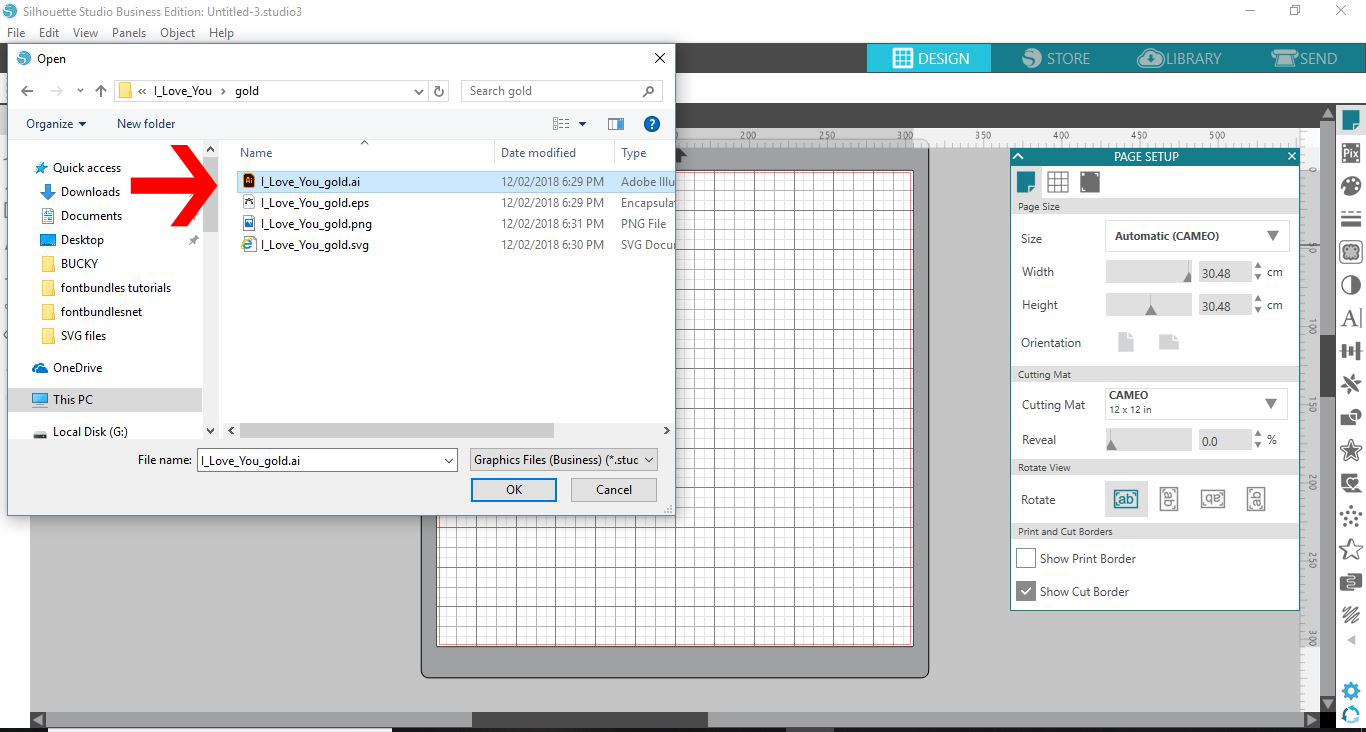
1- Open Silhouette Studio Software (Business Edition).Click on the open folder.

2- Find your Ai file and open. I am usingI love you svgfrom designbundles.net

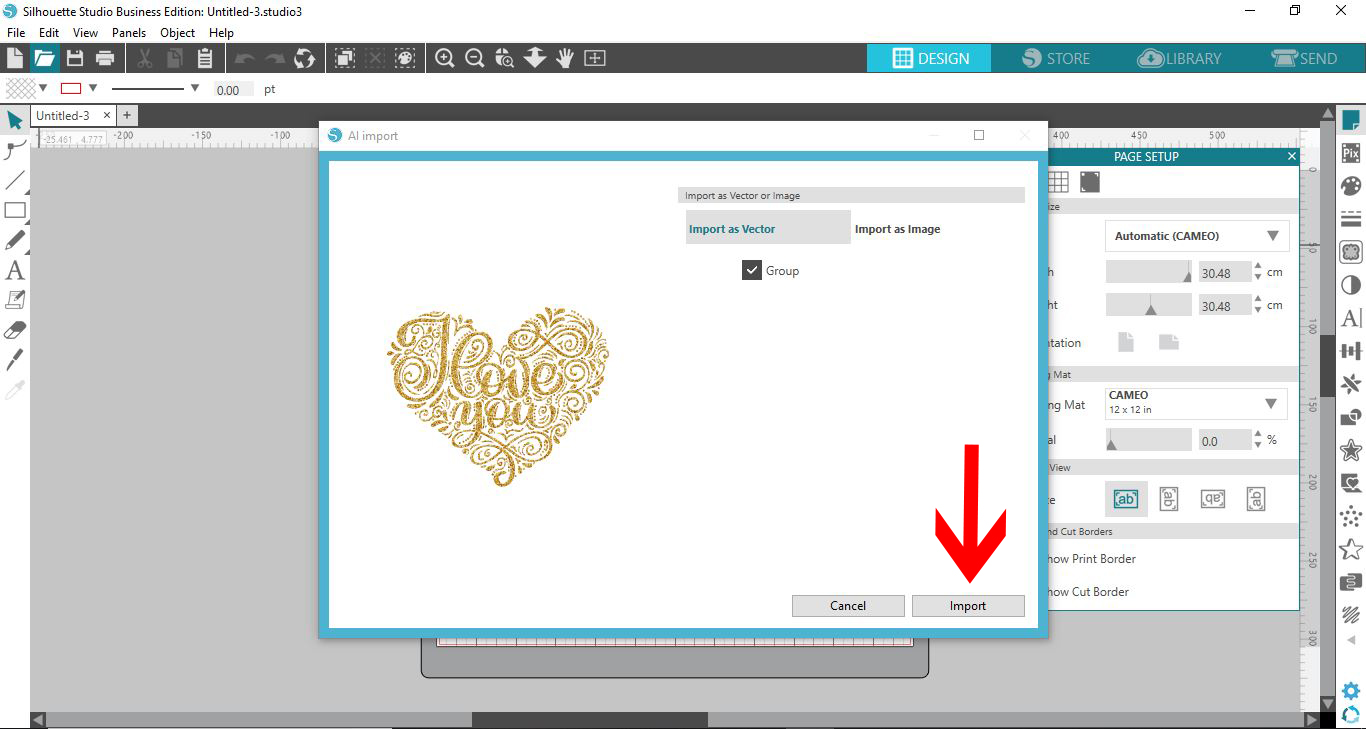
3-A new window will appear. This will let you import the design as a vector file. click on import.

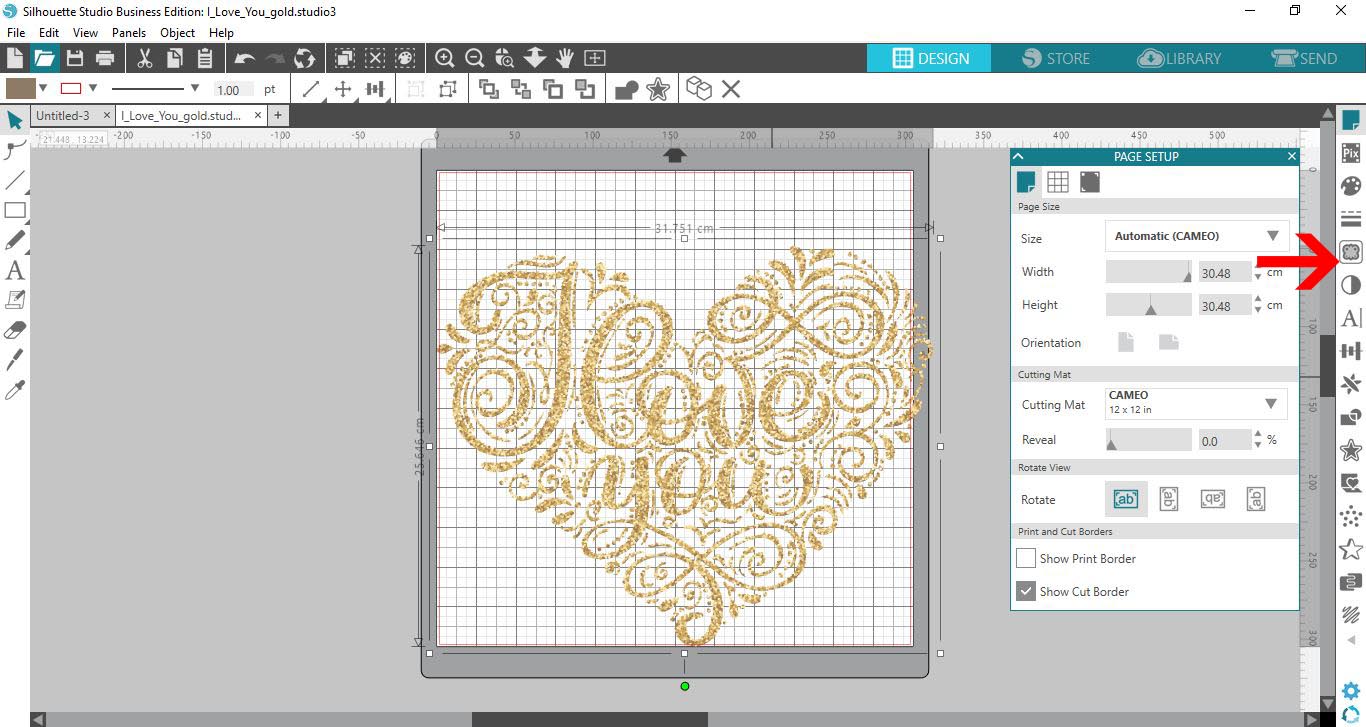
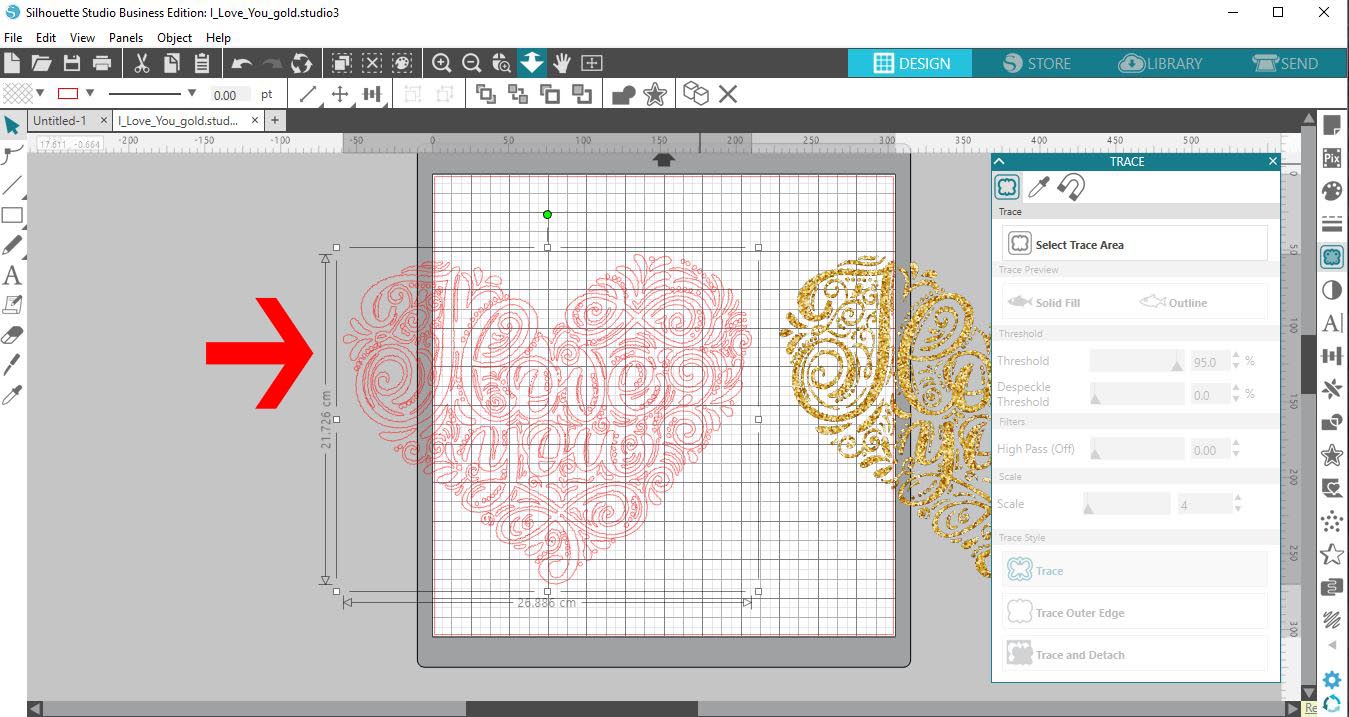
4- It will take a short while to import. Once imported click on the trace icon.

5- Trace your design.

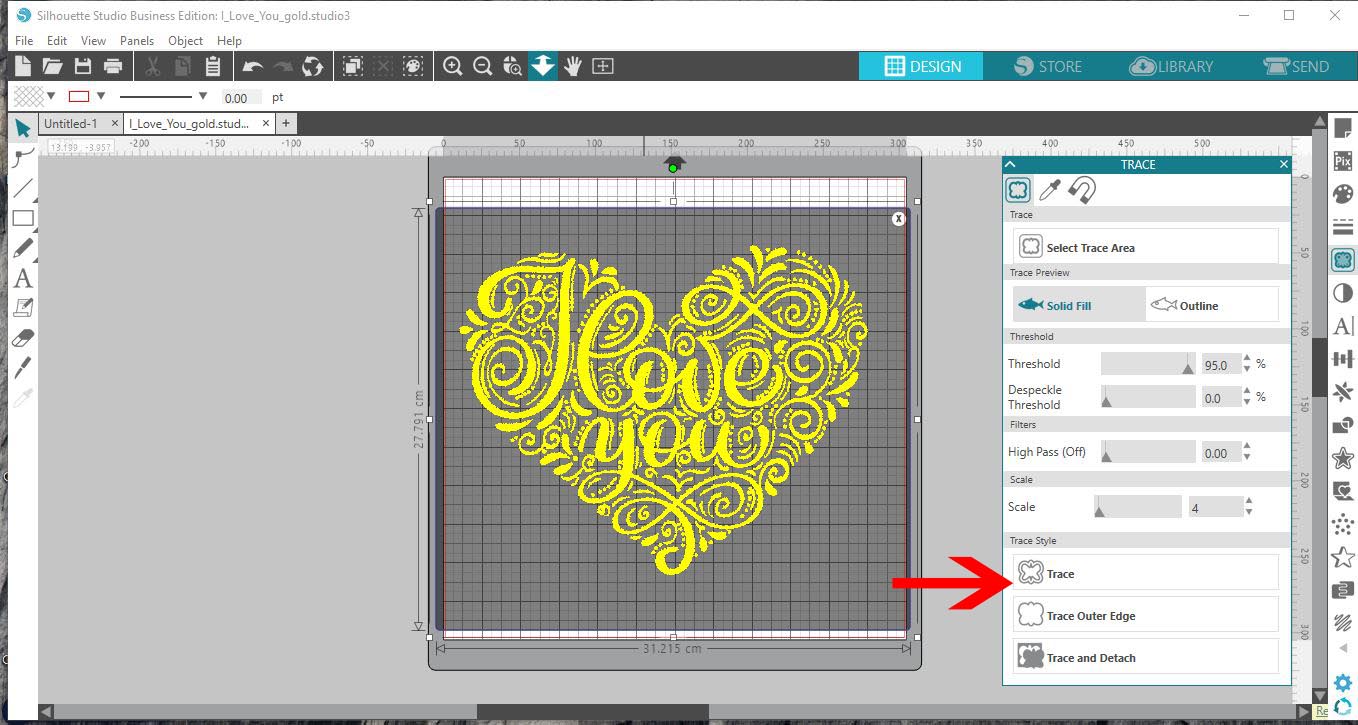
6- You now have an outline of the Ai image.

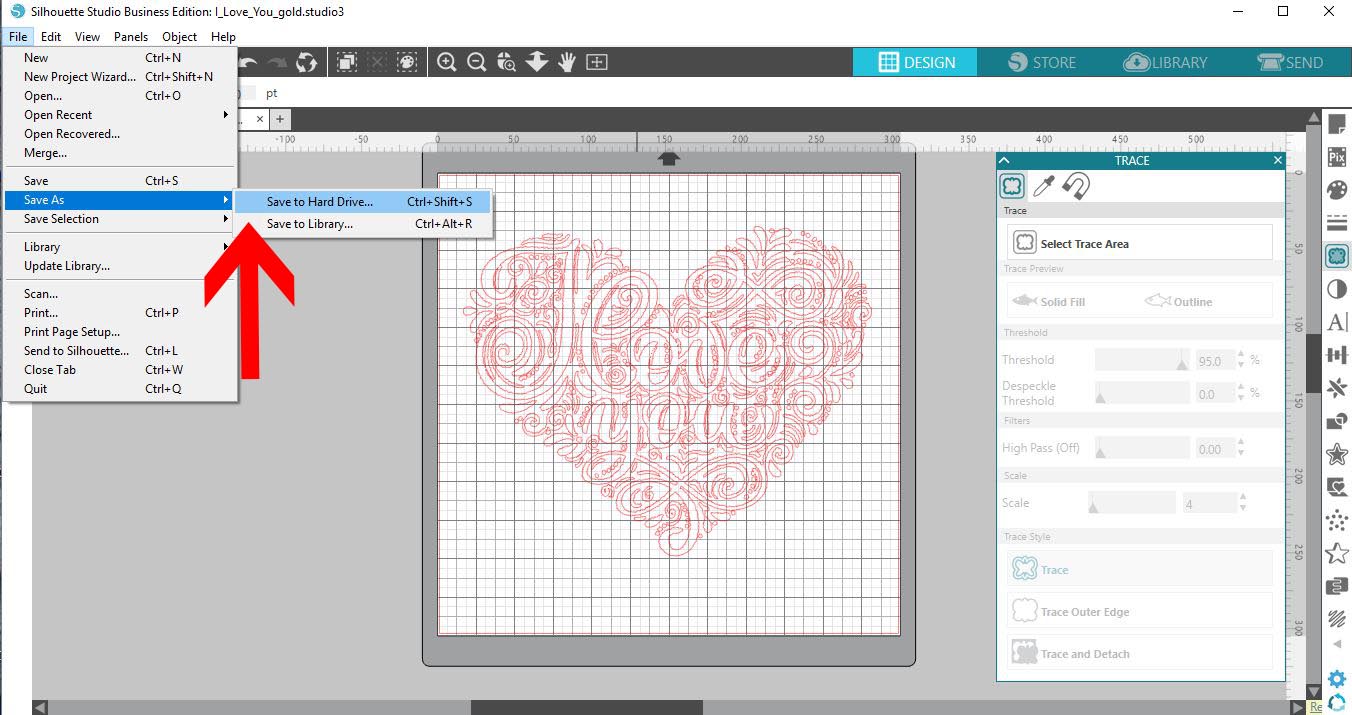
7- Delete the one you imported. with the trace file only, click on file - save as - save to hard drive.

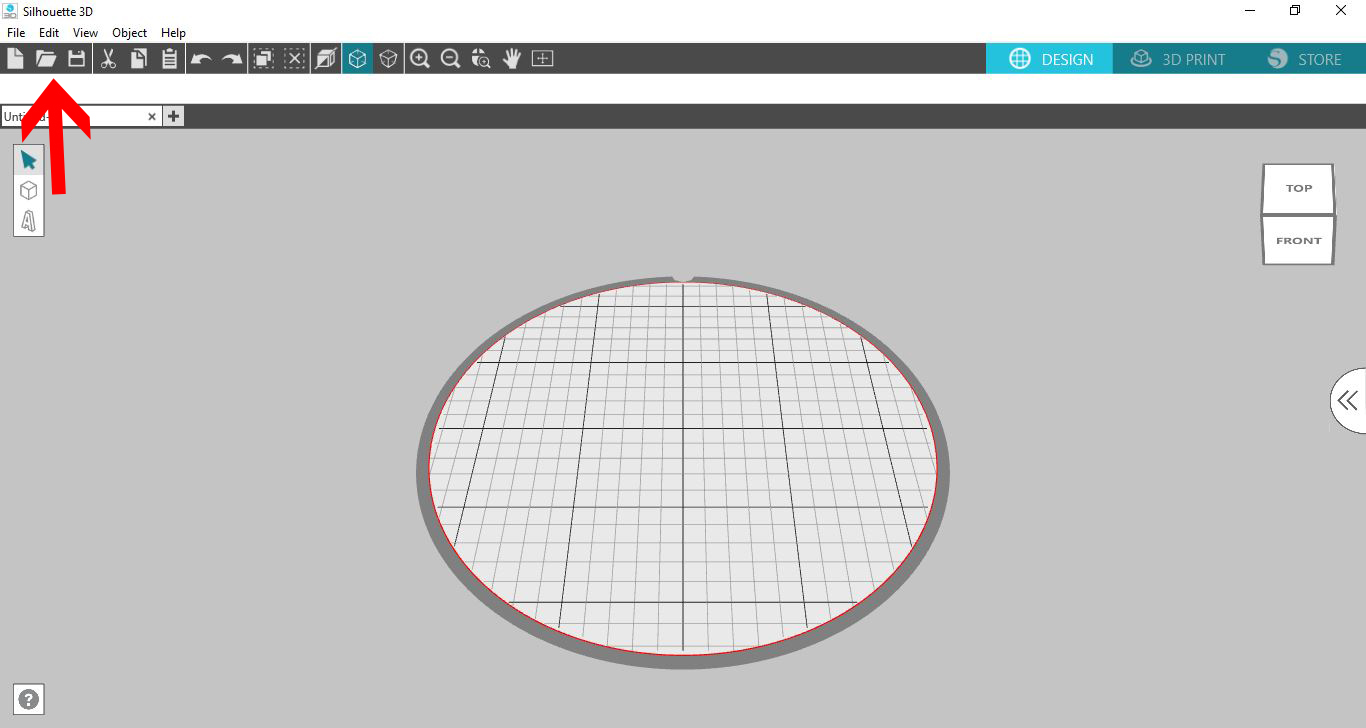
8- Open the Silhouette Alta software. Click on the open file folder.

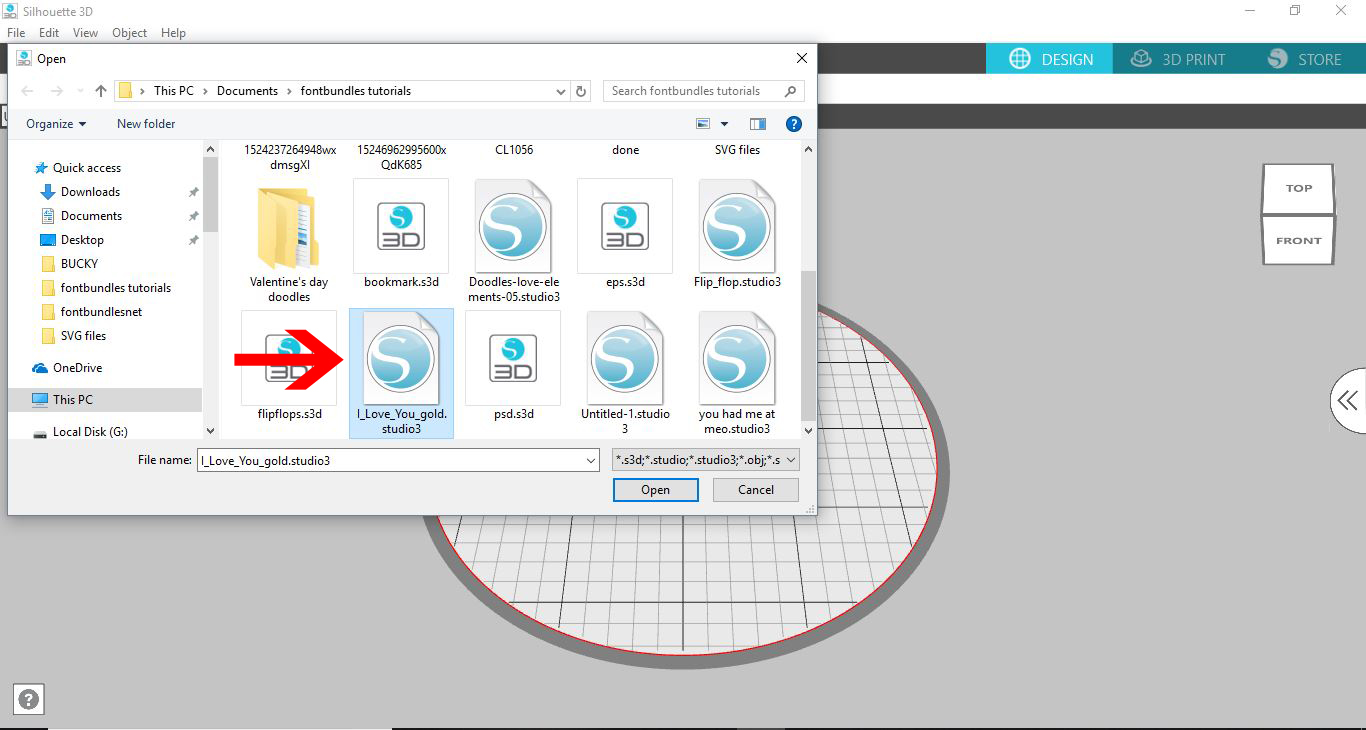
9- Select your silhouette studio file and open.

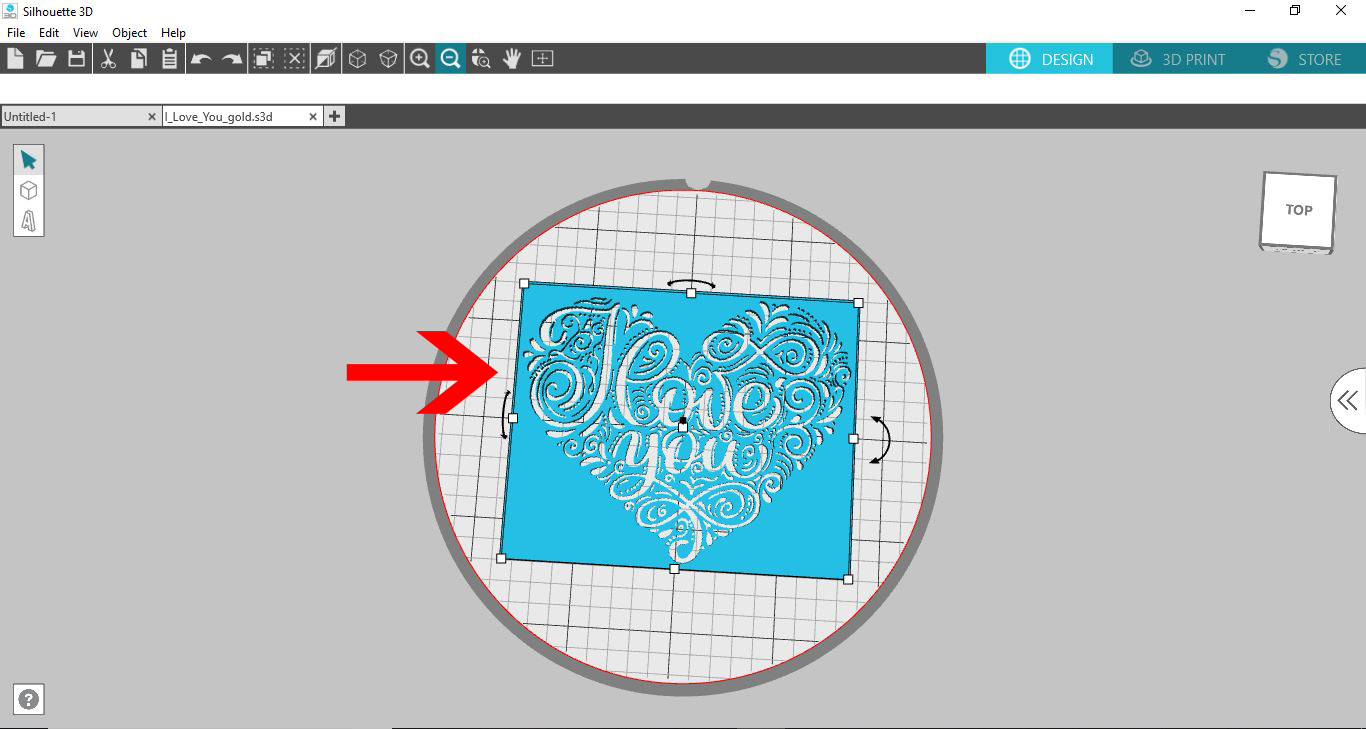
10- Depending on what you want to create, select the appropriate option to import your design as. I will be creating a stencil coaster, so i will import as a stencil.

11- Your design will be converted.

12- Click on 3D print. Select the quality you want to print, then click on the print icon.


6 Related Silhouette Tutorials

1- Ope Silhouette Studio Software (Business Edition). Click on the open folder icon.2- Find your EPS file and open it. I am using acat lover svgfrom designbundles.net3- Your file has now imported to the design space.4- Select the image and right click and check ungroup.5- ...

1- Open up Silhouette Studio software (Business Edition). Click on the open folder.2- Click and open your DXF file. I am using theflip flop monogram svgfrom designbundles.net3- The file will now appear in your design area.4- Ungroup the design, then select the part you would like ...

With the Silhouette Alta 3D software, you can also create text designs. Objects with 3D text can be personalized for all kinds of projects. These projects can include cake toppers, luggage tags, monograms, and so much more. In this tutorial, we will show you how to use the Text tool ...

Do you want to learn how to make cookie embossers with your Silhouette Alt 3D Printer? Then we have a sweet tutorial for you. Use a SVG file to create a cookie cutter with Silhouette Studio and the Alta software. So let’s get started.We will be using a ...

1- Open Silhouette Studio software (free edition). Click on open file.2- Select the PNG you would like to use.3- Select your PNG and then click on the trace icon. We need to trace the image as when you use a PNG file there are no cut lines. In ...

1- Open the Silhouette Alta 3d software. Click on the shapes icon.2- Select your first shape.3- Click on your dome. Adjust the size and make the dome flat.4- Adjust the thickness of the shape to only 1 mm thick.5- Lengthen the shape to make the clip part ...

You may also like

Help Center
ol image