
How to Use the Text Tool in Silhouette Alta 3D Software
Learn how to overlap text, group, adjust the font height and more!
With the Silhouette Alta 3D software, you can also create text designs. Objects with 3D text can be personalized for all kinds of projects. These projects can include cake toppers, luggage tags, monograms, and so much more. In this tutorial, we will show you how to use the Text tool in the Silhouette Alta 3D software.
In this tutorial, we will be using a vintage serif font created by Twicolabs Fontdation. Begin by opening your Silhouette Alta 3D software. We will show you how to create a typical text object as well as a joined text object.
Create Your Text Object
We will start by creating a normal text object. This is where you typically type out text that has small spaces between each letter. Some fonts do have a structure where the letters are joined. But for our font, we will be joining the letters later on in the tutorial.
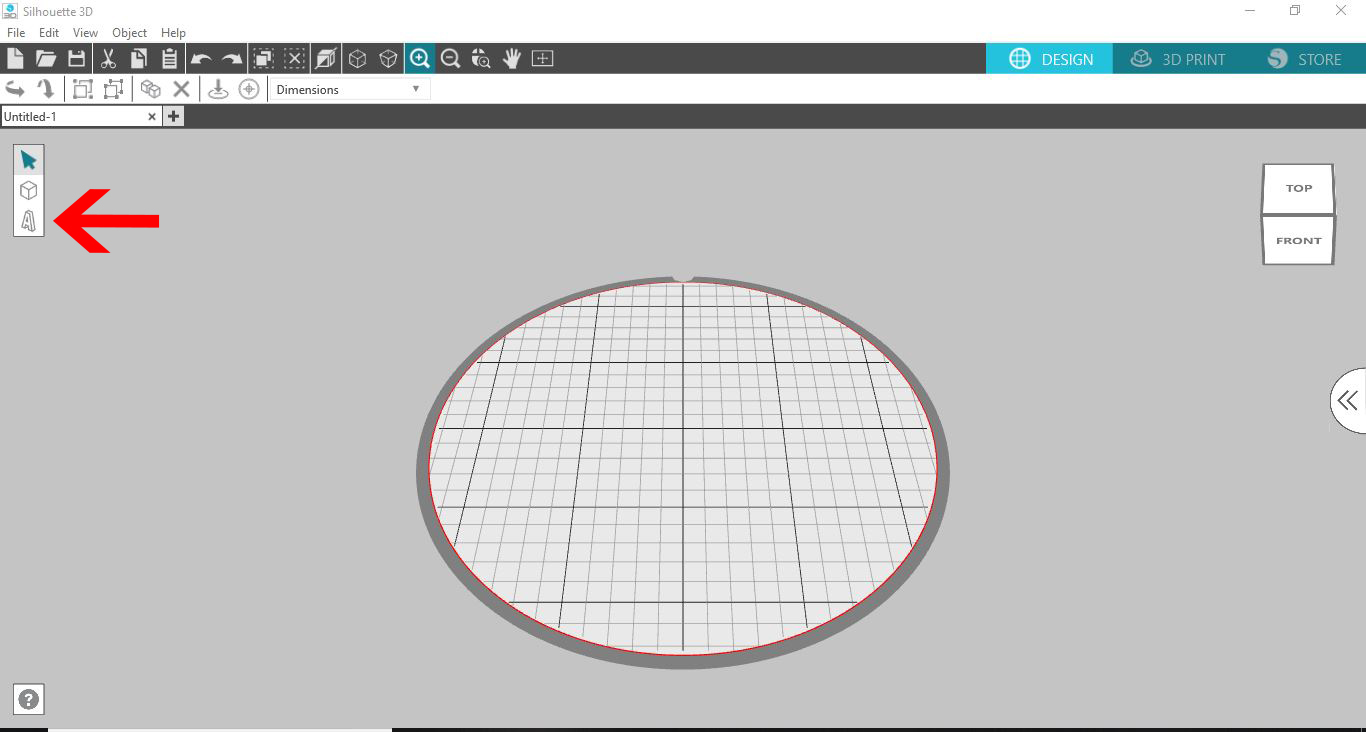
Step 1 - Use the Text Tool and Change the Font
Once you are in the software, click on the Text tool as shown in the image below.
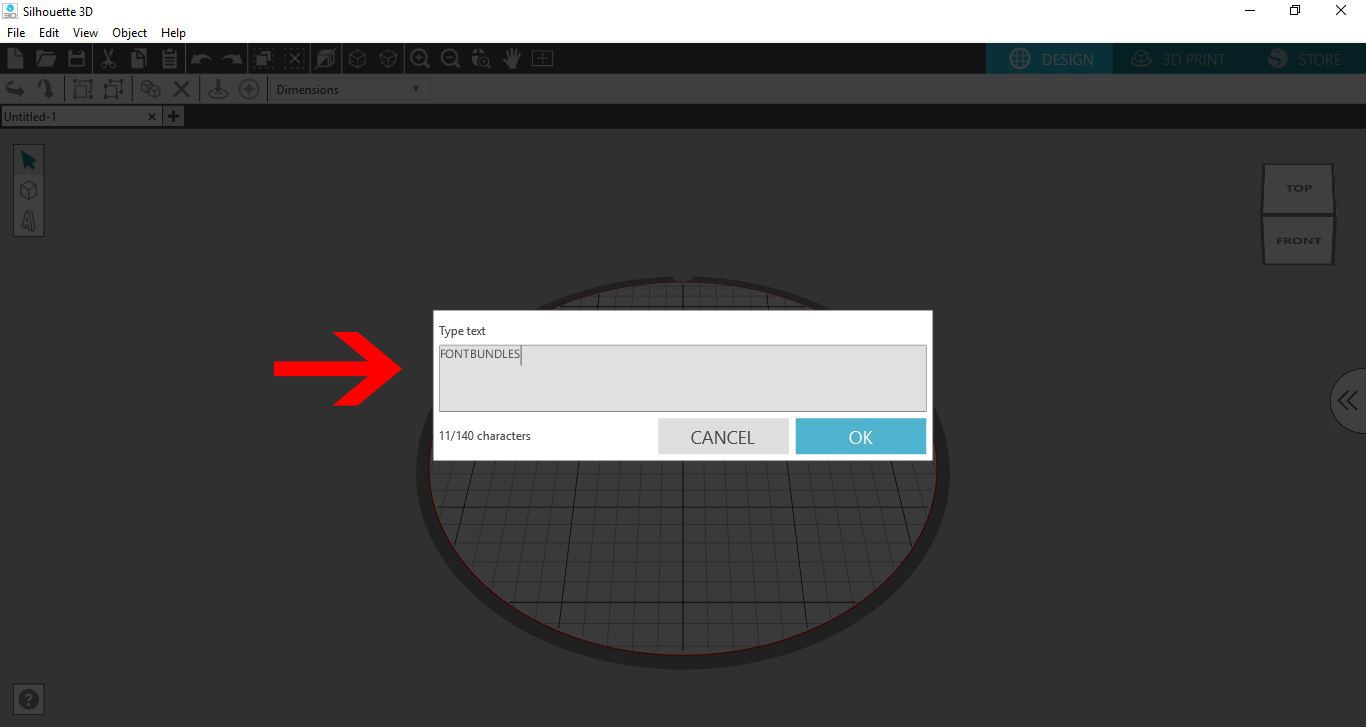
In the new window that appears, type your text and click Ok.
Your 3D text will then appear on your screen.
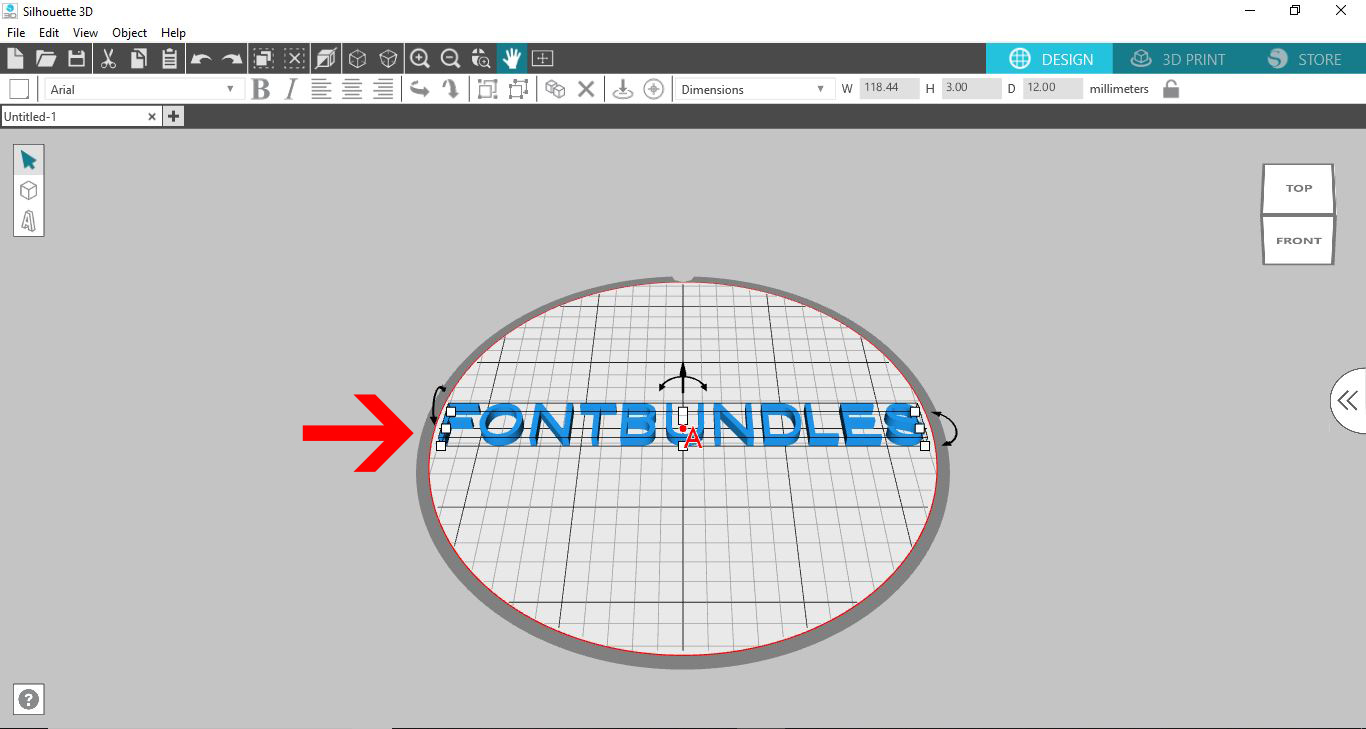
At the top left of the screen, click on the Font drop-down menu. Select your font from the options available.
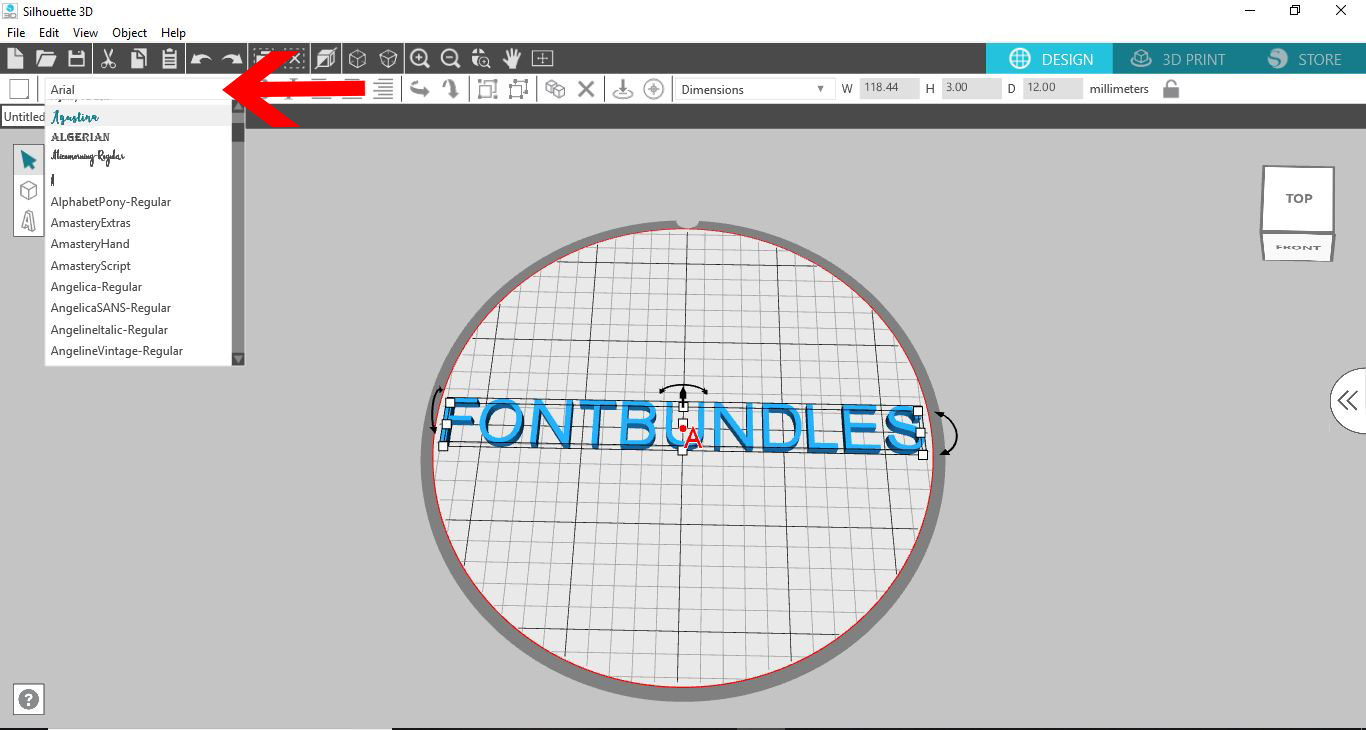
Once the font has been selected, it will be applied to your text.
Step 2 - Adjust the Text
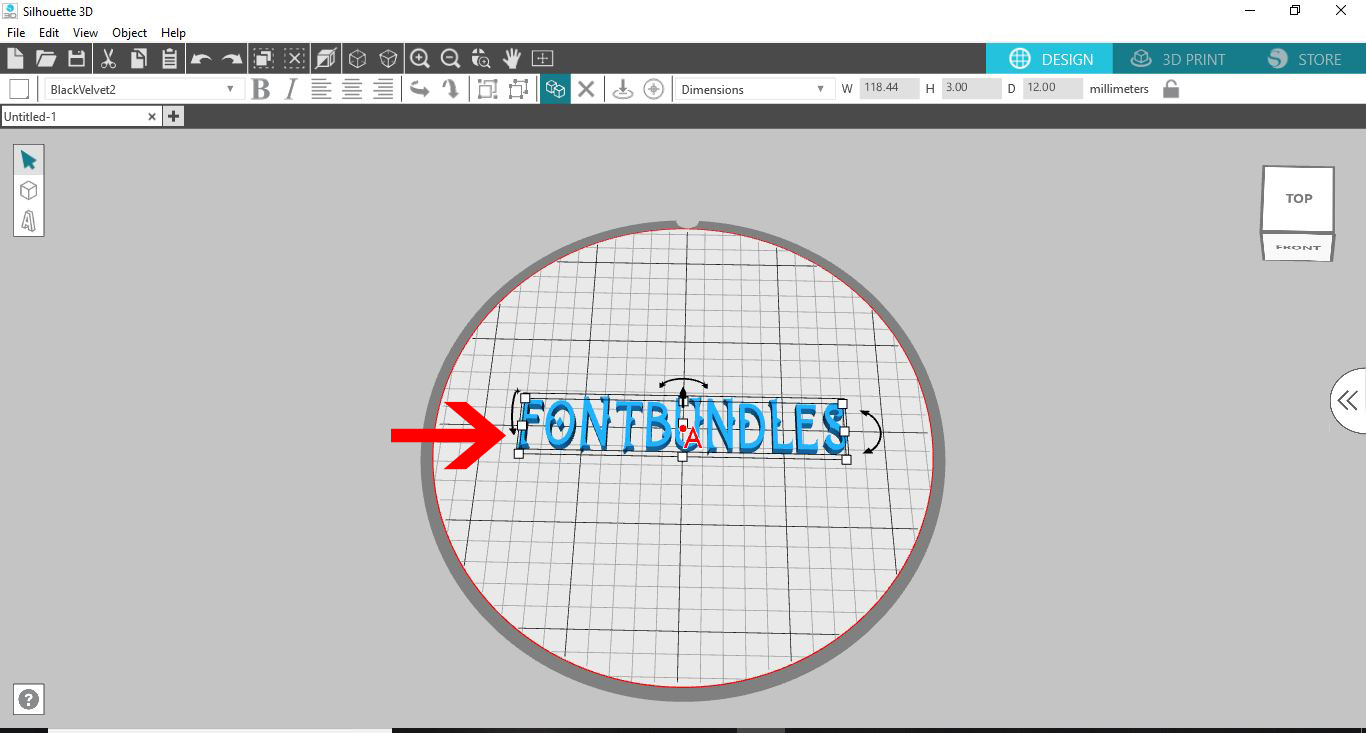
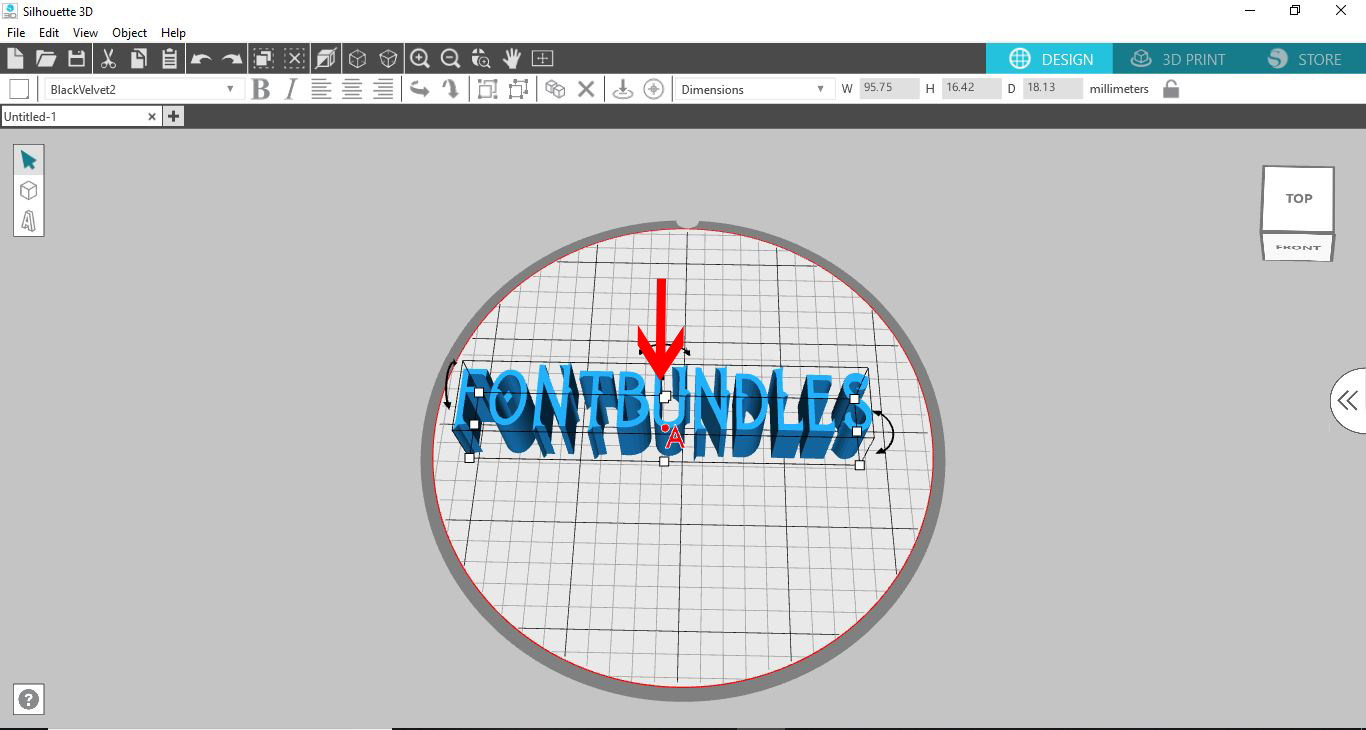
The text can be adjusted as needed for your specific project. You canresize height, width, and length by adjusting nodes that surround the text. Click on the nodes and change the look of the text if needed.
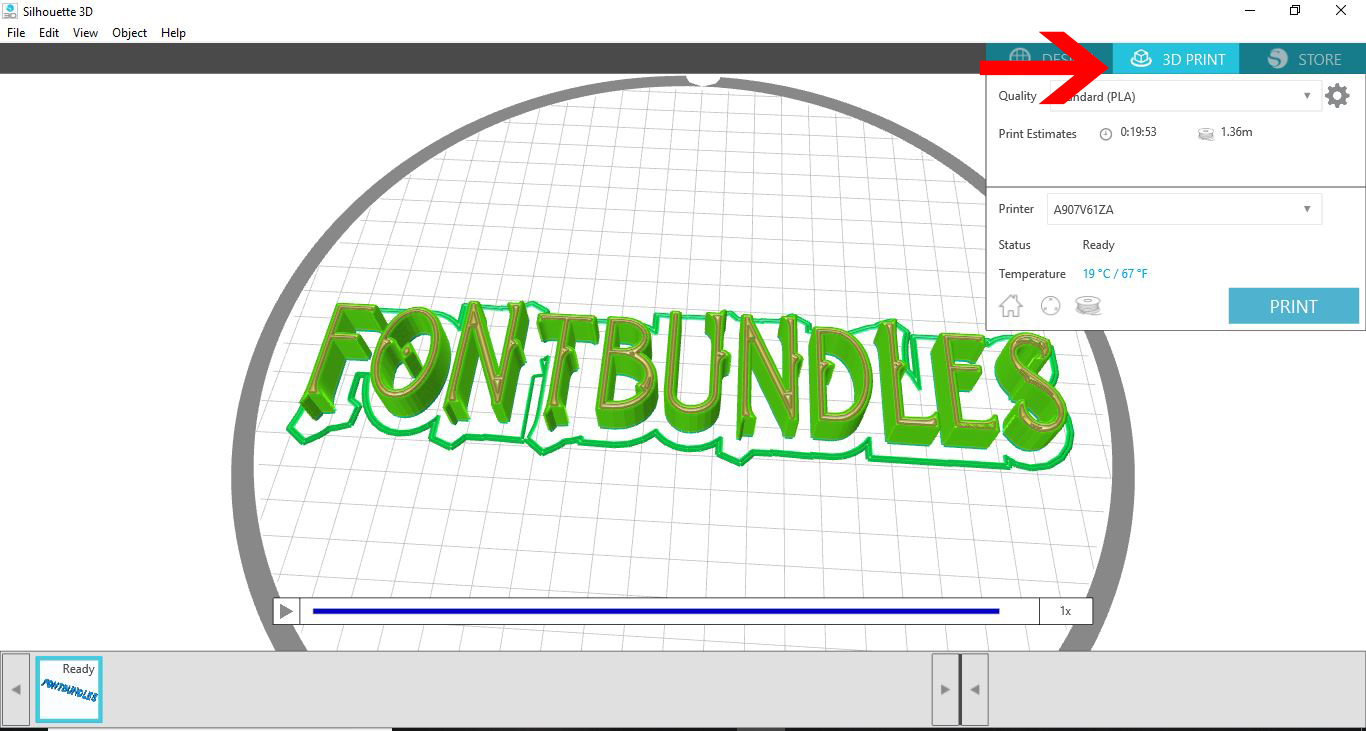
Next, click on the 3D print icon top right. A slicing bar will appear at the bottom. All this does is ready your design for printing with PLA filament. The progress bar may take longer depending on the detail and quality of your print. Once ready, click Print.
Create Joined Text
Some of your projects may require that the text be joined. To do this, you will need touse a different process. You will need to individually type out each letter of your word and adjust.
Type Out the Individual Letters
In the software, click on the Text icon as before. This time, you will only type out the first letter of your text. Now, click Ok.

Adjust the letter's height, width, and length as needed.
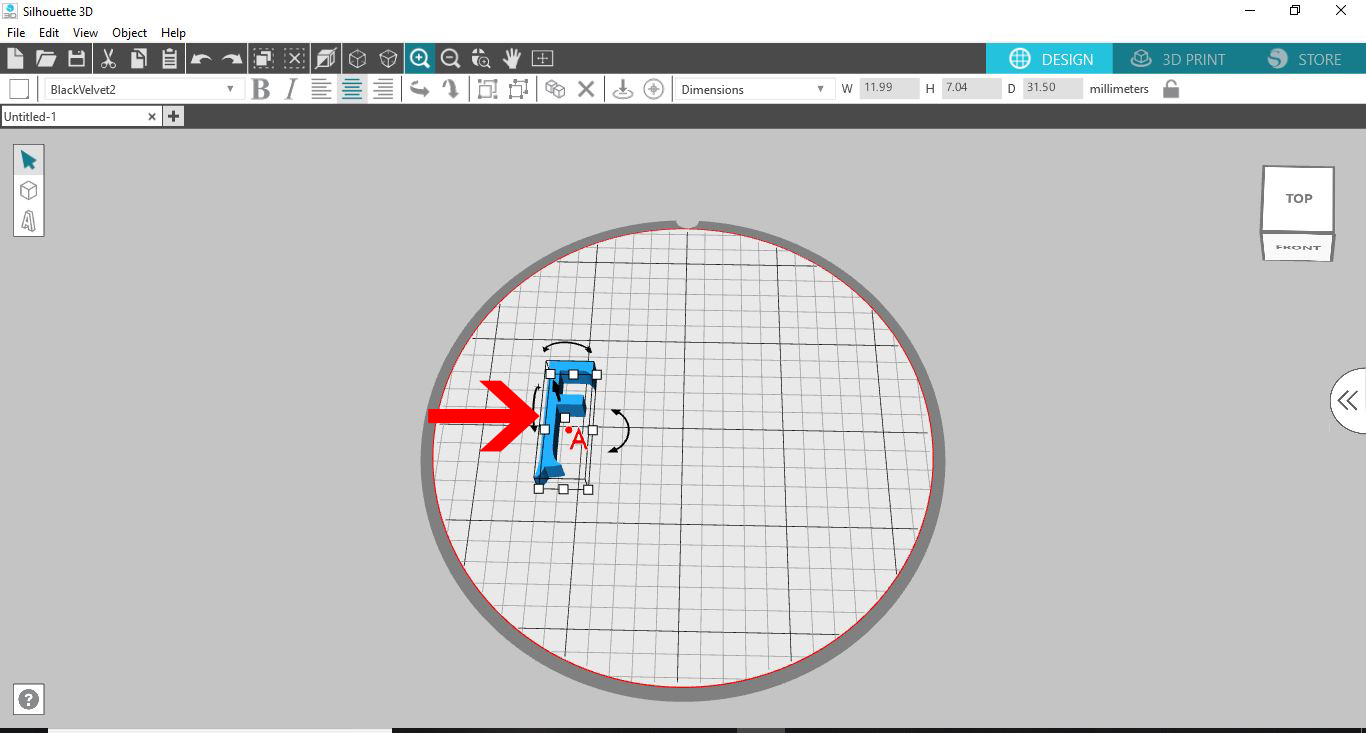
Repeat this step for each letter you need to create your joined text.
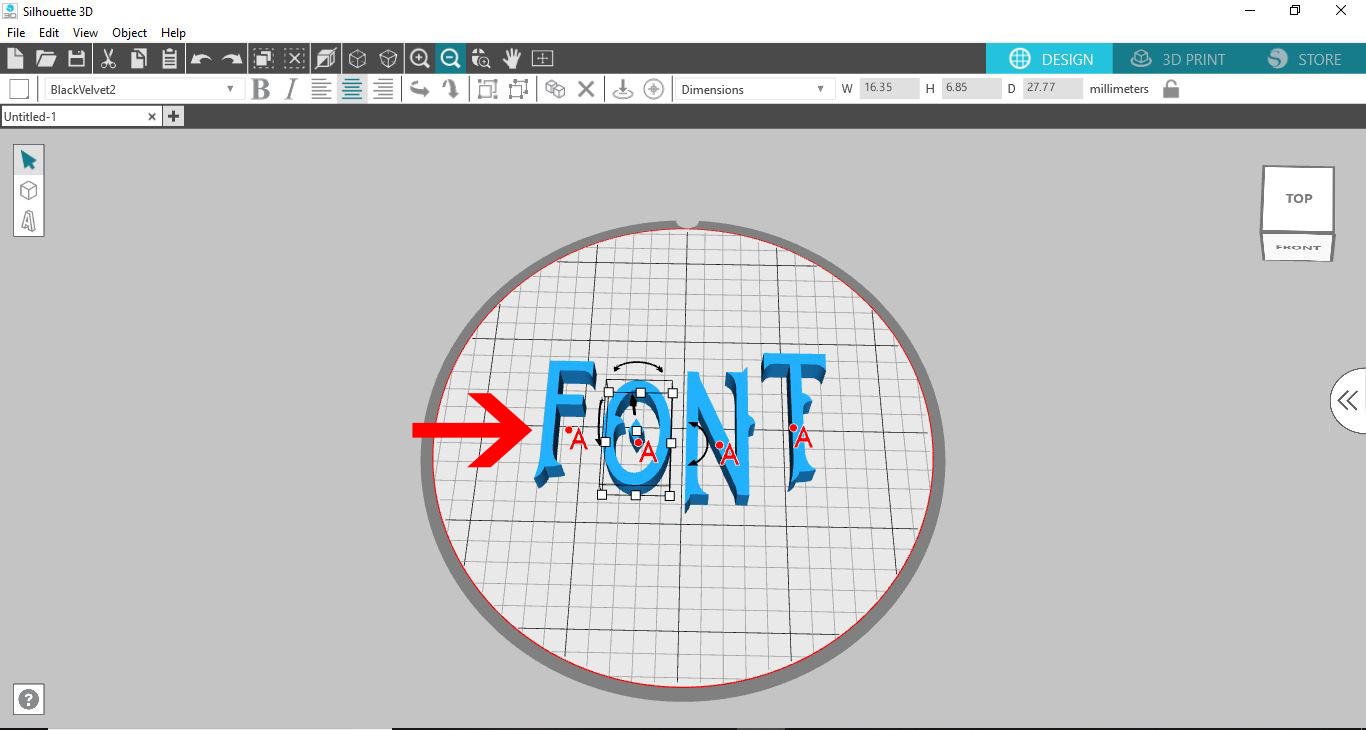
Overlap and Adjust the Letters
Now that all of your letters are typed out, we will slightly overlap them. This is similar to preparing text in Silhouette Studio. Shift each letter so it overlaps, as seen in the image below.
Adjust the height of each letter if you want. Your letters don't have to be the same height, so you have full creative flexibility here.

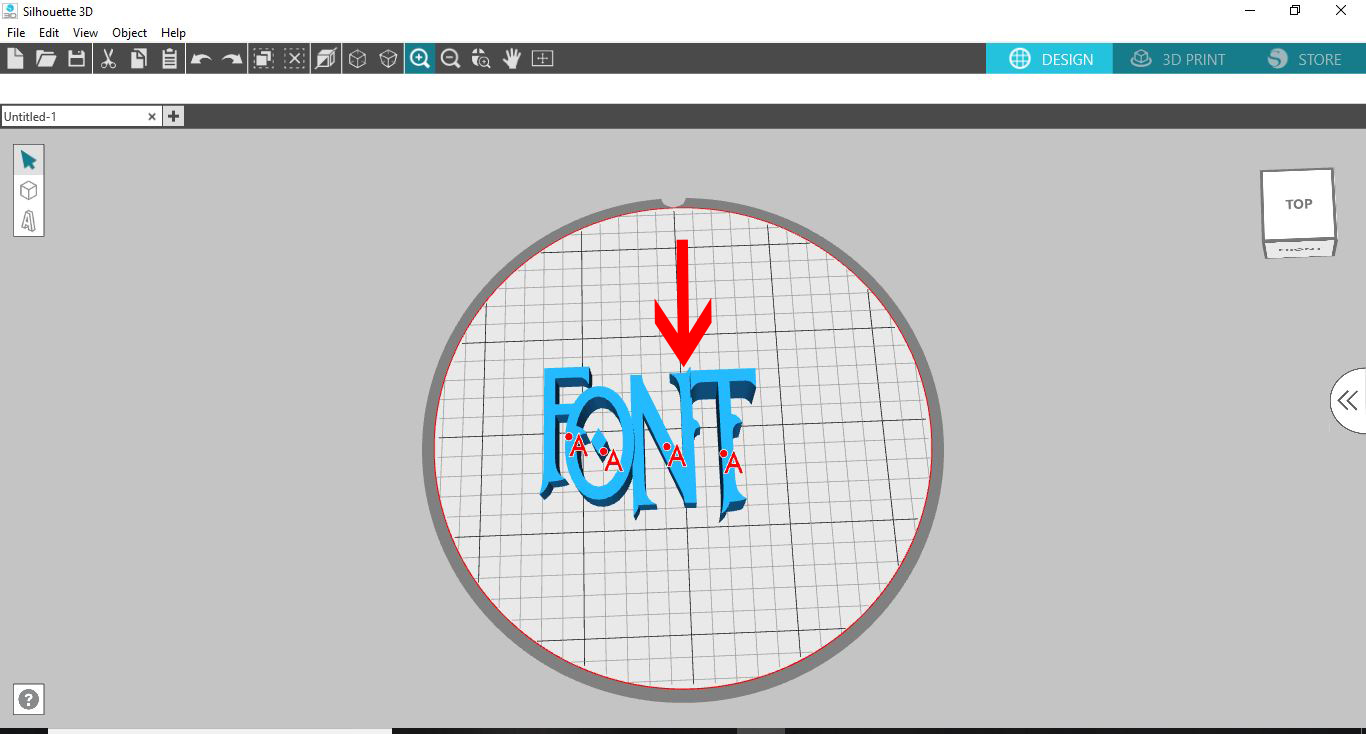
Group all of the letters
Once you are done editing, click on the Select All option at the top of the screen.
Right-click on the selected text and Group your text. By grouping your text, this will tell the Alta Software to print as one file rather than individual letters.

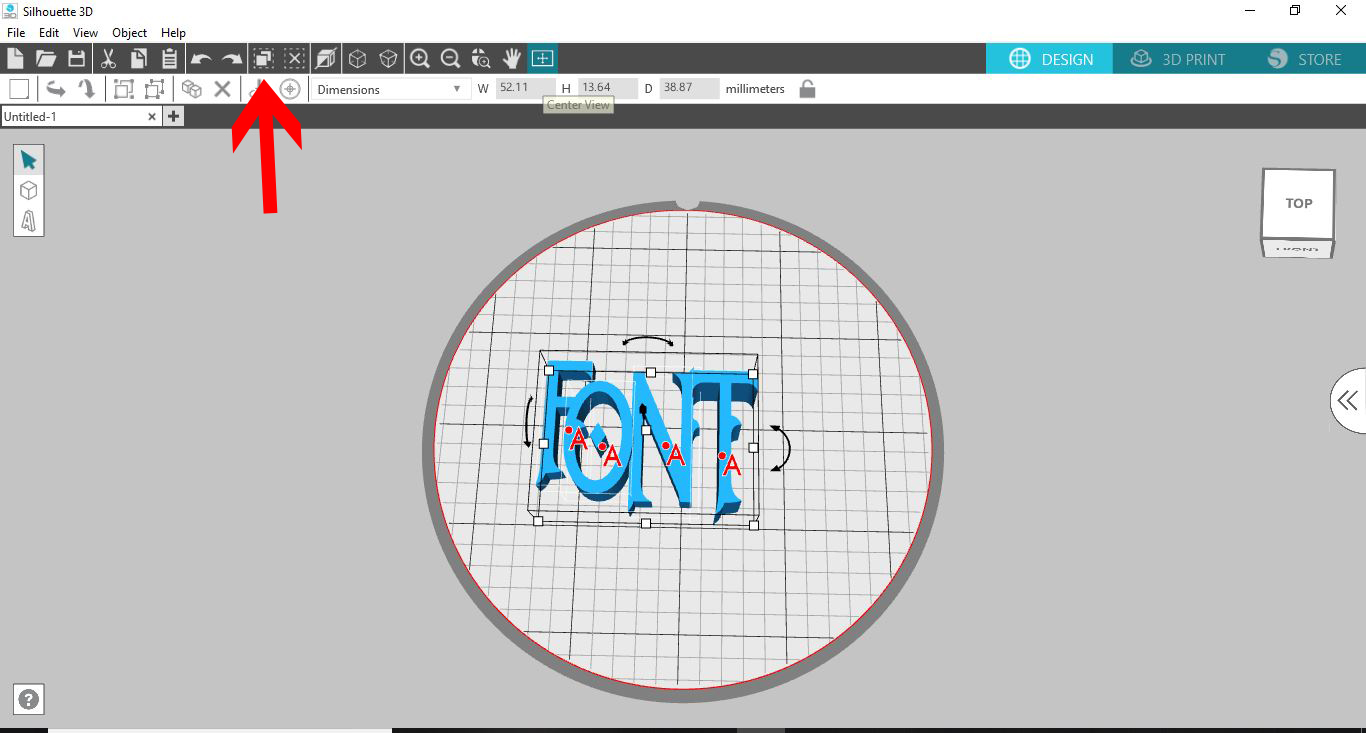
Next, click on the 3D print button. Then, select your print Quality andclick on the Print icon.

Your text will now print as one file.
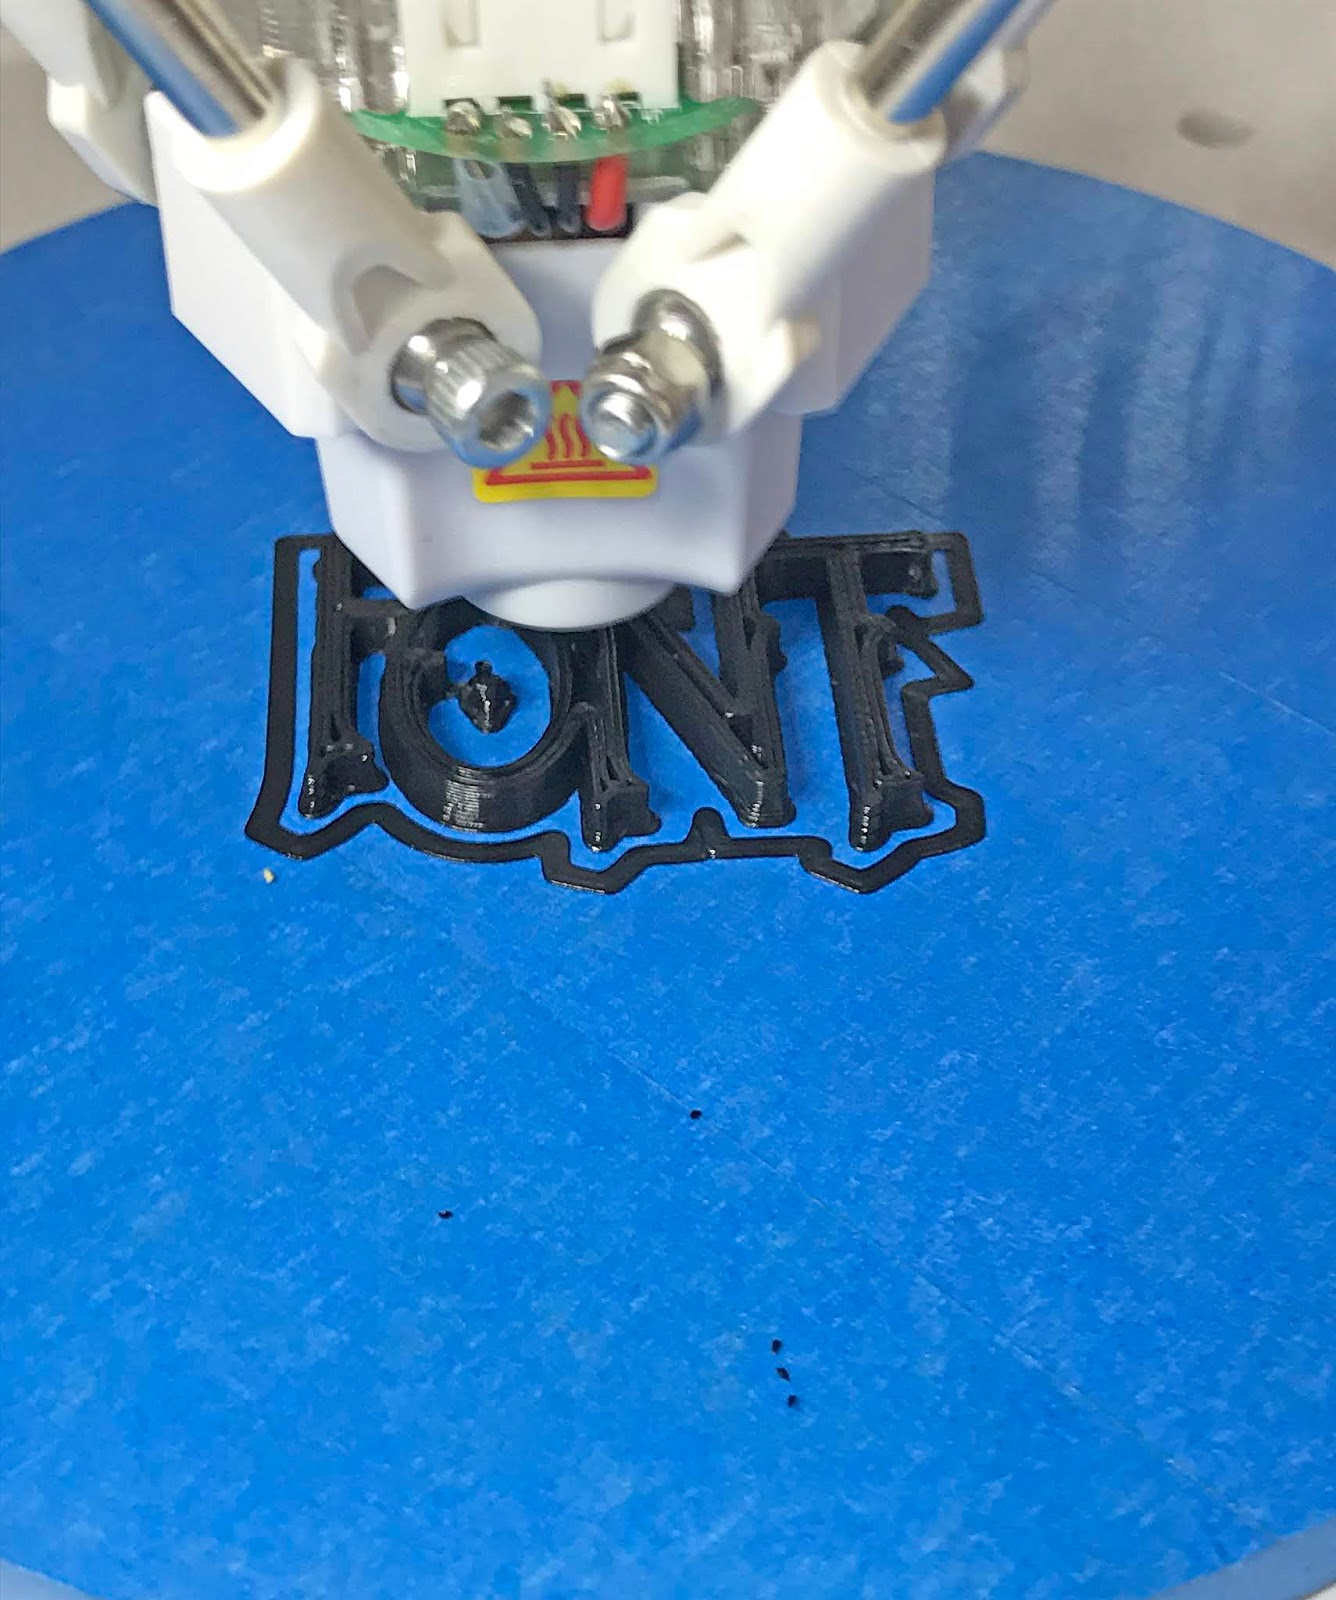
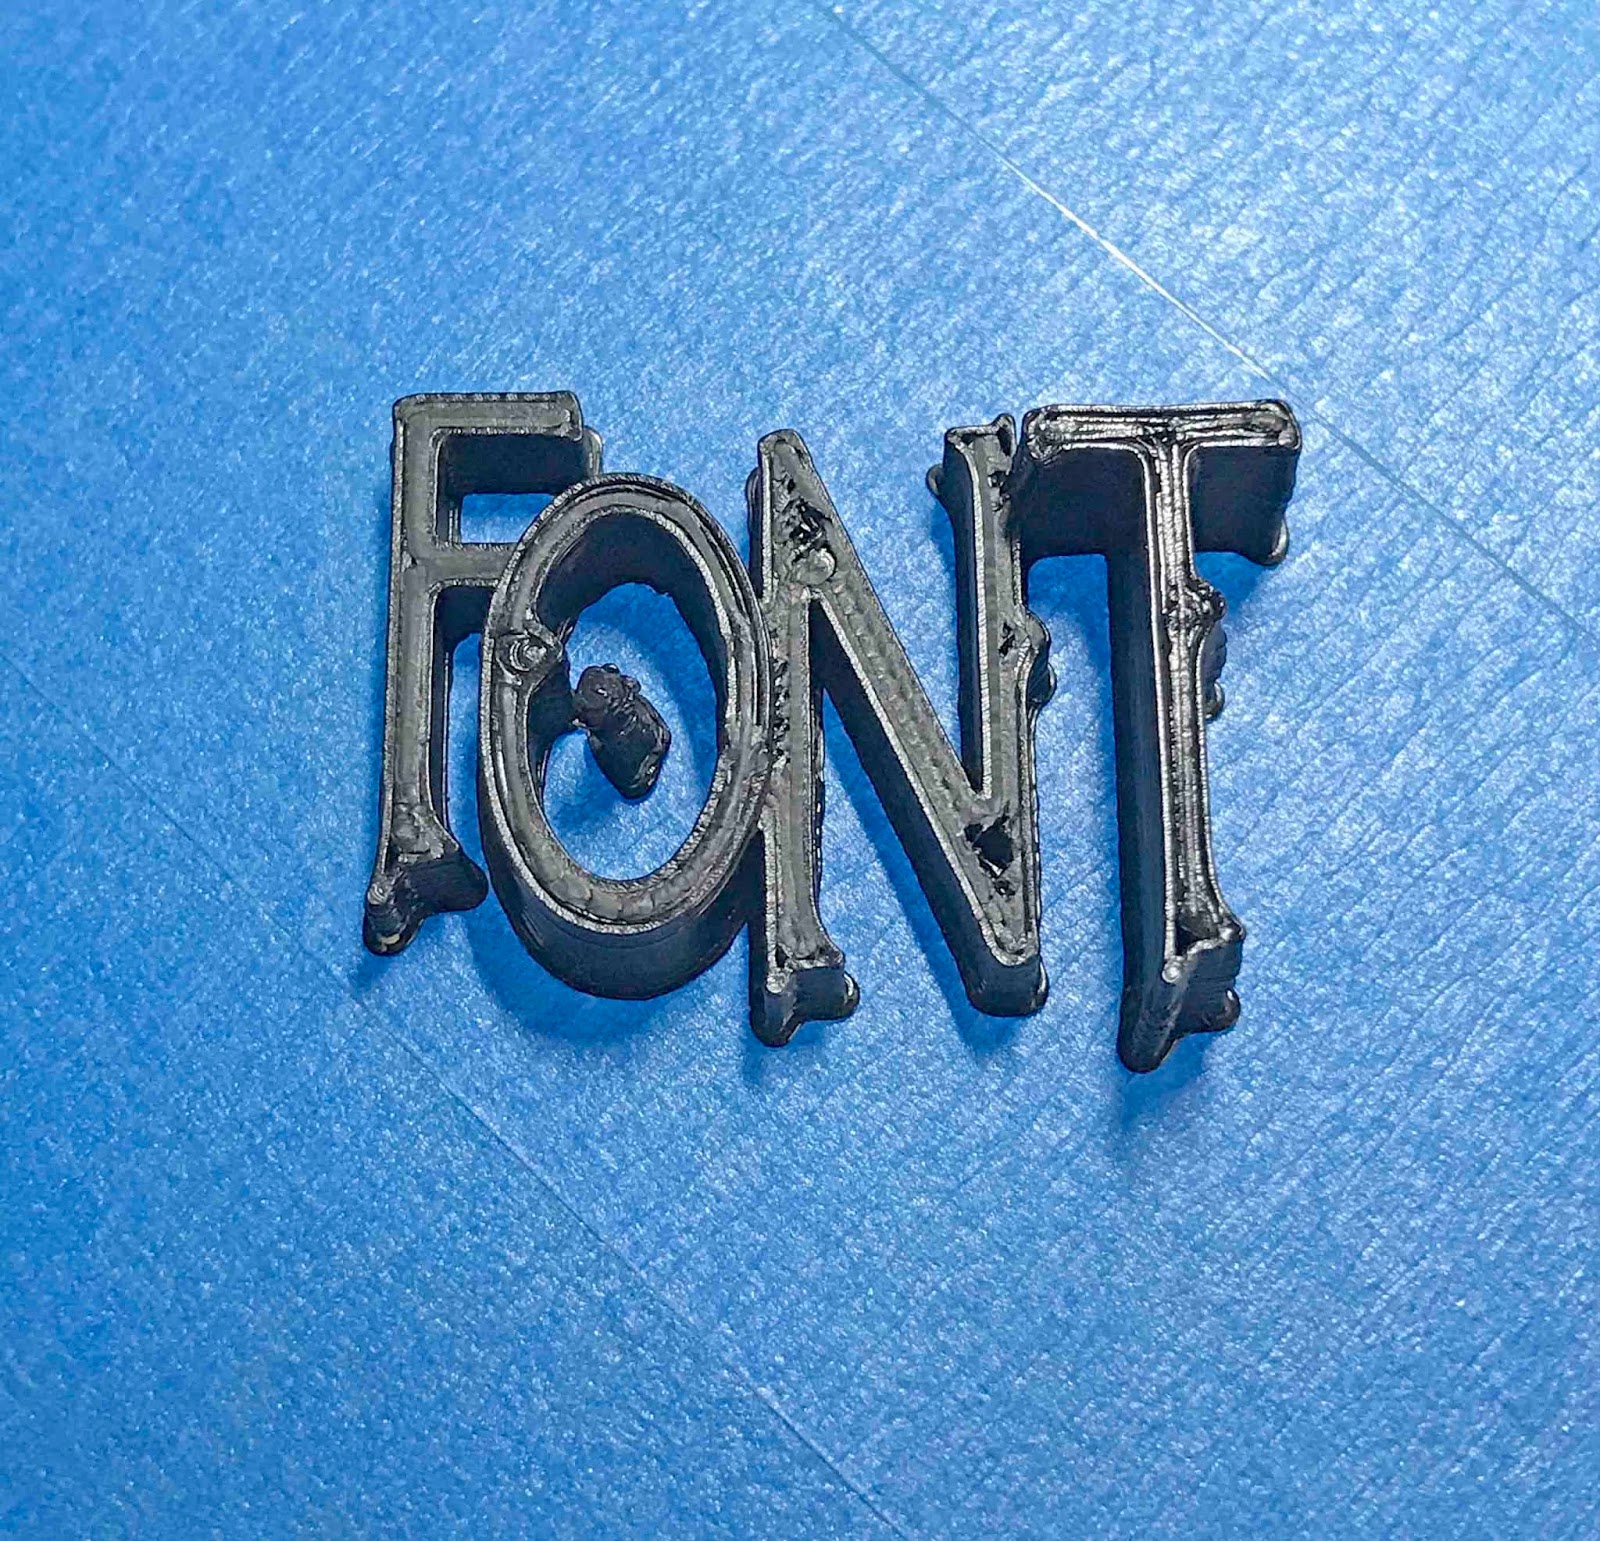
The image below is the finished result. You can clearly see that the letters have been joined.
We hope you enjoyed this tutorial. If you did, you might want to check out our other tutorials, such as how to load filament and adjust your designs for printing in the Silhouette Alta 3D software.


